Sponsored Giveaway: Violette Field Threads 10 Sewing Pattern Bundle

We have quite a few new sponsors here at The Cottage Mama. Some of you probably don’t click over to the blog very often, if you subscribe in a reader or by email, but I’m finally getting around to introducing some of the wonderful new sponsors to you all that can be found in the right side-bar on the blog.

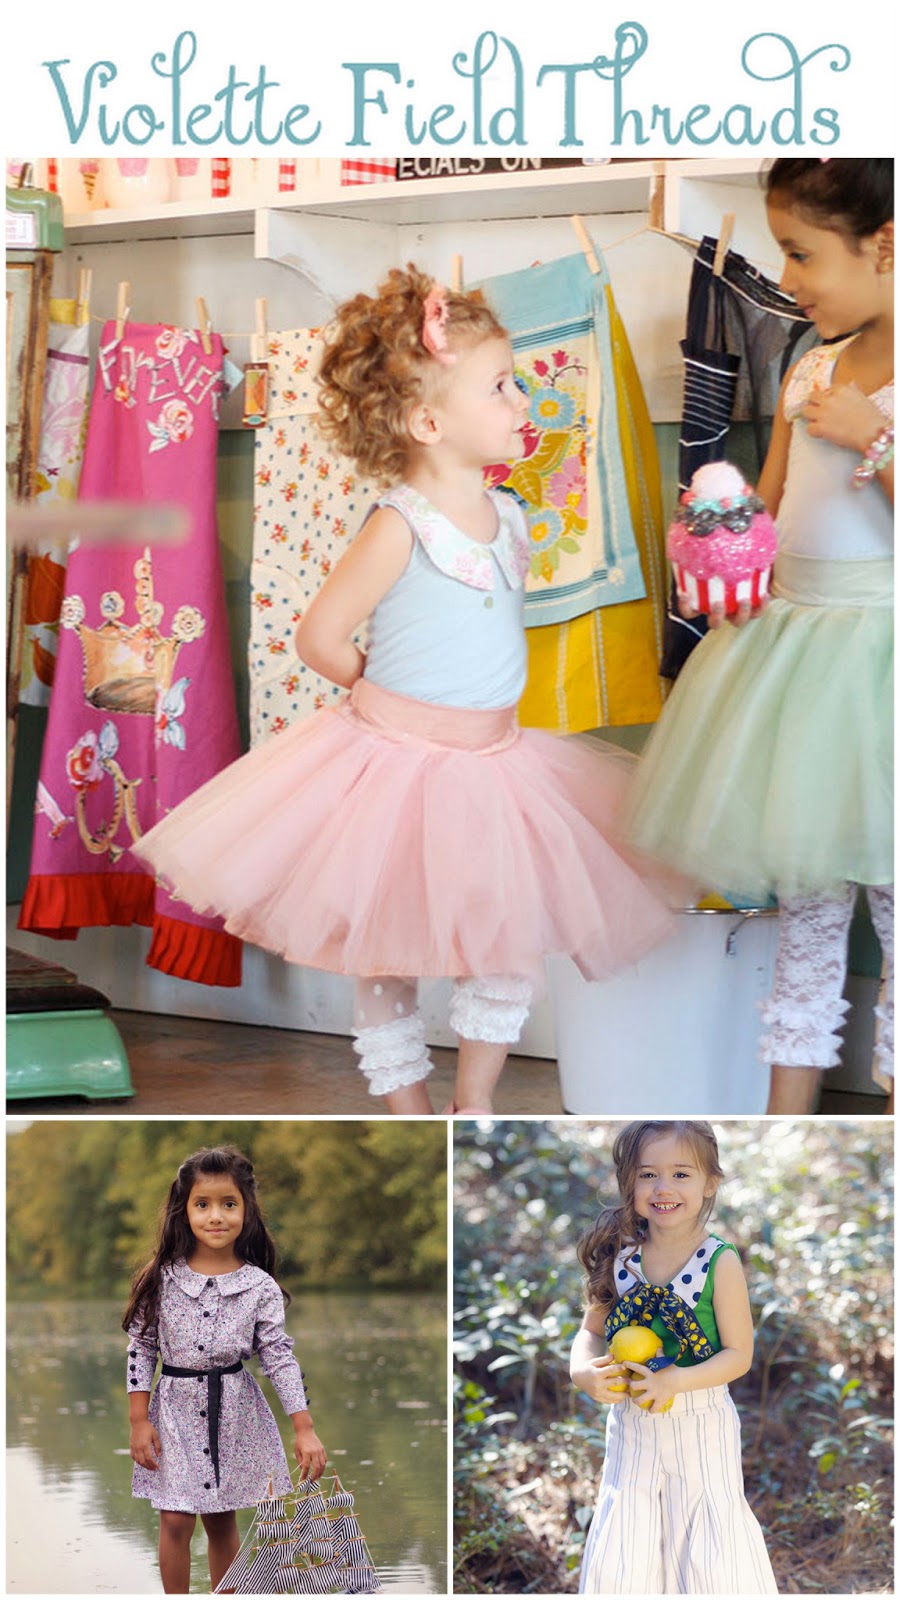
First up is the lovely Violette Field Threads. This duo team, Ericka and Jessica, are fellow paper and PDF pattern designers just like myself. I absolutely love being able to promote other designers to you all. Why? Well, because there are so many incredibly talented designers out there and we all create something unique and different. And maybe I don’t have certain pattern or design that you are looking for, but another company might have just the right thing, so I’m happy to point you in the right direction. My goal is to inspire you to sew, whether that be with my own sewing patterns / tutorials or with someone elses…….it’s all about being able to create!

Violette Field Threads offers a wide variety of gorgeous patterns in PDF and a selection of their patterns are also available in printed paper form.

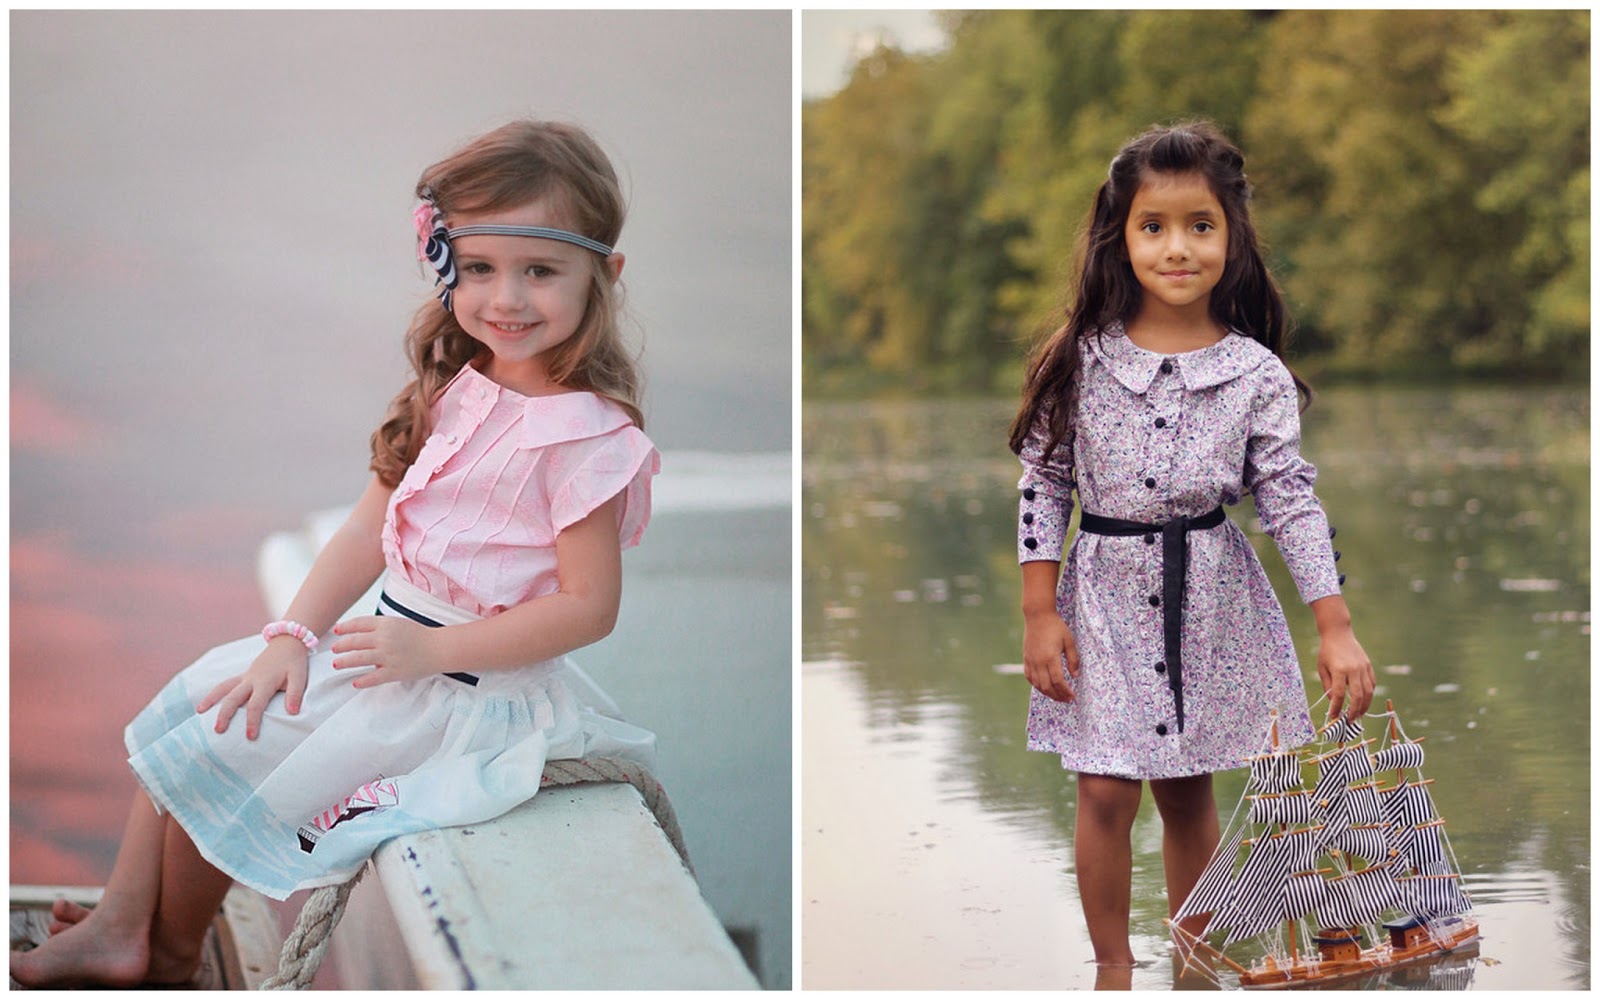
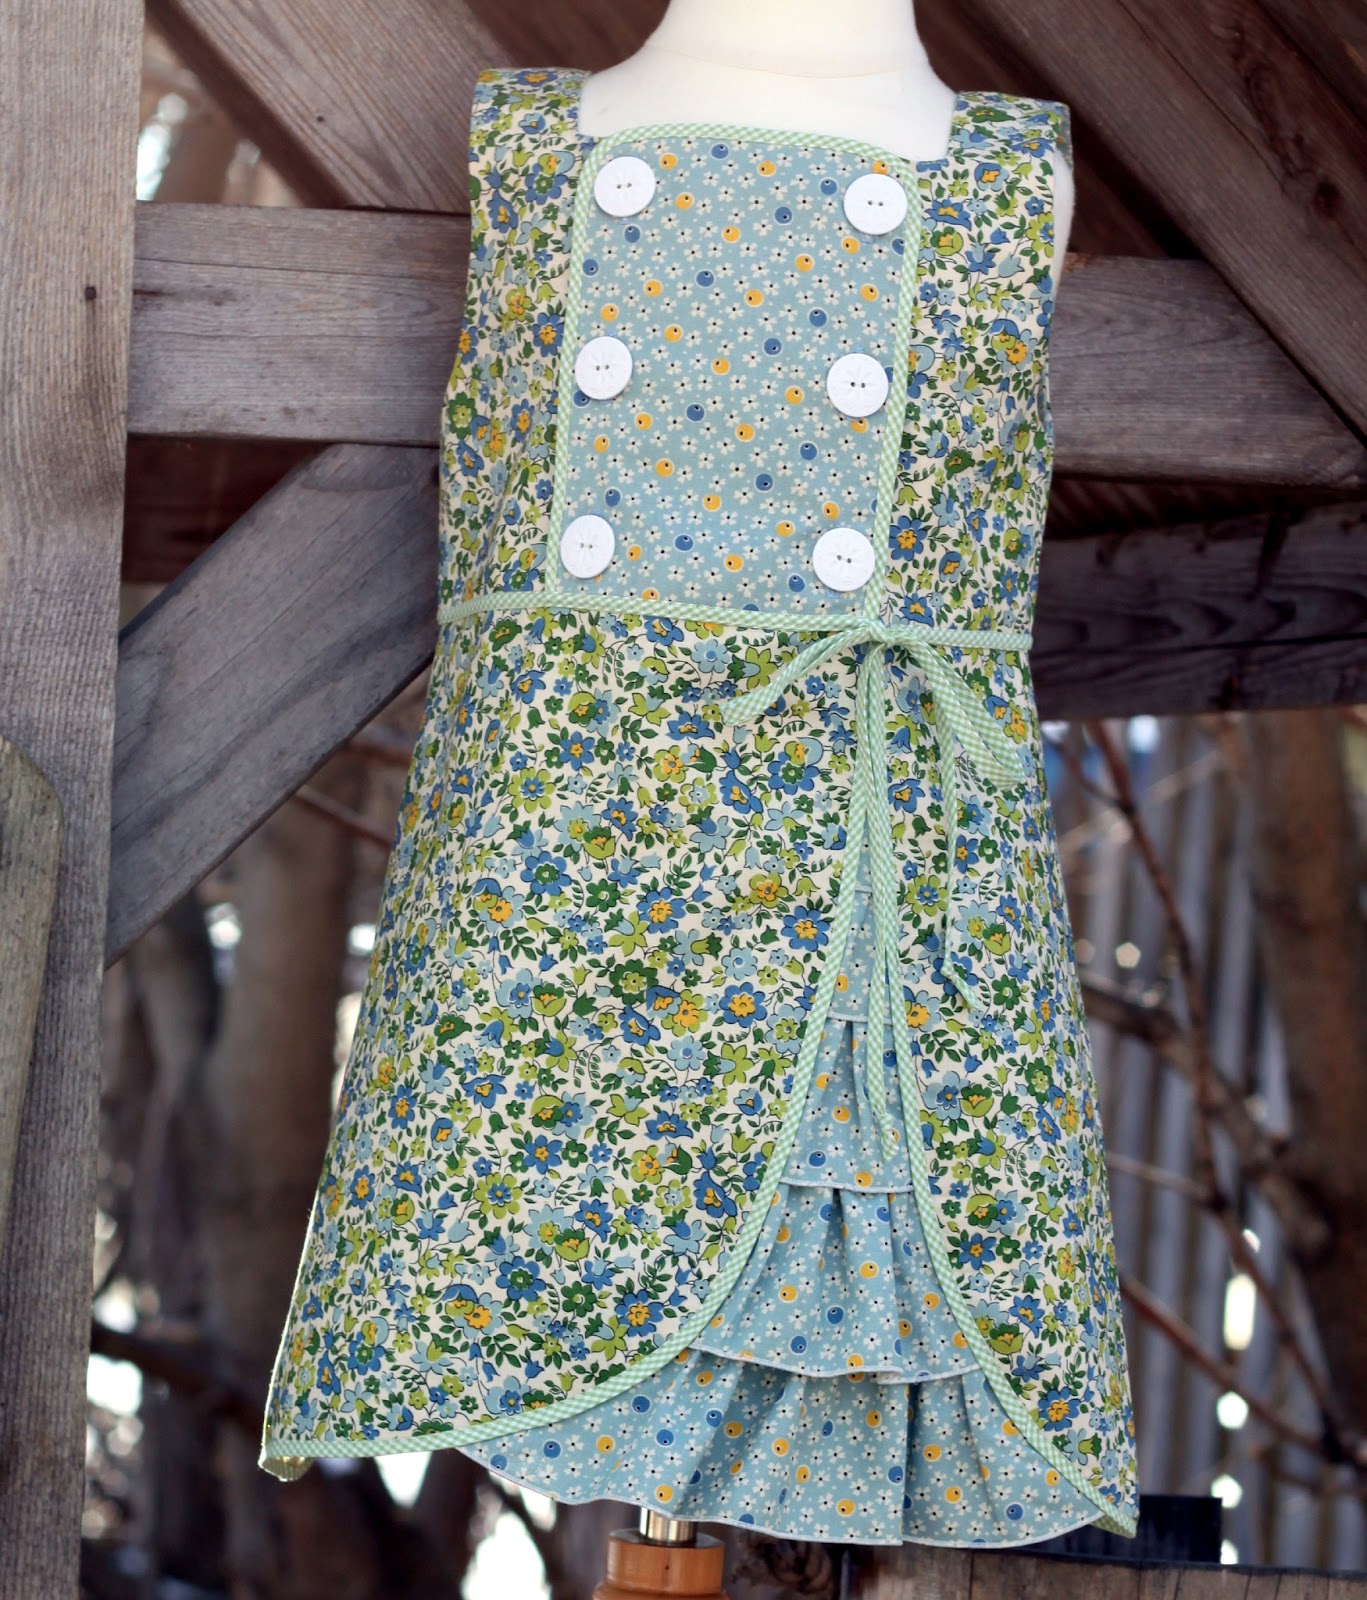
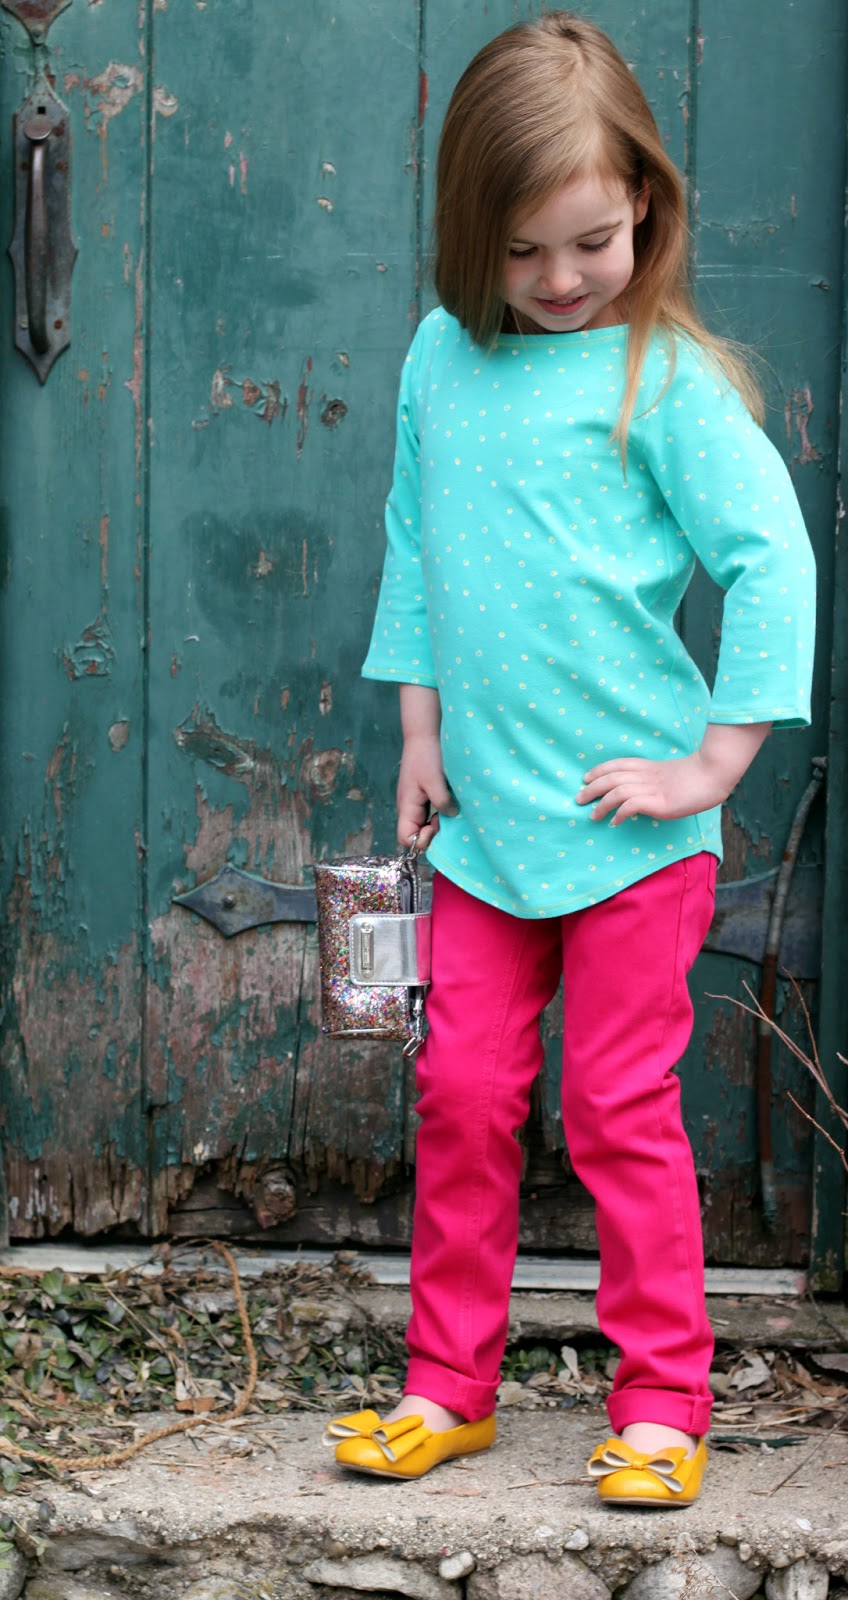
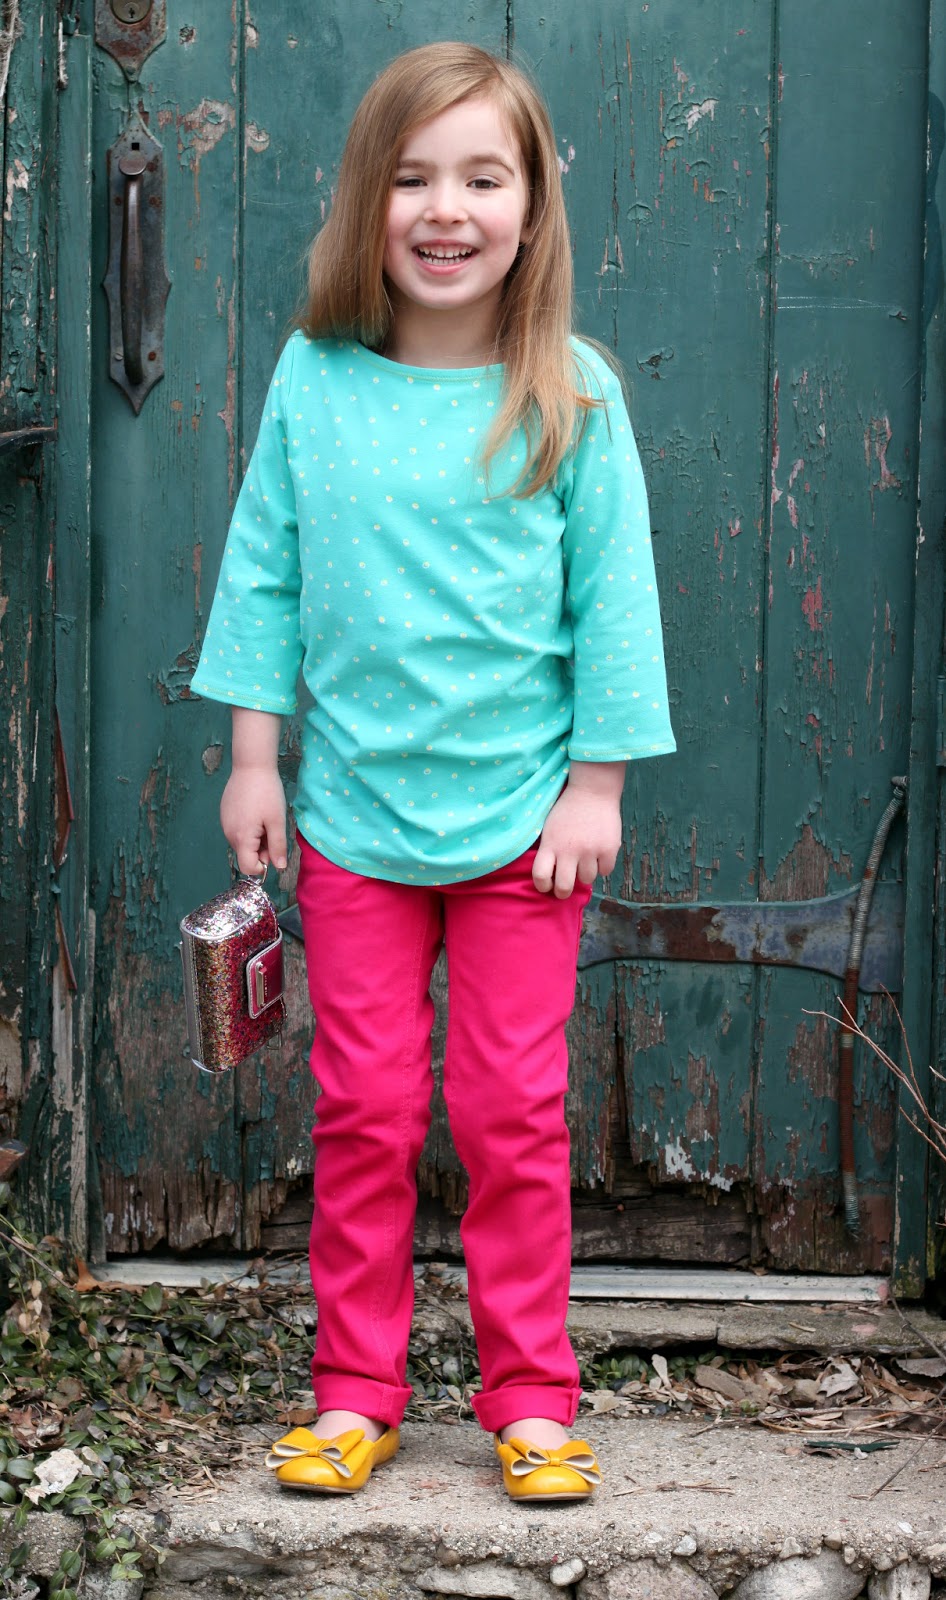
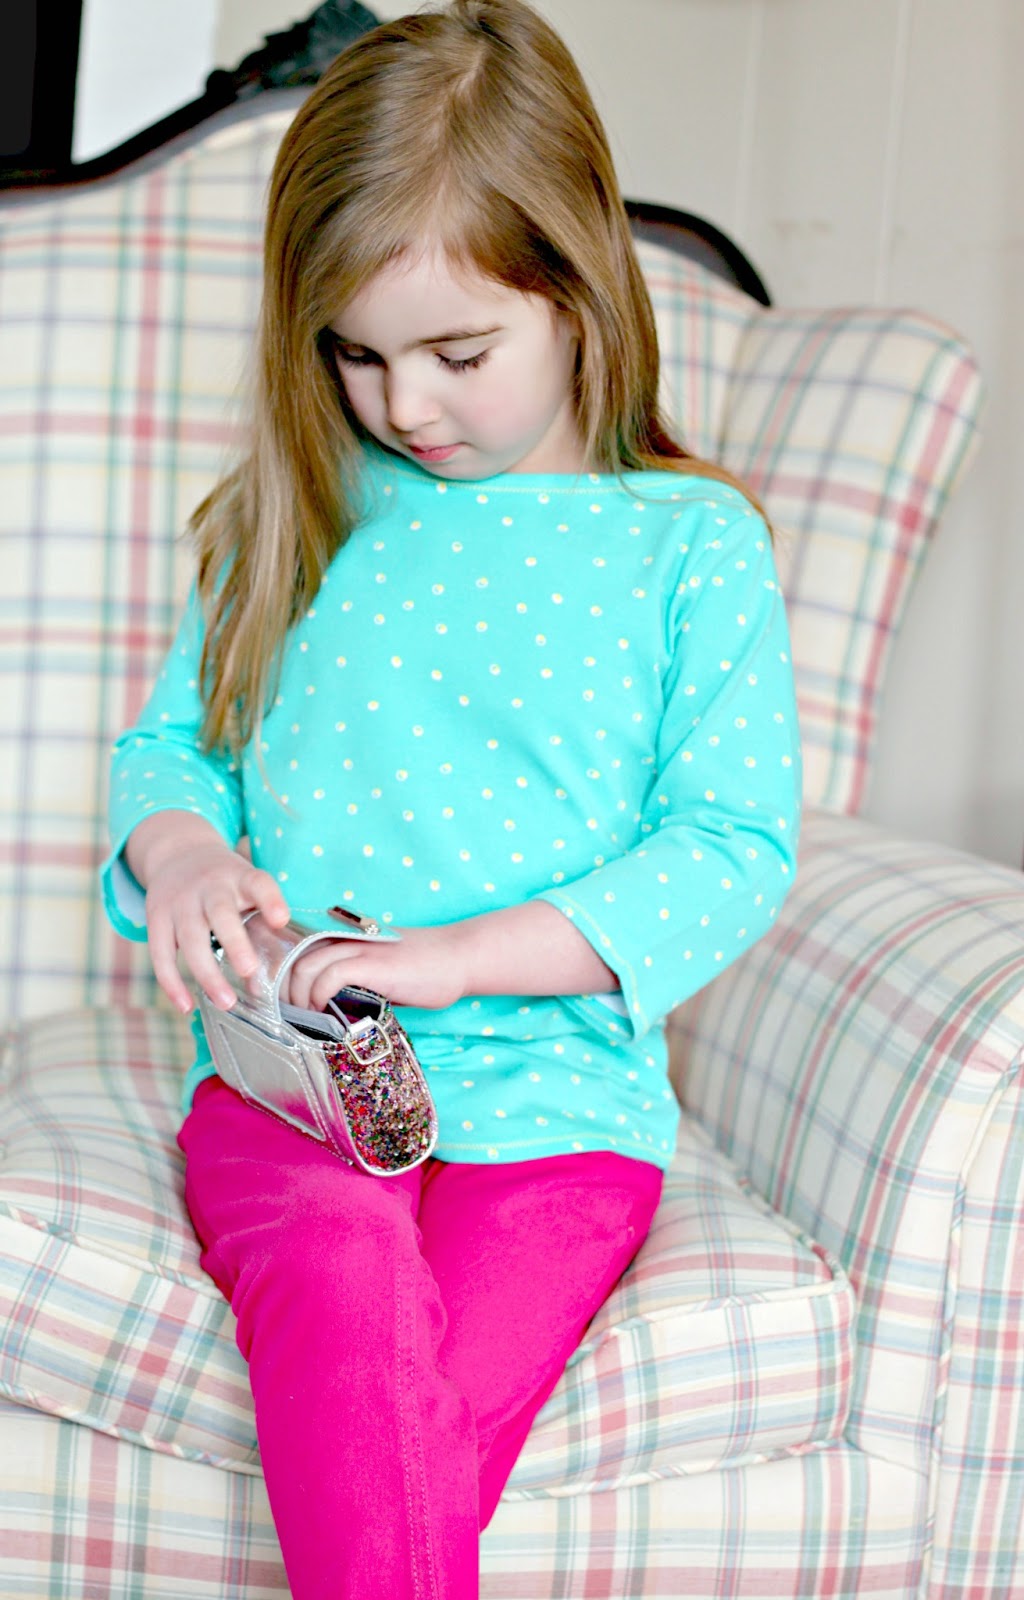
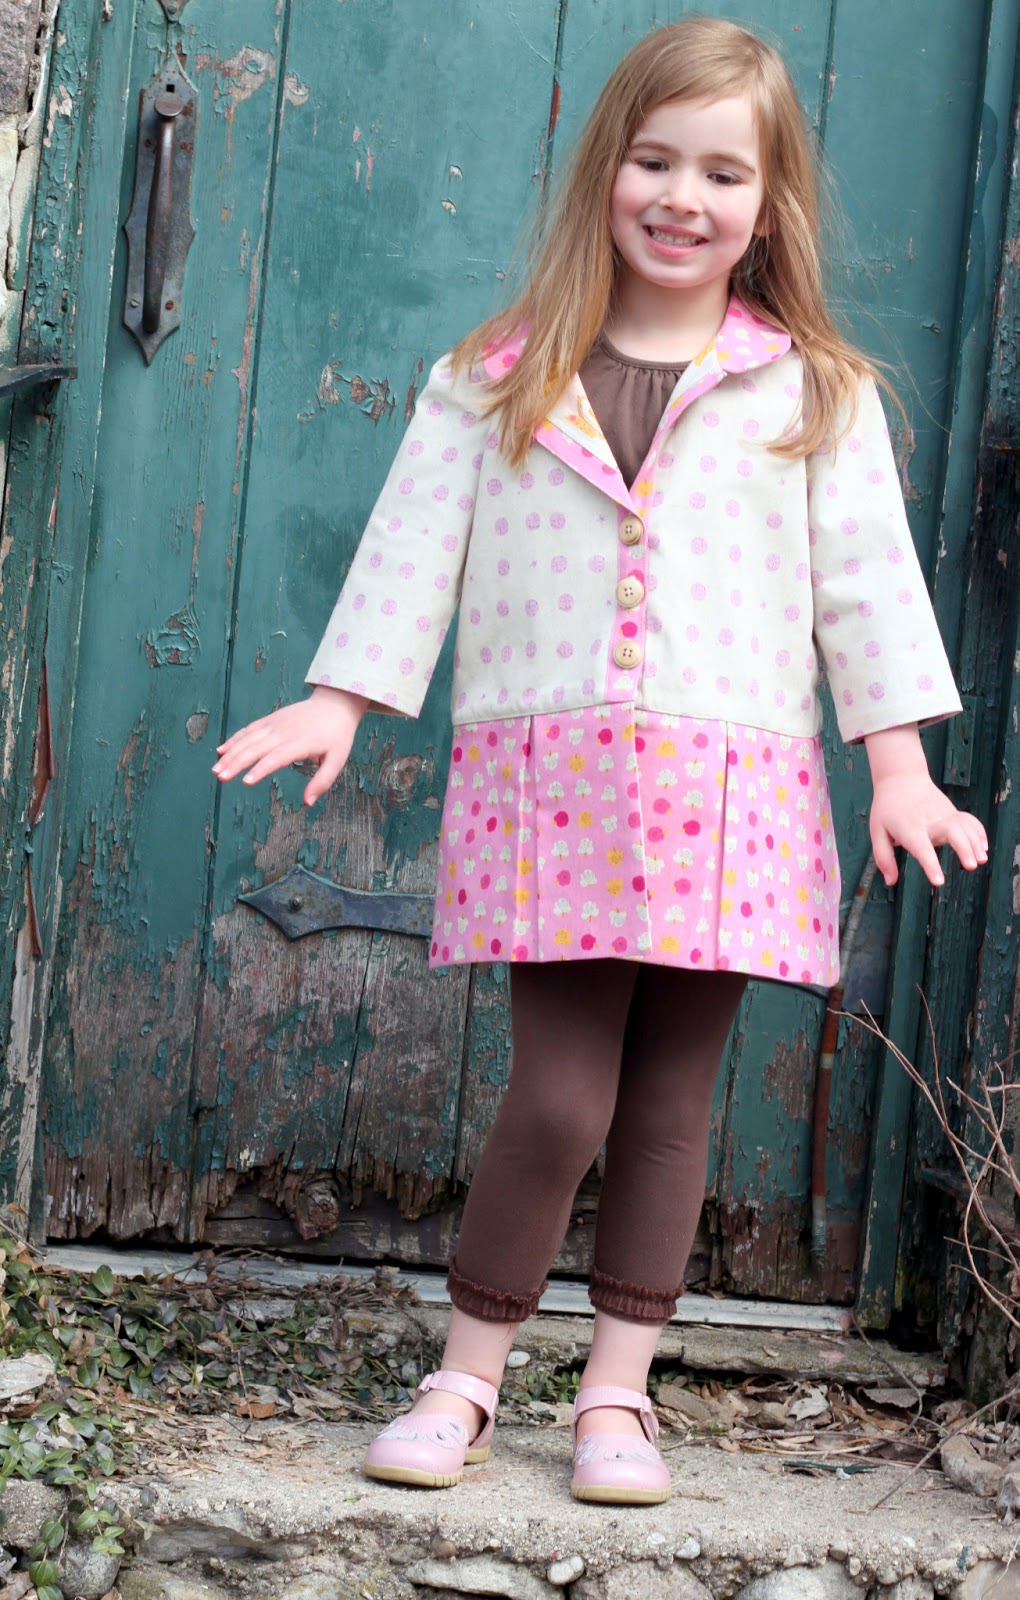
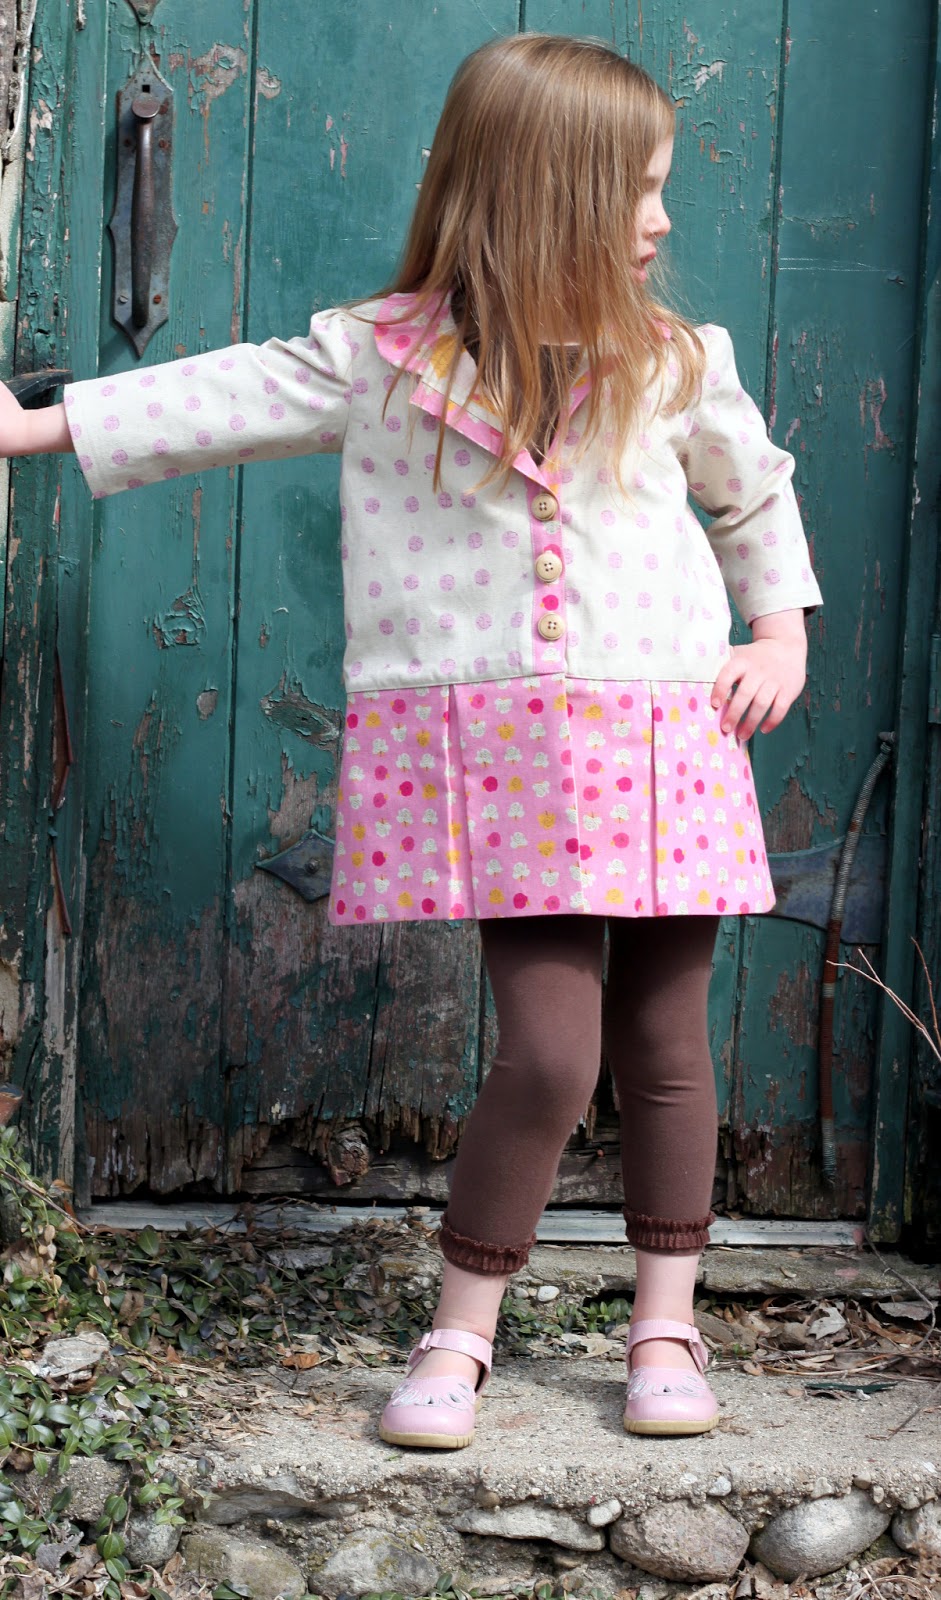
Here are some of my favorite patterns from Violette Field Threads……..

 And last, but not least, the latest pattern from Violette Field Threads…..
I have this pattern and definitely plan on sewing this one for my girls for summer. To me, this is the perfect spring / summer play outfit!
So guess what? Today Violette Field Threads is giving away a 10 pattern bundle (you choose either PDF or paper) valued at $129.50 (paper pattern bundle) and $109.50 (PDF pattern bundle). I think this is a fantastic prize and I hope you do too!
To enter the giveaway please use the rafflecopter below and leave a comment on the blog telling us why you love ‘Violette Field Threads’ and also become a fan of Violette Field Threads and The Cottage Mama over on Facebook. That will give you three entries into the giveaway (you can do just one or all three)!

Also, Violette Field Threads is offering 20% off your entire purchase with the promo code: COTTAGEMAMA. So head over to their shop to pick up some of these adorable patterns!

a Rafflecopter giveaway

National Serger Month: Ruffle Dishtowel Tutorial

Did you know that April is National Serger Month? My wonderful machine sponsor, Baby Lock Sewing and Embroidery Machines, has decided that the serger needs to be celebrated with a month dedicated to all things serger and I am in total agreement! There are very few things that I sew where I don’t use a serger, even though I try to do projects on the blog where you don’t need a serger. A serger is one of those tools that you might think you don’t need, but then once you get it, you will be saying, ‘Where have you been my whole life?’.

I am lucky enough to sew on the gorgeous Baby Lock Evolution serger and was asked by the folks at Baby Lock to share an easy project using one of my favorite features on a serger, differential feed. I chose to create an easy Ruffle Dishtowel. Throughout the month of April you can check out the National Serger Month website to check out a bunch of free projects made with sergers, learn more details about what they can do and enter to win your very own serger. And let me tell you…….Baby Lock sergers are the BEST!


Differential feed is a really fun component of your serger that you may not have thought about much…….until now. Your serger is set up with two sets of feed dogs; the differential feed dogs are in the front and the other set of feed dogs are in the back. When you are doing a regular 3 or 4 thread overlock stitch, your differential feed is set in a somewhat neutral position (N), meaning the feed dogs at the front are moving at the same pace / speed as the feed dogs in the back.

 
When you adjust your differential feed up and down, it will change the speed in which the differential feed dogs push the fabric through the machine. Increase the differential feed and your machine will push your fabric through at a quicker rate, causing it to ruffle!
 
Generally for a nice ruffle, I set my differential feed up to 2.0 (it is normally set a N). However, if you don’t want to gather your fabric as much, then you could set it at 1.8 or 1.5. Different weights of fabric will gather differently, so it is always important to give your adjustments a test run before actually sewing on your project.
 
The Ruffle Dishtowel is an easy, everyday project to add that special touch to that regular kitchen dishtowel you have hanging around. These also make great gifts!
 
 
Ruffle Dishtowel
By Lindsay Wilkes from The Cottage Mama
for Baby Lock Sewing & Embroidery Machines
 
Supplies:
1 standard dishtowel
1 strip of fabric 2.5” wide x width of the dish towel + 1”
1 strip of fabric 4” wide x 2.5 times the width of the dish towel
1 piece rick rack trim as wide as the dish towel
Coordinating thread
Embroidery thread (optional)
 
Instructions:
 
Step 1: If you would like to embroider a design on your dishtowel, now is the time to do so. Follow the instructions for your sewing machine in regards to the design you have selected. The bird design (seen here) is a built in machine design on the Baby Lock Unity. You definitely do not need to do an embroidery design, so it’s up to you if you would like to add that detail or not.
 
Step 2: Prepare the strips of fabric. Cut the fabric that is not being ruffled at 2.5” wide x the width of your dishtowel + 1”. Cut the fabric that is going to be ruffled 4” wide x (2 – 2.5 times) the width of your dishtowel.
 
Step 3: Prepare your serger for a rolled edge according to your machines instructions. On the Baby Lock Evolution, you should remove the left needle, set the stitch selector to D, the stitch width at 4 and the differential feed in the N position. I like to use Bulky Nylon on the upper looper for a fuller rolled edge. You do not need to do this but it adds a nice edge. Leave all other threads the same.


Step 4: Run the fabric that you plan to use for your ruffle through the serger to make a rolled edge on one side.
 
 
Step 5: Prepare your serger for gathering. This is where our differential feed will come into play. Every serger is different, but on the Baby Lock Evolution, you want to re-insert your left needle because both needles are used for gathering.  Set your stitch selector to A, your stitch length to 4.0, your width at M – 7.5 and the differential feed at 2.0.


For this project I decided to use my gathering foot on the serger, but the settings are just the same if you aren’t using the gathering foot. To use the gathering foot, place the fabric to be ruffled with the right side up underneath the foot, place the fabric that is not being ruffled on top with the right side down. Slide the fabric through the middle of the foot. I like to use the hand-wheel a couple of times to make sure I’ve caught both fabrics with the needles, before I start sewing.


Begin serging. Your fabric on the bottom will gather and attach to the fabric on top. For tighter gathers, add a little tension to the top fabric by pulling ever so slightly. If you’ve only cut your fabric to be ruffled 2 times longer than the fabric not being ruffled, you probably don’t want to add any tension to the upper fabric. If you would prefer to have more ruffles, cut the ruffle fabric 2.5 times longer and you should be able to achieve a tighter gather. Always test before sewing on your actual project. It’s better to have too much fabric when gathering, than not enough…..you can always square it up if there is too much.

 
If you are not using the gathering foot, just run the fabric to be gathered through the serger and it will gather it for you based on the settings I gave you above. Then you will have one more additional step and need to attach the ruffle to the non-ruffle fabric using a ½” seam allowance. Place the two fabrics with the right sides together, lining up the raw edges and sew together on one long side.


Step 6: Add the rick rack trim. Using a medium size rick rack trim, line up the edge of the rick rack with the raw edge of the non-gathered fabric. Sew rick rack to fabric using a ½” seam allowance. Fold the rick towards the wrong side of the fabric and press.
 
Step 7: Serge or zig-zag stitch both raw sides of the rick rack, ruffle piece. Fold the raw edges towards the wrong side of the fabric making sure that they are the same width as the dishtowel. Sew both sides.
 
Step 8: Attach the ruffle piece to the dishtowel. Line up the ruffle piece so that it is straight and hangs below the edge of the dishtowel. This is going to be different for everyone depending on the size dishtowel you have selected. You just want it to look nice and straight.
 
Step 9: Sew all the way around the non-gathered fabric using a ¼” seam allowance.


Once you have sewn your ruffle piece to the dishtowel, just trim up any stray threads and your dishtowel is ready to go!
If you get a chance, definitely go check out the Baby Lock National Serger Month website, it is really a great resource for anything and everything about sergers. Plus while you are there, you can download a really nice printer-friendly version of this tutorial!
 

The Cottage Mama Sewing Patterns Now Availlable in PDF / Digital Form!

Just wanted to pop in and let you know that, by popular request, The Cottage Mama Sewing Patterns are now all available in PDF / Digital form at www.thecottagemama.com. I know some of you who were living overseas didn’t love having to pay international postage on pattern orders (I don’t blame you). And some of you just love to be able to print out the pattern at home and have it right away.

What is a PDF sewing pattern? A PDF pattern is a digital file that you download and you can print out the pattern sheets and instructions on your home computer. It prints out on 8.5” x 11” paper and you tape the pieces of paper together to make the full sized pattern sheets. I will warn you; however, that one of the reasons I avoided PDF patterns in the first place is because some of my pieces are very large. A size 10 A-line is a large pattern piece, but if you don’t mind putting them together, then it shouldn’t be a problem. The nice thing about PDF’s is you can put them together, cut out the size you need and if you want to make it again in another size, just print it out and cut out another size……no tracing necessary.

I am a paper pattern girl at heart, so I will definitely still have the paper versions available for those of you that prefer patterns in that form. But if you love the instant gratification of PDF patterns, those will be available too! You can find all of the pattern available by clicking here.

Also, the blog and website will be undergoing a redesign this summer, so once that happens you will be able to instantly download the patterns directly from the website. It’s going to be really nice…..I can’t wait!

Finally, I will have a new pattern release coming up in about two months, so stay tuned for some new children’s clothing designs. I had to take a break designing patterns this last year while I was writing my book. But the book is turned into the publisher and now I’m back designing individual patterns again!

Matilda’s Easter Dress

We are flying down to Texas next week for Spring Break / Easter and I’ve been working on the kids coordinating Easter outfits so they are all ready before we leave. I decided to start with Matilda’s dress and use a pattern I’ve been dying to try!

This dress was made using the Harper Dress pattern by the Peek-a-boo Pattern Shop. I changed a few things here and there, but for the most part followed the pattern instructions and design. I love how this dress came together. There are so many different elements that I think are so sweet for a little girl.

The Harper Dress pattern is PDF printable pattern (size 3 months – 8 years) and was very user-friendly and easy to follow. I would say this is an intermediate level pattern. I probably wouldn’t attempt it as one of my first dresses. Like I said, the instructions are fantastic, but it will be a lot easier if you have some of the basic skills down such as buttonholes, applying bias tape and gathering fabric for ruffles. Once you feel like you’ve got those skills down, then I would definitely give this pattern a try!

The fabric for this dress was from ‘ABC 123’ by American Jane for Moda. This sweet little flowers just stole my heart. American Jane always has such adorable fabrics with a slightly vintage vibe.

I decided to use a 1/4” bias binding instead of a 1/2” just because I thought it would be little and sweet. Also, I chose to use six buttons on the top of the dress instead of the four shown in the pattern.
I made the bias binding from a green gingham cotton fabric from Fabric Finders. I have a handy dandy little bias tape tool that you use with your iron, but it did take me a little bit of time to make all of the bias binding.
I also used the bias binding and attached it around the waistline with a little bow. The pattern includes a wider waistband with button closure, but I wanted something a little more petite. I love the way this turned out. I’m thinking of incorporating something similar into one of my next patterns that will be released in May.
For the ruffles, I used a rolled hem on my serger. I’m not always a fan of the rolled hem. Sometimes I don’t think it looks as professional, but because the main skirt is a single layer of fabric, I didn’t want the ruffles to be too heavy, so I thought it would lighten them up by using the rolled hem.

I adore this dress. I can definitely see myself making more of this one. Often I make a pattern and never make it again, but I think this sweet little pattern will be used again for sure. I have some visions of other fabric combinations that would work so well with this design. If you’ve never visited the Peek-a-book Pattern Shop, you should head over there a take a peek, they carry so many cute patterns!

PS: Peek-a-book Pattern Shop is running a 25% off site wide sale through 3/23/13 on all patterns with the coupon code: DRIPDROP. Click here to check it out.

Here’s what’s up next on my Easter sewing to-do list……..

 Can you guess who’s outfit this will be?
Yep, next up…….an outfit for the little man.

Sun & Surf Pattern Tour ~ Beachy Boat Neck and Santa Monica Cinch


This weekend I had the opportunity to sew up two of the pieces from Pattern Anthology’s first collection of sewing patterns called the ‘Sun & Surf Collection‘. Pattern Anthology is a collaborative effort of four different pattern designers coming together to create one cohesive pattern collection. Pretty fun, right? I think so.

So my original plan was to create one outfit with these two patterns; however, the knit fabric I ordered never arrived, so one outfit became two. Not a problem. I sewed the Beachy Boat Neck by Melissa from ‘Melly Sews‘ and the Santa Monica Cinch by Kate from ‘See Kate Sew‘. And let me tell you, I really challenged myself by stepping away from my normal quilting cotton fabric and sewing with something a little more outside of my comfort zone.

Beachy Boat Neck
Savannah has been difficult about her clothing lately. She is going through this…….’that doesn’t feel right’, ‘it’s too tight’, ‘it’s too itchy’ phase……let’s just say, it’s been a challenge. So I knew the Beachy Boat Neck by Melissa from ‘Melly Sews‘ would be a great pattern for her because I could use a super-soft spandex knit that would be incredibly comfortable and hopefully avoid some of her recent clothing complaints.
I had purchased three spandex knit prints from Joann’s and I let her choose which one she wanted for her shirt. She went with the most subtle print of the three, but I think it looks really pretty on her.
The pattern was SO easy to follow and the results were perfect! I was a little nervous about using such a stretchy knit, but it worked out great. I think you could also use a knit interlock and that would be nice and soft with a little less stretch. The pattern comes with step-by-step photographed instructions, so you won’t have any problems following along.
The Beachy Boat Neck is a wonderful pattern if you are new to working with knits or want to give them a try. I would say it’s a beginner level. The only part I had to pay careful attention too was hemming the bottom edge. It is on a curve, so you really have to work the curve with your iron to make sure the hem turns out nicely. Also, I did use my serger for the majority of the shirt and just used the sewing machine for the hemming and topstitiching (though a serger is not required).

When we came inside after taking these pictures, this little lady asked if she could wear this shirt to school tomorrow. Yay! Success…….something she actually wants to wear!
Santa Monica Cinch

When I saw the Santa Monica Cinch by Kate from See Kate Sew, I just knew I had to make this for my little girlies. It’s a sweet little coat that is perfect for spring. You can play around with the different fabrics used to construct the coat too for a different look. I decided to finally cut into some Heather Ross cotton canvas fabric (Far Far Away II) that I have had for years now. It seemed like it would be a really nice weight for this little coat. It’s actually 80% cotton and 20% linen with a light-weight canvas feel.


Probably the cutest part on the coat is the bow on the backside (although I do really like the collar and the bottom part of the coat). The pattern calls for a ribbon to be threaded through the casing, but none of the ribbons I had seemed like they would go with this thicker fabric. I decided to make a ribbon from cotton fabric that I already had and I think it ended up working with the look of the coat. I also shortened it by quite a bit since I didn’t want the tails hanging down too far.

I had never sewn a ‘See Kate Sew‘ pattern and it was a treat! The pattern had very clear photographed instructions which were very helpful. The writing style was easy to understand and I never had one of those ‘huh, what are they talking about?’ moments, which if you’ve ever sewn from a pattern, you know can certainly happen. I would say this is an confident beginner –  intermediate level pattern with a lot of great sewing techniques involved including sewing pleats, a collar and buttonholes as well as setting in sleeves.

So here’s where I make a confession. I cut the pattern wrong. It was not any fault of the instructions, it was just me. I wasn’t paying attention and ended up cutting the front lining pieces the same as the front exterior pieces and by the time I noticed, it was too late. But if you watch Project Runway, you know what Tim Gunn says……’make it work’ and so I did. And to tell you the truth, some of my most creative moments have come from my mistakes. It really makes me think outside the box and well, get creative.

The front of the coat is not supposed to have a contrast placket on the front, but I quite like it. I also added an additional two buttons to the front (the pattern calls for one) and made them smaller so they fit within the contrast placket that I created.
There is a piece of bias tape on the inside of the coat that encases one of the seams, I decided to hand sew this to the interior of the coat so I didn’t have to run a line of stitching on top of the pleats on the bottom part of the coat. Oh, and the fabric on the inside is Rapunzel……but that’s Savannah’s little secret when she takes the coat on and off.
And one last little addition I made to the coat was some understitching at the collar to help it lay nice and flat.
I just think this coat pattern is darling. It’s girly and feminine, yet still practical for everyday wear. The coat took me a day to sew……probably six hours total. There are a lot of pieces to cut and setting in the sleeves takes some time, but I think the end result is well worth it!
So do you like these patterns? The Santa Monica Cinch is being sold as part of the Sun Collection (four patterns) and the Beachy Boat Neck is part of the Surf Collection (four patterns) or you can buy the full Sun and Surf Collection through Pattern Anthology and get all eight patterns that are included. But here’s the catch, the collection is only available until March 24th, 2013. After that, the patterns will be sold on their own through each separate designer at their full retail price. So make sure you get them before the collection is no more.
If you want to check out what some of the other bloggers on the Pattern Anthology Sun & Surf Blog Tour are sewing, you can check out the links below!

Sun & Surf at Sew a Straight Line Sun & Surf at It's Always Autumn Sun & Surf at Elsie Marley Sun & Surf at A Girl and a Glue Gun Sun & Surf at Mama Says Sew Sun & Surf at Girl, Inspired Sun & Surf at Groovybaby and Mama Sun & Surf at The Cottage Home Sun & Surf at Craftiness is Not Optional Sun & Surf at Skirtastop Sun & Surf at Straight Grain Sun & Surf at Me Sew Crazy Sun & Surf at Delia Creates Sun & Surf at Max California Image Map

Rainbow Unicorn Birthday Party with Free Printables

This past weekend we celebrated Miss Savannah’s 5th birthday with a Rainbow Unicorn themed party. She loves rainbows and unicorns and wanted them combined into one great big birthday party! Today I’m excited to share some party details with you and I’ve also included some of the printables I came up with in case you would like to print them up and use them for your next Rainbow Unicorn party (whenever, and if ever, that may be).

I ordered Savannah’s birthday invitations from minted.com. I love their site. They always have really classy and unique designs and I thought this one fit our rainbow theme just right. You can find this invitation here.

I added some pink zig zag washi tape to the back of each of the silver envelopes for some added detail.

Above are the treat bags we took for Savannah’s class. We decided to go with the rainbow theme there as well and I created a little label to attach to each bag. If you want to bring treats at our preschool, they must be individually wrapped, so that’s why we did these bags instead of something like cupcakes.

Here is the label I created for the treat bags for her class. I simply sized it down and printed out as a wallet sized picture.

For the main party food table, I wanted to do a rainbow tablecloth, but didn’t want to buy one. As you know, I have a lot of fabric, so I just grabbed some of my yardage in rainbow colors and layered several yards on top of one another for a rainbow effect. Easy and inexpensive.

I also made some paper rosettes out of scrapbooking 12″ x 12″ paper. Each rosette has three sheets of paper and is secured together with staples that were done so they don’t show. I wasn’t quite sure how I wanted to hang these on the wall, but I ended up just threading a needle with embroidery floss and threading the floss through two spots on each rosette so they hung all on one string. This actually held up great and looked pretty in our sunroom window.

I love making paper pom-poms. I first did these about 2.5 years ago at Matilda’s Summer Garden Party. I think they are a great way to fill up large spaces with colors that go with the party theme. We had a large bunch in one corner of the living room and another big bunch next to the main food table.

I strung a rag garland across one of our living room windows. This was the same garland I used for Savannah’s Orange 4th Birthday party, but I added in some of the fabrics that coordinated with her dress.

I had the dining room set up for the kids with a unicorn craft project and strings to make fruit loop necklaces. I used a red tablecloth that I already had and made a runner from rainbow striped wrapping paper. The kids had a great time doing the crafts! After the crafts were complete, the dining room was a great place for them to eat their lunch.

Now onto the food……..my favorite part…….

As a sweet treat, I made some rice crispy treats using Fruity Pebbles cereal. They were nice and rainbow-y and were super-sweet!

For the adults, I created a roasted veggie, cheese and baby greens sandwich. They were SO delicious. I will have to share the recipe with you. For the kids, we served hot dogs and called them ‘Unicorn Dogs’.

I made a pasta salad with a rainbow of different ingredients. It was light and fresh tasting.

I thought this fruit rainbow platter turned out so pretty. I used strawberries, fresh pineapple, kiwi and blueberries. The marshmallows on the sides are supposed to look like clouds. Savannah loves kiwi, but you could also use green grapes for the green and add in an orange layer with clementines or other orange fruit.

We got some Bugles and called them ‘Unicorn Horns’.
Savannah loves black olives so she requested we have a bowl full of olives.
I’m not really into baking. It’s ok, but what I really love is cooking. So I decided to get a rainbow cake from Costco and added a plastic unicorn on top that I found at Joann Fabrics. If you’ve never had a Costco cake, they are really good and a very economical option.

We use mason jars for just about everything around here. I took some fabric from Savannah’s birthday dress and tied it around each jar that contained the silverware.

I found these fun napkins and plates at Target. I thought the colors were just perfect. I found the little paper trays in the clearance section of Hobby Lobby and they were so great for the kids (and the adults liked them too). They held their hot dogs and side goodies without having to worry about anything falling off of a plate. I will definitely try to find some of these for our next party.

I used party blowers as rainbow decoration for the table and of course, the kids loved playing with those. We had some striped paper cups for the parents to use for goldfish crackers or other treats for the kids.

We had 24 rainbow colored balloons around the house and then this one giant unicorn balloon. Savannah was over the moon with excitement when my husband and her Grandpa brought it into the house. Look at her expression…….she was a happy little girl.
Here were the treat bags for the kids attending the party. Each bag had a bunch of different little things…….such as a new pack of crayons, bracelets, pencils, rings, a necklace, smarties and a couple lollipops.
Here are some of the labels I created for the different food. You are welcome to download these and use them for your party.
Also, here is the rainbow background and the rainbow background with the blank label if you’d like to pull it into some photo editing software and add your own text. I don’t consider myself a graphic designer, but I’m pleased with how the rainbow stripe turned out and I can try to show you how I created that in a tutorial, if you are interested.
Savannah and I worked on this party together with her helping me make decisions all along the way from picking out the fabric for her dress, the food, the cake, ect. We had so much fun!
As the party was coming to a close, Savannah said, “This was the best day of my life”.
And that…….makes it all worth it.
PS: You can find more details about Savannah’s Rainbow Unicorn Dress by clicking HERE.

Rainbow Unicorn Birthday Party Dress

This weekend we will be celebrating Savannah’s 5th birthday with a Rainbow Unicorn party. This little lady likes rainbows and she likes unicorns, so we decided to combine it into one magical birthday celebration.
The majority of the parties that I like to plan are inspired by fabric (remember the Heather Bailey fabric inspired Garden Party or the Anna Griffin fabric inspired Tea Party?). So first I searched for Rainbow Unicorn fabric and decided that was not going to happen. Talk about cheese ball central, not really my style. Then I decided to focus on rainbow colored fabric. I searched around for quite sometime for the perfect combination of colors. I’m not quite sure what I was looking for exactly, but a lot of fabric lines just weren’t the right ‘rainbow’ feel that I wanted. I know, what you are thinking…..really, Lindsay……..you were agonizing over finding the ‘right’ rainbow fabric? Yes, yes I was indeed. The fabric was the whole foundation for the party, so it definitely had to be right.
Finally, I was looking through the Riley Blake Designs site at a newer line called ‘Hello Sunshine‘. I brought Savannah into the studio and we looked at the fabrics online and decided they would be perfect for her party. Granted there was no unicorn on the fabric, but I knew I could solve that problem.
I have a really nice new sewing machine that I haven’t gotten to show you all (Baby Lock Unity) with all of these fantastic embroidery capabilities, but I haven’t had a whole lot of time to utilize all of the wonderful things it can do. But this dress was my chance! I purchased the digital unicorn applique file from Planet Applique. I downloaded it to my USB card and then plugged it into my sewing machine. Presto! The applique design was ready to roll. I won’t go into too many details about how I did the applique, but if you are interested, I can do a tutorial for that on another day.
For the dress, I used a new pattern (well new to me) from my friend Jessica over at Me Sew Crazy. It is her Madeline Dress Pattern and I thought it would be perfect with all the different coordinating fabrics. I know I design clothing and have my own line of patterns, but I absolutely love trying out new patterns from all of these amazingly talented designers. I learn so much every time I sew something from a new pattern. It’s really interesting to see how each individual designer constructs a garment or how they explain certain aspects of sewing.
The Madeline Dress Pattern was really well written and came together beautifully. It comes in size 2 through 6 and it’s steal at $6.00 for the PDF pattern (you can find it here). I made the size 6 and the fit was perfect in the bodice. As for the length, it was a little too short on my tall girl, so I decided to make a pair of pants to go underneath. When I make this pattern again, I will probably add a good three inches to the skirt length to have it fall more at / below the knee. But that’s just my personal preference…..the dress is designed to be worn shorter.
I chose coordinating fabric and thread for the unicorn applique and decided it should go front and center on the dress bodice.
My favorite part of this dress is the back! It is so unique and like no other pattern I have ever used before. I decided to change up the buttons on the back of the dress and did a loop closure instead of a regular buttonhole. Why? I don’t know, I guess I just can’t leave well enough alone and I’ve just really been loving button-loop closures lately.
Also, I added in a pink and white striped piping along the back panels and the bottom curve of the front of the dress. The pattern does not call for the piping, but by now you know how I feel about piping…..it is my absolute favorite clothing detail! I really like how it brings out the pink and the white in the fabric and in the unicorn applique.
For the bottom hem, I added a blue medium size rick rack to complete the look. Even though I’m getting away from selling much clothing in my shop, I still add my garment labels to everything I make for this kids for that added special touch (find out more about my garment labels here).
We are really looking forward to the Rainbow Unicorn Party this weekend. It’s going to be so much fun and I can’t wait to share the party details with you all next week!

And in the blink of an eye, she turned 5.

Savannah Rose is 5 years old today. I say it every year, but I just can’t believe it. Five is such a big birthday to me. When they are under five, they seem like they are still little babies, but turning five means they are truly a ‘kid’. Savannah will start kindergarten in the fall. It’s all going by too fast.


I am so proud of my sweet girl and there are some things I would like her to know on her 5th birthday……..

1. You maturing into a beautiful little lady, inside and out.
2. You are a wonderful big sister. You walk your little sister, Matilda to her preschool class each morning and give her a big hug before she goes in. Your teachers constantly tell me how wonderful you are to her. Thank you for that. Your little brother adores you.
3. Orange is still your favorite color.
4. Your favorite food is cheeseburgers.
5. You are having a Rainbow Unicorn Party for your birthday.
6. You asked for princesses and unicorns for your birthday presents.
7. You tell me all the time how you are going to live close to me always and are going to buy the house next door when you get older (I will be reminding you of this when you are 15 and want nothing to do with me).
8. You are smart. SO smart.
9. You love to play outside in the snow and go on hikes.
10. You like to ride bikes.
11. You like to help mama cook.
12. You still sleep with your Elmo (even though he is falling apart).
13. You really, really want a sewing machine. It’s not time yet, but maybe when you turn six.
14. You say you want to be just like your mama when you grow up and sew beautiful things. Thank you for that……..you have know idea how much that means to me.
15. Your best friends are Rory, Paige and Jordyn (and your sister, Matilda).
16. You are very self-sufficient which is very helpful.
17. You love to cuddle.
18. You love to dance ballet and sing songs.
19. You like to tell knock-knock jokes.
20. You are very loved by your mama, daddy, Matilda, Caspian and all your family and friends.

Five years ago you came into this world and changed my life forever, you made me a mother, the very best role I have ever had in my life. Happy Birthday, baby girl. We love you from here to the moon and back again!    
       

Broccoli & Onion Pie ~ Recipe

We like broccoli around here. Well, my husband didn’t used to, but he’s coming around. Broccoli was always one of my favorite vegetables growing up and it still is (you can find my Cream of Broccoli soup recipe by clicking here).

Anyway, it’s Lent and we are Catholic, so for us that means no meat on Fridays. I also know some families do ‘Meatless Monday’s’ all through the year, so I thought this would be a good recipe to share for Lent, for those of you who were vegetarian or for those of you that just like Broccoli. And if you don’t like Broccoli, you could probably substitute asparagus or another green vegetable and that would work just great too.

This is an adaptation of recipe I pulled out of one of my magazines (I think it was Family Circle, but don’t quote me on that), but I can’t ever leave well-enough alone, so I had to make some adjustments to make it just right for our family. I hope you like it!

Broccoli & Onion Pie
SERVES 4
INGREDIENTS:
4 eggs
1 cup milk
3 tablespoons vegetable oil
1/2 cup cheddar cheese
1/2 cup Parmesan cheese
1 teaspoon dried oregano 
1 teaspoon garlic salt
1/4 teaspoon black pepper
1 1/2 cups Bisquick
4 cups broccoli, chopped (frozen, thawed or fresh)
1 cup onions, chopped
DIRECTIONS:
*These can Broccoli and Onion pies can be made in individual baking dishes or in a muffin tin.
 
Preheat oven to 400 degrees. Use butter or cooking spray to coat the baking dishes or muffin tin.
Mix together milk, eggs, oil, 3/4 of all the cheese, oregano, garlic salt and pepper. Use a whisk to combine. Once wet ingredients are combined, stir in Bisquick, broccoli and onions. If the mixture appears too wet, you can add a little more Bisquick and if it appears to dry, you can add in a little more milk.
Divide the mixture between four individual baking dishes (approximately 8 oz. each) or make smaller portions and divide equally among 8 muffin cups. 
Bake at 400 degrees for 35 minutes or until a knife inserted comes out clean. During the last 5 minutes of cooking, sprinkle the rest of the two cheeses on top.

 Enjoy!

The Cottage Mama’s Sewing Basket: Fabric Marking Pens

First off, I apologize if I sound overly enthusiastic in the following post. But honestly if I could write this post with all caps and end every sentence with an exclamation mark, I would. Secondly, I want you to know that I have absolutely know affiliation with this company or product, I just really, really like it.

So, I didn’t get to take any classes myself when I was teaching at the Martha Pullen School of Art Fashion, but I did learn a few things. And these Pilot FriXion Erasable Gel Pens have changed my life. Maybe you’ve known about these all along and I am late to the party, but oh my goodness, these are the best fabric marking pens ever! They are not designed to use on fabric, but they work like a dream.

Darlene, our classroom machine educator, introduced these pens to my assistant Terri and I during class. She had one and asked us if we had ever seen these, neither of us had, so Darlene showed us how they worked. It blew our minds.

These pens glide along the fabric making a beautiful mark just as they would on paper. And guess how they disappear? With your IRON! The friction of your iron rubbed on top of the fabric makes them disappear practically on contact. There is a little eraser on the pen, but the iron works so much better.

You can buy the Pilot FriXion Erasable Gel Pens at your local office supply store or online and they come in a bunch of different colors. The only problem you might have is if you are marking on black fabric, you still might need to use your white pencil or chalk, but other than that, these will be all you’ll ever need in the fabric marking department.

Trust me, you must go out and buy these now!

PS: The Cottage Mama’s Sewing Basket is going to be a new series of posts where I show you all the tools I love to use when I sew. Some may be ones that you’ve heard of and others may not, but I always think it’s fun to get a little glimpse inside someone else’s sewing basket.