Stepping Outside My Comfort Zone ~ Alt

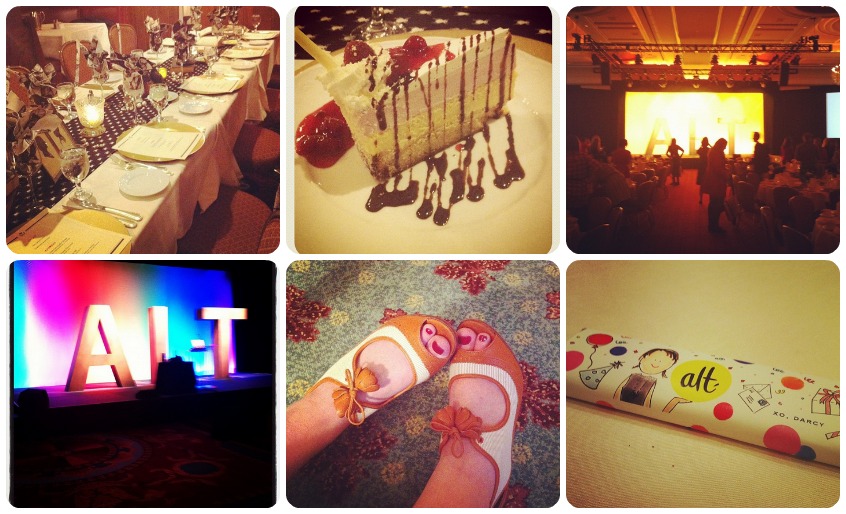
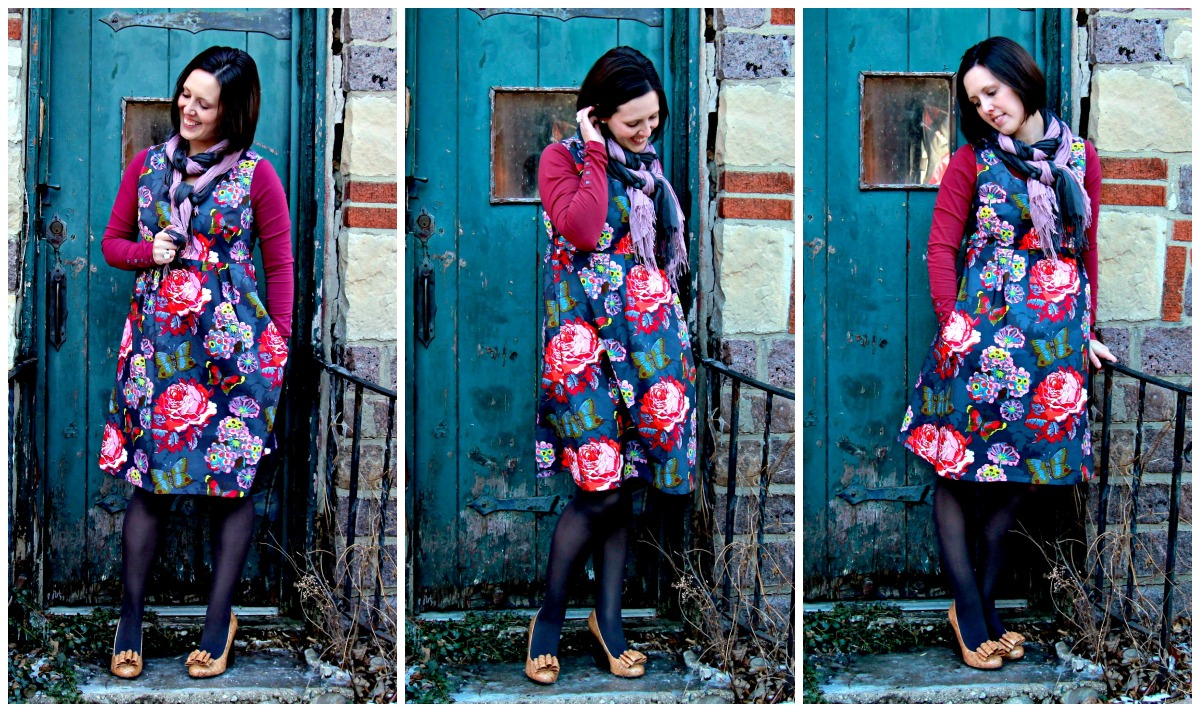
So I just returned from Salt Lake City late Saturday night where I attended Alt Design Summit. I am so happy to be back home with my family, but I cannot stop thinking about what I have just experienced.

You may have never heard of this conference and wonder why did I choose to attend Alt Design Summit? Well, that’s a really good question. I read about Alt last year and it sounded like such an amazing gathering of talented, creative people that I really wanted to have that experience myself. To be completely honest, Alt was definitely outside my comfort zone. The majority of attendees are not sewing bloggers, let alone children’s sewing bloggers. Yes, there are some DIY / craft bloggers, but I would say the majority are interior design, fashion, wedding planners, photographers, graphic design, ect., but they are all creatives, like me. The attendees are mostly women who are fashionable, hip, beautiful, talented, smart and creative. It is definitely a sight to be seen with all 650 of them in one room.

But here are some of my thoughts on why I would choose a conference that would include a ton of people that I do not have much interaction with in my daily life as a sewing blogger. Yes, I could have (and still want to) attend a sewing blogging conference and would have definitely felt more comfortable and more at home. I could have said my blog’s name and people probably would have known who I was and what exactly it was that I do. Instead, for the most part, at Alt I would say that I write the The Cottage Home and my business was The Cottage Mama and I got a lot of blank stares. I had to really explain the theme behind my blog and be a little bit more vocal and precise in explaining about what it is I do. But honestly, that was ok with me. That was one of the reasons why I chose Alt.

I think we must step outside our comfort zone and do things that make us a little uncomfortable to truly grow as artists, creatives and as people. If we constantly stick to what is comfortable and the same, it is where our ideas will become stagnant. Therefore we will not gain new ideas and fresh perspectives which is so important to grow in life. Personally, I don’t want to live in the ‘comfortable’, I want change and I want to evolve and learn. I want to push myself outside of the box and do things that help me grow. And Alt help me do that. I gathered new ideas, thoughts and inspiration from people completely outside of what it is that I do. It was exciting and it was scary and a bit uncomfortable, but I have not been able to get some things out of my head since I returned home.

You may completely disagree with me on this idea and that’s ok. But I encourage you to step outside of your comfort zone every so often and see what kind of new experiences and ideas await you. I still have a lot to process and take in from everything I gained from Alt. But I am so, SO glad I went.

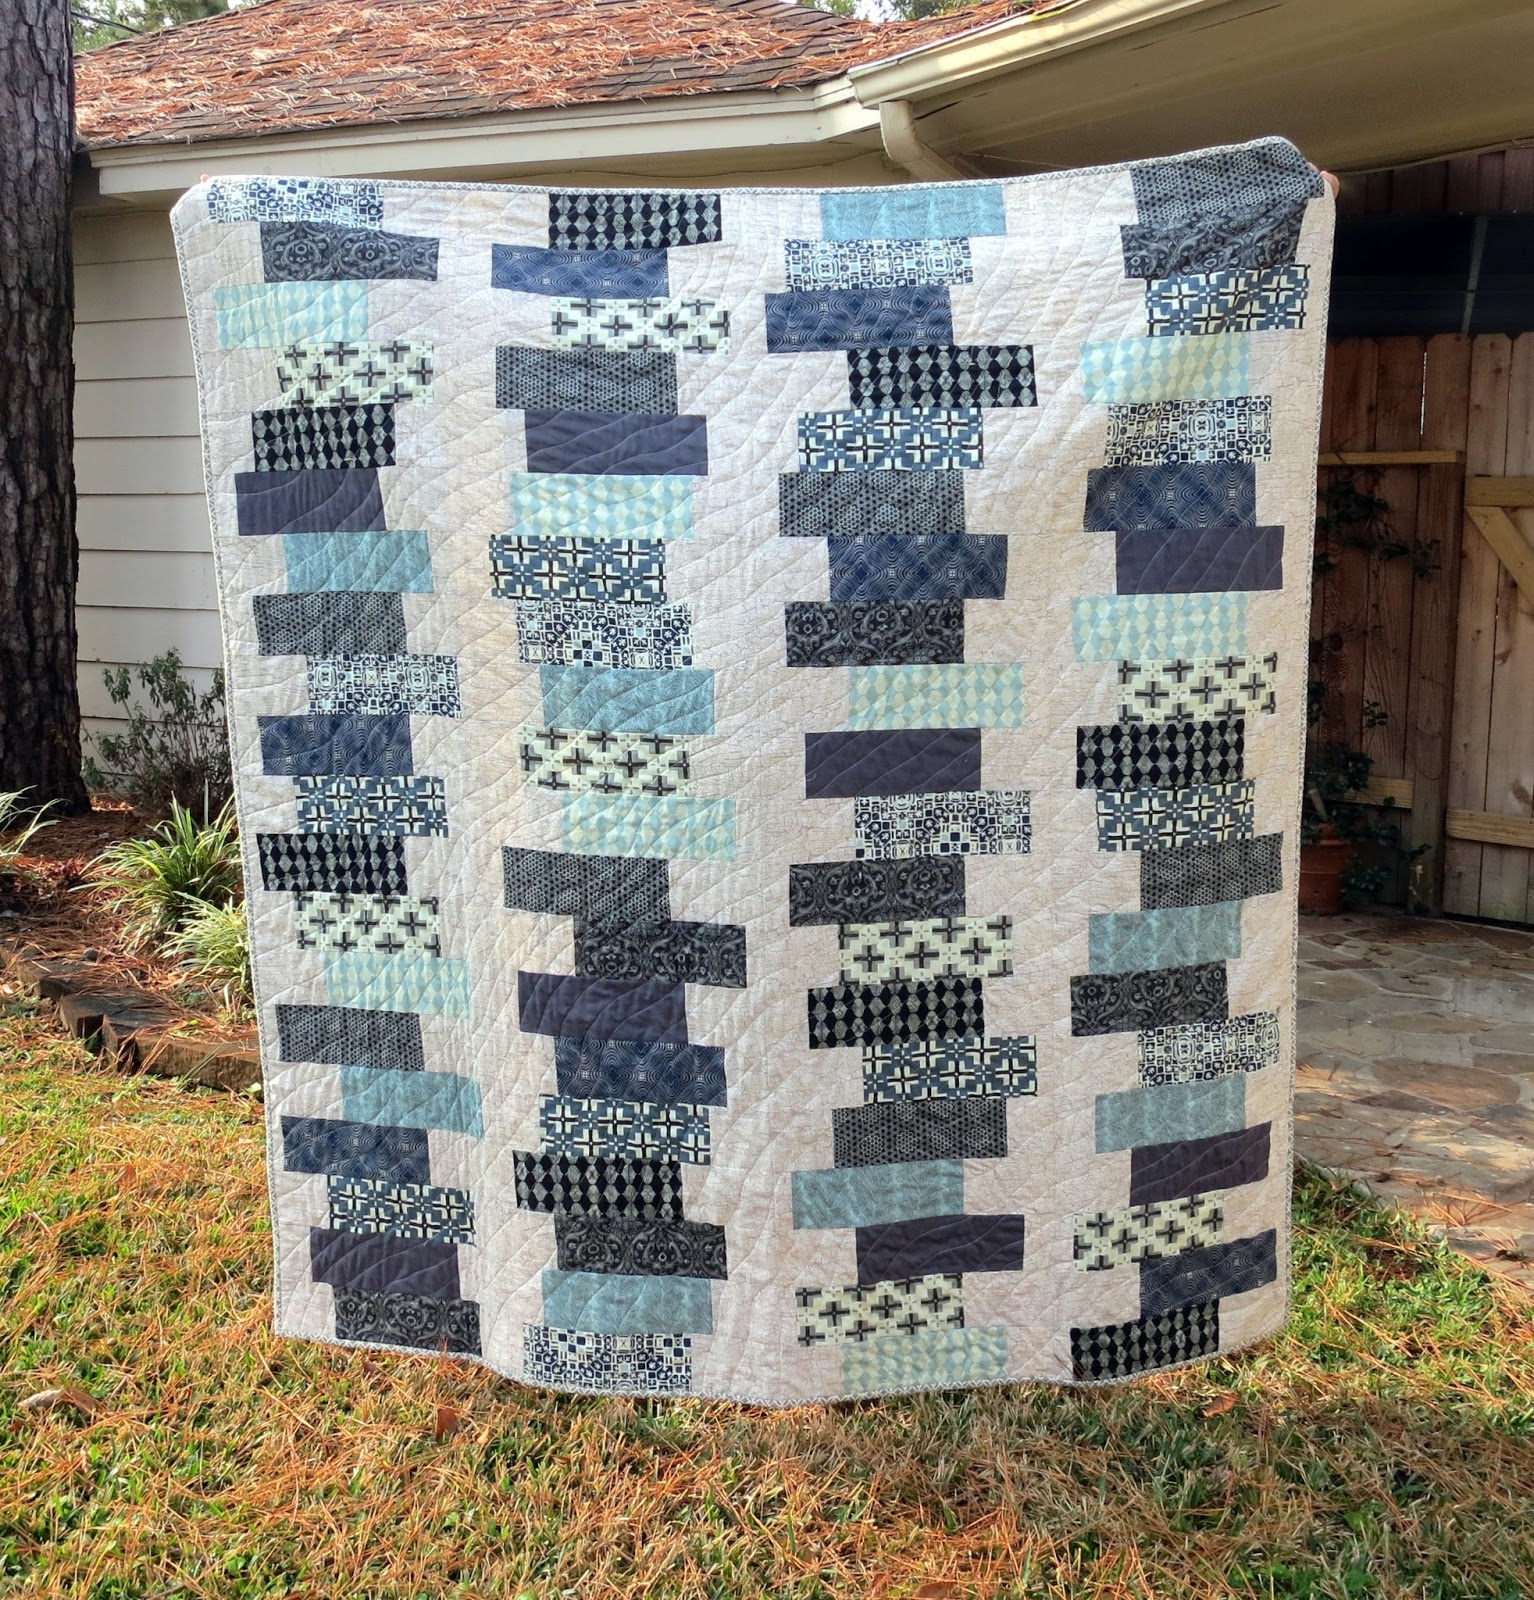
PS: Once I’ve gathered my thoughts, I’ll be sharing more specific details and pictures from Alt Design Summit later this week. But until then, have a great start to your week!

Clorox Healthy Home and $1000 Visa Gift Card Giveaway

So has the news been scaring you a little with all this talk of flu? Well, it has certainly made me nervous, that’s for sure. It seems like everyone has been sick so much lately. We love to do playdates with our friends, but it’s like once one family is on the mend, another one goes down. Which has definitely led to some disappointment for my girls when they aren’t getting to play with their buddies as often as they would like.

Luckily, knock on wood, we have only been sick once this cold / flu season. The kids got a pretty bad cold before the holidays. They had it for about a week and then got over it right before Christmas. And since then we’ve been staying pretty healthy (now that I just said this we are going to come down with the plague……great).

The teachers at the kids preschool are really good about keeping things clean and they give each child a squirt of hand sanitizer when they come into the room. I think that has really helped a lot. But also, when the girls come home I make sure that they wash their hands thoroughly right when they get inside. They say if you sing the Happy Birthday song a couple times while washing your hands then you know you’ve done it for the right amount of time to get rid of the germs.

For the most part we use a lot of natural cleaners around the house, but there are some cases where only the heavy duty, disinfecting stuff will do. Clorox Clean Up Cleaner with Bleach can kill 99.9% of germs in 30 seconds. Yes, 30 seconds. And while cleaning your homes should occur on a regular basis, you should definitely aim to disinfect your home from time to time.

Another product that comes in handy when trying to prevent germs and sickness around the house are the Clorox Disinfecting Wipes. We have three children under the age of five in this house and these wipes are super-handy for disinfecting toys, cleaning up messes in the kitchen, disinfecting doorknobs. I also like to use these to disinfect the steering wheel in my car. Think about how many germs are in the car! Ok, you don’t need to think about the germs because if you’re like me, it will give you the heebie-geebies, but just use the wipes and get rid of them.

It’s one of the worst feelings as a parent to see your child sick, but there are definitely ways to prevent it. Some ideas include disinfecting things around your home, encouraging frequent hand washing and trying to get kids not to touch their eyes, nose or mouth since that’s the way germs spread. Also, we like to have our kids sneeze into the bend of their arm. While sneezing into your hands does prevent the germs from flying all around the room, it leaves them on your hands to be spread all around your home.
Now don’t get me wrong, I am not a clean freak (my husband, maybe), but during cold and flu season it is just super-important to take extra precautions to keep our children and family happy and healthy.
*Use as directed
Which are your favorite Clorox cleaning products that help keep you and your family healthy? 
Answer for your chance to win a $1,000 Visa Gift Card!

Rules:
No duplicate comments.
You may receive (2) total entries by selecting from the following entry methods:

  1. a. Leave a comment in response to the sweepstakes prompt on this post
  2. b. Tweet (public message) about this promotion; including exactly the following unique term in your tweet message: “#SweepstakesEntry”; and leave the URL to that tweet in a comment on this post
  3. c. Blog about this promotion, including a disclosure that you are receiving a sweepstakes entry in exchange for writing the blog post, and leave the URL to that post in a comment on this post
  4. d. For those with no Twitter or blog, read the official rules to learn about an alternate form of entry.

This giveaway is open to US Residents age 18 or older. Winners will be selected via random draw, and will be notified by e-mail. You have 72 hours to get back to me, otherwise a new winner will be selected.
The Official Rules are available here.
This sweepstakes runs from 1/24-2/28
Be sure to visit the sponsor’s brand page on BlogHer.com where you can read other bloggers’ reviews and find more chances to win!

Sweetheart Dress Pattern

How sweet is the back of this dress? I am kind of in love with the little heart cut out. I just think this could not be more perfect for Valentine’s Day. This is the Sweetheart Dress pattern by Shannon Cook from Luvinthemommyhood. She has several blogger’s sewing up her adorable pattern for a mini-pattern tour that she is doing and she invited me to join along. So fun!

The Sweetheart Dress pattern comes in size 2T – 6. This pattern came together really quickly. It is a pdf pattern, but thankfully there are no paper pattern pieces to tape together. You get the bodice pieces and the heart and the skirt is given in measurements so you can just cut it out yourself.

I’d say this pattern is for a confident beginner. There are lots of tips and tricks throughout the pattern and many encouraging words to keep you going. Surprisingly, the bodice is constructed in very much the same way as most basic bodices even though it has the heart cut out. I actually did the armholes a little bit differently, but that’s just because that is the way I’m most comfortable sewing a lined bodice. There are 2 – 3 different methods that will work great.

There are no buttonholes in this pattern either (for those of you that get nervous about buttonholes). It’s just a little hand-sewn loop and button closure.

The most stunning part of this dress has to be the heart cut out in the back. So sweet! It’s a little chilly here in Chicago right now, so we will probably be layering this dress for several more months, but I think this would make a such a cute Easter Dress as well. And maybe, just maybe it will be warm enough for us to wear this dress as is.

I added some cream colored piping in between the gathered skirt and the bodice. I considered adding some green gingham piping, but I decided the cream would pop a little more against this busy fabric.

Along the hem of the skirt, I added some cream picot edging that I think really works with the cream piping.

Here is my sweet Matilda Jane wearing her new dress. I made her a size 4T and she is currently wearing a size 4T in commercial clothing (just so you get an idea of the fit and length). She actually picked out this fabric herself and I just picked out the lining and trims. It was definitely a joint collaboration!

All in all this dress probably took me about two hours after cutting, so it’s definitely a doable afternoon project. A great little dress for the sweet little ones in your life.
If you are interested in checking out the Sweetheart Dress Pattern, you can find it HERE.

Fabric: Homespun Chic (Stitched Roses Pink) by Melody Ross for Blend Fabrics.

Washi Dress ~ Women’s Dress Pattern Review

I am in love with this pattern! I mean, seriously. When Rae (Made by Rae) released her Washi Dress pattern I knew I must have it. I could just tell that it would work on my body and I actually saw Rae in person at spring quilt market last year wearing her own version of the dress and she looked adorable.

The beauty of this pattern, is that you can really fit the dress to your bust measurement and the rest is pretty forgiving whether you are straight-figured or curvy in the hips. I went with a size medium, even though my bust was on the upper end of the measurement that was given. I think the fit is spot on.

So this is me modeling this dress. I am SO not used to taking pictures of myself. But I knew you would want to see this dress on and not just on a hanger, so set up my tri-pod and was trying to work it in front of the camera. Ha! Far from ‘working it’, but I tried my best. It felt quite self-indulgent photographing myself, but oh well. Who knows what the neighbors were thinking watching out their windows.

This dress came together very quickly and easily. The most tedious part was putting together all the pattern pieces since this was a PDF pattern. I believe there is a paper copy of the pattern out now, but that was not available when I bought mine. The sewing time was probably about 2 hours.

The pattern comes with facings for the neckline. Instead I opted to fully line the bodice (you know how I love fully lined garments) and did the sleeveless version so that I could layer it for winter. And the dress has pockets! How great is that? It’s great, trust me.

The back of the dress calls for shirring, but I’m not much for that technique. One, I don’t feel like I’ve perfected it and two, it’s a hint casual for my taste. But instead I had seen Rae add in an encased elastic in the back of one of her variations, so I decided to give that a try. I couldn’t find an exact elastic measurement, but just in case you want to do the same, I cut my elastic 6″ shorter than the width of the back of the dress. That seemed to work well.

I used the scoop neck option because I knew I would be layering it with a long sleeved shirt, but I also love the other variation that is given with the pattern. I think I will try that one next.

There are so many options with this dress. The pattern comes with two sleeve options, two length options (tunic and dress) and over on Rae’s blog she has given a long sleeve and a maxi length tutorial. I plan to draft a peter pan collar for this dress, so if I get that done, I am happy to share that with you as well.

This pattern is a little pricey for a PDF at $16.00 and there is A LOT of taping that is involved for the pattern (took me about an hour). But with that being said, the instructions given for putting the pattern pieces together are so easy to follow. Probably the easiest I’ve ever seen. Also, there are so many design options with this dress that you can use the pattern over and over again and create many different unique looks. So really the $16.00 will be nothing if you make several. And you will make several because the fit is so great.
Have you tried the Washi Dress pattern yet? I haven’t heard of anyone who doesn’t just absolutely love it. I was not given this pattern for this review, I bought it and am giving you my honest opinion. If you want a dress that fits and flatters, go get the Washi Dress!
Fabric: Anna Maria Horner: LouLouThi (Clippings Passion)

Cream of Broccoli Soup Recipe

My brother, Ben, recently posted a Broccoli Cheese Soup recipe that he created as a special at the restaurant where he works. The soup looked soooooooo good. While I didn’t ask Ben for his recipe, since I figure he needs to keep those for the restaurant, I came up with my own that tastes pretty darn good.

This soup is more of a Cream of Broccoli, but you can definitely add some cheese at the end if you want to make it more cheesy. Serve it with a loaf of crusty french bread and your family will love it. Even my husband, who thinks Broccoli is the worst vegetable on the face the earth, ate two helpings of this soup…….and so did my girls. Not bad I say……not bad.

 
Cream of Broccoli Soup
Author: 
Recipe type: Soup
Prep time: 
Cook time: 
Total time: 
Serves: 8
 
Ingredients
  • 1 large onion, chopped
  • 1 garlic clove, chopped
  • 4 tablespoons butter
  • ¼ cup flour
  • 3 heads of broccoli, chopped (including stems)
  • 1 cup julienned carrots (or 1 cup chopped carrots)
  • 1 box chicken stock or vegetable stock
  • 1 cup heavy cream
  • ½ cup milk
  • 1 tsp salt, plus more to taste
  • 1 tsp black pepper, plus more to taste
  • 1 cup sharp cheddar cheese (optional), plus more for garnish
Instructions
  1. In a large stock-pot, saute onion in butter until translucent over medium heat. When onion is a couple minutes away from being ready, add in garlic. Once garlic and onion are cooked, add in flour and cook for 2-3 minutes. Add in stock slowly, whisking to combine. Add in heavy cream, milk, broccoli, carrots, salt and pepper. Reduce heat to medium low, put lid on stock pot and cook for 30 minutes or until broccoli is cooked and liquid has thickened a bit.
  2. If you have an immersion blender, blend the soup in the stock pot. If you do not, ladle the soup into a blender in batches and return blended soup to stock pot. You can choose to leave some of the broccoli whole if you are using a blender. Also, an immersion blender is an amazing tool. They are fairly inexpensive and save you lots of time and mess!
  3. Once your soup is blended, add more salt and pepper to taste. If you would like to add cheese, now would be the time to do so. Stir until combined. The cheese will also thicken the soup, so if you would prefer a thicker texture, go ahead and add the cheese. Ladle soup into bowls, sprinkle with cheese and serve with crusty french bread, oyster crackers, or croutons.
This soup tastes great reheated the next day. You can also freeze it as a full meal or in serving size portions, but I might not add the cheese until after it’s been reheated.
Amazingly delicious Cream of Broccoli Soup! Must try this recipe from The Cottage Mama.

Enjoy!

Totally Tubular Stacked Block Quilt & Tula Pink Book Giveaway

Grandma Jane is back again with another wonderful quilt tutorial and a fabulous giveaway…….take it away, Mom………

I had been searching for the perfect quilt to make for my son (men are sew hard to sew for) and finally found my inspiration in the book, Quilts from the House of Tula Pink!

Tula Pink, a talented fabric designer and self-taught modern quilter, shares a peek into her whimsical, creative world in this fun book.

I absolutely love the beautiful, romantic photography style, the hand-sketched illustrations, and her no rules required approach to quilting.

Being someone who really likes a quick and easy project…I enjoyed the simple approach in the book to some quilting basics including Tula’s Totally Tubular Tube Technique, which is the inspiration for my quilt. Her section on “Fearless Fabric selection,” (who doesn’t stress over that process?) and “Quilting is not an afterthought,” all about choosing a quilting design, were both very helpful. She also explains a little about her fabric design process as an artist which was fun to read. The book contains 10 quilt patterns and 10 other smaller projects including pillows, a fun lampshade and even a darling shower curtain pattern.

Tula says in her introduction… “The House of Tula Pink is not a place of rules and regulations but a place where you can pick and choose when to behave. Here we eat our dessert first and sometimes skip dinner altogether. Go ahead and put your feet up and as long as you’re not doing anything, you might as well make some stuff.” Now that is a good philosophy! We don’t always have to follow the rules! The point is to be creative, have fun and actually finish something that is beautiful and makes you proud!

Supplies for generous throw quilt (68” x 70”)

• 10 Fat quarters various prints (Fabric is from Parson Gray’s first line, Curious Nature)
• 1 ¾ yards Background fabric

1. Cut each fat quarter into (8) 4” x 10 ½” pieces for a total of 80 pieces. (Save the end scrap for a pieced backing if you like)

2. Cut background fabric into 8 strips 7 ½”x WOF (width of fabric). Cut each strip in 4” x 7 ½” pieces. Each strip yields 10 pieces for a total of 80 pieces.

The Totally Tubular Technique involves sewing a piece of the background fabric with a fat quarter piece on the short ends to make a little tube. You then cut the background fabric at varying places to make blocks that will be staggered. I marked my background pieces before I sewed my tubes together on the wrong side with a pencil at 1 ½, 2, 2 ½ and 3 inches so when I cut them they would be straight and so that I would be sure to have a good variety of spacing.

Layout your sewn pressed tube pieces in 4 columns of 20 blocks each. I sewed them together in sets of 5 and then into columns.

Straighten up the edges of the columns and sew together matching the seams. This really went together quickly and has very few seams to match—just along the columns. I pieced the back with my fat quarter scraps.

This one is for my son, Ben, who lives in Colorado! I hope that he will feel a hug from his mama every time he curls up to read and snuggles under this totally tubular quilt.

I would love to share a copy of this beautiful book with one of Lindsay’s readers.
Leave a comment about that special person in your world that lives way too far away!
(Maybe they need a special quilt from you to remind them that they are always covered in your love!)
Giveaway open until January 17, 2013 at midnight (CST).
Thanks, Mom (aka Grandma Jane)! It’s always so much fun having you here on the blog and thank you so much for always thinking of the readers. Love you from here to the moon and back again!
To view more quilting and sewing tutorials from Grandma Jane, please click HERE

Southern Fabric Giveaway Winner

And the winner of the Southern Fabric Amy Butler ‘Love’ jelly roll is……..

Congratulations, April! If you could please email me at thecottagemama[at]gmail[dot]com with your contact information, we will get you your prize as soon as possible. Thanks so much to everyone who entered and check back with Southern Fabric for more new fabric lines and great sales!

On the Cutting Table: It’s Back!

It feels so good to return to the ‘On the Cutting Table’ post series. For the past seven months I really haven’t been able to show you much of anything that was really on my cutting table since it’s highly top secret. You may not have noticed or cared, but I did. I love sharing with you guys and it was so hard keeping project after project from you. And while those projects are still under wraps until my book releases in October…….on the upside the book manuscript is completed and turned in and now we can return to our regularly scheduled program here!

I have a huge stash of vintage hankies so I have some plans to actually use them this year. Also, there are some pieces in my wardrobe that need updating. I still like them and they fit, but they need something new. Pictured above is a little denim jacket I got a couple years ago from Target. It fits really cute, but I’m kind of tired of the all denim look of it. I have it sitting on the cutting table and I’m trying to get a little creative with it. We’ll see what I come up with……as of now……..nothing. But I’m still thinking about it.

I’ve got the hand embroidery bug again. It bites me every so often. So these pretties will be making an appearance here on the blog soon.

This is probably my most favorite thing that arrived this week. It’s the Colette Pattern called ‘Ginger‘ and it’s an adult sewing pattern for me! I rarely sew for myself and if I do it’s generally a refashion or something I can easily draft. But this year I am bound and determined to give adult garment sewing a try. I have heard great things about Colette Patterns. I purchased the paper copy of the pattern, but it’s also available for digital download as well.

I selected this pattern because I felt like it was a good place to start. It is a beginner pattern and while I can do somewhat advanced skills on children’s clothing, I thought this was a good place to start in the adult garment world. (And as I write this I have ‘Do Re Mi’, the song from Sound of Music song in my head……’Let’s start at the very beginning, a very good place to start’…..if you have no idea what I am taking about, just forget I ever mentioned it).

Also, I feel like my body is pretty tricky to fit especially in the bust area. Anyone else ever have that problem? I generally wear a size six in commercial clothing, but without getting too detailed, I am well-endowed in the bust department. So, I thought I would try a skirt first and avoid being turned off sewing for myself with a dress that ends up not fitting. But a dress is definitely next on my list (assuming the skirt goes well).

I’ll keep you updated on the progress. Or if any of you are interested, maybe we could do a little ‘sew along’. Just an idea….

New fabric arrived this week! I have had my eye on ‘Splendor 1920‘ by Bari J. for Art Gallery Fabrics since they previewed the line several quilt markets ago. I love everything about it. The romance, the femininity, the vintage touch……..this line makes me very excited!

I don’t think I’ve mentioned it here on the blog yet, but in a few weeks I will be heading to Salt Lake City to attend the Alt Design Summit. This year I will be traveling a lot for The Cottage Mama (and I mean a lot). It’s been so long since I have been able to travel on my own because for the last five years I was either pregnant or nursing one of my three kids.

Alt Design Summit is a design blogging conference and I am thrilled to have a ticket. The tickets were sold out in less than an hour…..yeah, apparently it’s that amazing of a conference. I will be strictly attending this conference as a blogger. The other conferences and events planned for this year are ones where I will be teaching or speaking. And this conference will be a little different for me since I don’t exactly consider myself a design blogger, but I am a designer of sorts…..so I hope I fit in ok. I always think it’s good to get out of your comfort zone and push yourself into new and exciting situations no matter how intimidating they might be.

The classes, speakers and list of attendees are pretty darn spectacular and I have heard that the fashion at this event is out of this world. I am super excited about this because I feel like I can finally pull out some of my heels again and get out of mommy mode a little bit this year. Mama’s bringing her fashion back!

Oh and I’m rooming with two of my friends, Jess from Me Sew Crazy / Sew Set and Stef from Girl. Inspired. SO excited to spend the weekend with my fellow sewing blogging girlfriends!

I treated myself to a new pair of heels for the conference and other events I will be attending this year. Aren’t they cute? They are patent leather cork wedges. I had been looking at these for several months and finally decided they needed to become part of my wardrobe. I love the big cork bow on the toe and they have a little vintage feel to me. Plus they are pretty neutral and will go with lots of other pieces I own.

And that fabric that I purchased is going to be used to sew a few things for me to wear at Alt Design Summit. Fun, right? I think so. I’ll have to show you what I come up with once I figure out exactly what I will be making. It’s a few weeks away, so I better get on that.

That’s what’s been on The Cutting Table this week at The Cottage Home.
What’s been on your cutting table? 
Anyone planning to sew for themselves a little bit this year?

I hope you all have had a great week. Happy Sewing!

Ham, Onion and Cheese Quiche Recipe

I love a quiche. Always have and always will and have a delicious Ham, Onion and Cheese Quiche Recipe to share with you today. What’s more comforting than warm eggs and melted cheese baking in a buttery, delicious pie crust? Not much. Oh wait, it’s January? We are supposed to be eating healthy now, right? I know, I know, but I just had to share this recipe with you right now! You can save it for later if you are trying to be good right now, but you should try it…..you’re going to love it.

When I was in high school there was a special occasion dress shop that my mom and I would go to whenever I was shopping for a homecoming or prom dress. It was this really unique shop because it was in an old house. The whole house was lined with gorgeous, fancy dresses. There were no men allowed in the shop (except by special appointment) because of all the young ladies just trying on dresses in each room. It was a magical place.

Anyway, the reason I bring this up, is that this was a special time for my mom and I each year and after we had found ‘the dress’ we would head over to Le Madeleine restaurant for some soup and quiche. Every time I have quiche it makes me think of those special mother daughter times we shared growing up.

This past sunday I was kind of missing my mom (you know she lives in Texas and we are in Chicago), so I decided quiche would make a nice sunday breakfast for our family. I came up with this recipe from what we had on hand and I think it turned out really great.

Ham, Onion & Cheese Quiche
Author: 
Recipe type: Breakfast / Brunch
Prep time: 
Cook time: 
Total time: 
Serves: 8
 
Ingredients
  • 2 onions, sliced
  • 4 pieces of deli ham, chopped
  • 8 eggs
  • 1 cup milk
  • 1½ cups shredded cheddar cheese
  • ½ cup shredded sharp white cheddar (i.e. cracker barrel)
  • Prepared pie crust (or make your own)
  • 1-2 tablespoons butter
  • Salt and pepper, to taste
Instructions
  1. Preheat oven to 400 degrees.
  2. In a large saute pan, melt better and saute sliced onions over medium heat until tender. Meanwhile, whisk the eggs, milk and salt and pepper together in a large mixing bowl. Add the cheese and ham. Once the onions are soft and tender, add them to the egg, milk and cheese mixture. Stir to combine.
  3. Place your pie crust into a pie baking dish. Pour in the egg mixture. Place pie dish on top of a baking sheet and place in the oven. Cook for 45 minutes with the outer crust covered in foil. Remove foil and bake for an additional 15 minutes or until a knife inserted in the center of the quiche comes out clean.

Slice, serve and enjoy!

You can change up the ingredients any way you like based on your family’s taste preferences. Think about adding some vegetables like asparagus or broccoli. Or maybe use bacon instead of ham. Or smoked gouda or swiss cheese instead of the cheddar. There are so many options.
Please pay no attention to my crust crimping skills…….I am not a pro in the fancy baking department.
This recipe is perfect for entertaining, holidays or just a lovely sunday breakfast with the family!

Creating With Kids: Painted Fabric

My kids are little. Savannah and Matilda are still in preschool and Caspian is 16 months. But despite their young ages, I like to try to involve them in creativity as much as possible. Would I love to plunk them down in front of a sewing machine and get them sewing? Yes. But I just don’t feel like they are old enough yet. You betcha, that when the time is right, Miss Savannah will be getting her first sewing machine, but until then, I’ve been trying to come up with other ways to involve the kids in creative projects.

For Christmas the girls wanted to make some handmade gifts. I thought about some different things they could make or that we could make together. So I decided that I would have the girls paint some different designs onto a large piece of fabric and I would use that fabric and create some sewn gifts for our family and friends. A little creative collaboration, if you will.

The project was a big success! The girls had a great time painting on the fabric and I had a lot of fun turning their fabric into sewn gifts.

Do you want to do some fabric painting with your kids? Here are some tips that worked for us……..

Gather up a bunch of acrylic paints in different fun colors. I had quite a few Martha Stewart craft paints on hand, so we used those. My favorite was probably the glitter paint because it gave the fabric some pretty sparkle. Use whatever paint you would like and make sure to get out your paint brushes as well.

To make it easier for the girls to paint, I taped the fabric onto a large piece of cardboard. This way the fabric didn’t slip and slide around their table.

I just cut up a plate we had, poured the paints on and let them go to town. There were no rules, except that they could not paint on the walls. And I made sure they were wearing clothes that it didn’t matter if they ended up with paint on them (because they did……they definitely ended up with paint on them).

Guess who this is in the picture above? Notice the orange paint, the orange shirt……..remember her orange birthday party? Yes, that’s Miss Savannah. She still loves orange.

And Miss Matilda still loves blue.

I had the girls paint on Osnaburg fabric. It’s one of my very favorite natural fabrics. It’s really inexpensive and I just love the look and feel of it.

After the girls were done painting, we let the fabric dry for 24 hours on the board. Then I peeled the tape off of the fabric and cut it into some sewn gifts.

Here is what we made………

I used the Rick Rack Tissue Paper Holder Tutorial to make these gifts. I added in a cotton fabric for the lining and used pink rick rack as an accent.

We also made some rustic heart shaped ornaments. For these I just cut two hearts and sewed around them with a 1/4″ seam allowance. I stopped before I reached the beginning of the first part of the stitching, stuffed them with fiberfill, inserted the twine and finished sewing around the heart.

The girls were really excited to see their hand painted fabric turned into sewn creations. I love giving handmade gifts during the holidays and it’s especially fun when we can create together!