
I’m really excited about today’s giveaway! Why? Because our lovely blog sponsor, Crafter’s Vision is giving away two $50.00 gift certificates to two very lucky The Cottage Home blog readers. That means you get to browse their shop and pick out whatever you would like and trust me, you could get lost for hours browsing their massive inventory.
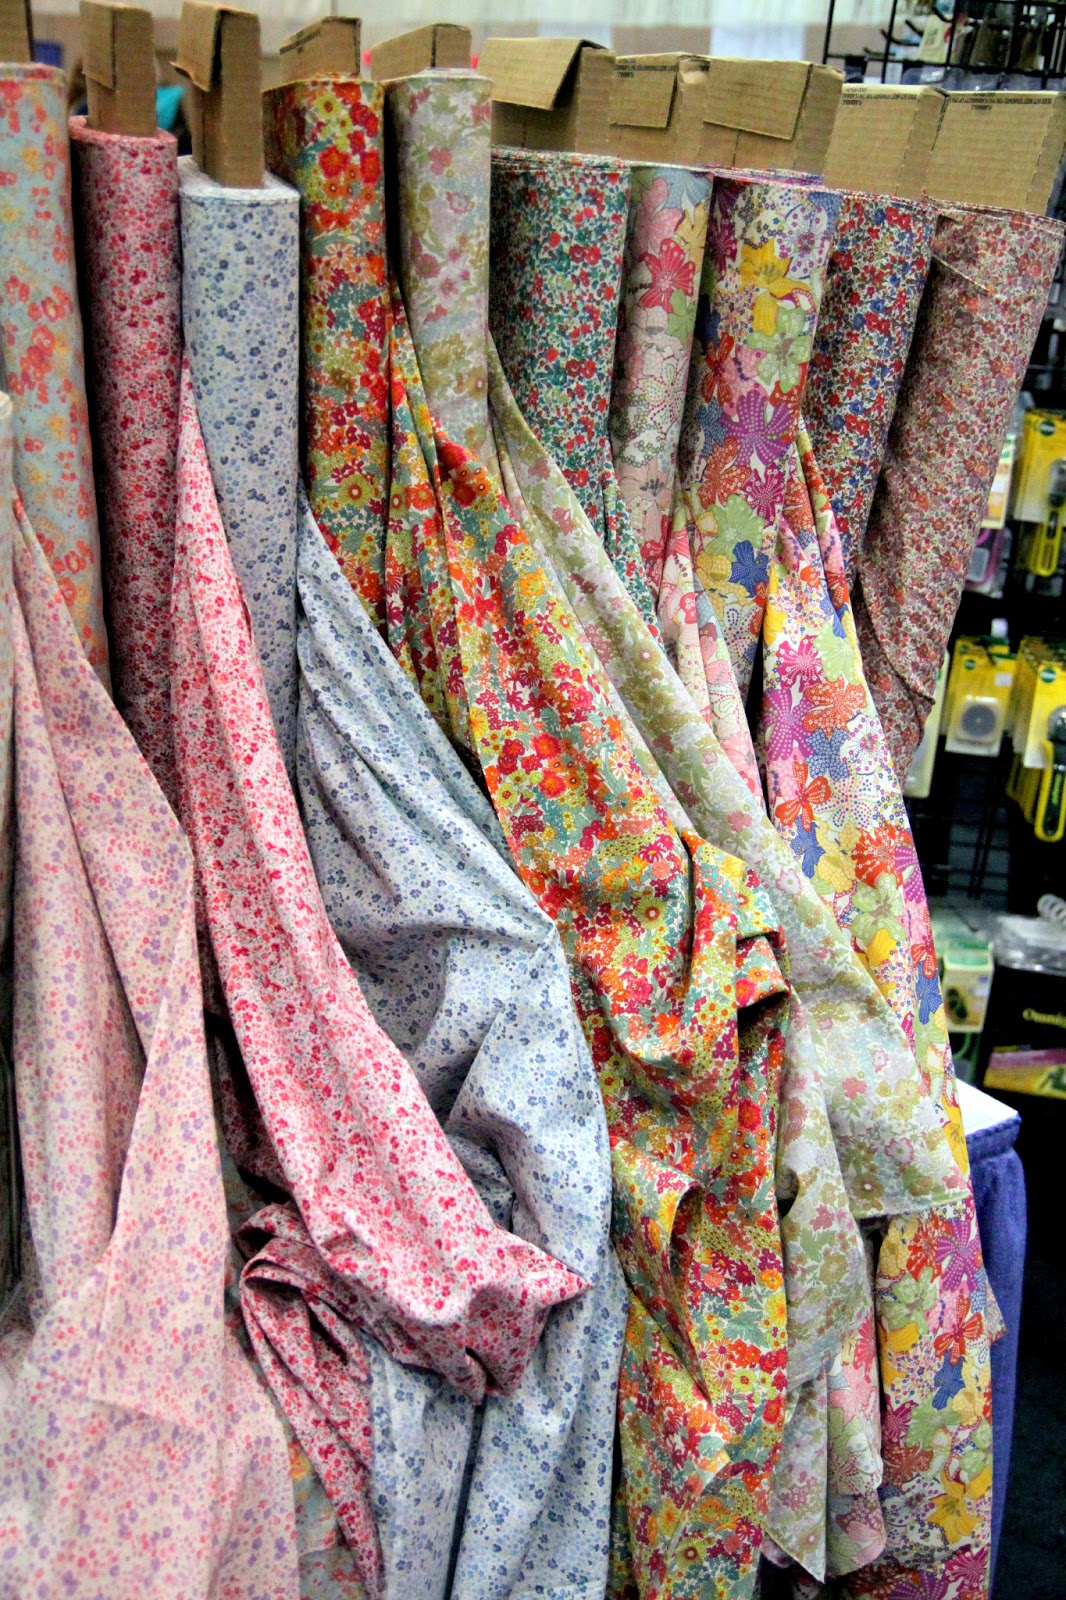
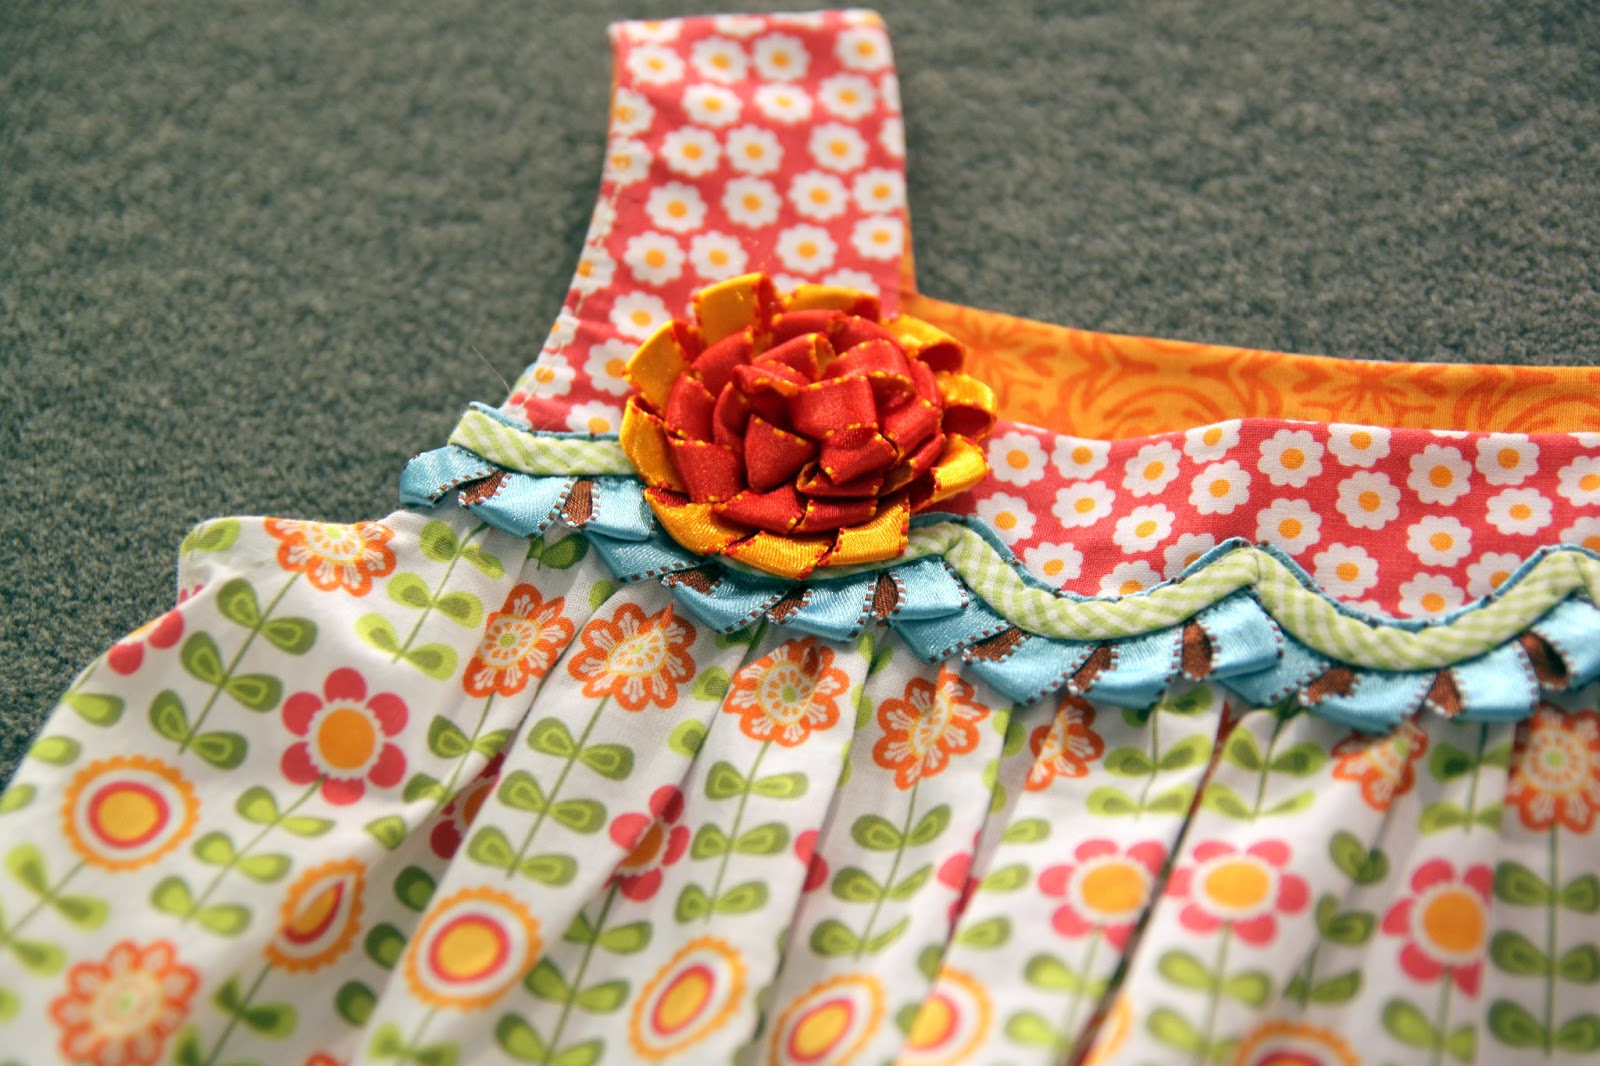
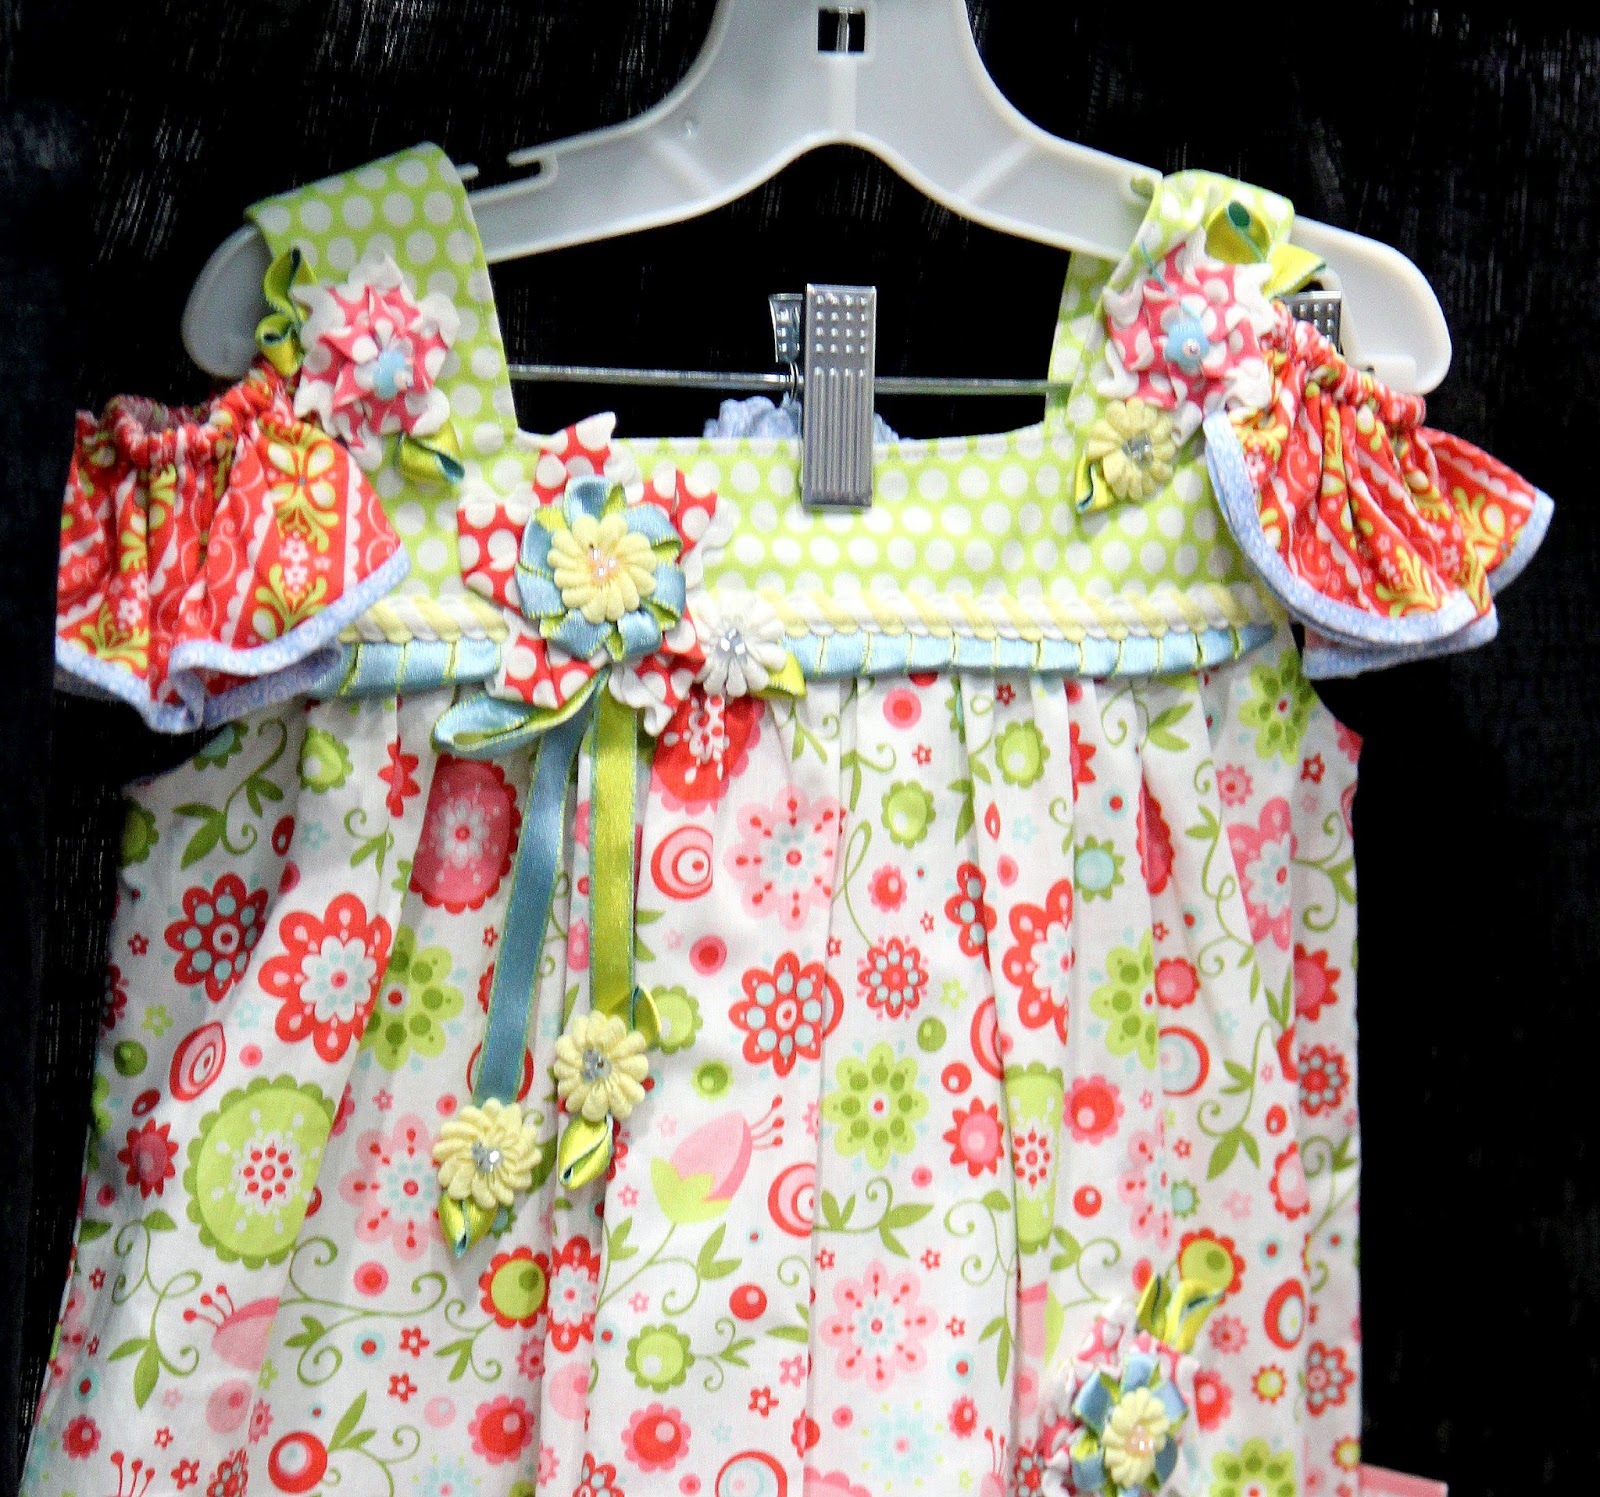
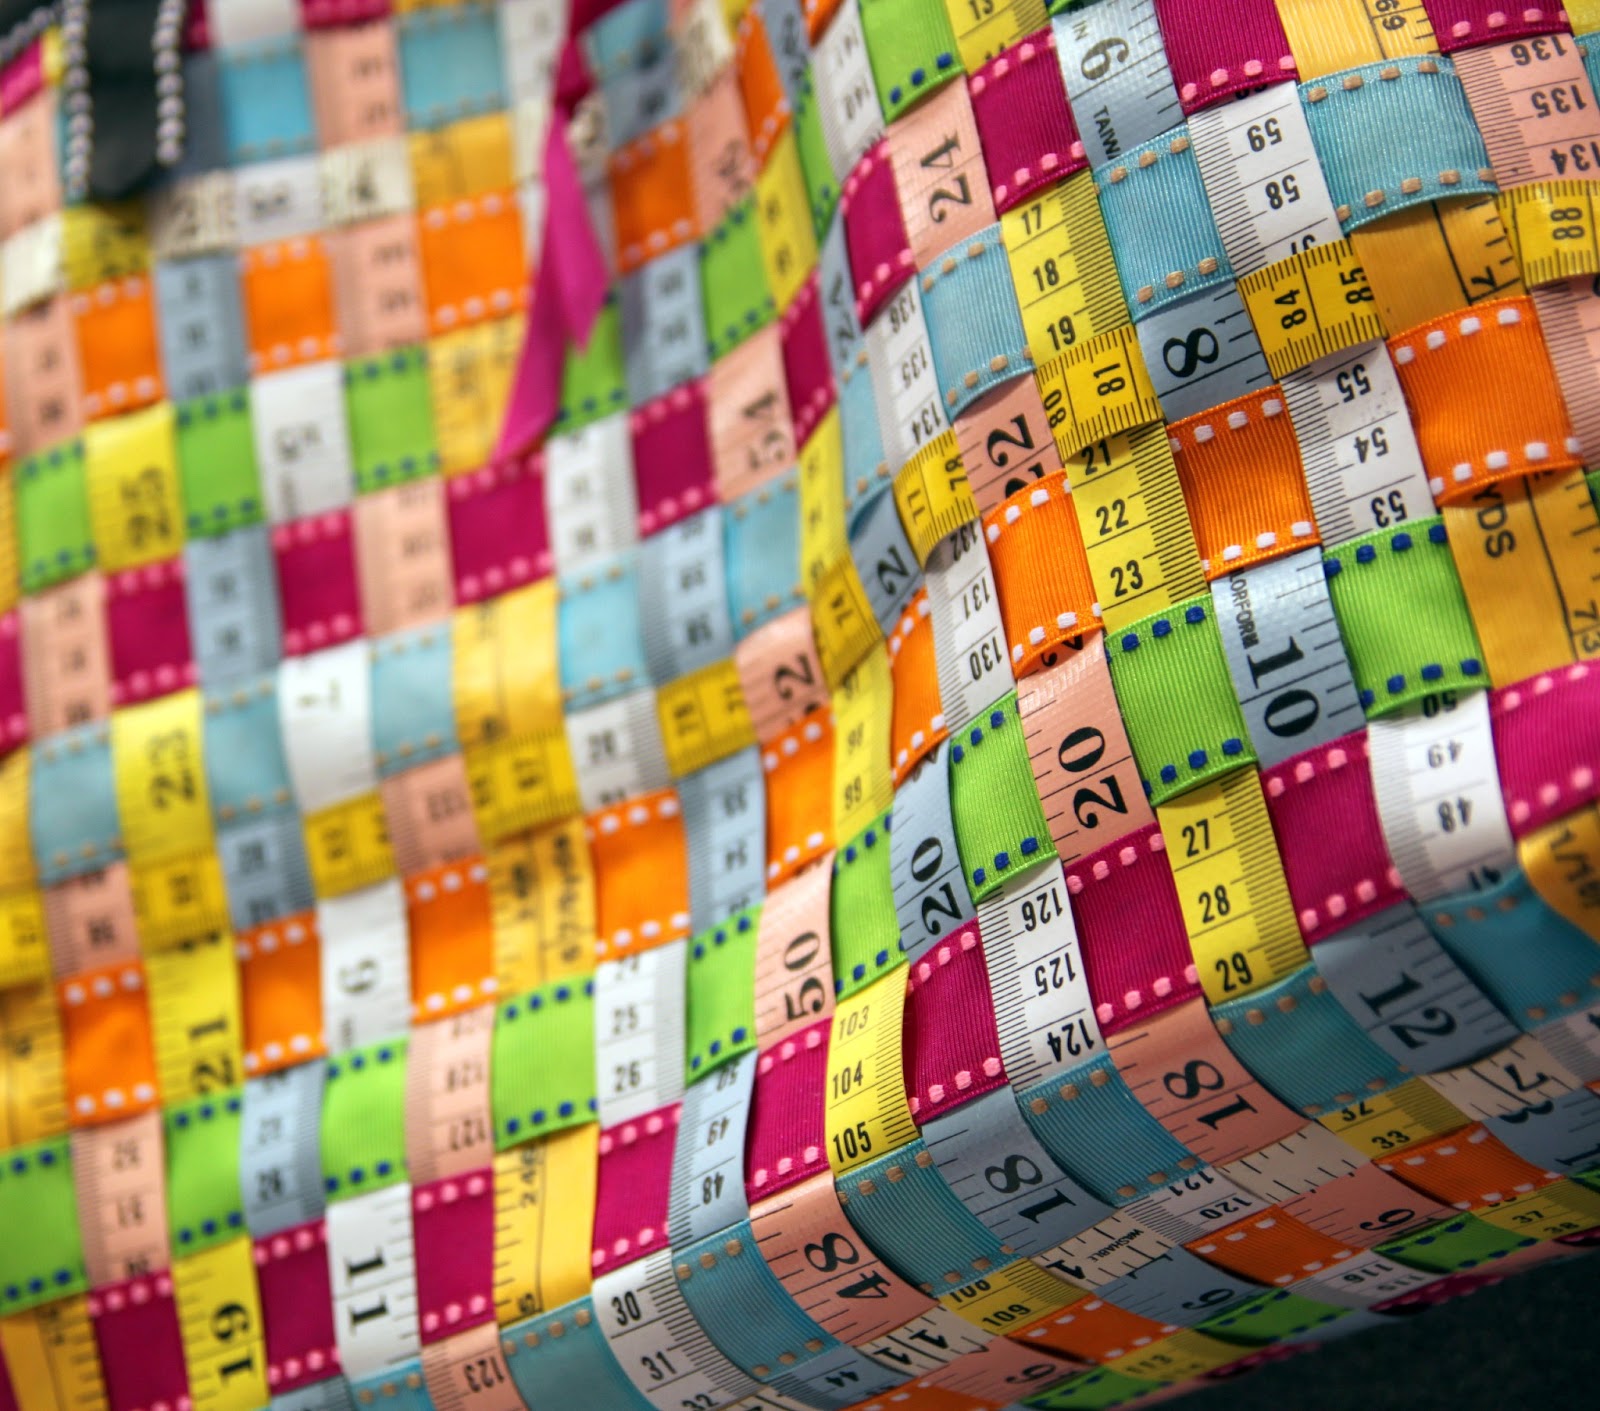
If you’ve never visited Crafter’s Vision, you must head over there when you get a chance. They carry a great selection of fabric, trim, ribbons, craft supplies and so much more.
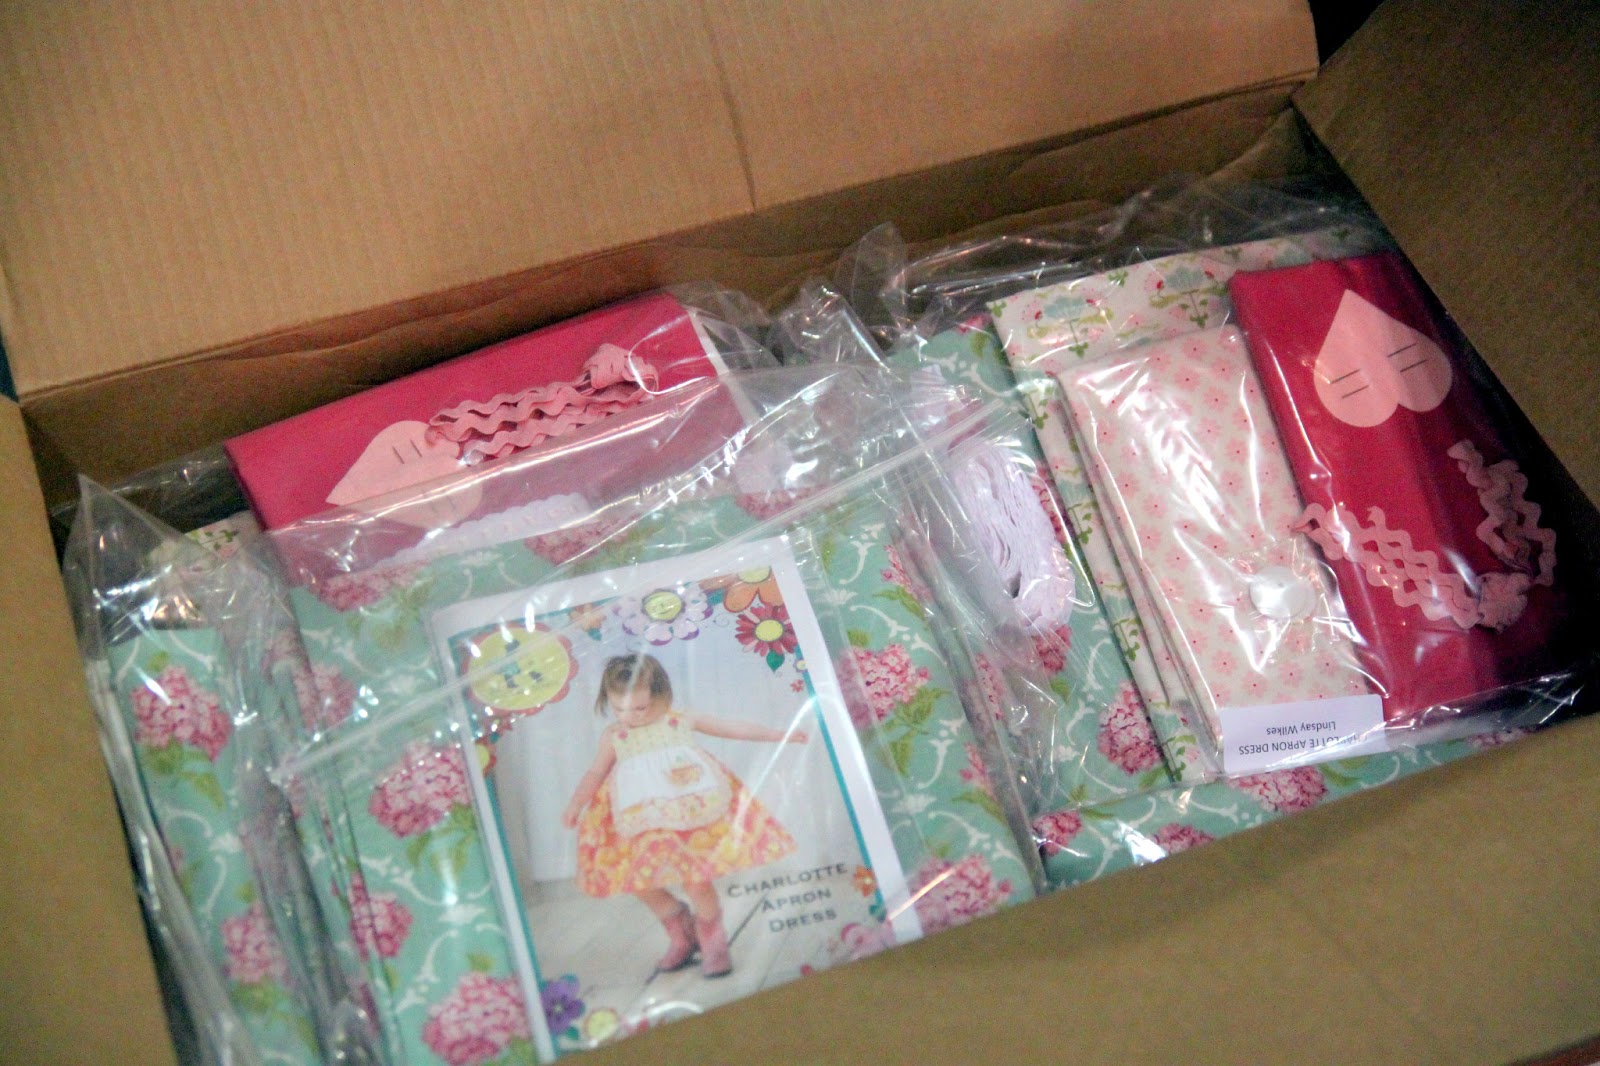
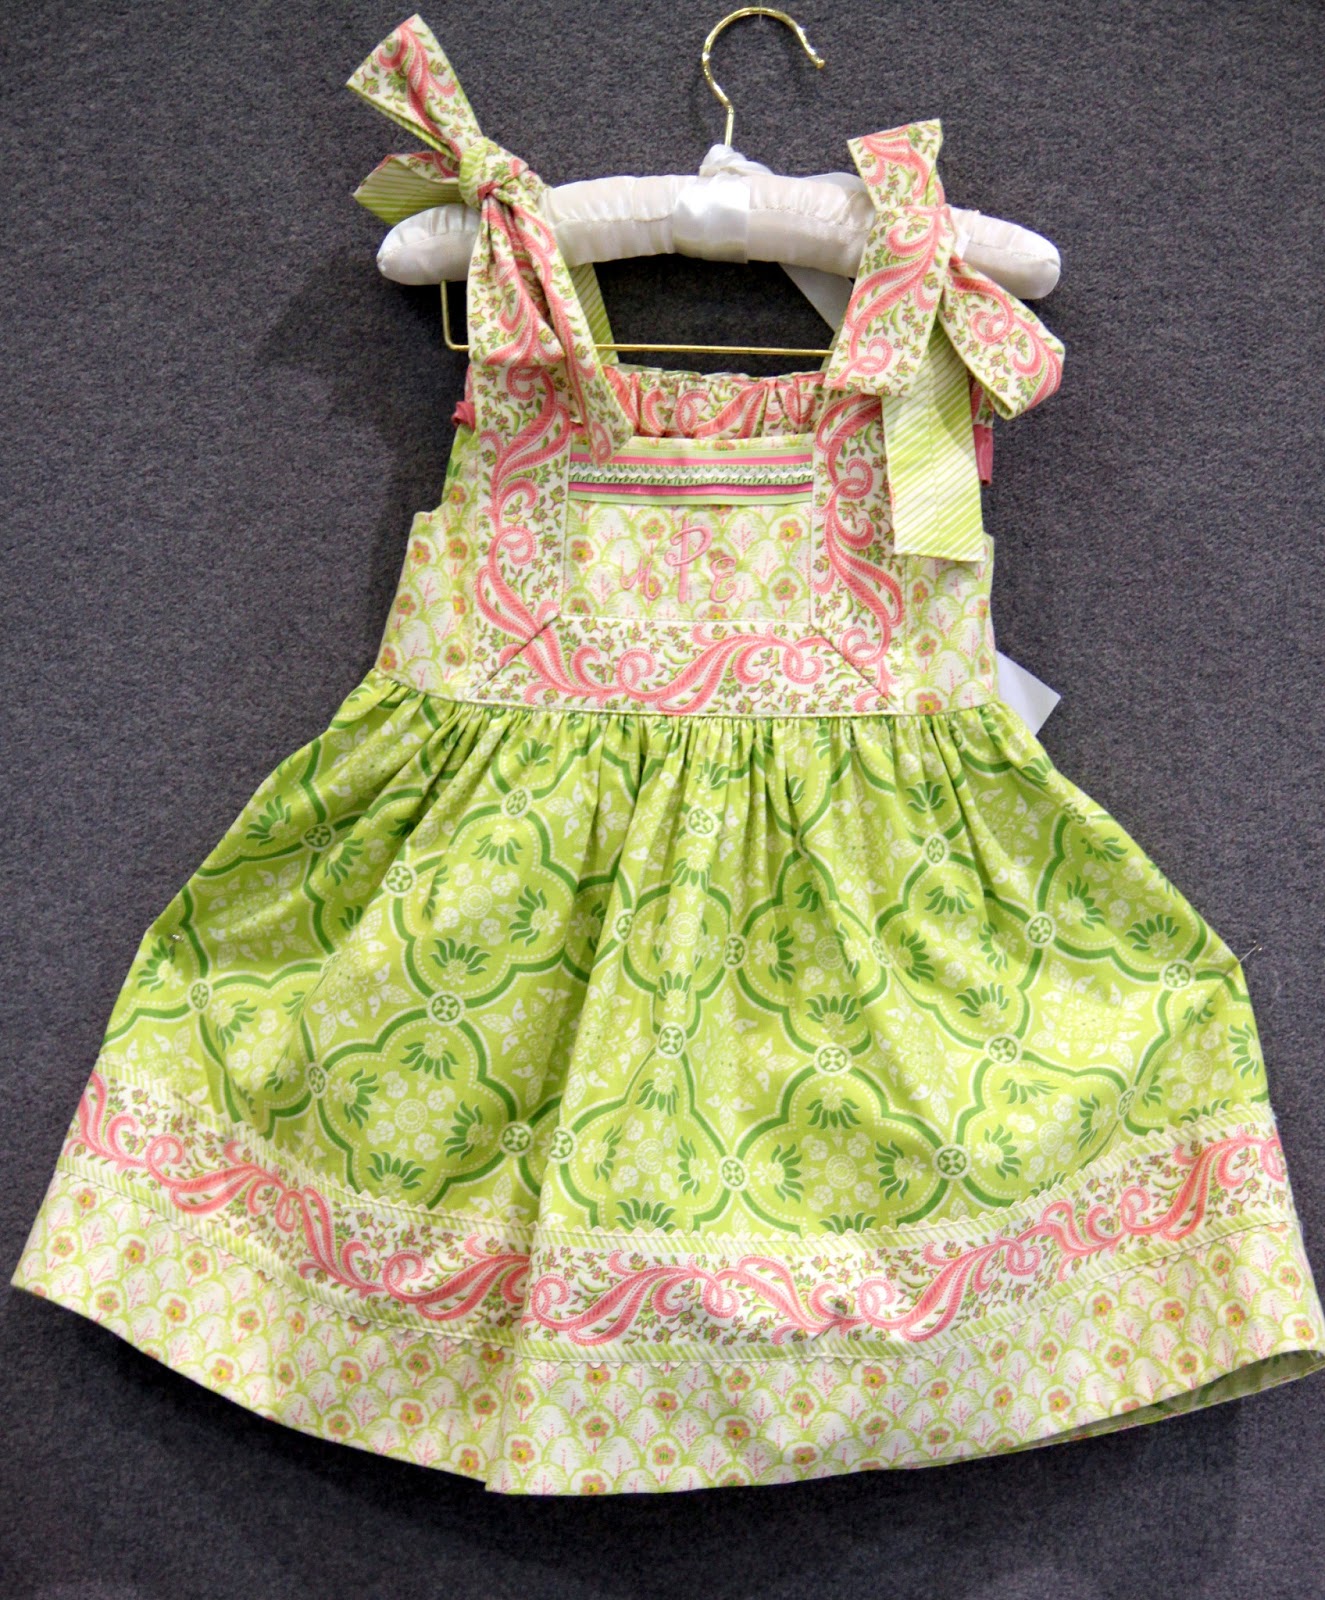
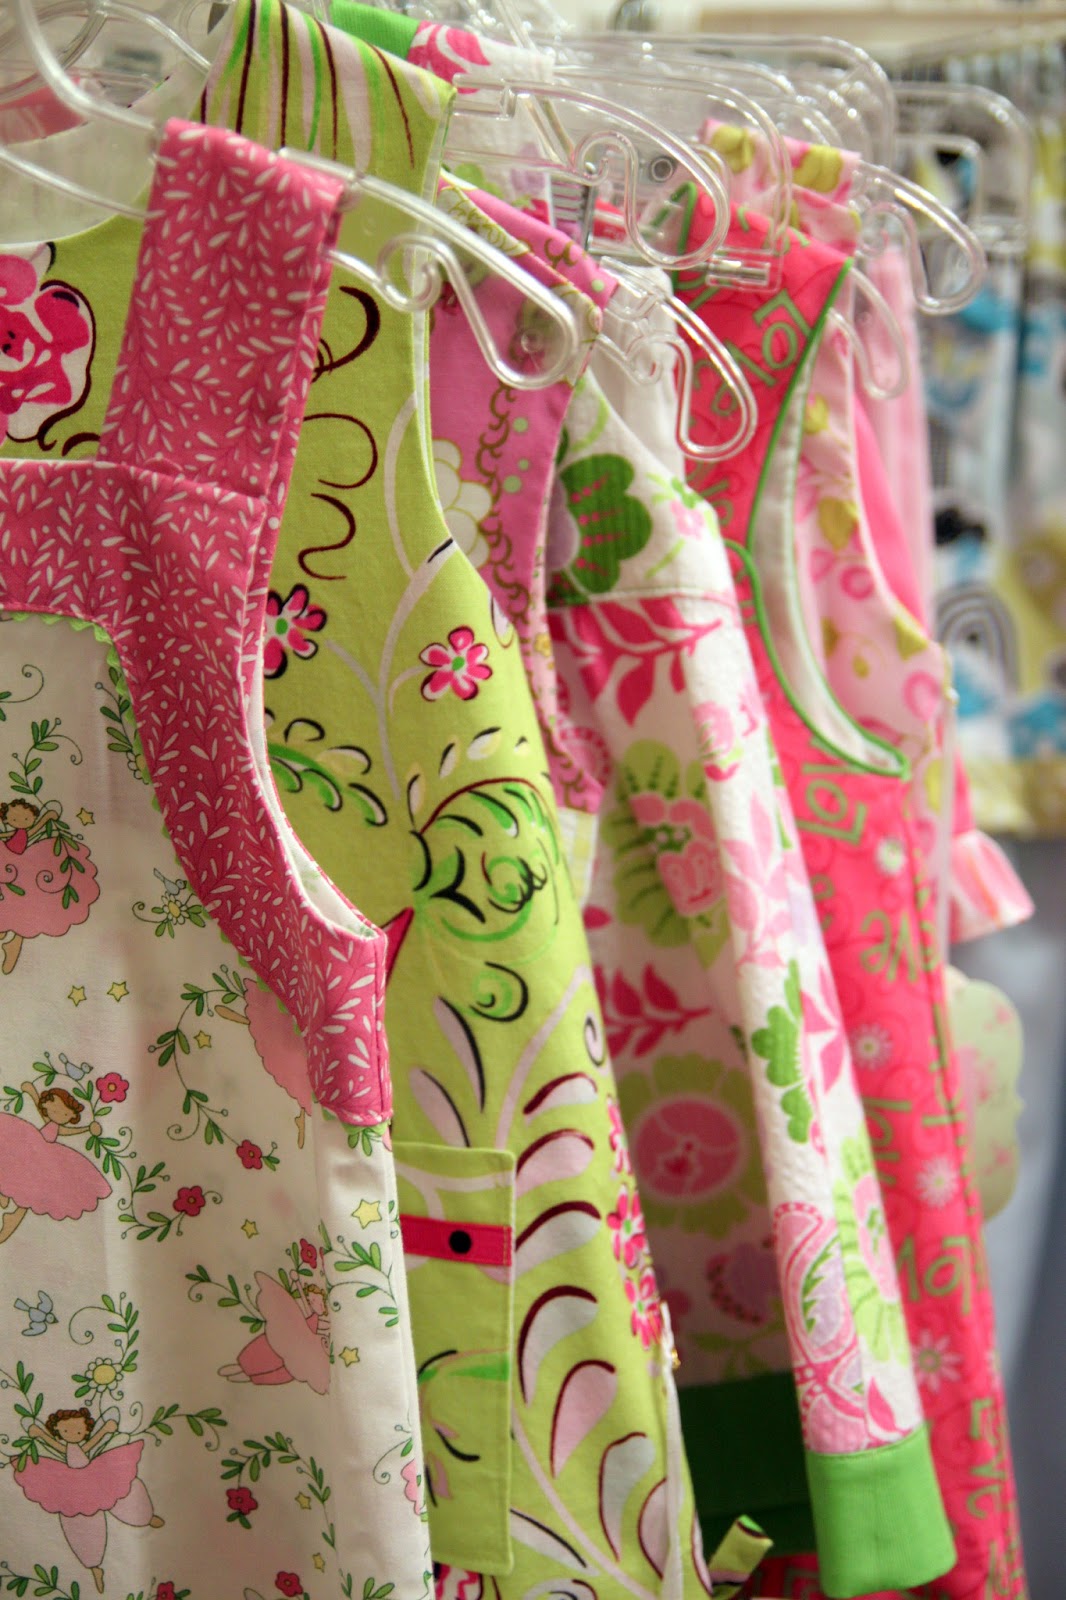
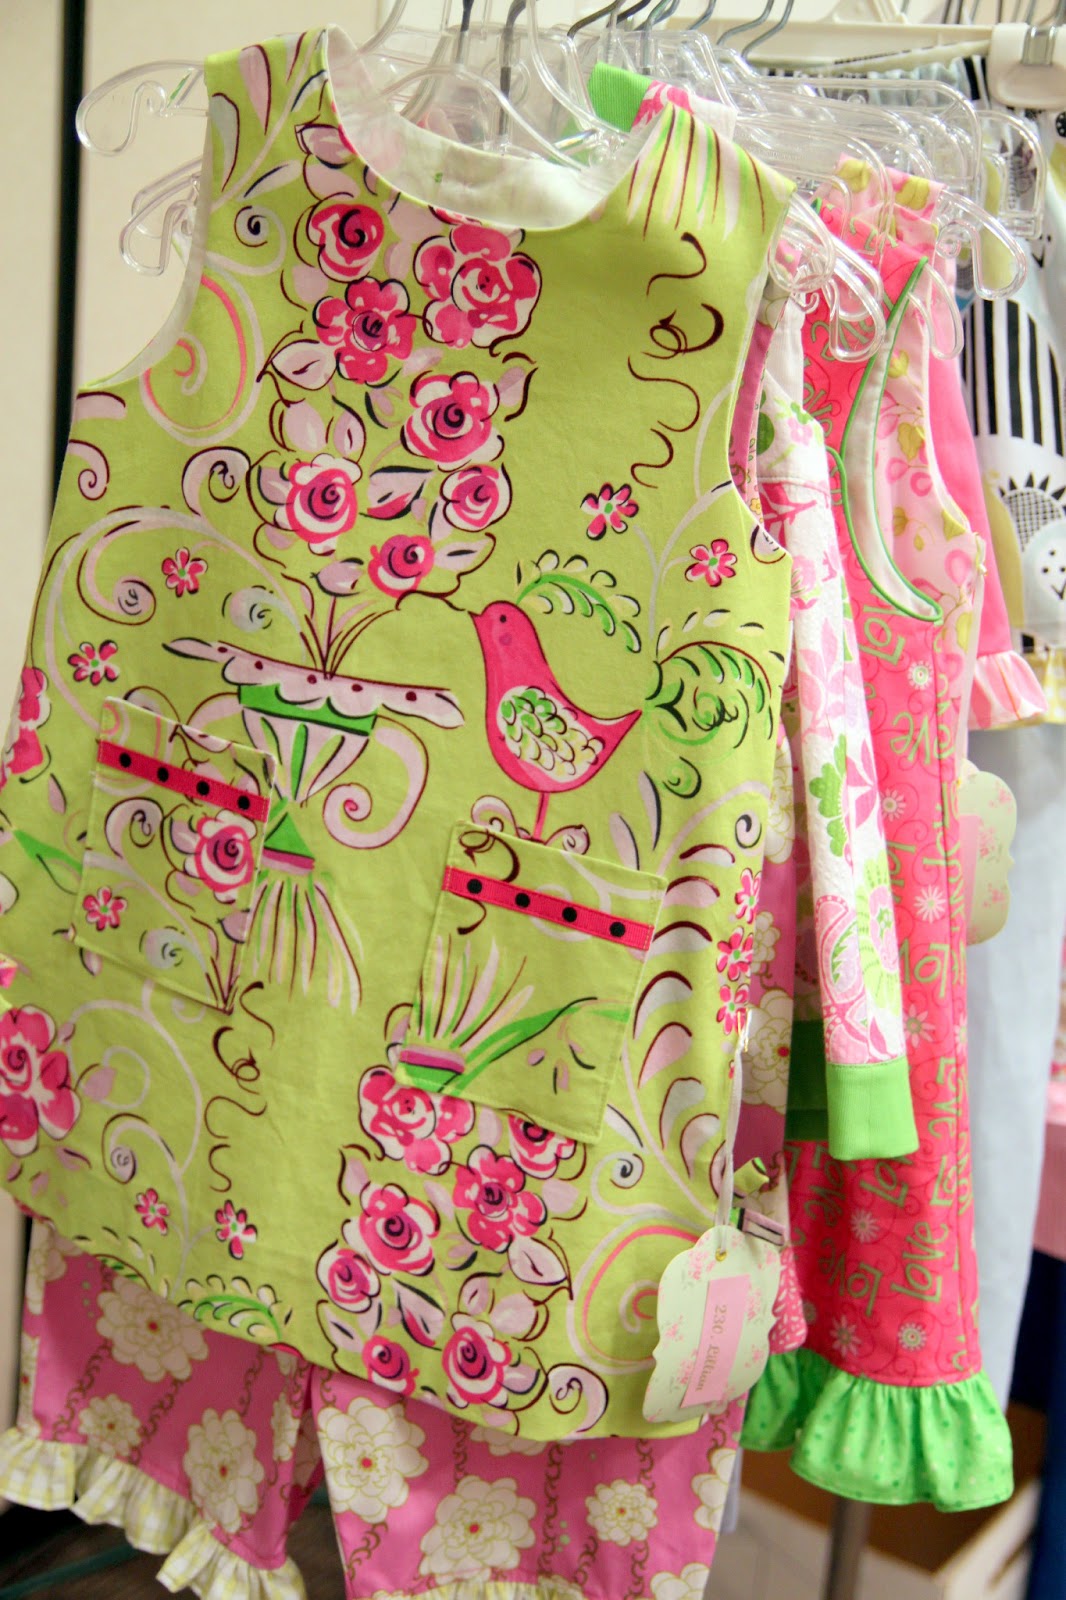
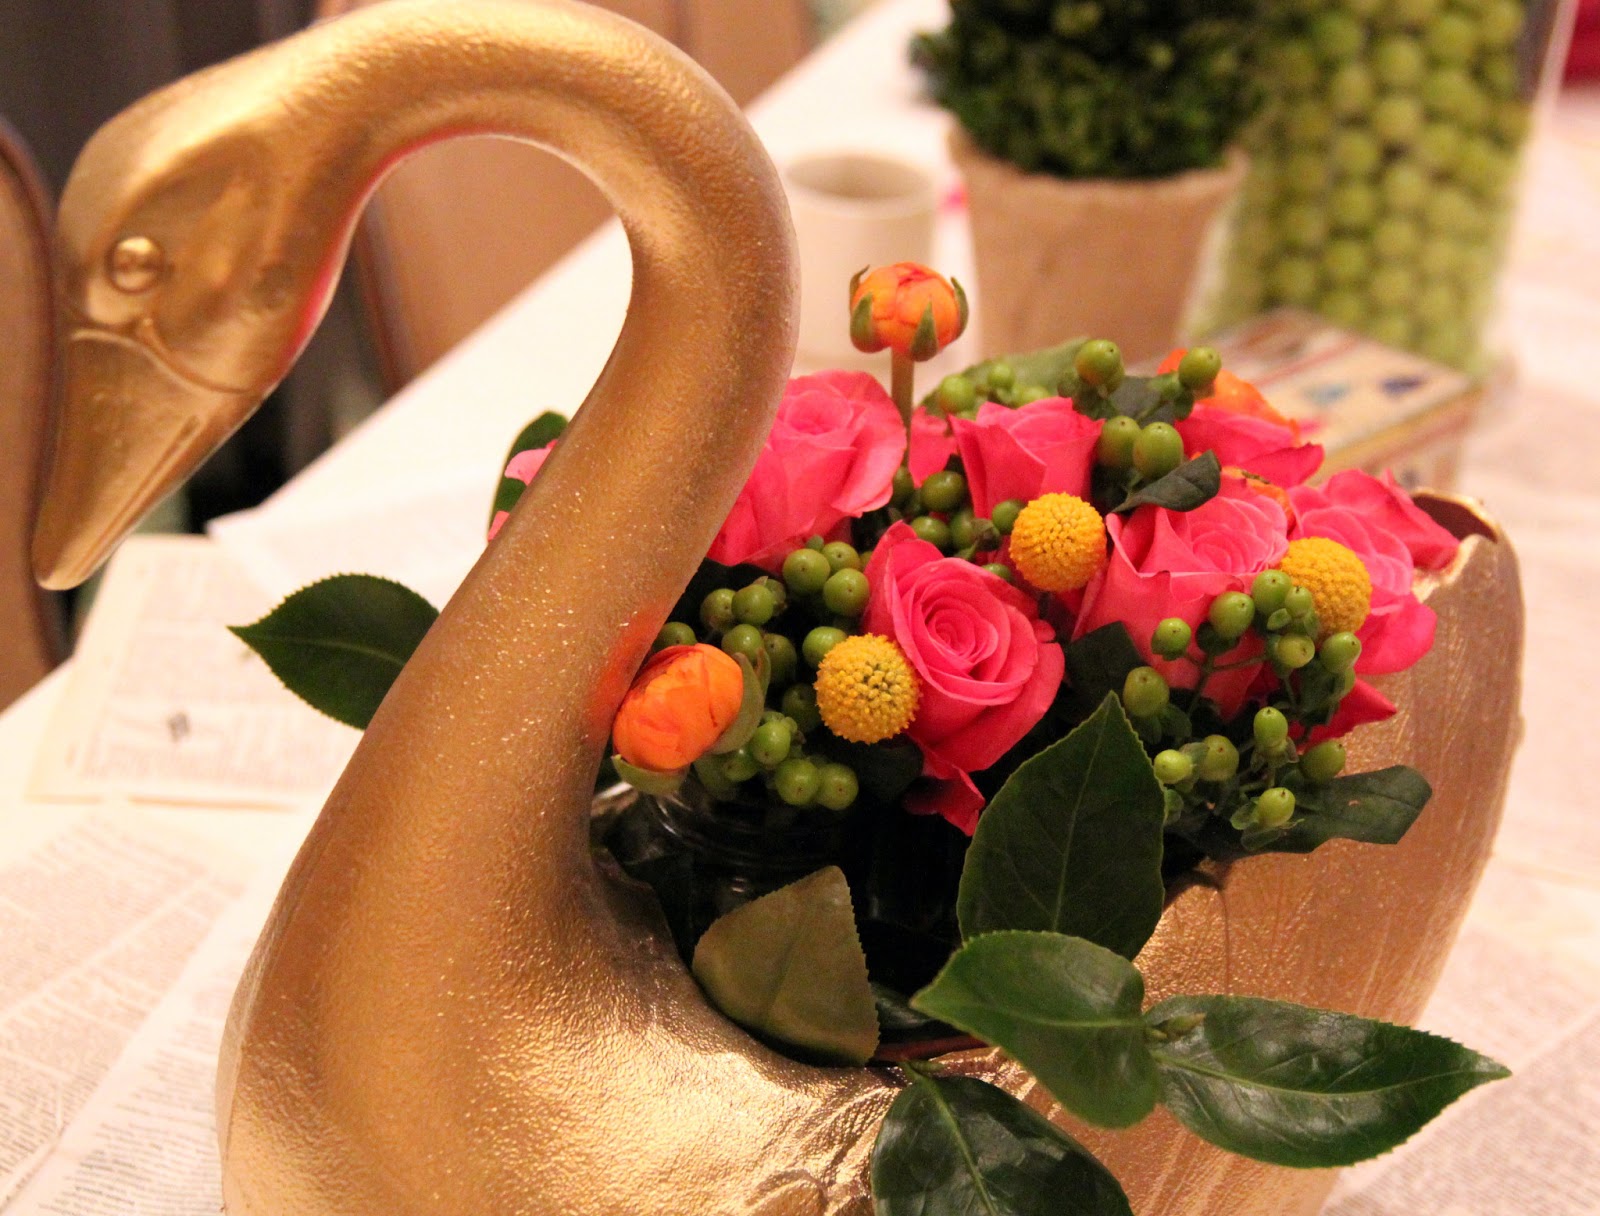
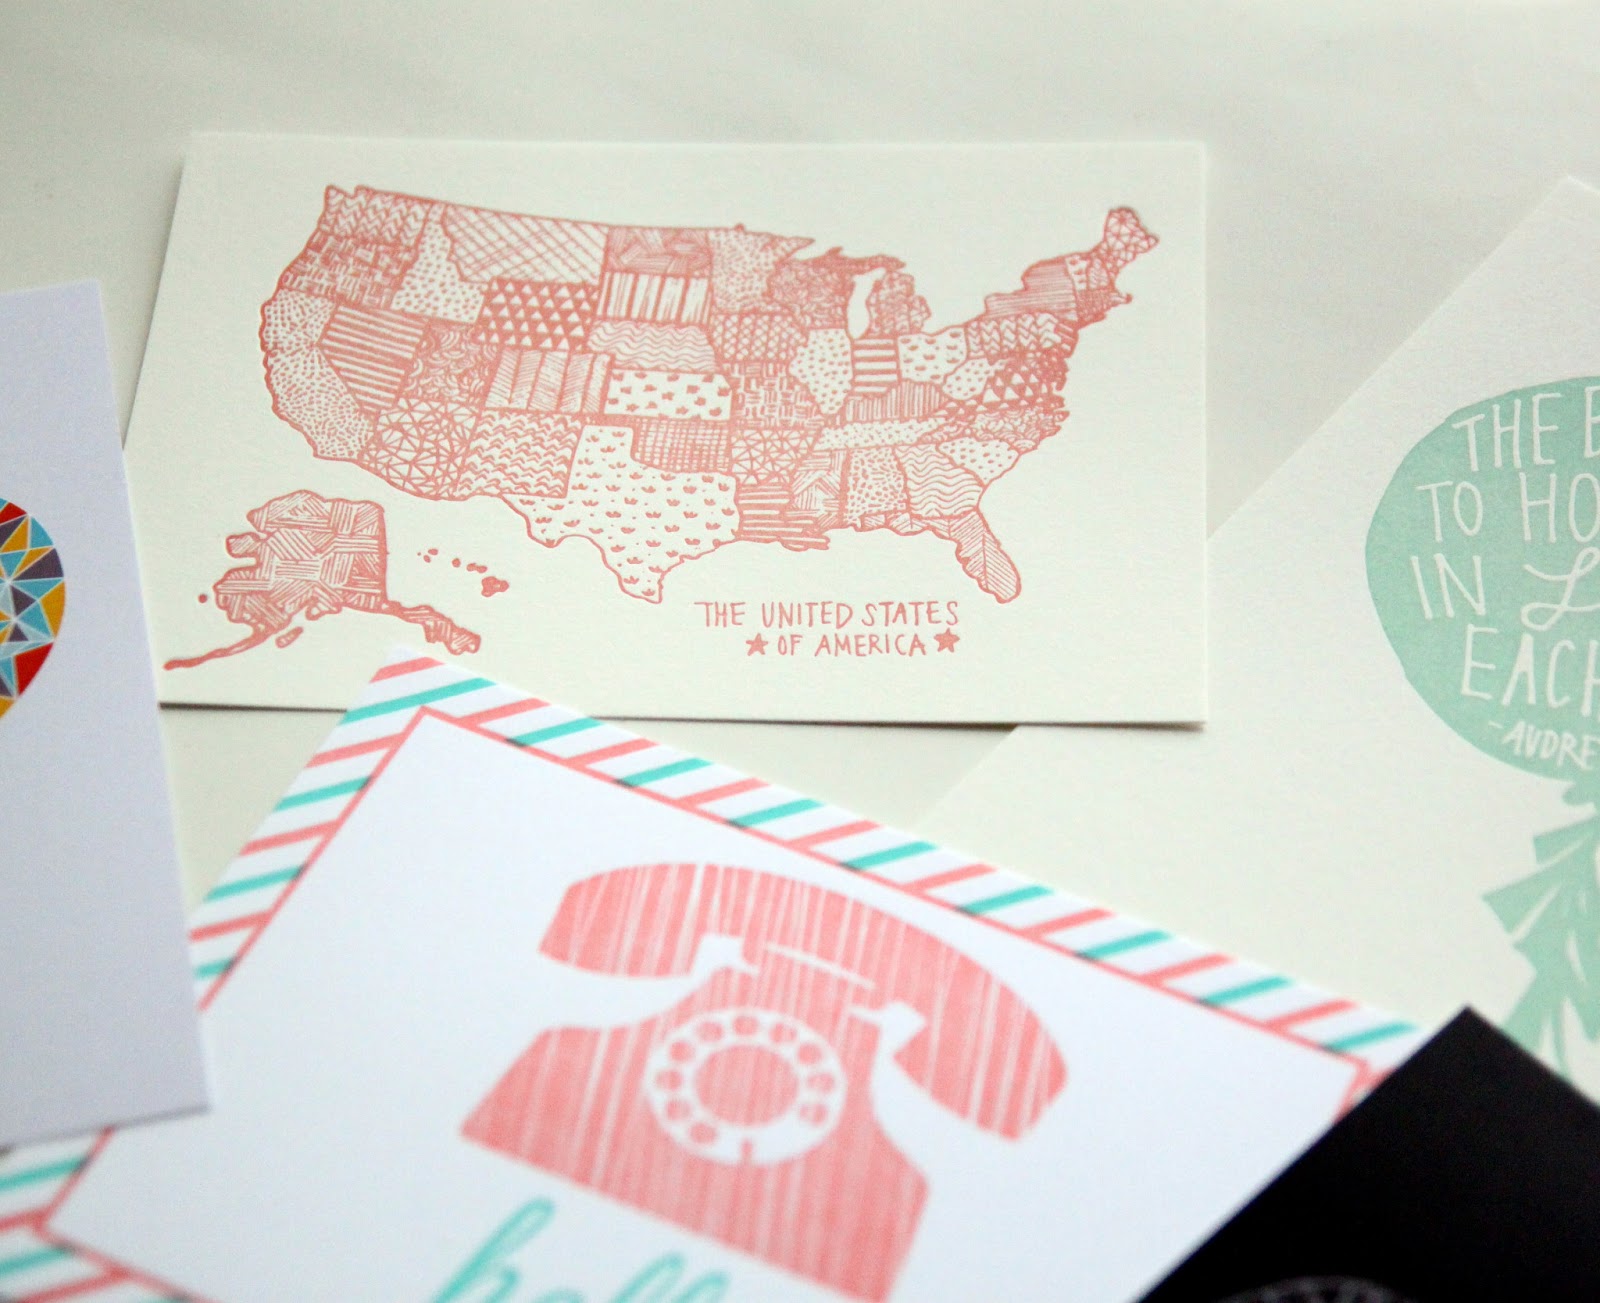
It has been so cold here in Chicago, that I am really longing for spring. So I put together some pinks and greens (pictured above) that I think are calling my name. I love this little bundle of fabric from ‘Blend’ fabrics, plus those nursery prints by Heather Ross are just adorable. I don’t know, pink and green always feels kind of preppy and classic to me.

Crafter’s Vision gets in new inventory daily, but I’m pretty sure if you check them out, that you will find plenty of things that you need to take home right now. I am trying to be good since I have so much fabric right now, but as I was looking through their store yesterday, I saw a lot of things that were begging to come into my home.


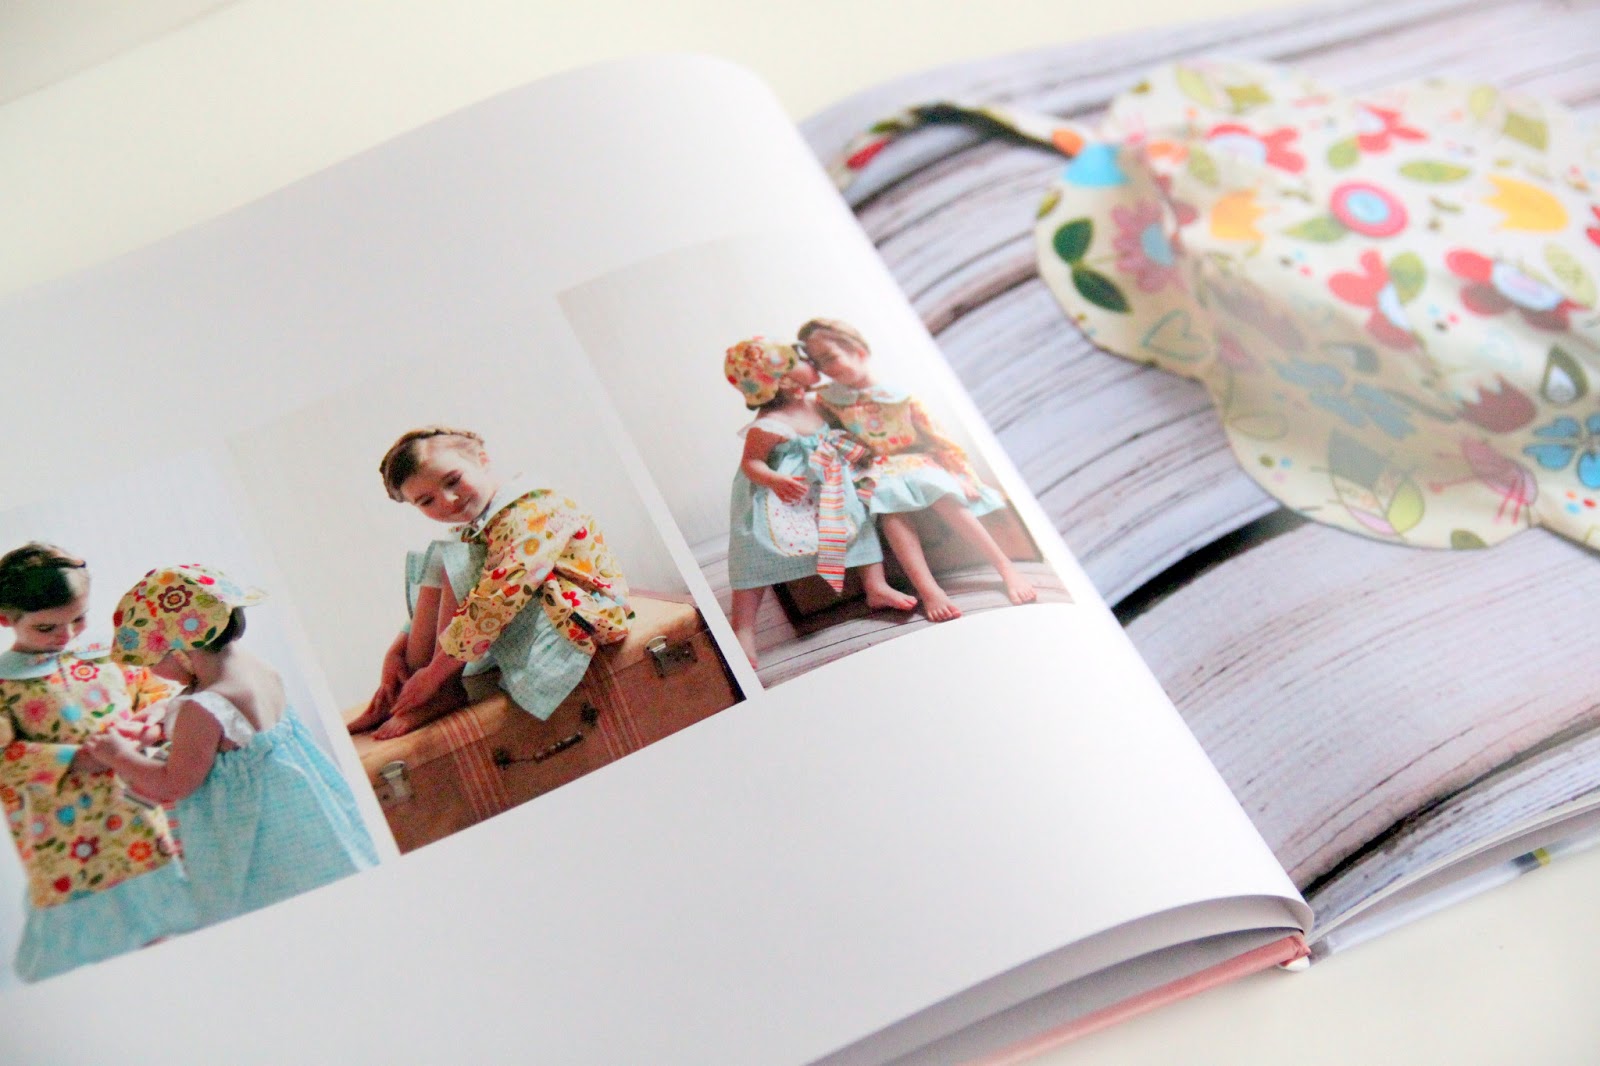


 Lindsay Wilkes is the owner and designer behind The Cottage Mama. She creates timeless, vintage inspired sewing patterns for children’s clothes. She is also a fabric designer for Riley Black Designers / Penny Rose Fabrics, author of the book ‘Sew Classic Clothes for Girls’ and can be seen teaching nationwide and online in her video series ‘Lessons with Lindsay’ sponsored by Baby Lock Sewing and Embroidery machines.


