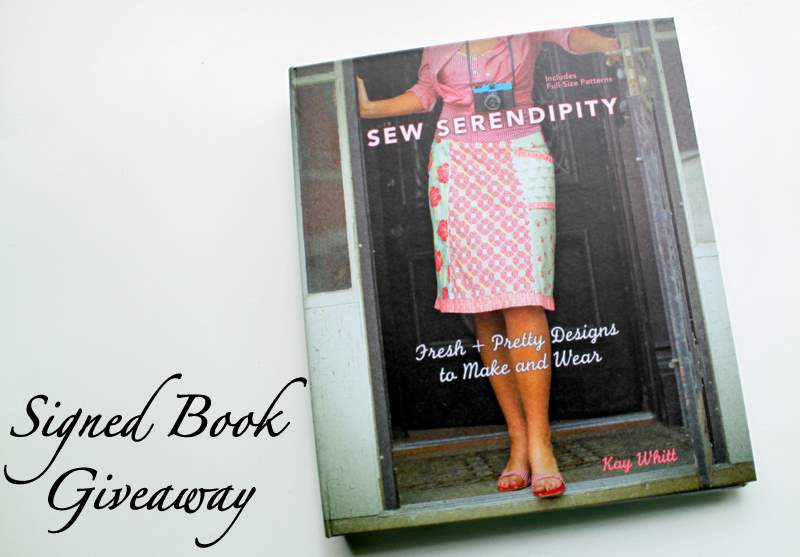


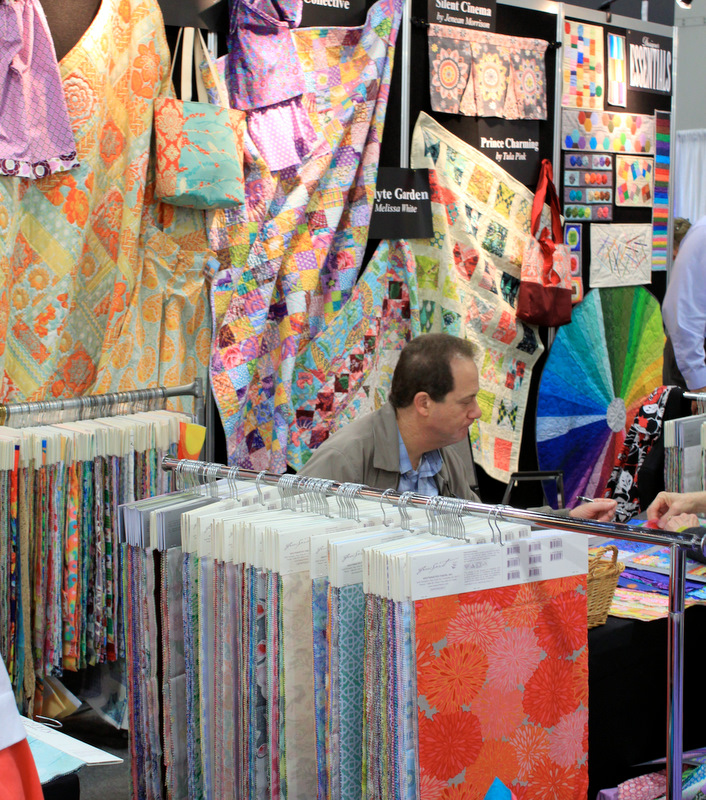
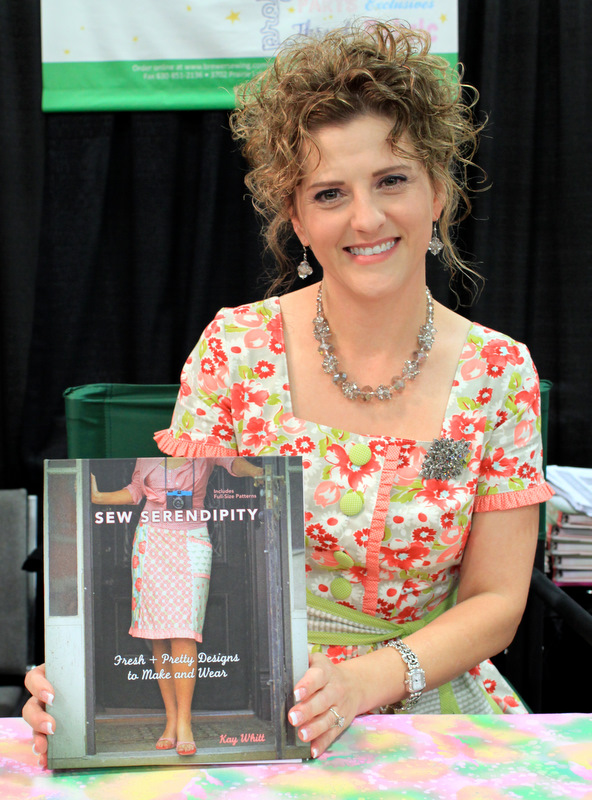
Today I’m giving away a signed copy of Kay Whitt’s “Sew Serendipity” sewing book. Now even though I am giving this away, I had to take a peak inside to make sure you all would really like it. And guess what? It’s a total winner! This book is geared towards women’s clothing and has many great skirt, tunic, dress, and coat patterns. But it was the coat patterns that really won me over.

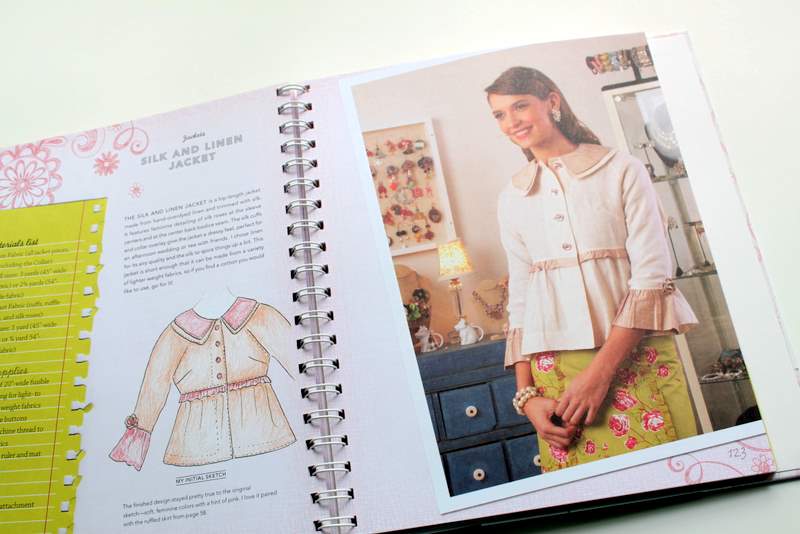
Oh, how I love this coat. Love, love, love. It’s just so sweet and feminine without being over the top. I’m always thinking of children’s clothing, so I could totally see something like this on my little girls as well as myself.

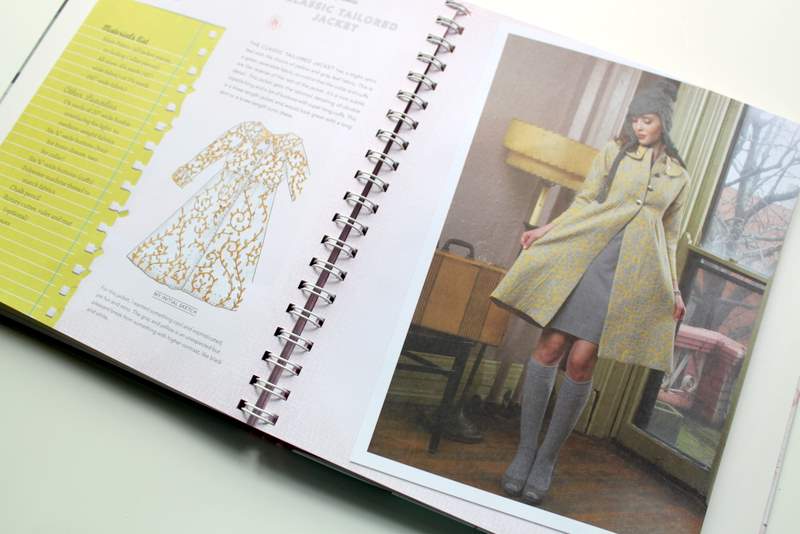
I thought this one was really hip and fun with this modern fabric. But it could also be toned down in a more subdued fabric. This shape would be really figure flattering on lots of different body types.
And I just can’t stop looking at this one! So classic, yet modern – just my style. If any of you win this book and would like to make this for me, I would gladly take it off your hands. Just kidding, but isn’t it adorable?
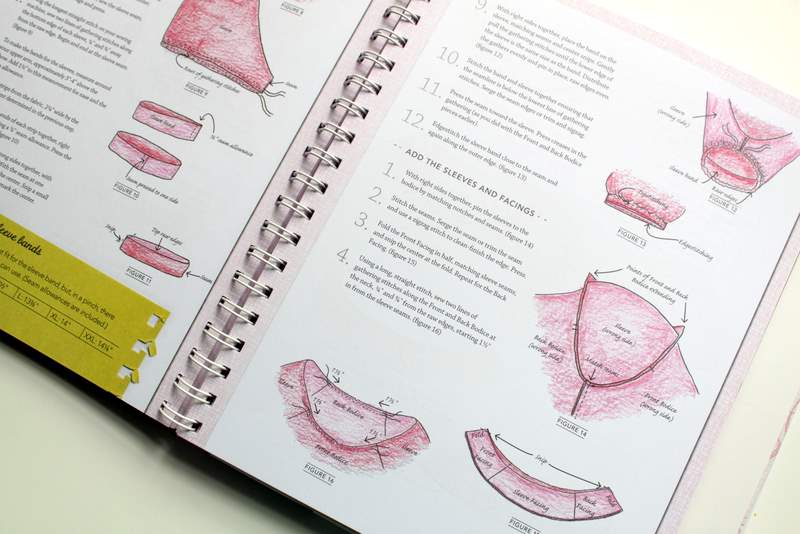
The book contains tons of illustrations throughout that makes it very easy to understand. Kay does all the illustrations herself, which are just awesome. I also love some of the other earlier chapters about getting a truly custom fit as well as her sewing tips and tools of the trade.
If you have ever been interested in sewing for yourself or another woman in your life, you are going to want this book. So here’s how to win………..
Three ways to enter. You may enter up to three times total. Please leave a comment for each entry.
1) Leave a comment. You can say whatever you would like. (1 entry)
2) Follow The Cottage Home Blog. (1 entry)
3) Become a fan of The Cottage Mama on Facebook (click HERE to do so). (1 entry)
Giveaway will be open until Friday, May 27, 2011 at midnight (CST).


 Lindsay Wilkes is the owner and designer behind The Cottage Mama. She creates timeless, vintage inspired sewing patterns for children’s clothes. She is also a fabric designer for Riley Black Designers / Penny Rose Fabrics, author of the book ‘Sew Classic Clothes for Girls’ and can be seen teaching nationwide and online in her video series ‘Lessons with Lindsay’ sponsored by Baby Lock Sewing and Embroidery machines.


