So now we are moving on to the capris/shorts. I decided to make the capris for my little lady, so I will be referring to them as such through this post.
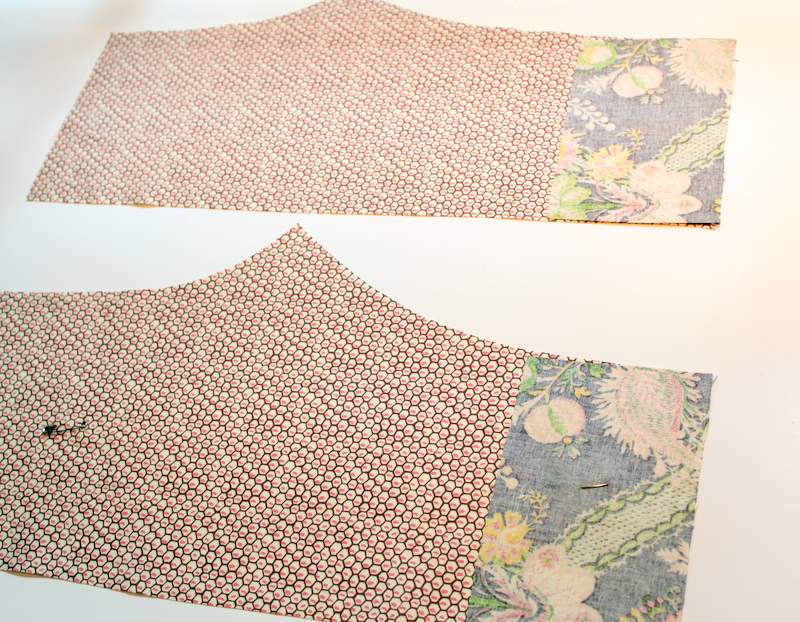
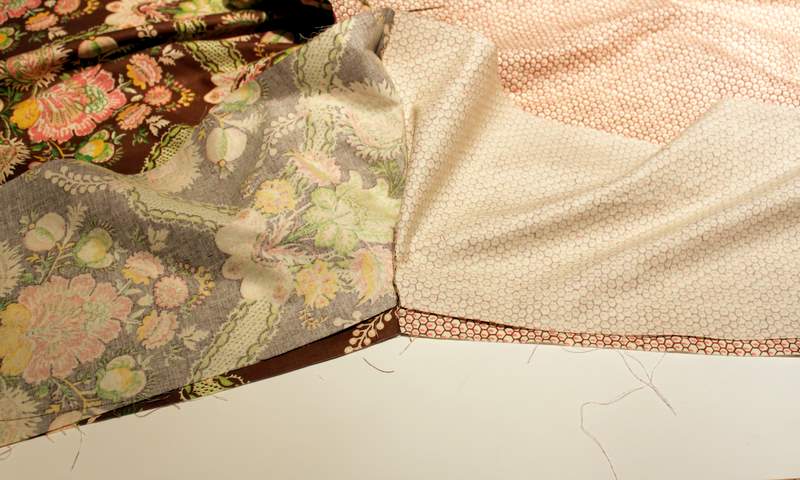
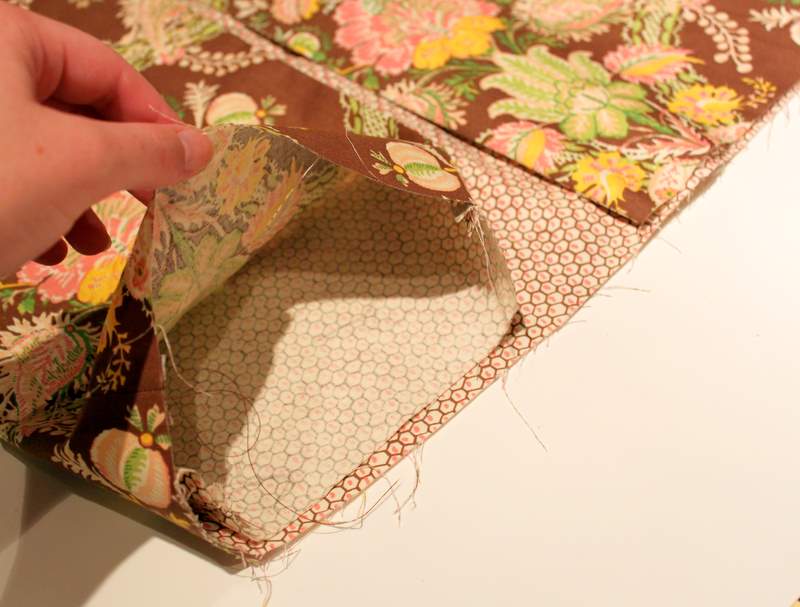
First we need to add the cuff to the capris. Place the cuff on top of the bottom of the pants, right sides together and sew together at the bottom edge. Do this on all four pant pieces. Press seams open and then press the right side as well.
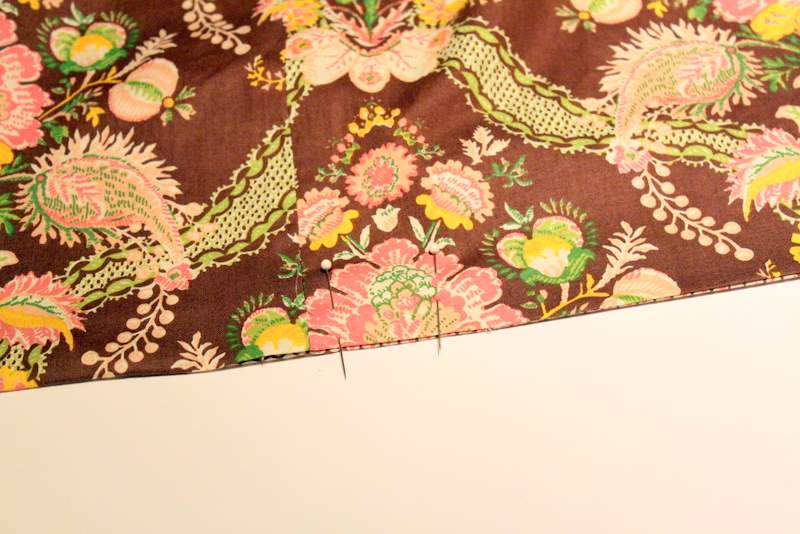
If you notice, I marked my back pant pieces with a safety pin so I can easily tell them apart from the front pieces……sometimes it’s really hard to tell.


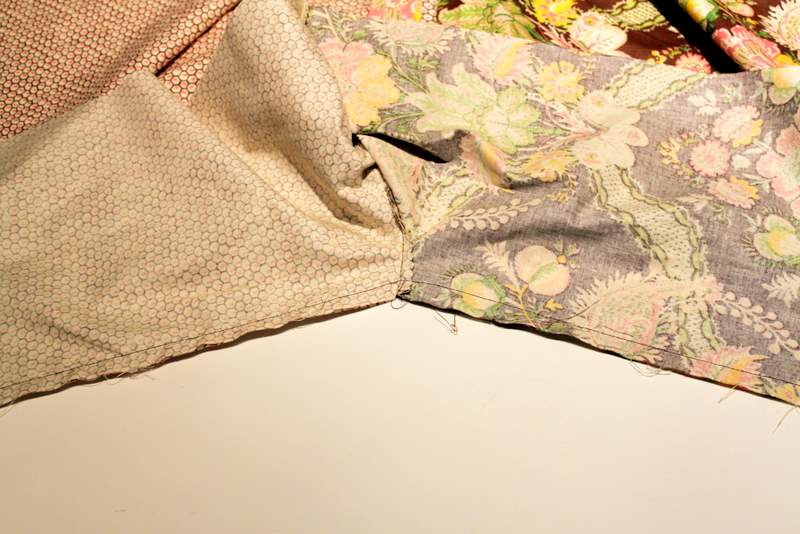
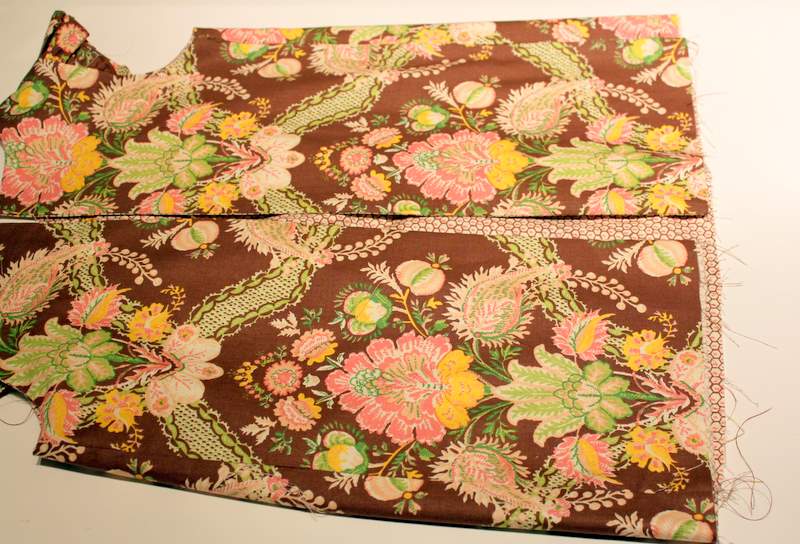
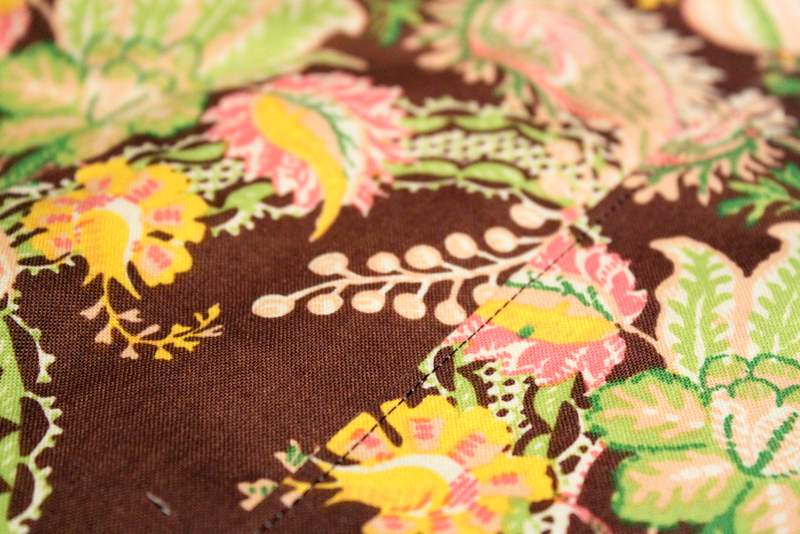
Next line up a front and back piece, right sides together and sew down the long center curve of the pants. Press seams open. I opted to use my serger here because the pants were not lined. If you don’t have a serger (which I’m sure a lot of you don’t), then just be sure to use your pinking shears to finish the edges to prevent fraying.

Open the pieces you just sewed together. Line up the front and back pieces with one another, right sides together and sew around the crotch area. Press seams open.

Now you have what pretty much looks like a pair of pants. Stitch both side seams, right sides together, but make sure to stop before you sew the cuff as the pattern instructs.

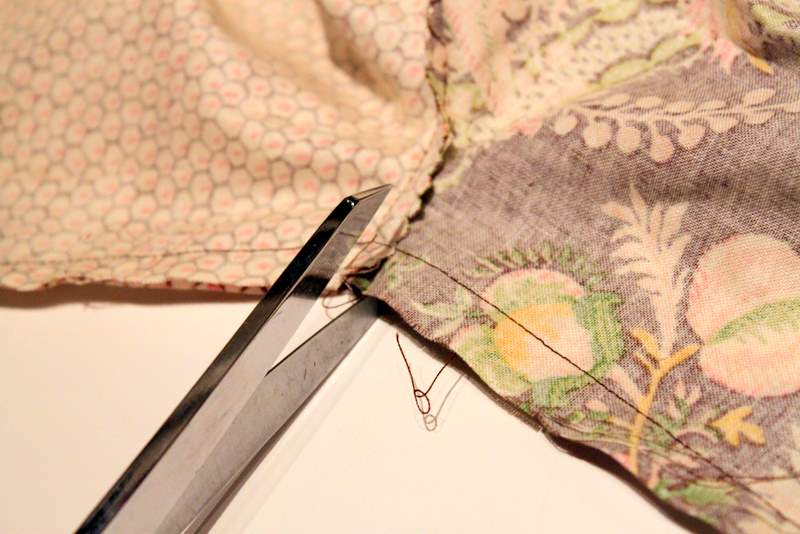
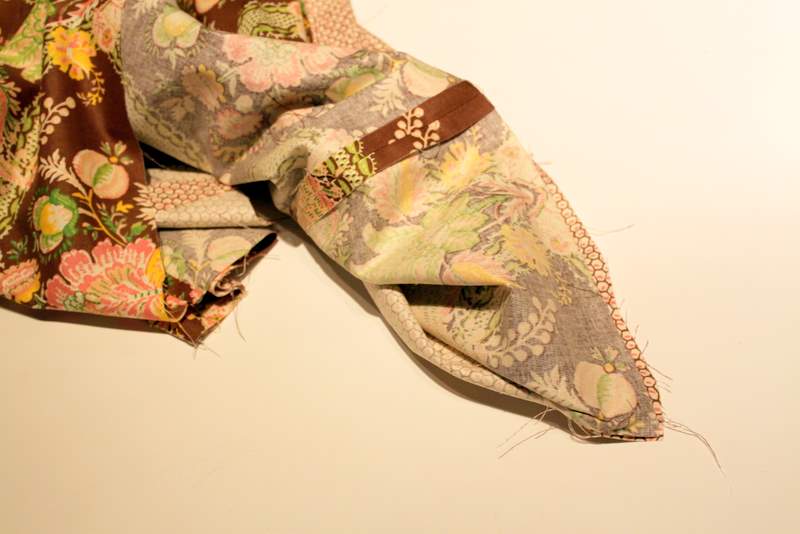
Next, press the cuff to make the seams for the side slits. Pin in place and stitch according to pattern directions. I’m not 100% that I did this correctly, but it seemed to work out well.
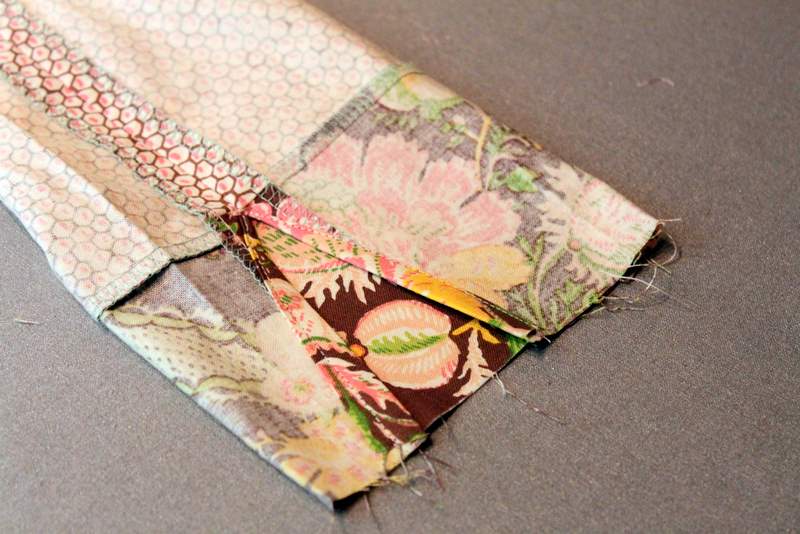
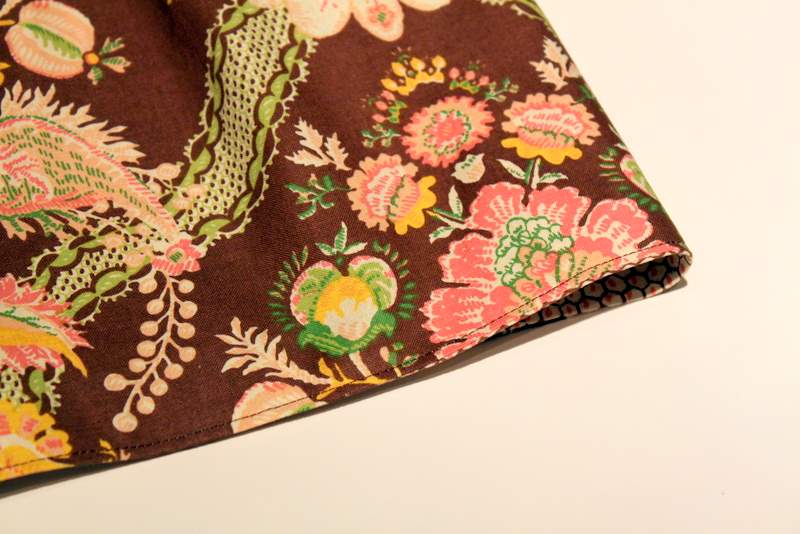
Above is what the cuff side slits will look like after you have stitched them into place.

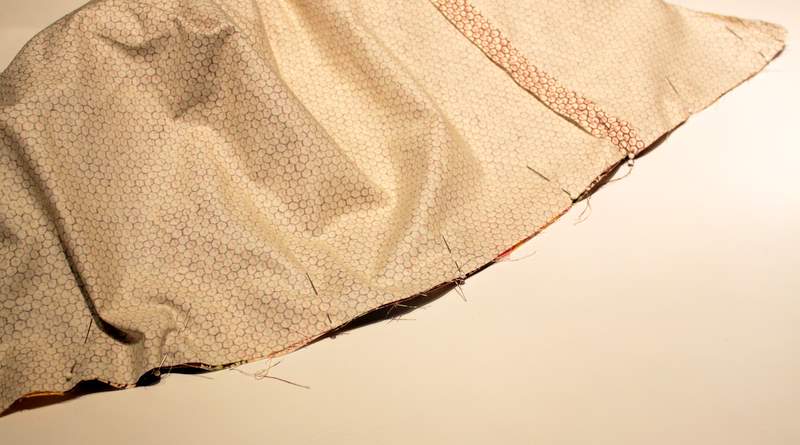
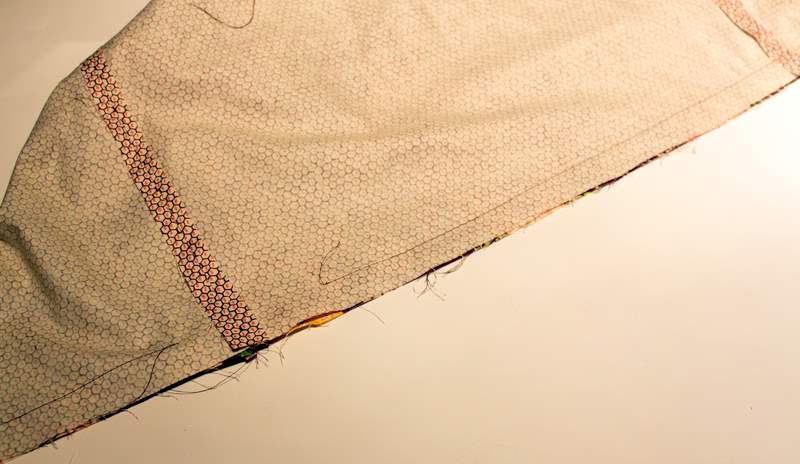
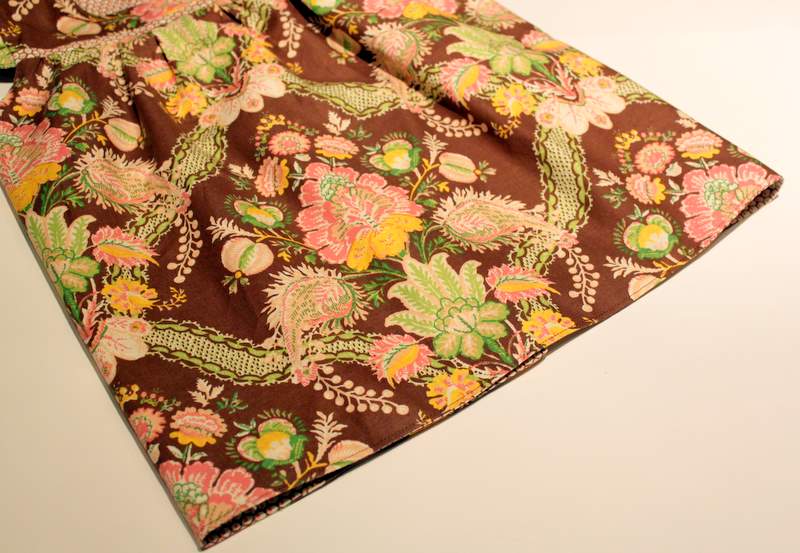
Next we need to hem the capris. Turn the hem up 1/2″ and then another 1/2″ towards the wrong side of the pants and stitch into place. This is where I love to use my hem gauge – it comes in very handy for this step!
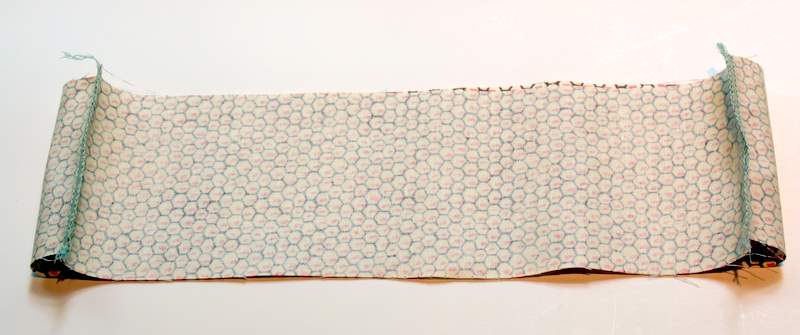
Now we move onto the waist-band. Stitch the front and back of the waist-band, right sides together, at the side seams.
I don’t know if you recall, but I think the back waist-band piece (H) was labeled incorrectly as front waist-band, so don’t let this confuse you.

Press your waist-band side seams and then press your waist-band in half.

Open your waistband back up and sew your elastic into the back waist-band piece at the side seams. Make sure to stitch this back and forth several times so it is nice and secure. Again, this is another spot where I think I did what the instructions called for, but I’m not 100% sure.
Once you’ve sewn in the elastic at the side seams fold the waist-band back in half. Place the raw edge of the waist-band in line with the raw edge of the top of the capris. Stitch into place and press seams open. I found this to be slightly tricky with the elastic already sewn in, but just work with it and it will turn out just right.

Here is what your waist-band will look like once you have pressed your seams. It will be nice and flat on the front and gathered with elastic on the back. A flat front pant gives a really nice look on a little girl because it reduces any of the bulk in the front that elastic might cause.



























 Lindsay Wilkes is the owner and designer behind The Cottage Mama. She creates timeless, vintage inspired sewing patterns for children’s clothes. She is also a fabric designer for Riley Black Designers / Penny Rose Fabrics, author of the book ‘Sew Classic Clothes for Girls’ and can be seen teaching nationwide and online in her video series ‘Lessons with Lindsay’ sponsored by Baby Lock Sewing and Embroidery machines.