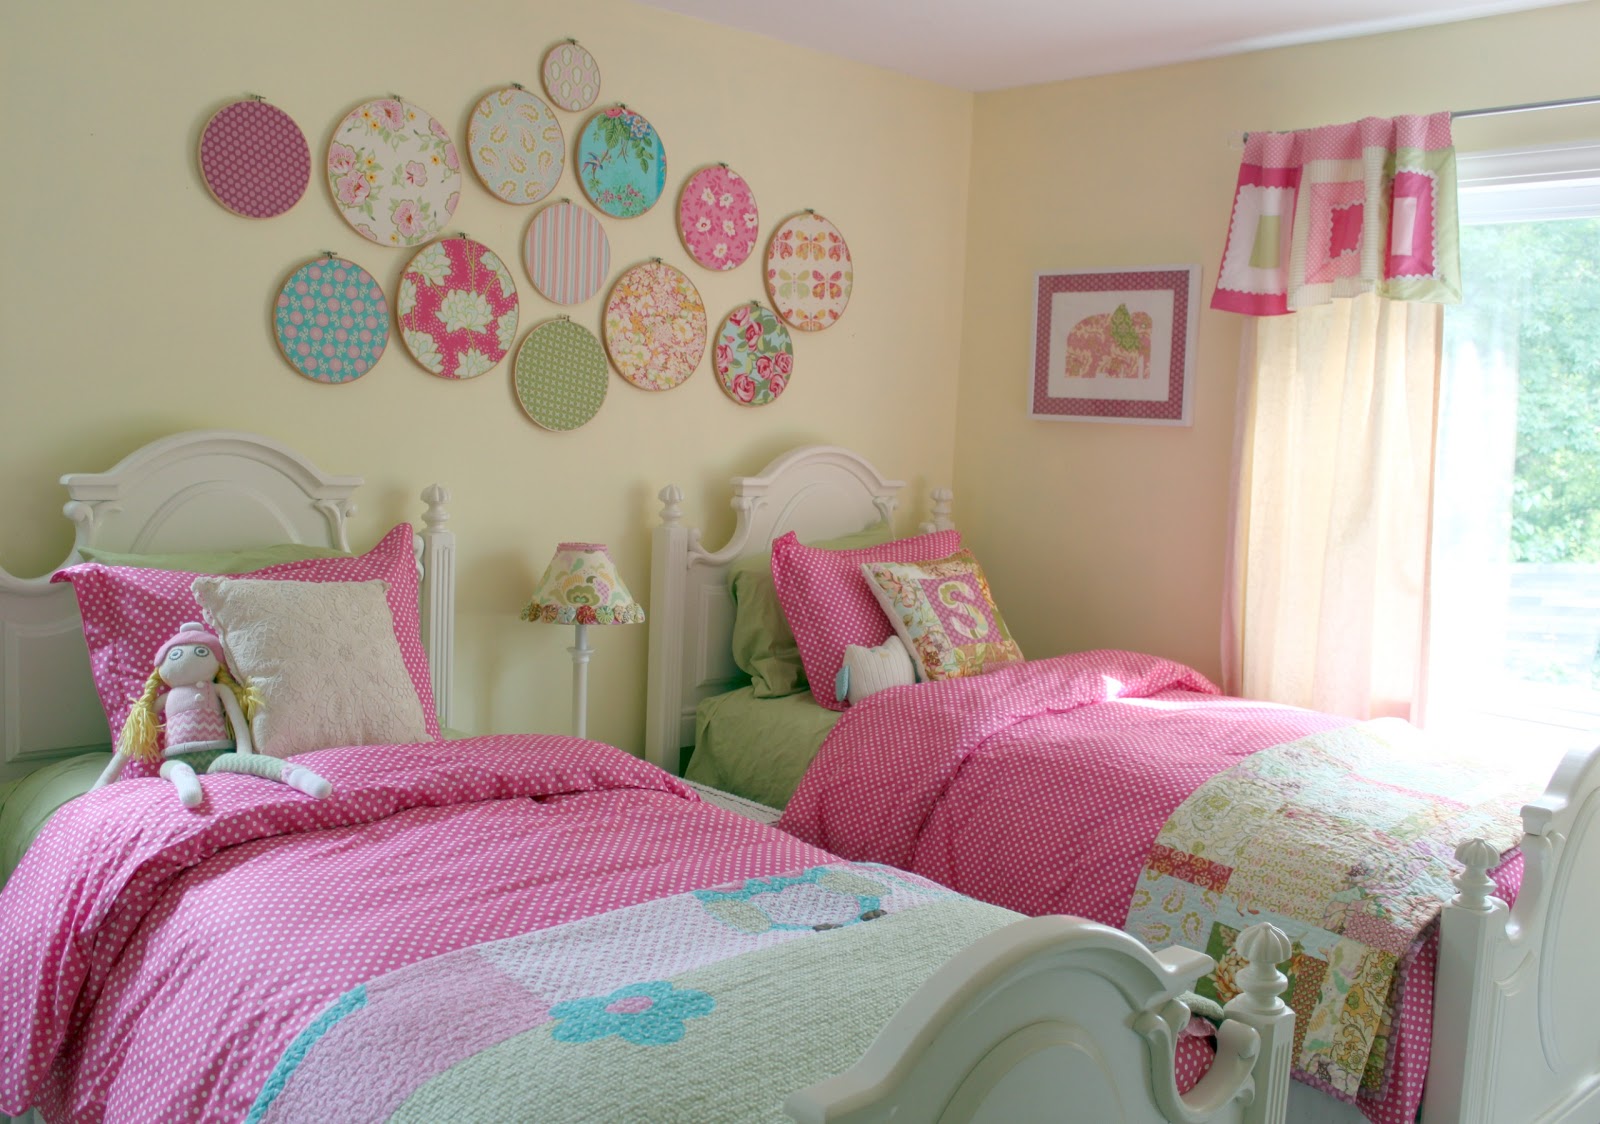
About a month ago we moved the girls into the same bedroom. I’m not going to lie, I was extremely nervous to make this move, but we knew it needed to happen well in advance of the other big adjustment in our future (baby brother). It was a big transition for them and for us into their Girls Shared Toddler Bedroom. It was Matilda’s first time in a “big girl bed” and the first time either girl has ever had a roommate. We had a rough first couple days, but since then it’s been working out pretty well.

The girls bedroom is not a huge room, I think it’s 11′ x 13′ and we weren’t really sure if both beds were going to fit. Sure enough, they did! I just love these beds. They were given to us after my husband’s Grandma passed away last year – they use to be in her guest bedroom. I love the ornate lines and the creamy white color. It’s exactly what I would have picked out for the girls had I gone shopping for these myself. And I’m sure Brett’s Grand-Molly loves looking down seeing her great-granddaughters snug as little bugs in the beds she picked out.
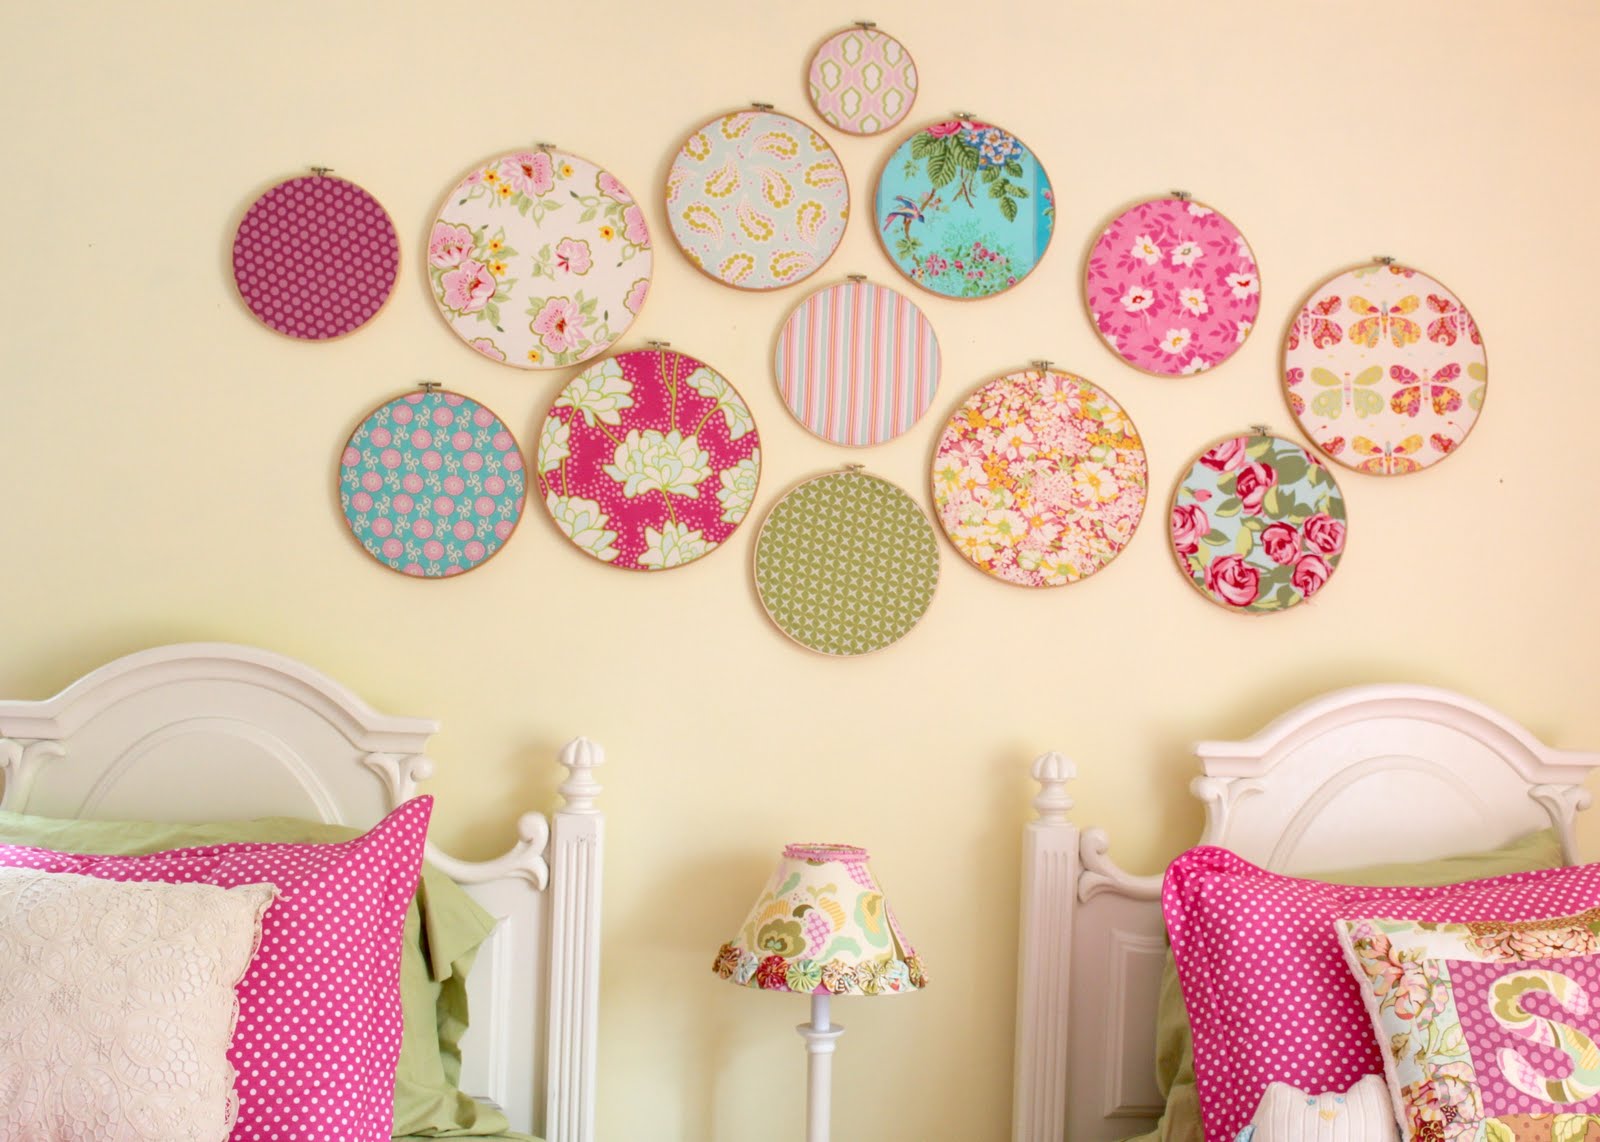
I’ve been collecting embroidery hoops from local thrift shops for the past year or so. Just picking them up here and there, not quite sure what I was going to do with them. These were so inexpensive, maybe .25 – .49 cents a piece. I used my designer fabric scraps and just stretched them into each canvas and then trimmed around the edges. They are each hung on a nail and are very light-weight.
The embroidery hoops on the wall is not my original idea, I’ve seen this done in designer magazines as well as on lots of online websites and I have always loved the look. We used to have Savannah’s name on the wall, but when we moved Matilda in, we had to come up with something new. I have so many fabric scraps that I just love, I knew this inexpensive art work would be just perfect to fill the large wall in the girls room.
The pink polka dot duvet covers and pillow shams are from Potterybarn Kids. The twin-sized quilt on the foot of Savannah’s bed is one that I made for her from Heather Bailey’s “Freshcut” fabric line before Matilda’s arrival. I haven’t had time to make Matilda a big quilt yet, so her quilt is store-bought. It’s really cute with owls, flowers and birds.
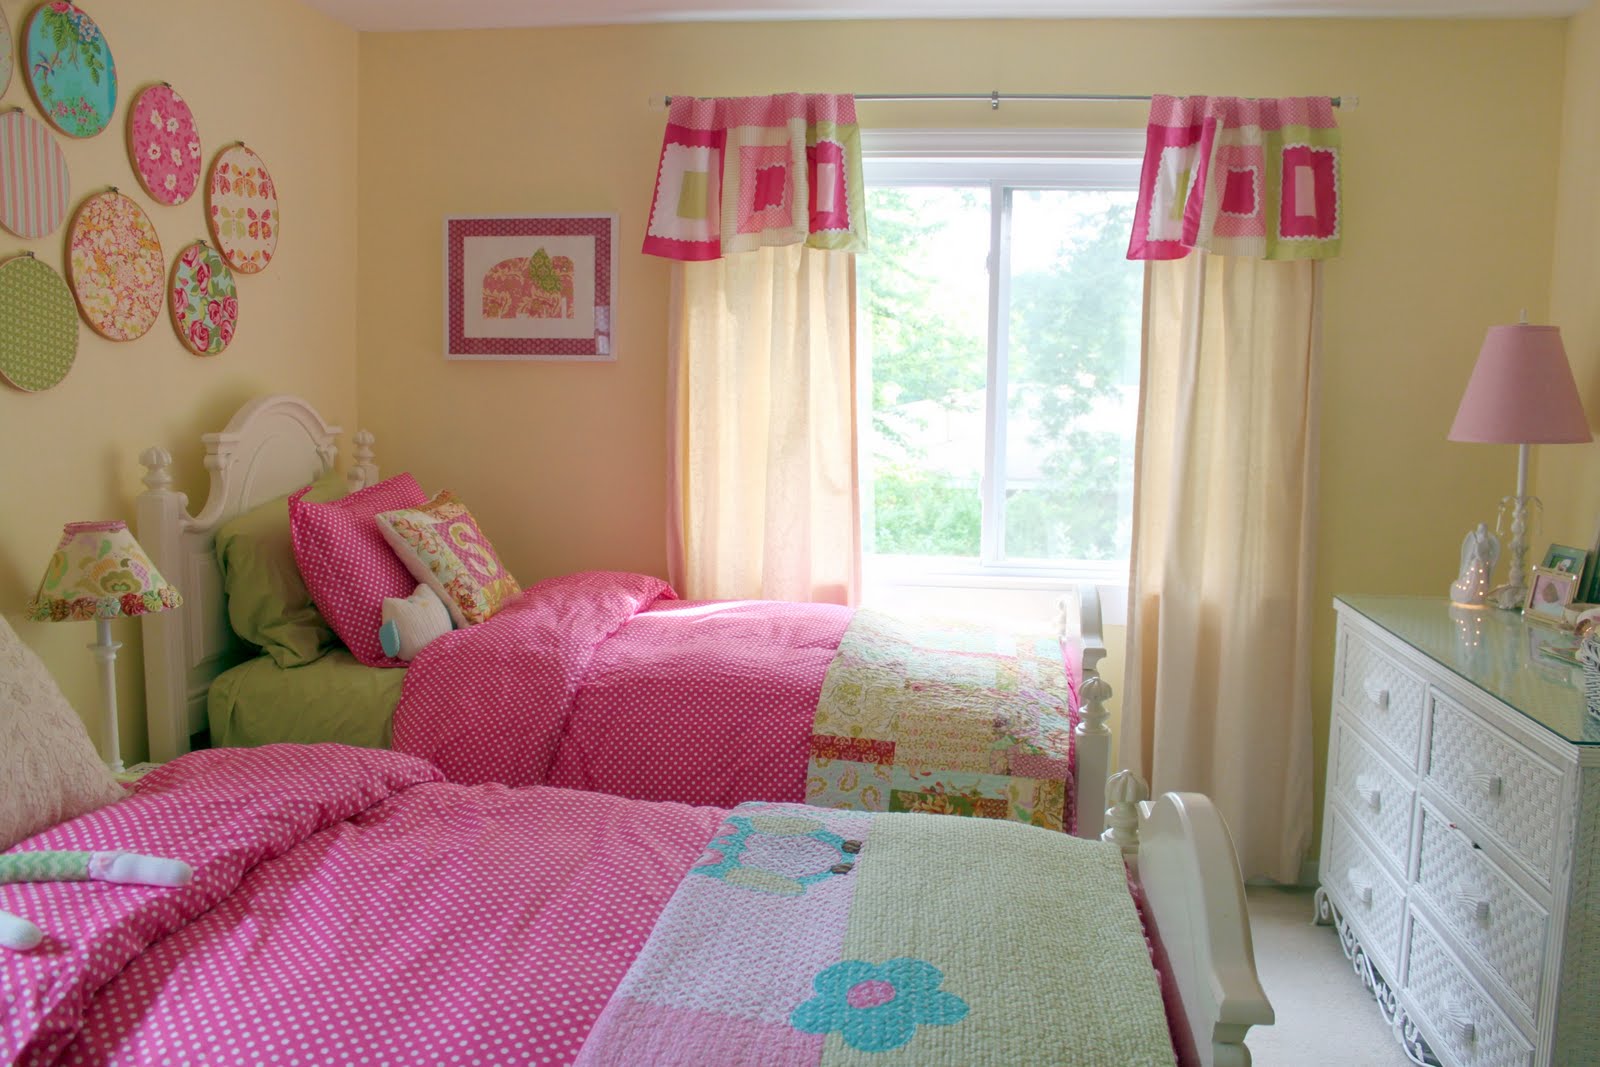
The cream colored drapes were in the nursery, but didn’t really go with our new “Nautical” theme for baby brother. So I moved them into the girls room, but they needed something against the yellow wall. I found these two valences at Home Goods store in the clearance section – $3.00 a piece. I stitched them to the top of each curtain panel to add a little interest around the window. They are trimmed with ric-rac and were just the right colors.


I covered this lampshade for Savannah’s original room and I still love it. I covered it with fabric and then made fabric yo-yo’s that I hot glued all around the bottom. It is finished at the top with a pink, ruffle trim ribbon.


Above are a couple pillows I made for their room. I haven’t gotten around to making an “M” pillow, but hopefully that is on my short list of to-dos. The other pillow is made from scraps from Savannah’s quilt and several handmade fabric yo-yo’s.

The elephant wall art was made by me from different fabric scraps that I cut up to create the piece. There are two other similar pieces in the room (though I didn’t get a photograph of them) – one has two little birds and the other has a lion and a whale on it. All three photo mats are covered in the same pink polka dot fabric.

Matilda’s bed is still a little high up for her to climb in, so she uses this painted trunk to climb into bed. It’s great because it also doubles as storage and looks pretty too.


 Lindsay Wilkes is the owner and designer behind The Cottage Mama. She creates timeless, vintage inspired sewing patterns for children’s clothes. She is also a fabric designer for Riley Black Designers / Penny Rose Fabrics, author of the book ‘Sew Classic Clothes for Girls’ and can be seen teaching nationwide and online in her video series ‘Lessons with Lindsay’ sponsored by Baby Lock Sewing and Embroidery machines.


