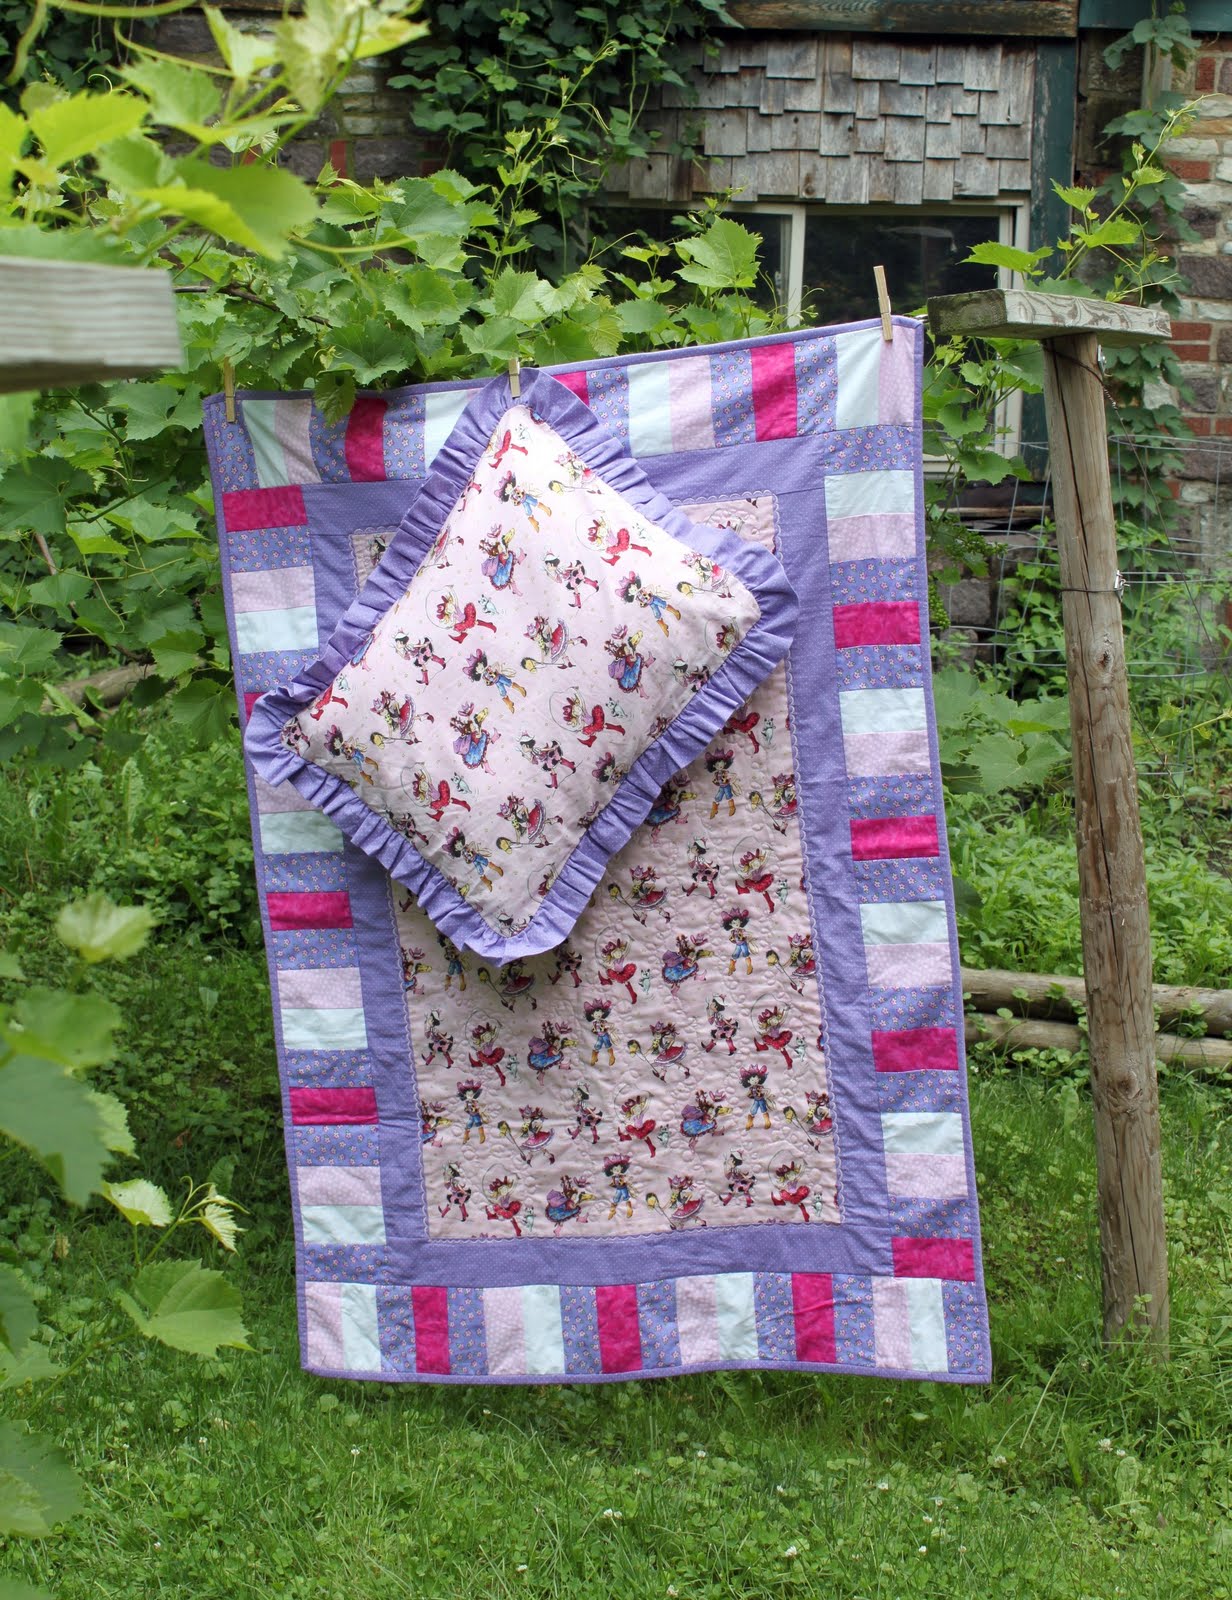
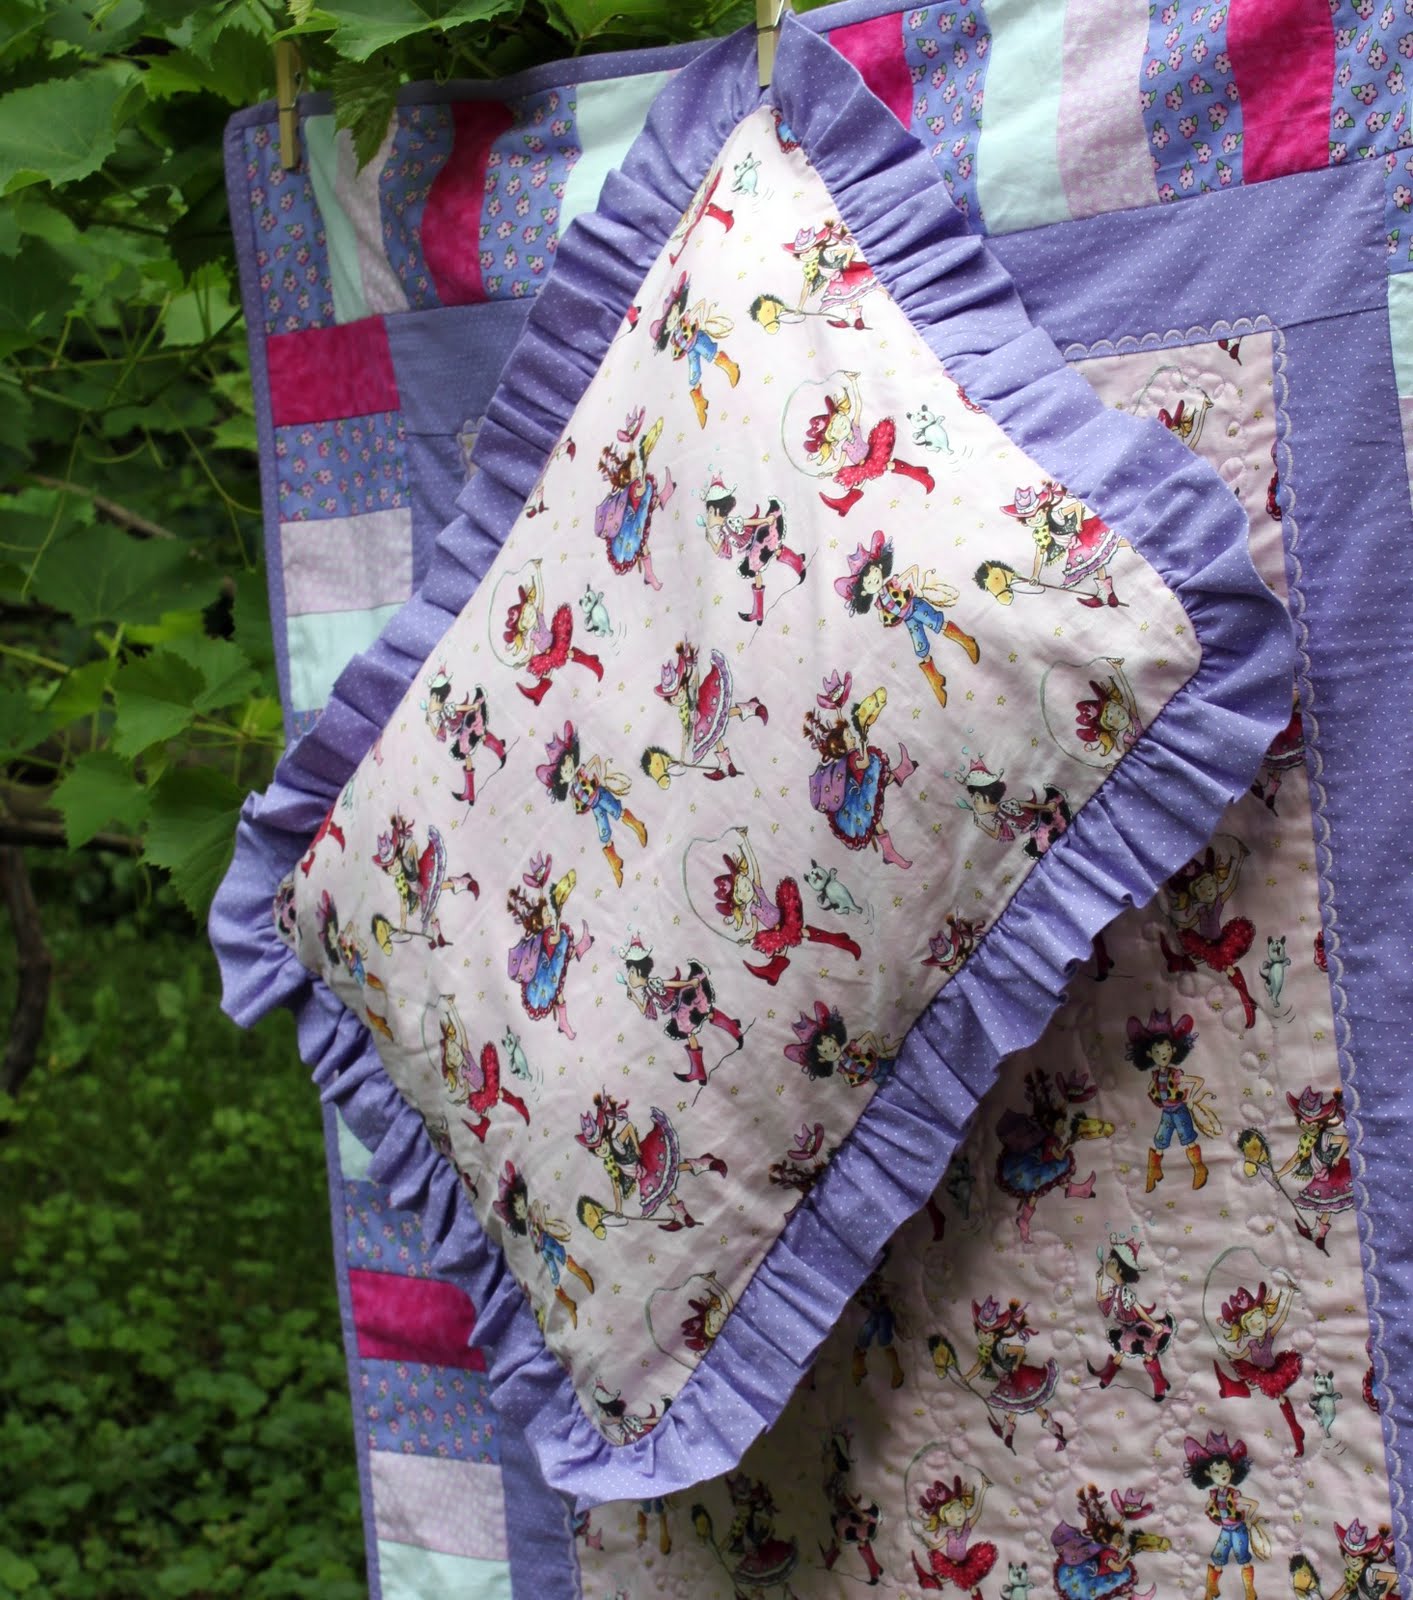
A long time ago, when I first started this blog, I shared a quilt that I had made for my daugther, Savannah’s room before the arrival of her baby sister, Matilda. Well, in looking back and those pictures………let’s just say, they were less than attractive.
So I took some time to take some somewhat better shots of the quilt I made for Miss Savannah Rose. It’s the only really large quilt I’ve ever made (twin sized) and I will be forever proud of it!
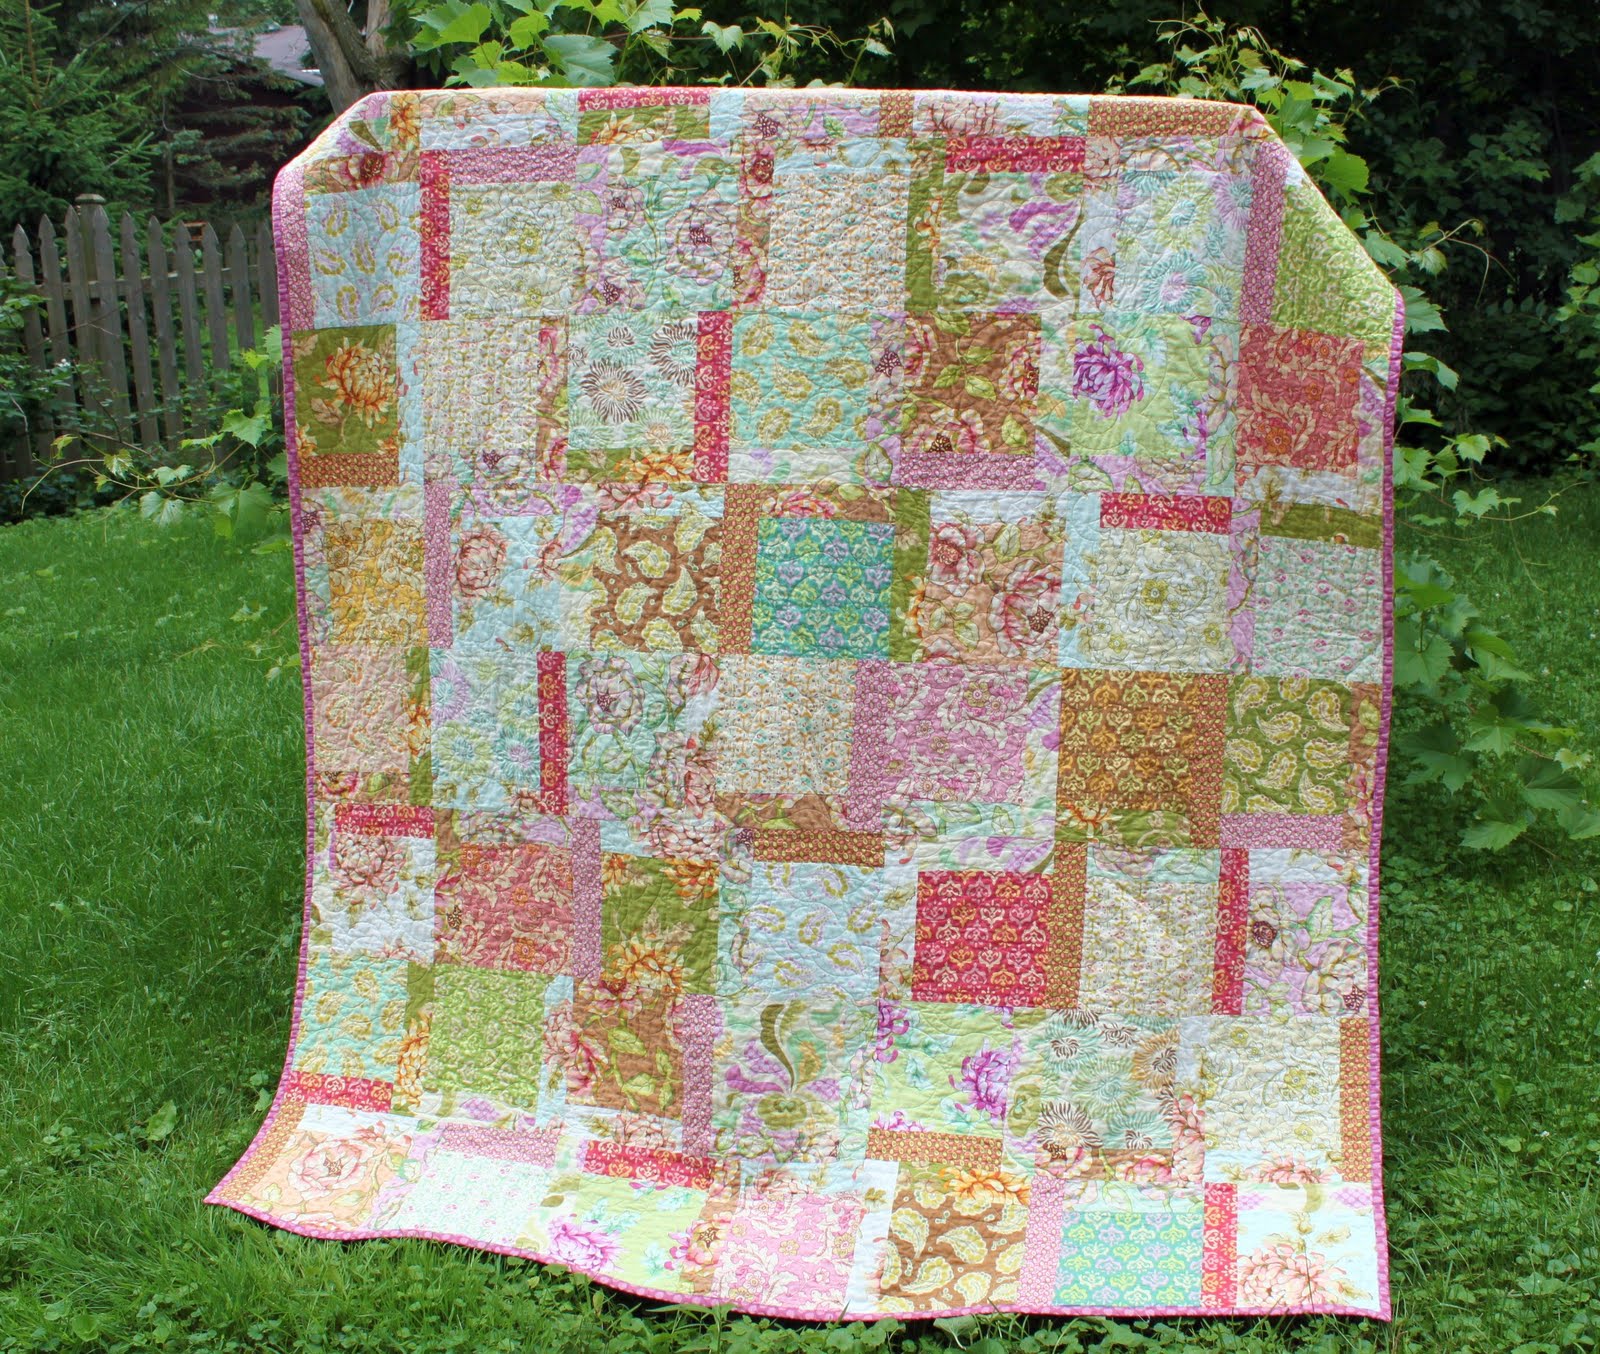
I made this quilt out of Heather Bailey’s, “Freshcut” fabric line, which has since gone out of print. I used a fat quarter set and a jelly roll for this twin sized quilt. I cut the fat quarters up into smaller squares and cut the jelly roll strips down as well. In retrospect, had I known more about quilting, a “layer cake” would have been more appropriate and easier to use for the large squares. But live and learn, right?
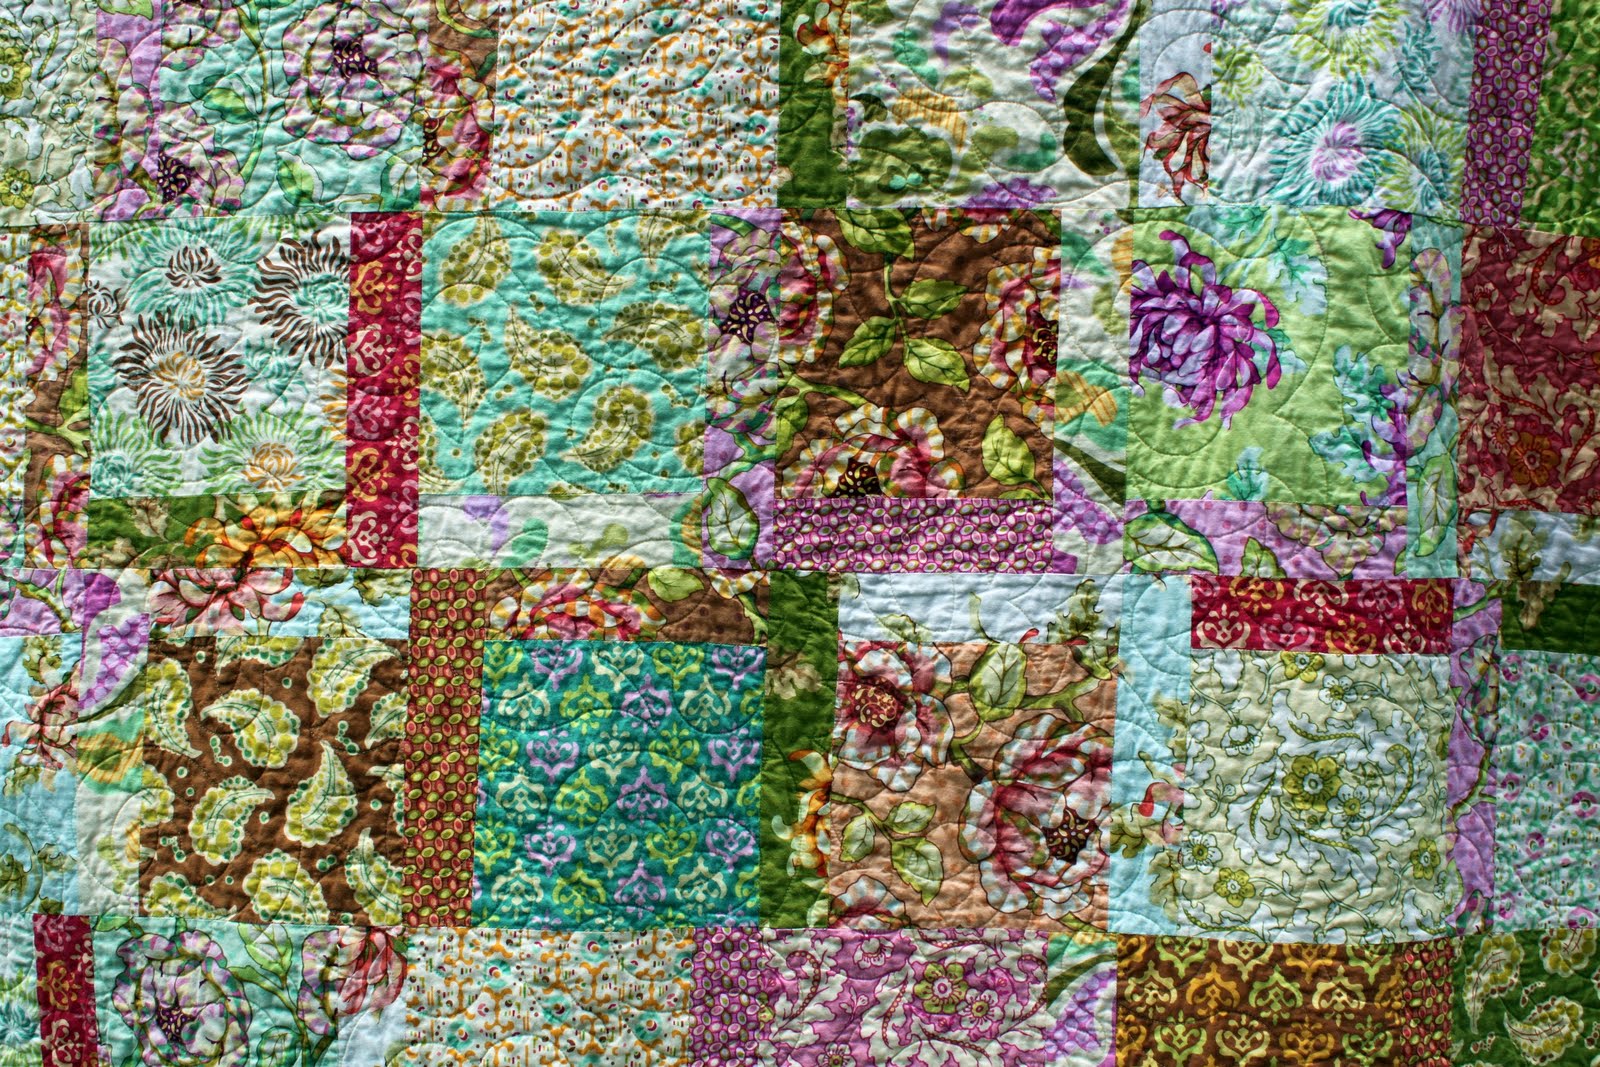
I pieced together the entire top of the quilt, but then I sent it to a quilt shop to have it machine quilted. If you’ve never had anything machine quilted, it’s a pretty fun thing to do. A lot of local quilt shops or quilters have what’s called a “long-arm” quilting machine and you can pick any pattern you’d like from their designs and have your quilt top quilted.

Generally when you send something to be machine quilted, you will send your finished quilt top, your quilt backing, which should already be pieced together, and sometimes you send your batting. Some shops provide batting that you can purchase and others do not. Also, if you want the shop to do the binding for you, they usually will, but you need to send additional yardage for the binding strips.

I spent so much time piecing together the top that I decided I didn’t want to mess it up by quilting it myself. I also wanted this quilt to be an heirloom piece that Savannah will keep forever. Maybe, just maybe, I will quilt my own large quilt someday, but for now, I like to do the piecing and have the machine do the quilting!


 Lindsay Wilkes is the owner and designer behind The Cottage Mama. She creates timeless, vintage inspired sewing patterns for children’s clothes. She is also a fabric designer for Riley Black Designers / Penny Rose Fabrics, author of the book ‘Sew Classic Clothes for Girls’ and can be seen teaching nationwide and online in her video series ‘Lessons with Lindsay’ sponsored by Baby Lock Sewing and Embroidery machines.


