The Little Man Gown Tutorial

I was recently invited by Laura from ON{the laundry}LINE to guest post during her “Summertime and the Living is Thrifty” series.  So here I am sharing my most recent thrifty creation for my soon to arrive little man, The Little Man Gown.
I’ve been meaning to make a little something for this new bundle of joy that is due to arrive in a month in half, but just haven’t had the time to sit down and actually get it done.  I’m sure you can imagine that with two girls, we have a lot of pink in this house.  I love baby gowns, but we really didn’t have any that would be appropriate for this little guy.

My husband recently left a stack of old t-shirts in my studio that he was done wearing.  He said before he put them in the “donate” pile, he thought I might want to make something out of them (he knows me pretty well).  The shirt above is kind of a joke.  We used to have a really awesome six-toed, boy cat named George.  Brett would always call him a mushroom and one day I asked him, “why?”.  He said it was because he was such a “Fun Guy”……..get it? Funghi?

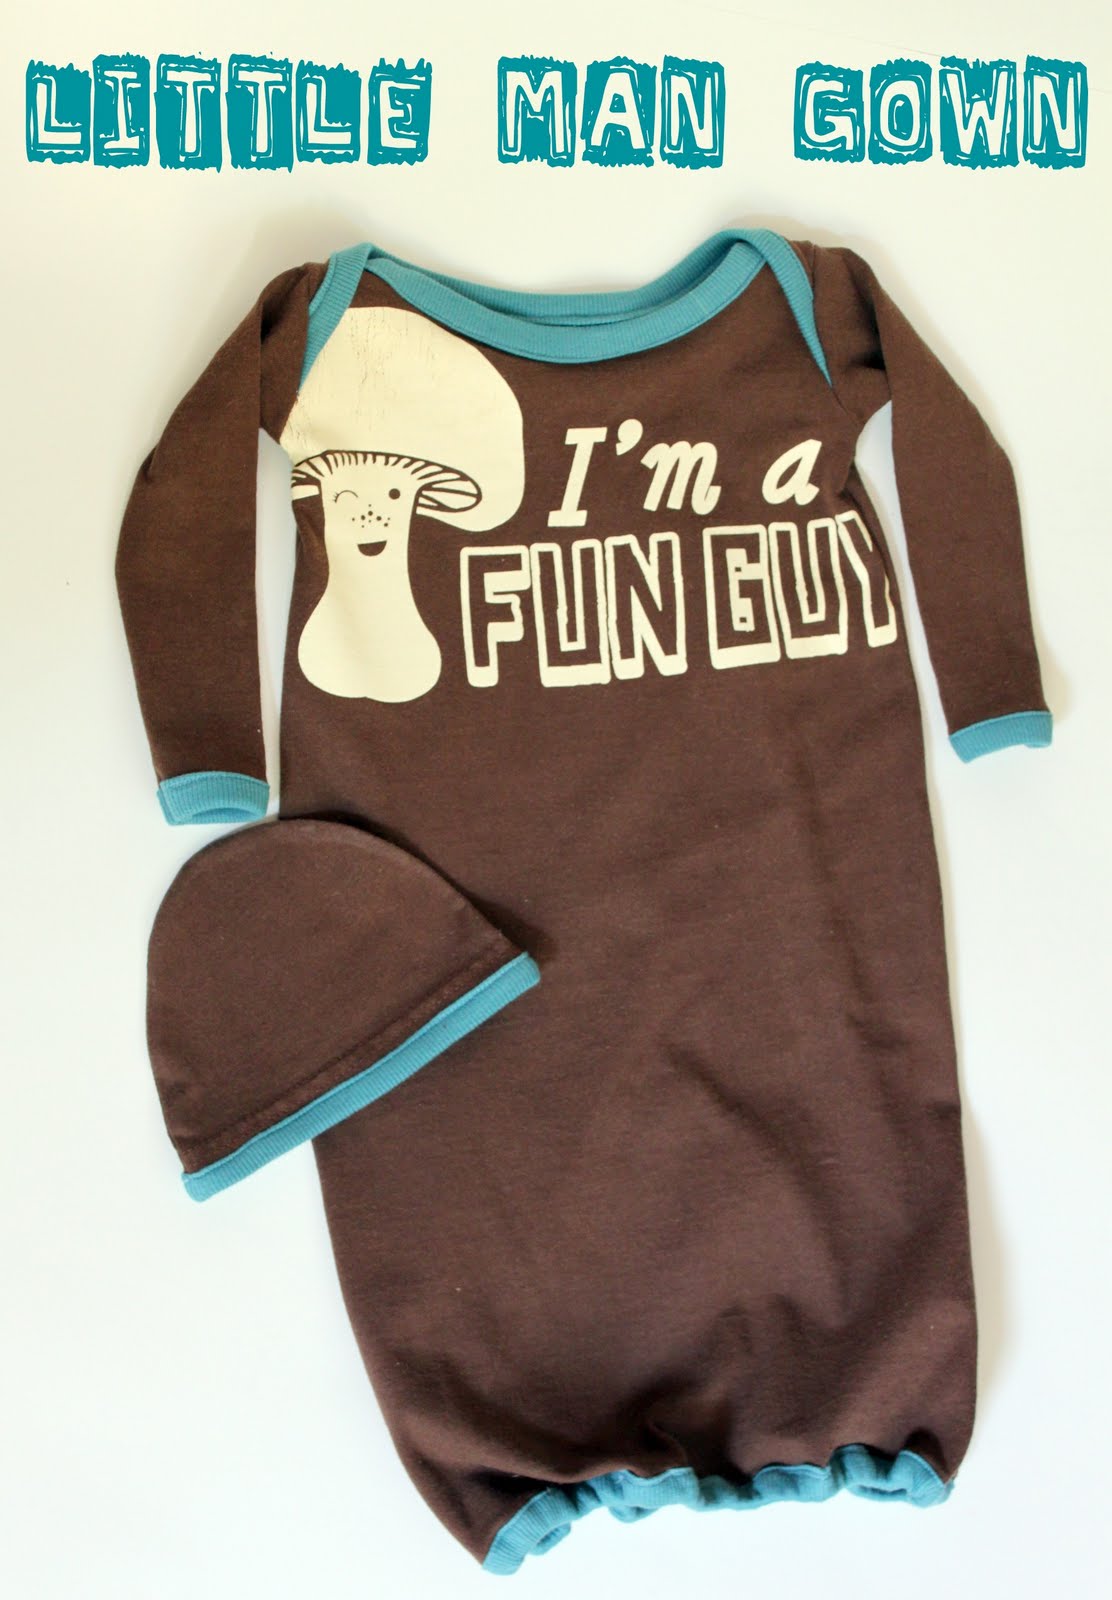
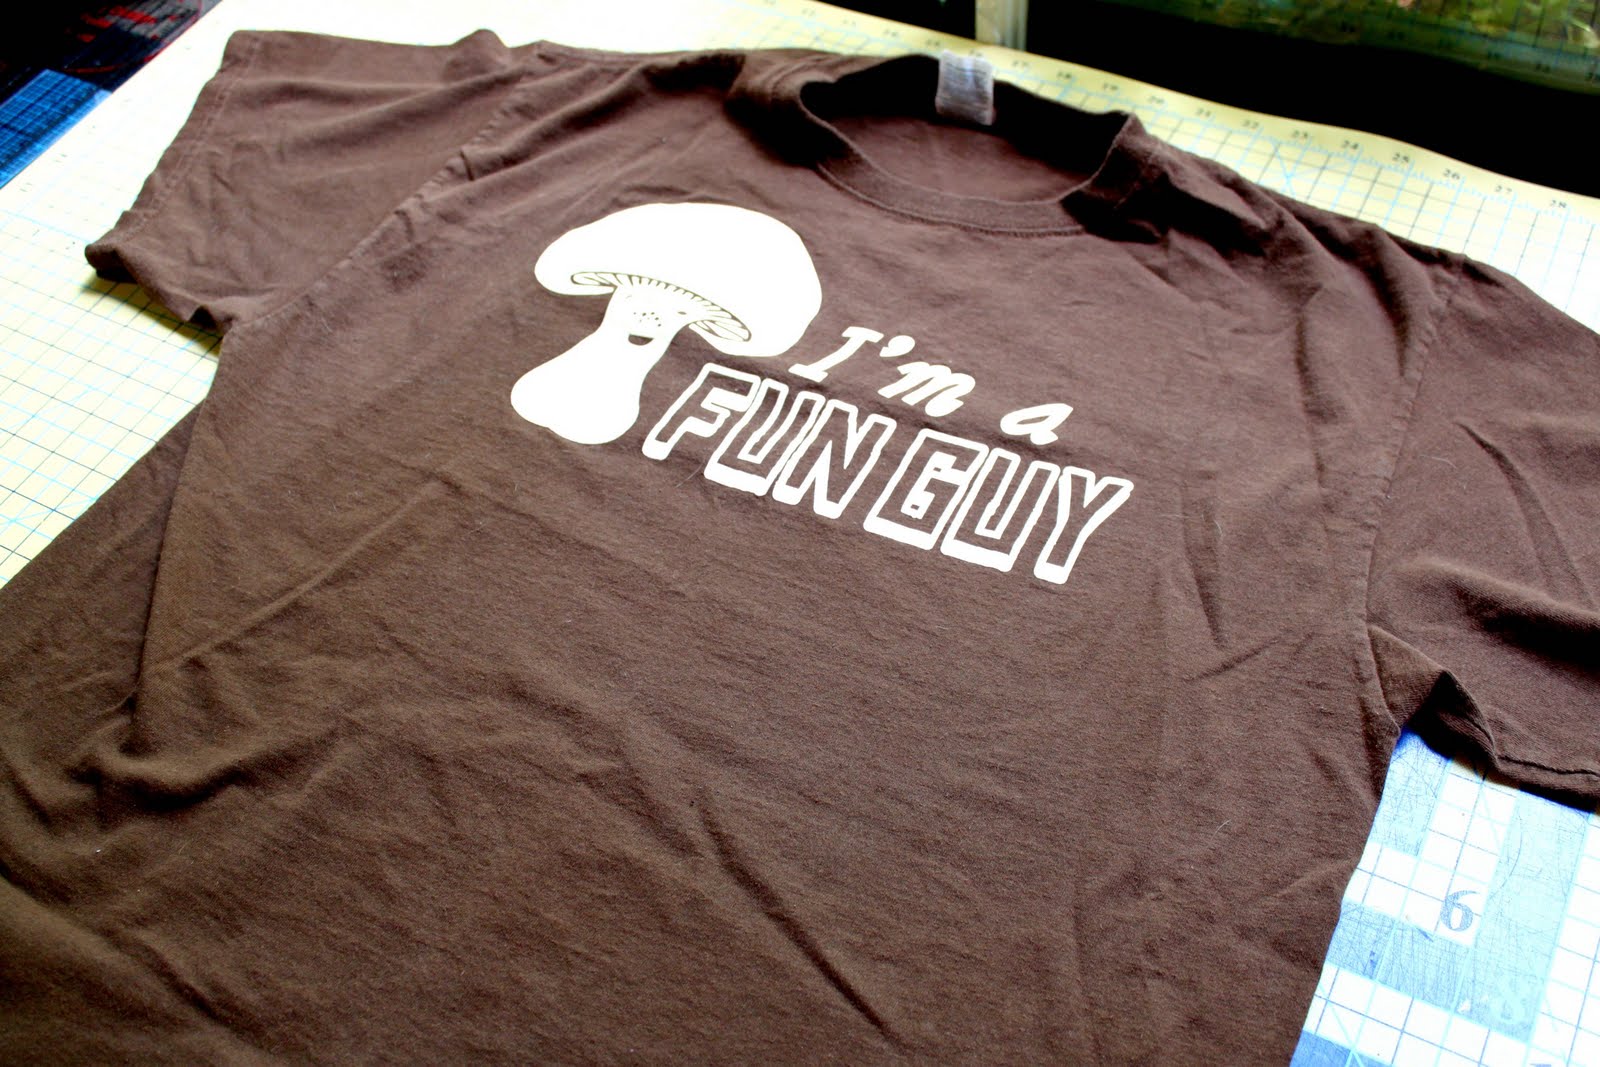
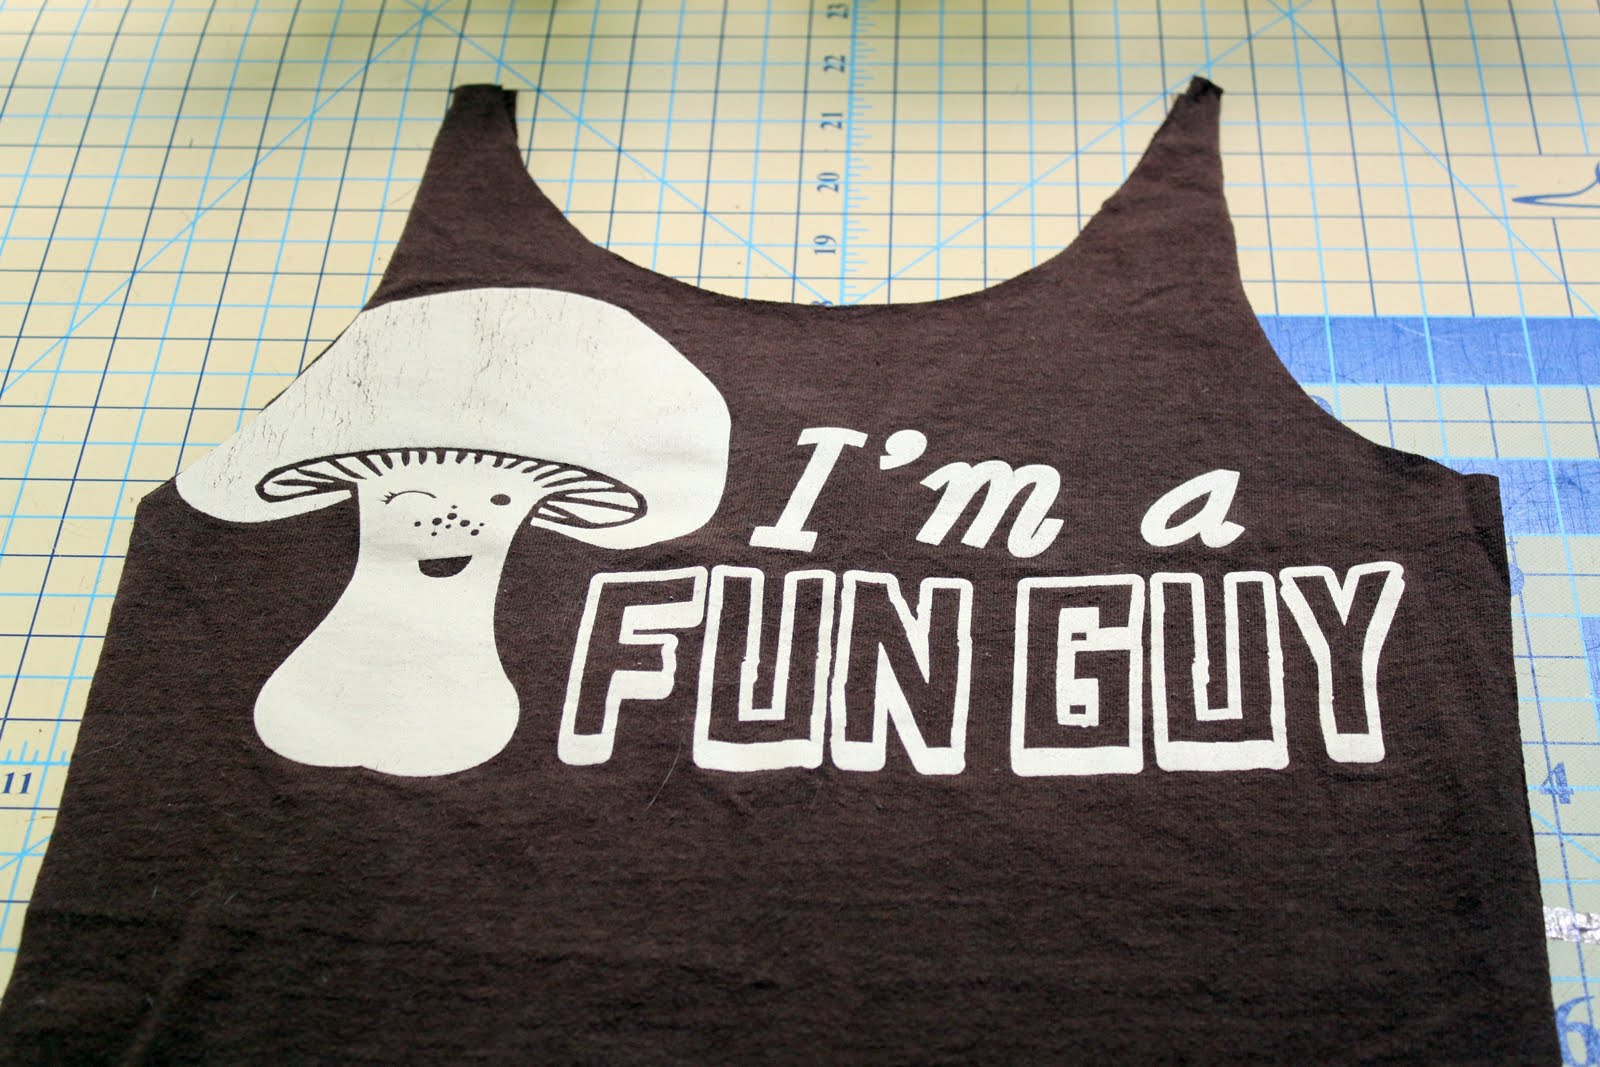
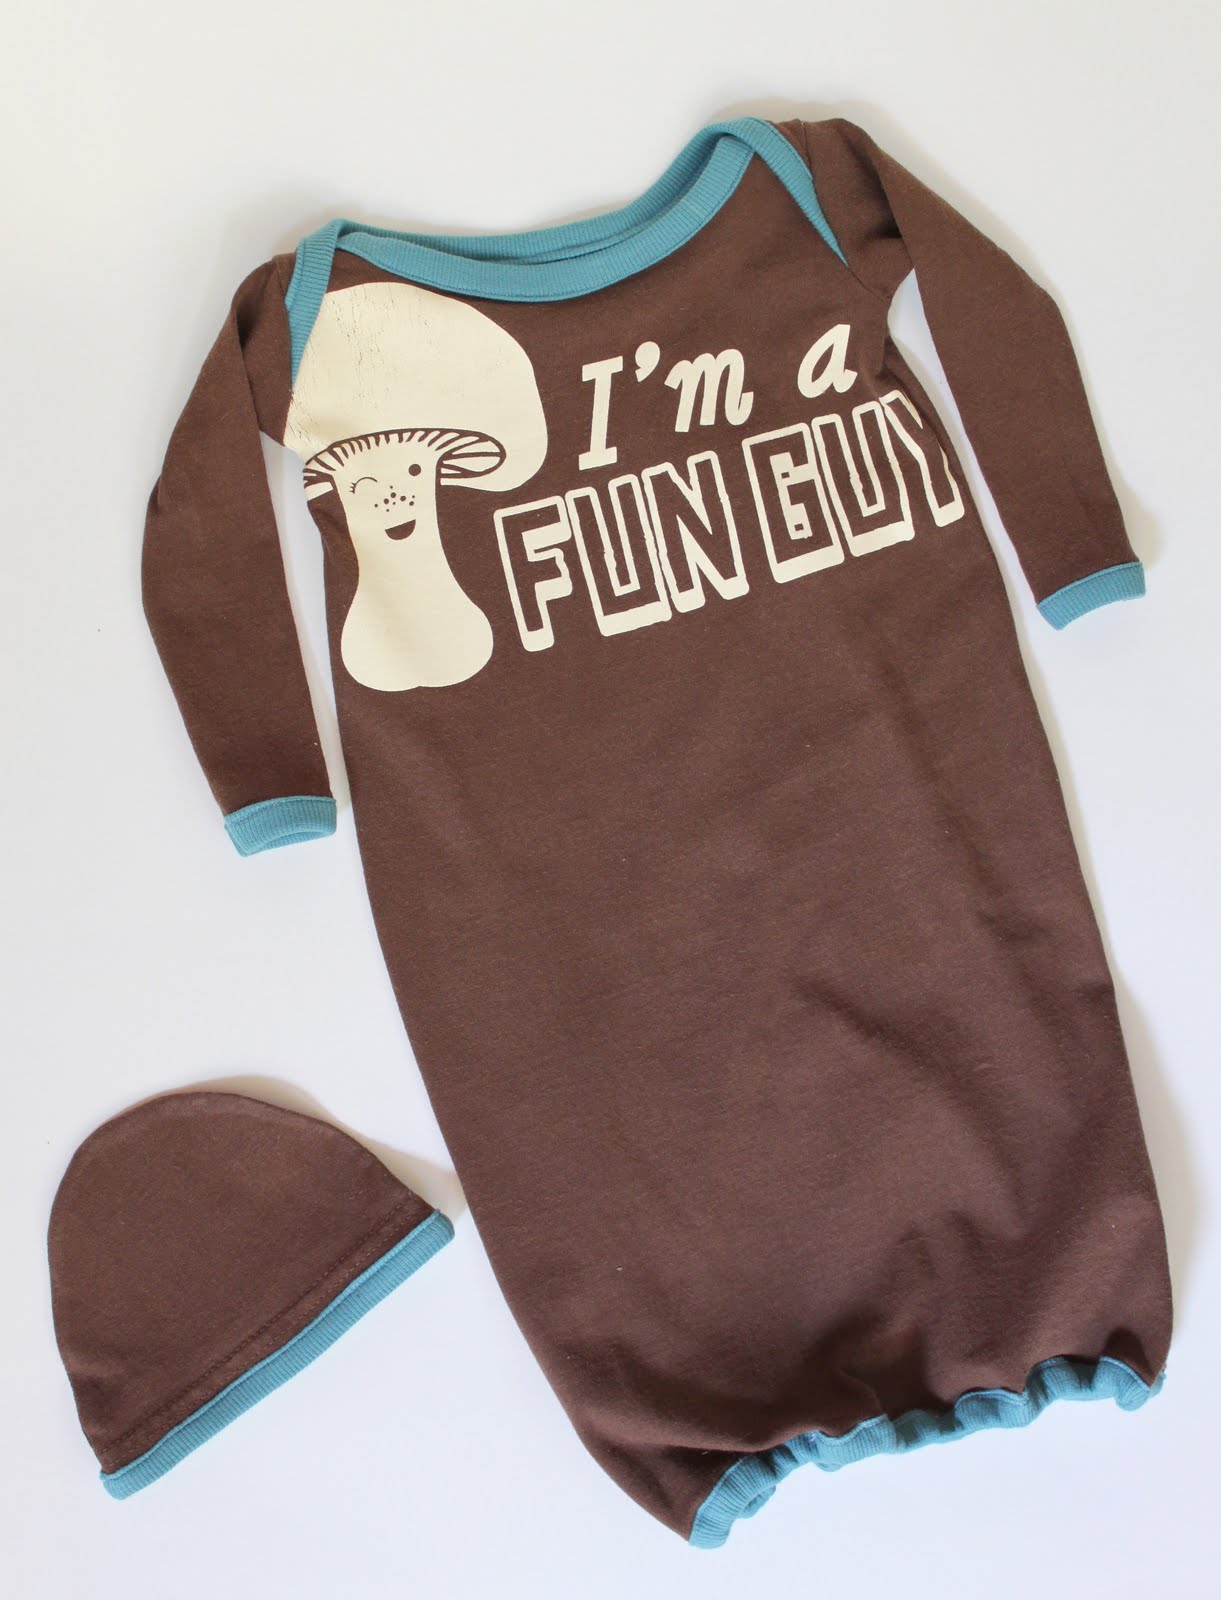
Well, anyway, George passed away at the young age of 3, but when I saw this shirt I knew I had to buy it in honor of our late “Fun Guy”.  Brett wore it as an undershirt a few times to humor me, but it isn’t quite his style.  I thought this would be really cute for the new little man coming into our lives.

I decided to turn this t-shirt into a baby gown.  You could certainly use this tutorial to make a recycled baby girl gown too, but since I have boys on the brain, I’m calling it “The Little Man Gown”.  Oh, and the best part about this gown is that if you use a shirt/supplies you already have – it’s almost free!!  That’s being pretty thrifty, right?

Supplies:
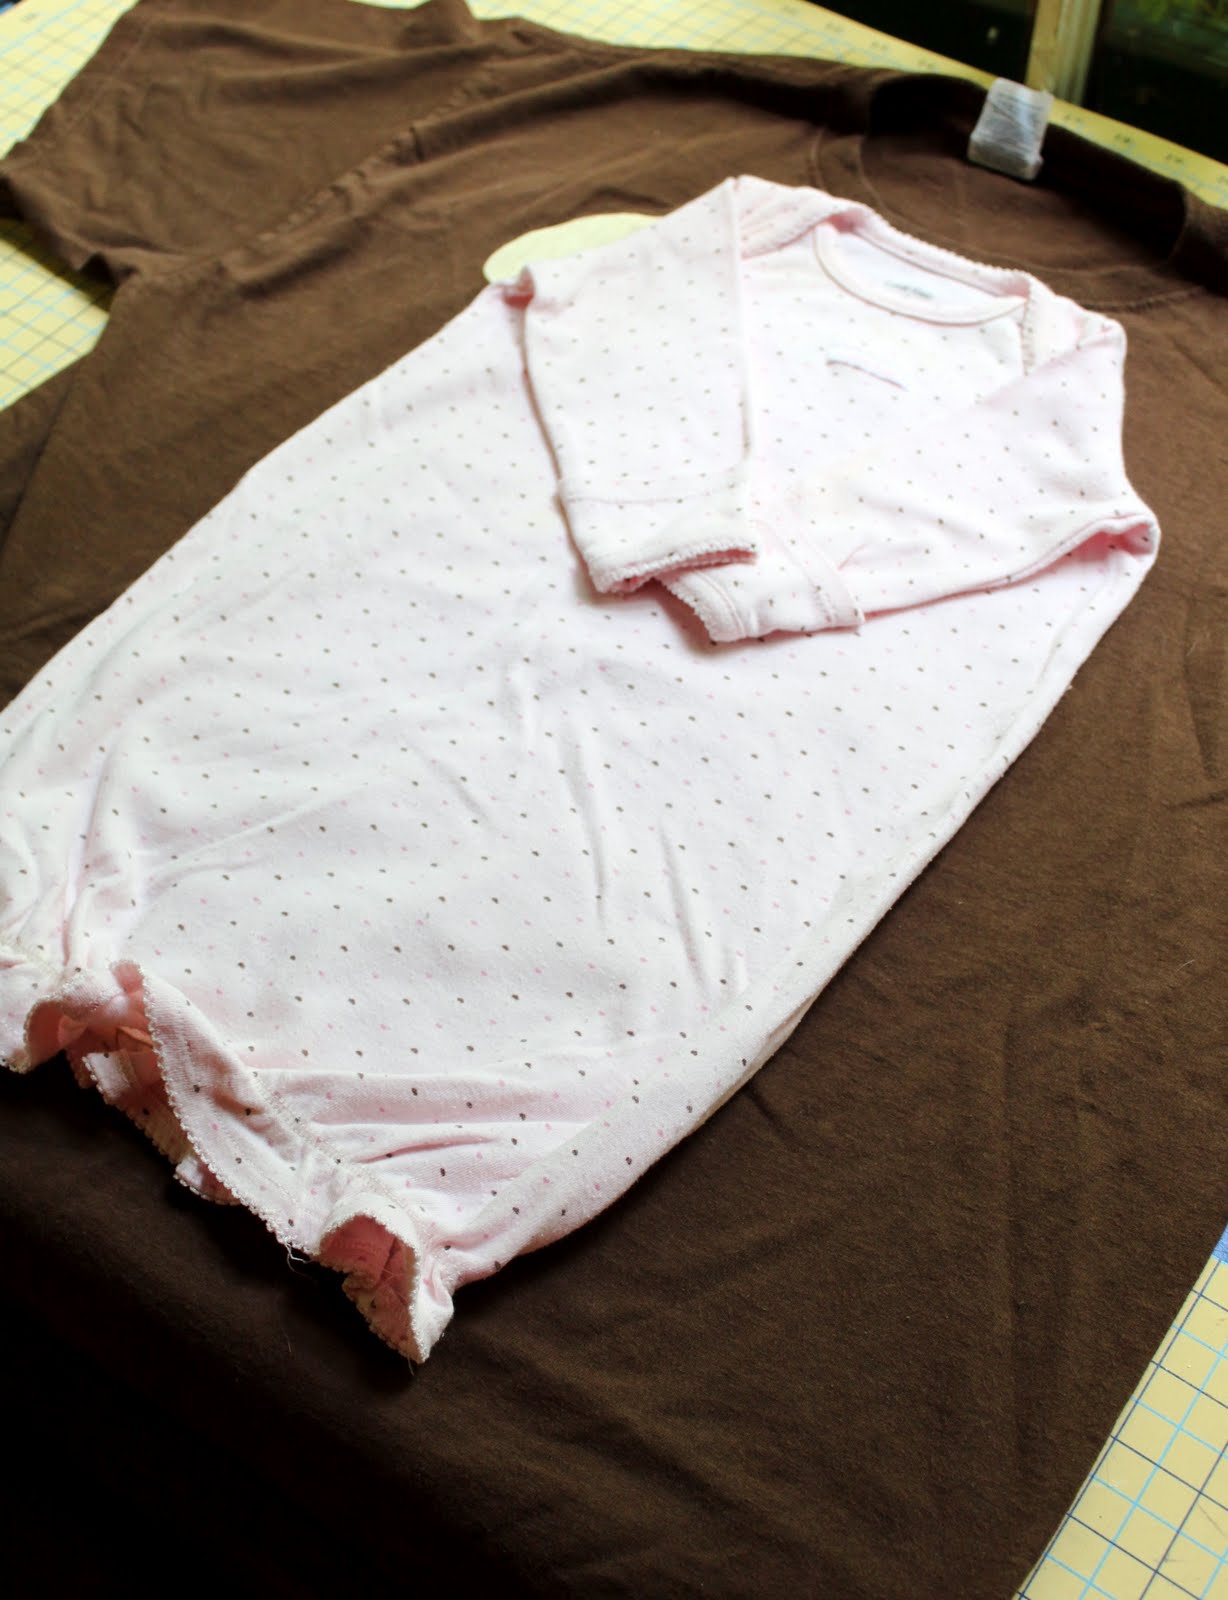
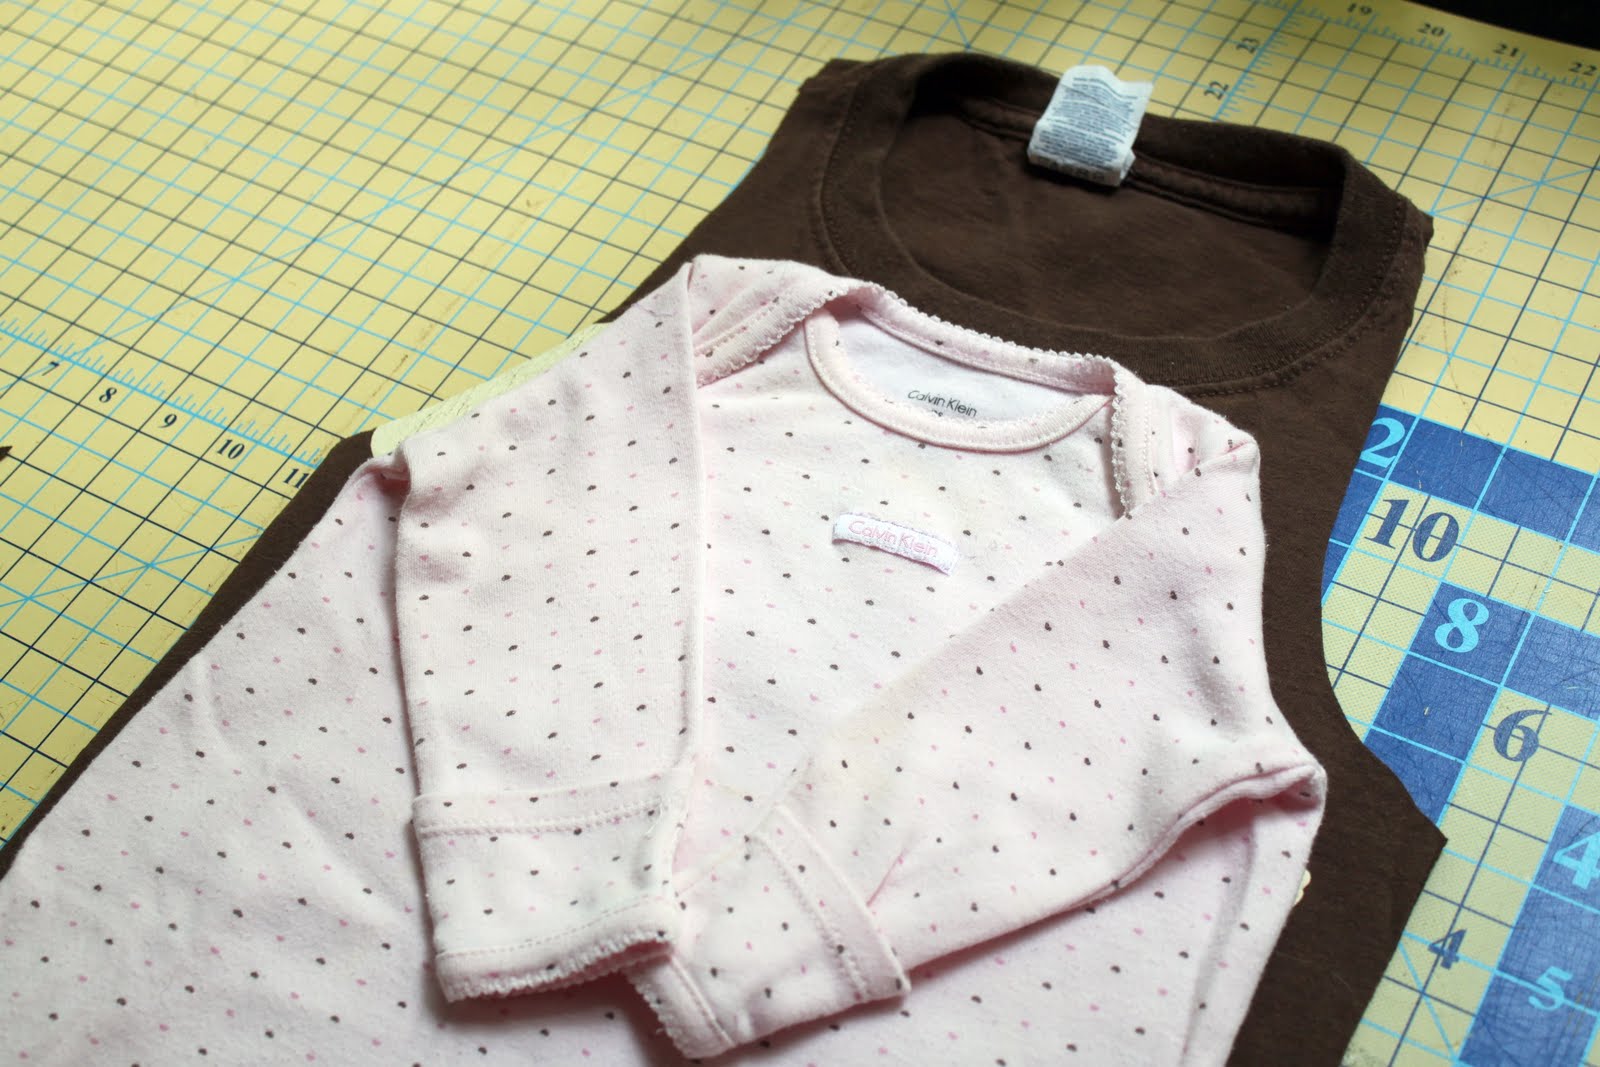
1 large t-shirt (the larger the better)
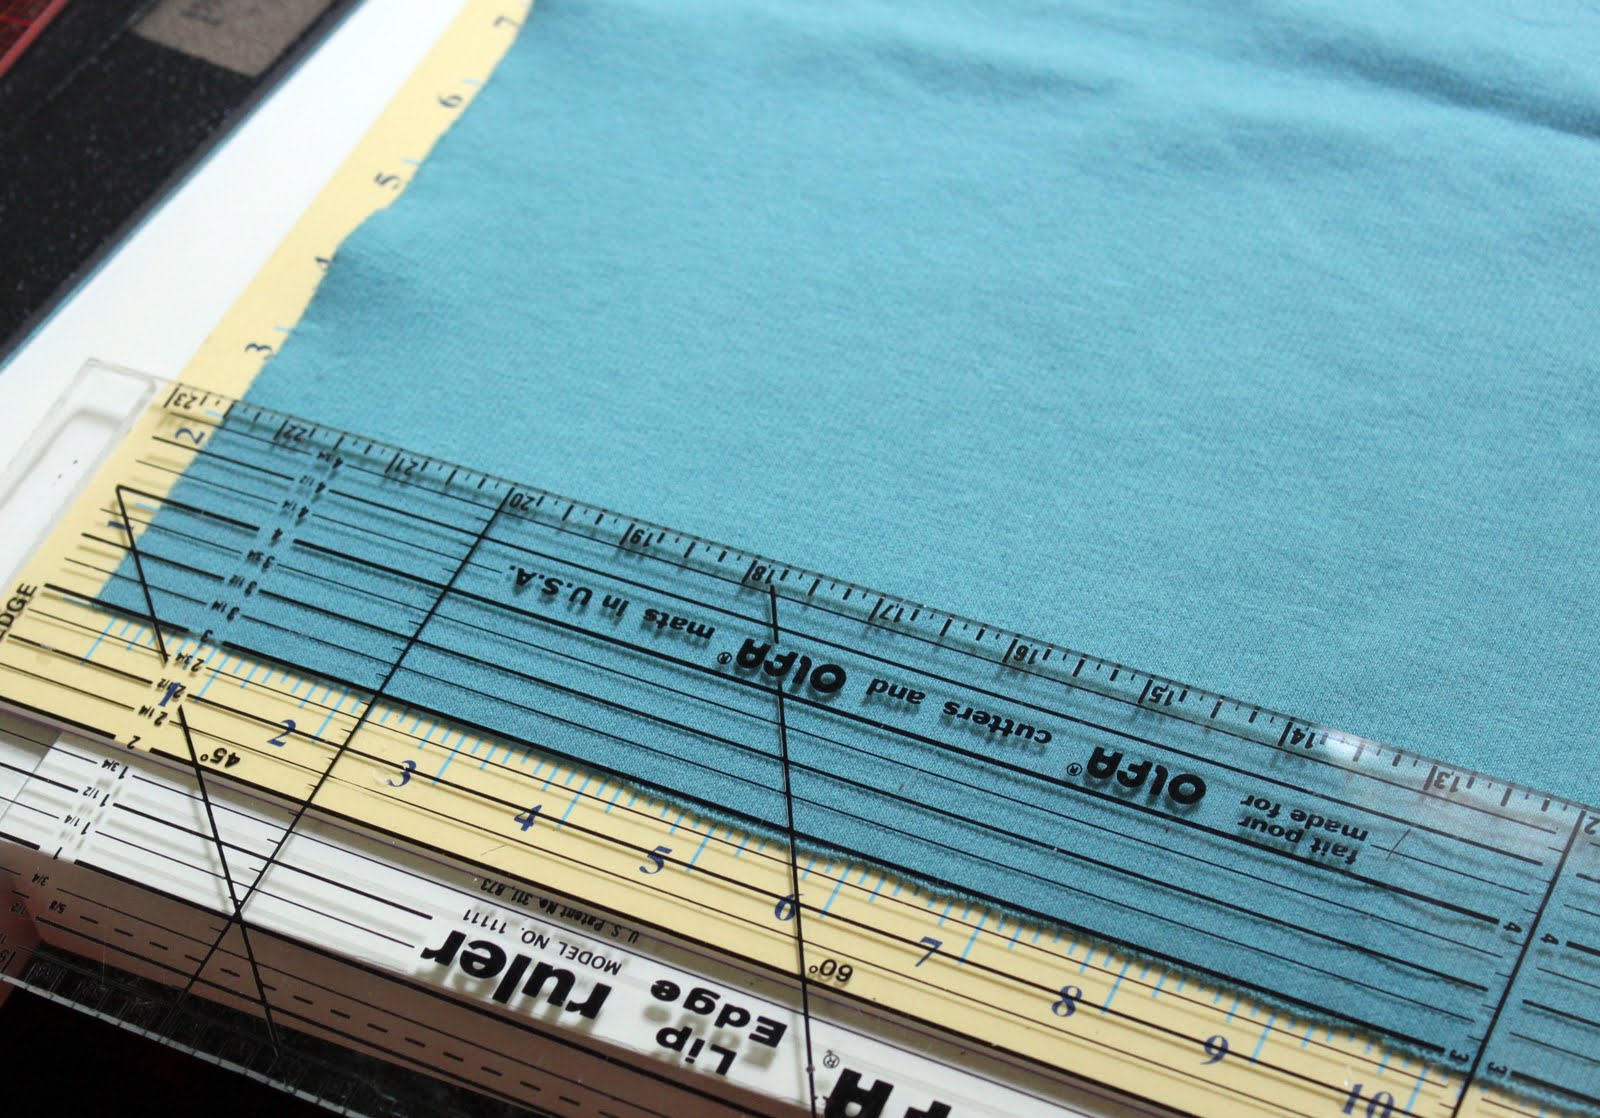
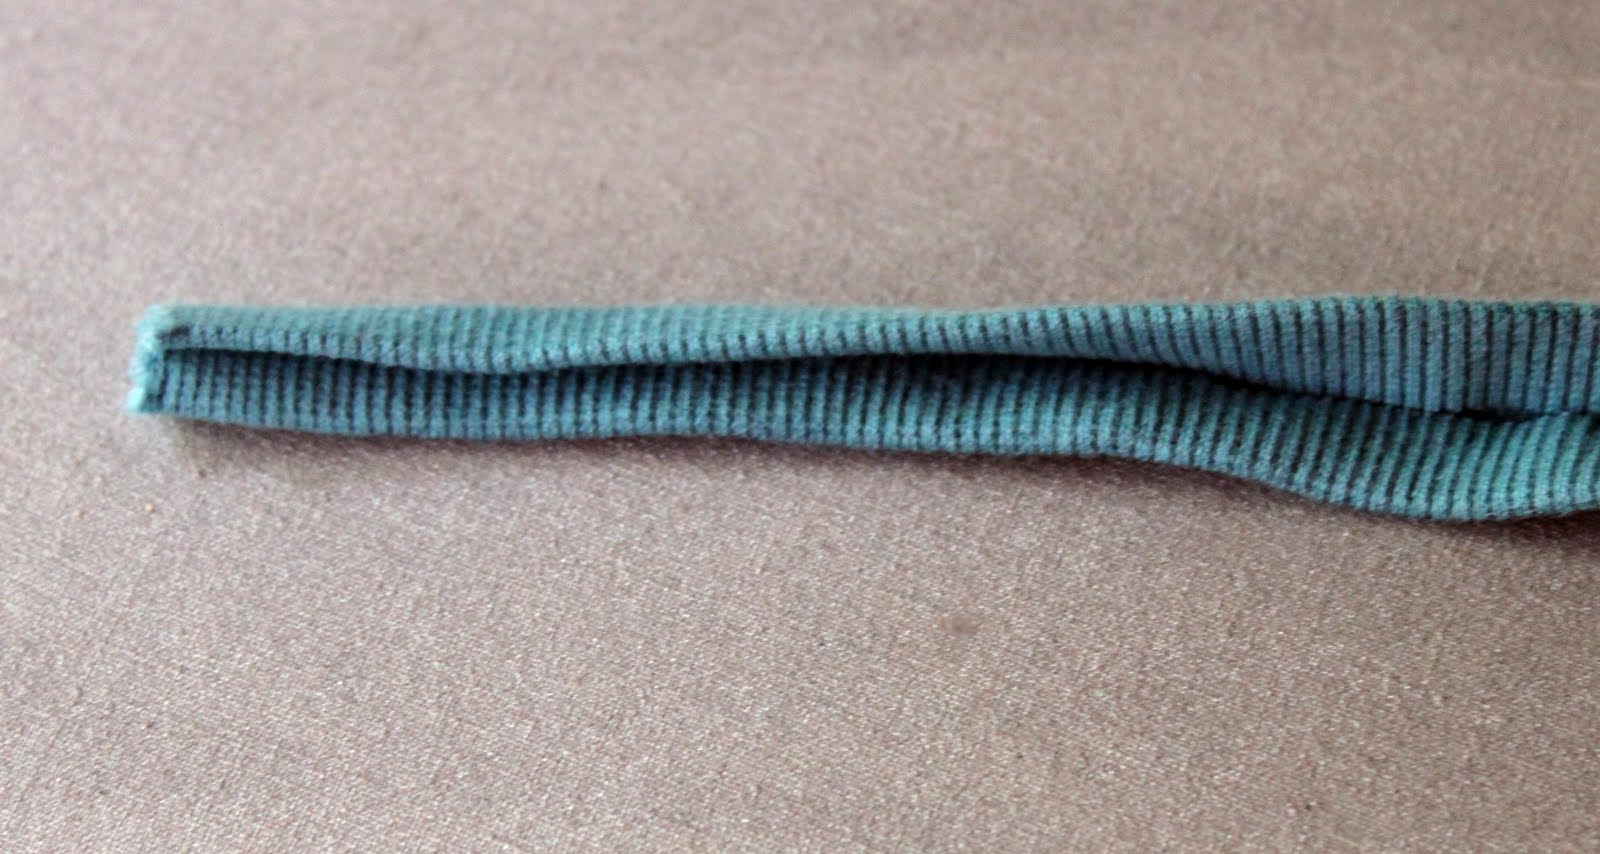
1/4 yard contrasting knit (I used rib-knit)
18″ thin elastic
Scissors
Sewing Machine (make sure you use a needle designed for knits)
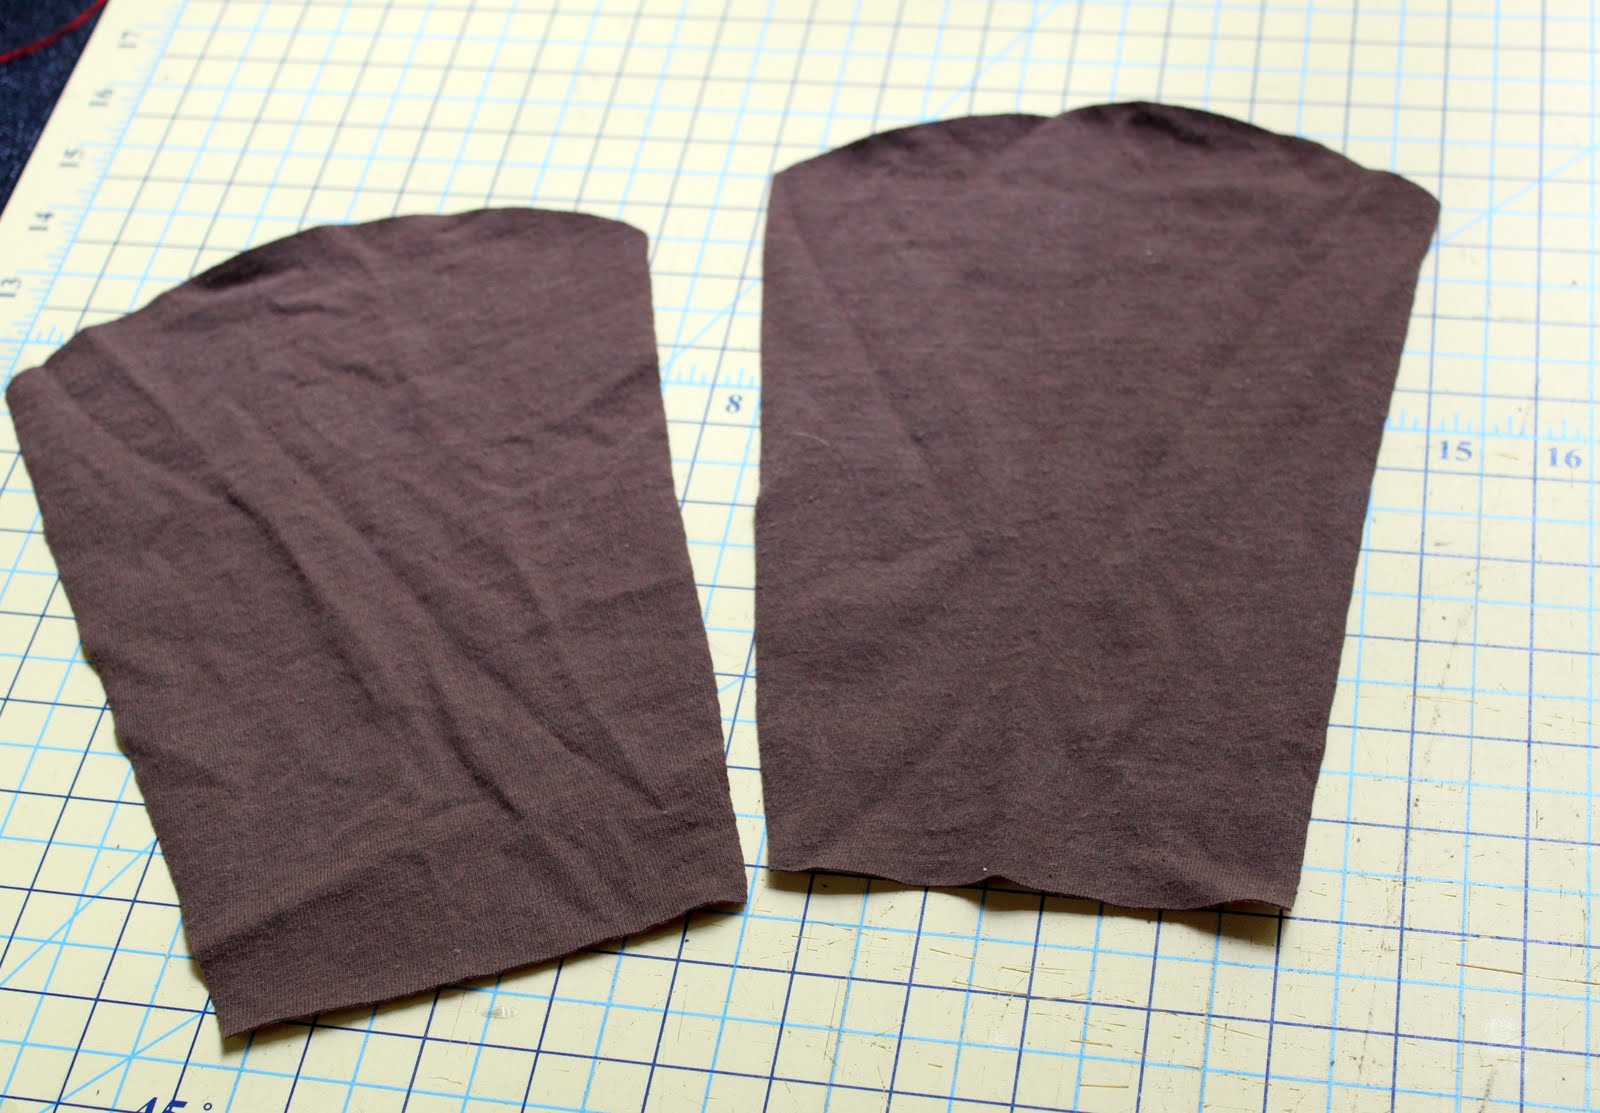
Old baby gown to use as pattern
Spray starch (optional)

Directions:

 Grab a large shirt.  It needs to be pretty big because you need the length for the gown.

For this tutorial I used one of my girls old baby gowns as the pattern.  I know there are tons of commercial patterns by McCalls and Simplicity if you would prefer to use a gown pattern.  But if you have a baby gown lying around, just go ahead and use that.

Cut around the baby gown leaving at least a 1/2″ seam allowance all the way around.  Cut the neck out of the t-shirt, but make sure to leave some length towards the top (see picture below) because we will be overlapping this part of the gown.

Here is what the top of your gown should look like after you have cut it out using your pattern.  Again, notice how I left some length towards the top of the gown, near the neck-line.

Now you need to cut out both of your arm pieces.  Lay the arm flat along an extra piece of t-shirt material (I used the sides of the t-shirt).  For this piece you will need to cut it TWICE as large as the arm pattern piece (see picture below).  Cut a curve towards the top.  You don’t have to be super exact with this part.  Trust me, don’t be scared.

Here are your two arm pieces after they have been cut out.  See what I mean?  They are double the size of the arm piece that we used for our pattern.
It’s time to cut our contrasting binding.  I used rib-knit because I like the way it stretches, but you could certainly use pieces from another recycled t-shirt.  I cut 2 strips, both 2″ x 36″ and that was just the right amount for the gown and hat.  You can do shorter pieces if you are working with less yardage, you’ll just have to cut more than 2.
Here is your contrasting binding once it has been cut into strips.

You are going to fold the binding like you would bias tape.  Fold in each side in 1/2″ and press.  This is when your spray starch will come in very handy.  The starch really helps give the knit more body and structure, so use it liberally during this step.

Once you have folded the sides in by 1/2″, you now want to press your binding in half length-wise.  Again, use your spray starch.

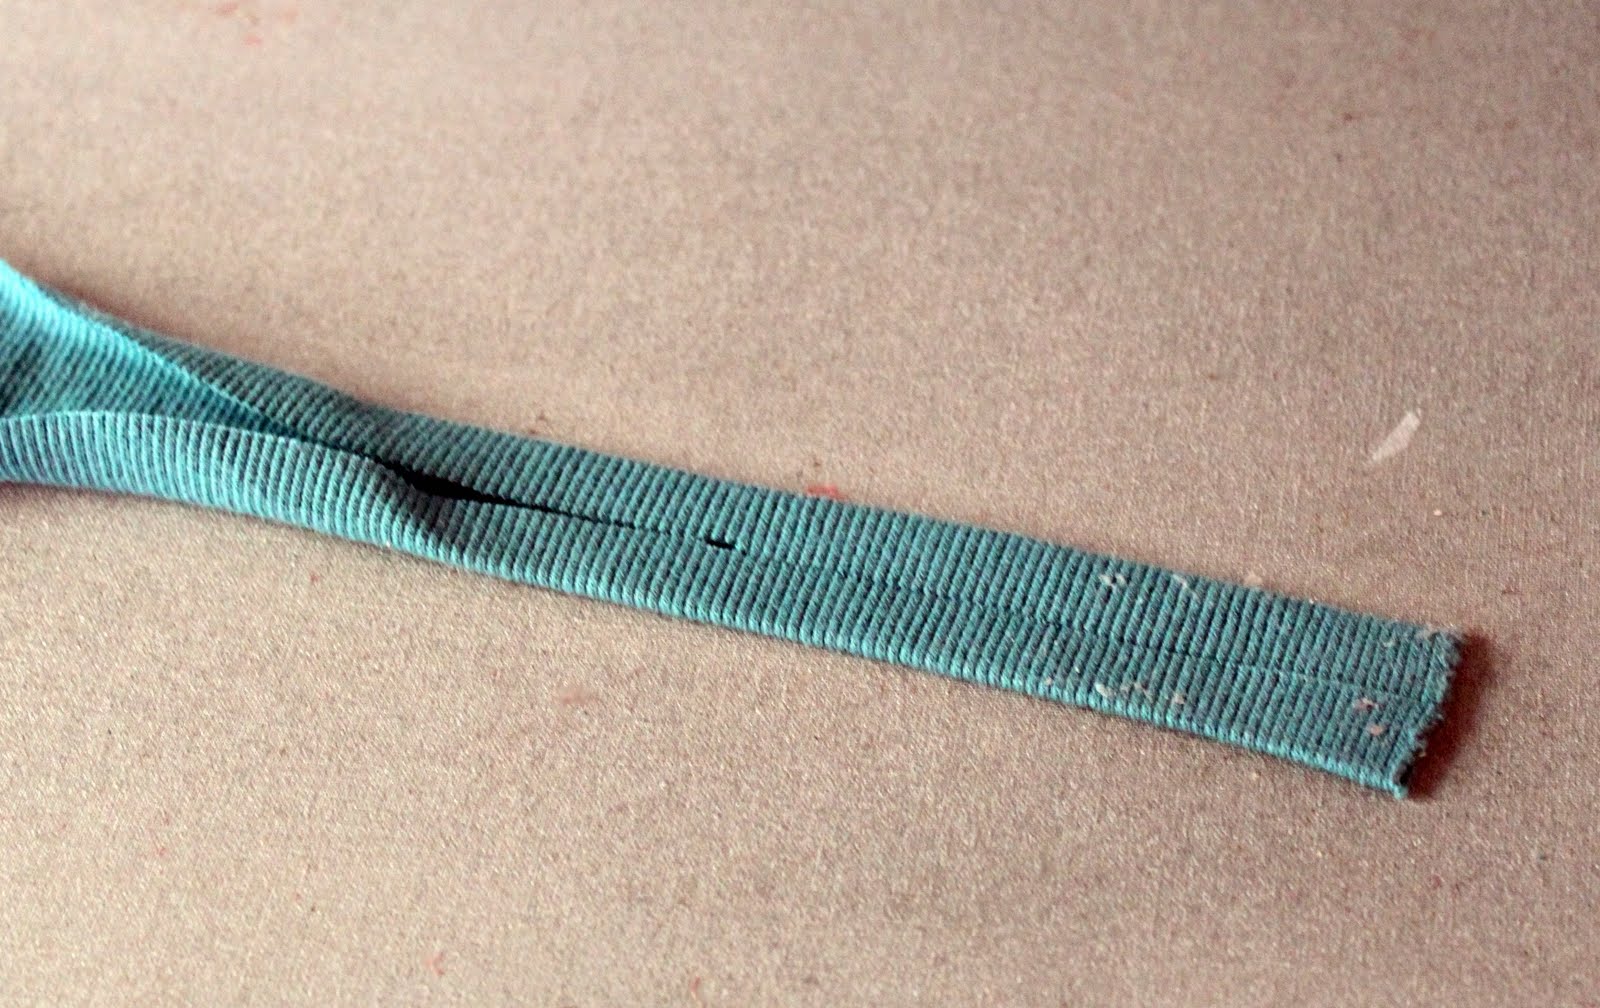
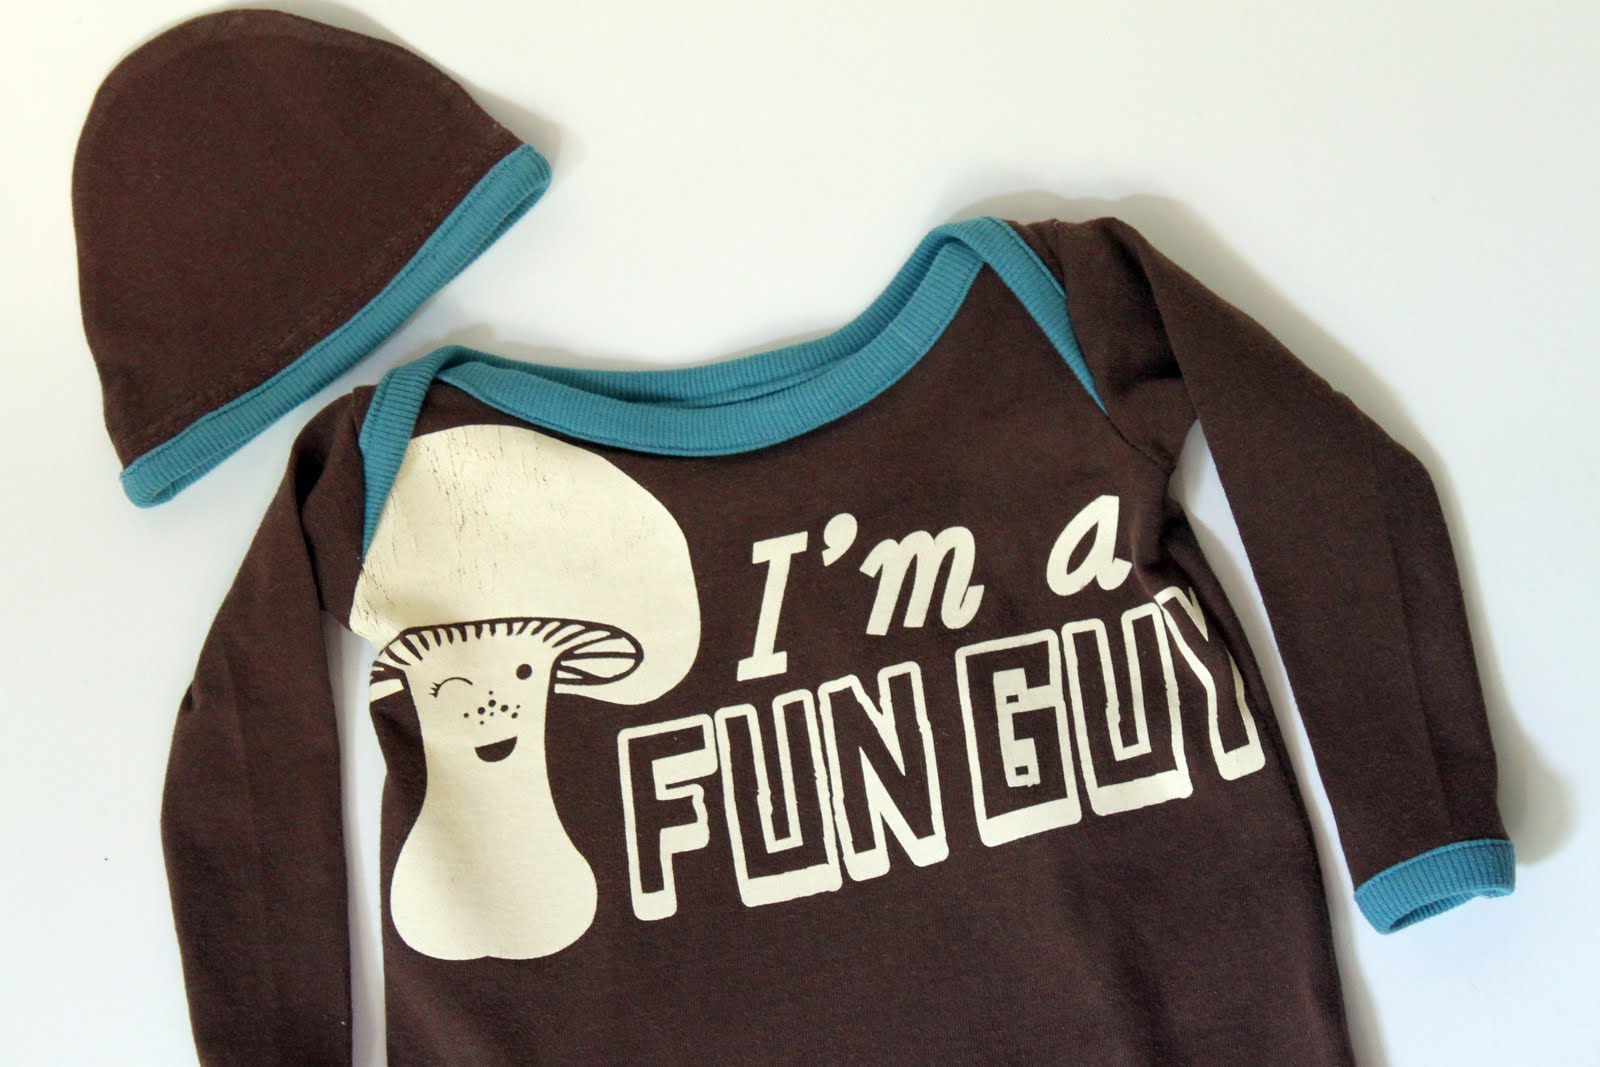
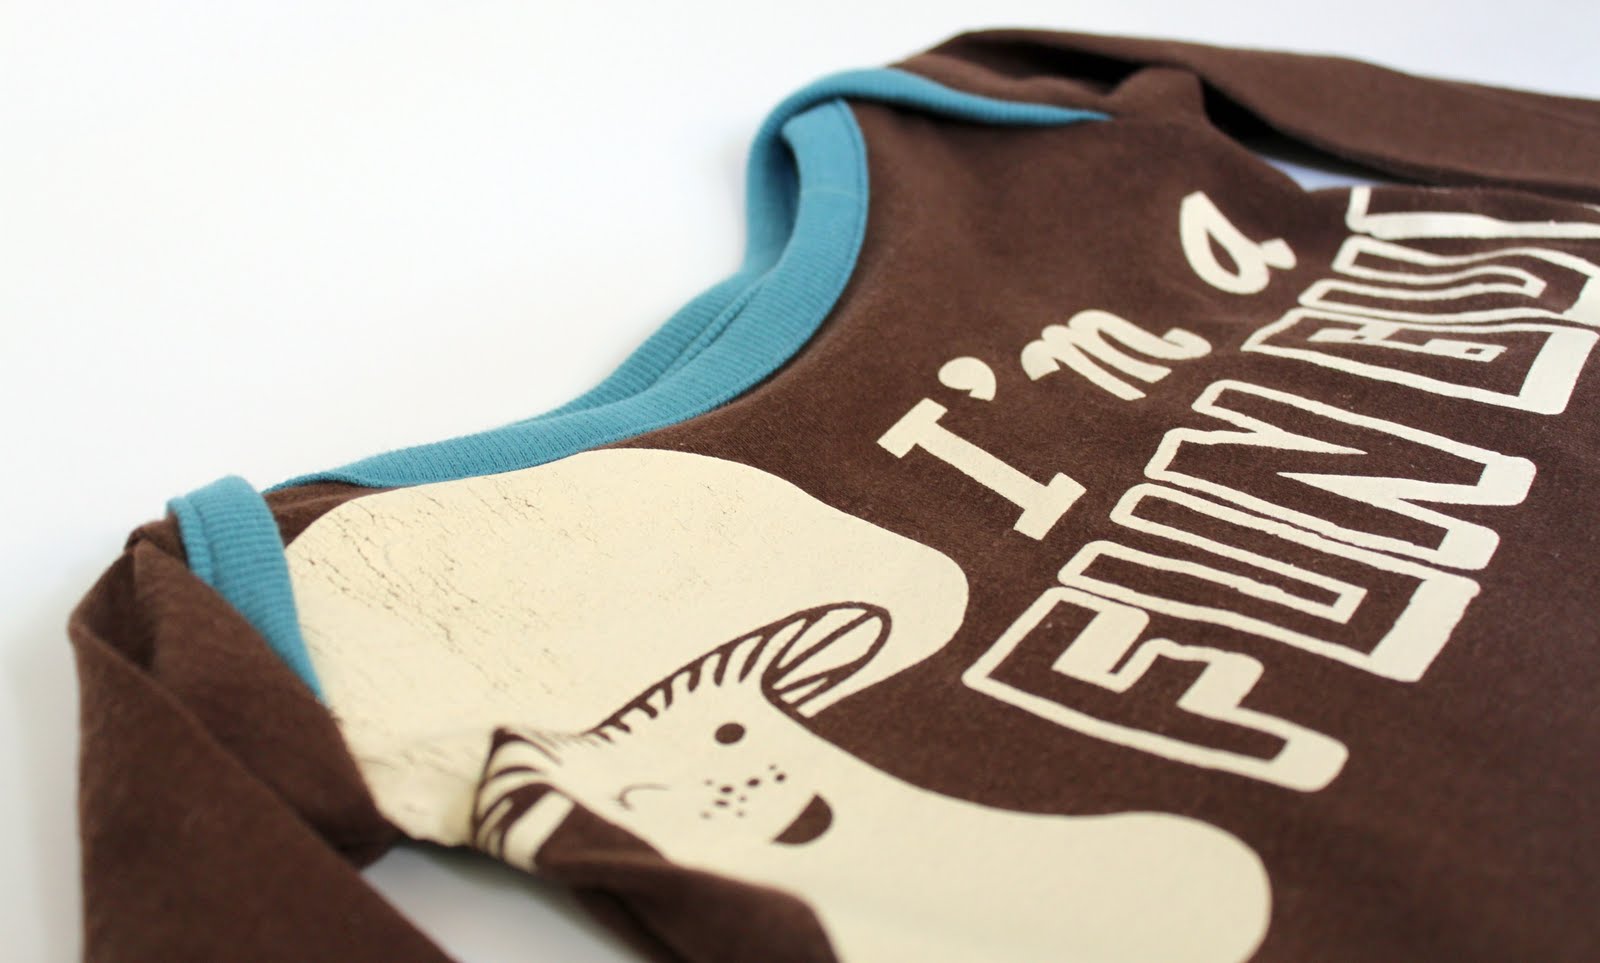
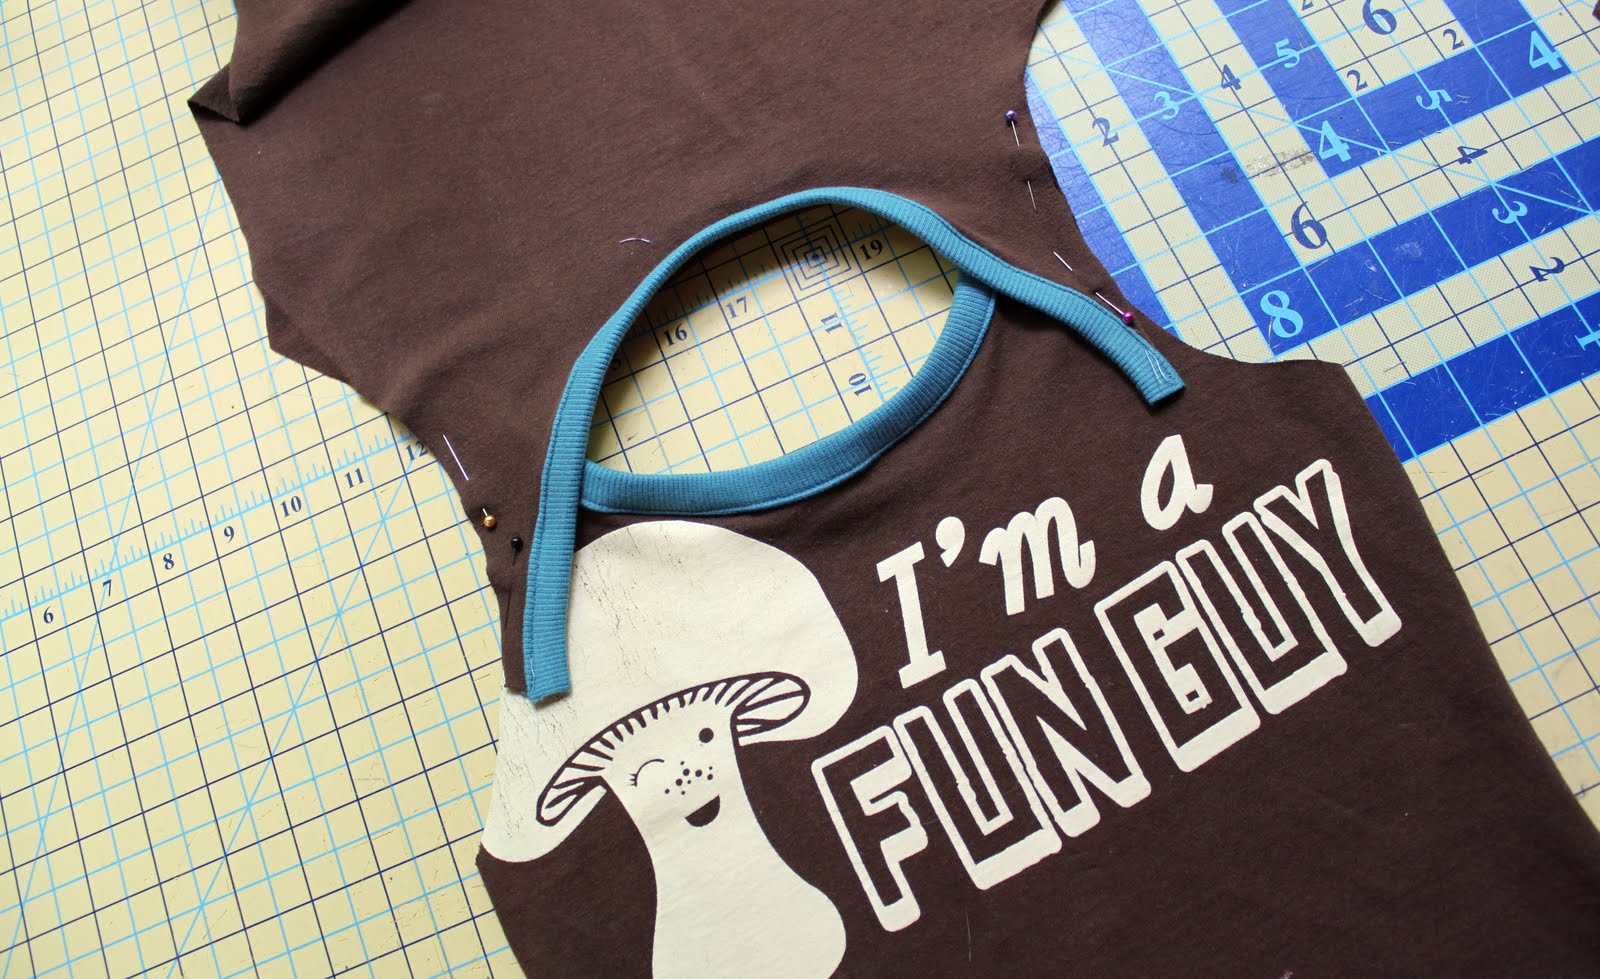
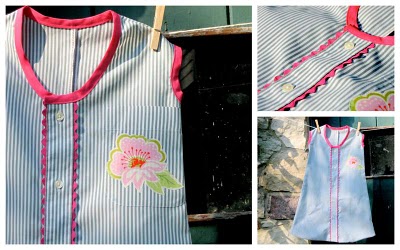
Now that your binding is complete, it’s time to add it to our main gown pattern pieces.  Pin binding around both neck-lines.  Sandwich the main gown piece in between your folded binding.  Stitch the binding to the front and back of the gown as well as on the ends of both sleeve pieces.

Once you have the binding sewn on, overlap the front and back of the gown to form the neck-hole.  Baste stitch around the armholes to hold in place.  Basting means to use a slightly longer stitch (I use 3.0).  You want to overlap the neck enough so that your armholes are the same length as the curve on your arm pieces.

Pin your arm pieces along the armhole opening.  Place the main gown piece and the armhole piece right-sides together.  The pinning may seem a little strange for this part because of the curve of the armhole, but just keep working it around.  Stitch in place using a 1/2″ seam allowance.  Do this for both arm pieces on each side of the gown.

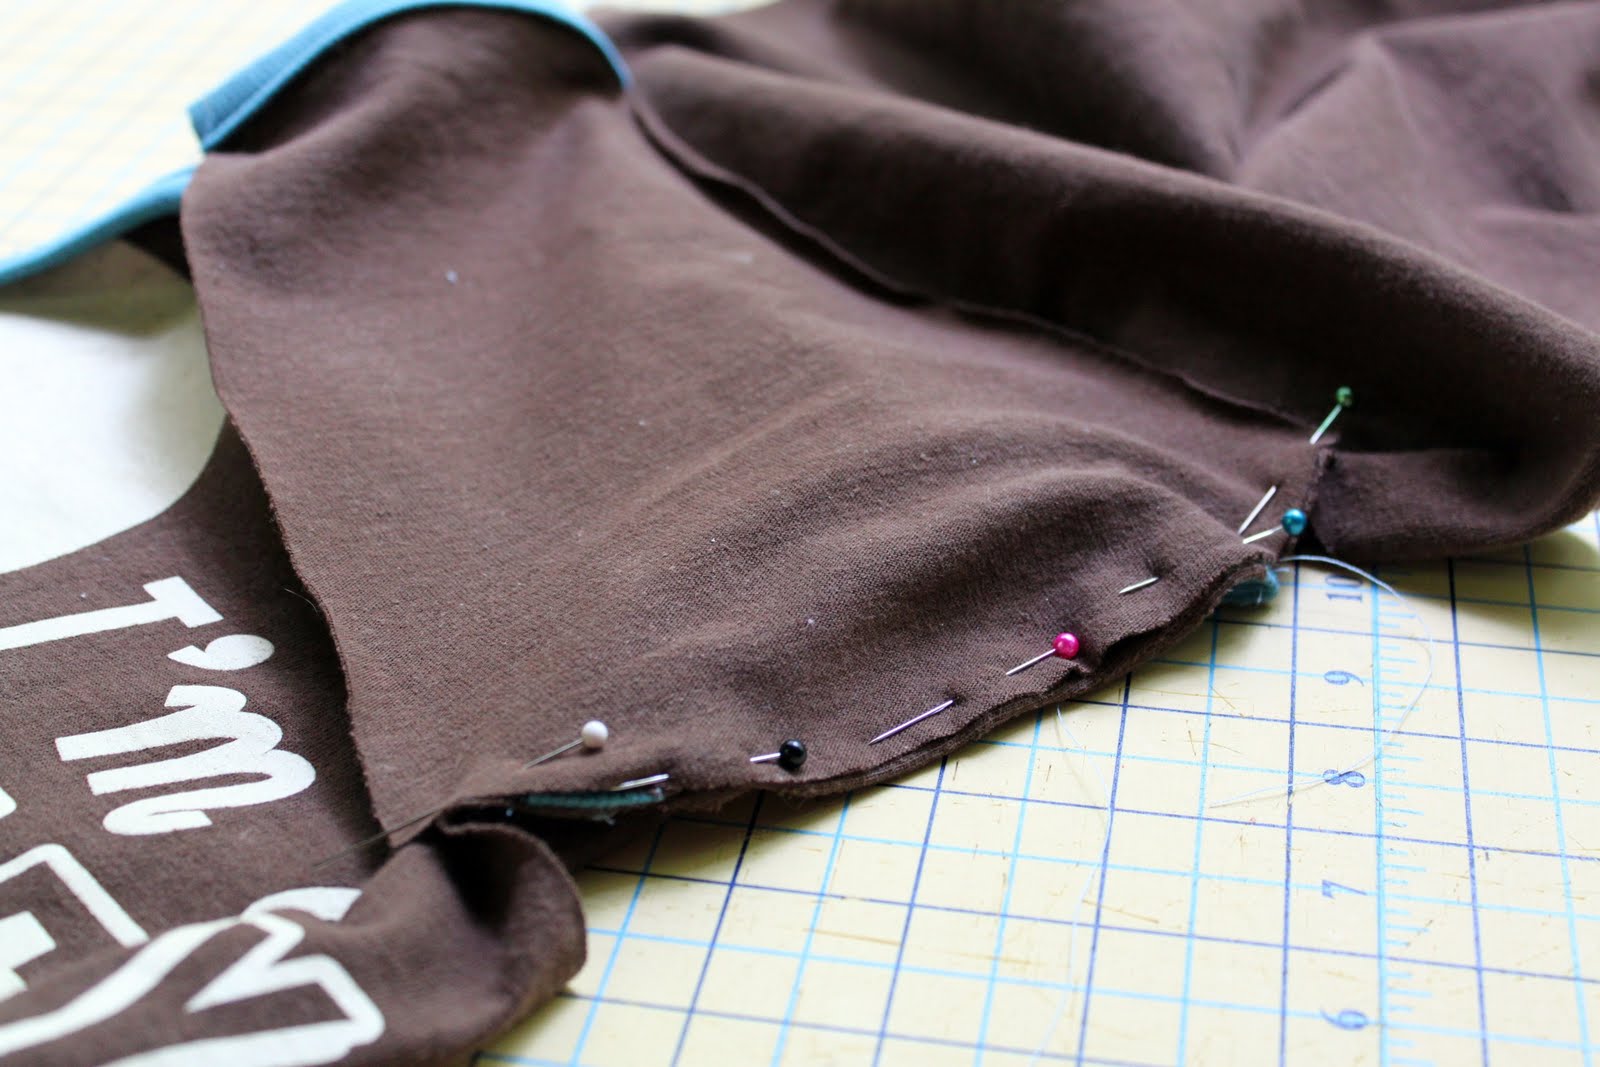
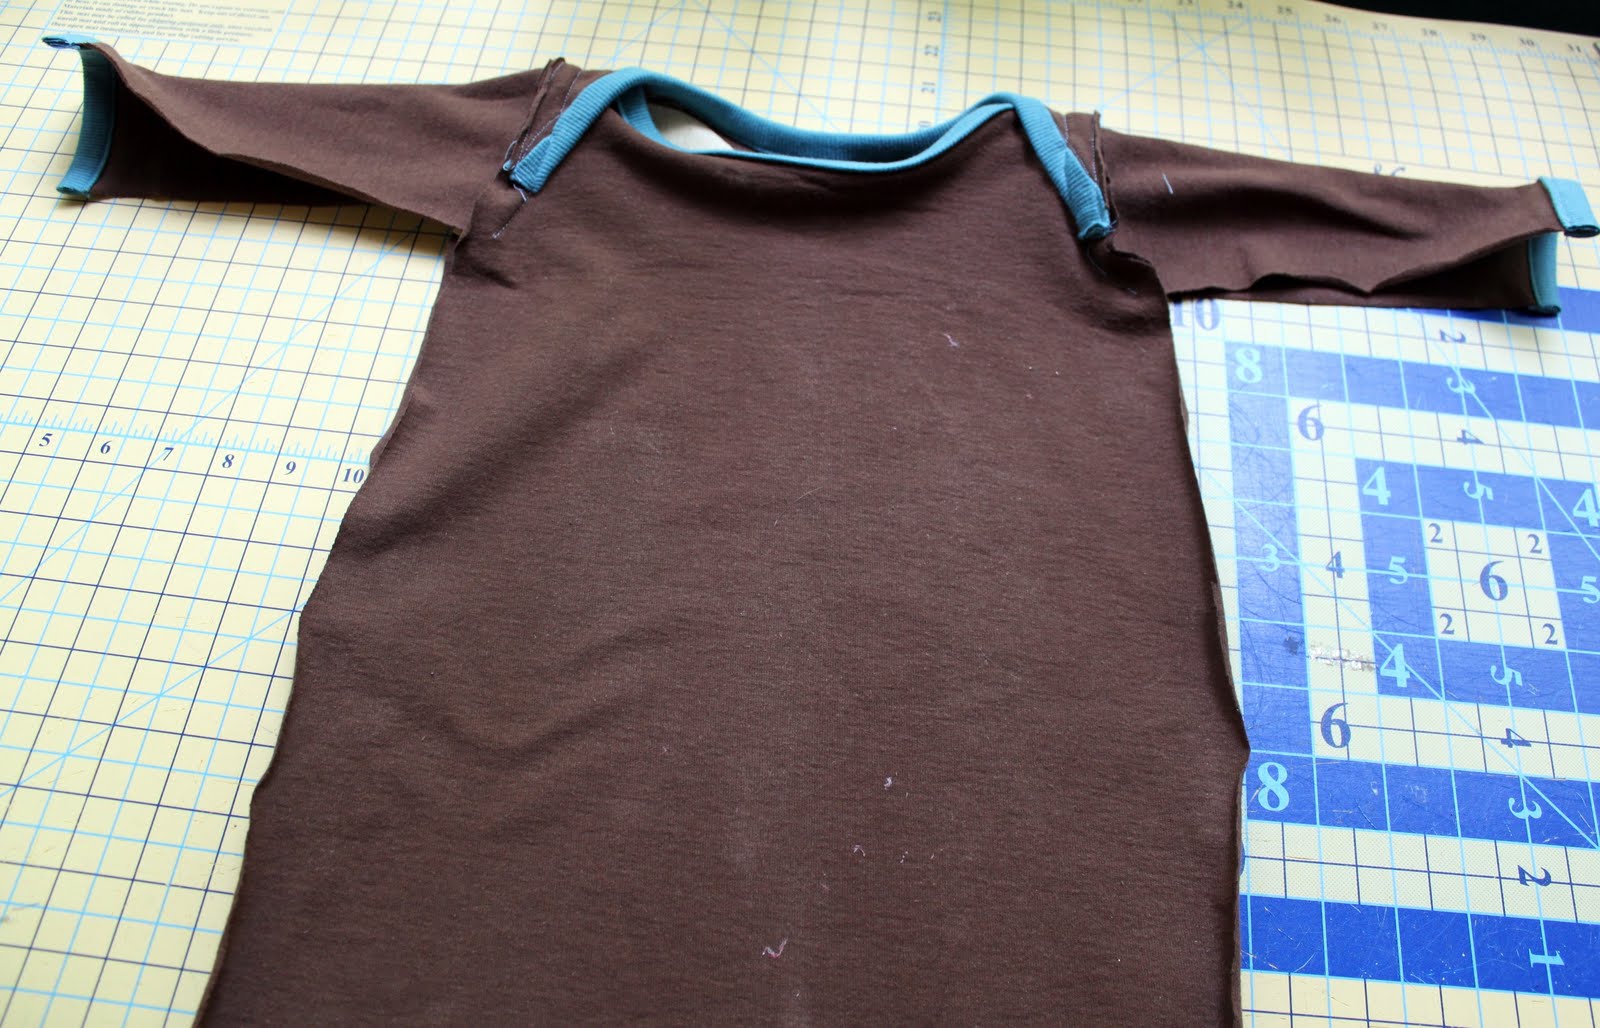
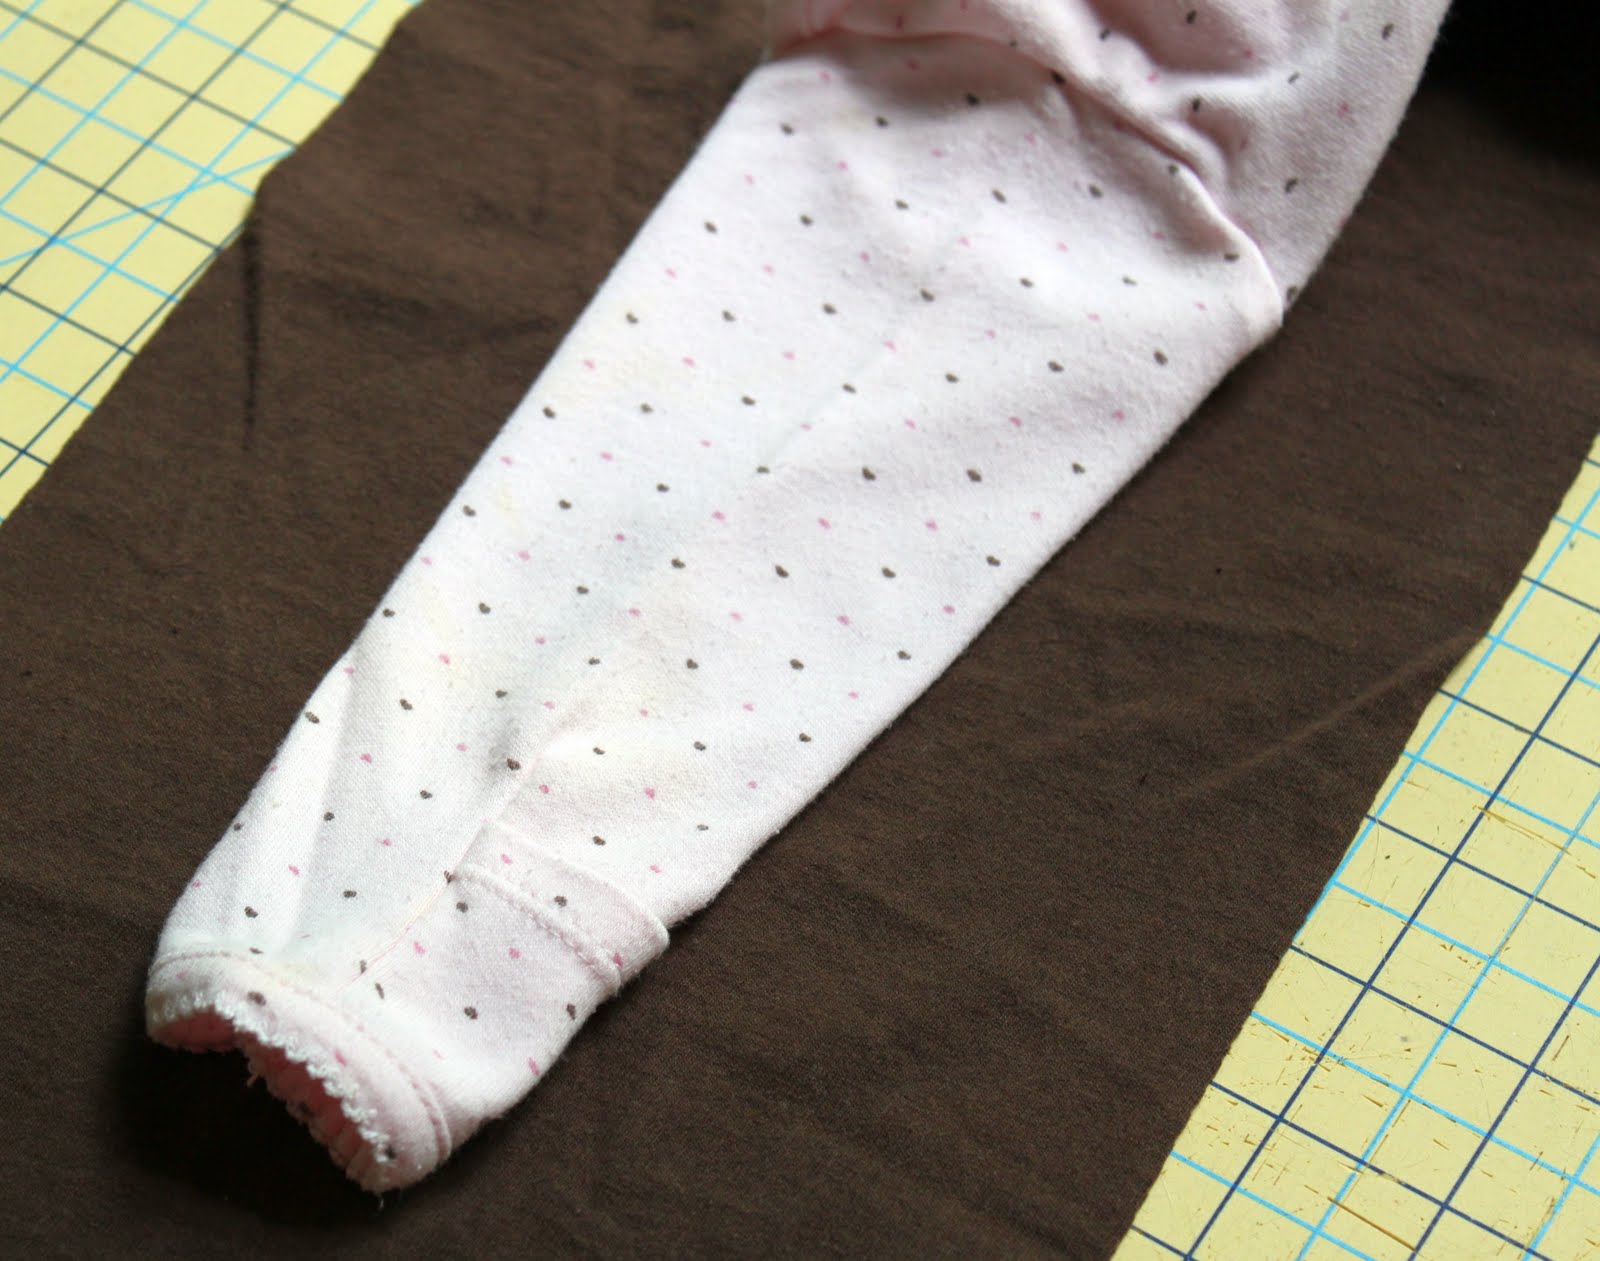
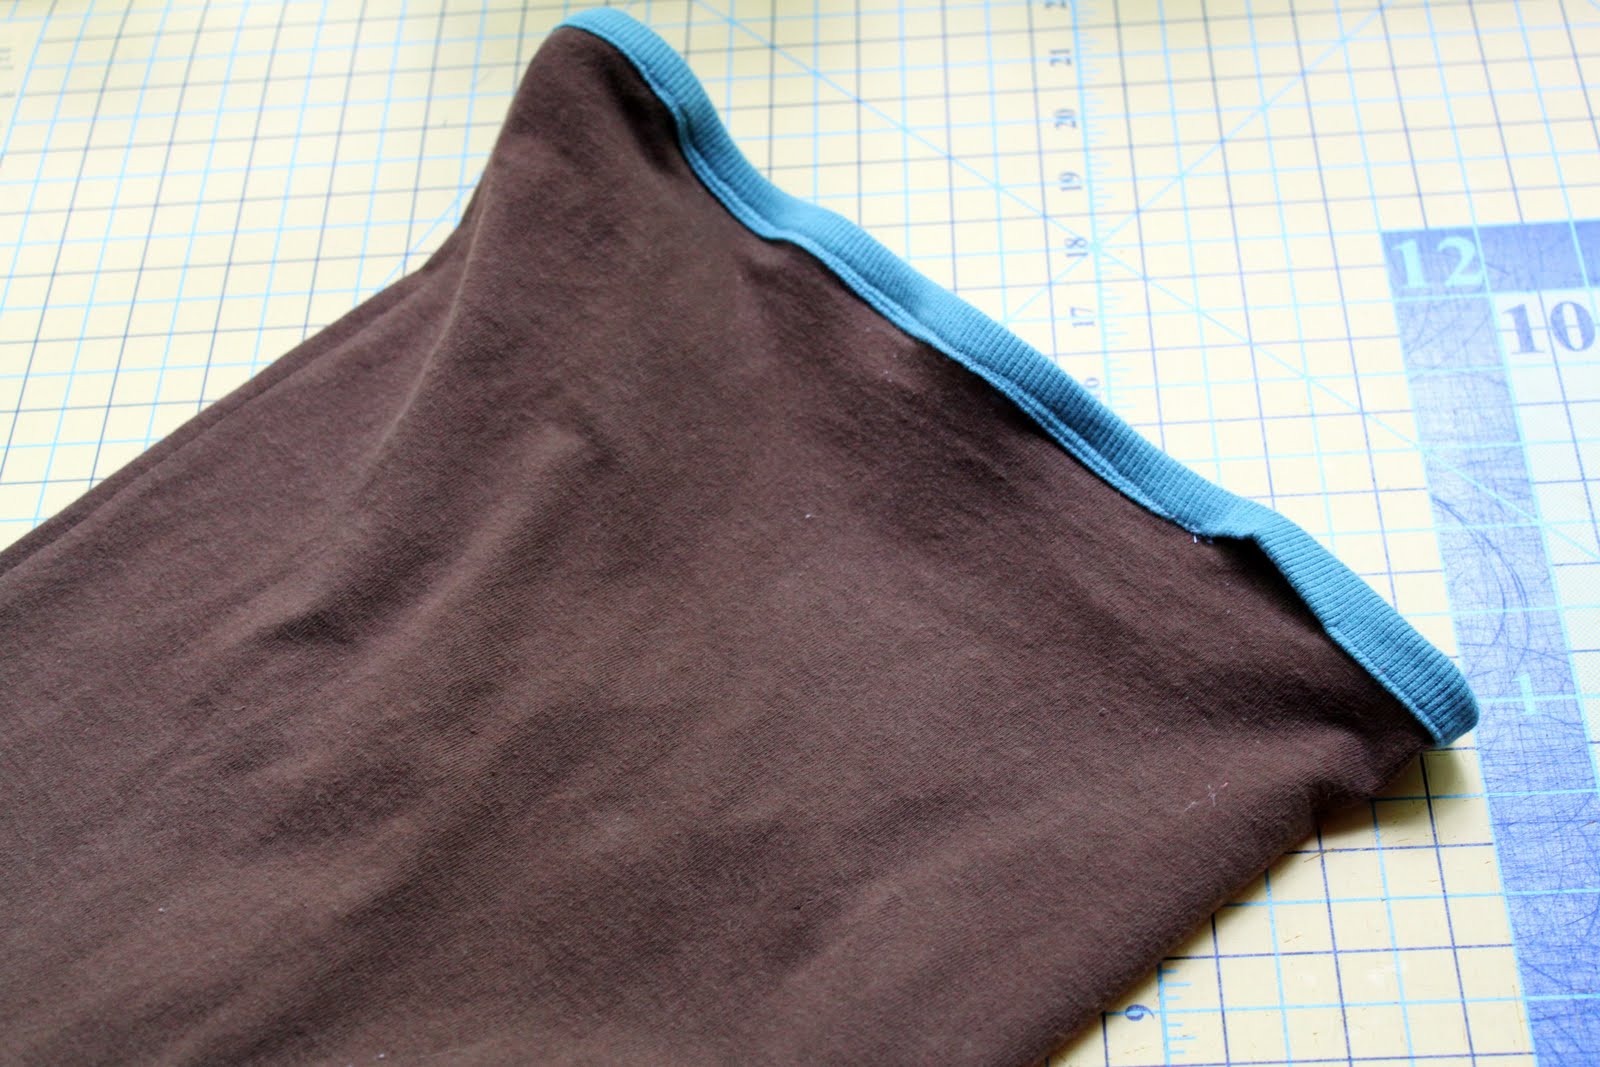
Stitch down both sides of the gown.  Place gown front and back, right-sides together.  Start sewing at the wrist and go all the way down the arm and down the side of the gown.  Do this on both sides.  Turn right-side out and press.

Stitch binding around the bottom of the gown.  Leave a 2″ – 3″ opening for threading your elastic.

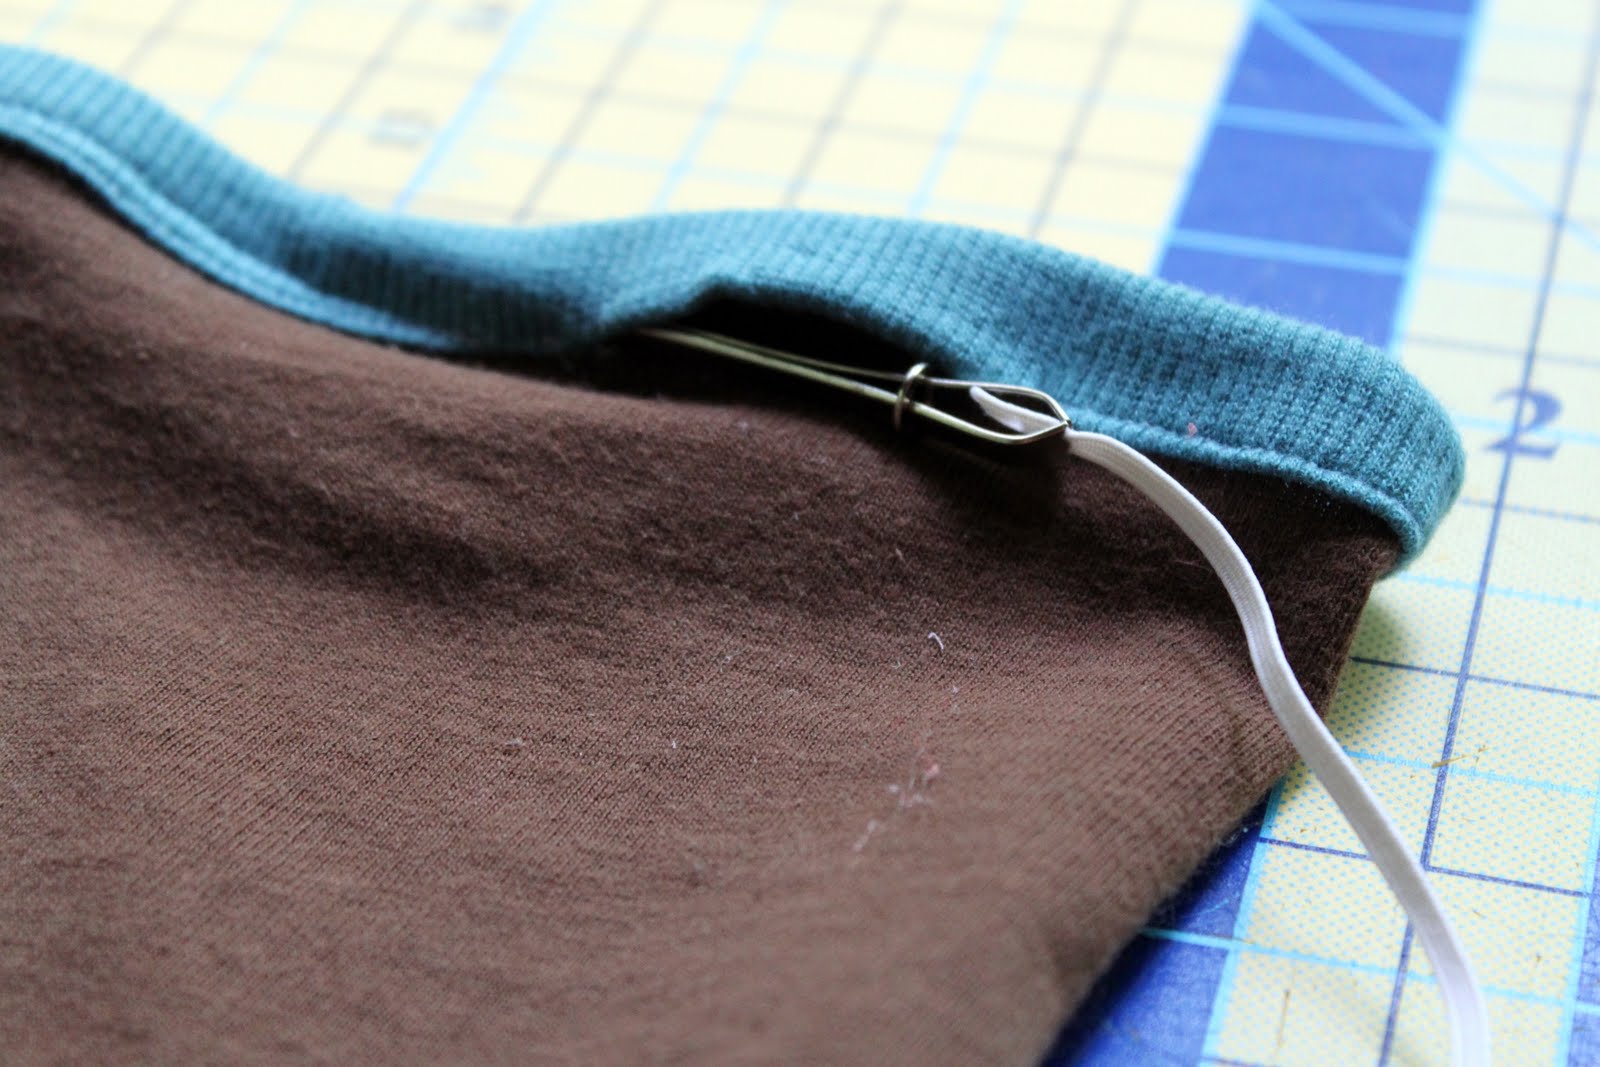
Cut an 18″ piece of thin elastic and thread through the bottom binding.  Use a safety pin or a bodkin (shown here) for threading.  Stitch the ends of the elastic together, overlapping about 1″.  If you are using really skinny elastic you can simply knot it several times.  Sew the opening closed.

If you have some extra t-shirt fabric leftover you may want to make a matching little hat.  Again, I used a 0-3 month baby hat as my pattern piece and cut the hat out of the sleeve.  Cut around the hat leaving a 1/2″ seam allowance.   Place right-sides together to sew the hat.  Turn and press.   Then sew the coordinating binding around the bottom.

And there you have it, a super-cool gown for your super-cool dude!
If you’re looking for some other thrifty tutorials, check out some of these previously seen on The Cottage Home………..

And for even more fun and thrifty ideas, head over to Laura’s blog and check out some of the other awesome ideas from some other very talented bloggers!  Thanks for the invite, Laura – it’s been fun!!

Like this post? Want even more?
Sign up below and receive all my tutorials, recipes and updates directly in your email inbox.

14 Comments

  1. soclever!

  2. Love the little man gown! So cute! I swore by those for pajamas for both my girls…and didn’t know what I would do when the little guy came around. Wish I had thought of this sooner – duh! Great job 🙂

  3. That turned out really cute, Lindsay! I’ve been thinking I need to start practicing more with knit.

    Cute story about your puppy; sorry he’s no longer around. Love the t-shirt memory though.

  4. Oh my word – so cute and clever! Love the meaning behind the sentiment on the shirt, too. 🙂

  5. that is just a-dorkable! 🙂

  6. Very cute, love it, and the colour combo is great (and so much more stylish than the brown my mother found to stuff me in in the early 80s ;o)

  7. happy mommy says

    i absolutely adore the bias tape binding–such a fun take on it!

    If your readers don’t have a newborn sleeper on hand, you might want to point them towards Carrie’s free pattern download:

    http://www.scribd.com/doc/49983220/Rockin-Newborn-Gown-Pattern

    (to go along with this tute: http://www.scribd.com/doc/49983710/rockin-newborn-gown)

  8. Thanks you guys! And thanks Happy Mommy for the link to the pattern – thats great! I’ve never seen that blog before – she has some really fun ideas 🙂

    Lindsay

  9. Very neat, great job! 🙂

  10. Ohhhh, love this Linds! So awesome!!!!

  11. This is so cute – adorable!
    Thanks for sharing.

  12. Hi from your newest follower via google and facebook, Karima x http://www.karimascrafts.com

  13. I’ve had the link that Happy Mommy posted saved ever since I found out one of my sisters is having a boy. I asked my brother-in-law to send me some of his t-shirts and I just got them in the mail today! I can’t wait to cut into them. I will be combining your tute with the pattern link.

    Tammy

  14. hahaha! So funny! My hubby has that shirt and wears it all the time. He thinks the fun guys statement is hilarious. I know, I know… I married a weird science nerd… ;o)