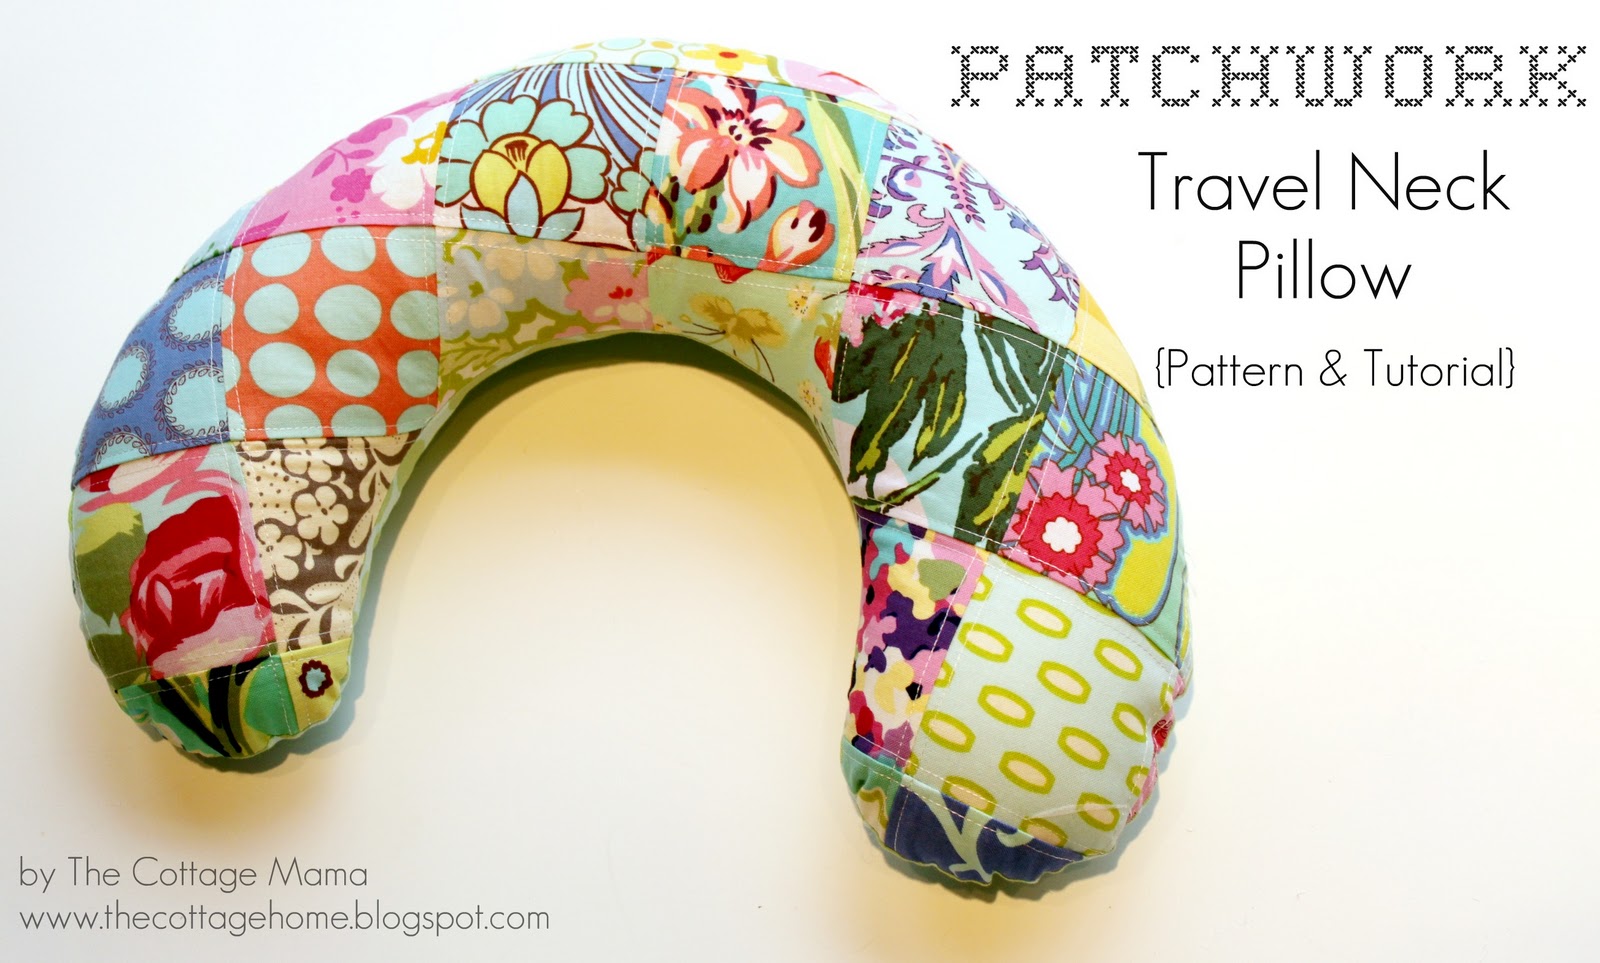
I know a lot of people travel around this time of year. As a matter of fact, my mom and her husband will be flying in to celebrate an early Christmas with us in less than two weeks! Many people are unable to sleep in airplanes and cars because of their uncomfortable neck position . I’ve seen lots of travel pillows in the airports, but I wanted to make one that was a little bit more exciting………a little more “me”, shall we say.
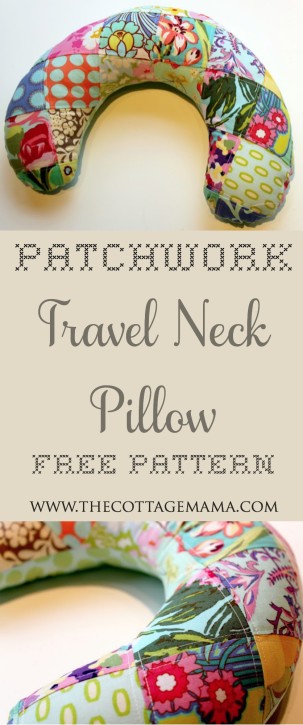
The Patchwork Travel Neck Pillow is a great gift idea for anyone you know that travels a lot. Or make one for yourself so you can be comfortable and stylish on your next long journey.
To download the Patchwork Travel Neck Pillow pattern piece, click HERE.
Materials:
Scraps of fabric
Lightweight fusible interfacing
Fiberfill (or other stuffing)
Scissors
Basic sewing supplies (including hand-sewing)
Travel neck pillow pattern piece (click HERE)
Instructions:
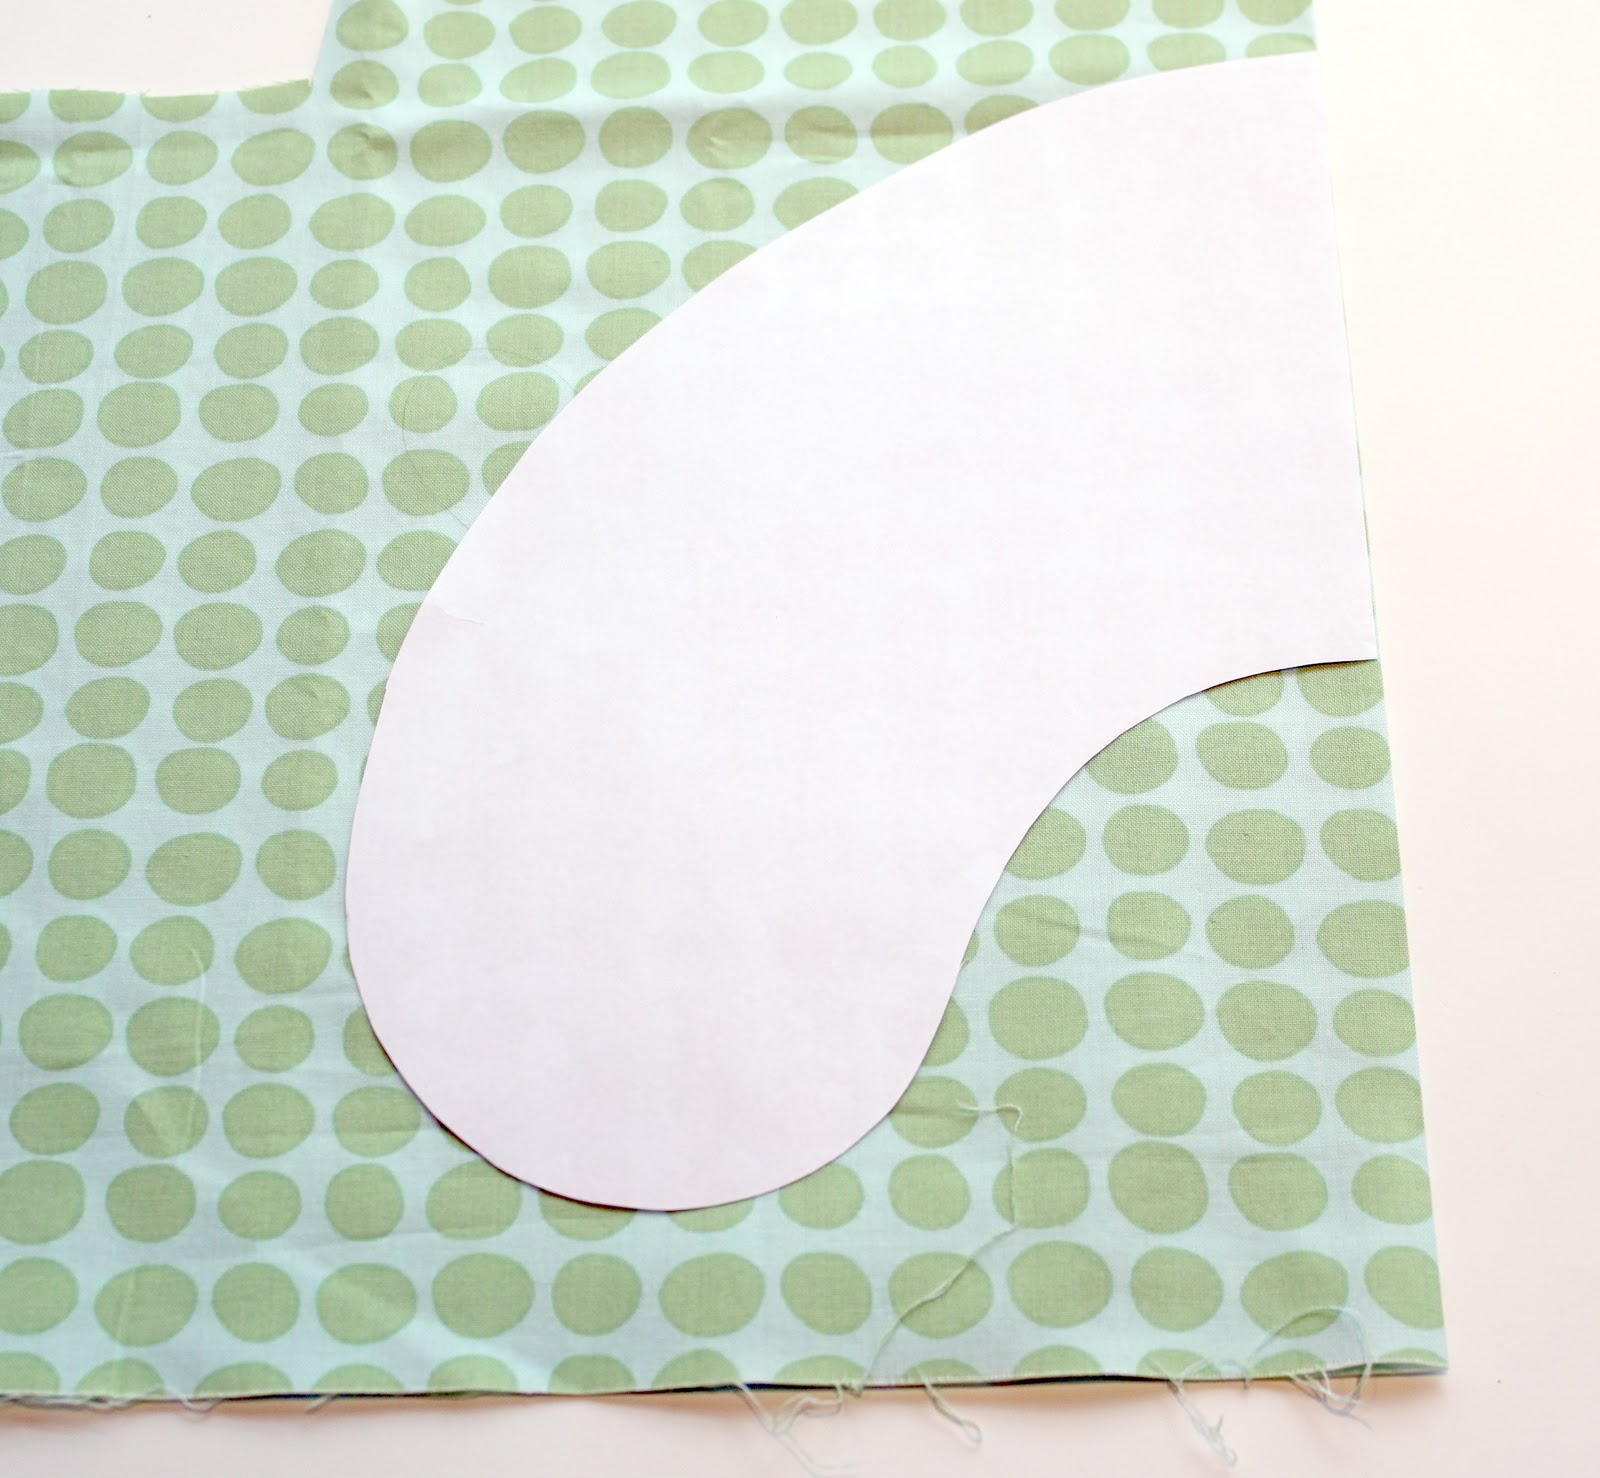
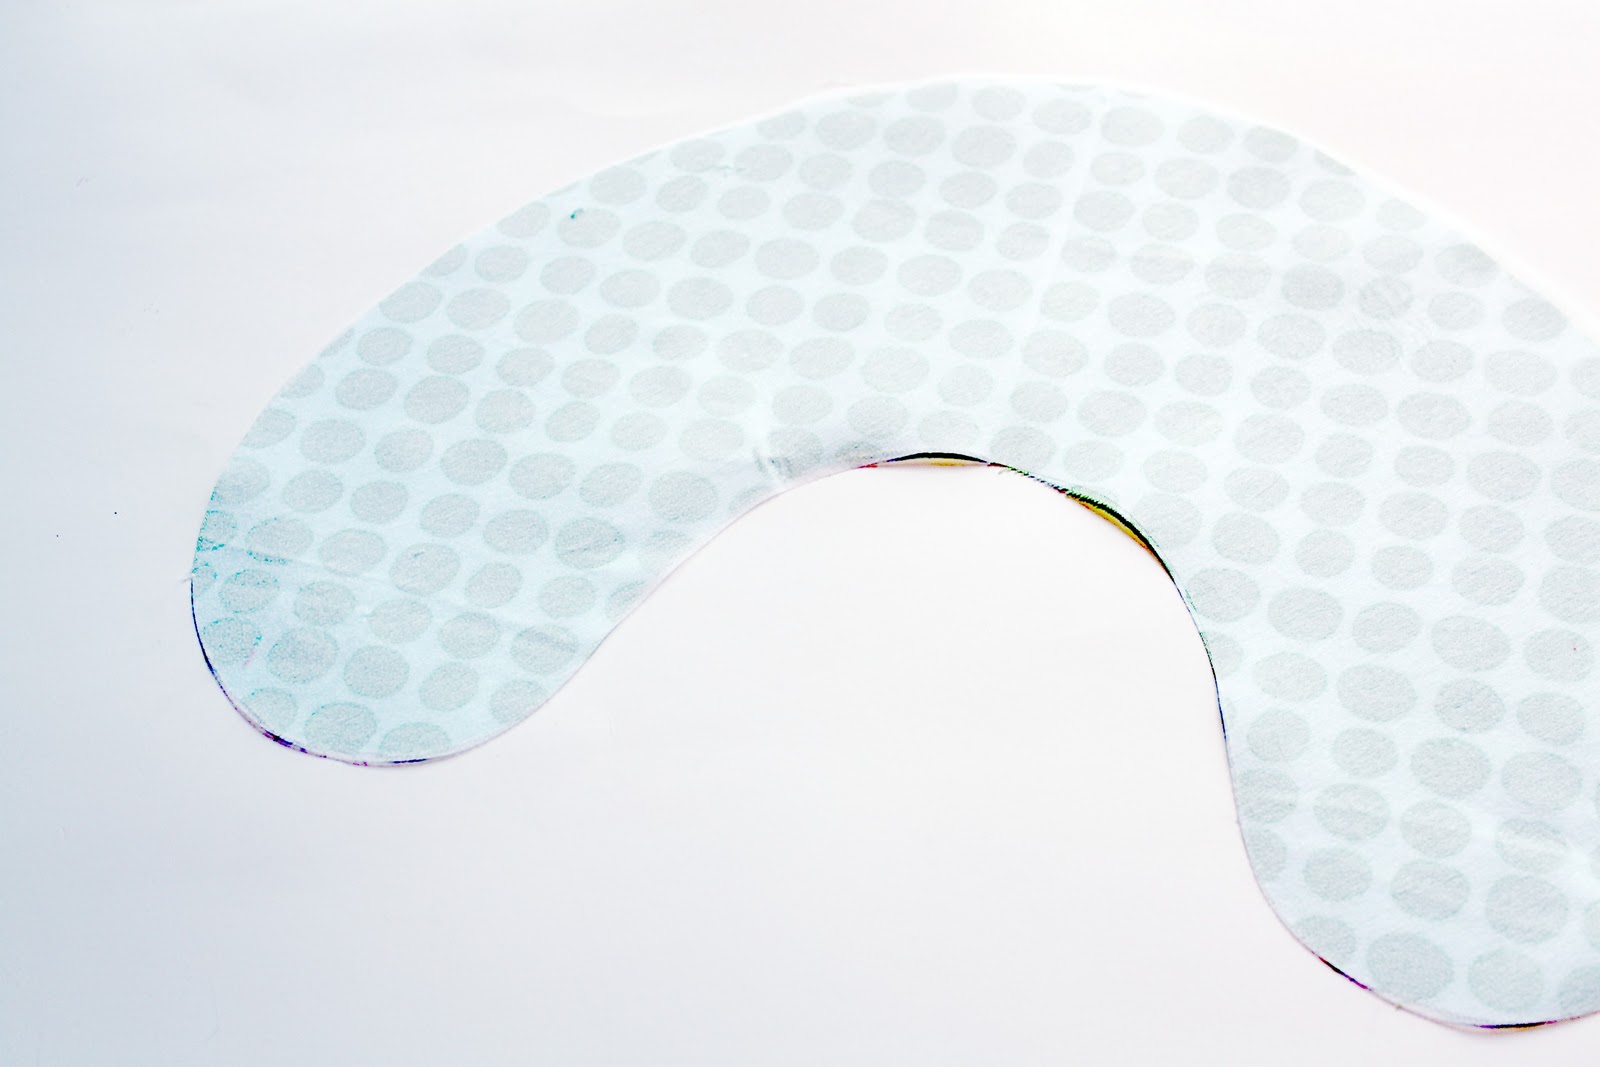
Print and cut out the pattern piece. Use this pattern to cut the backing for your pillow. Place pattern piece on fold of fabric and cut.

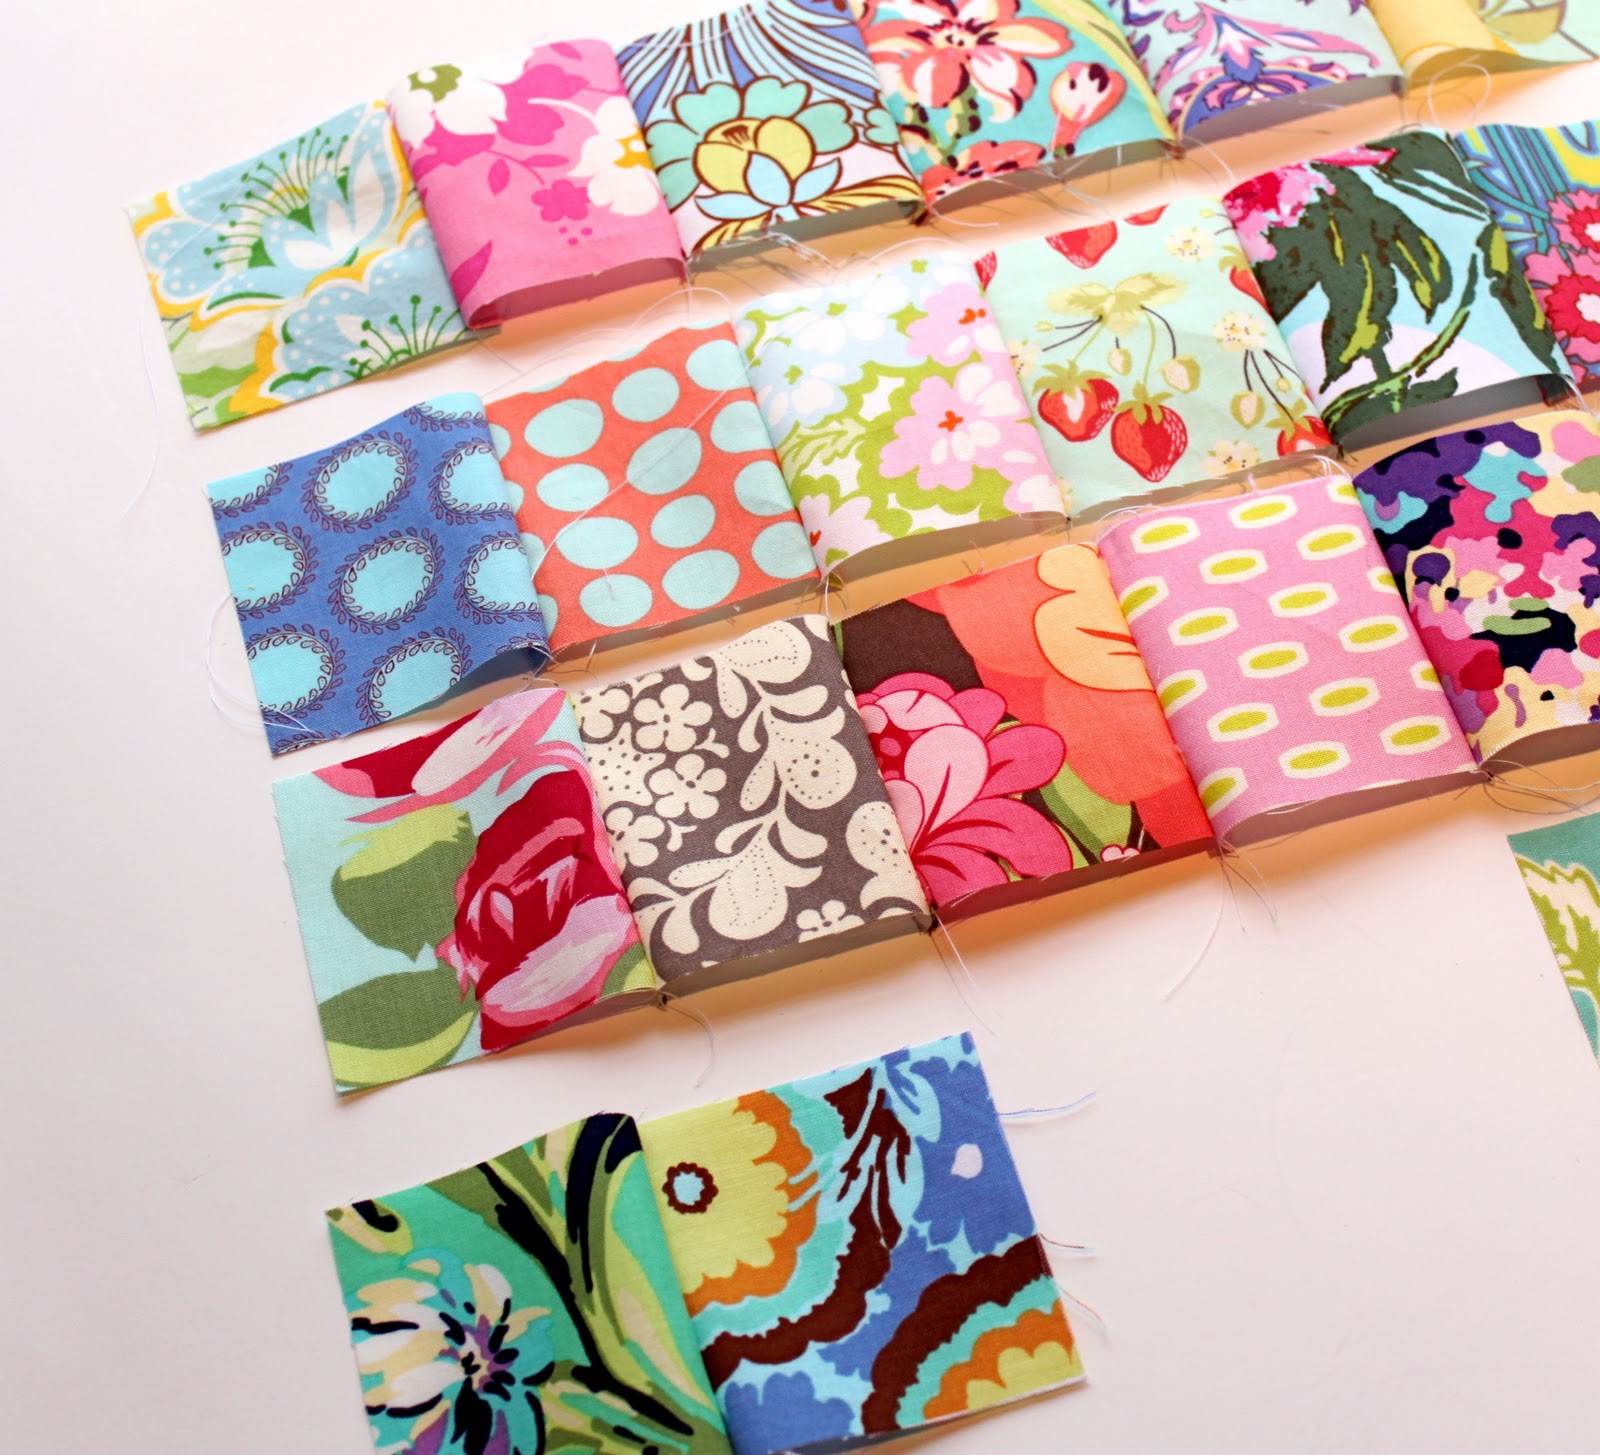
Gather a bunch of fabric scraps that you have lying around. They can coordinate with one another or be totally random. I kind of went for the random look this time, but if you want a more cohesive look then just stick to one color palette.

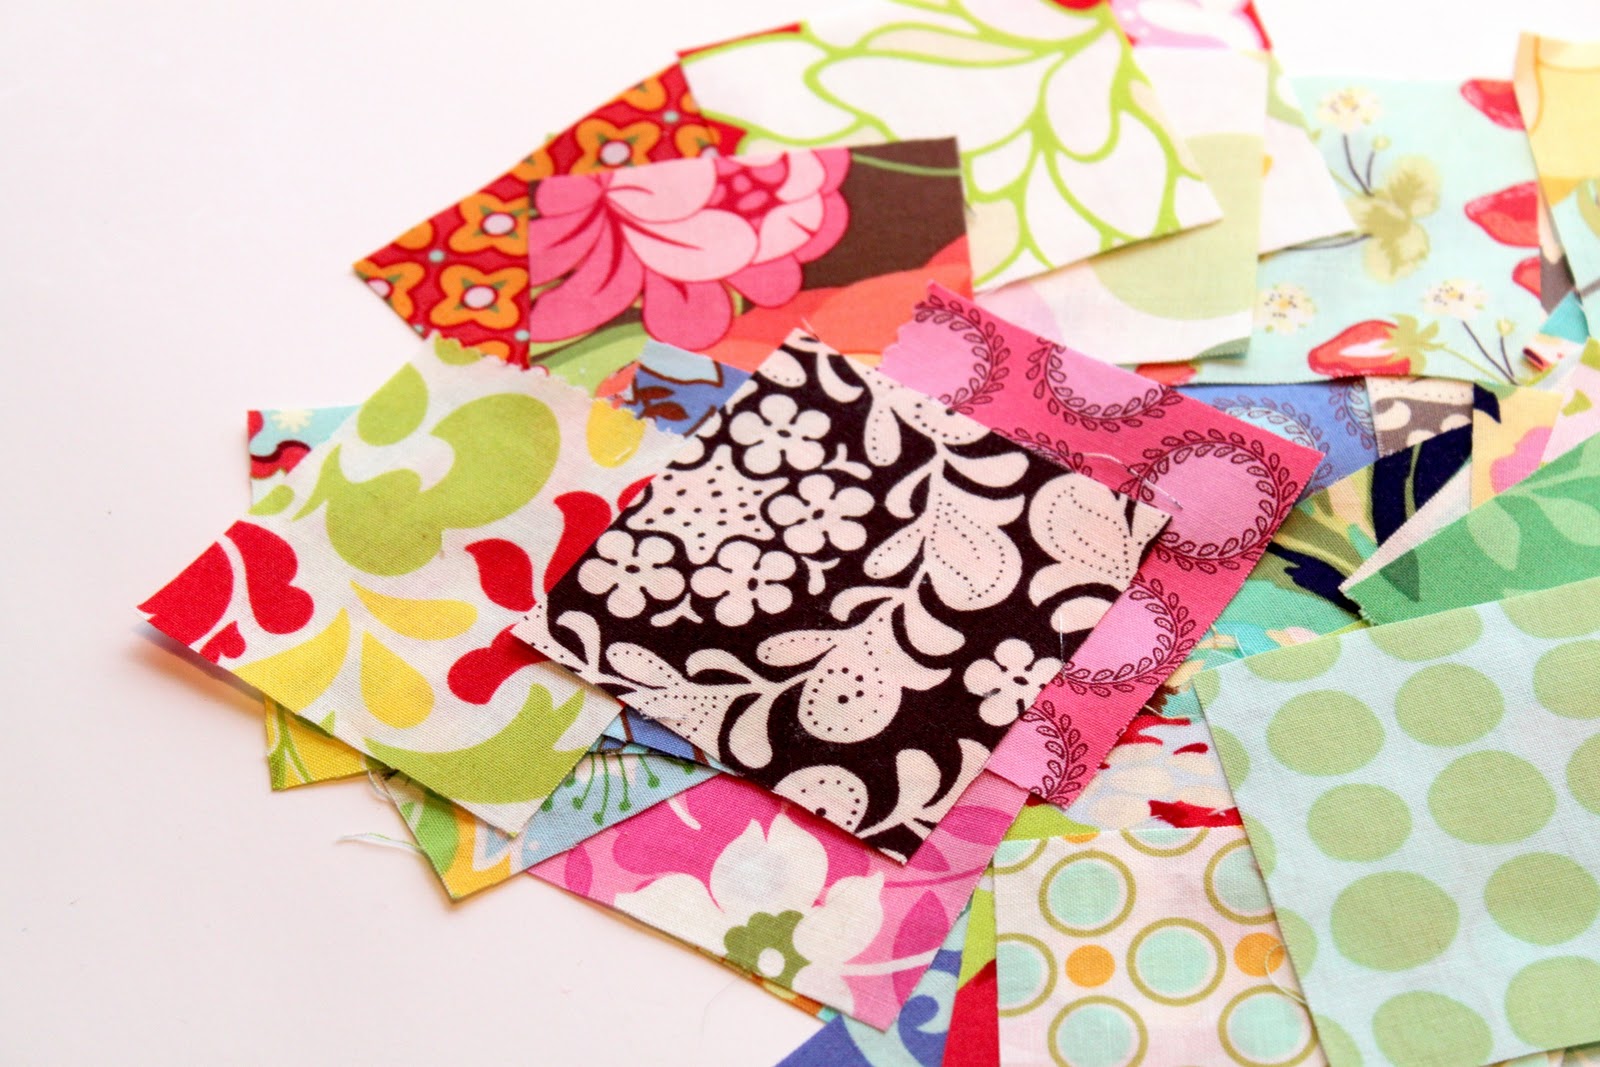
Cut your scraps into 3″ x 3″ squares. I cut mine out using my rotary cutter, quilting ruler and cutting mat, but you can certainly use scissors, just make sure you are precise.
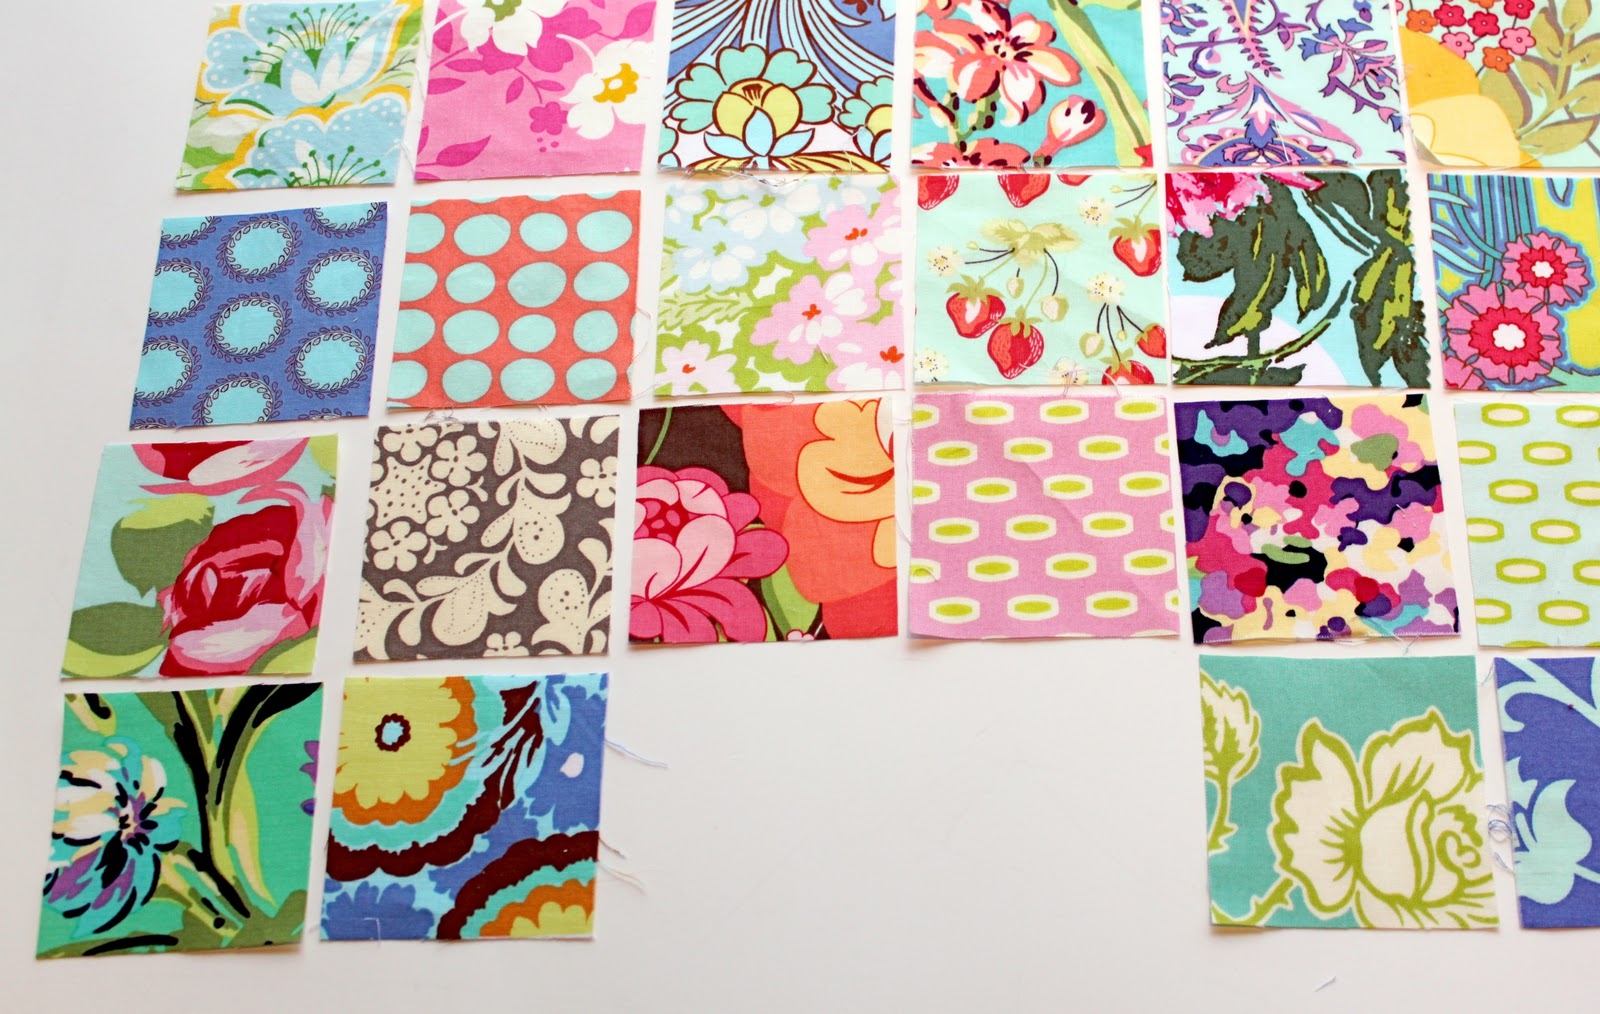
Lay out your fabric squares. Place them in a desired pattern. See my picture (a few below this one) to see exactly how many squares you will need for each row.
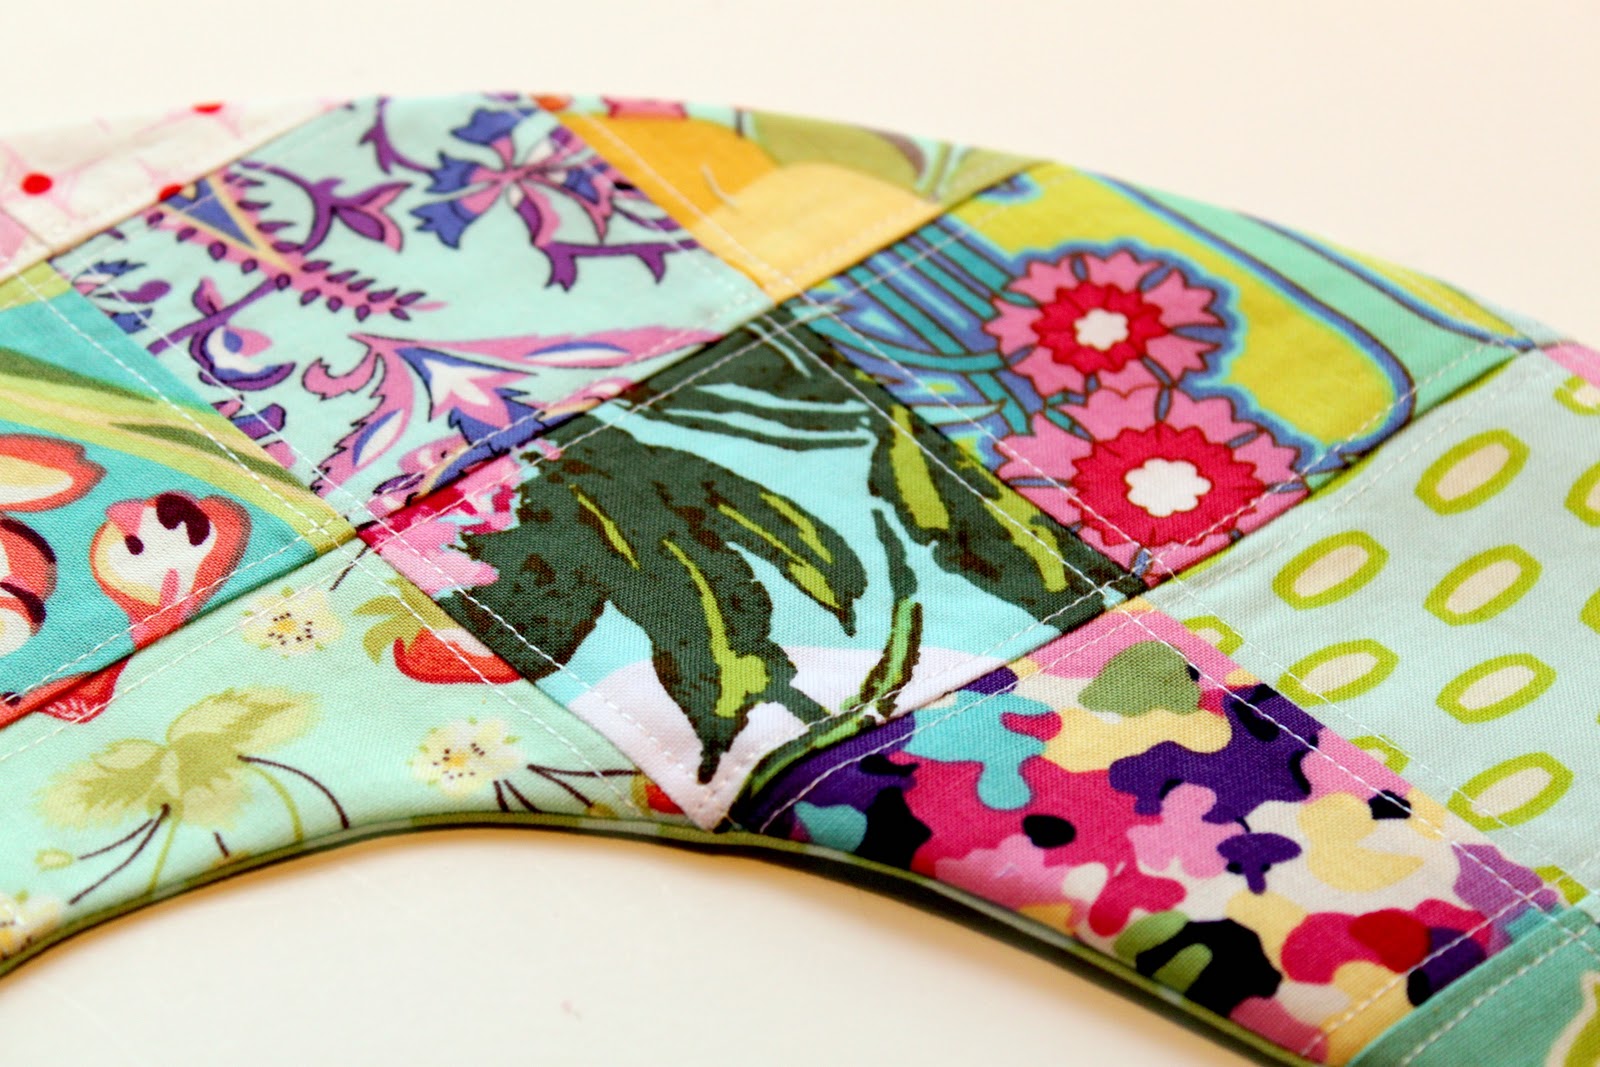
Sew the squares together to form rows using a 1/4″ seam allowance. Then sew the rows together also with a 1/4″ seam allowance. I would suggest alternating the way you press your seams so that you have better luck with the corners meeting up. If you press one row to the right, press the next row to the left and so on.

The picture above is what your squares will look like when they are all sewn together. If you are doing 3″ squares, you can follow the above layout and it will fit your pattern piece exactly.

Use your pillow backing as the template for the front. Cut around to make the front patchwork piece.

This step is entirely optional, but I always love nice finishing. I stitched a 1/4″ from each seam on both sides. I did this horizontally and vertically, so that each square has a stitched border. If you choose this option, make sure you complete this before you sew on your backing.
Apply a light-weight fusible webbing to the back piece and the front piece. Do this according to your package directions. This is fusible web so it will only be fusible on one side. Do not use double-sided for this project. You don’t have to use the interfacing, but I think it gives the project more body and looks nicer once the pillow is stuffed.
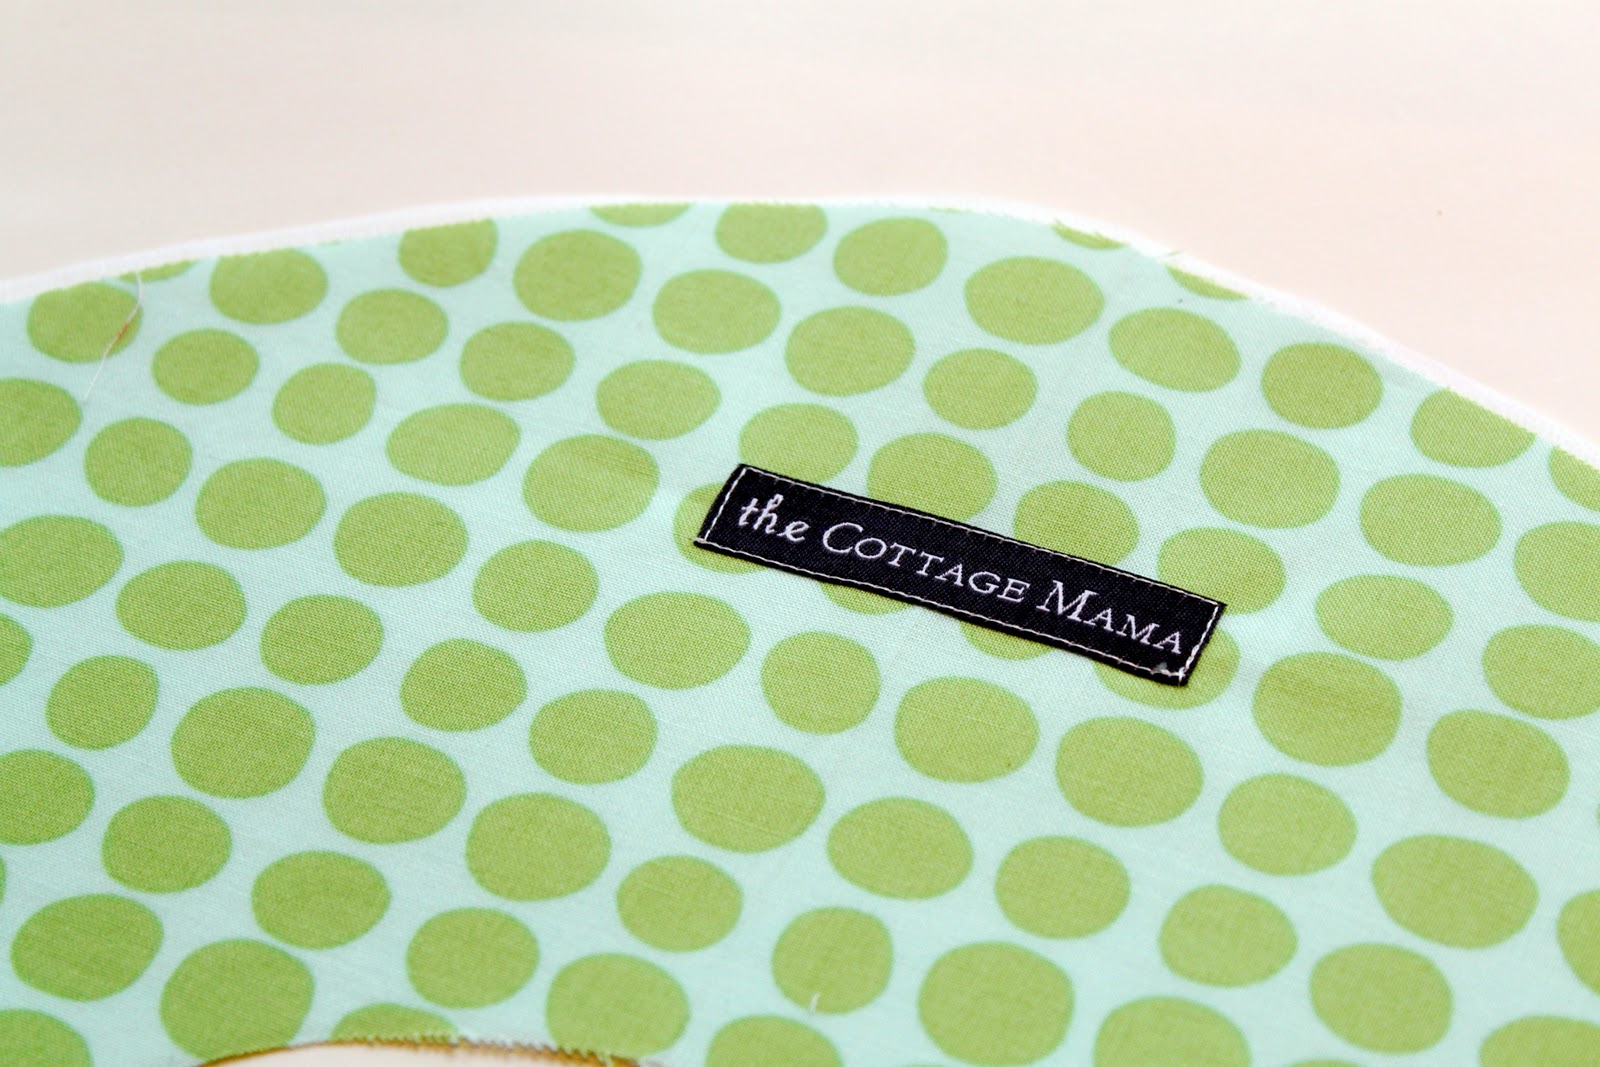
At this point, if you choose to use a label, sew it on to your back piece now.

Pin the front piece to the back piece with the right sides together. Stitch all the way around using a 1/2″ seam allowance, but leave a 3″ opening on one of the sides.

Clip the inner curve so that the pillow will lay flat. Do this by cutting slits through the curve. Cut very close to the stitching, just be careful not to go through it.

For the outer curves, notch them out so that you remove bulk. Again, we are doing this so that the curves will lay flat and look nice when turned right side out.

Turn your neck pillow right side out and press. You may have to work the curves so that they are nice and smooth. Stuff your pillow with fiberfill stuffing. Move the stuffing around so it is even throughout the pillow. Then hand sew your 3″ opening closed with coordinating thread.
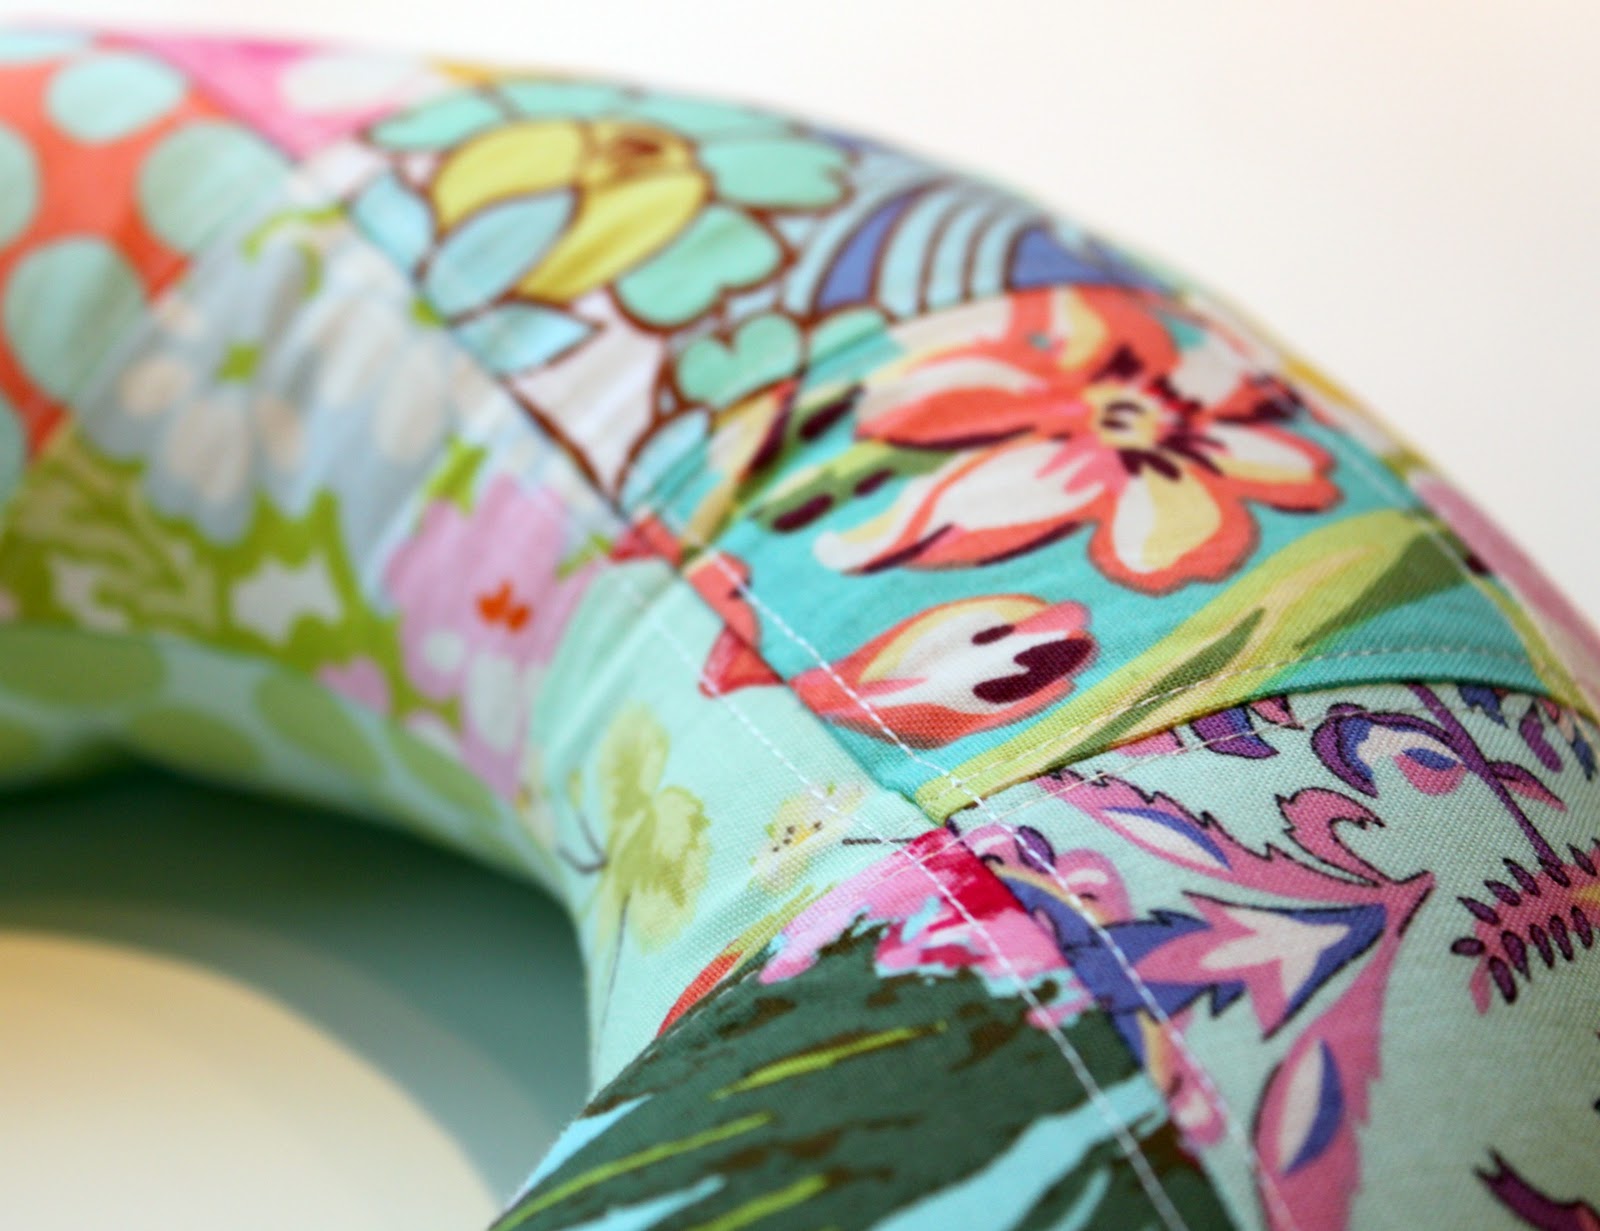
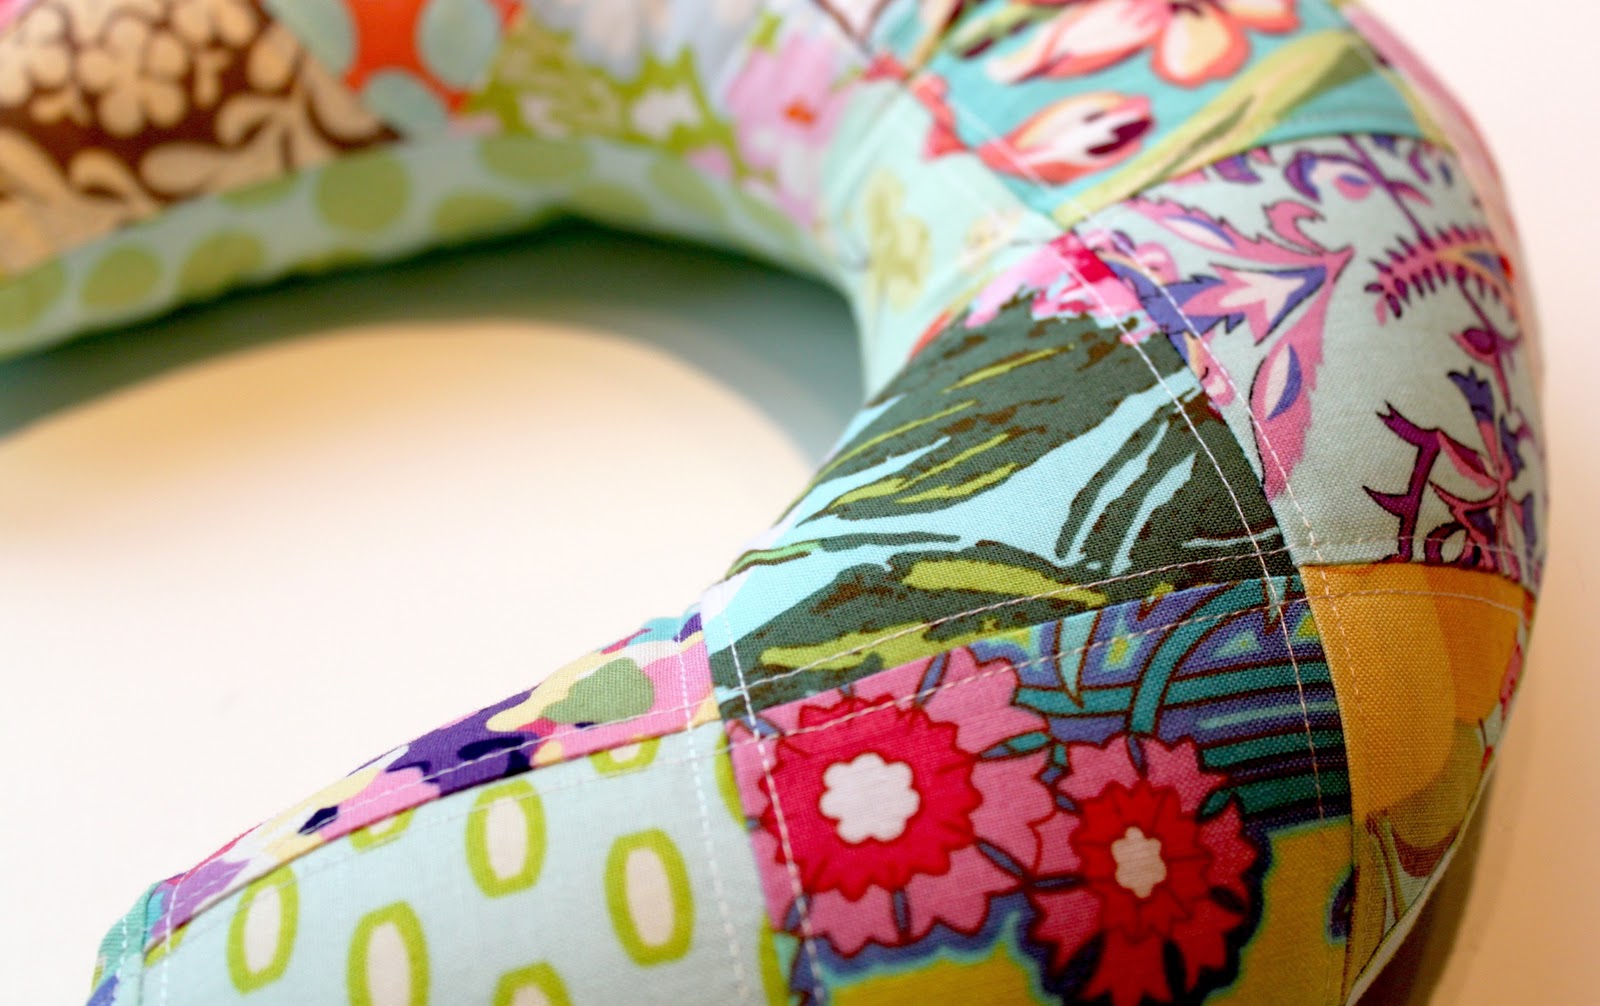

And there you have it, your completed Patchwork Travel Neck Pillow!
The patchwork version takes a little time, but if you need a faster variation, try leaving the front piece solid. Also, you can certainly make this pillow for a man by using more masculine fabric prints. But you know I love girly things.


 Lindsay Wilkes is the owner and designer behind The Cottage Mama. She creates timeless, vintage inspired sewing patterns for children’s clothes. She is also a fabric designer for Riley Black Designers / Penny Rose Fabrics, author of the book ‘Sew Classic Clothes for Girls’ and can be seen teaching nationwide and online in her video series ‘Lessons with Lindsay’ sponsored by Baby Lock Sewing and Embroidery machines.


