
Many of you have purchased my recently released ‘Shortcake Reversible Romper and Dress’ pattern and I want to say a big, big thank you for all of your support. I plan to offer several tutorials on the blog to help you get the most out of your pattern purchase and today is the first one.

Today we are going to use the ‘Shortcake’ pattern by The Cottage Mama to create a fall knicker short that can be worn over tights for the colder weather months that are upon us. These knickers are a great way to add a little pop of color to your little ones wardrobe and are fully reversible ~ two looks in one! I chose to use coordinating fabrics, but you could certainly make them out of totally different fabrics for two completely different looks.
So yes, in order to complete this tutorial you will need to get your own copy of the ‘Shortcake Reversible Romper and Dress’ pattern, but once you have it there are many clothing possibilities. Let’s get started……..

Find any pair of pants or shorts that fit your child. We are going to use these to determine the proper rise for the knickers. Line up the pants/shorts with the pattern size you are using. Draw a line with a pencil 1″ higher than the top of the waistline.

Fold the top of the romper pattern down (don’t cut it or you will ruin the pattern). Now you have your knicker pattern. Cut the knickers out according to the romper cutting directions and also cut out the leg bands using the included pattern piece. Sew the seams together for the lining of the knickers and the exterior fabric. Stop before sewing the crotch seams.

Once you have your seams sewn, turn the lining inside out and place the exterior piece inside the lining. This will make the knickers have their right sides together. Line up the top edge of the knickers. Sew around the entire top of the knickers with a 1/4″ seam allowance.

Pull the exterior fabric out of the lining fabric and press the top seam open. Turn the knickers right side out by tucking the lining fabric down into the outside (exterior fabric) of the knickers.
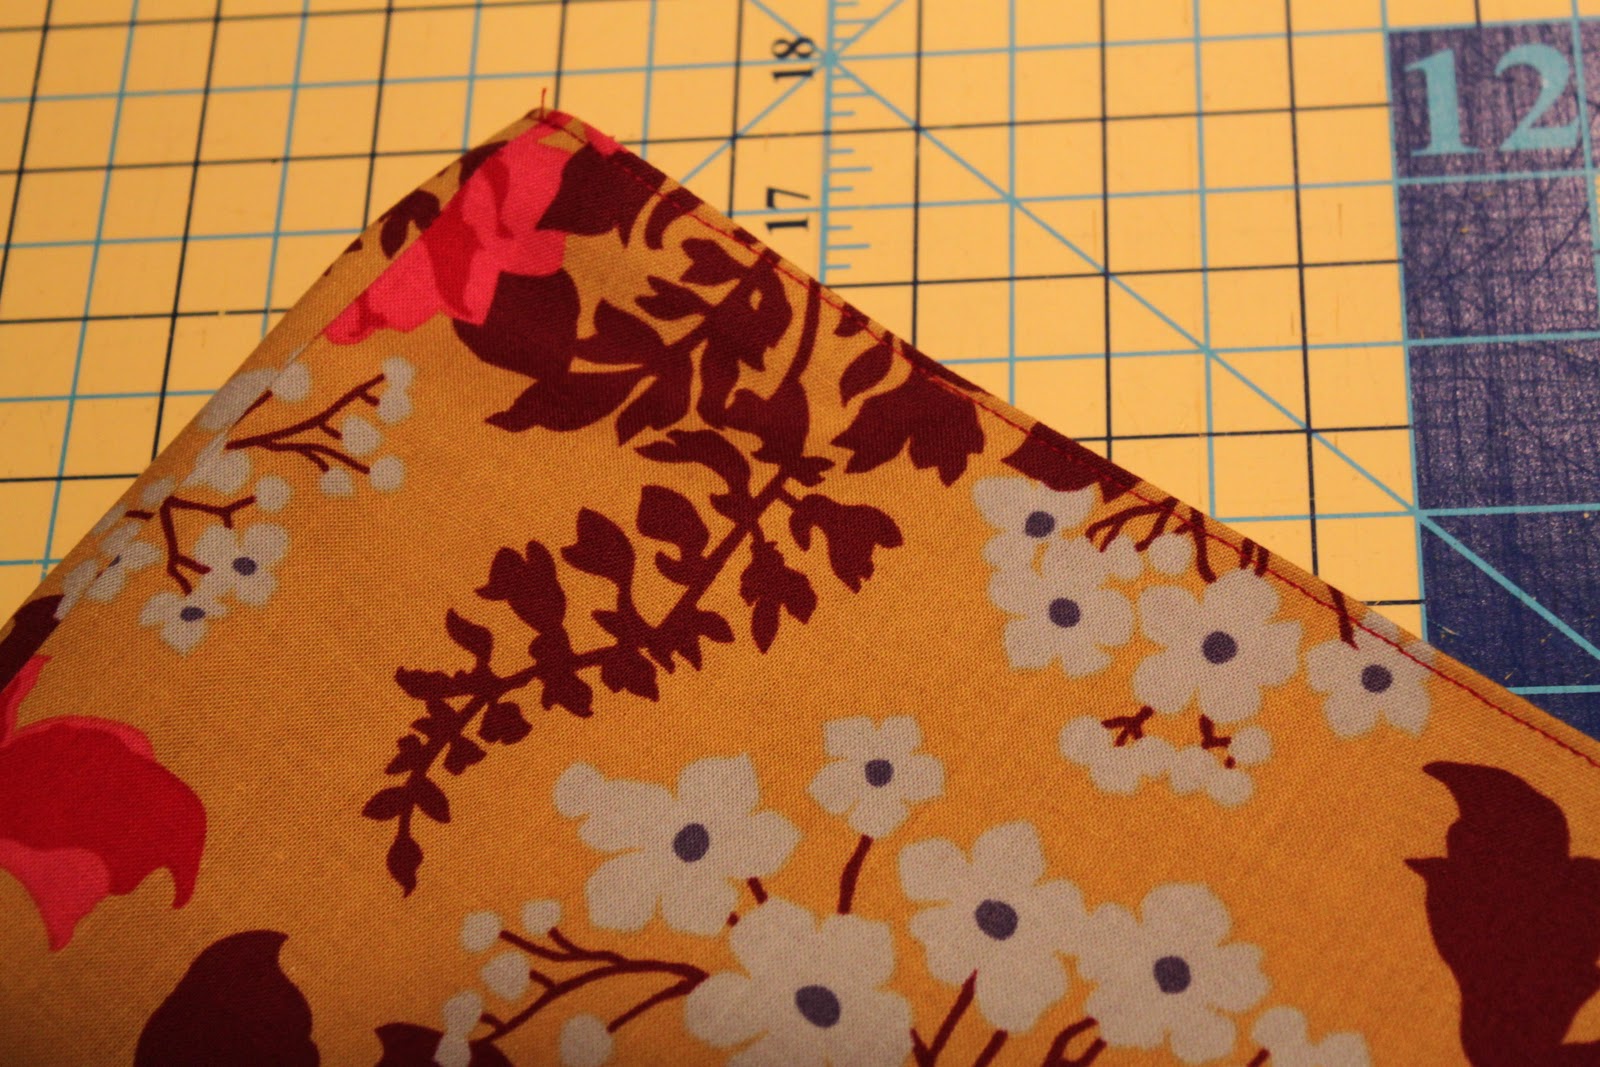
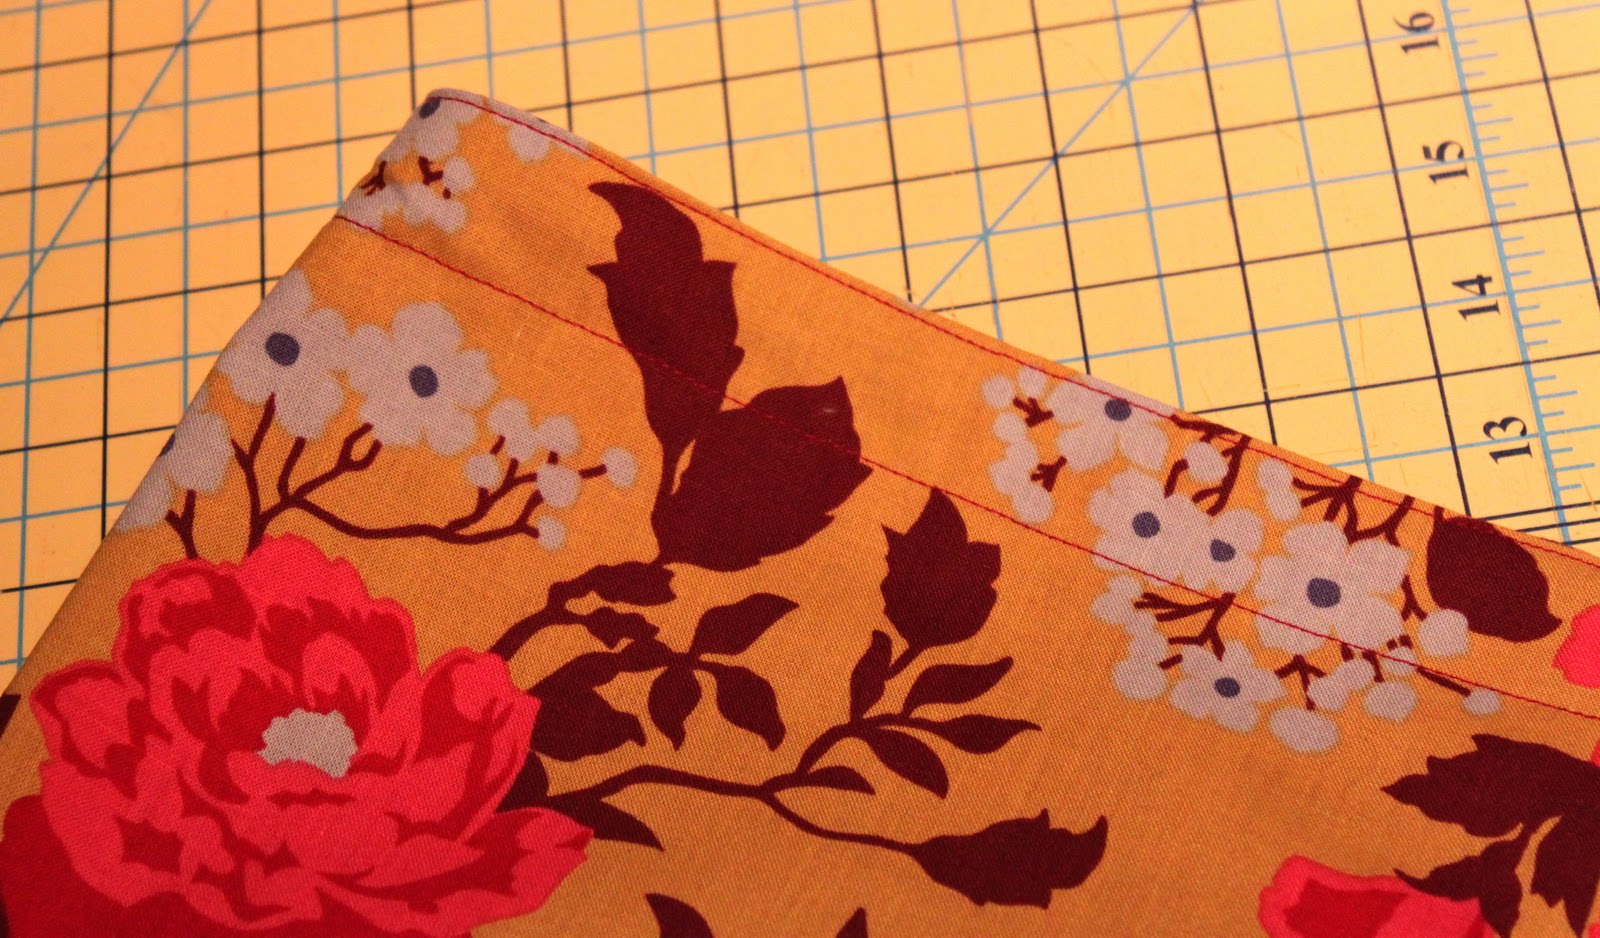
Edge Stitch around the top of the knickers in coordinating thread.
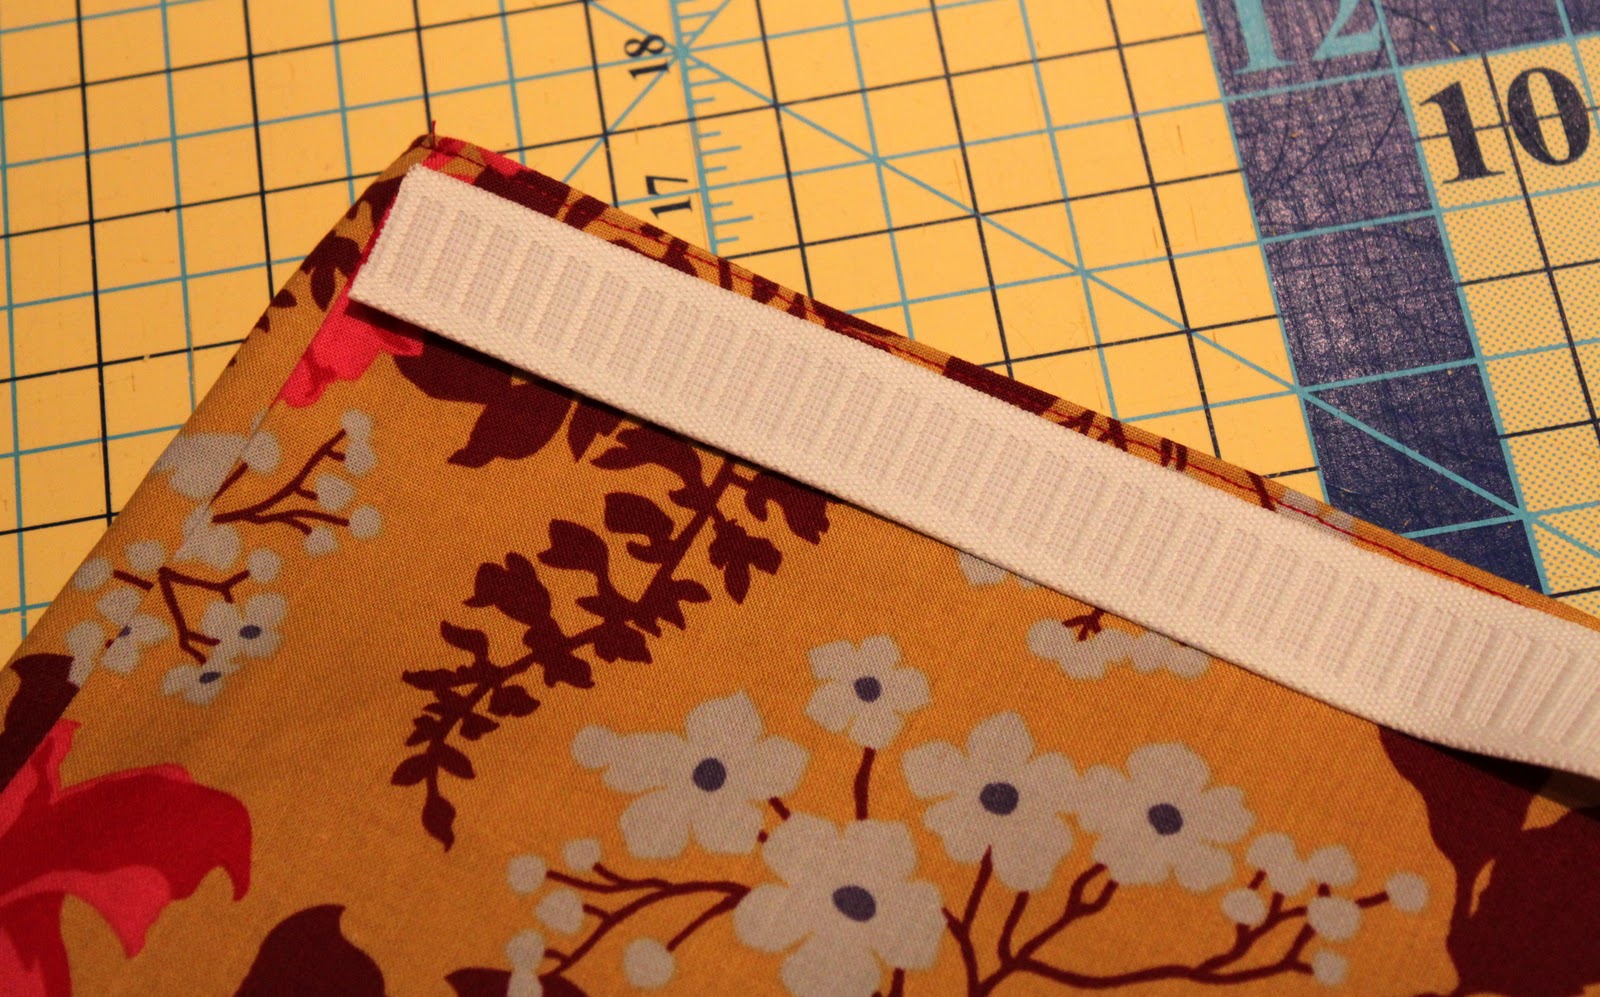
Measure your elastic. I cut mine 1″ smaller than my daughters waist. Check the width of the elastic to know how wide to make the second row of stitching. I used 3/4″ wide elastic.
Sew a second row of stitching 1″ (depending on elastic width) down from the top edge of the knickers. Leave a 2″ opening to thread elastic. Thread elastic up through the bottom leg of the knickers through the opening. Use a bodkin or safety pin to pull the elastic through the waistband. Overlap the elastic 1″ and sew with a zig-zag stitch to secure. Close 2″ waistband opening.
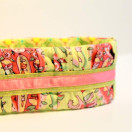
Now continue to sew the crotch seams and leg bands according to pattern directions. Once leg bands are complete you will have your an adorable pair of Shortcake Reversible Knicker Shorts!


Patterns are available for wholesale purchase, please email Lindsay at thecottagemama[at]gmail[dot]com for order minimums and additional pricing information.


 Lindsay Wilkes is the owner and designer behind The Cottage Mama. She creates timeless, vintage inspired sewing patterns for children’s clothes. She is also a fabric designer for Riley Black Designers / Penny Rose Fabrics, author of the book ‘Sew Classic Clothes for Girls’ and can be seen teaching nationwide and online in her video series ‘Lessons with Lindsay’ sponsored by Baby Lock Sewing and Embroidery machines.


sooooo cute!
Hi,
I made the Shortcake reversible dress for my Grand Niece for Christmas, but I could not figure out how to get it to reverse. It didn’t matter how I sewed it, I even took it to my sewing group and they couldn’t figure it out either. I left the opening at the bottom and when I tried to turn it, it was in on big continuous circle. Would you be able to advise on what I did wrong. I finally ended up leaving the whole bottom opened, turned it and sewed the rick rack down. I’m sure it is an easy fix, but it was very frustrating and you were on maternity leave and I didn’t want to bother you, but getting ready to make another one if I can figure out the correct way.
thank you.