
Today I am guest blogging over at Ashley’s blog, Lil Blue Boo, and I’m sharing a little bit about how I find joy in blogging. Ashley has gone through a lot this past year and is currently undergoing cancer treatment. Please keep her in your thoughts and prayers. Ashley is an inspiration through her creativity, positive attitude, honesty and outlook on life. She somehow manages to always view the glass as half full.
As Ashley would say, “Choose Joy”.

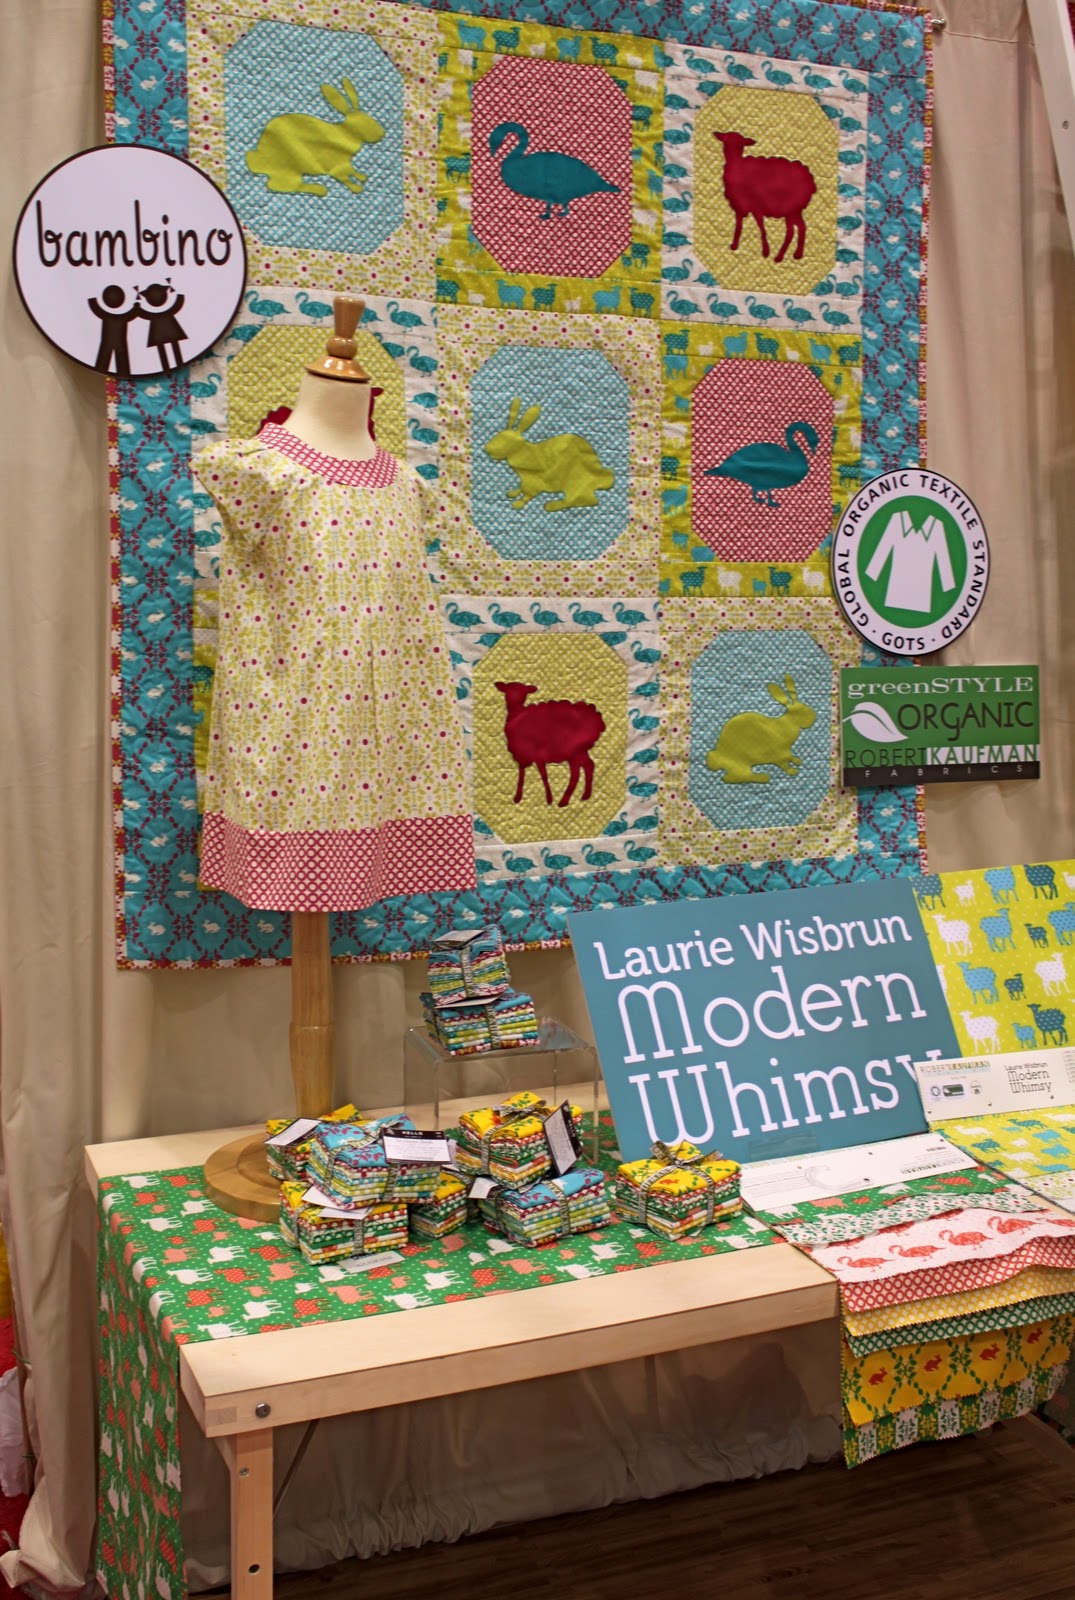
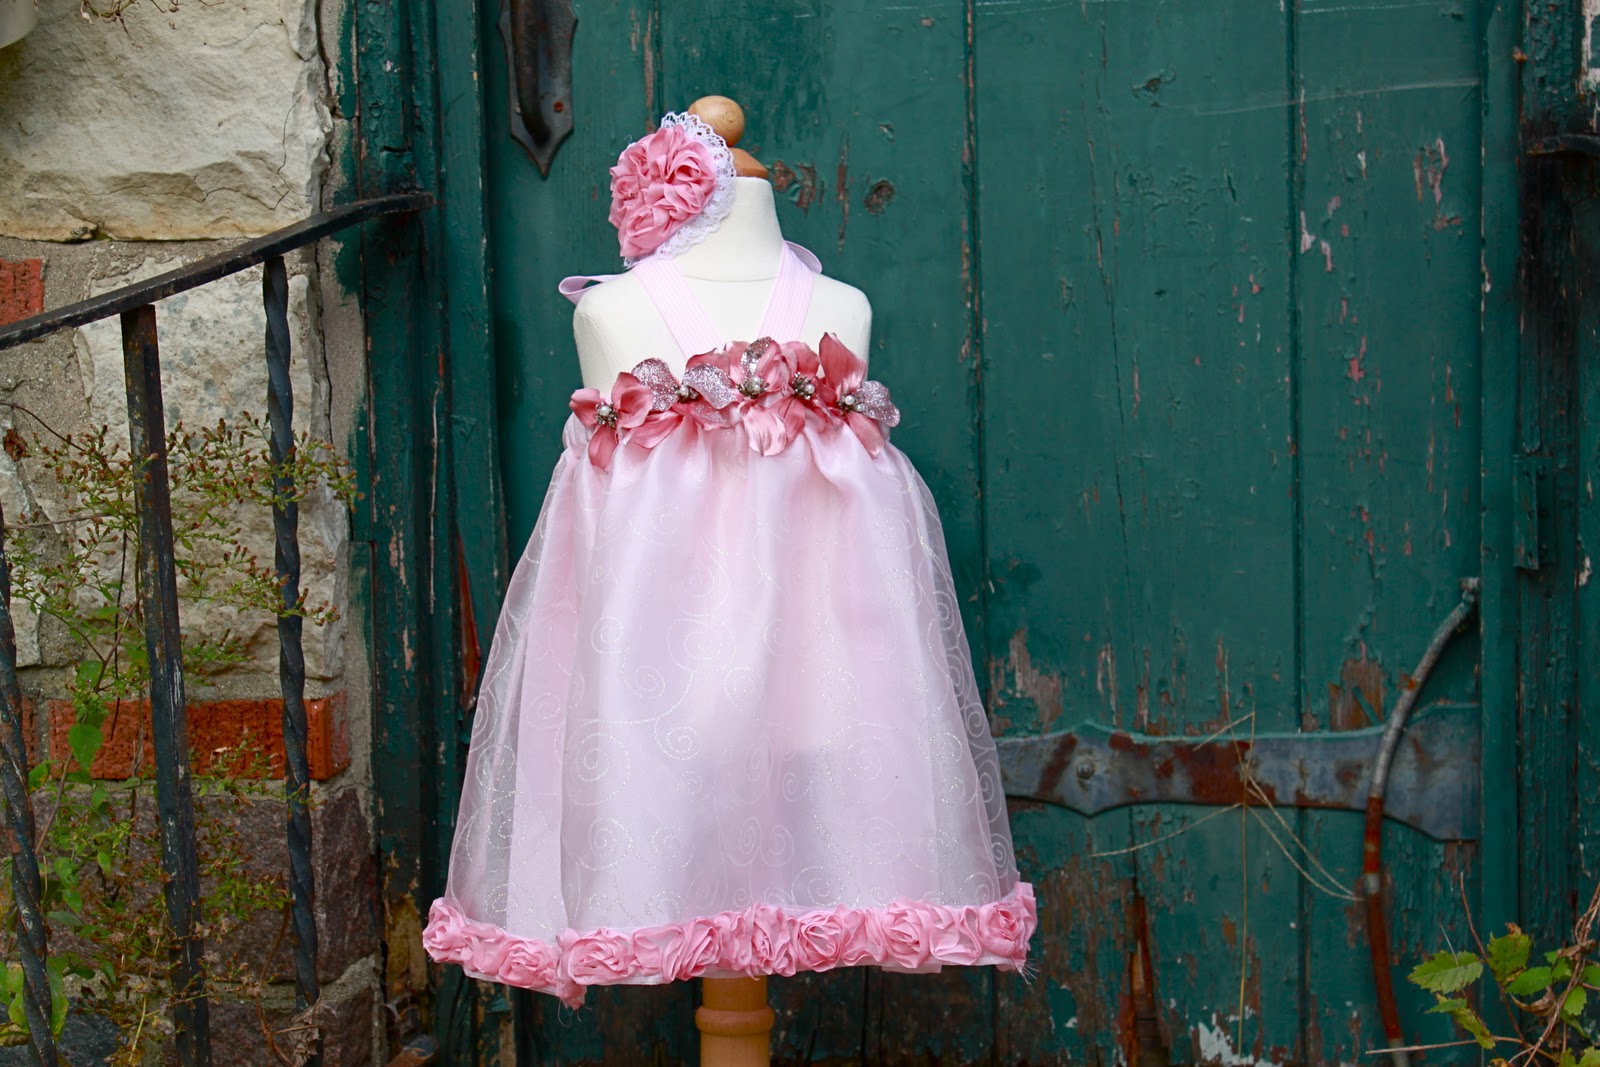
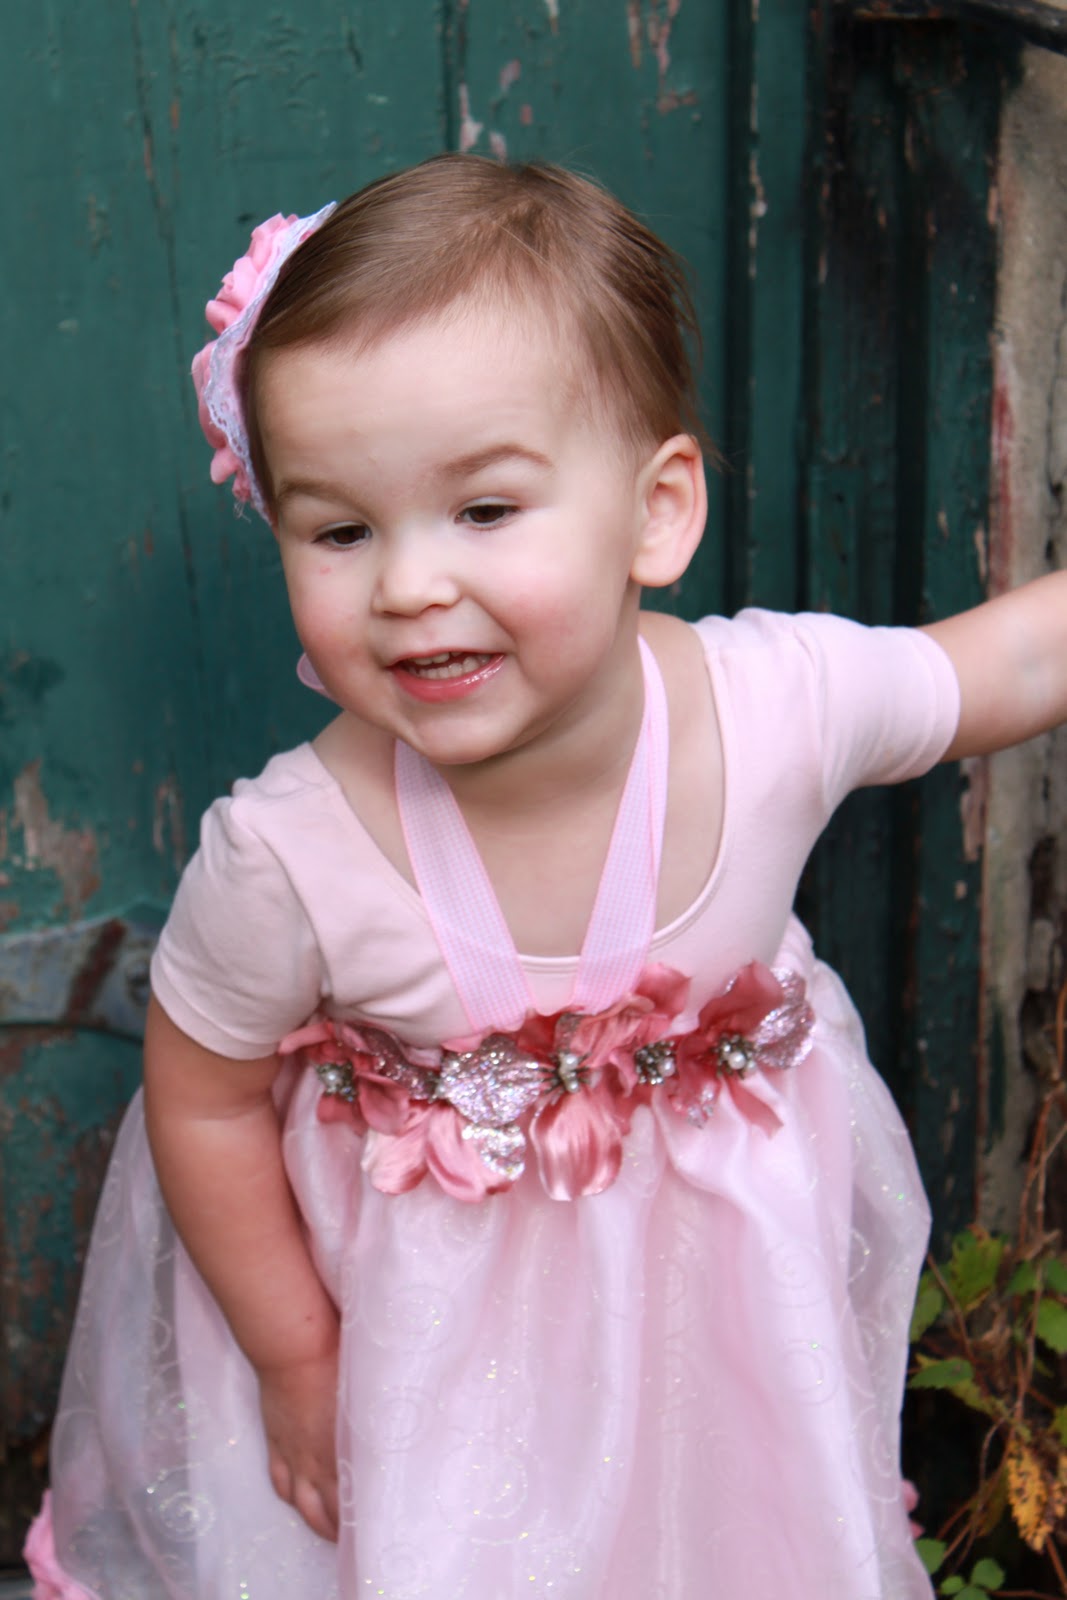
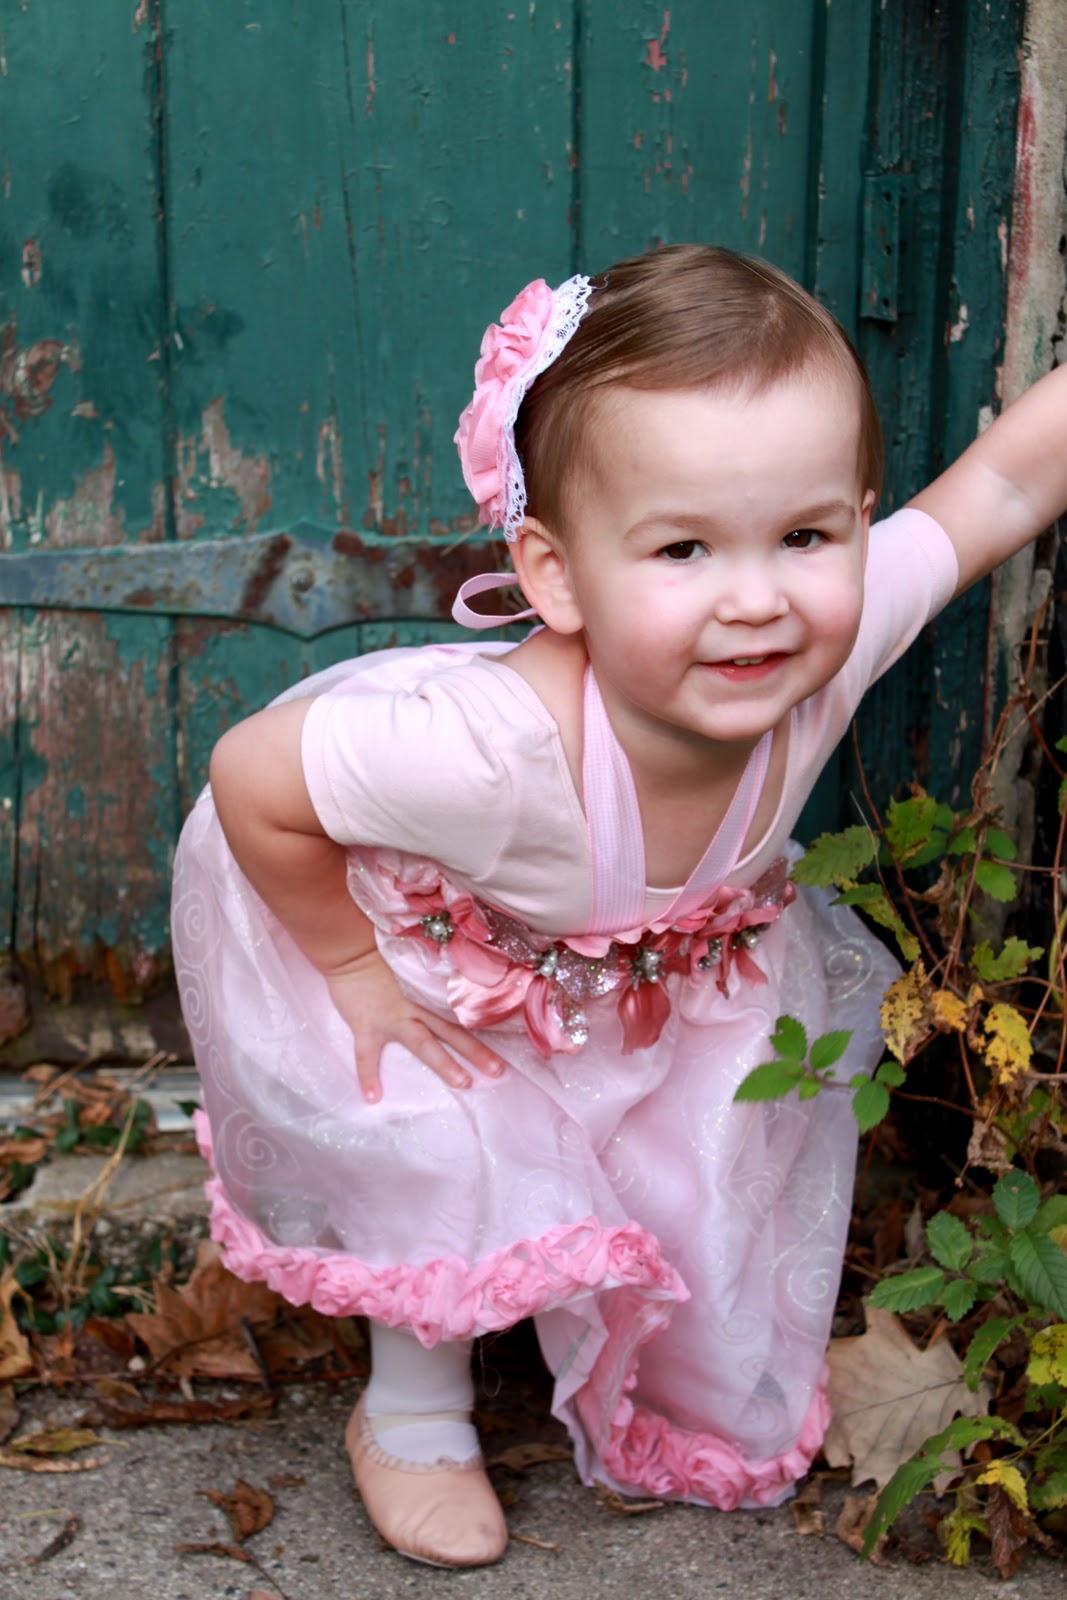
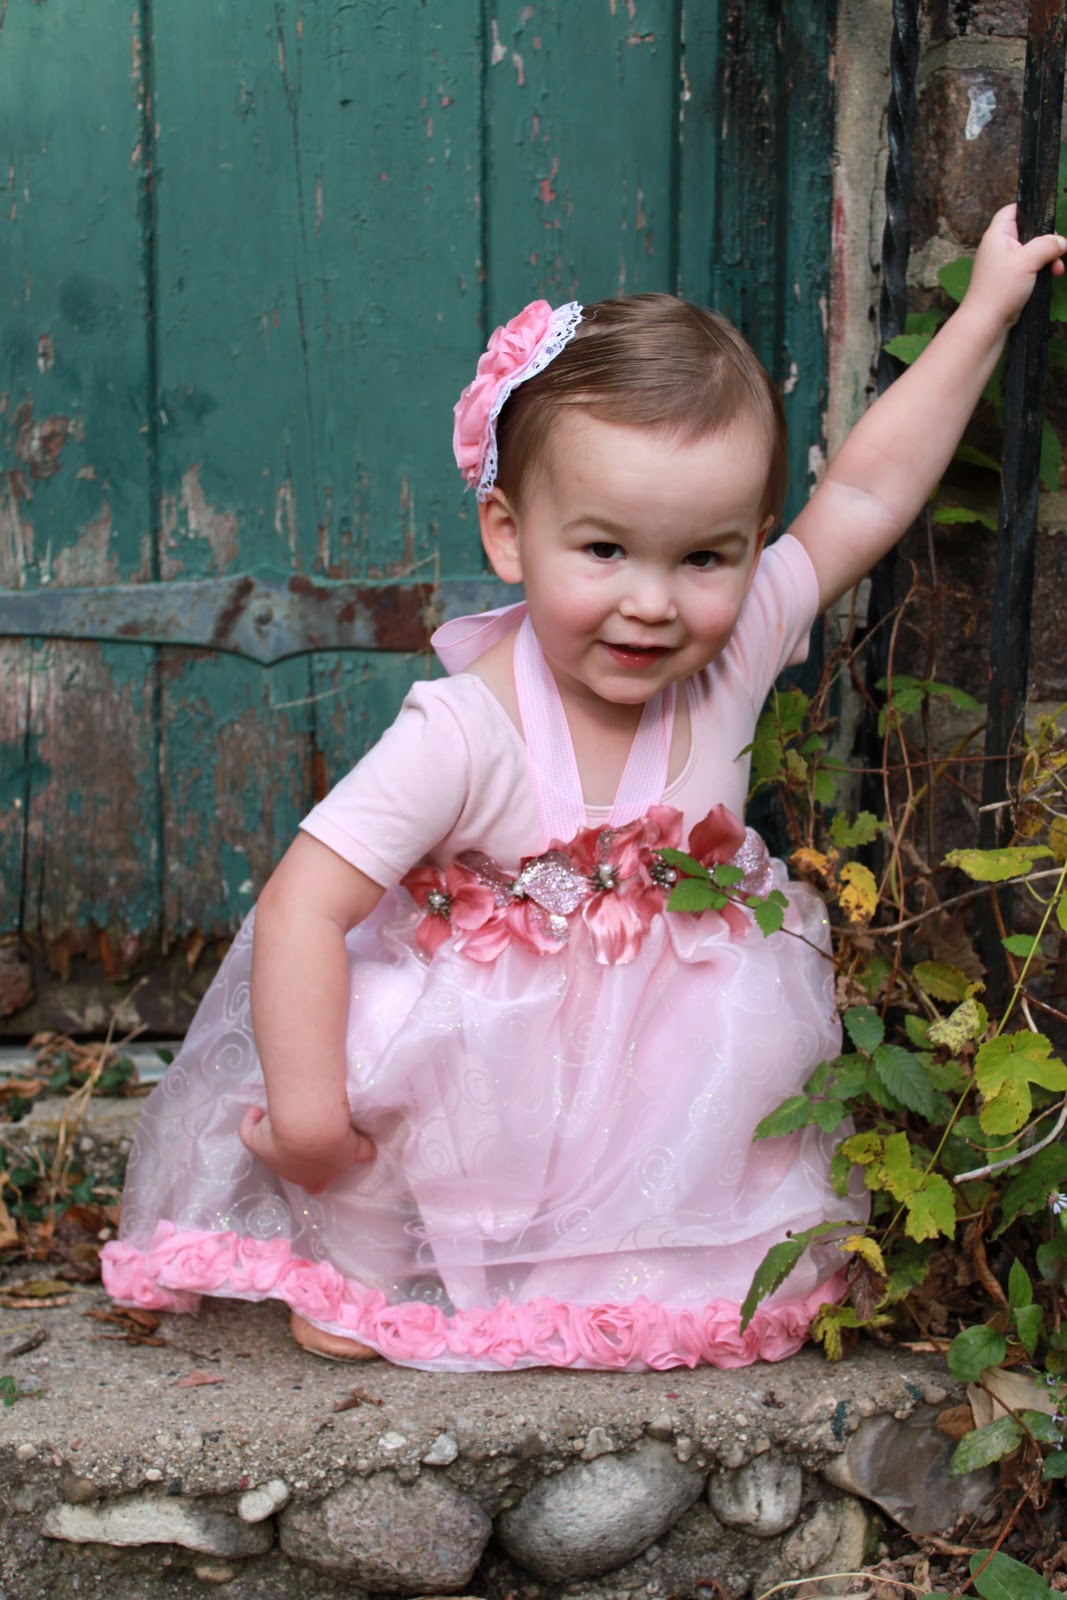
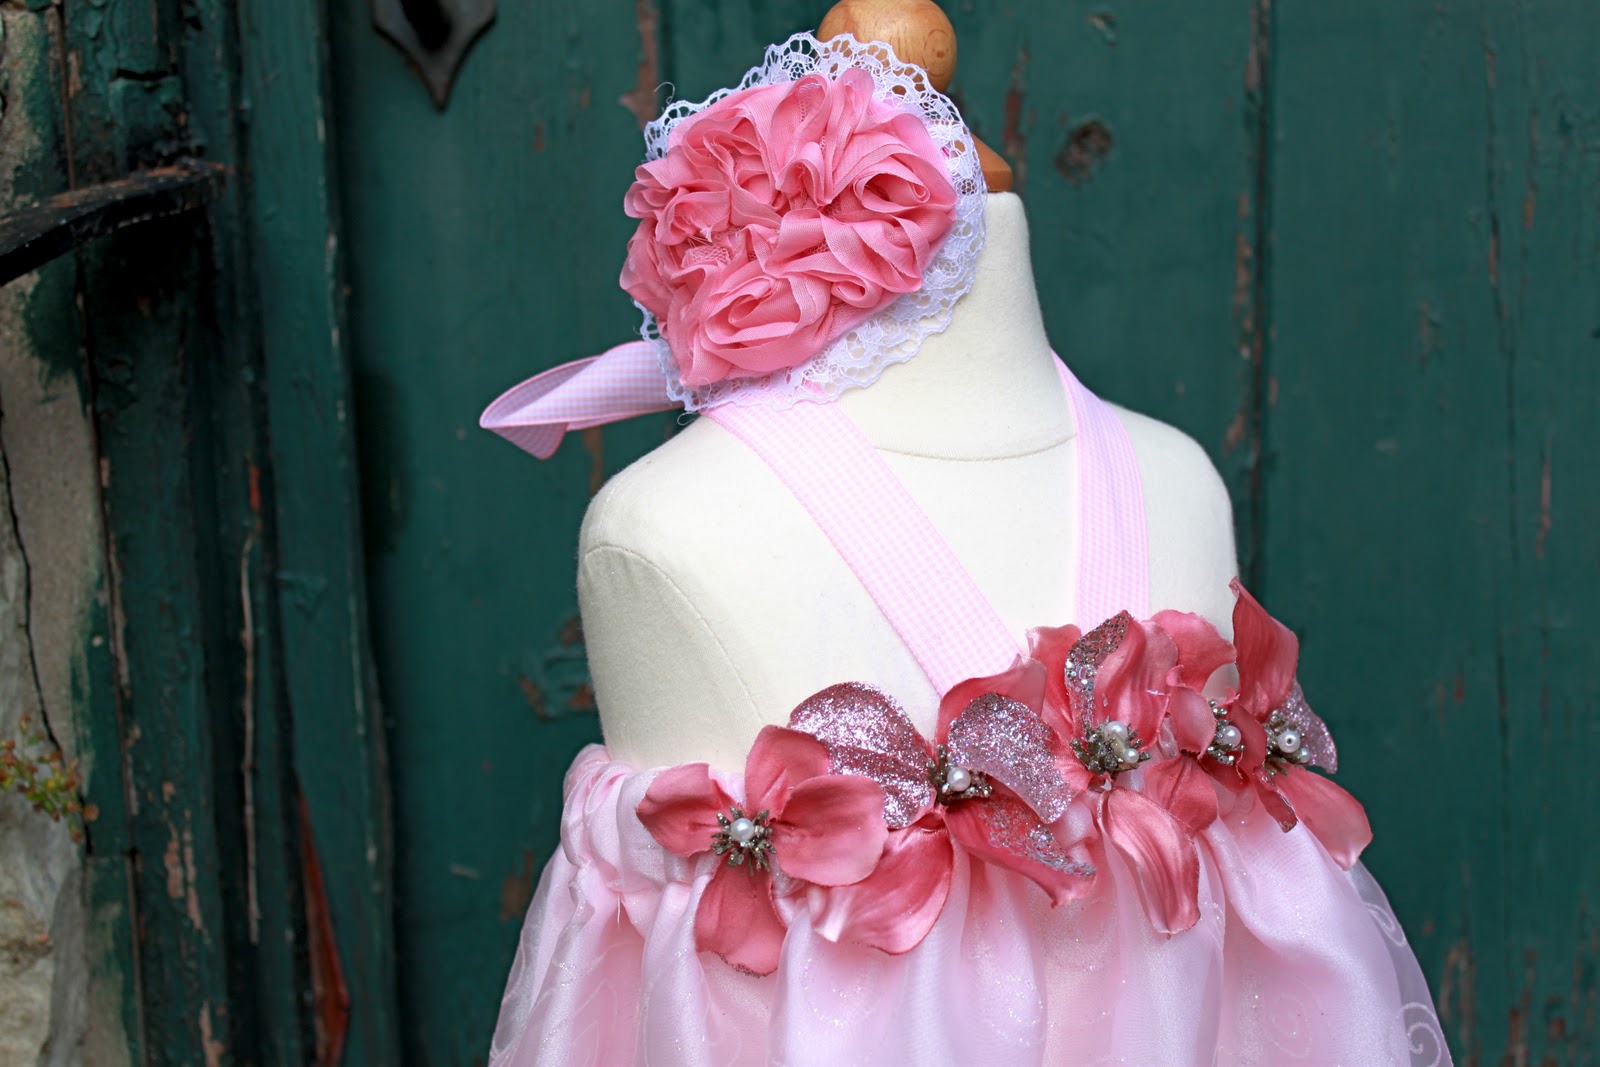
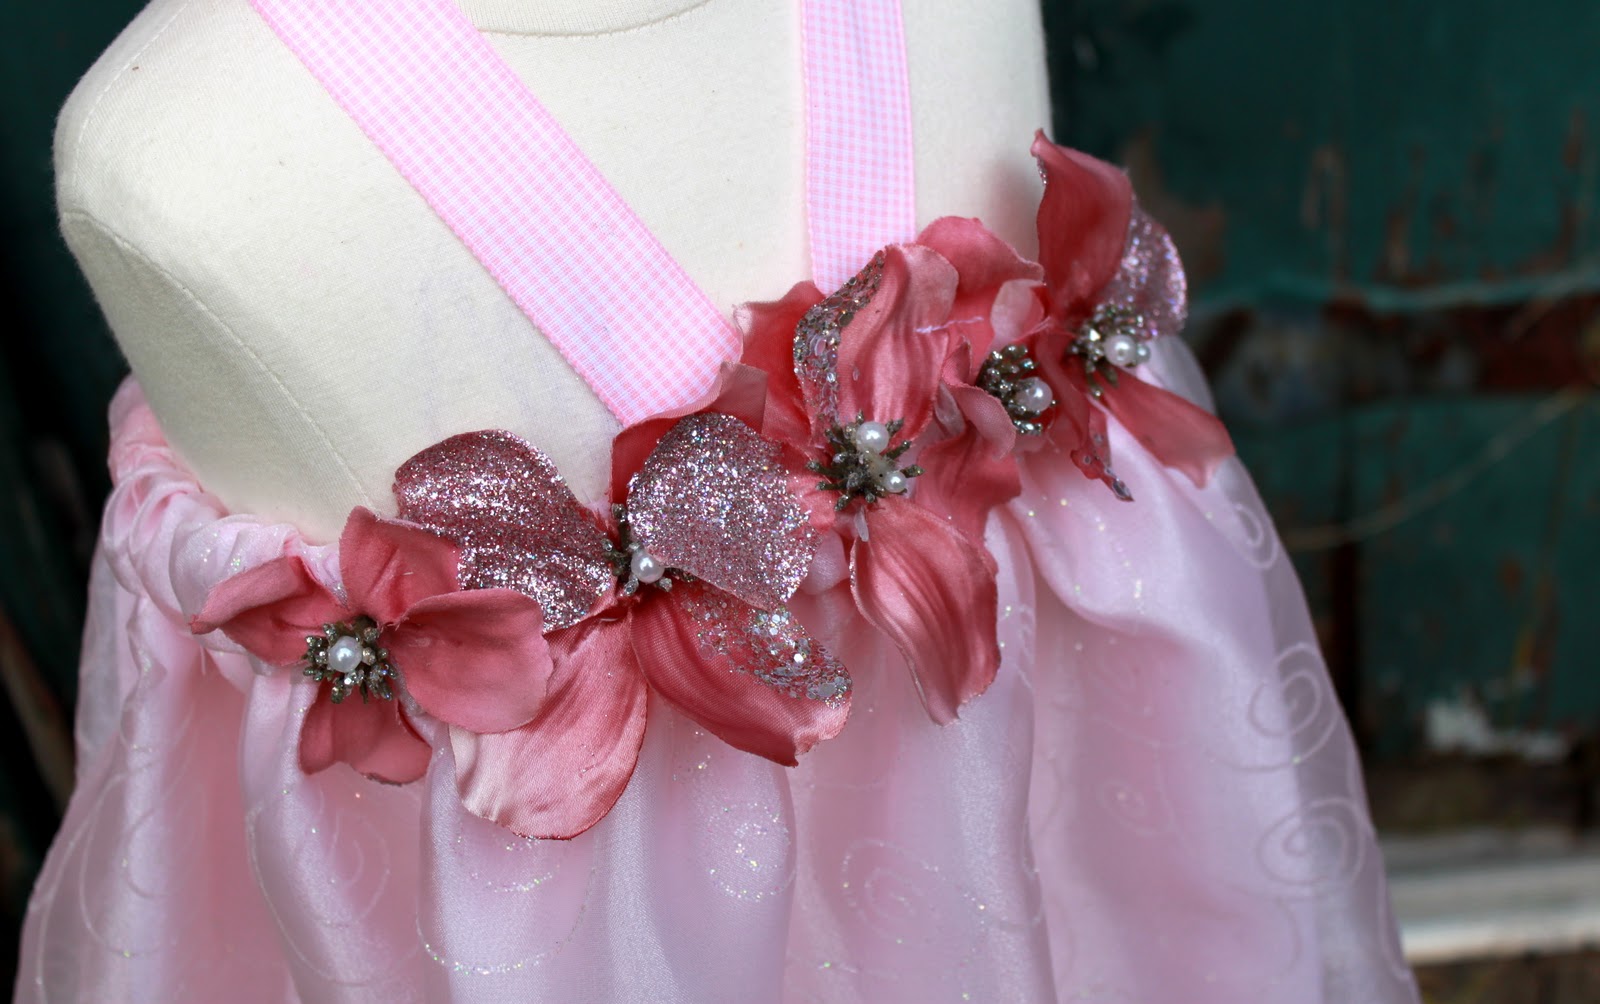
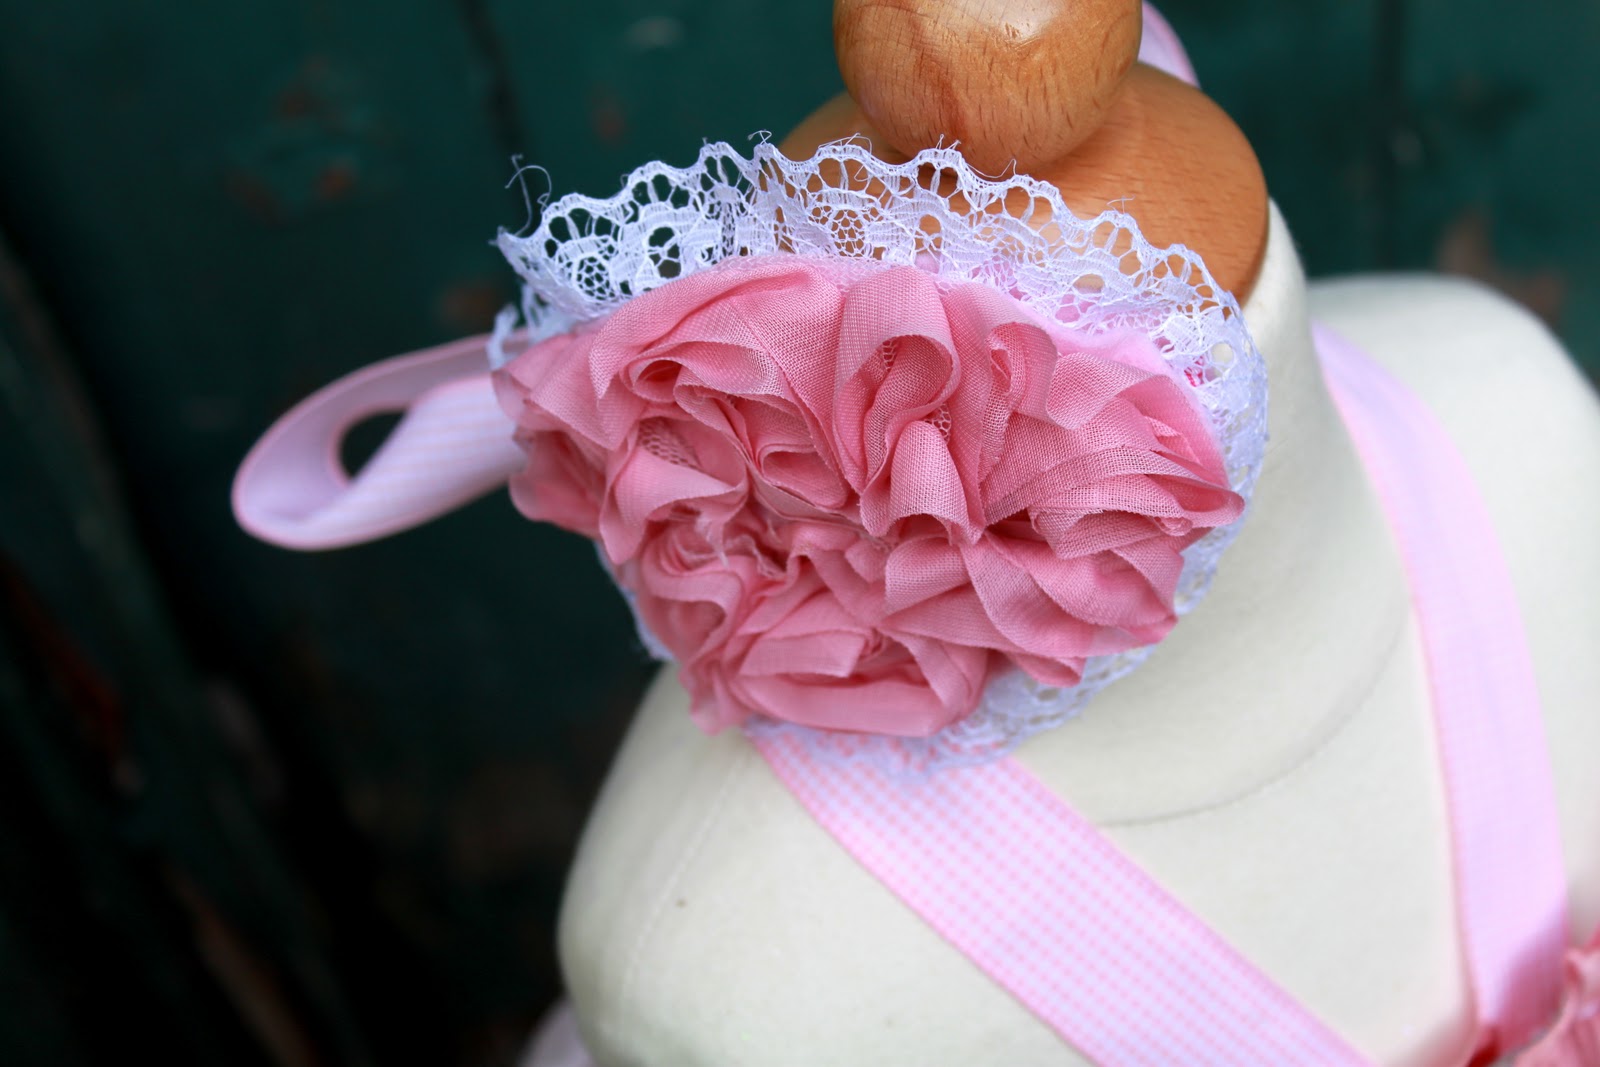
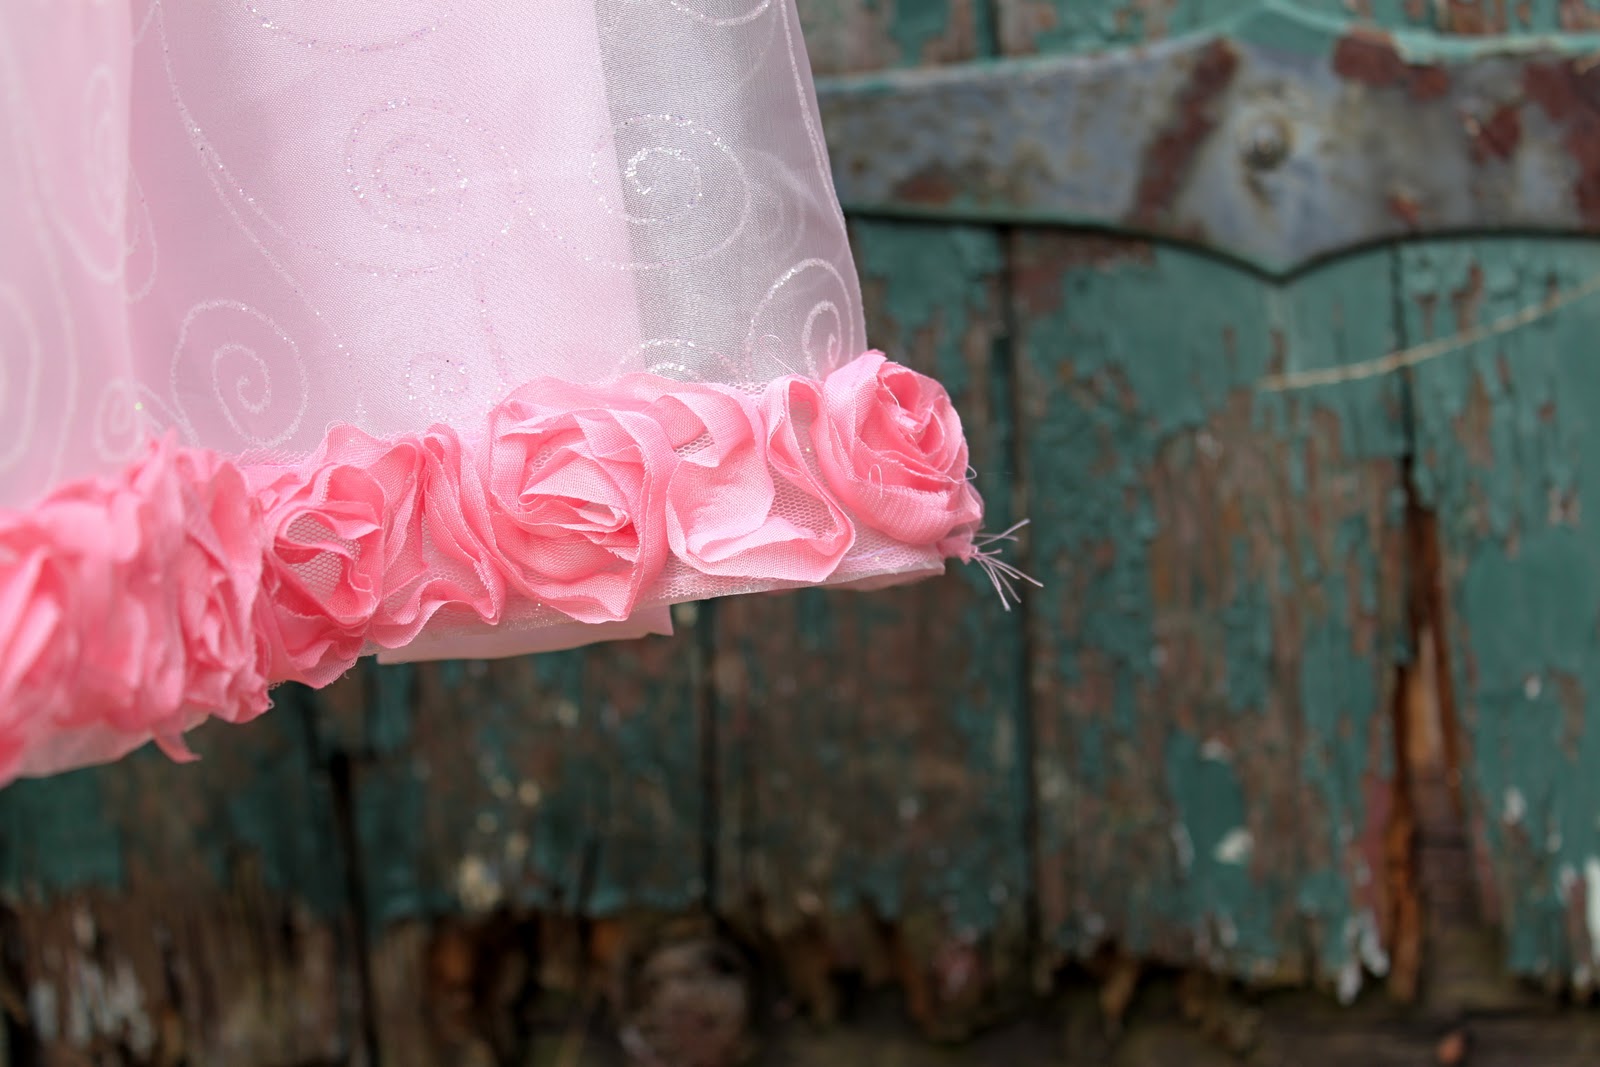
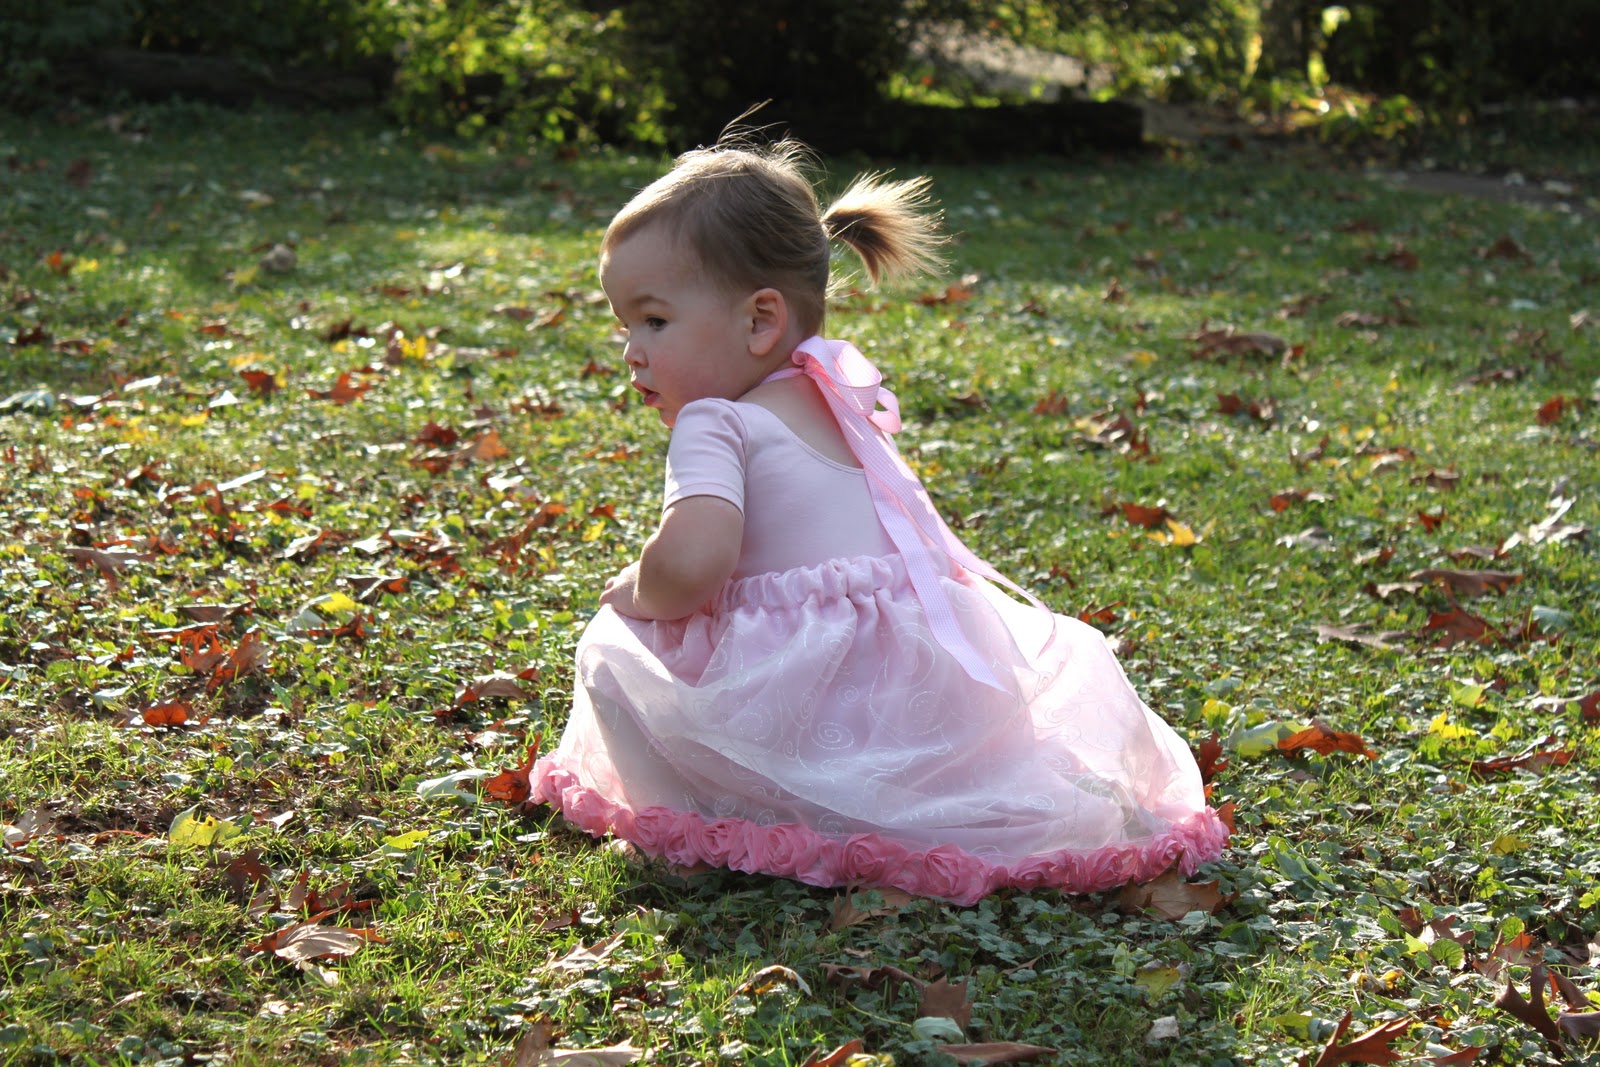
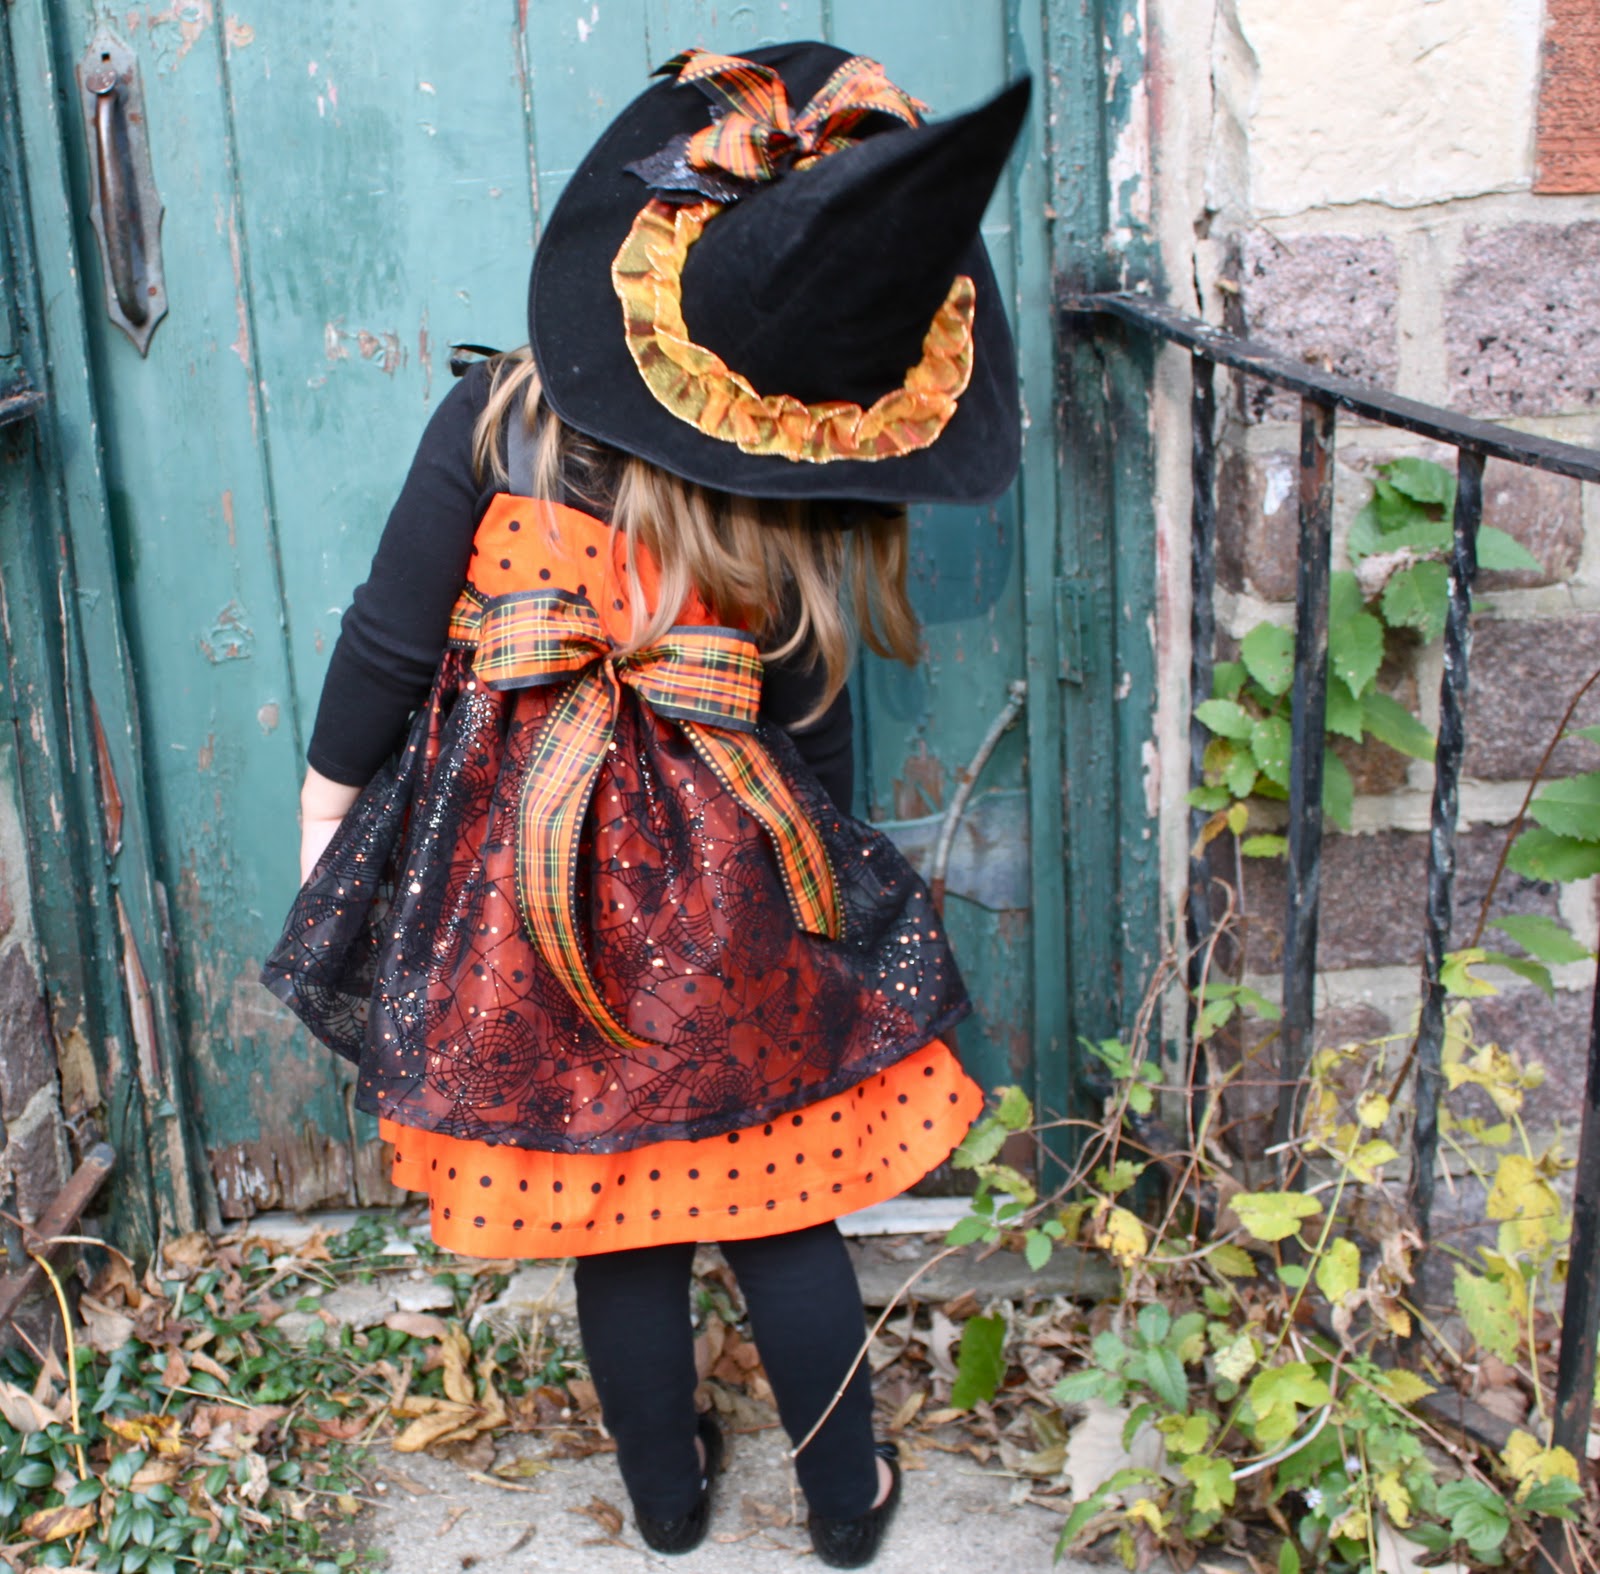
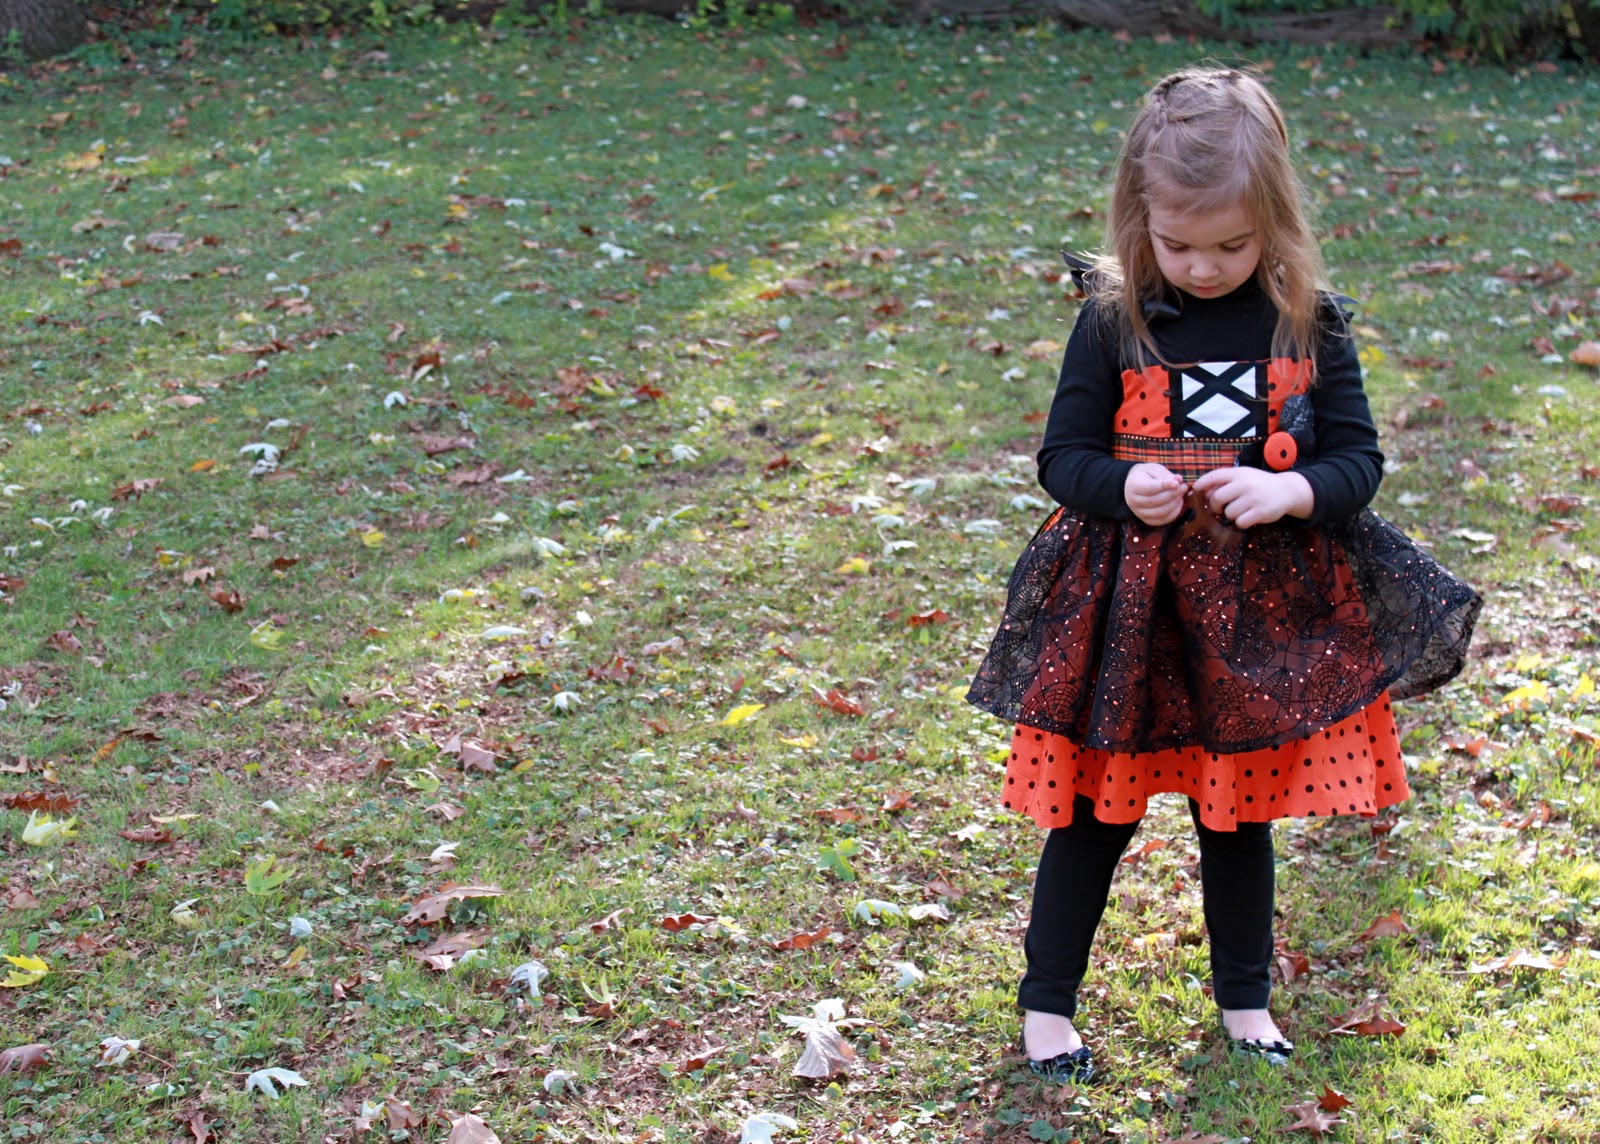
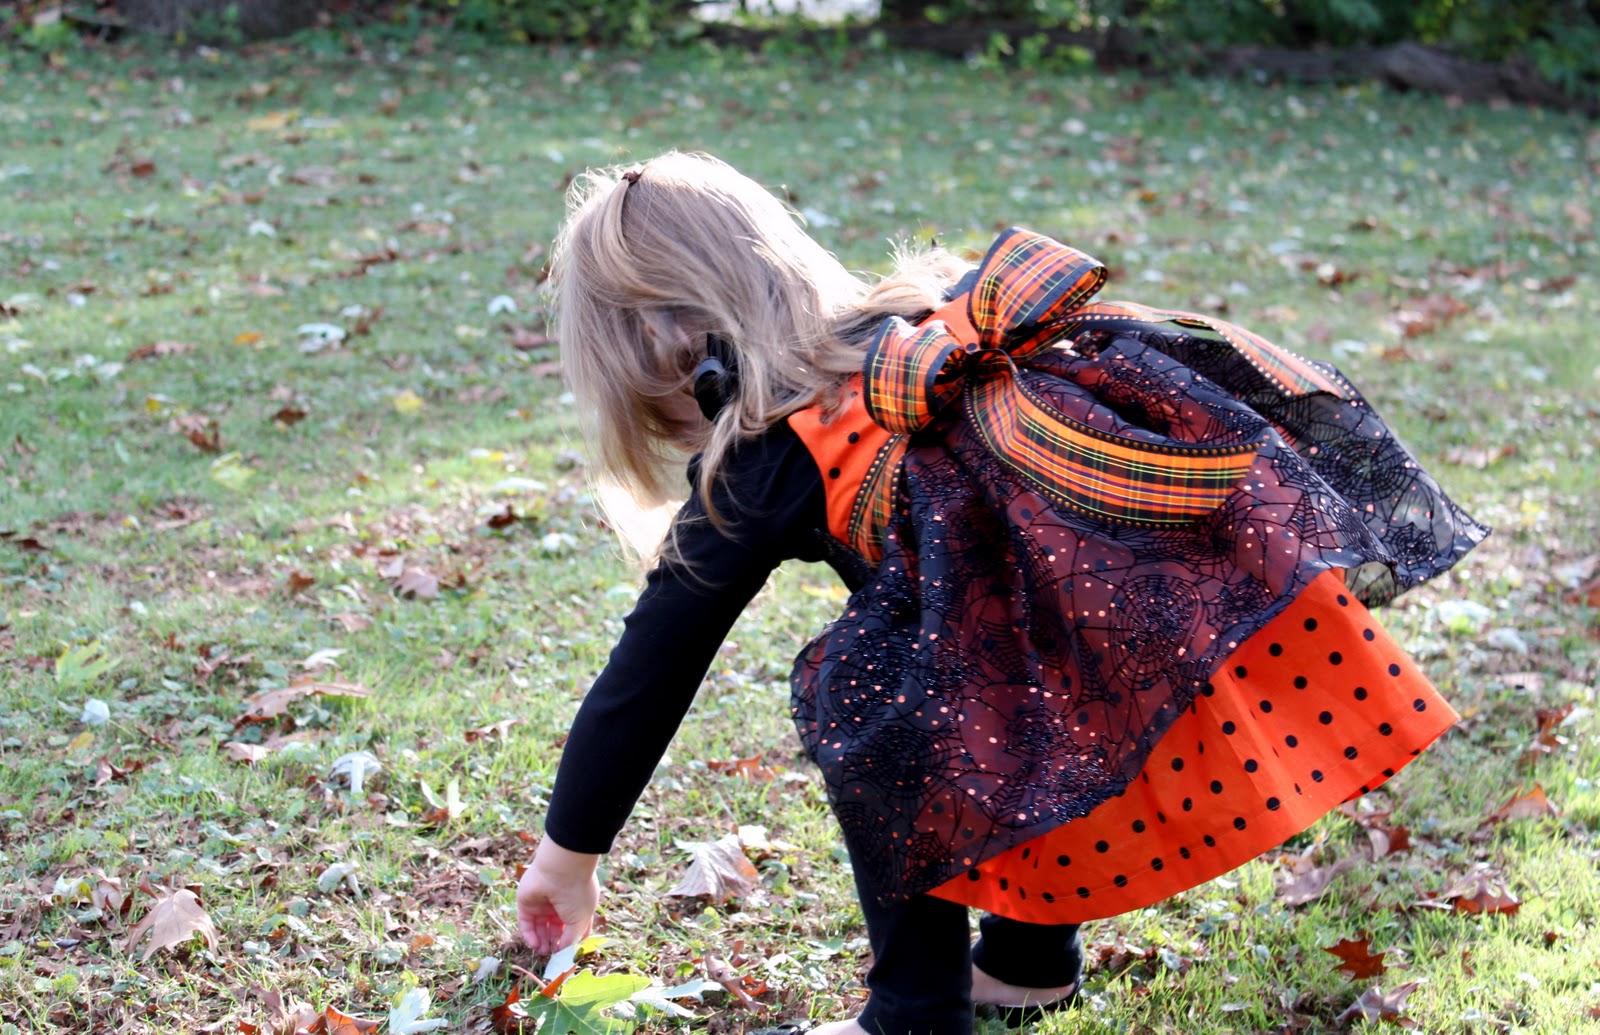
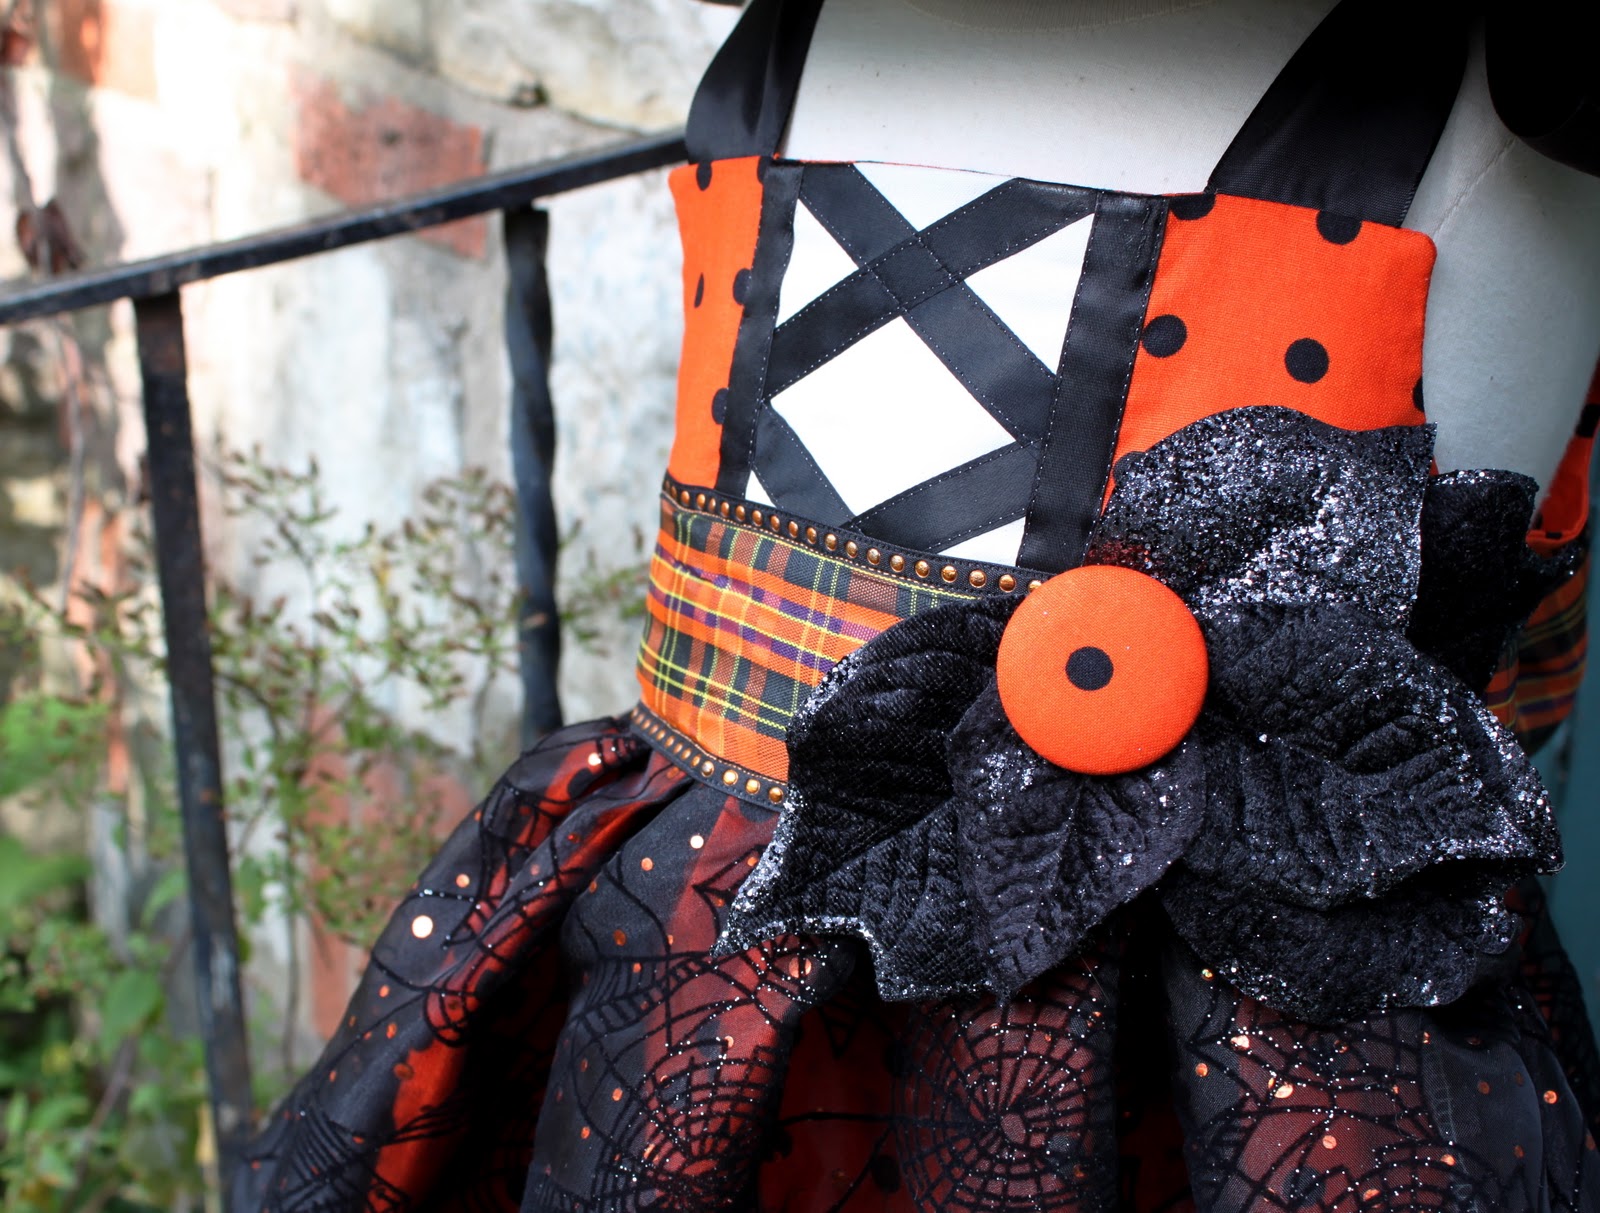
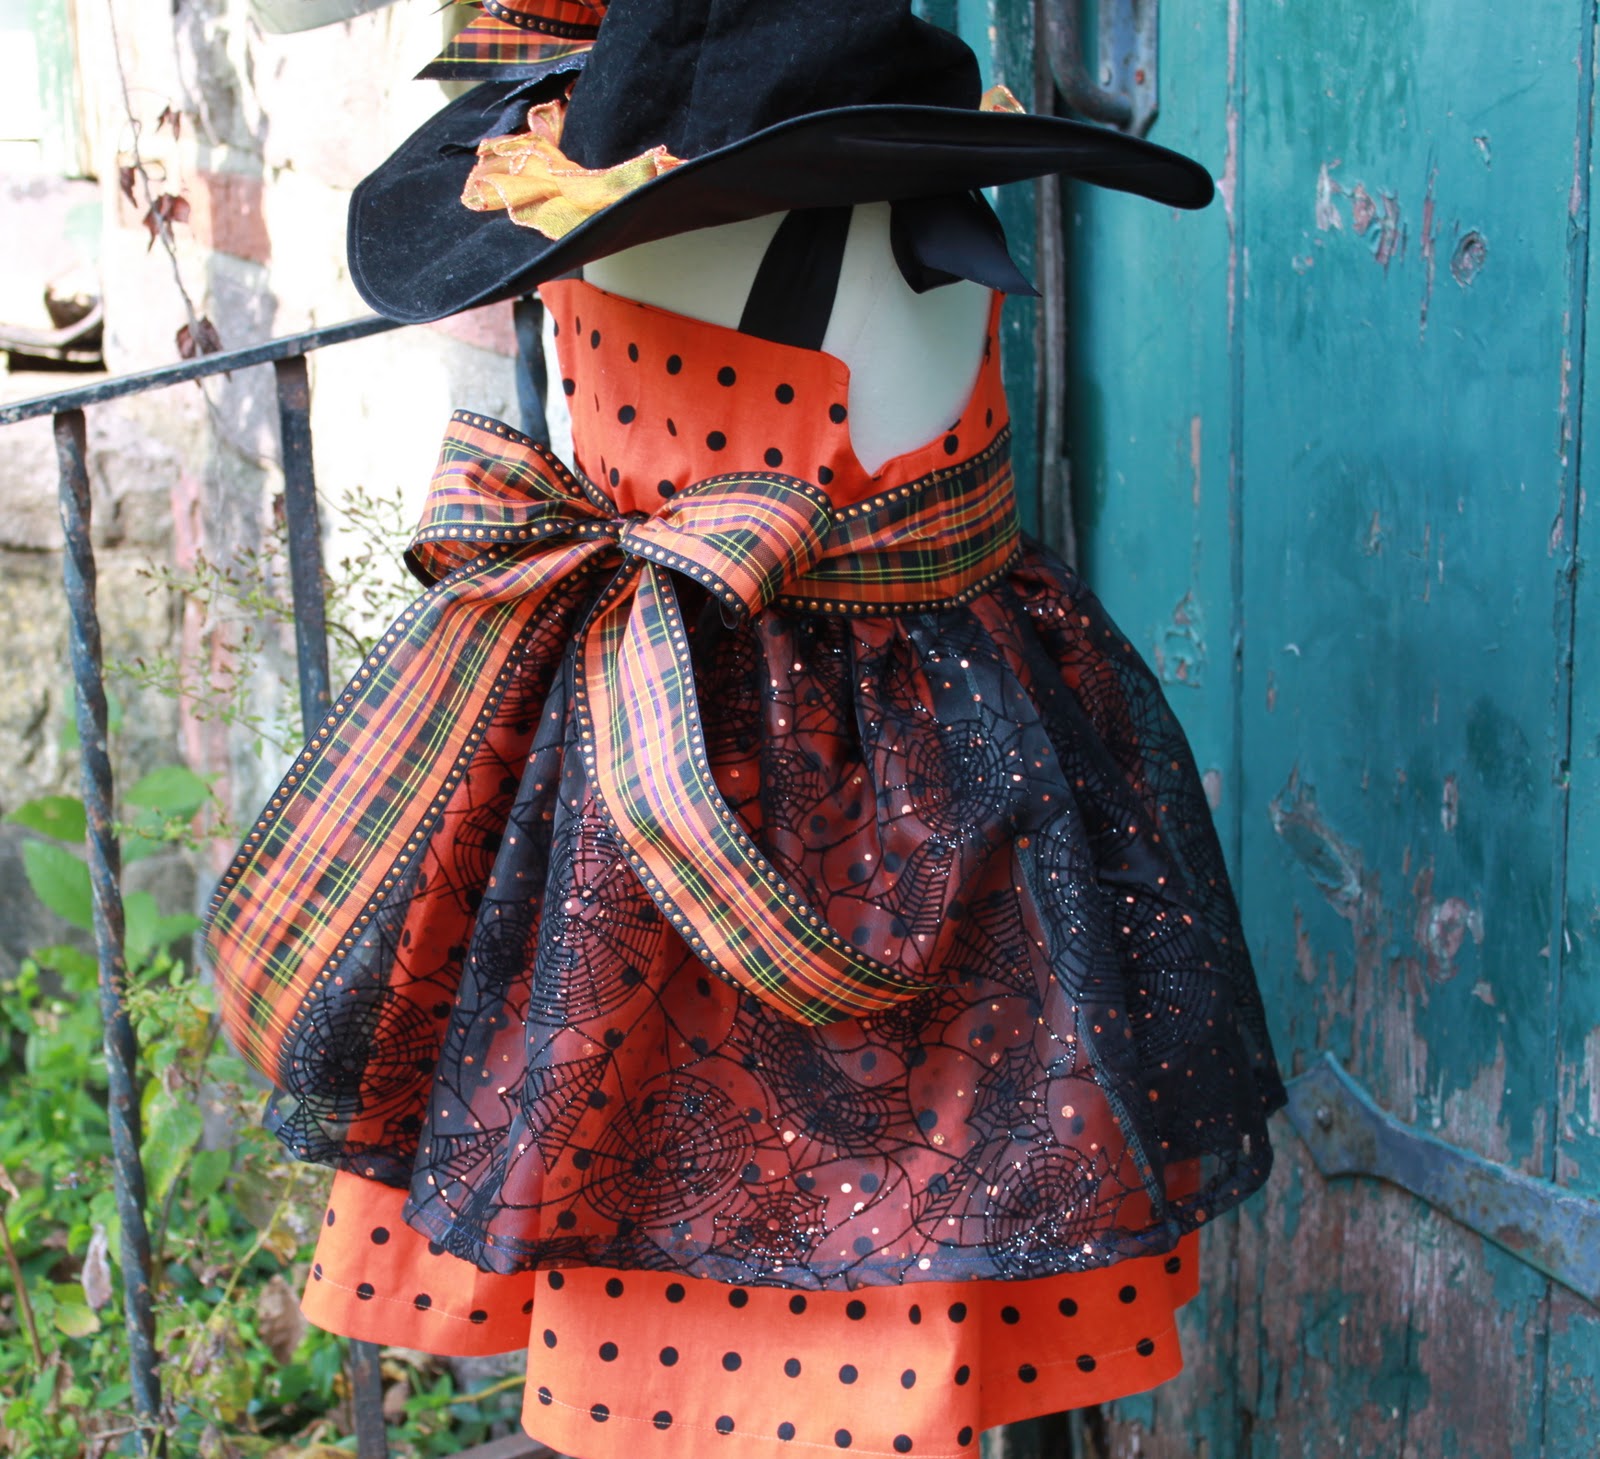
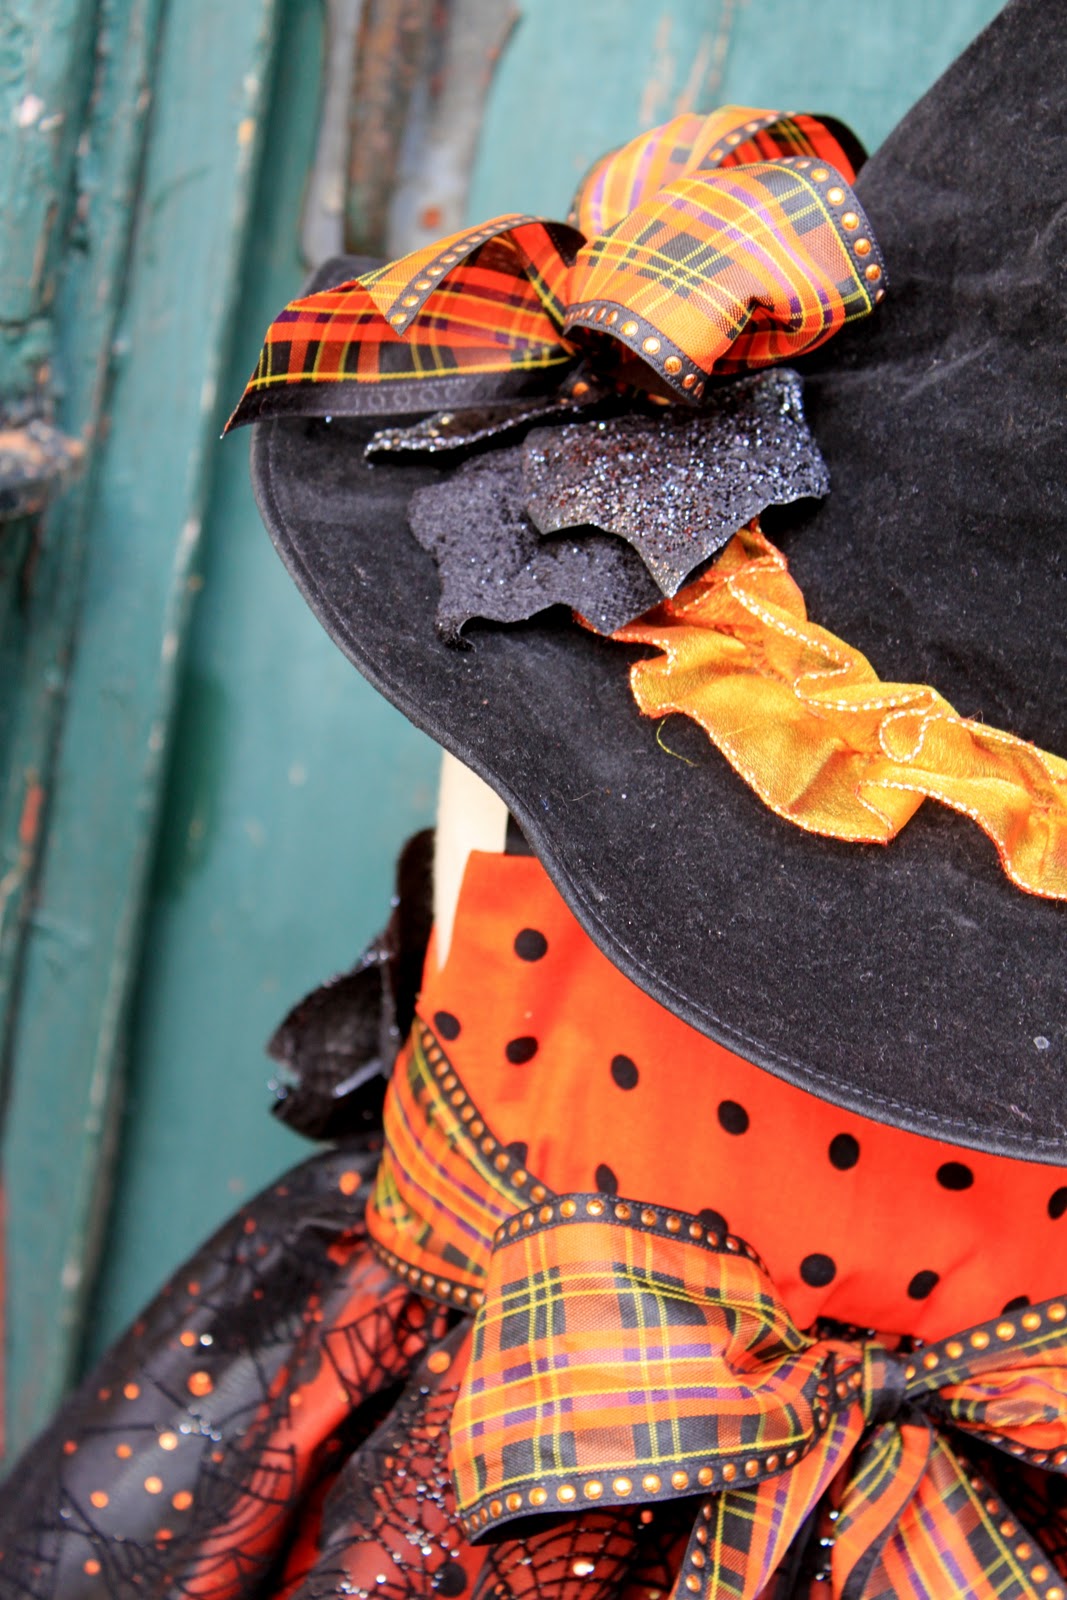
Dresses created by The Cottage Mama
Pattern ~ Sienna Dress by Lil Blue Boo
Click HERE to head over to Lil Blue Boo.


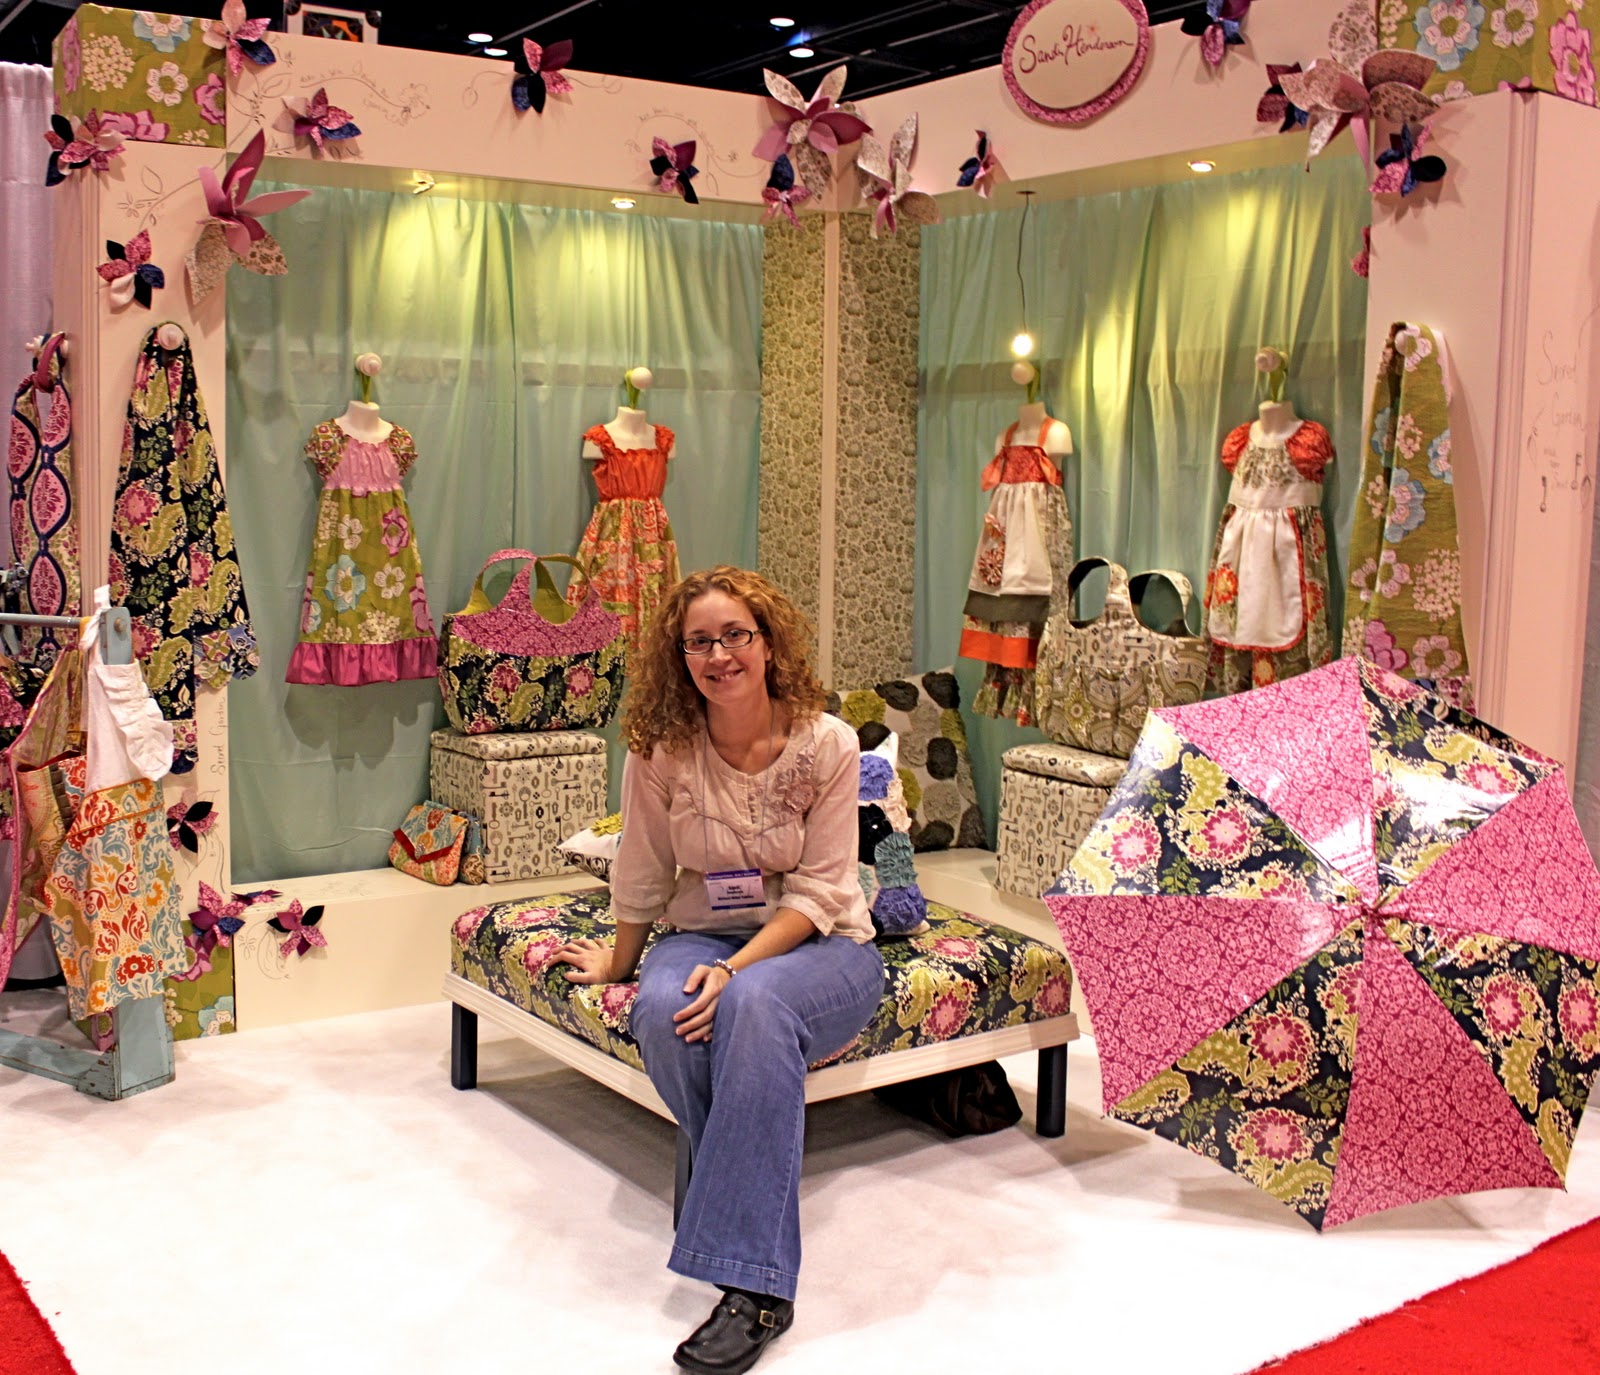


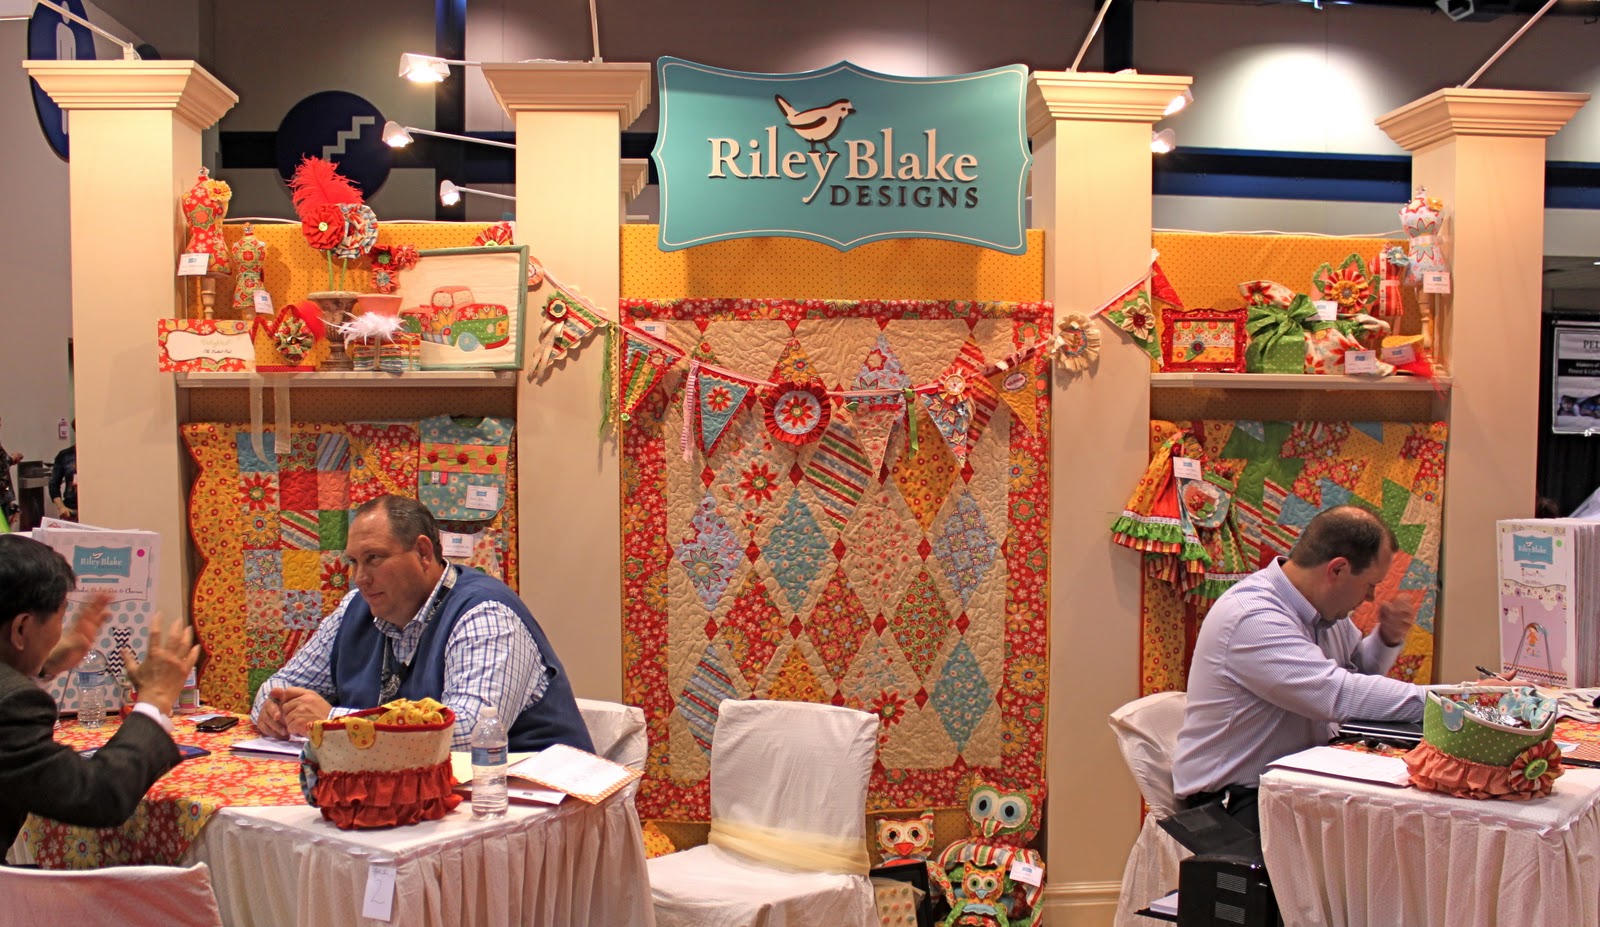


 Lindsay Wilkes is the owner and designer behind The Cottage Mama. She creates timeless, vintage inspired sewing patterns for children’s clothes. She is also a fabric designer for Riley Black Designers / Penny Rose Fabrics, author of the book ‘Sew Classic Clothes for Girls’ and can be seen teaching nationwide and online in her video series ‘Lessons with Lindsay’ sponsored by Baby Lock Sewing and Embroidery machines.


