
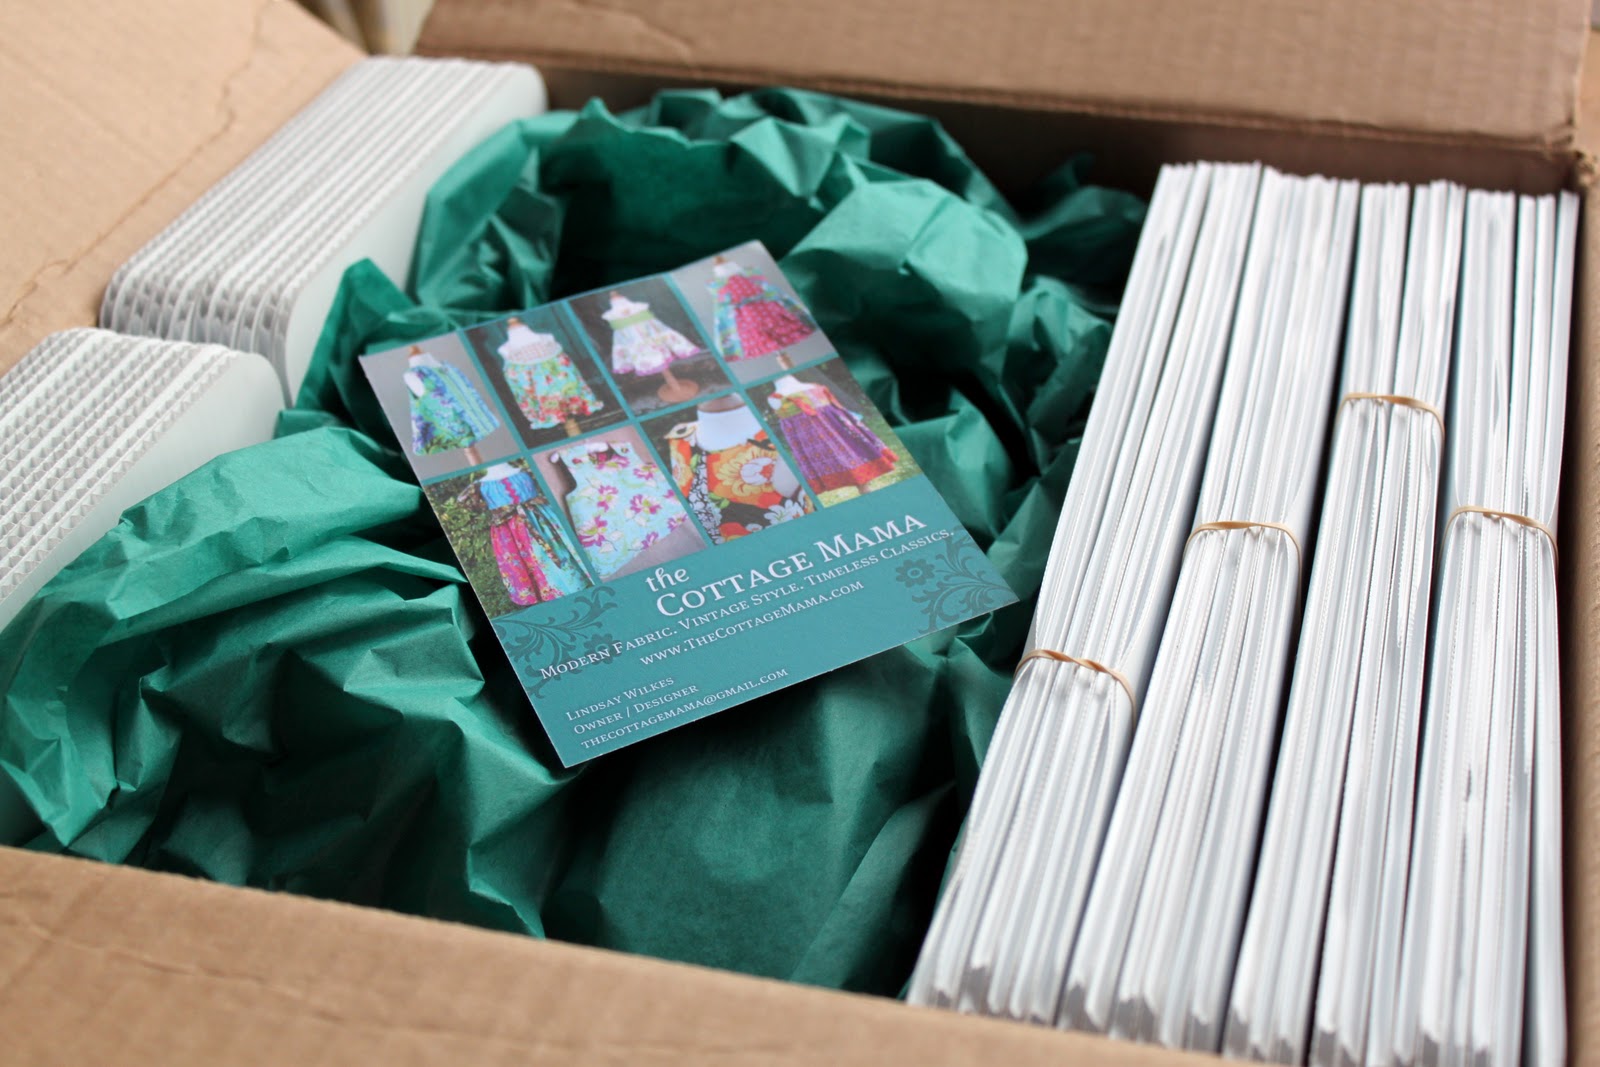
We’ve got another great new sponsor that’s recently been added to The Cottage Home blog family!

I’m pleased and excited to announce the addition of Canton Village Quilt Works!
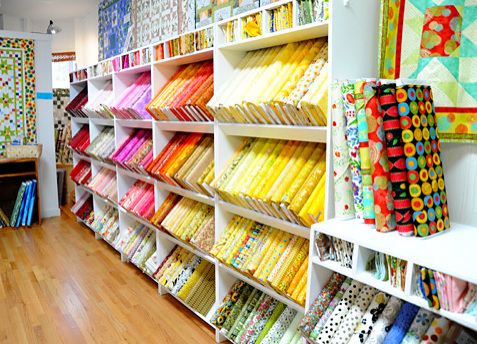
Canton Village Quilt Works has a ton to offer in the world of quilting. Not only do they carry a fabulous array of quilting cotton fabrics, they also offer precuts, notions, as well as long arm quilting services.
Jackie, owner of Canton Village Quilt Works, first started quilting in 1992 and her love of this art has grown tremendously. In 2000, Jackie opening her own long arm quilting business, Canton Village Quilt Works, and continues this business in her home. She is an award winning quilter and belongs to the International Machine Quilter’s Association (IMQA) as well as being a member of the Farmington Valley Quilt Guild since 1997. She is also a member of the American Quilter’s Society as well as a contributor to Quilting Magazine and is a quilting podcaster.
Today, Jackie is giving away a hand-selected bundle of fabrics to one lucky The Cottage Home Blog reader.
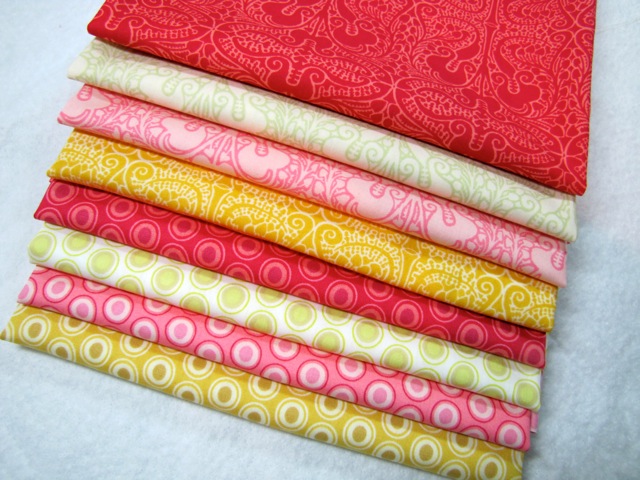

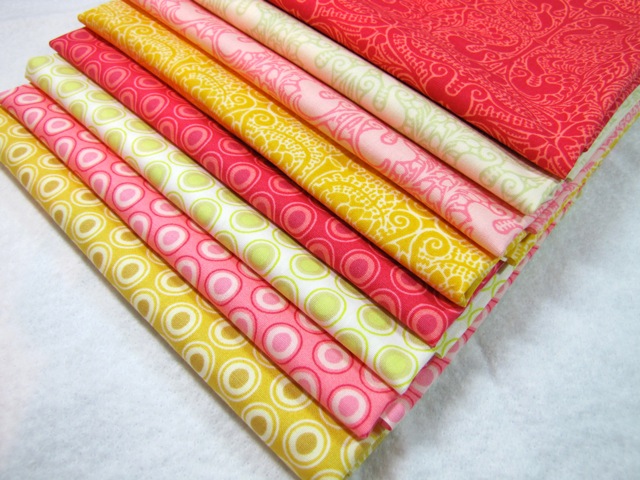
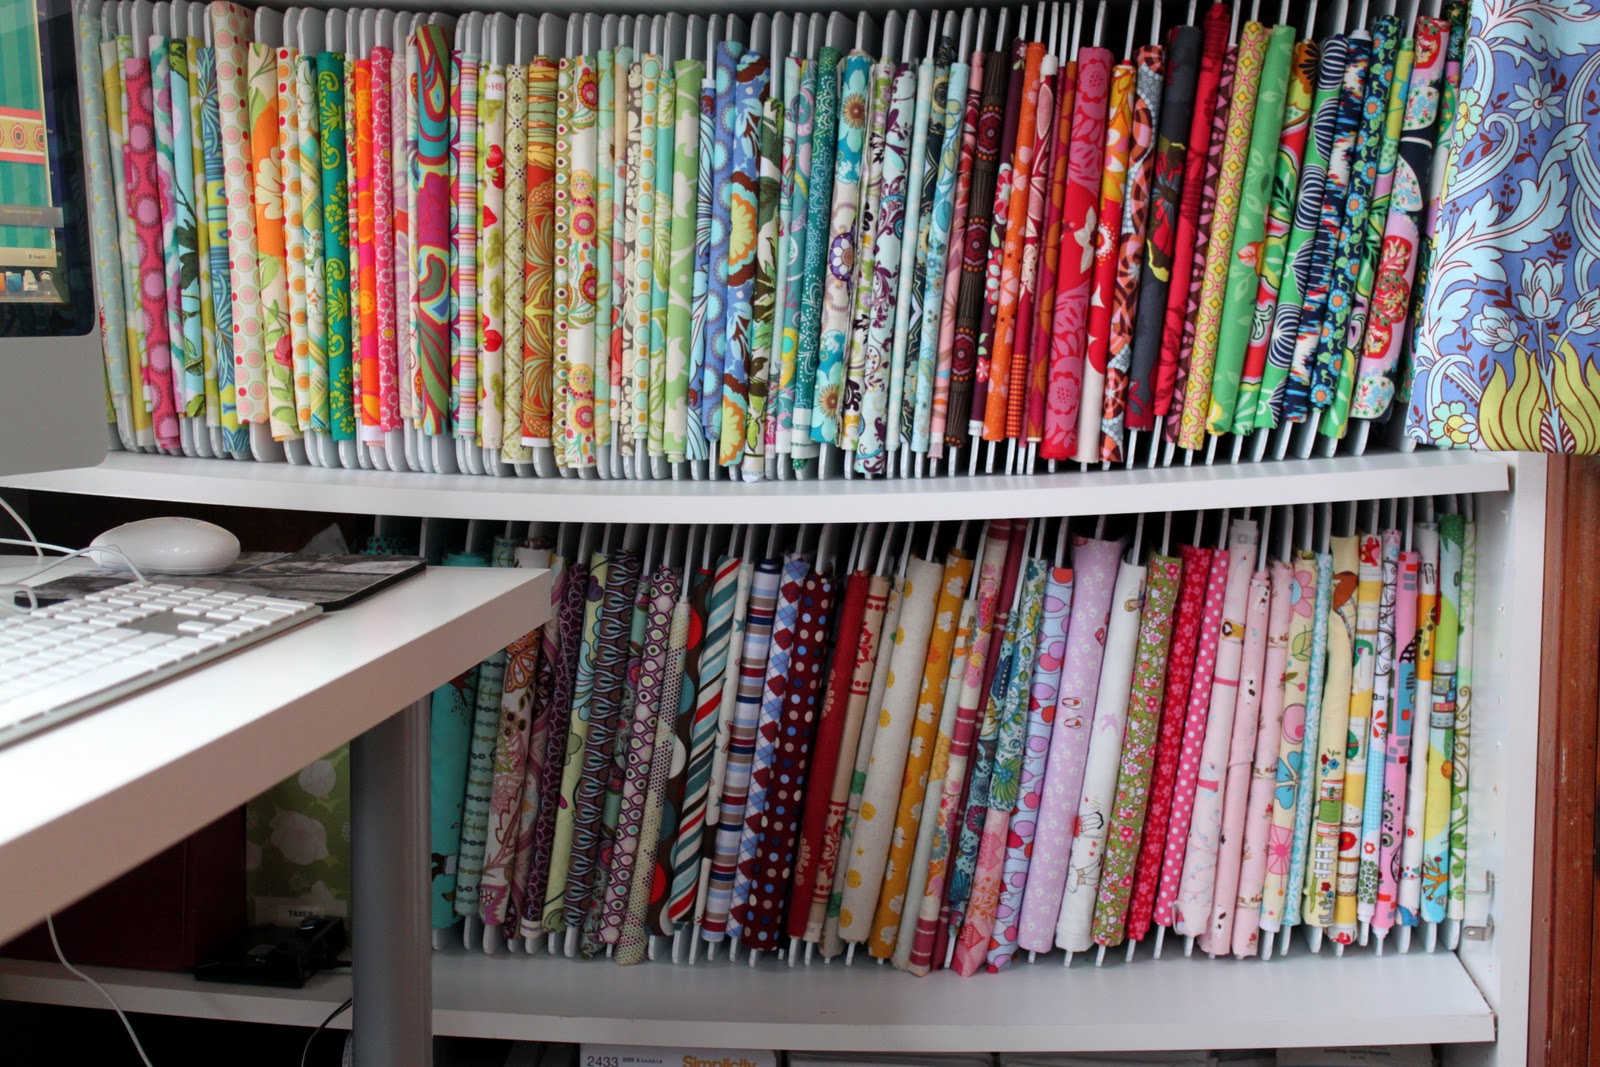
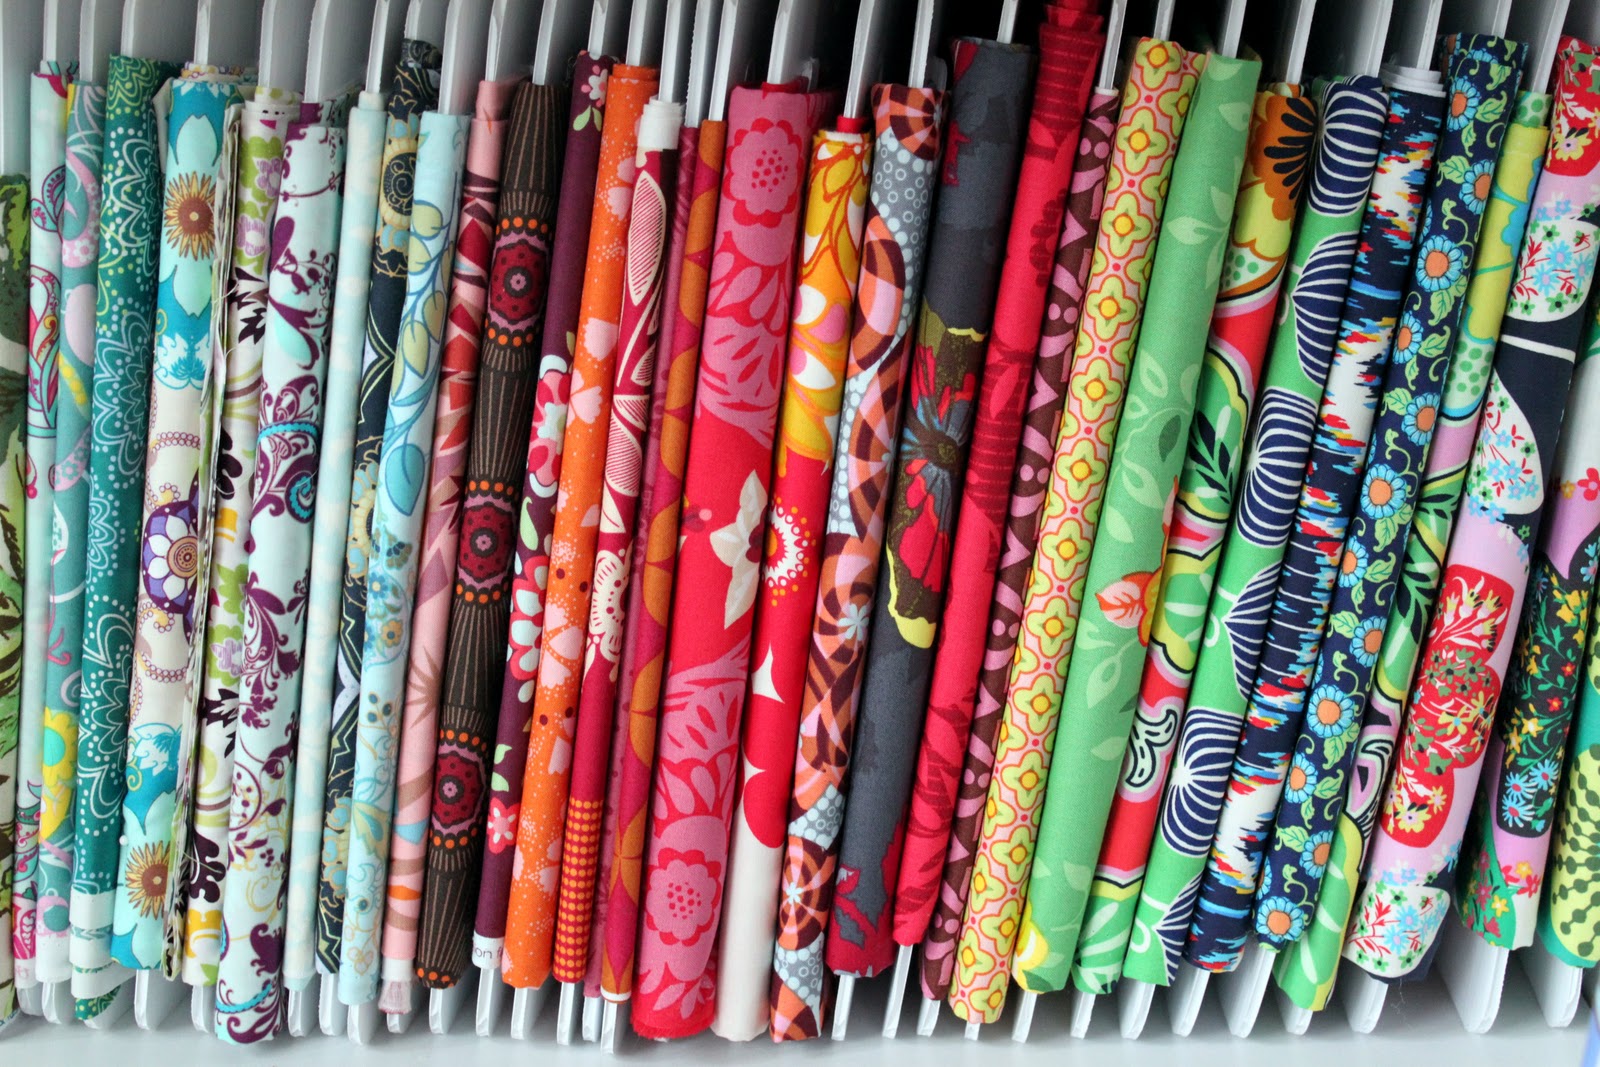
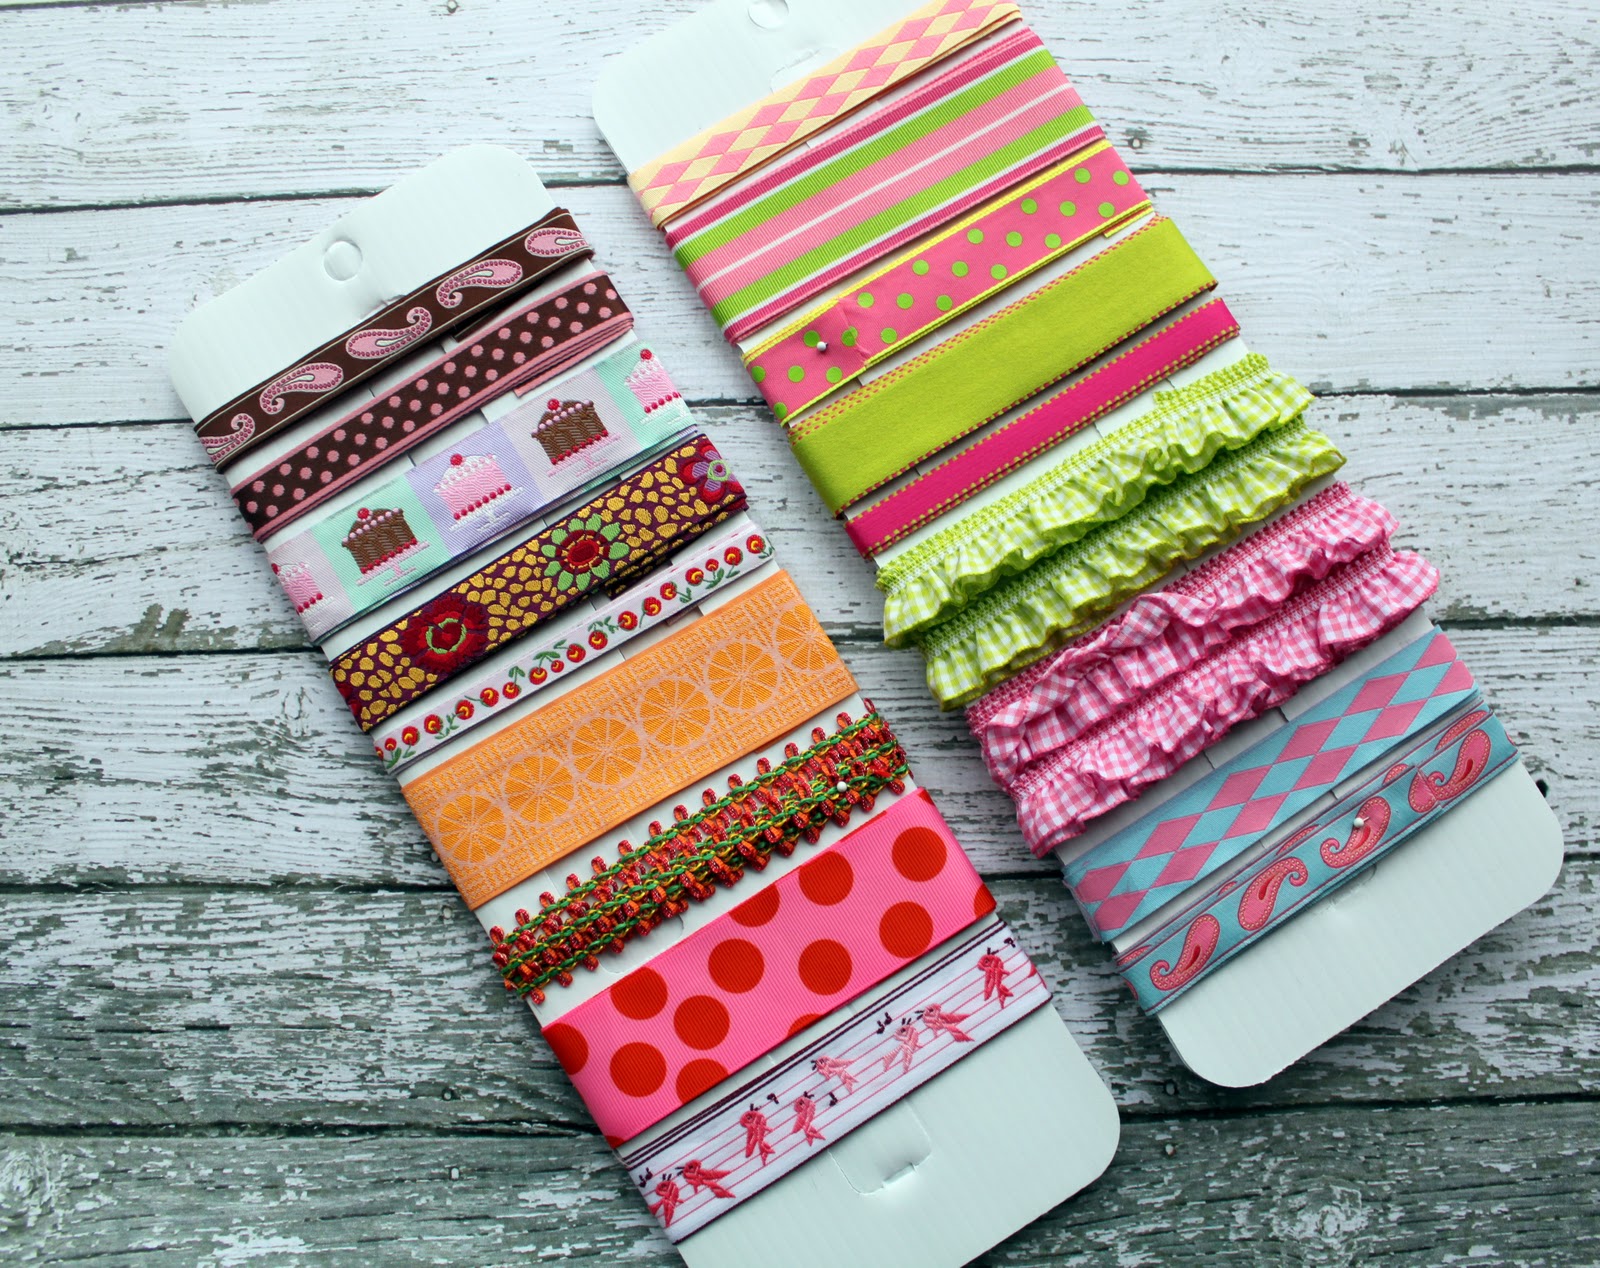
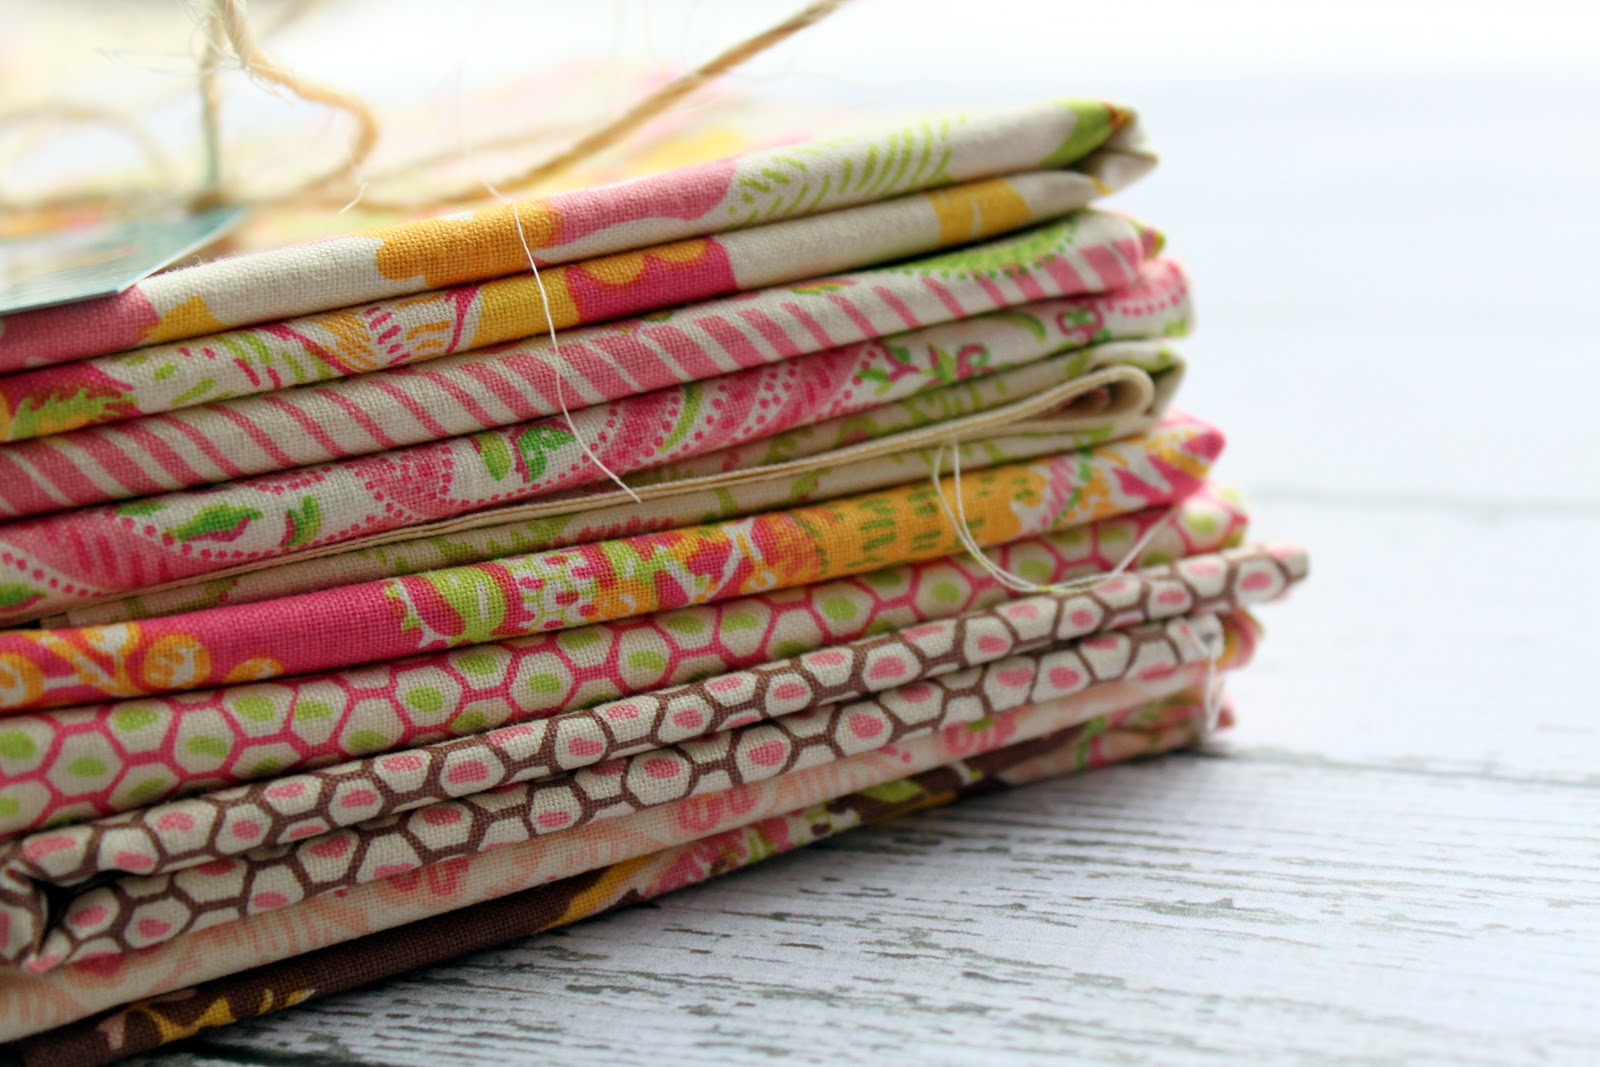
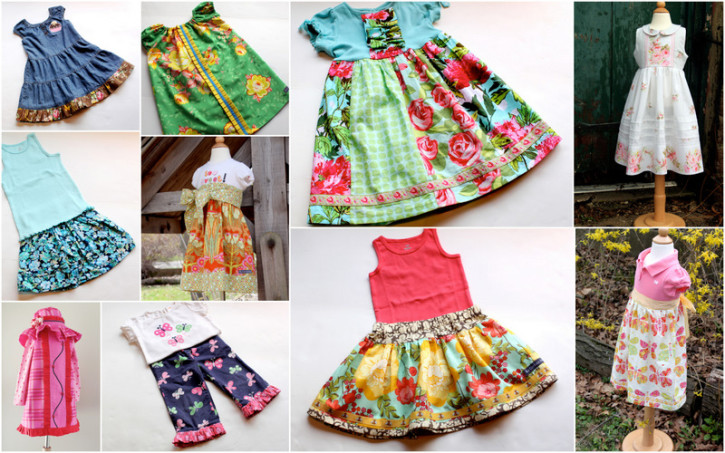
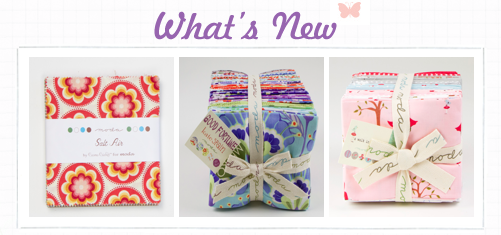
The bundle, pictured above, consists of 8 fat quarters from Art Gallery Premium Designer fabrics Lace and Oval Elements Collections. If you’ve never felt Art Gallery fabric, you are in for a real treat. The hand of their fabric is divine and it washes beautifully. I can think of many prints that would pair really nicely with these fabrics.
There are several ways to enter the Canton Village Quilt Works fabric giveaway. You can do one or all of the following:
1) Visit Canton Village Quilt Works and tell us what your favorite products are in their shop (click here).
2) Sign up for Canton Village Quilt Works newsletter (click here).
Giveaway will be open until Monday ~ January 9th, 2012 at midnight (CST).
Jackie is also offering an exclusive discount of 15% off everything in her shop for the duration of this giveaway with the code: COTTAGE15
Even if you aren’t entering this particular giveaway, I’d love for you to show our sponsor some love and pop over to visit their shop. Jackie is a truly talented quilter and has a lot to offer through her shop, Canton Village Quilt Works. To listen to Jackie’s quilting podcasts, click here and on i-tunes, click here. And to view her YouTube videos, click here.
Welcome to the family, Canton Village Quilt Works!
If you are interested in becoming a sponsor of The Cottage Home blog, please email Lindsay at thecottagemama@gmail.com for rates and additional information.


 Lindsay Wilkes is the owner and designer behind The Cottage Mama. She creates timeless, vintage inspired sewing patterns for children’s clothes. She is also a fabric designer for Riley Black Designers / Penny Rose Fabrics, author of the book ‘Sew Classic Clothes for Girls’ and can be seen teaching nationwide and online in her video series ‘Lessons with Lindsay’ sponsored by Baby Lock Sewing and Embroidery machines.


