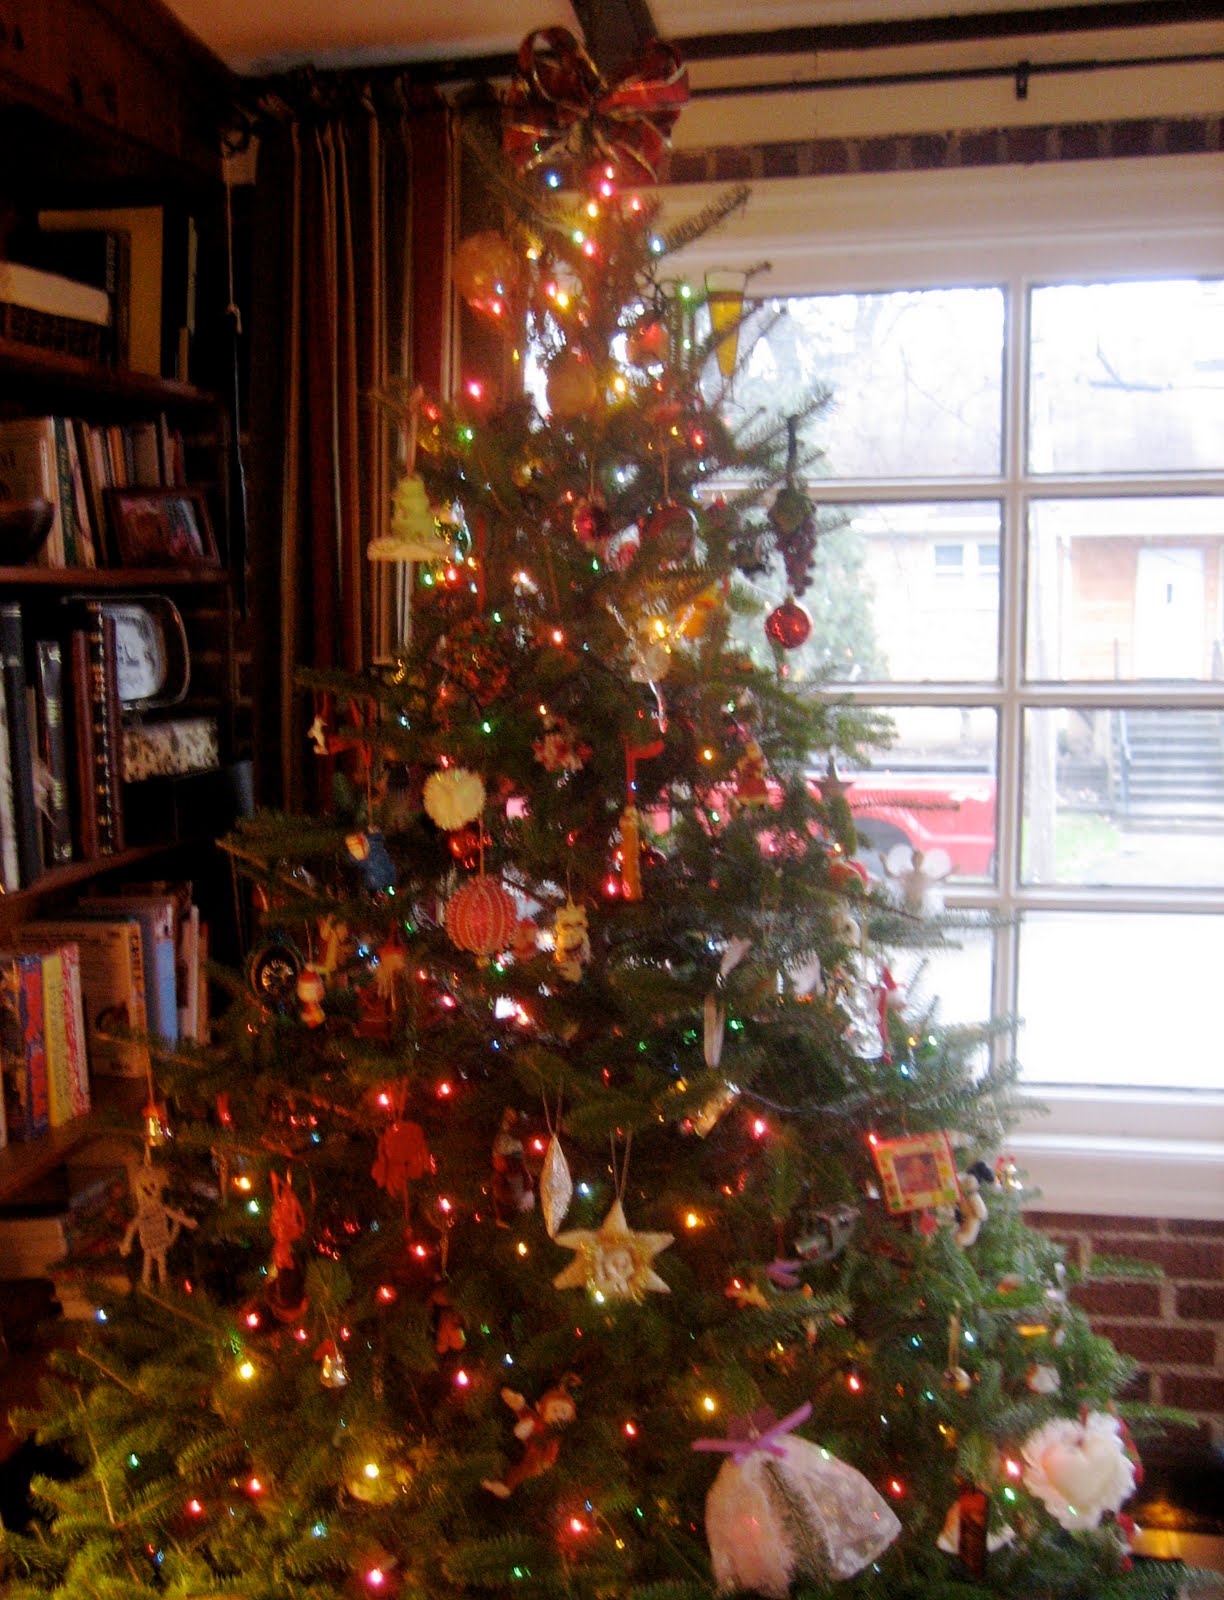
Today my family decorated our lovely Christmas tree that we cut down yesterday. We turned on our holiday music, got out the family ornaments, and I made up a homemade batch of chex mix! I love chex mix. If you’ve never had it and you are thinking that it is just liked the stuff you get in the bag, you are sorely mistaken. It is SO much better! I look forward to chex mix every holiday season. I know I could probably make it other times of the year, but it has become a tradition that I make our chex mix while we decorate our tree. Please, please, please give this a try – you will love it!!

Here’s the recipe for homemade chex mix (it’s usually right on the side of the box, but in case you threw out your box :-):
3 cups Corn Chex® cereal
3 cups Rice Chex® cereal
3 cups Wheat Chex® cereal
1 cup mixed nuts
1 cup bite-size pretzels
1 cup garlic-flavor bite-size bagel chips or regular-size bagel chips, broken into 1-inch pieces
6 tablespoons butter or margarine
2 tablespoons Worcestershire sauce
1 1/2 teaspoons seasoned salt
3/4 teaspoon garlic powder
1/2 teaspoon onion powder
Directions: Heat oven to 250°F. In large bowl, mix cereals, nuts, pretzels and bagel chips; set aside. In ungreased large roasting pan, melt butter in oven. Stir in seasonings. Gradually stir in cereal mixture until evenly coated.

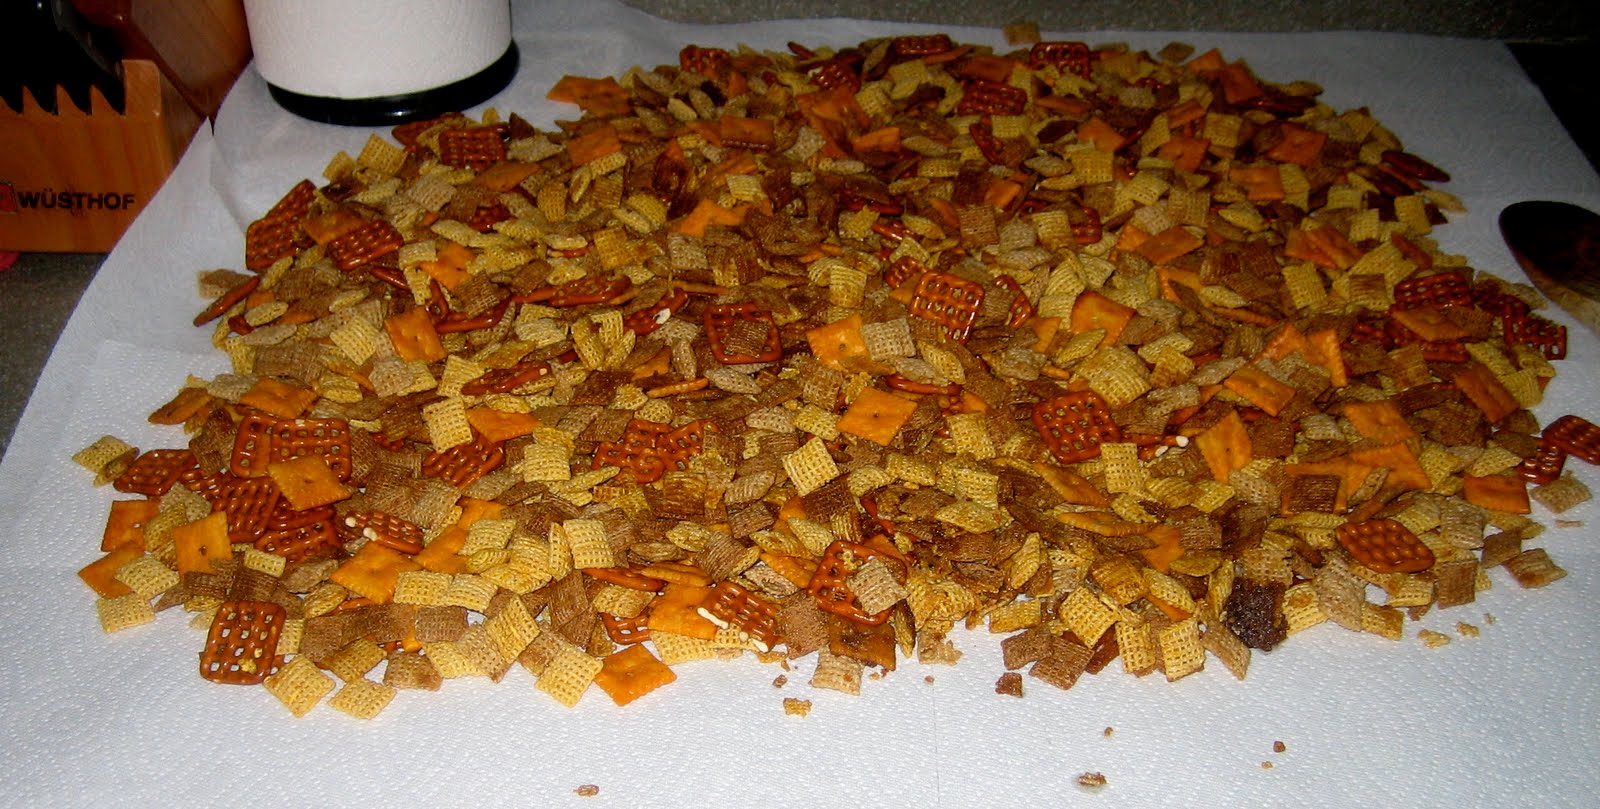
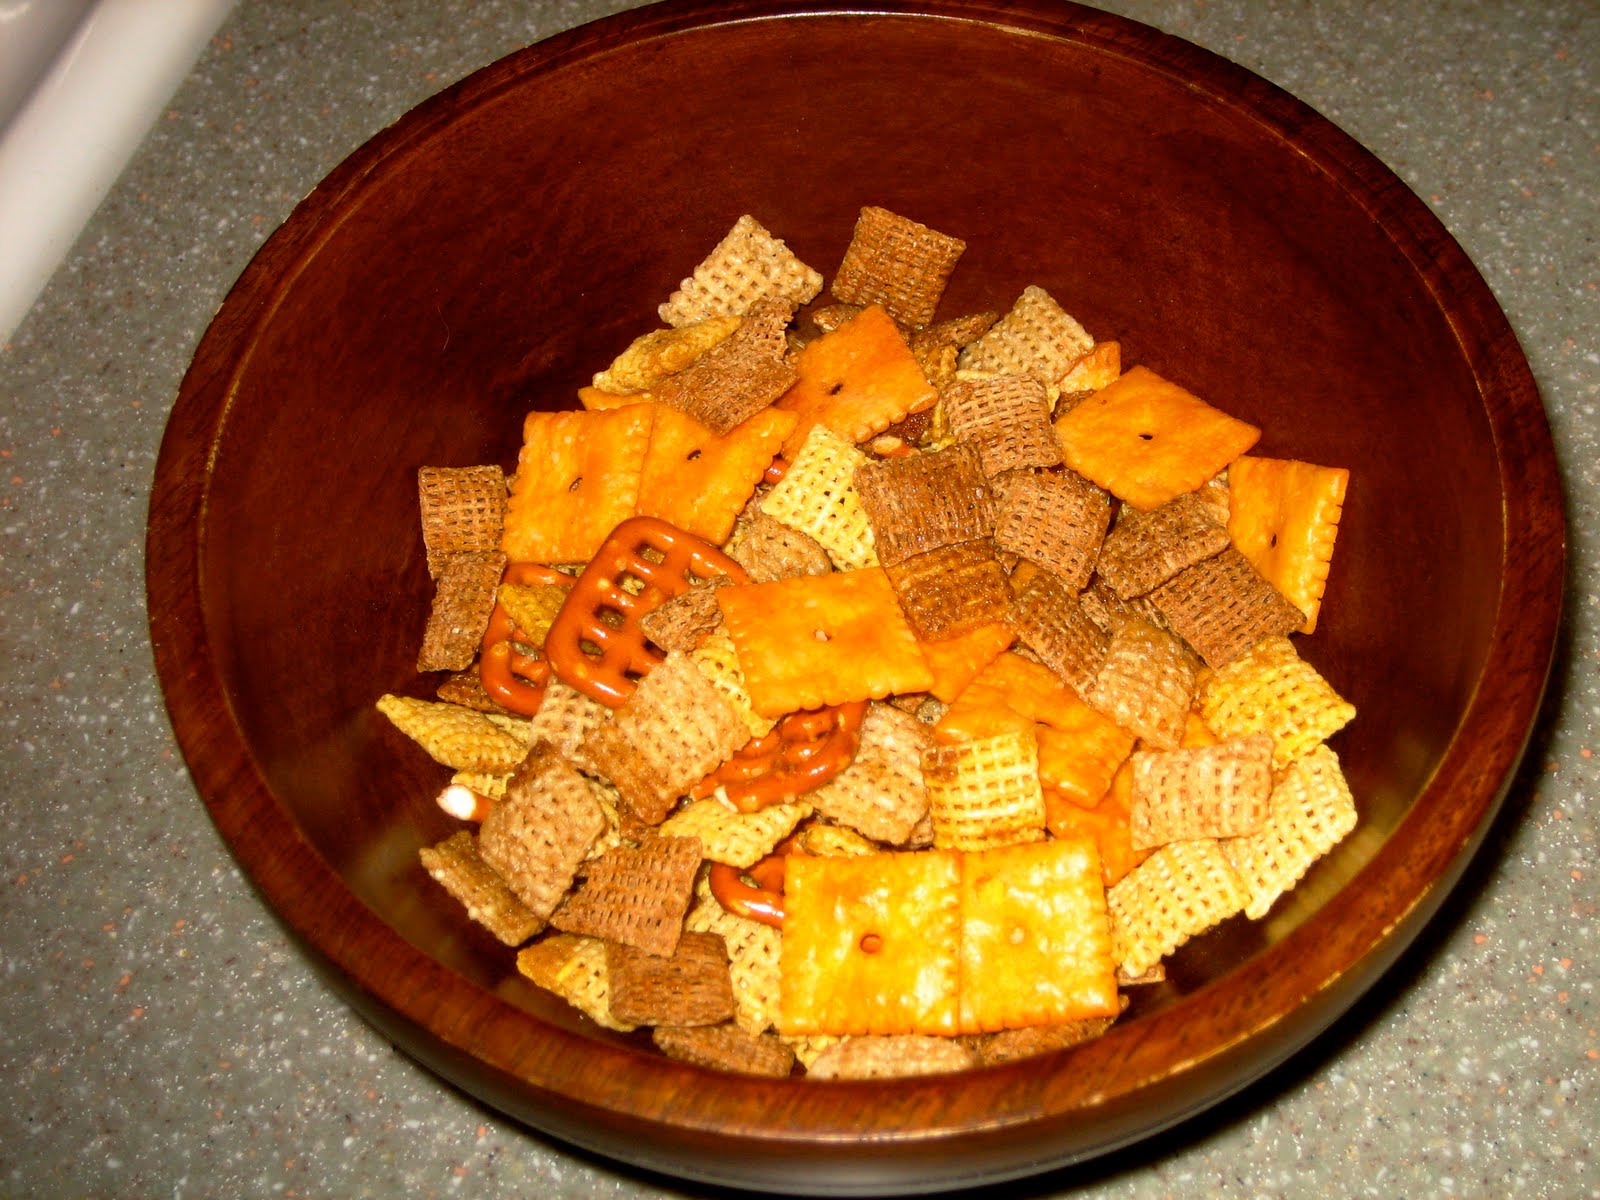
Cottage Mama’s Note: I prefer to use cheez-its instead of bagel chips and I also like to use cashews instead of mixed nuts. I also triple the recipe because like I said, I LOVE chex mix!


 Lindsay Wilkes is the owner and designer behind The Cottage Mama. She creates timeless, vintage inspired sewing patterns for children’s clothes. She is also a fabric designer for Riley Black Designers / Penny Rose Fabrics, author of the book ‘Sew Classic Clothes for Girls’ and can be seen teaching nationwide and online in her video series ‘Lessons with Lindsay’ sponsored by Baby Lock Sewing and Embroidery machines.


