And the winners are……

Wow, we had 825 entries into the Canton Village Quilt Works giveaway and 1141 entries into The Cottage Mama giveaway.  I would definitely say these are two of the largest number of entries for a  giveaway that have happened on the blog, so thank you so much to everyone who entered.  I know you all have been waiting to find out the winners, so here they are…..

The winner of the Canton Village Quilt Works fat quarter bundle is…..

And the winner of The Cottage Mama New Year’s Giveaway (from me to you) is…..

Congratulations to Karen and Kathy!  If you could both email me at thecottagemama[at]gmail[dot]com, we will make sure to get you your prizes as soon as possible.  Again, thank you to everyone who entered these two giveaways.  If you didn’t win, keep trying because you never know when the random number generator just might land on you.  I’ll be back tomorrow with another giveaway that I think you’re going to really enjoy.

If you are interested in becoming a sponsor of The Cottage Home blog, please email Lindsay at thecottagemama[at]gmail[dot]com for rates and additional information.

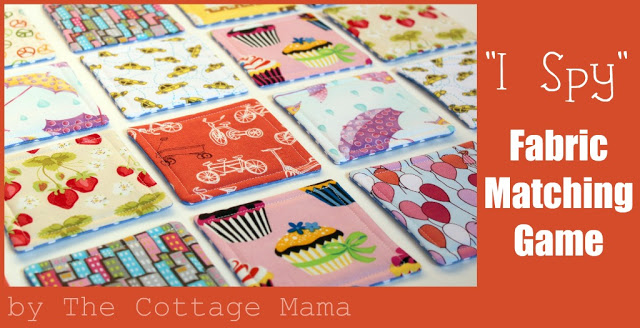
Re*sew*lutions Guest Post: ‘I Spy’ Fabric Matching Game

Today I am guest blogging over at my friend Jessica’s blog, ‘Me Sew Crazy‘.  She is doing a fabulous series about sewing Re*sew*lutions.

Head on over to ‘Me Sew Crazy‘ to view my DIY tutorial and make your own:
 
‘I Spy’ Fabric Matching Game

On the Cutting Table

This year I thought I would share a little glimpse inside what is going on in my studio with, what I like to call, ‘On the Cutting Table’.  By that I mean, rather than always showing your my finished projects, I thought you might like to see what I’m currently working on.  I will still show you the finished pieces, but this way you will know a little bit more about what I am up to on a day to day basis.

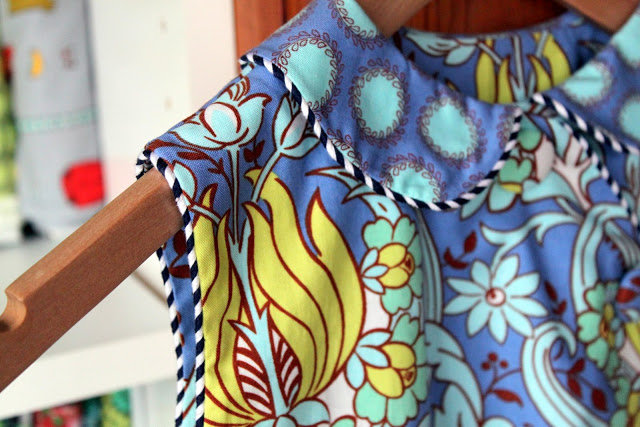
This new piece is almost finished.  I need to finish the bottom hem, but other than that, she is ready to go.   My favorite part of this one…….I’m sure you guessed it…….the piping.  I love piping and try to use it whenever possible.  I think it adds such a fun detail and can really make a piece going from nice to fabulous.

If you are interested in learning how to insert piping into a garment, you can view my piping tutorial here.

Fabrics: Amy Butler “Soul Blossoms”

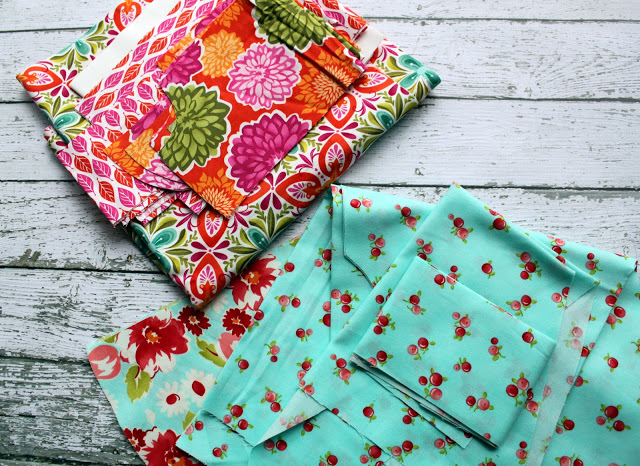
These are two patterns (both dresses) that I designed that are waiting for me to test.  I’ve tested them once, but I re-drafted a few things and now have them cut out ready to sew.  If they turn out the way I’ve planned, the next step will be to work on ‘grading’ (meaning adjusting the pattern into multiple sizes).

When I want to accomplish a lot of sewing, I typically spend an evening doing all of my cutting of several different garments or projects.  I put all the pieces together (including notions and trims) and put them in a pile on top of on another.  Then I work my way through the pile.  Cutting is my least favorite part of sewing, so if I can get that out of the way all at once, I enjoy my sewing so much more.

Fabrics:
Top Piece: Kate Spain “Terrain”
Bottom Piece: Bonnie and Camille “Ruby”

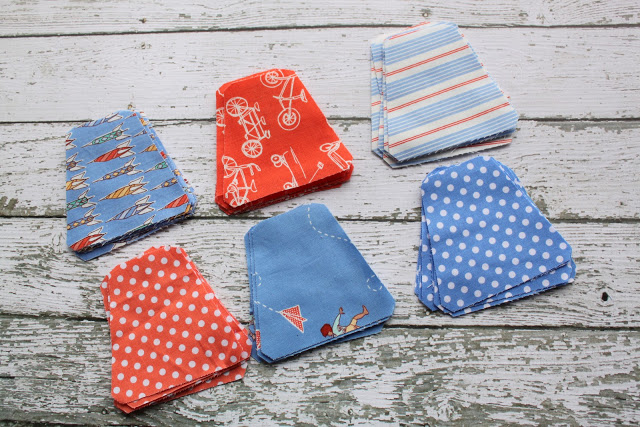
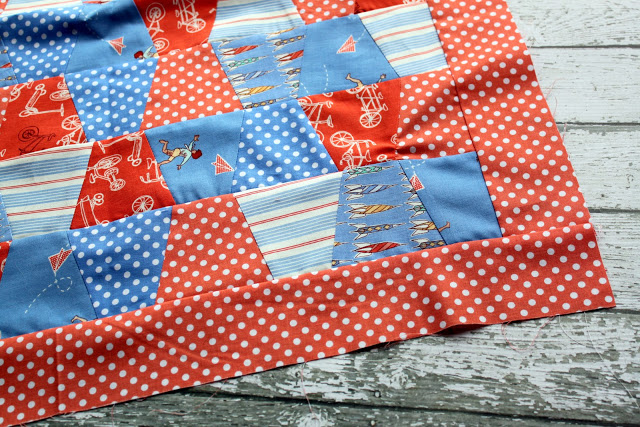
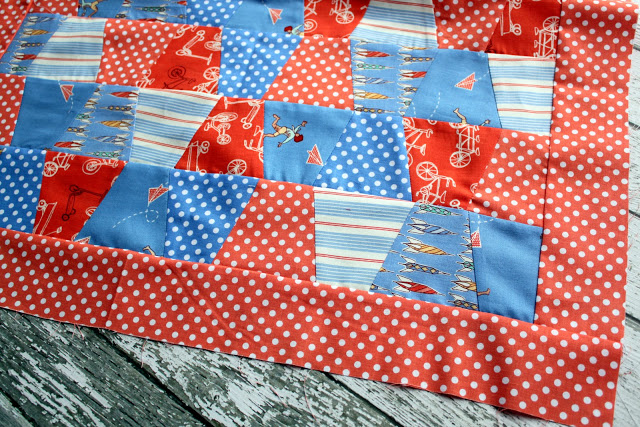
I’m working on a quilt for my little guy, Caspian Finn.  This is going to be a larger version of a baby doll quilt that I made for the girls for Christmas (which I will show you soon).  The center area is made up of tumblers and has sashing around the edge.  I’m going to be using the rest of those tumblers pictured above as well as some additional sashing to complete the top of this quilt.  If it turns out, perhaps I can share my design with you.

Fabrics: Sarah Jane Studios “Children at Play”

So that’s some of what I’ve been up to these days. 
What about you ~ what’s on your cutting table?

Easy, Healthy Snack ~ Spice Roasted Crunchy Chickpeas Recipe

I really like snacks.  I definitely prefer to graze throughout the day rather than having three large meals.  I’m always on the look-out of a snack that is great tasting, but also is somewhat healthy.  I don’t know about you, but one of my favorite types of snacks is those of the savory, crunchy kind.

Spice Roasted Crunchy Chickpeas are an easy, inexpensive, delicious, protein packed snack that you and your family will love.  If you’ve ever had corn nuts and you like those, then you will certainly like these!

Spice Roasted Crunchy Chickpeas Recipe
Ingredients:
2 cans chickpeas (or garbanzo beans)
1-2 tablespoons of olive oil
Dry spice seasoning (any flavor you like)
Directions: 


Preheat oven to 450 degrees.  Drain, rinse and pat dry the two cans of chickpeas.  Place chickpeas onto a large baking sheet.  Drizzle with olive oil and a liberal amount of any dry spice mixture you like.  Toss to coat.  I used a southwestern seasoning on mine, but you could use a taco seasoning, curry powder, or chinese five spice………whatever you and your family like.
Bake chickpeas for 40 minutes until they are completely dried out and crunchy.  Check on them around 30 minutes to make sure you don’t have any burning since oven temperatures can vary a little.  You know they are almost done when they start to shrivel up and become about half of their original size.  It should take the entire 40 minutes for them to dry out.  

Store in an air-tight container.  
This is a great recipe that the kids can help out with in the kitchen.  Let them pat the chickpeas dry, drizzle the olive oil and sprinkle the seasoning.  And then let them mix it all up.  They will love getting their hands in there!

These crunchy chickpeas are loaded with protein and if you get your cans of chickpeas on sale, they will only cost you pennies to make.  Try finding some seasonings that your children enjoy and this would make an excellent snack to send in school lunchs.   

Sponsored Fabric Giveaway: Canton Village Quilt Works

We’ve got another great new sponsor that’s recently been added to The Cottage Home blog family!
I’m pleased and excited to announce the addition of Canton Village Quilt Works!
Canton Village Quilt Works has a ton to offer in the world of quilting.  Not only do they carry a fabulous array of quilting cotton fabrics, they also offer precuts, notions, as well as long arm quilting services.
Jackie, owner of Canton Village Quilt Works, first started quilting in 1992 and her love of this art has grown tremendously.  In 2000, Jackie opening her own long arm quilting business, Canton Village Quilt Works, and continues this business in her home.  She is an award winning quilter and belongs to the International Machine Quilter’s Association (IMQA) as well as being a member of the Farmington Valley Quilt Guild since 1997.  She is also a member of the American Quilter’s Society as well as a contributor to Quilting Magazine and is a quilting podcaster.
Today, Jackie is giving away a hand-selected bundle of fabrics to one lucky The Cottage Home Blog reader.

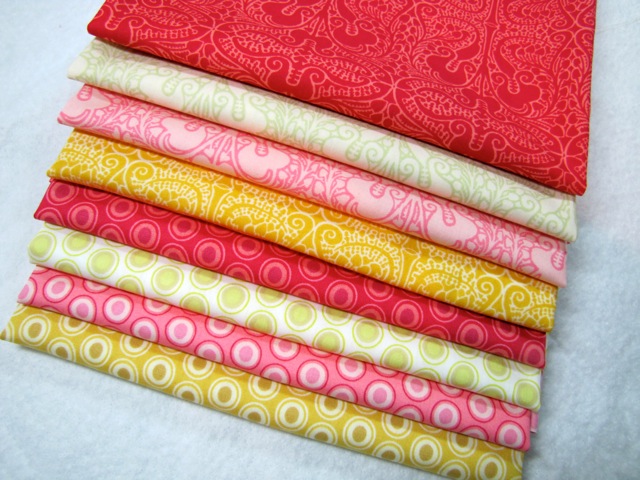
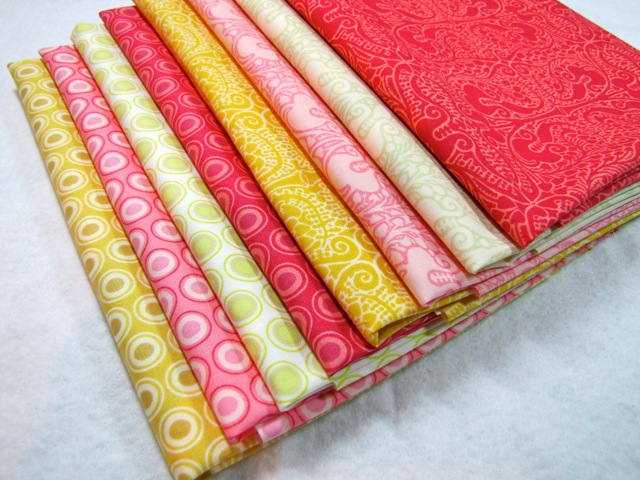
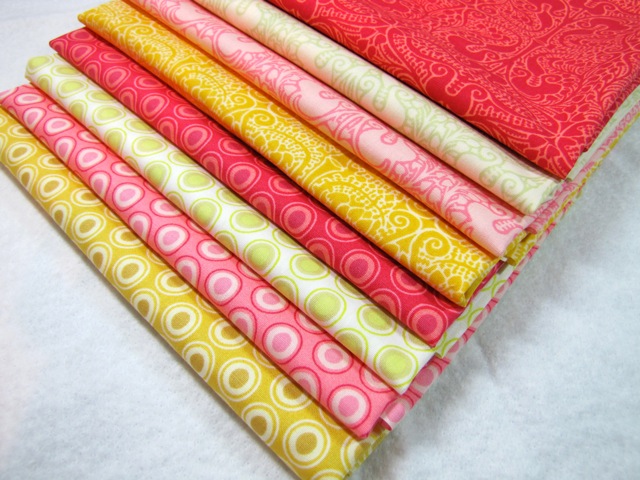
The bundle, pictured above, consists of 8 fat quarters from Art Gallery Premium Designer fabrics Lace and Oval Elements Collections.  If you’ve never felt Art Gallery fabric, you are in for a real treat.  The hand of their fabric is divine and it washes beautifully.  I can think of many prints that would pair really nicely with these fabrics.  
There are several ways to enter the Canton Village Quilt Works fabric giveaway.  You can do one or all of the following:
1) Visit Canton Village Quilt Works and tell us what your favorite products are in their shop (click here).
2) Sign up for Canton Village Quilt Works newsletter (click here).
3) ‘Like’ Canton Village Quilt Works on Facebook (click here).
4) Follow the Canton Village Quilt Works blog (click here).
Giveaway will be open until Monday ~ January 9th, 2012 at midnight (CST).
Jackie is also offering an exclusive discount of 15% off everything in her shop for the duration of this giveaway with the code: COTTAGE15 
Even if you aren’t entering this particular giveaway, I’d love for you to show our sponsor some love and pop over to visit their shop.  Jackie is a truly talented quilter and has a lot to offer through her shop, Canton Village Quilt Works. To listen to Jackie’s quilting podcasts, click here and on i-tunes, click here. And to view her YouTube videos, click here.
Welcome to the family, Canton Village Quilt Works!
If you are interested in becoming a sponsor of The Cottage Home blog, please email Lindsay at [email protected] for rates and additional information.

Operation Organization: Velcro Toy Storage Labels

This year is going to be about some serious organization here at The Cottage Home.  With having three children under the age of 4, I sometimes feel like certain spaces in my home are spiraling out of control.  Well, no more!  I’m taking action and going to try my best to gain some control over the clutter that seems to come with having small children.

Now, I know there will be messes and chaos from time to time, but I’m going to try to implement some systems for our family to make life a little more orderly.  And hopefully help me keep my sanity.  I don’t know about you, but when things in my home and life are in order I can accomplish SO much more.

“A Place for Everything and Everything in it’s Place”
One of my friends over on The Cottage Mama Facebook page chimed in with this quote recently when I was asking about tips for kids toy organization and I just love it.  To some this might sound somewhat sickening, but I like it and plan to keep in in the forefront of my mind this year.
My girls toys have been out of control lately.  There are so many pieces to so many different toys and they just kept getting all jumbled up.  I spent four hours one day just reorganizing the kids toys, only to have them turned into a jumbled mess two days later.  I thought, “oh my gosh, what a waste of time!”  But then I realized that I can’t expect my kids to know where things go without me showing them.  This was definitely a ‘duh’ moment.  I am a big fan of my label maker, but it doesn’t do much good for those that can’t read my labels.
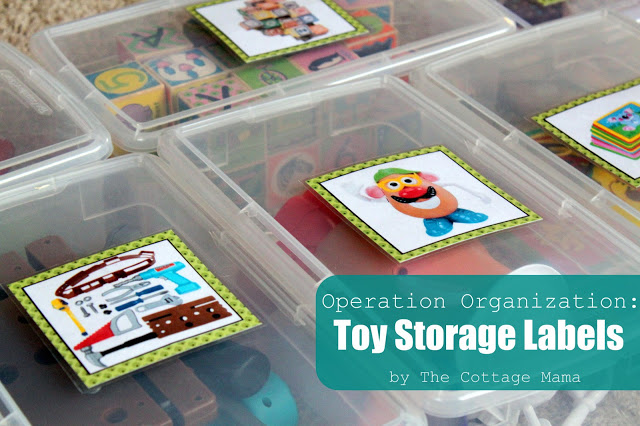
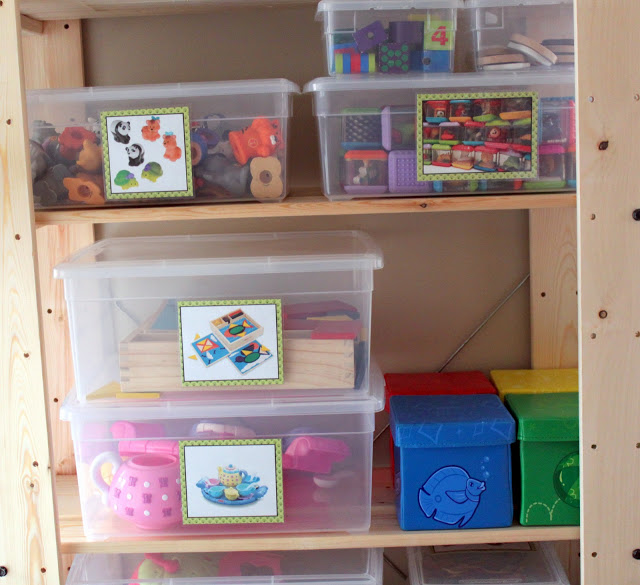
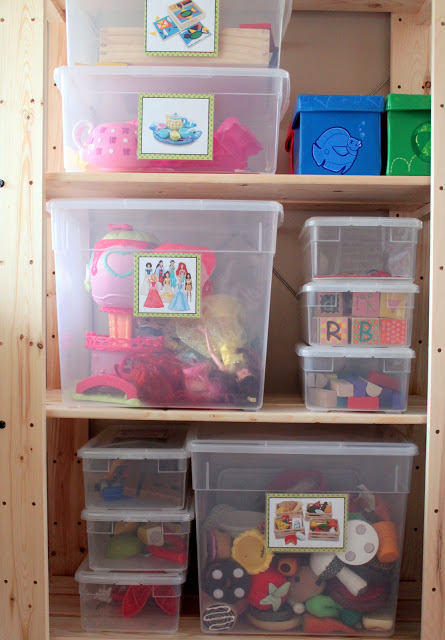
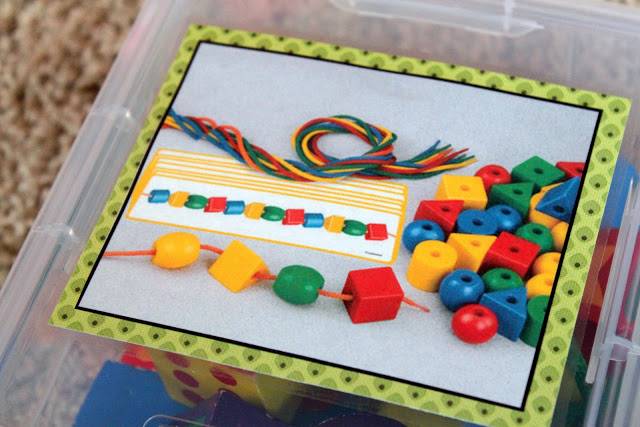
This lead me to try a new tactic for our toy organization ~ Velcro Toy Picture Storage Labels.  Why didn’t I think of this sooner?  IKEA was having a great sale on these bookcases, only $9.99 each!  So I bought several.  One for the play room and three others for the ‘Cottage Mama’ storage loft conversion that is taking place in our house as well (more on that at a later time).  Then my in-laws gave me a gift certificate to The Container Store for Christmas, so I bought a bunch of clear storage containers to get this project underway.
Want to make your own Toy Storage Labels?  Here’s the ‘how to’……..
Operation Organization: Velcro Toy Storage Labels
Supplies:
A computer and printer
Cardstock or thick scrapbook paper
Laminating Sheets
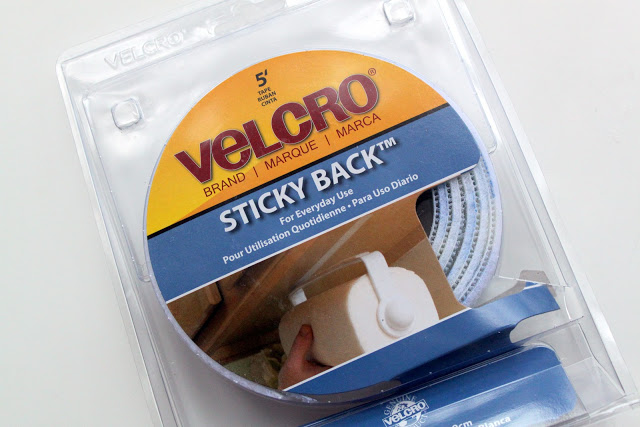
Sticky Velcro
Scissors
Paper cutter (optional)
Instructions:


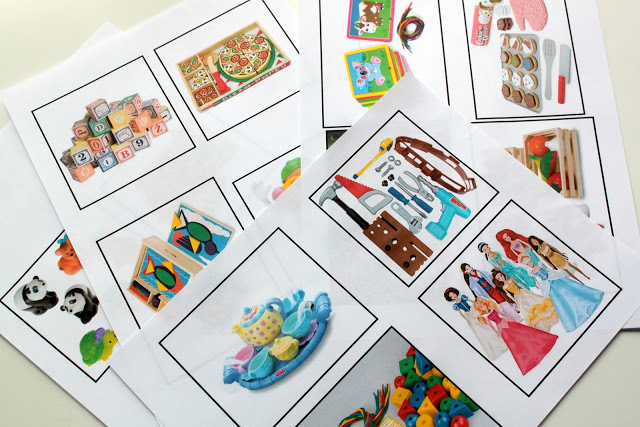
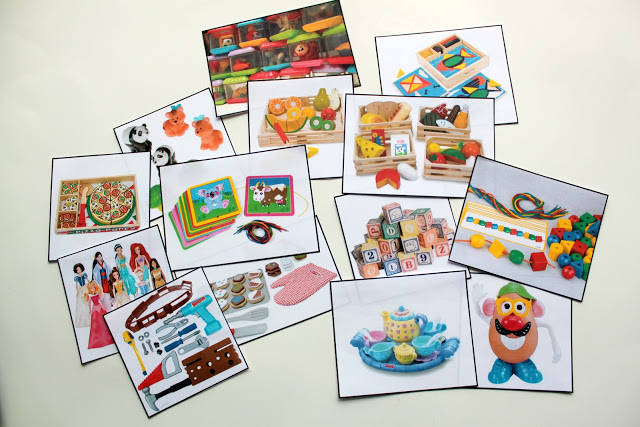
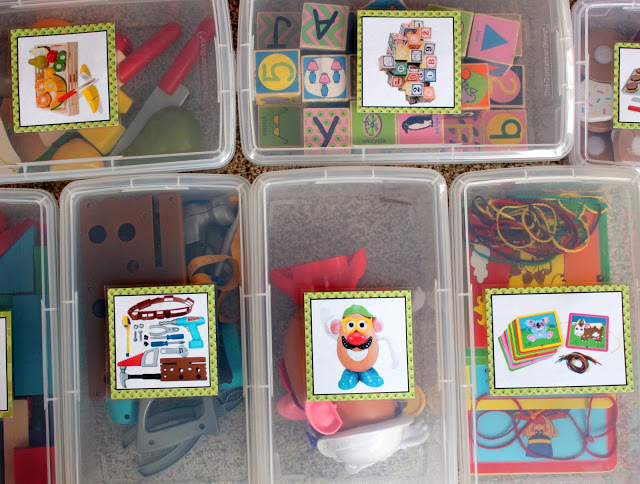
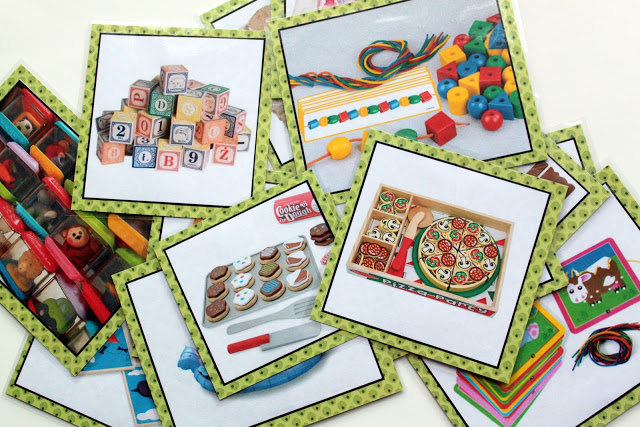
Take inventory of the toys you would like to contain.  I pretty much used containers for the toys with lots of pieces.  The larger items are still being stored in our woven cube storage system.  Once you know what toys you need to store, google the name of the exact toy and save a picture of it on your computer.  Print out the pictures at a reasonable size to fit on your containers.
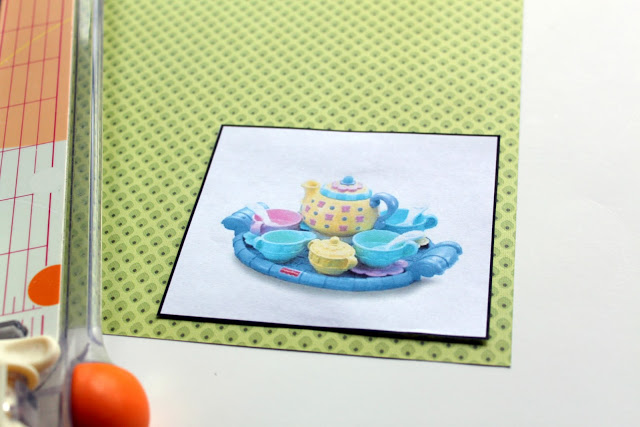
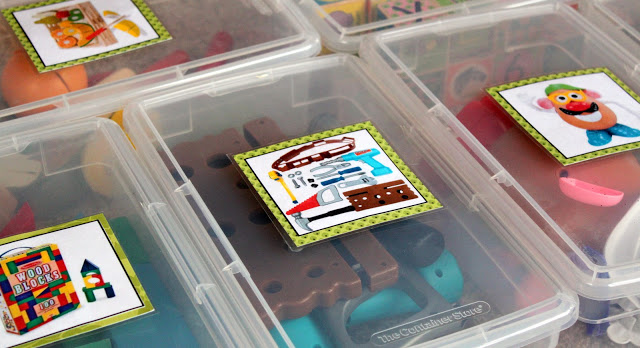
Cut out the pictures of all the different toys.  There were only one or two toys where I couldn’t find the exact picture, but try to make sure you come as close as possible to the correct toy ~ this will make it much easier for your little one to clean up.  I also added a black border around each picture, just because I liked the way it looked.
I matted each picture onto a thick scrapbook paper or cardstock to add some durability and body to the labels.  I put a little piece of scotch tape on the back of the picture (just to hold it in place) and then cut a mat out with my paper cutter.  You could also use a ruler and scissors as well.
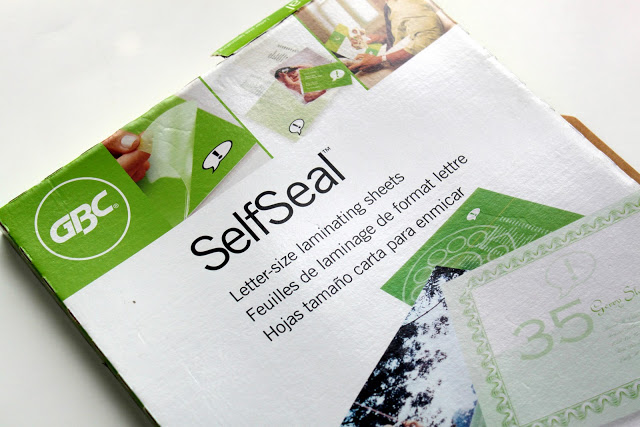
Once your pictures are matted, you will want to laminate them to keep them looking nice.  You can buy self-laminating sheets at your local office supply store.  I don’t think a lot of people know you can laminate things at home without a fancy machine, but you can!  It’s really easy and they look really nice.
The laminating sheets are generally the size of a regular sheet of paper, so you will need to cut out each label after laminating.
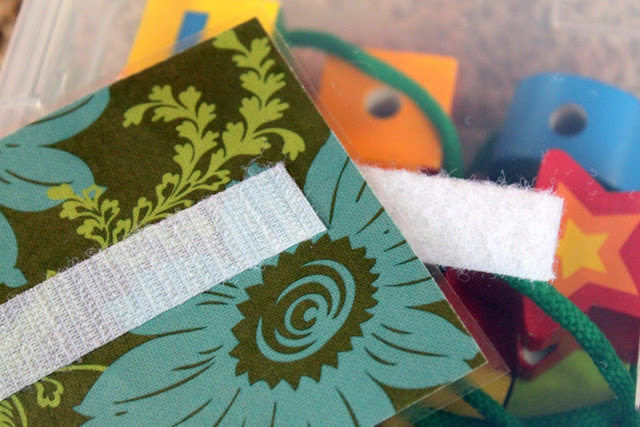
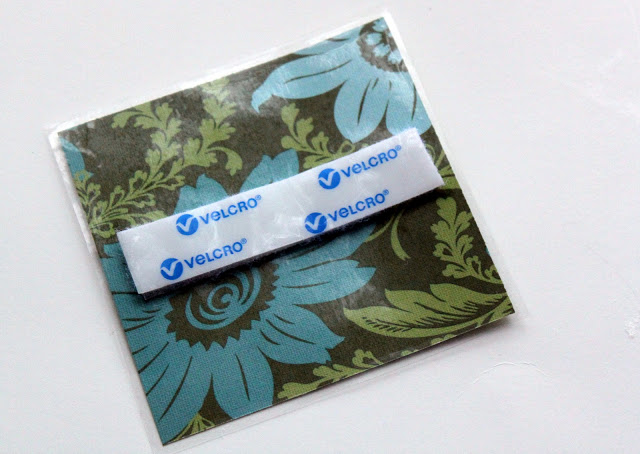
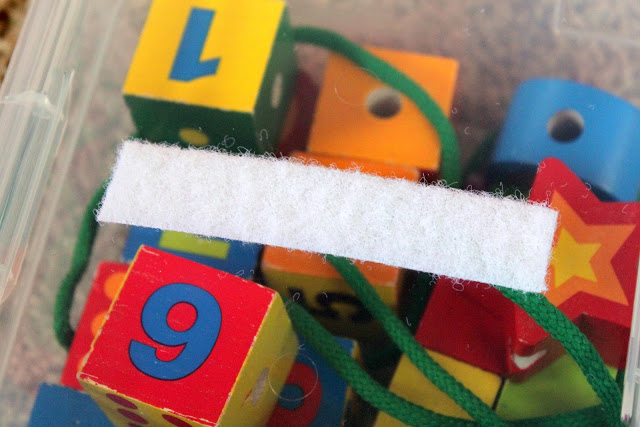
Next we are going to add velcro to the back of each label.  Why, you might ask?  Because this way if we ever want to store something different in the box, we can simply replace the label without damaging the box.  Also, if you decided to re-organize or add to that certain, specific toy, you can change it to another box and still use the label.
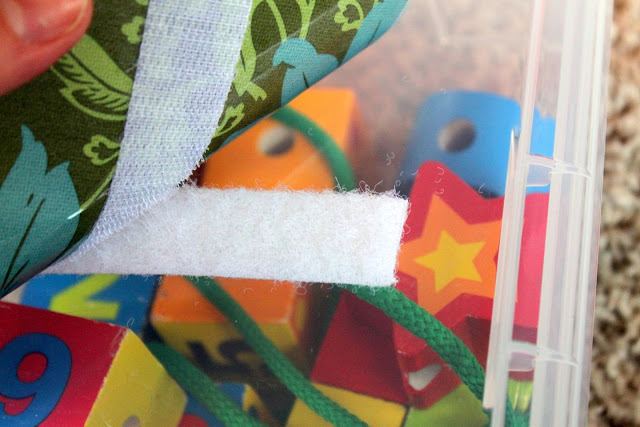
Cut a piece of sticky back velcro and stick to the back of each label.  The card stock I used happened to be double-sided, so that’s why there is a different print on the back.

After you’ve secured your velcro to the label, you will peel off the other side and stick it to your container.  There are some boxes where I secured it to the lid (as the box was too small to place it on the container portion), but for the larger boxes I place it on the actual container.

Once you’ve got the velcro applied to all your containers, begin to organize and sort all the toys.  You can have your little ones help you with this.  My girls love to help organize (now if I can just teach them to stay organized) and they get a little more excited about the new organization in the playroom if they feel they were part of the project.

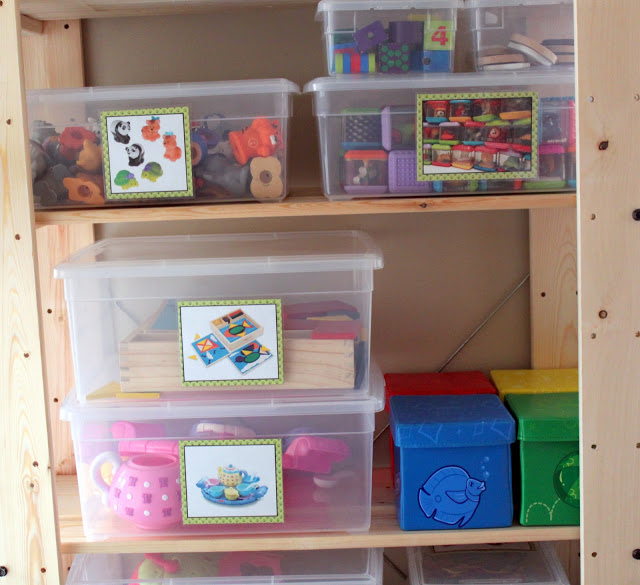
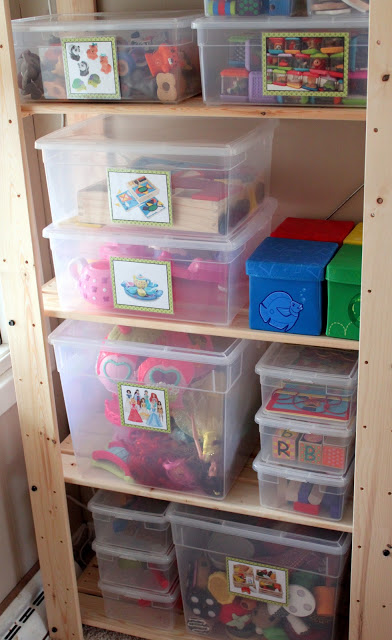
Once you’ve got all your toys contained, place them on the shelves.  I decided to place the toys that the girls have free range to access without me on the lower shelves and the ones where I want them to ask me before using up higher.  I think this is also a great method for when you have a little baby around.  You might not want your older children to have certain toys out when baby is around because of choking hazards, so this will give you some control over that.  That way the older children can play with the ‘big kid’ toys when baby is not around or napping.
We are also really, really going to try to make sure the girls clean up one toy before getting out another.  I don’t mind all the dress up and pretend play things being out because I want to foster and encourage that kind of play at all times, but for the toys with lots of pieces, I think a good clean up is definitely necessary before moving onto to the next toy.
Also, I think if you are a really visual person (as I am), making some picture labels would be good in an adult space too.  I can see these being really helpful in my studio, so that I don’t have to read a bunch of labels that all look the same, I can simply have the picture jump right out at me.
I originally wanted to paint my super great deal IKEA bookcase black, but my husband said he liked the raw wood.  So we’re going to live with it for awhile and see, but I still may paint it…….
I know I can’t have everything in my life be organized, but I think we all strive to have some type of order in the everyday.  I feel much better knowing that we are off to a great start on the road to organization for 2012!
Be on the look-out for more ‘Operation Organization’ posts to come this year.  
What aspect of your life are you trying to organize this year?
Anyone else’s kids toys taking over their space?

A Big Giveaway from Me to You!

I thought we would start 2012 off with a bang here on The Cottage Home with a giveaway from me to you.  Why?  Because I know I’ve told you before, but I so, so appreciate you all stopping by and leaving such sweet comments every day.  This is the least I can do to say thank you for all your support.

So what do I have for you today?

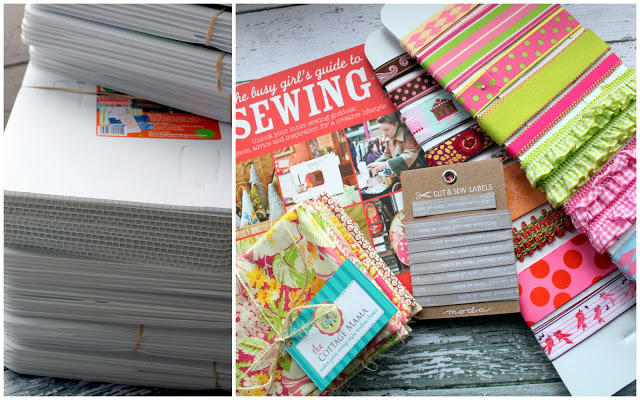
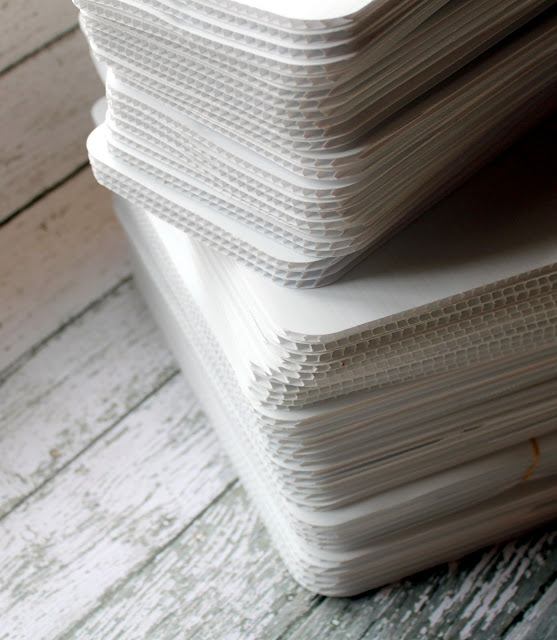
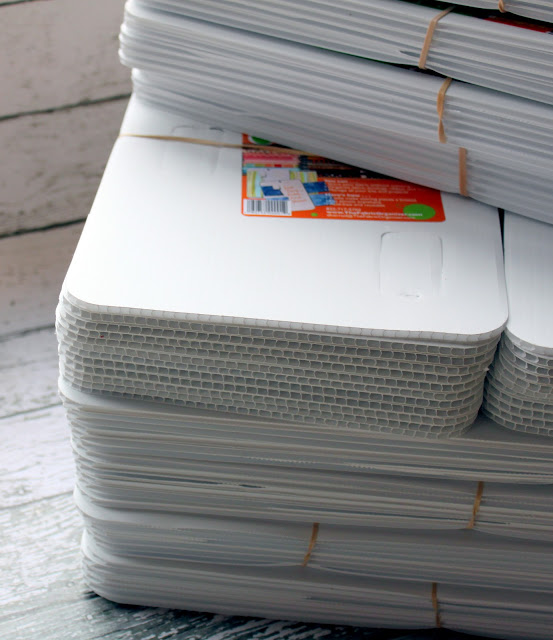
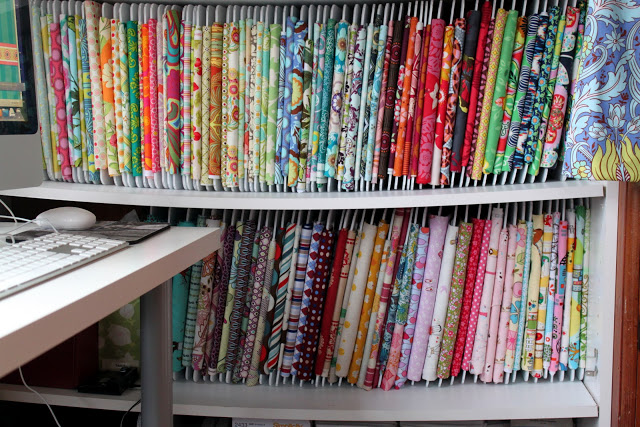
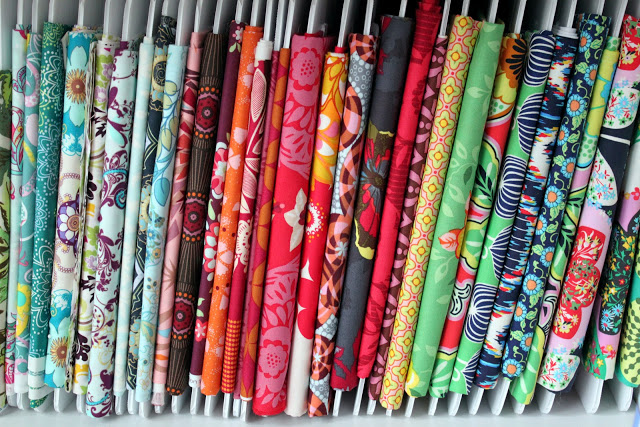
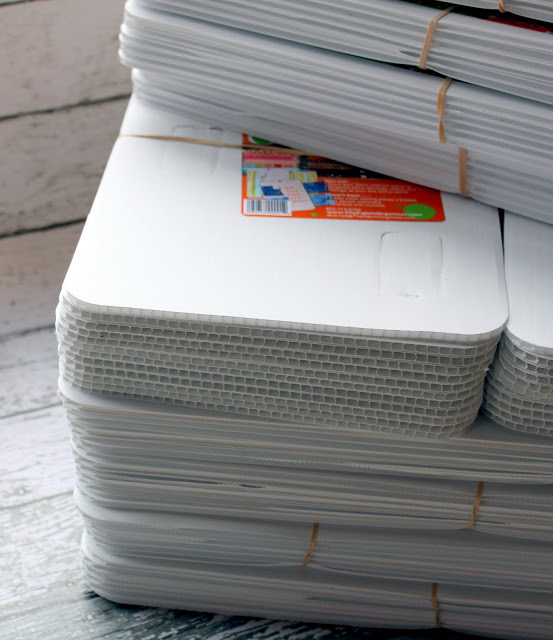
I have a set of my favorite fabric organizers!  These fabric organizers are the best.  They make organizing your fabric yardage so easy.  This set includes 72 organizers in three different sizes (24 of 3 different sizes).  I did a post on these organizers awhile back (click HERE to read more).

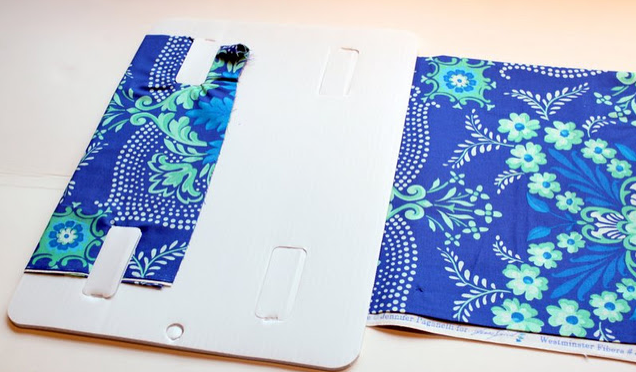
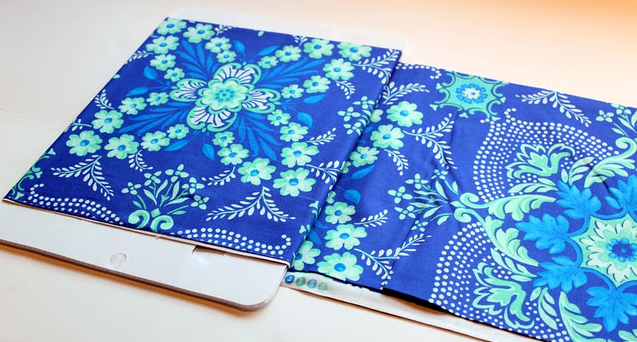
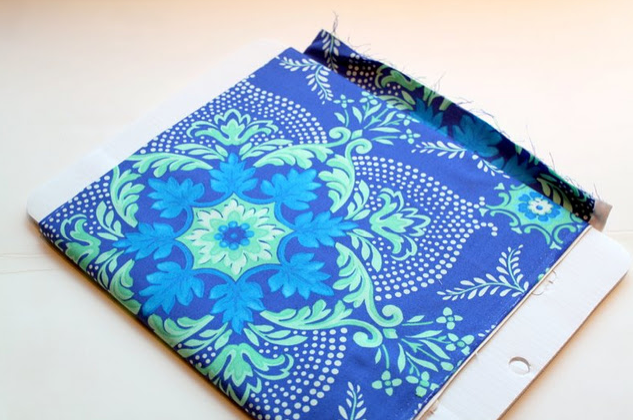
Here’s how the organizers work:

The organizers pictured above are for your yardage.  They can hold up to 7-8 yards per organizer.

I’m all about getting organized this year, so I am so excited for one of you to win this set!  There are many ways to organize your fabric, but trust me, these are the best!

In the pictures above, you can see the organizers in action.  I took these pictures yesterday so this is what is currently stored in my studio on these mini-bolts (yes, I know, I think I need a support on my two shelves – lol – fabric is heavy).  They will make your sewing room feel like a fabric store.  When you can see all your fabrics clearly, it is incredibly inspiring and makes you want to create.
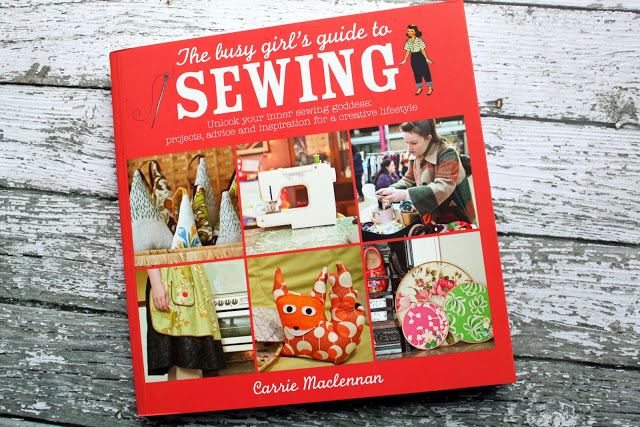
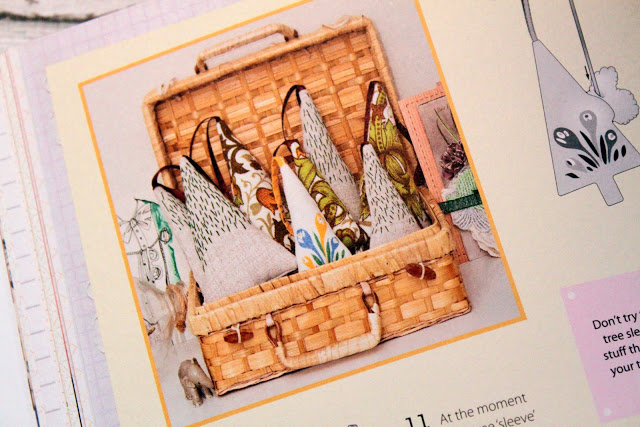
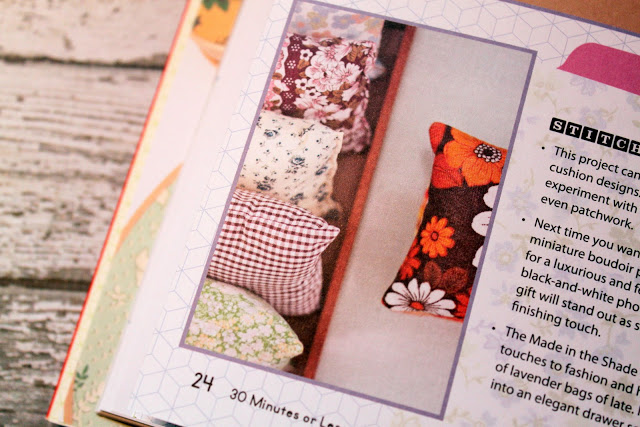
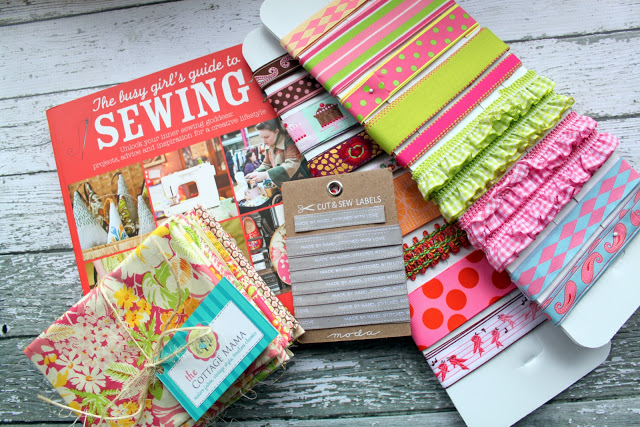
Next, I have a brand new book for you called ‘The Busy Girls Guide to Sewing’.  Like the title?  Yes, I do too.  I’m always feeling like there are never enough hours in the day to complete all the projects I have in my head.  With ‘The Busy Girls Guide to Sewing’ by Carrie Maclennan, you can focus in on projects based on how much time you have to sew during the day.

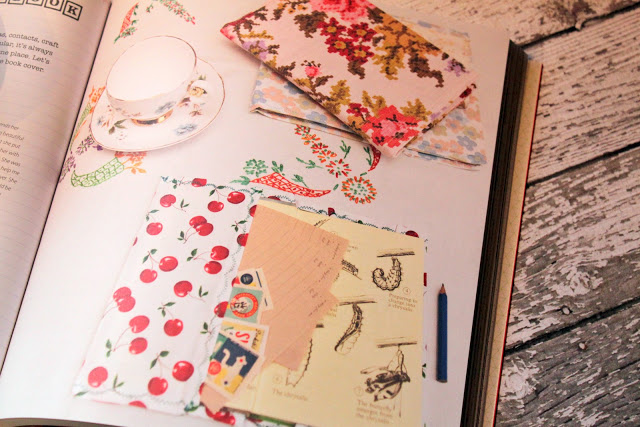
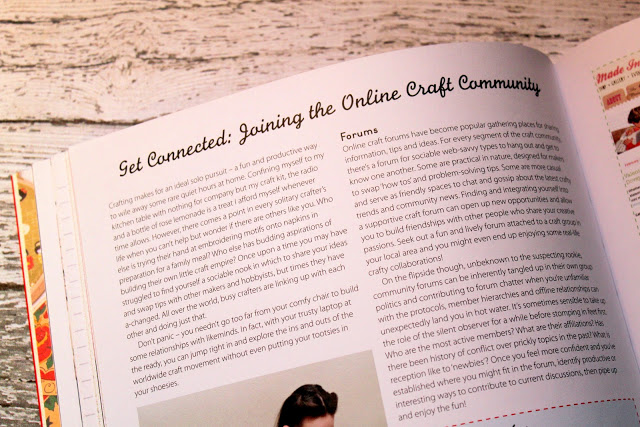
My favorite part about this book is the way it’s arranged into sections based on the amount of time you have to sew.  Maybe it’s 30 minutes or 60 minutes……..whatever the amount of time you have, you can make sure to get your sewing fix.  It also includes information about fabric, the creative online community and lots of other fun sewing tidbits.

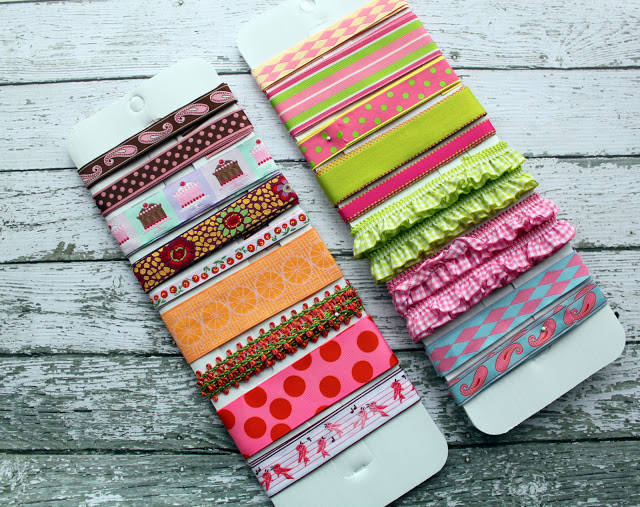
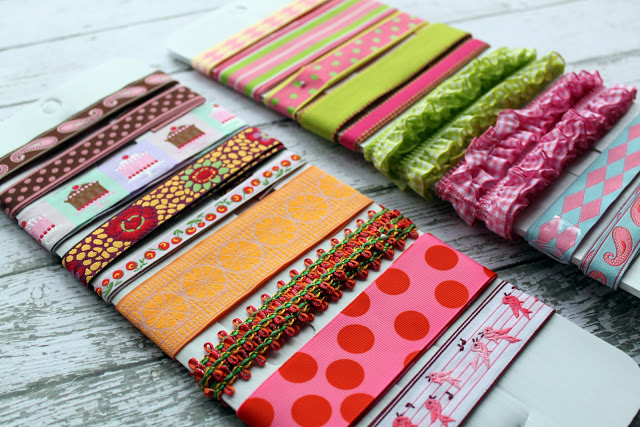
I’ve taken the liberty to wrap two of the smaller organizers with some of my favorite trims from my personal collection.  A majority of these are high-quality woven trims and all can be great additions to any of your sewing projects.  I believe in focusing on the details in sewing and I think adding unique trims can help you achieve that heirloom quality look and feel.  I cut most of these as one yard cuts, however, there are a few two yard cuts as well.
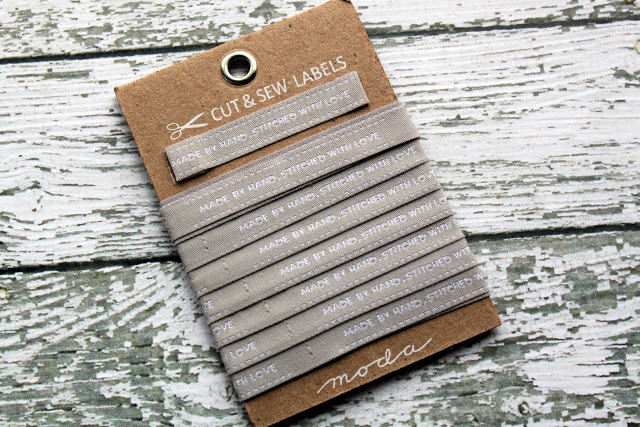
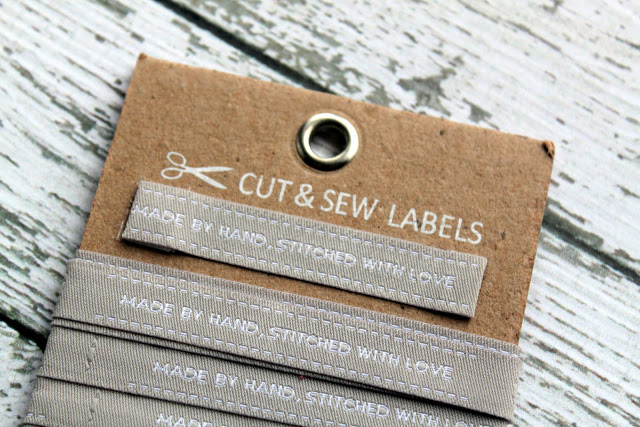
And what do you need to complete your latest sewing project?  Woven labels!  I ordered a set of these because I just thought you all would really love them.  I love the saying, ‘Made by Hand, Stitched with Love’.  It’s just so true.  Whenever I am working on a project whether it is for one of my children, for a friend or even an order from my etsy shop, I am constantly thinking about the recipient.  Thinking about how they will use the item, the look on their face when they receive it, and all the fun things that comes with giving handmade.

There are 3 yards worth of labels on one card which yields quite a few labels.  I’ve also listed two more of these sets in my etsy shop, in case some of you would just prefer to snatch up one of these right now (click here).

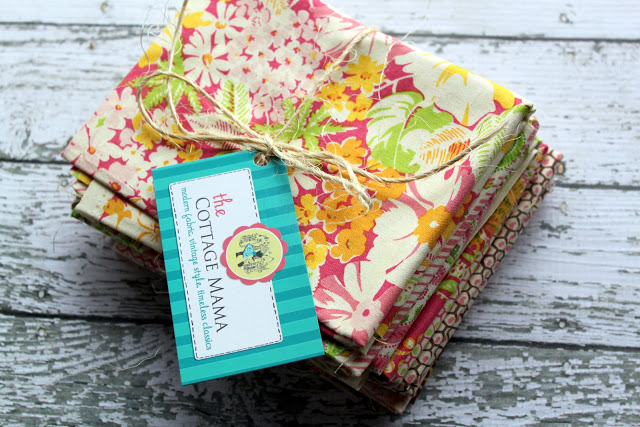
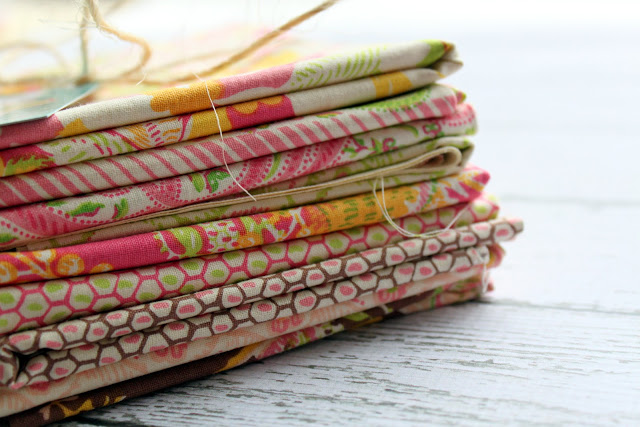
And finally, I have a fat quarter bundle of some of my favorite Anna Griffin fabrics from her line, “Carmen”.  You will receive 8 fat quarters in coordinating prints for a total of two full yards.  There are so many projects you can do with fat quarters that I think you will really enjoy this little collection.
So there you have it!  A nice little giveaway to get your 2012 started off right.
The box of 72 organizers plus all the other goodies is packed and ready to be shipped to one of the lucky The Cottage Home blog readers.
Again, thank you all for your support and I’m looking forward to an inspiring, creative 2012!
~Here’s how to enter ~
*Please answer the following question:  Aside from sewing tutorials/projects, what kinds of posts are you hoping to see on The Cottage Home in 2012?  I assume most of you are into sewing, so what else are you looking for (i.e. recipes, family life, quilting, clothing design, organization, business, pattern making, entertaining, kids, inspiration, book reviews, giveaways, ect……)?
In addition to answering the question above*, you can add additional entries by:
~Becoming a follower of The Cottage Home blog (follow in the left side-bar of the blog).
~’Like’ The Cottage Mama on Facebook (click HERE).
~Post on your Facebook or Twitter about this giveaway.
Giveaway will be open until next Monday ~ January 9, 2012 at midnight (CST).

Goodbye 2011, Hello 2012!

2011 has been a great year.
I cannot believe it’s almost over.
Time sure does fly when you are having fun!
This past year has been one of the best years of my life.  We were blessed with the birth of our new baby boy, Caspian Finn.  And I can honestly say he completes our little family.  Not only do I feel blessed in my personal, family life, but I have been incredibly blessed in my professional, creative life as well.  The release of my first two printed sewing patterns this year was a major accomplishment for me and I’m looking forward to many new designs coming out in 2012.
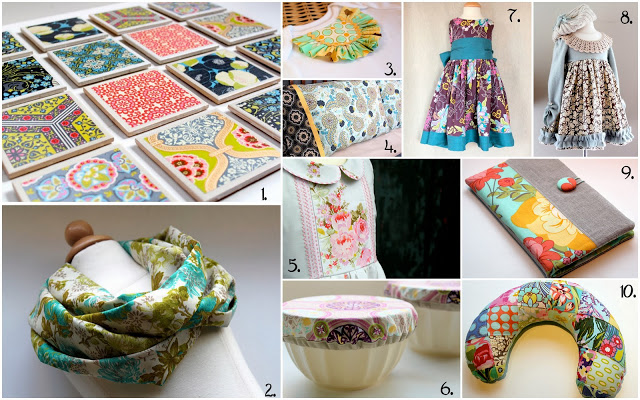
Here are some of the top tutorials from 2011 that were viewed time and time again on The Cottage Home:
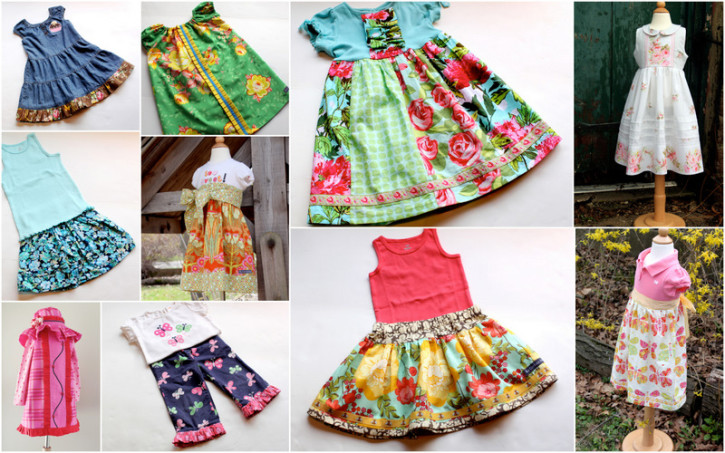
Another big favorite was the Semi-Handmade Wardrobe Series where I repurposed a lot of the girls clothing and made them into new, fresh looks for spring:
Apr 2, 20111-2
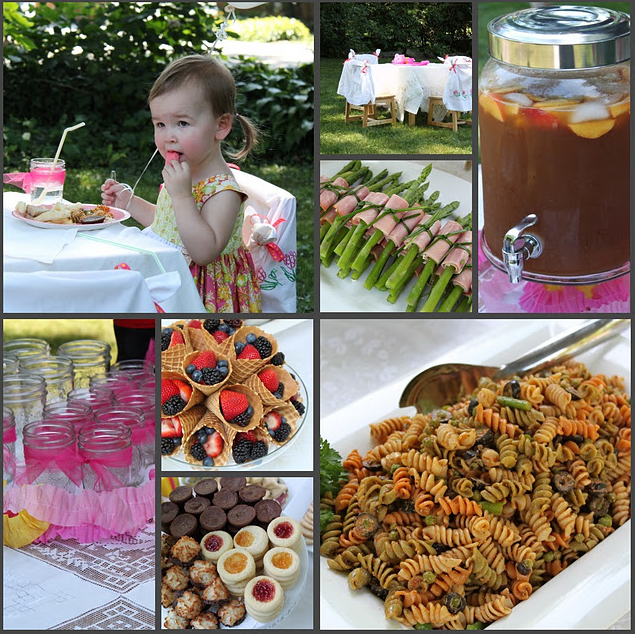
And the most popular party post from 2011 was Matilda’s “Tea for 2” birthday party:
Thank you, from the bottom of my heart, for taking the time to visit The Cottage Home in 2011.  There are many exciting things planned for 2012 and I appreciate you coming along on this journey with me.  And next week, I have a BIG giveaway planned from me to you ~ just as a little thank you.
So tell me, what was your favorite tutorial on The Cottage Home in 2011?

Here’s to a great 2012!

Merry Christmas & Happy New Year

Warmest thoughts and best wishes for a wonderful holiday and a very Happy New Year!
Thank you for making blogging such a joyful and fulfilling experience for me.  I appreciate each and every one of you that stop by The Cottage Home.  There are so many things to be thankful for this year.  
We have truly been blessed and my heart is filled with joy.
Love to you all,
Lindsay

We’ve Been Busy at The Cottage Home ~ Christmas Trees and Santa

This last month seems to have gone by in the blink of an eye.  We’ve been so busy trying to fit in all our Christmas festivities as I’m sure you have as well.  This is a non-sewing, non-crafting, non-cooking related post, but I thought you might like to know what we’ve been up to.

Matilda and The Cottage Papa

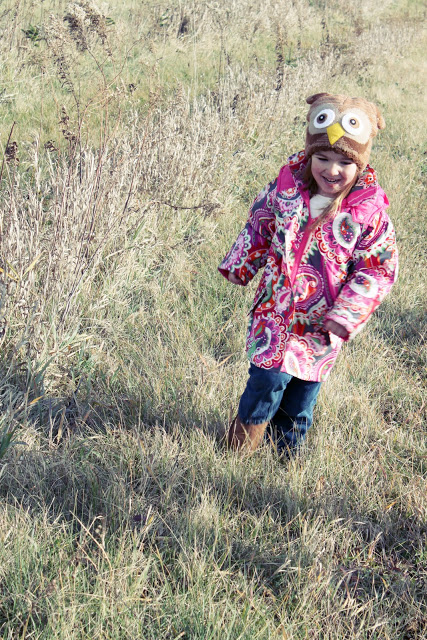
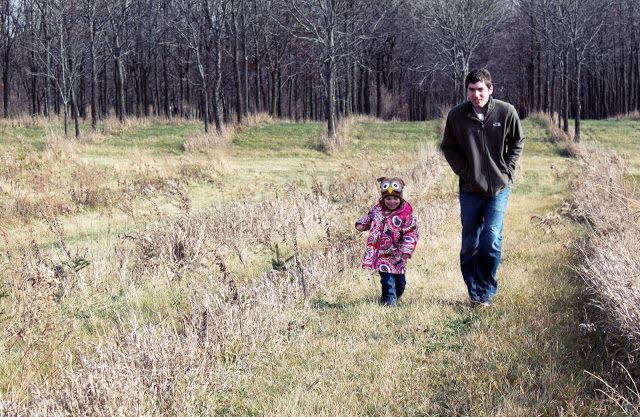
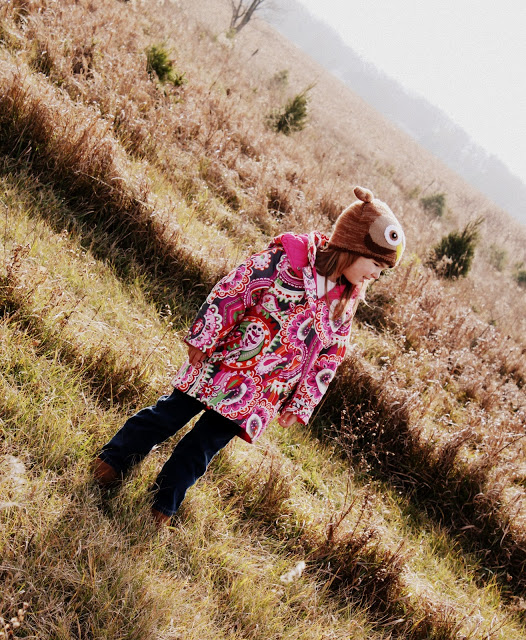
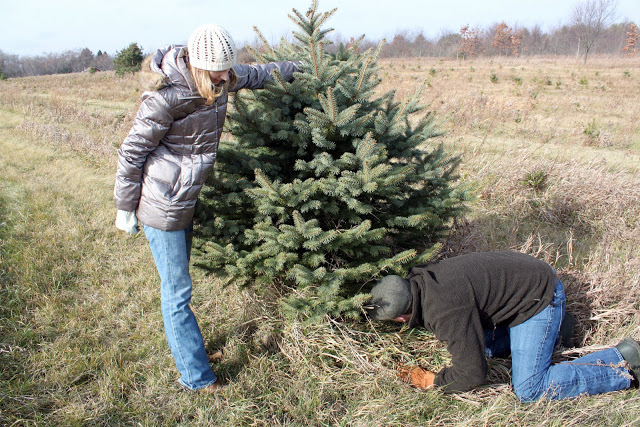
The day after Thanksgiving we headed to our favorite local tree farm to cut down our Christmas tree.  My husband and I both grew up with fresh Christmas trees and to tell you the truth, there is nothing like the smell of a ‘real’ Christmas tree.  We’ve been going to this farm since before we had kids and after seven years, I guess we can call it a tradition.

Savannah and (soon-to-be) Uncle Bryan

My sister-in-law and (soon to be) brother-in-law came with us this year on the great tree hunt.  We like this farm because it is very down to earth.  There aren’t a whole lot of bells and whistles (some farms around us have rides, attractions, horse drawn carriages), but you get the great feeling of the country life. This tree farm has been struggling the last few years because of a draught several years back.  So even though the pickings are a little slim, we like to support them during this tough time.

Savannah Rose

Savannah didn’t care much for the sound the saw made when cutting down the tree, so she hung back a little bit and took it all in from a far.

Aunt Abby and The Cottage Papa

That’s our tree in the picture above or also known as the Christmas ‘bush’.  Once we got it inside our house we realized just how round it really is, but it suites us ~ it’s got character.

Aunt Abby and Savannah

The day after Thanksgiving they had some pioneer living demonstrations and Savannah got to hand-dip a candle with some help from her Aunt Abby.

Matilda Jane

One of the favorite parts of our annual tree hunting adventure is getting nice and cozy with a cup of hot chocolate in the little warming house.  That hot chocolate hits the spot after the cold, hard work of finding our perfect tree.

After we came home and set up our tree, we decorated it.  This little guy (pictured above) was just a sweet, sweet angel throughout all our Christmas activity.  We listened to Christmas music, decorated the tree and I made my favorite homemade chex mix (which is a MUST when decorating the tree).

And what a difference a year makes!  The week after we got our tree, we took the kids to visit Santa.  Last year Savannah would not even get close to the man.  This year she ran right up to him, got on his lap and told him exactly what she wanted for Christmas ~ “I want a green dinosaur, a boy baby doll, and a red bouncy ball with a handle”.  I love a girl who knows what she wants!  Matilda was fine with the man in the red suit, but she didn’t say much.  After we left, Savannah said “Wow, he is definitely nice!”

This past weekend my mom, Grandma Jane, and her husband Allen (aka ‘Pepo”) came to celebrate an early Christmas.  We had a wonderful time, though our visits are always too short.  What I wouldn’t give to live closer to my mama……..maybe someday……one can dream, right?  Mom made us the most beautiful Christmas quilt that matches the kids Christmas outfits.  I need to take some good pictures of it, but I can’t wait to show you!

This week I’m going to be busy baking with the kids and finishing up my last handmade Christmas gifts.  The current project in the works are ‘baby doll kits’ I’m making to go with the girl’s ‘American Girl Bitty Baby Boy’ dolls that they are getting.  Savannah and Matilda both really wanted boy babies because of their little brother, so I’m having fun using all of this boy printed fabric to make the accessories for their dolls.

I hope you all are enjoying this holiday season.  
It truly is the most wonderful time of the year!