On the Cutting Table: New Fabric, New Designs, Ect.

It’s been a busy week over here.  Lots of things going on and trying to juggle my family, the kids, the blog and the business is always a challenge.

This past week I finally decided it was time for me to bring in a little help so that I can prioritize some things in regards to my work-life balance.  The only people that have ever watched our kids since our oldest Savannah was born are family members…..mainly my in-laws.  But I decided to ask the high school girl from next door to come over two afternoons a week (for three hours each day) to play with the kids while I get some work done.  So for right now I am home the entire time she is here working in my studio, but after Cass is done nursing in another 8 months or so, I might feel comfortable enough to leave for a little bit.

I have gone back and forth about this for months and now I’m wondering why I didn’t do it sooner? Well, I know why I didn’t do it sooner……….guilt.  I think my business was ready for this about three months ago, but personally I wasn’t.  It’s really hard being a work from home mom because as much as I want to grow my business, I want to be there for my kids during this precious time that is going by way too fast.  But I need to create.  It’s just part of me.  It makes me a better mama to do what I love and it is so very important to me that my children recognize that Mama has passions and dreams just like they do.

So I decided it was best for the kids to have a young person come play with them two days a week that is completely focused on them.  They are getting used to someone new watching them (other than family) and are just in love with our new sitter.  And for me, I get to devote six very focused hours of my week in my studio doing what I love and working on my business.  I am really happy with my decision now and I think it’s a win-win for all of us.  But being as though I value the fact that I am able to stay home with my children, it’s not a decision that came about lightly.

So what was going on this last week?  Lots of stuff………

Fabric is ‘Circa 52’ by Monaluna for Birch Fabrics

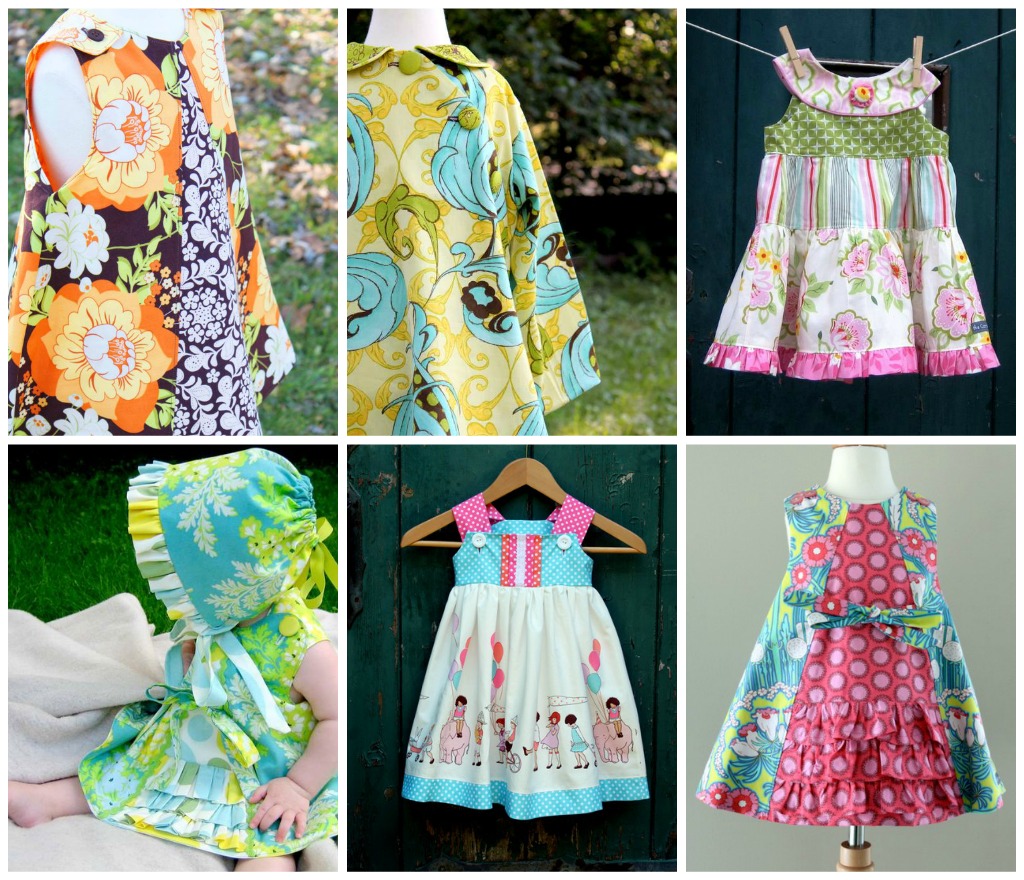
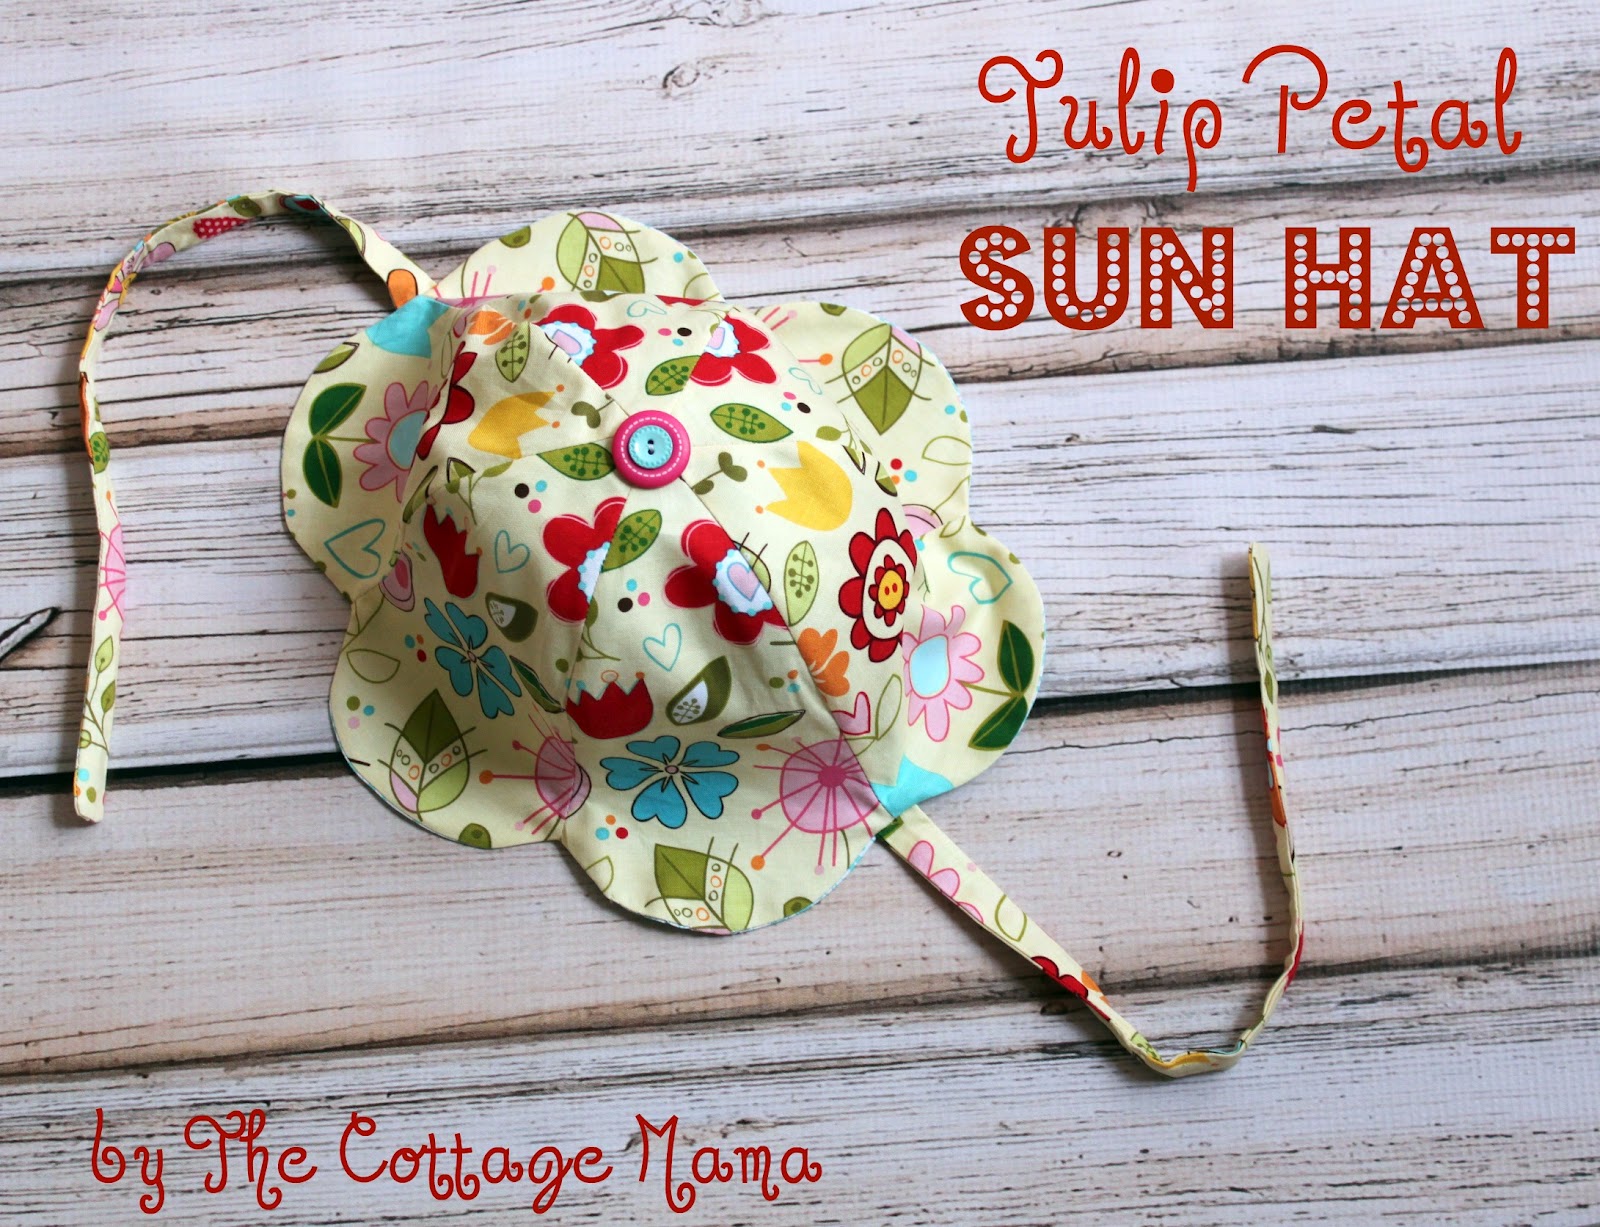
Well, I’m excited to say that I got my next three patterns sent out this week!  One is for boys and two are for girls and I think they are so cute (of course, I’m a little biased).  It will still be several months before they are available for sale, but they are officially now in production. It’s amazing how long it takes to get a printed pattern fully ready for sale!

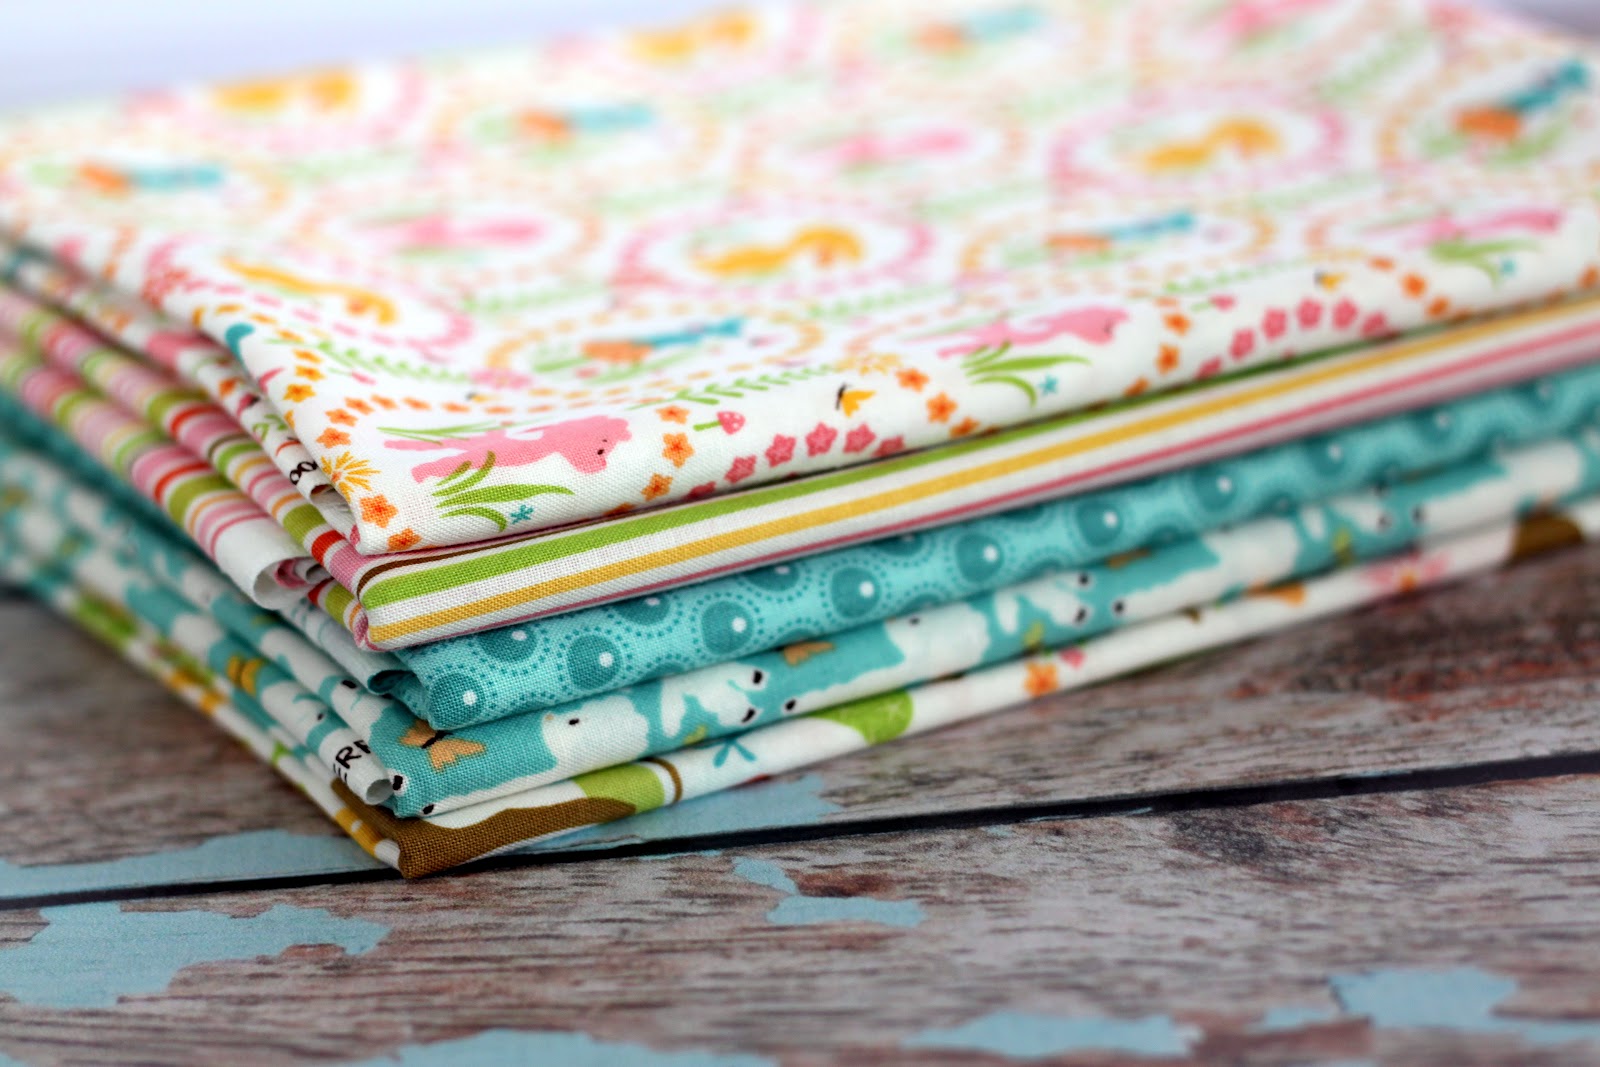
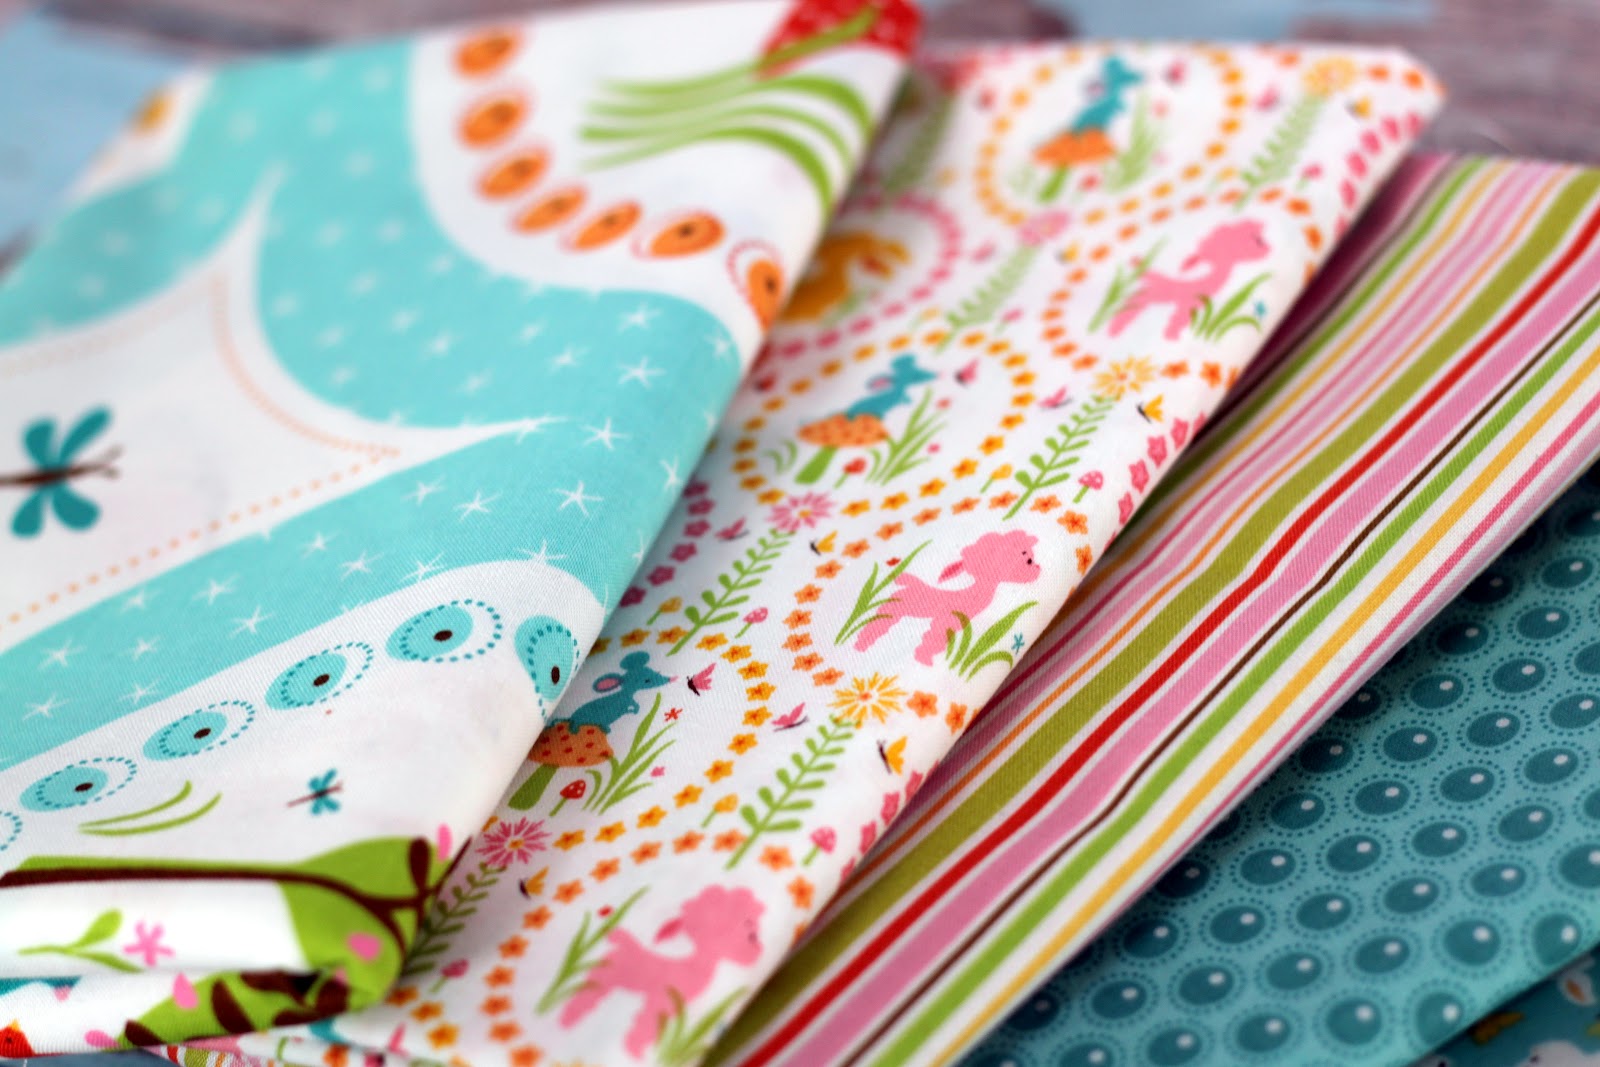
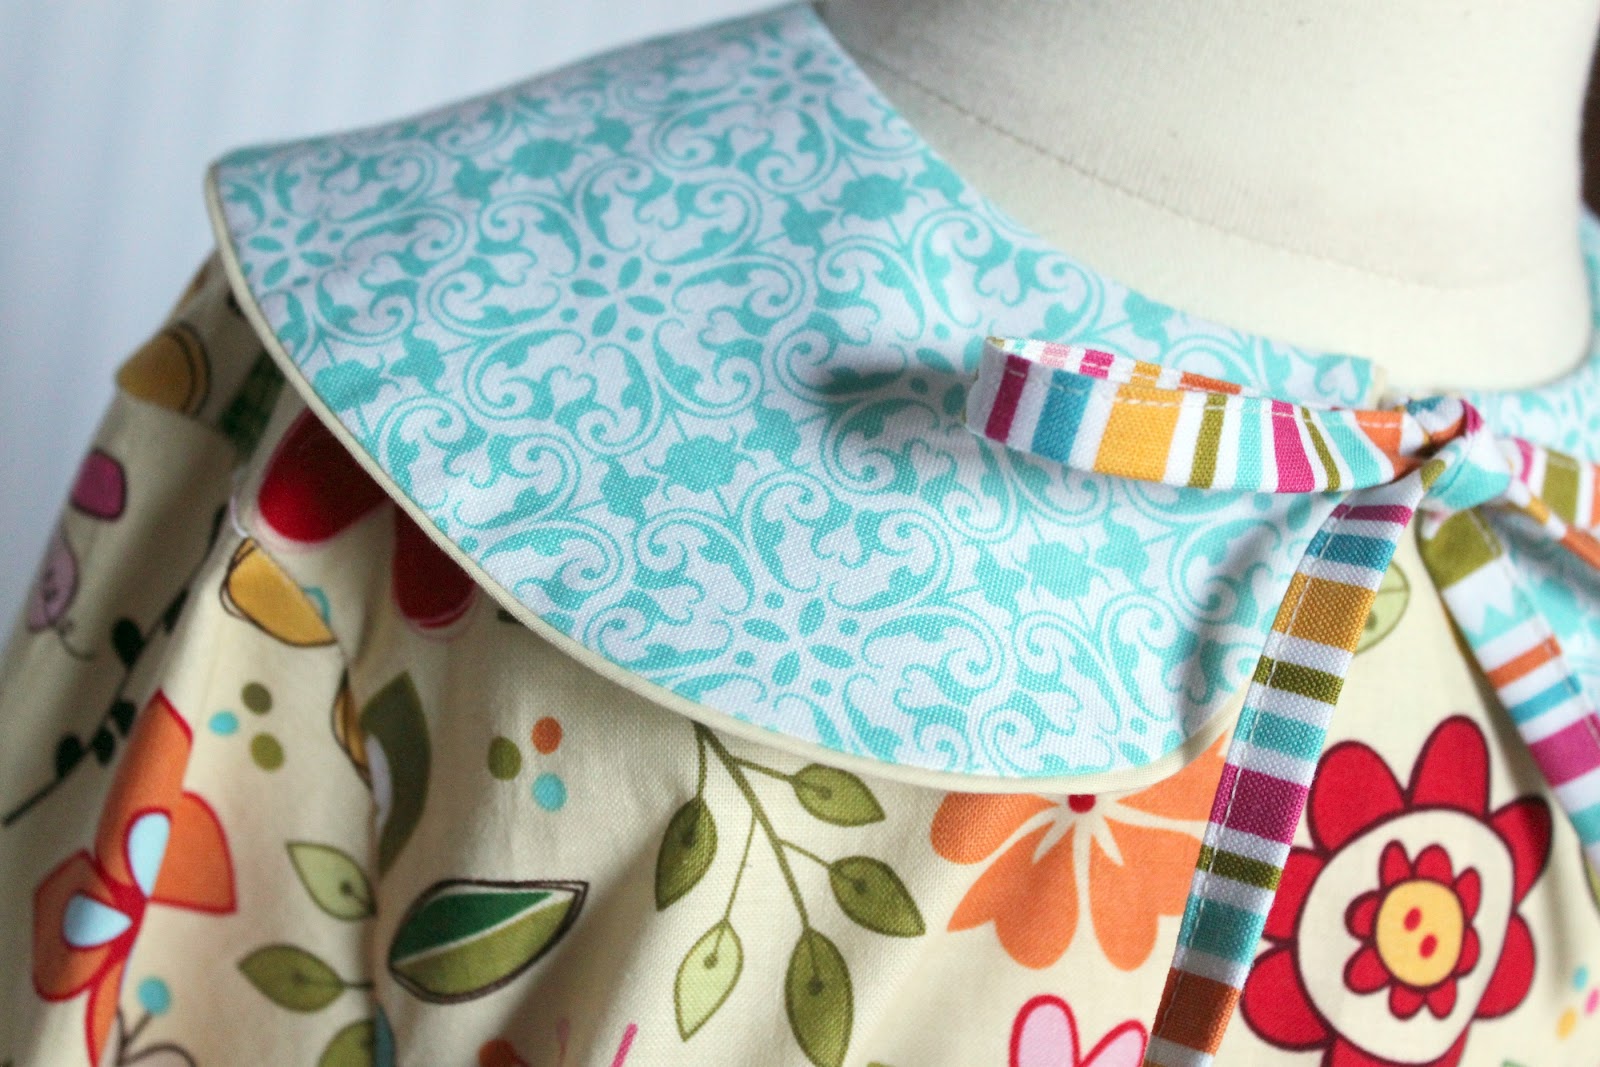
Above are the pictures of the lovely bundle that arrived this week from Riley Blake Designs.  Being on the Project Design Team definitely has its perks and working with pretty fabrics is one of them.  I am so in love with this line ~ Woodland Trails.  It’s fun, whimsical, girly and springy.  I’m certainly feeling Easter with this line, what about you?

My next tutorial on the Riley Blake Designs blog will be done in this line as well as a pincushion I am designing.  And those trims and buttons, you’ll see those coming up soon too!

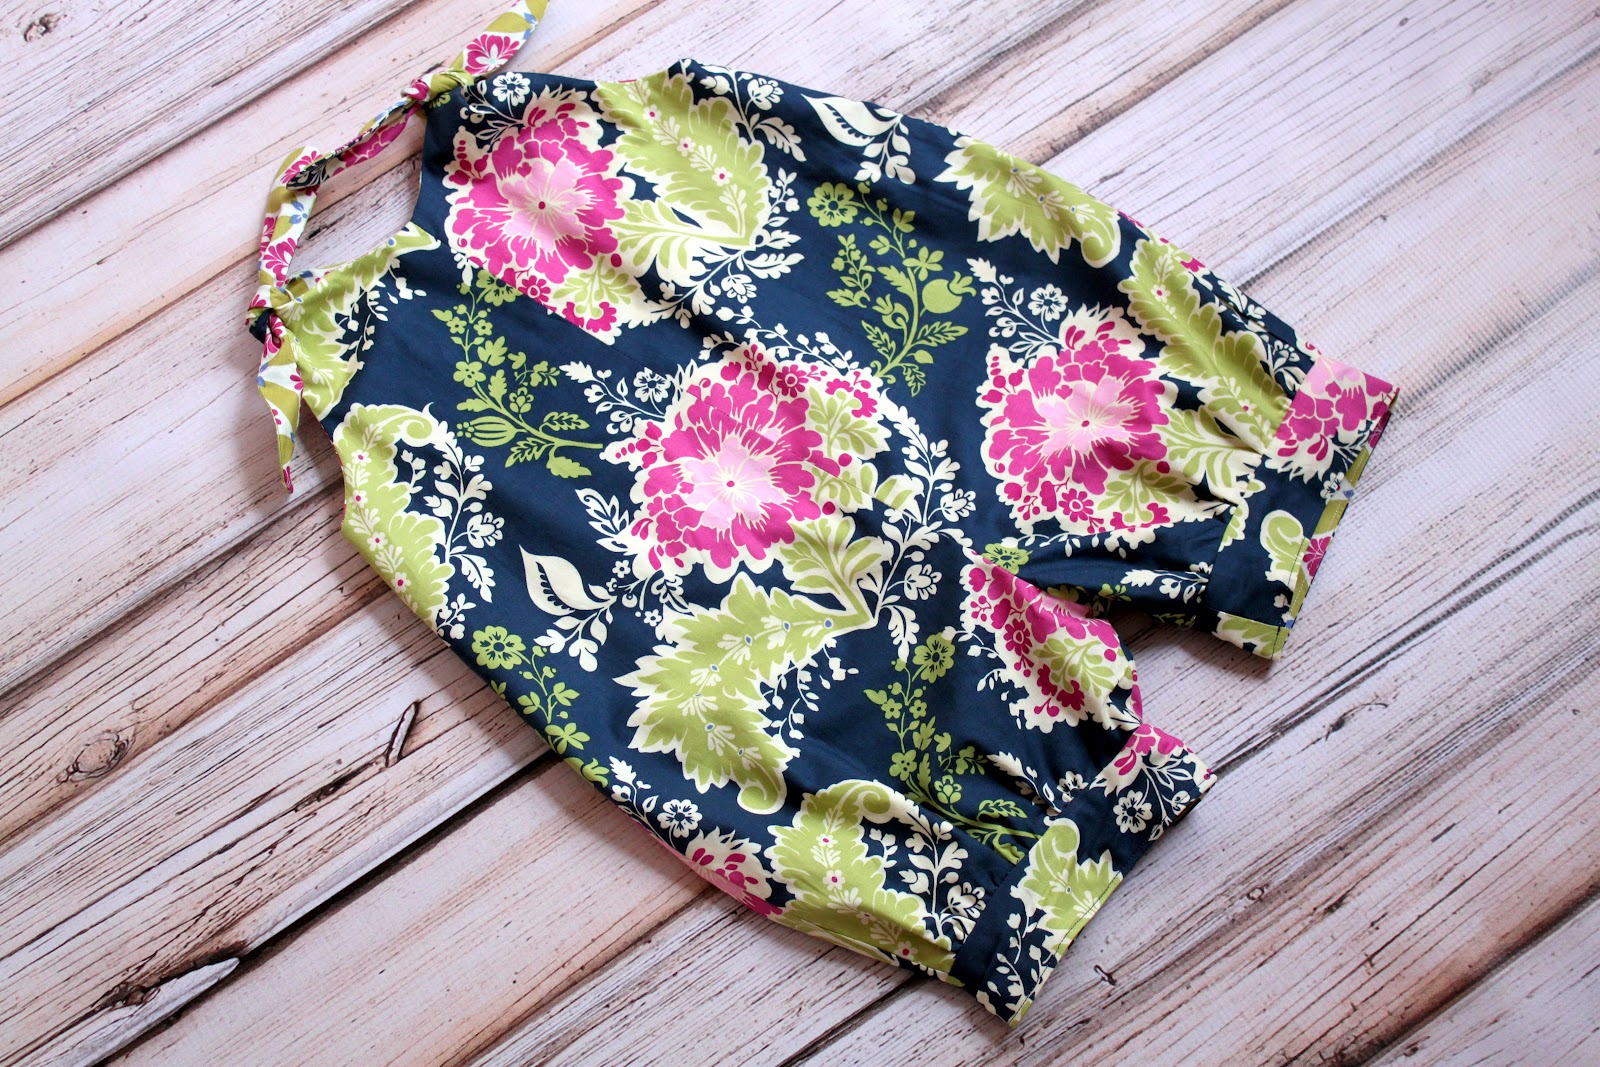
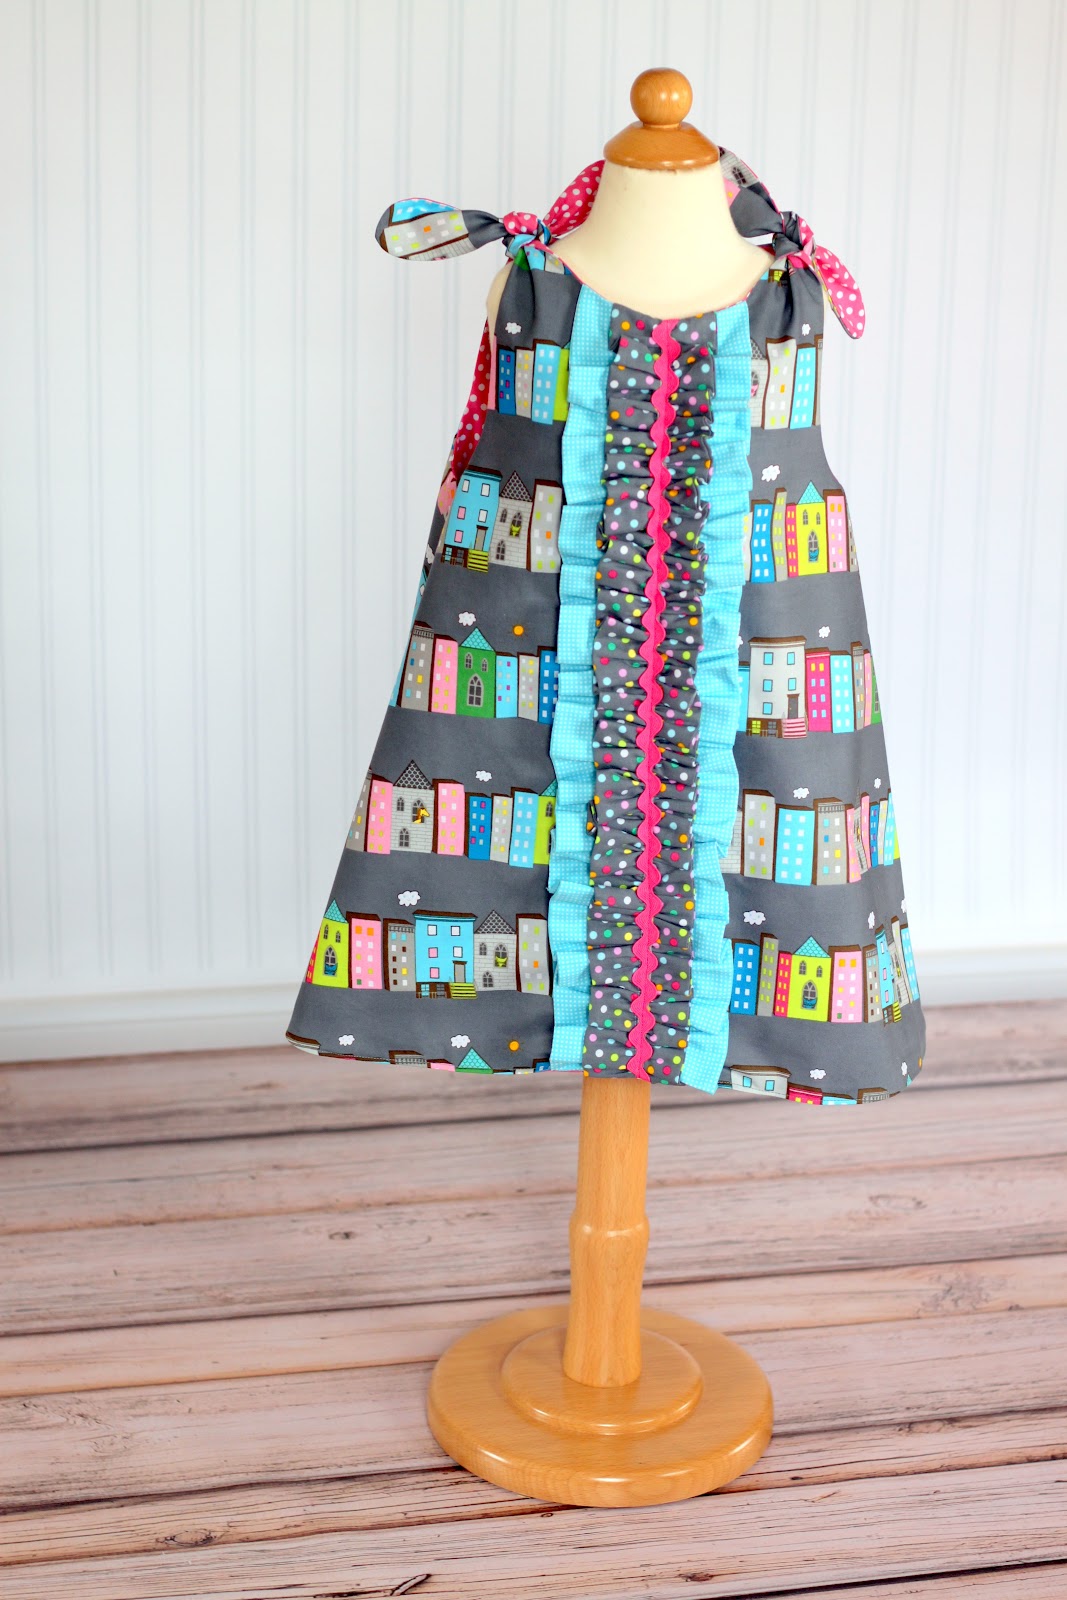
I also got a few things listed in my shop, The Cottage Mama:

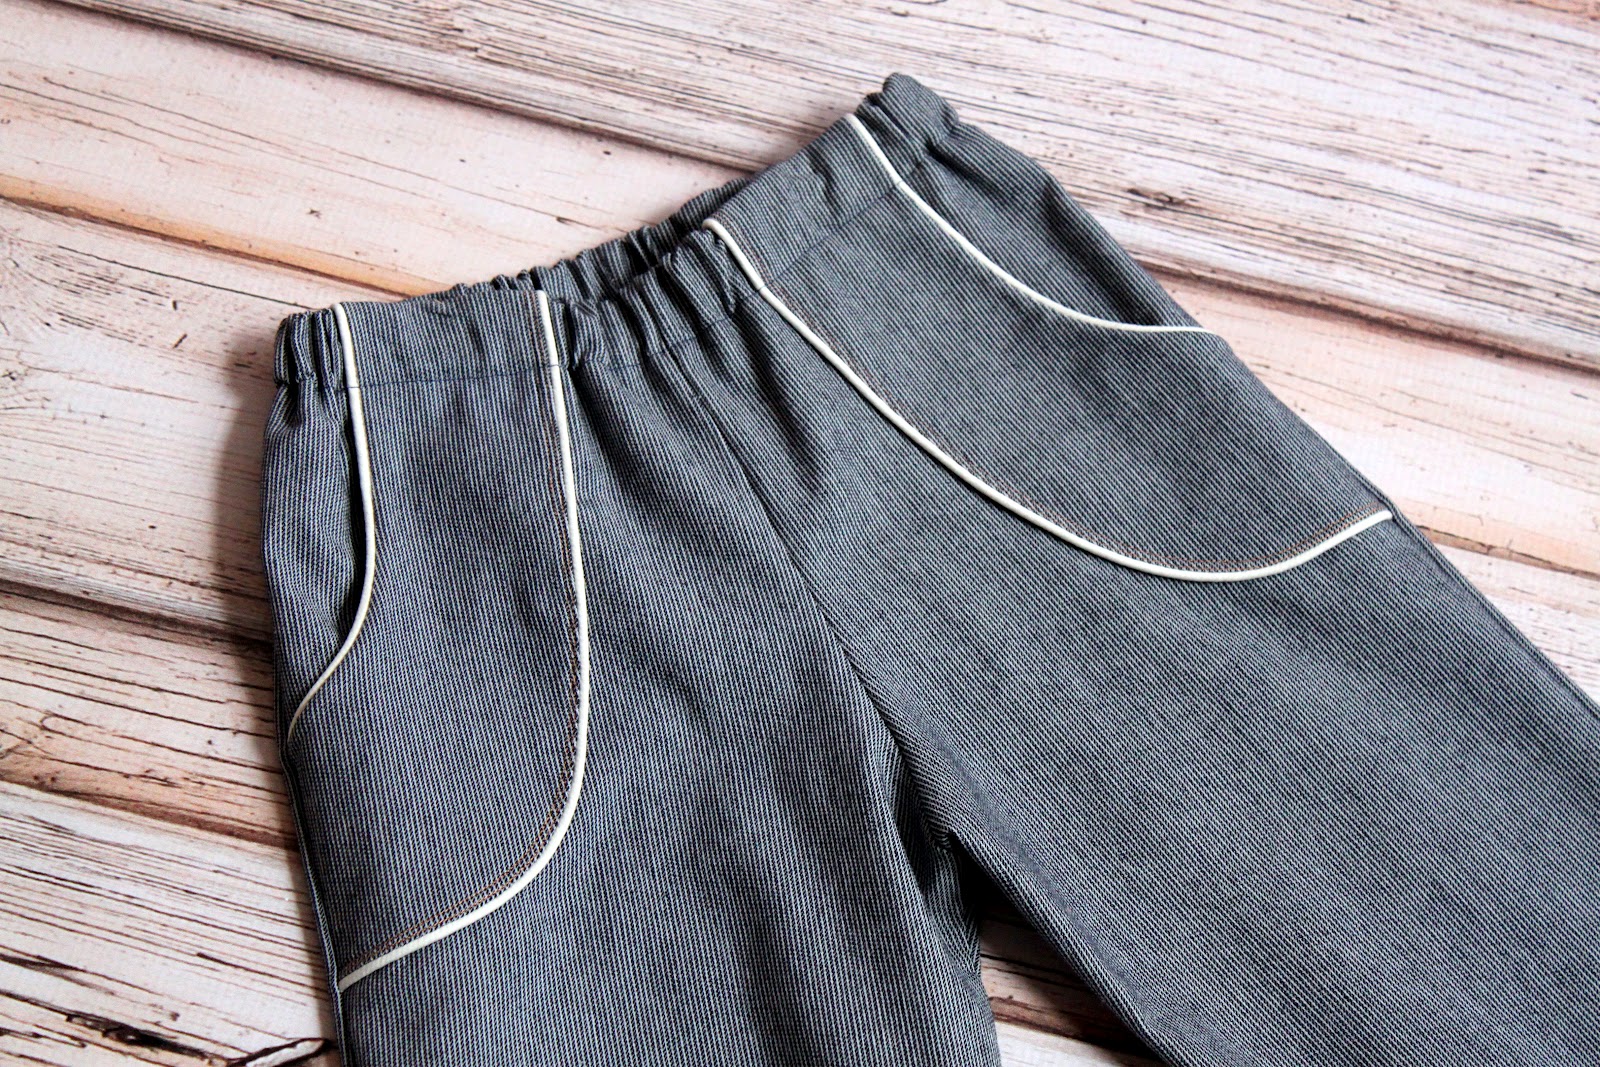
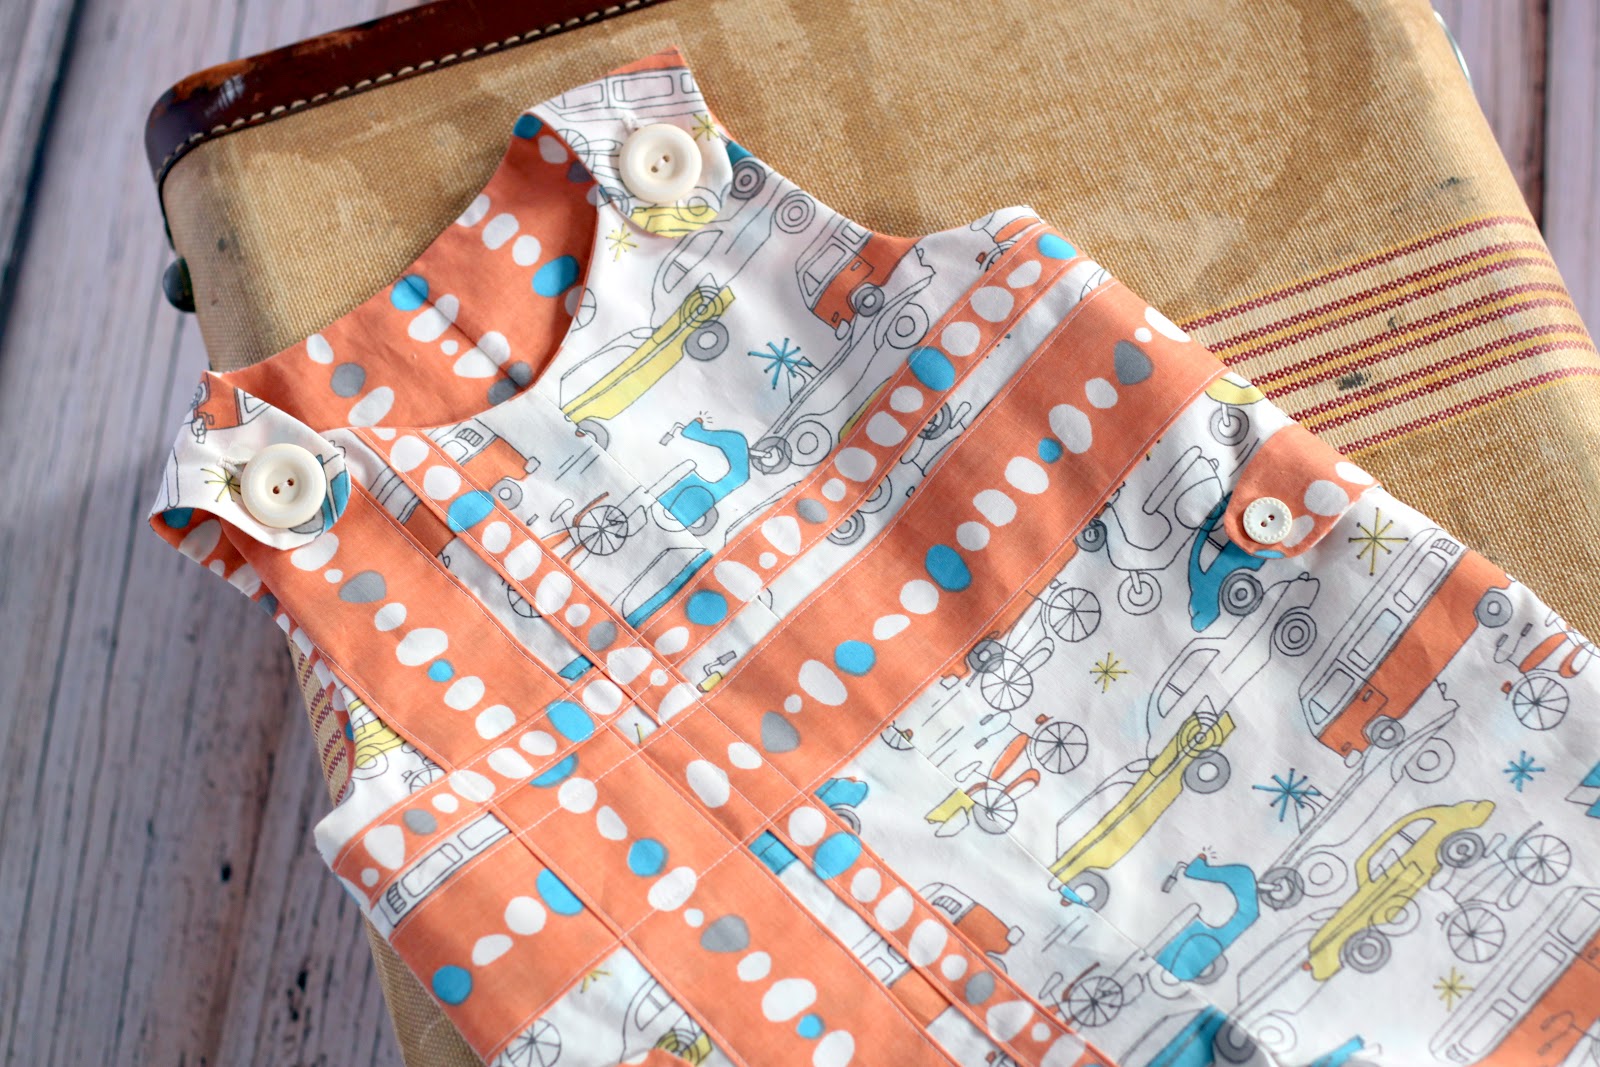
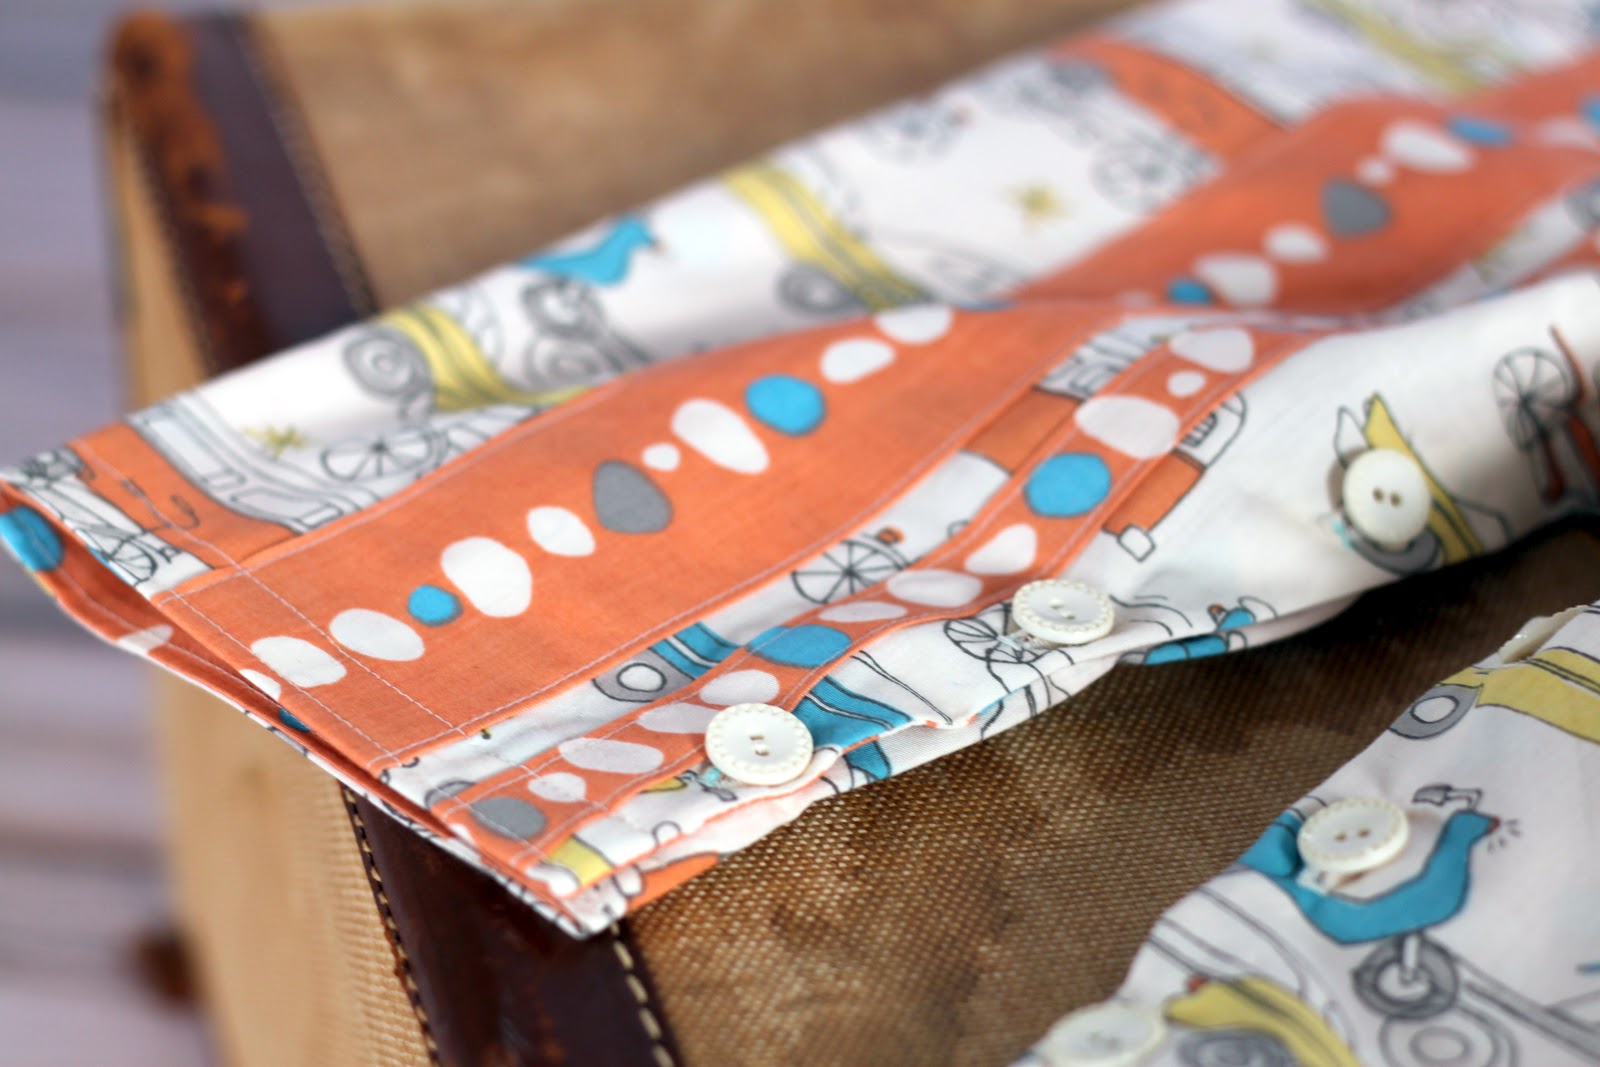
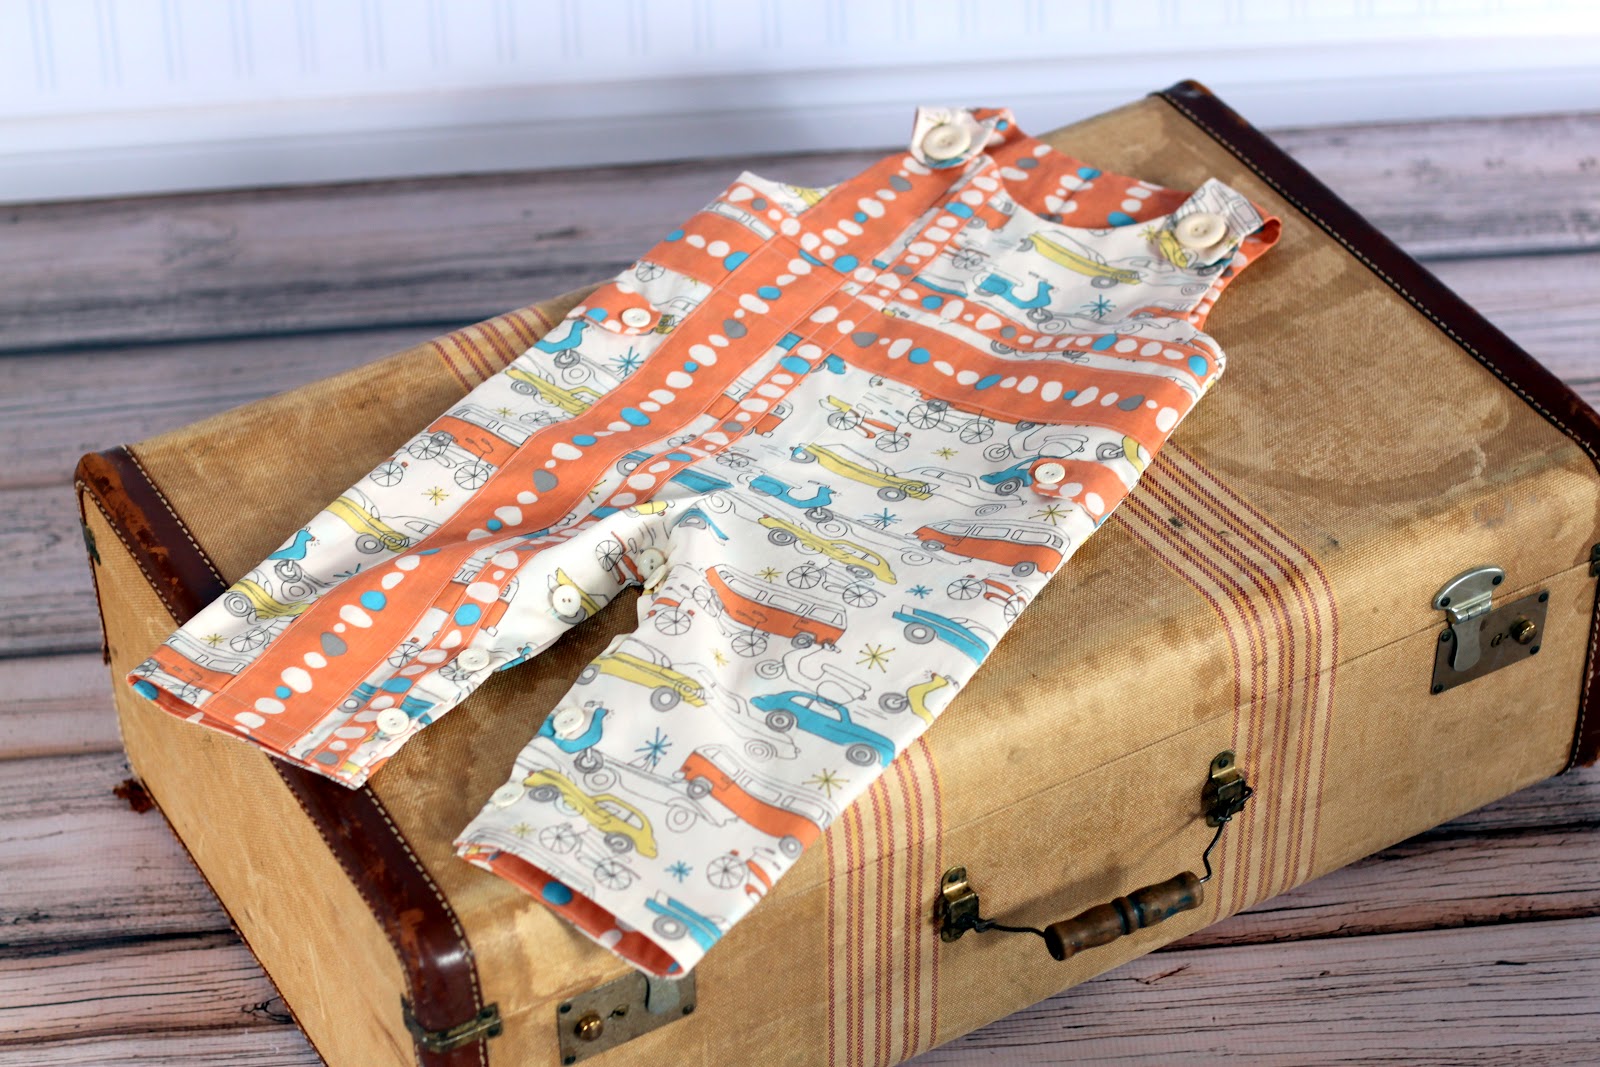
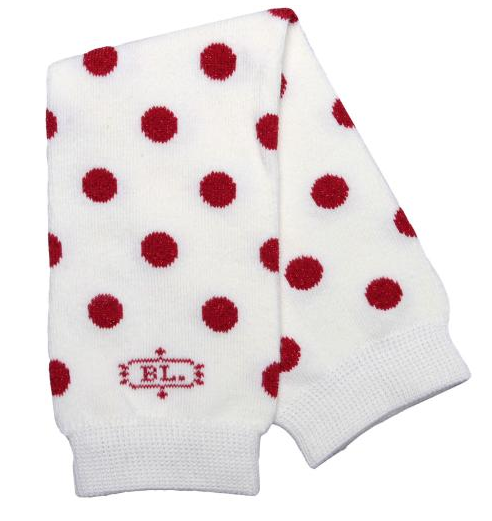
Wide Leg Boys Pants – Size 4/5

These were a boys pant pattern that I drafted.  It will not be one of the next patterns that are released as there are a few things I will probably tweak, but they were really fun to make.  They are made from a thin blue and white striped stretch denim and are trimmed with a fun orange bike fabric from ‘Children at Play‘ by Sarah Jane Studios.
And here are a couple other fun dresses that I created from my ‘Shortcake Reversible Romper and Dress‘ pattern:
Fabric is ‘Sweet on NYC’ by Sugar Pixie for Timeless Treasures
This is the dress version of the ‘Shortcake‘ pattern where I added a double ruffle down the front.  Adding the ruffle makes it not able to be reversed, but it’s still fully lined which is really nice.
Fabric is ‘Sweet on NYC’ by Sugar Pixie for Timeless Treasures
This is also the dress version of the ‘Shortcake‘ pattern with the optional rick rack trim at the bottom.  I think this fabric is so fun and funky and the lining is red with little pink flowers.
So this last week has been a little crazy, but I feel like I got so much accomplished.  I’m feeling so much more centered having finally decided to add a little help around here.  There are a few other projects in the works that I’m not quite ready to reveal (and no, none of them involve another baby).
I’ve got a lot of projects to work on coming up in the next couple weeks, but this week I will be focused on designing Miss Savannah’s orange party dress for her orange birthday party!  I can’t believe my baby is going to be turning 4.
I hope you all have a wonderful week ahead and thanks so much for reading The Cottage Home!

Inexpensive Wall Art ~ Decorating with Paper

I love when I find a great print that can bring an entire room together.  Usually I’m looking for it in the form of fabric, but when I can’t find exactly what I want, sometimes I have to turn to other sources ~ like paper.

Several months back I was shopping at my local Home Goods store and as I was going to check out this fabulous wrapping paper caught my eye.  You know how much I love patterned fabric so it was no surprise that I was drawn into this bold wrapping paper.  I needed some wrapping paper for a wedding shower gift, so I picked it up and it said $3.99 and I said ‘sold!’.  Well, I wasn’t even paying much attention, but when I got it home I noticed that is was Vera Bradley wrapping paper.  No wonder I liked it, I love her designs!

I used this wrapping paper to wrap of the wedding shower gift and then had quite a bit leftover.  I noticed that it actually picked up quite a few different colors that I have going on around our house, especially in the family room.  So I pulled two frames off the wall that were needing an update, cut the wrapping paper to size and framed them. 

Instant wall art ~ how great is that?  And inexpensive, to boot!

Here is a little corner of our family room with the two framed pieces of wrapping paper.  In addition to wrapping paper, think about framing fabric, wall paper or sheet music as well.  It’s an easy update that can really bring a room together.  And if you get tired of it, no biggie, just change it out and move on to something new that you love.

Above is a picture of our bedroom, where I simply framed two squares of fabric to tie the room together.  Another easy, inexpensive wall art project.  Definitely a great bang for your buck!

Guest Blogging at Project Run and Play: Creating a Signature Style

Today I’m guest blogging over at Project Run and Play discussing how to ‘Create a Signature Style‘.  If you’ve never checked out Project Run and Play, you must!  Think Project Runway for children’s clothing.  I was lucky enough to compete in Season 1 and I’m so excited to be back.  The blog has under-gone quite the transformation since the amazing Elizabeth and Liz of Simple Simon & Co. have taken it over this last season.
If you get a moment, come on over and say hello.
(Click HERE)
Have a great day!

Savannah’s Orange Birthday Party ~ The Invitation

Miss Savannah has a real thing for orange at the moment.  It’s her absolute favorite color.  Who knew she would be so en-vogue with her color selection? Seeing as though ‘Tangerine Tango‘ is one of the Pantone Colors of the Year she is staying right ahead of the current trends.  Just kidding……she obviously doesn’t have a clue about that, but I just thought it was kind of funny.

Anyway, Miss S. is crazy for orange, so she decided she wanted an orange birthday party this year.  What does that mean?  It means that everything is going to be orange ~ the food, drink, candy, flowers, balloons, her birthday outfit, the guests attire, the invitations and if she has her way, her fingernails too!  If you hang with us over on The Cottage Mama Facebook page, then you know that I wasn’t sure about this theme at first, but now I’m really excited about it.  I can’t wait to start designing her orange party outfit!

The invitations went out this last week and I designed them in Picnik.  I was going to show you all exactly how to make something like this of your very own, but since Picnik has decided to close, I’ll have to wait and show you in a different program (once I decide my favorite alternative).

Here are Savannah’s orange birthday invitations:

On the backside of the invitation I included a recent picture that I took of the birthday girl.  I know invitations usually get thrown away right after the party, so I thought some of our family members could enjoy it a little longer with the picture on the back.

I had these invitations printed through VistaPrint.  I really love this site for inexpensive custom printing options. I print a lot of my business pieces for The Cottage Mama through them such as business cards, postcards, stickers, return address labels, ect.  I’ve had really good luck with this company.  Our Christmas cards had a little bit of a printing issue, but they fixed the printing problem and rushed delivered them several days later, no questions asked.

VistaPrint allows you to upload your own custom design which is great or you can use one of the many templates they provide.  You can design your cards or printed material in any program that you have (i.e. Photoshop, I-photo, Picasa, Picnik) and then just upload it to the site.  The thing you will want to keep in mind is to make sure you’ve resized your design to fit whatever size card you are printing.  Savannah’s birthday invitation was designed to be printed on a 5 x 7 postcard.

So, here is a blank version of the invite I designed for Savannah’s party in case you want to throw your very own orange party.  You can save the picture to your computer or you can head over to Google Docs where I’ve uploaded it and grab it HERE.  Just pull the invite into any program you have and add your text.  If you decide to bring it into Microsoft Word then you will need to add a text box on top of the picture to add your text.

I’m looking forward to sharing more details about the party as they unfold.  
Have you ever thrown a color-themed party?  
If so, I’d love to hear about it!

Happy Day Big Bow Dress ~ Pattern and Tutorial

Today I’m excited to share my tutorial for the ‘Happy Day Big Bow Dress’ with all of you.  I created two coordinating sister looks from this gorgeous fabric (see previous post here) – ‘Sunny Happy Skies’ by Riley Blake Designs.  The big bow dress is an easy, beginner sewing project that makes a big statement with the over-sized pocket and bow.  Yes, there are two button holes, but trust me, you can handle it!

Make this dress for any holiday by changing up the fabric.  The dress can also be layered with long-sleeves and tights for the colder weather months.  Let’s get started…….

[Read more…]

Sponsored BabyLegs Giveaway: FiFi Ruffles

We’ve got another great new blog sponsor that has joined the crew here at The Cottage Home, please welcome the children’s apparel website, FiFi Ruffles!
A little bit from the owner of FiFi Ruffles……

Hi, I am Kim Woitkowski, owner and founder of FIFi Ruffles. I am a mother of four and recently welcomed our first daughter 11 short months ago. Our first three children are “grown boys”, ages 18 thru 24. Growing up I was never a “girly girl”, however in my adulthood I began to adore little girls clothing and would find myself browsing those sections in the stores years before we decided to have another child. Once we knew we wanted another child we hoped and prayed for a girl! To our amazement we were blessed by the prettiest, sweetest  and pleasant little girl, Sophia (aka FiFi). 
 During my pregnancy my husband and I went shopping (and LOTS of window shopping as well!) in search of the most adorable and unique clothing we could find. As you could imagine, we had been out of the loop on the little ones clothing scene for quite some time and let’s face it…when the boys were growing up the internet was just coming of age and there weren’t very many options for adorable clothing for them. We quickly realized we both loved little girl clothing and would get excited for every new find! We fell in love with Mud Pie Baby (along with many others). 
 At the same time I returned to work and realized a few months ago that I wanted to be home with my little girl and finally take the leap in business ownership (YIKES!). With this venture and inspiration from my daughter, we not only started the business but I have begun sewing and making my own little creations! I aspire to create our own clothing line someday and open our own little boutique. I am blessed to have finally found a “job” that I truly enjoy.    
We are estatic that our family has ventured down this path and hope to place smiles little girls’ faces when they wear the clothing we offer. After all, wearing anything that ruffles is sure to make you feel like a princess! We strive to offer the LOWEST price on Mud Pie Baby Products, in return, brining smiles to Mommy and Daddy’s face as well!!
 Today Kim is giving away a 3 pairs of BabyLegs Winter Collection Leg Warmers to one lucky The Cottage Home blog reader.  The winner will be able to select any three pairs that they would like from the selection here.  
I owned about 6-8 pairs of BabyLegs when Savannah and Matilda were itty bitty and I absolutely adored them.  So incredibly cute, yet so useful for easy diaper changes and protecting knees for early crawlers.
Here’s how to enter to win a set of three pairs of BabyLegs (one entry per person):
1) Like the FiFi Ruffles Facebook Fan Page and make sure to let Kim know that ‘The Cottage Mama sent me!’ (click here).
The winner will be selected a little differently this time…….  
Kim will hold an old fashioned raffle to determine the winner.  All entries will be placed in a hat and FiFi (Kim’s daughter pictured below) will draw the winner.  A video of the drawing will be placed on the FiFi Ruffles Facebook Fan Page.  Kind of fun, huh?
Here’s a picture of little Miss ‘FiFi’ who will be selecting the winner:
Giveaway open until Saturday, February, 11, 2012 at midnight (CST).
If you are interested in becoming a sponsor of The Cottage Home blog, please email Lindsay at thecottagemama[at]gmail[dot]com for rates and additional information.

Guest Blogging ~ Riley Blake Designs ~ Tulip Petal Sun Hat Pattern and Tutorial

Cutting Corners with Riley Blake Designs

Today I am guest blogging over on Riley Blake Designs ‘Cutting Corners’ blog.
I’m sharing a free pattern and tutorial for this hat:  
This post is actually non-design team related as we had already scheduled this before the design team came about.  So I will have another tutorial up for the design team next month too!
If you want to make your very own ‘Tulip Petal Sun Hat’ click over and visit Riley Blake Designs ‘Cutting Corners’.  
Click HERE to view the tutorial and print your pattern!

‘Sunny Happy Skies’ ~ Coordinating Sister Dresses

So, as I mentioned about a month ago, I’m currently working with Riley Blake Designs on their Project Design Team.  And what is really fun about this new adventure is getting to work with lots of pretty new fabric to come up with projects for their blog.  Well, I happened to receive quite a bit more yardage of ‘Sunny Happy Skies’, so I decided to create two coordinating looks for my girls.

The hat will be a free pattern and tutorial that I will have posted on the Riley Blake Designs ‘Cutting Corners‘ blog tomorrow and the big bow dress will be a free pattern and tutorial that I will post here on the blog for you all later this week!

Here’s the dress I created for Miss Savannah:

I wanted to make her something that was loose-fitting and comfy for running around and playing, but still had a bit of whimsy.

I thought about adding rick rack in the collar, but opted for pale yellow piping instead due to the bold print in the main fabric.

I decided to do a zipper in the back of this dress.  I usually prefer buttons, but I had the urge to do a zipper since it had been awhile since I had put one in a dress.  The verdict………I still prefer buttons.

Here’s the dress I created for Miss Matilda (I will share the tutorial for this dress later in the week):

I wanted something really fun for Matilda since she is at such a fun age.  I went with a giant over-sized pocket that I embroidered with ‘Oh Happy Day’ and trimmed with rick rack.  I also created a large statement bow for the front of this dress.

I love the huge bow in the front of this dress.  And I especially love the fun, striped fabric.  Matilda’s favorite color is blue, so I went with that for the main body of the dress.  The straps are simply pre-gathered eyelet.

And finally, here are some pictures of my little ladies……..

So, later this week I will post a tutorial so you can make your own ‘Happy Day’ Big Bow Dress and tomorrow I will be posting a tutorial and free pattern for this hat on Riley Blake Designs:

I hope you all had a great weekend!  Now that I’ve got these two looks created, I’m off to cut my pattern for something for my little guy.  
Have a great week!

Winner, Winner!

And the winner of the Heartsong Quilts Fabric Bundle is………..

Congratulations, Cheryl!  If you could please email me at thecottagemama[at]gmail[dot]com with your contact information, we will get your fabric out to you as soon as possible.

Thank you so much to everyone who entered!
If you are interested in becoming a sponsor of The Cottage Home blog, please email Lindsay at thecottagemama[at]gmail[dot]com for rates and additional information.

Biscuit Corn Cakes with Goat Cheese and Blackberry-Thyme Sauce ~ Pillsbury Finalist Recipe

I know I’ve mentioned this before, but just in case you missed it, my mom (Grandma Jane) is one of the 100 finalists in the Pillsbury Bake-Off Contest coming up at the end of March.  All the finalists’ recipes have been made public, so I am thrilled to be able to share her recipe with you (it was a big secret until they officially published them).

Click here to read my original post about her becoming a finalist.

My little man (Caspian) and I will be flying to Orlando, FL next month to watch my mom compete.  We just found out this week that Martha Stewart will be announcing the $1 million dollar winner live on her show (oh, yeah, did I mention that the grand prize is $1 million buckaroos?!?!).  They will be setting up a set for her show in the lobby of the hotel where we are staying and announcing the winner from there ~ how cool is that?  She’ll also be walking the floor while the contestants compete.  Usually the bake-off contest airs on the Food Network, but we’ve yet to find out the date for that one.

Who is going to win is anyone’s guess.  All the top 100 recipes sound amazing…….I think it will totally depend on the judges tastes on the day of the competition.  But I have to tell you, I’ve tried Mom’s recipe and it is awesome!  She will compete in the brunch category and the flavor profile she has created is incredibly complex.  You have the savory biscuit corn cake, the creamy goat cheese, the tart lemon and blackberry-thyme sauce.  I’m making myself hungry just thinking about it!

So here’s her recipe if you would like to give it a try……..

Biscuit Corn Cakes with Goat Cheese and Blackberry-Thyme Sauce
Serves 5 
(2 corn cakes per person)

If you try the recipe, let me know, I’d love to hear what you think.  This would be so good for Easter brunch if you are looking for something a little different to serve.  Also, if you would like a printer-friendly version of the recipe, you can print from the Pillsbury website by clicking HERE.

I think my little man has a pretty good resemblance to the Pillsbury dough-boy these days, so he just may be sporting a little costume for the competition………you’ll just have to wait and see!