Last week we got word that my husband’s Grandma (Molly) was expected to pass away from pancreatic cancer. We ended up driving down to St. Louis in hopes of being able to say our final goodbyes (though we didn’t know if we would get there in time).
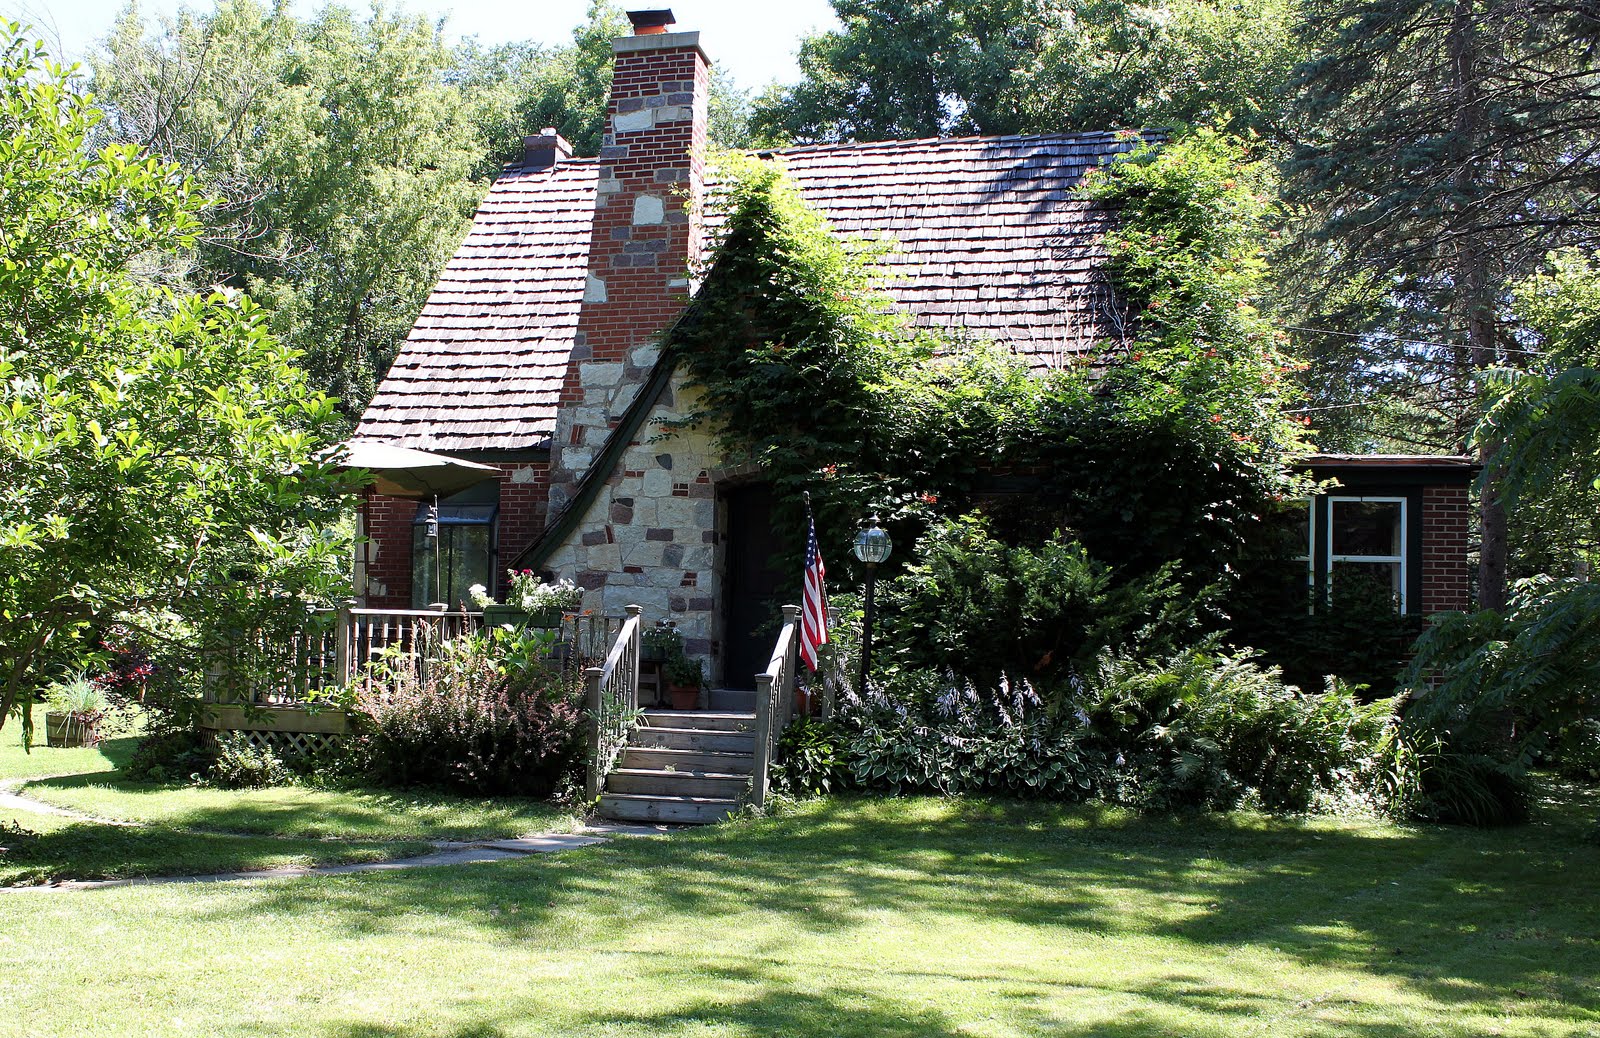
We arrived at Molly’s home in St. Louis at 4:30pm. Brett went quickly into the house to be by Molly’s side. They told Molly that Brett had arrived and she opened her eyes, for what we think was the last time, and reacted with a little smile.
The family sat by her bedside all day, holding her hand, talking to her, making little chit-chat. At the point that myself and the girls came to her side, she was no longer very responsive. So, I did what I could and sang to her – “Someone to Watch Over Me”.

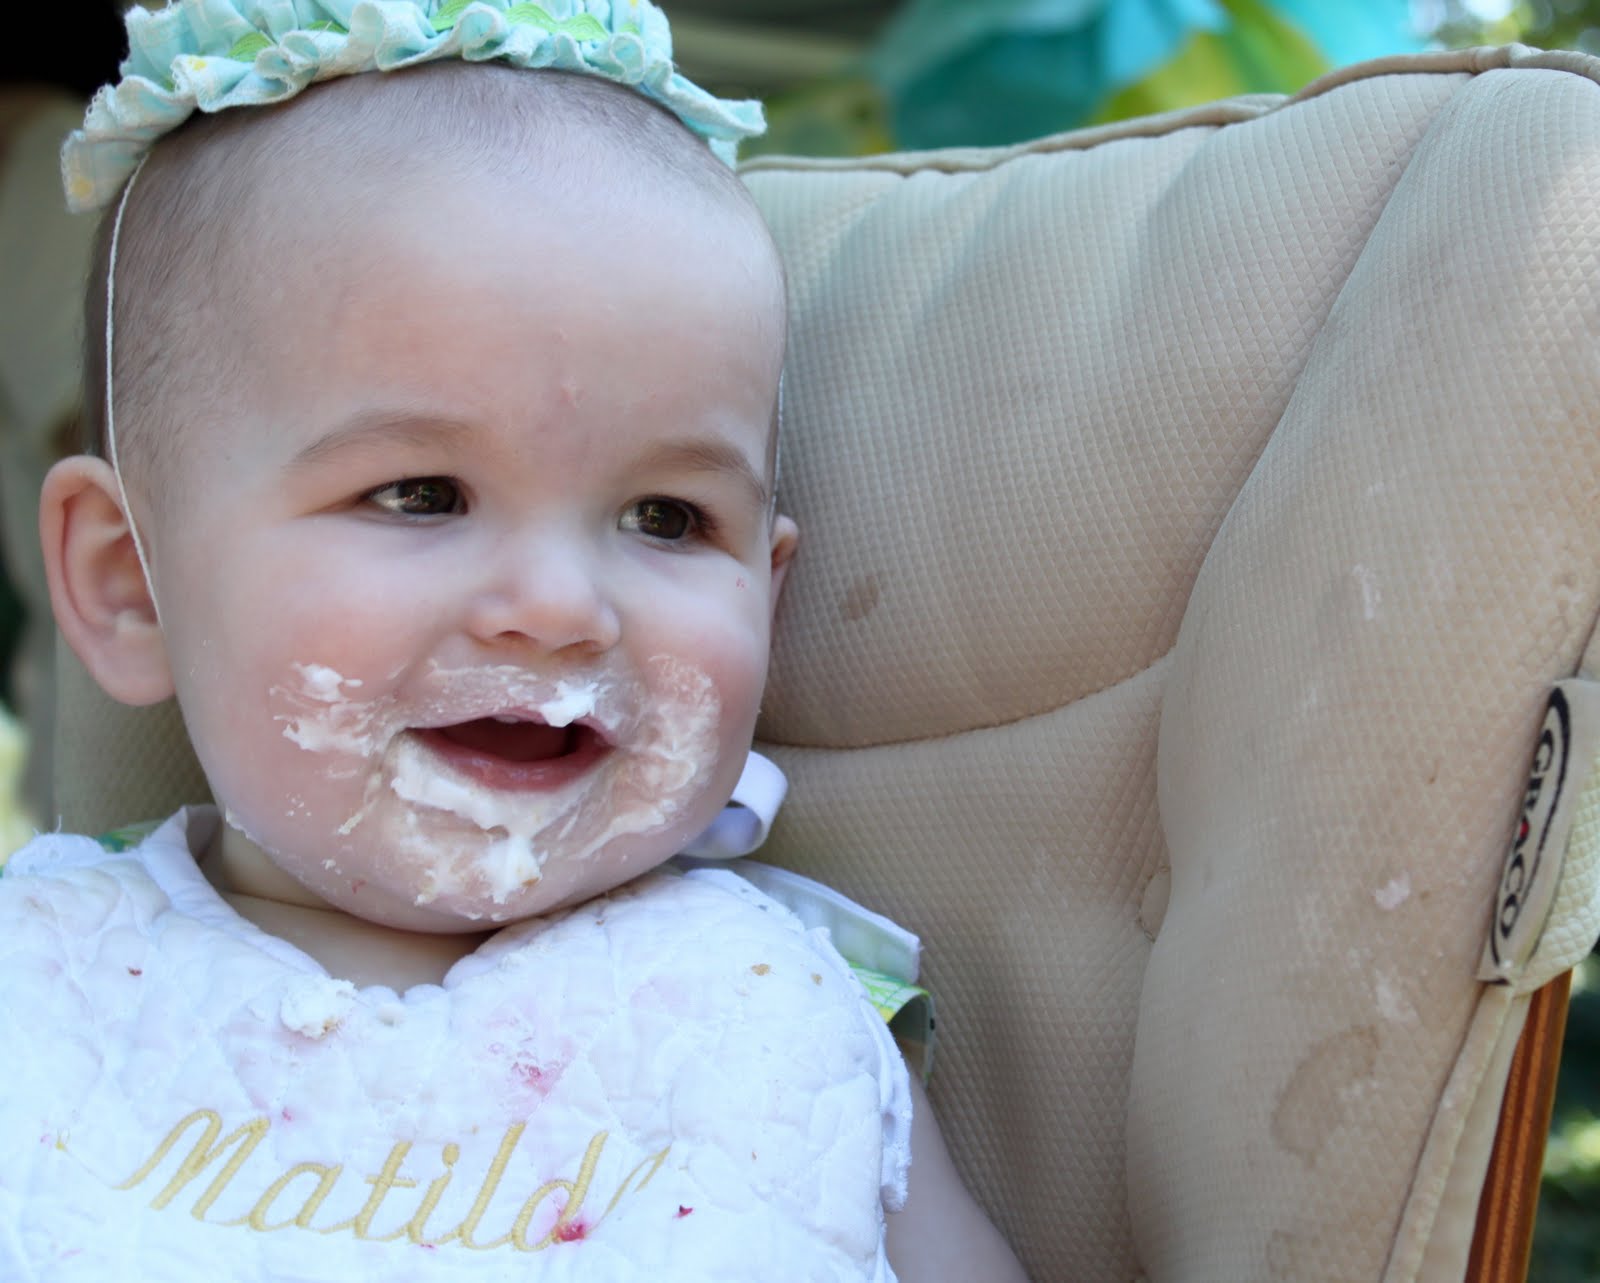
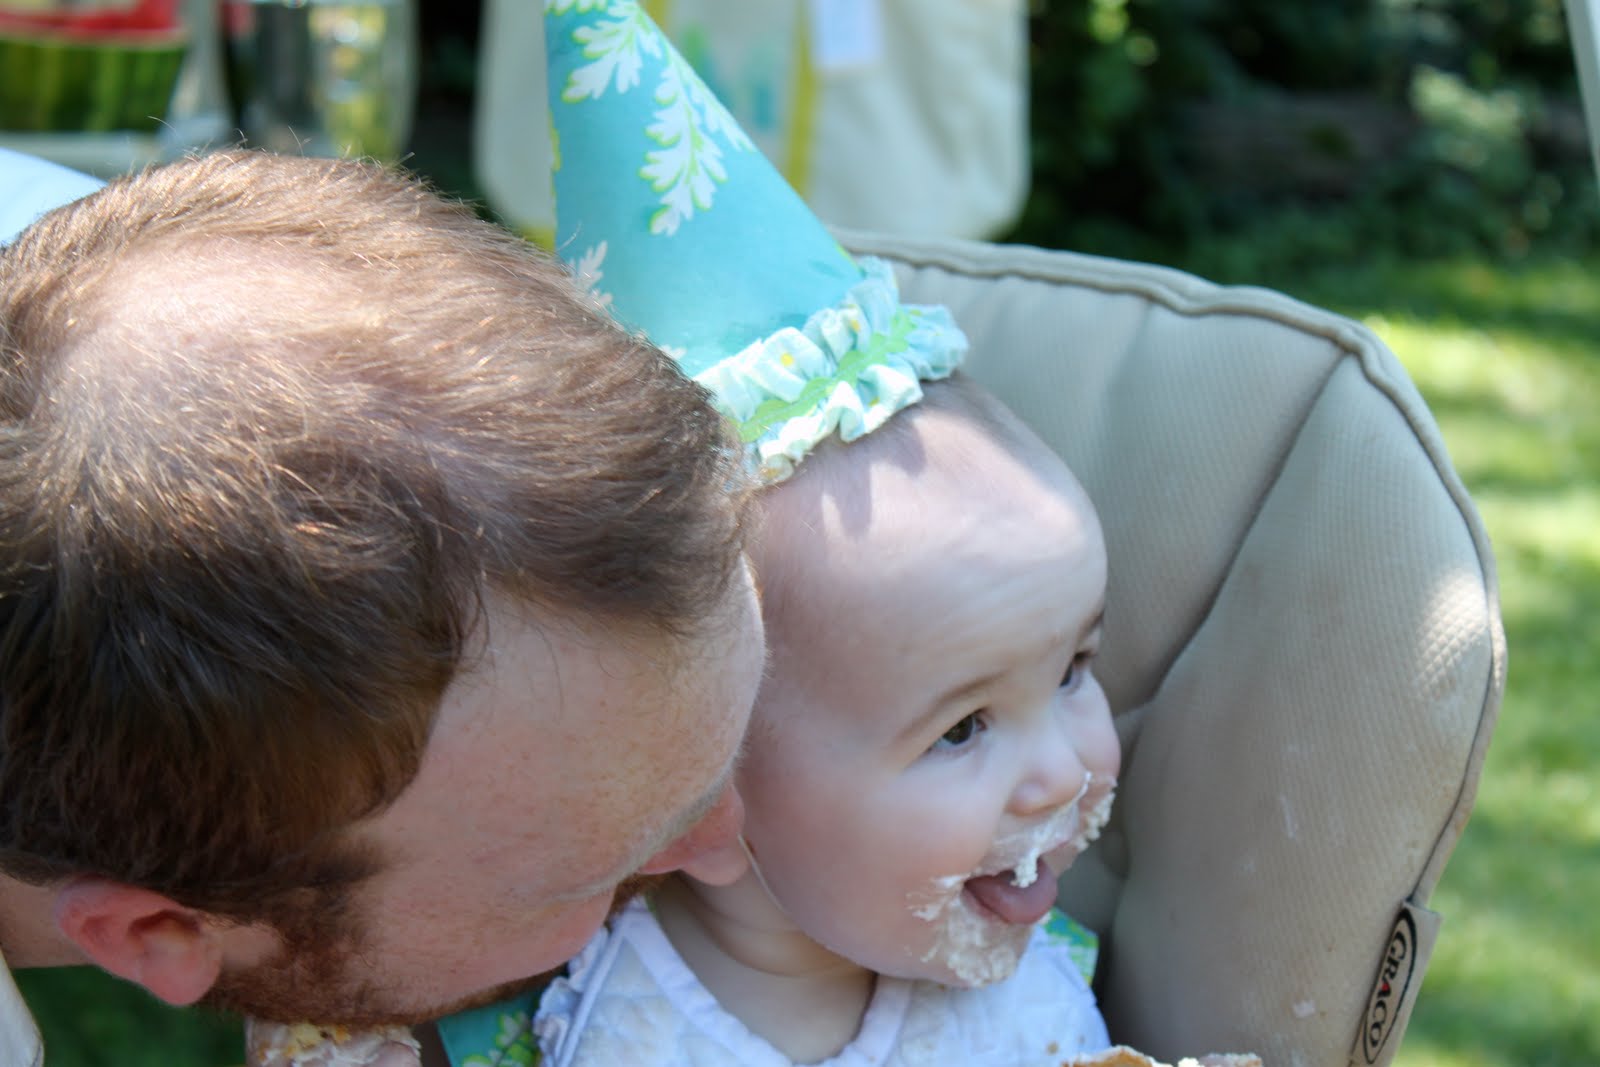
We left Molly’s home around 10:30pm and Molly took her final breath at 6:30am the next day. She was surrounded by her children and left us very comfortably and in no pain. God truly works in very mysterious ways. Molly passed away on July 8th, her husband (Bill) passed away 12 years prior on July 8th and our daughter Matilda (Molly’s great-granddaughter) turned 1 on July 8th.
The whole experience was very powerful and moving for me. And further strengthened my belief in our amazing and powerful Lord. To see all of the family surrounding Molly in her final hours and to see the love and care provided by her own children. I could only hope that in my final hours that I am surround by such wonderful family and love.

We had the wake on Sunday and the funeral on Monday. I was asked to sing several songs at the funeral and chose “You Are Mine” and “Amazing Grace”.
I will lift you from all your fear
You will hear My voice
I claim you as My choice
Be still, and know I am near
I am hope for all who are hopeless
I am eyes for all who long to see
In the shadows of the night,
I will be your light
Come and rest in Me
Do not be afraid, I am with you
I have called you each by name
Come and follow Me
I will bring you home
I love you and you are mine
I am strength for all the despairing
Healing for the ones who dwell in shame
All the blind will see, the lame will all run free
And all will know My name
I have called you each by name
Come and follow Me
I will bring you home
I love you and you are mine
I am the Word that leads all to freedom
I am the peace the world cannot give
I will call your name, embracing all your pain
Stand up, now, walk, and live
Do not be afraid, I am with you
I have called you each by name
Come and follow Me
I will bring you home


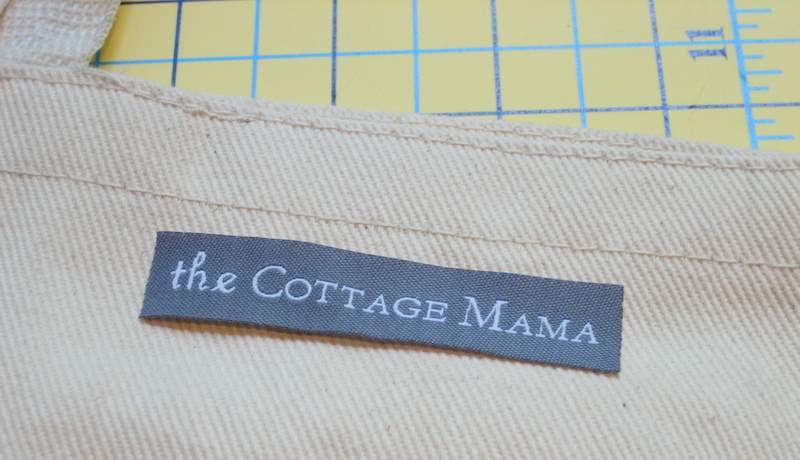


 Lindsay Wilkes is the owner and designer behind The Cottage Mama. She creates timeless, vintage inspired sewing patterns for children’s clothes. She is also a fabric designer for Riley Black Designers / Penny Rose Fabrics, author of the book ‘Sew Classic Clothes for Girls’ and can be seen teaching nationwide and online in her video series ‘Lessons with Lindsay’ sponsored by Baby Lock Sewing and Embroidery machines.


