
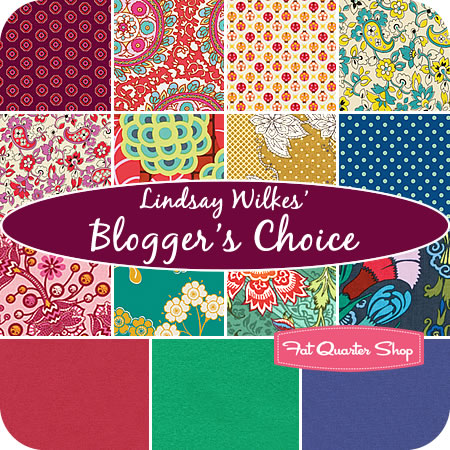
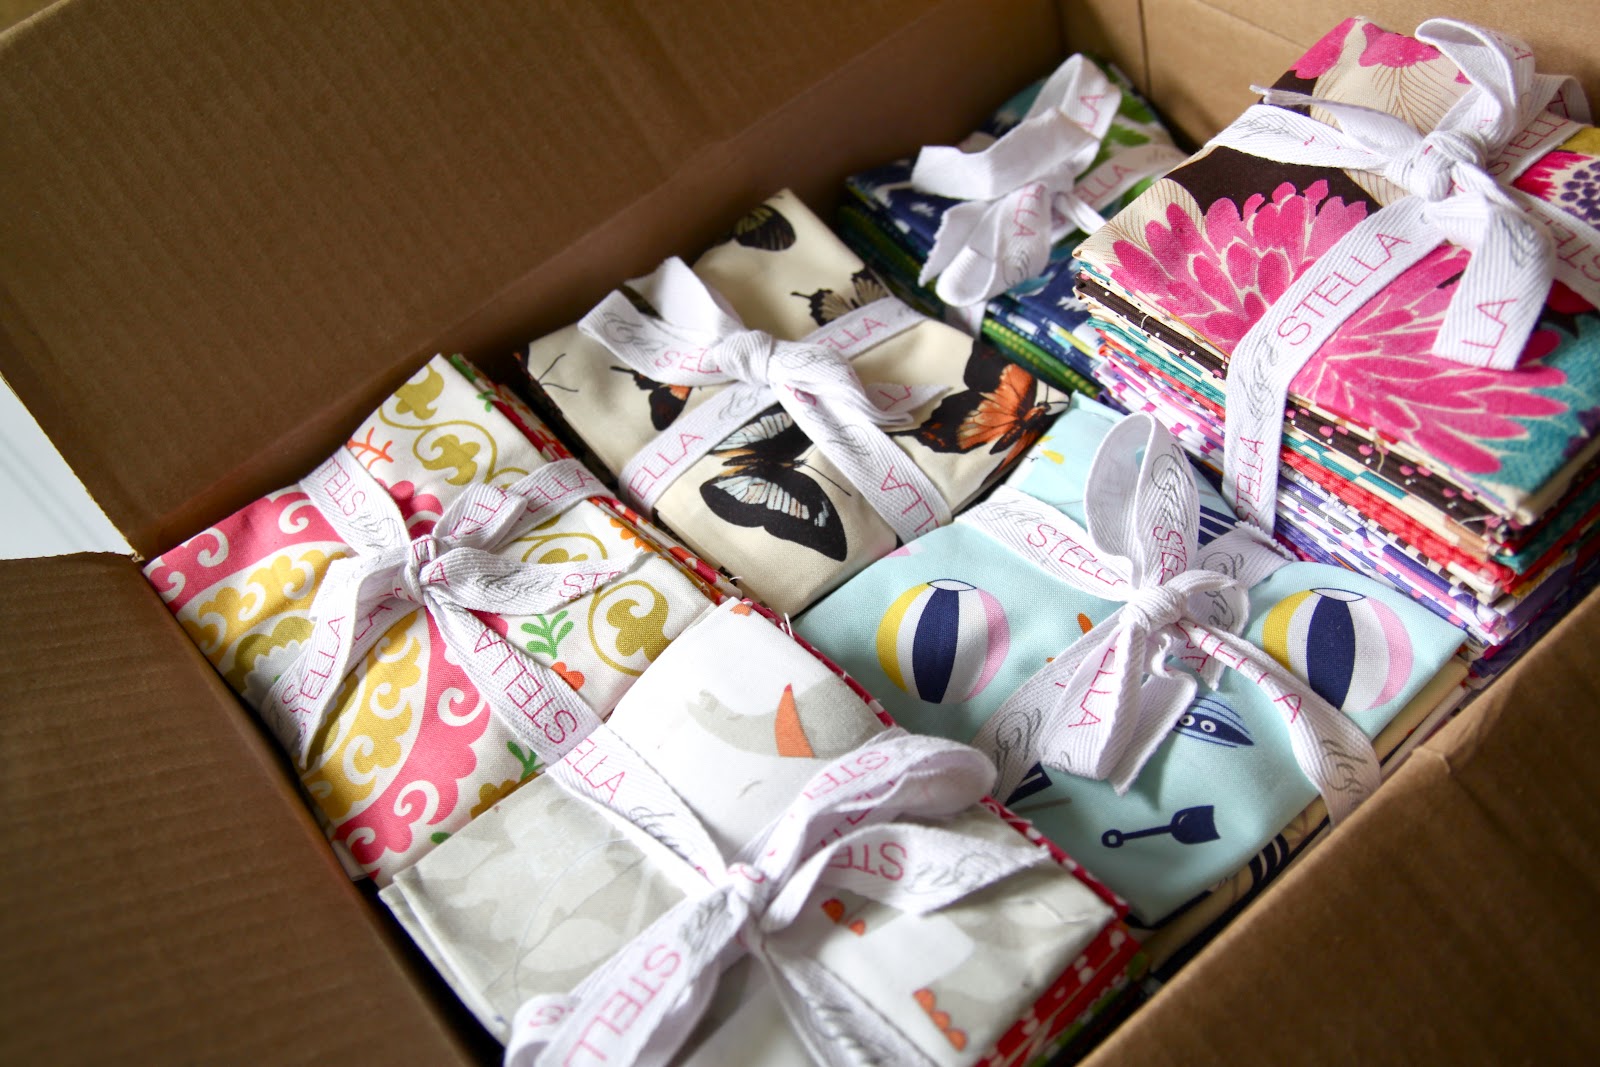
It has arrived! My Blogger’s Choice Fat Quarter Bundle is now available for purchase at the Fat Quarter Shop. I blogged about this several months back when I was selected to customize a bundle for the month of September. I’m still incredibly flattered that they asked me…….I am definitely in good company with some of the amazingly talented women who have put together bundles for them recently.
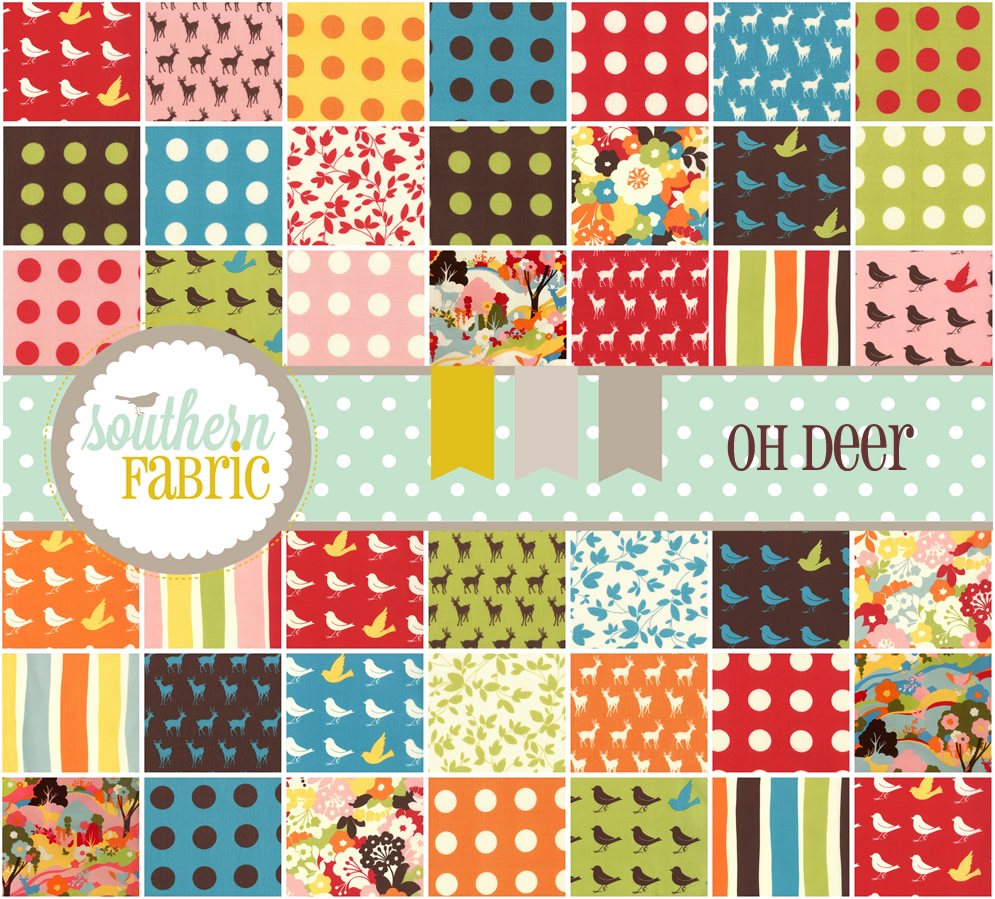
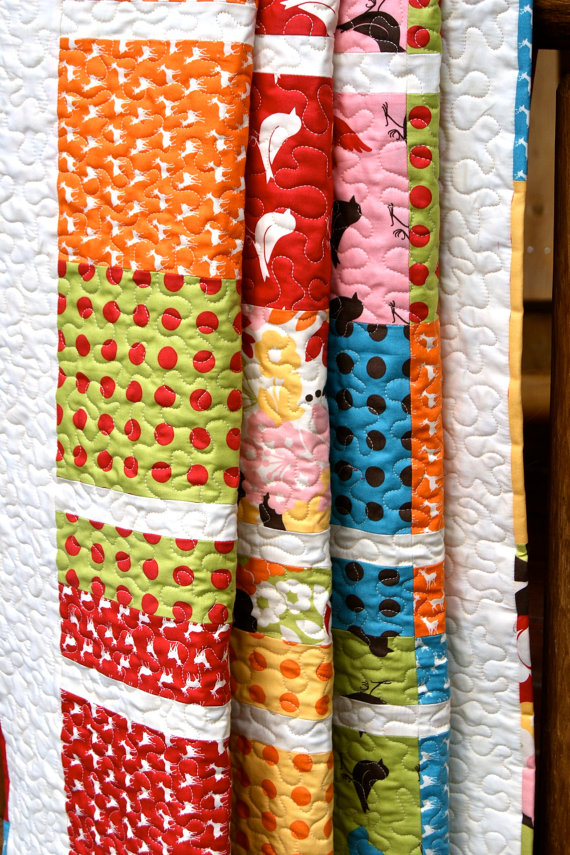
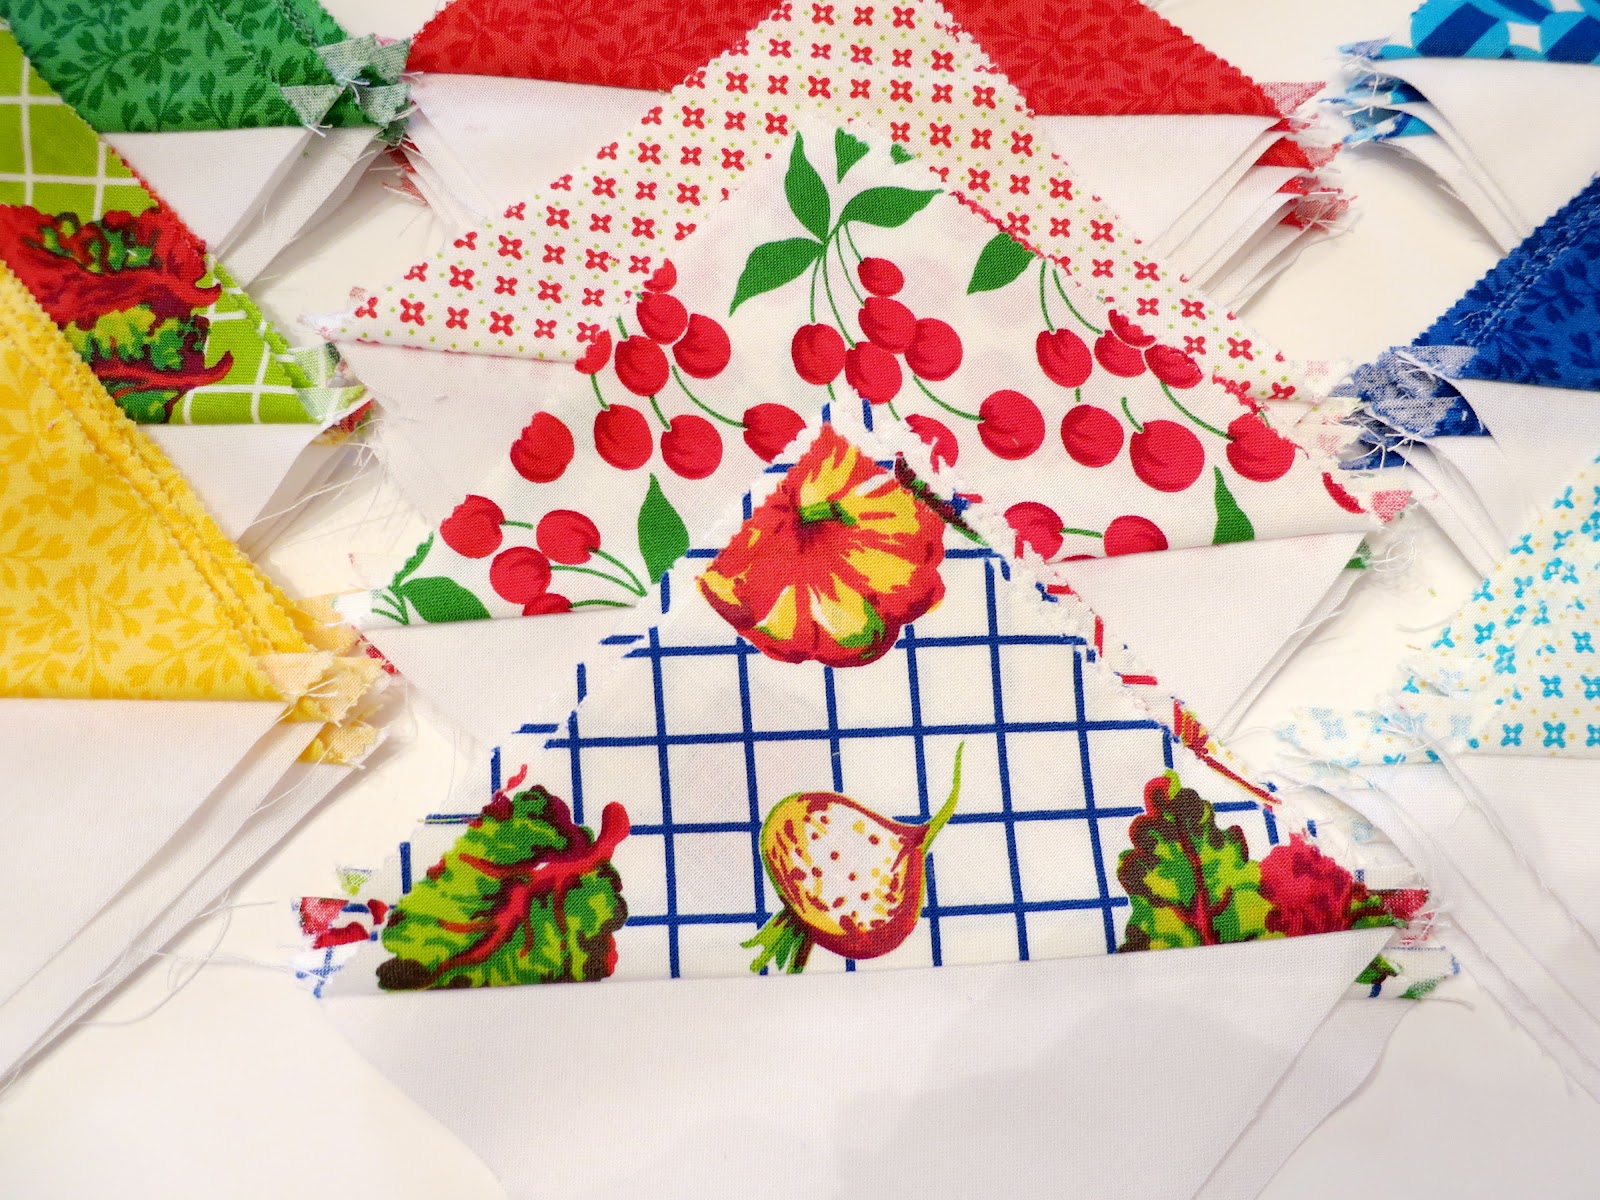
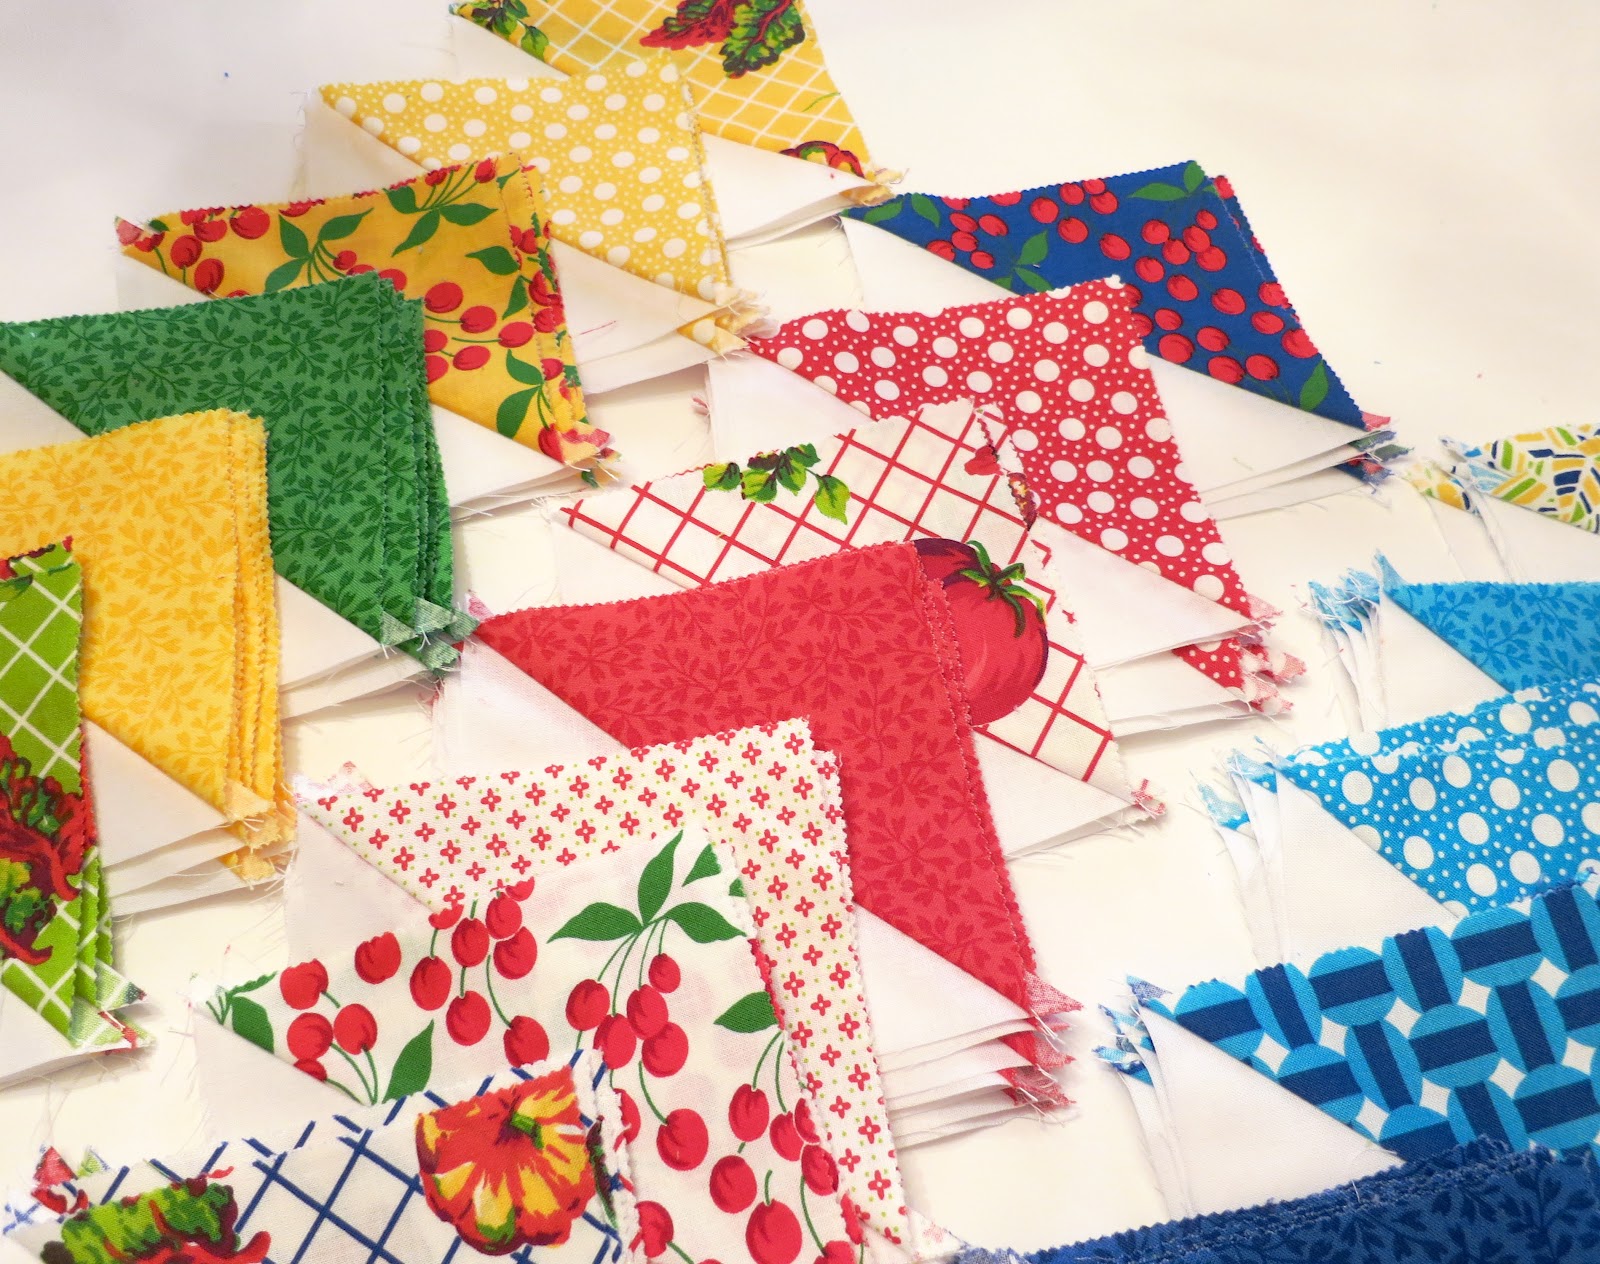
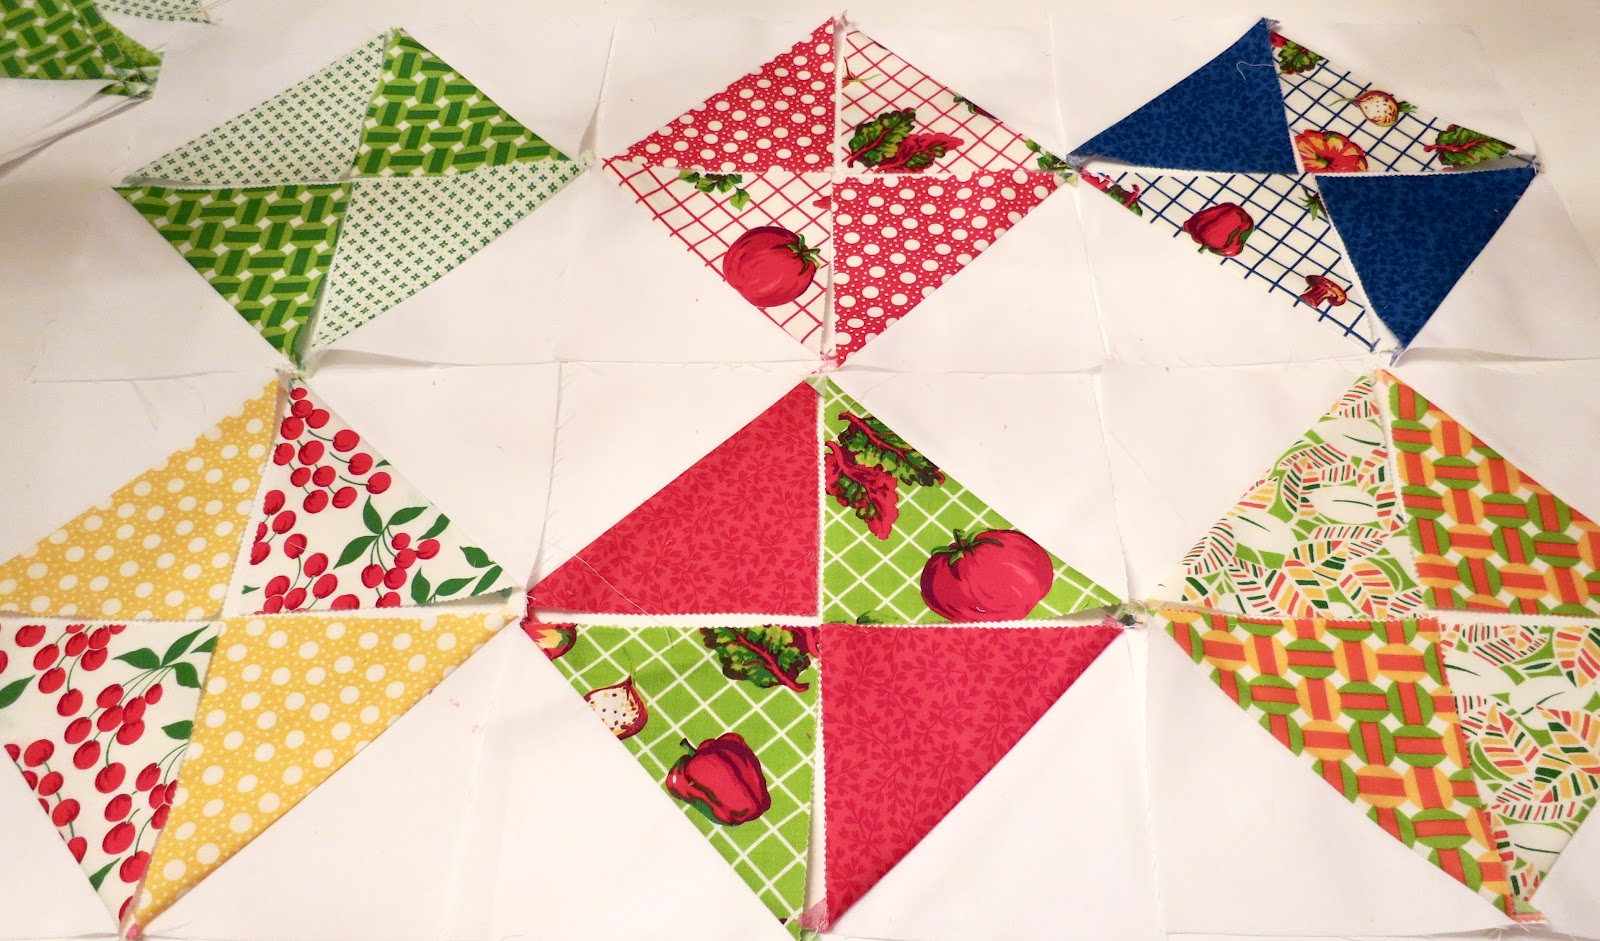
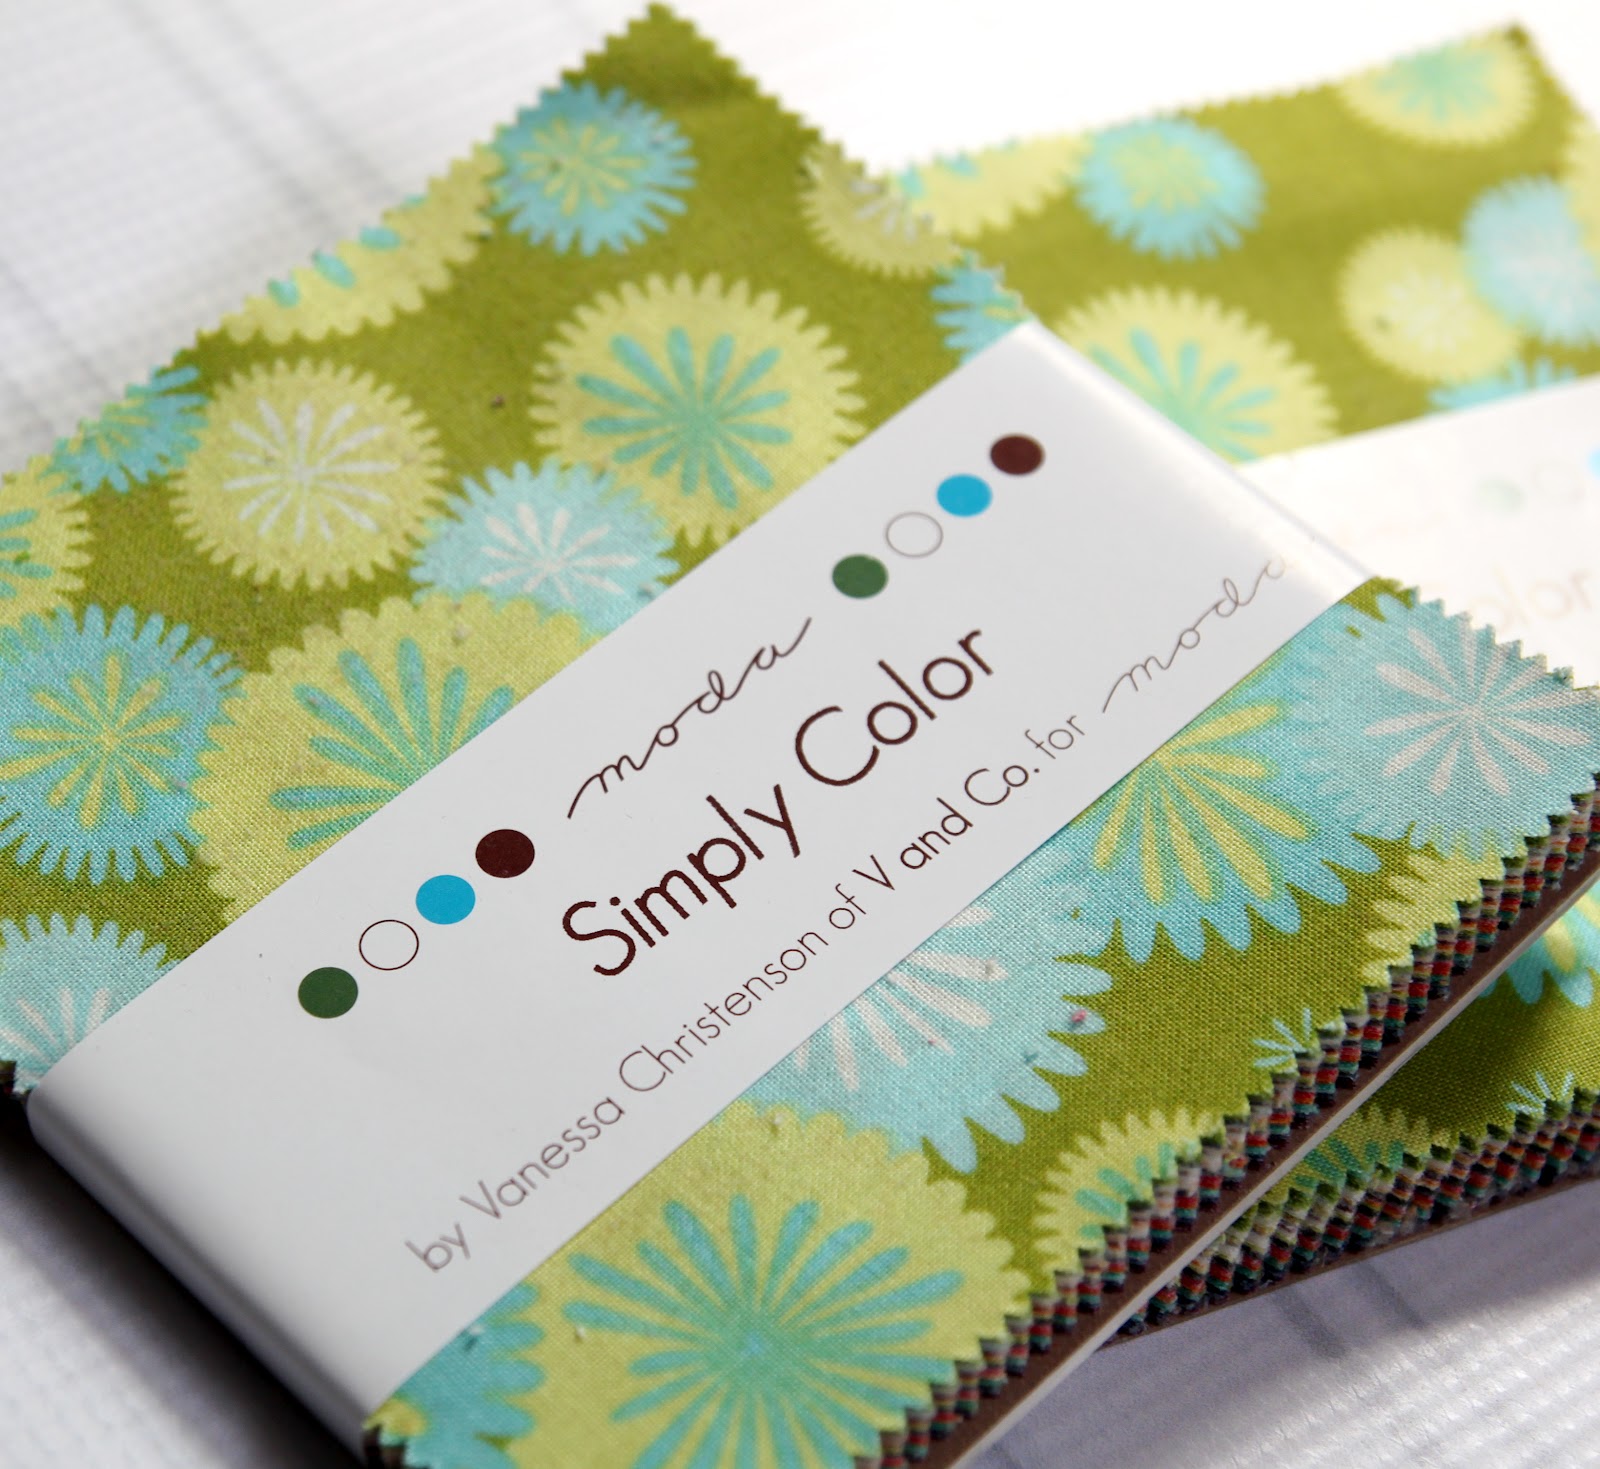
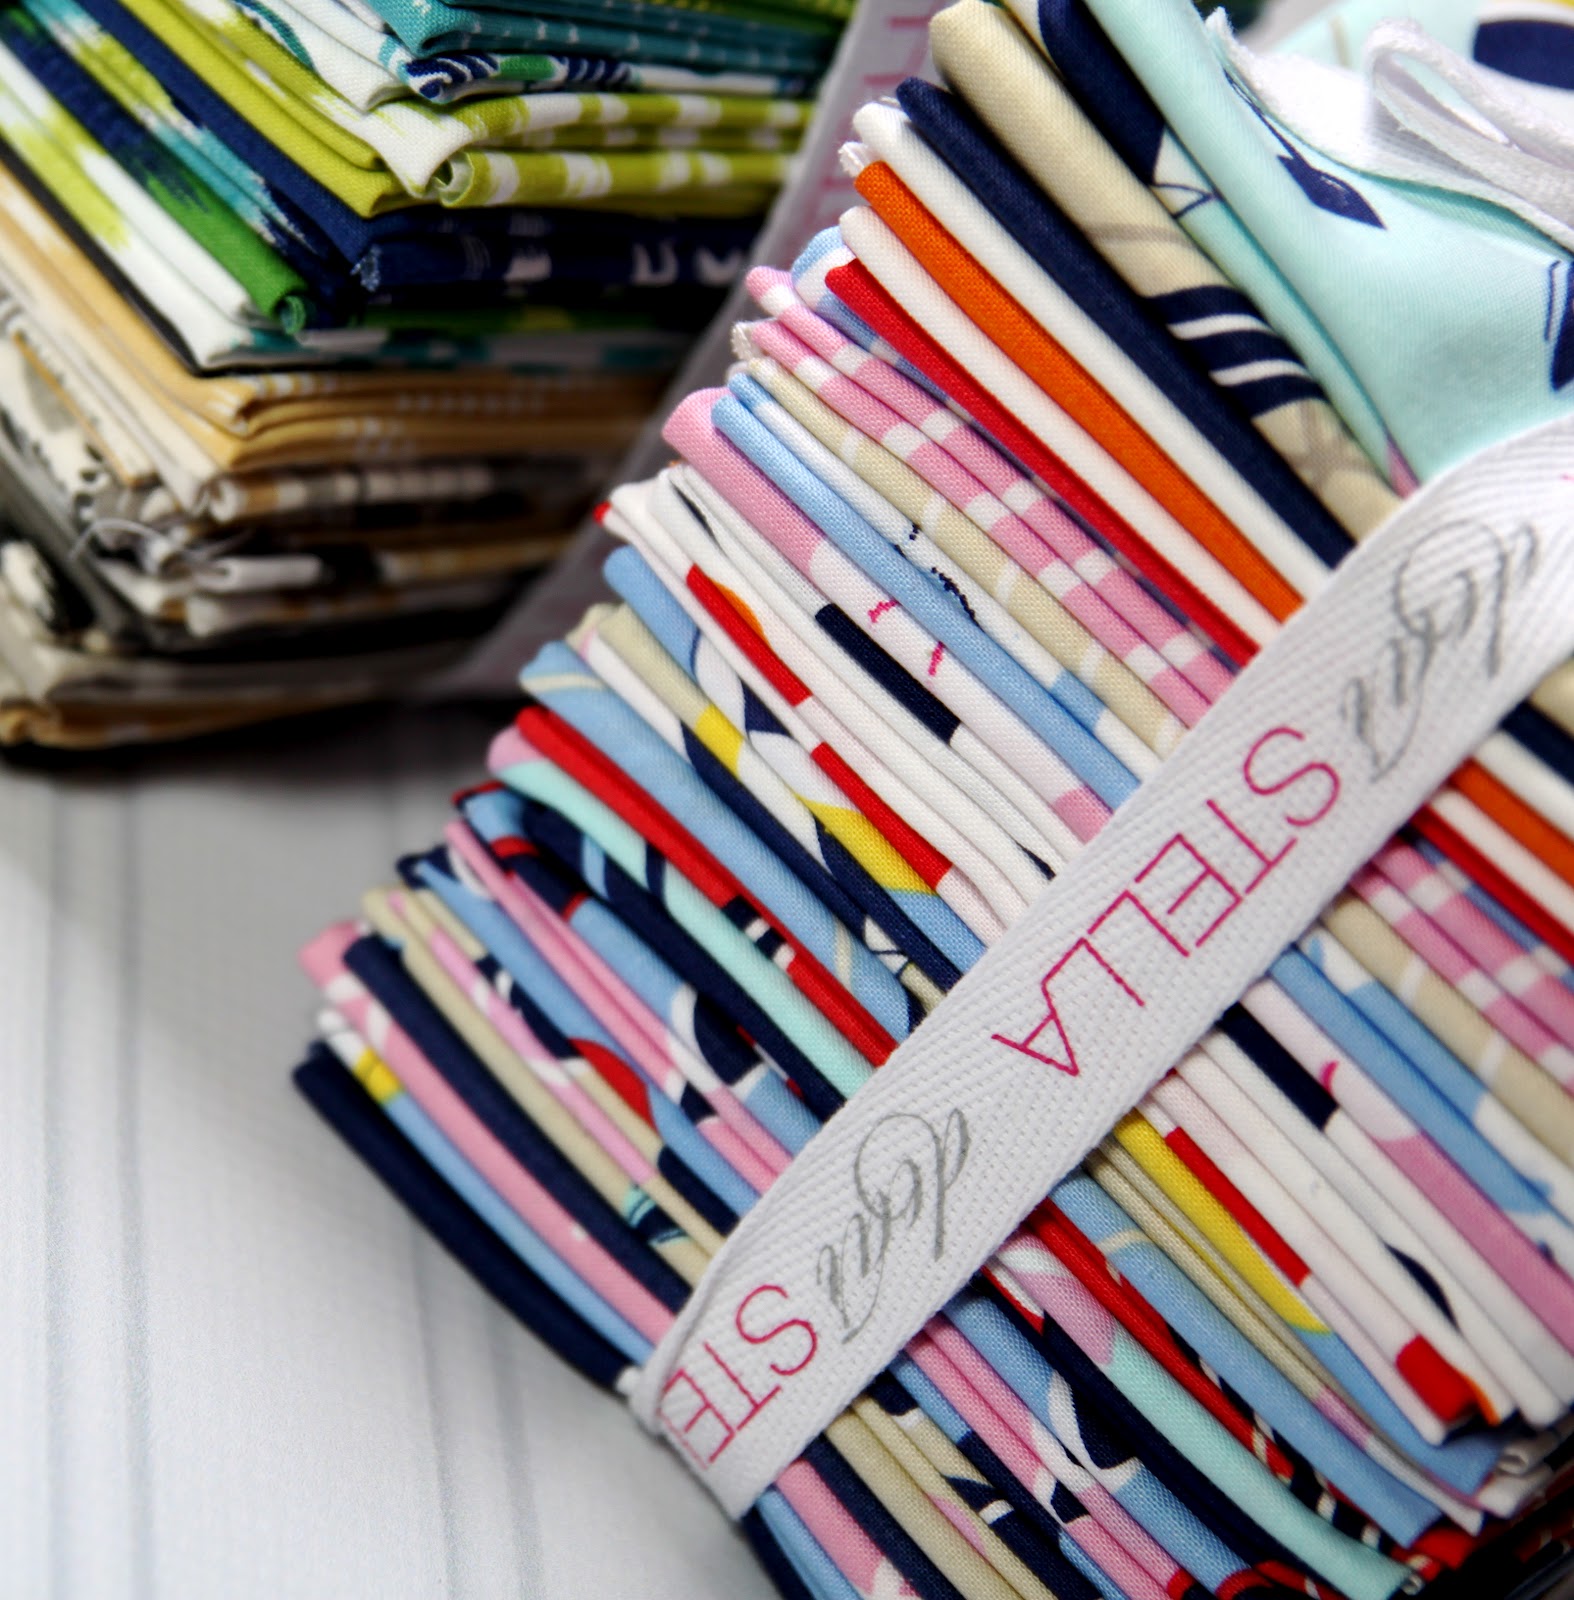
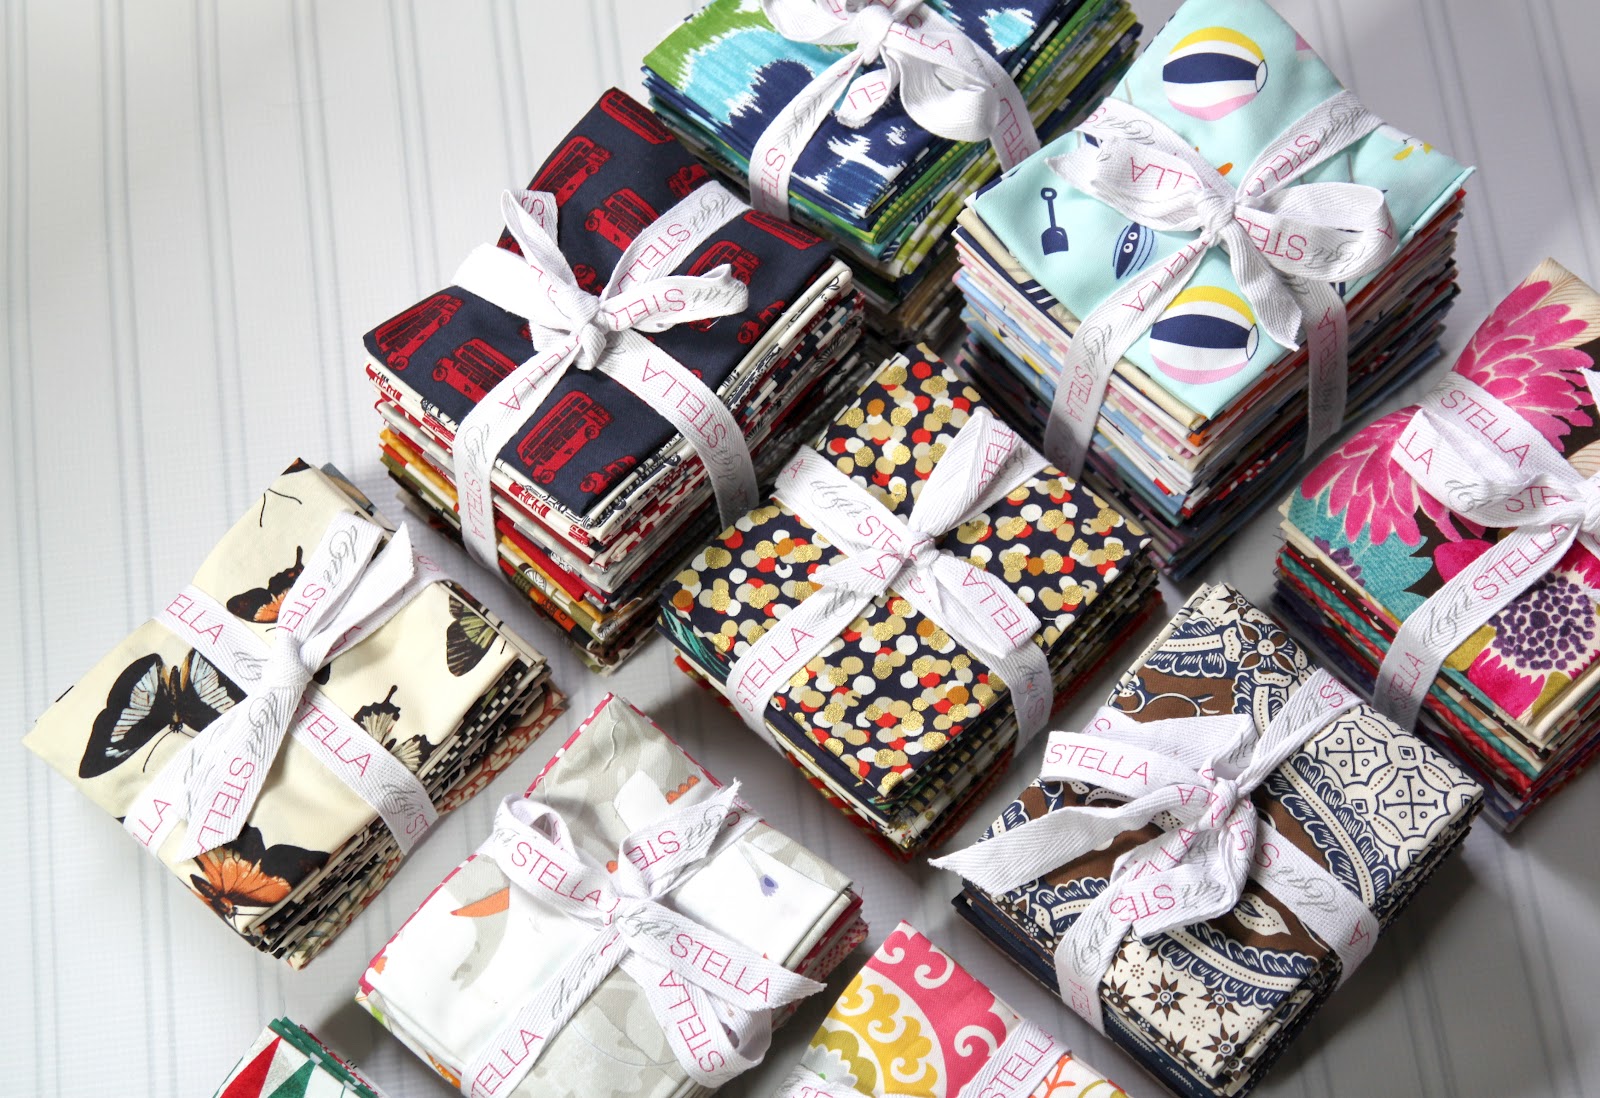
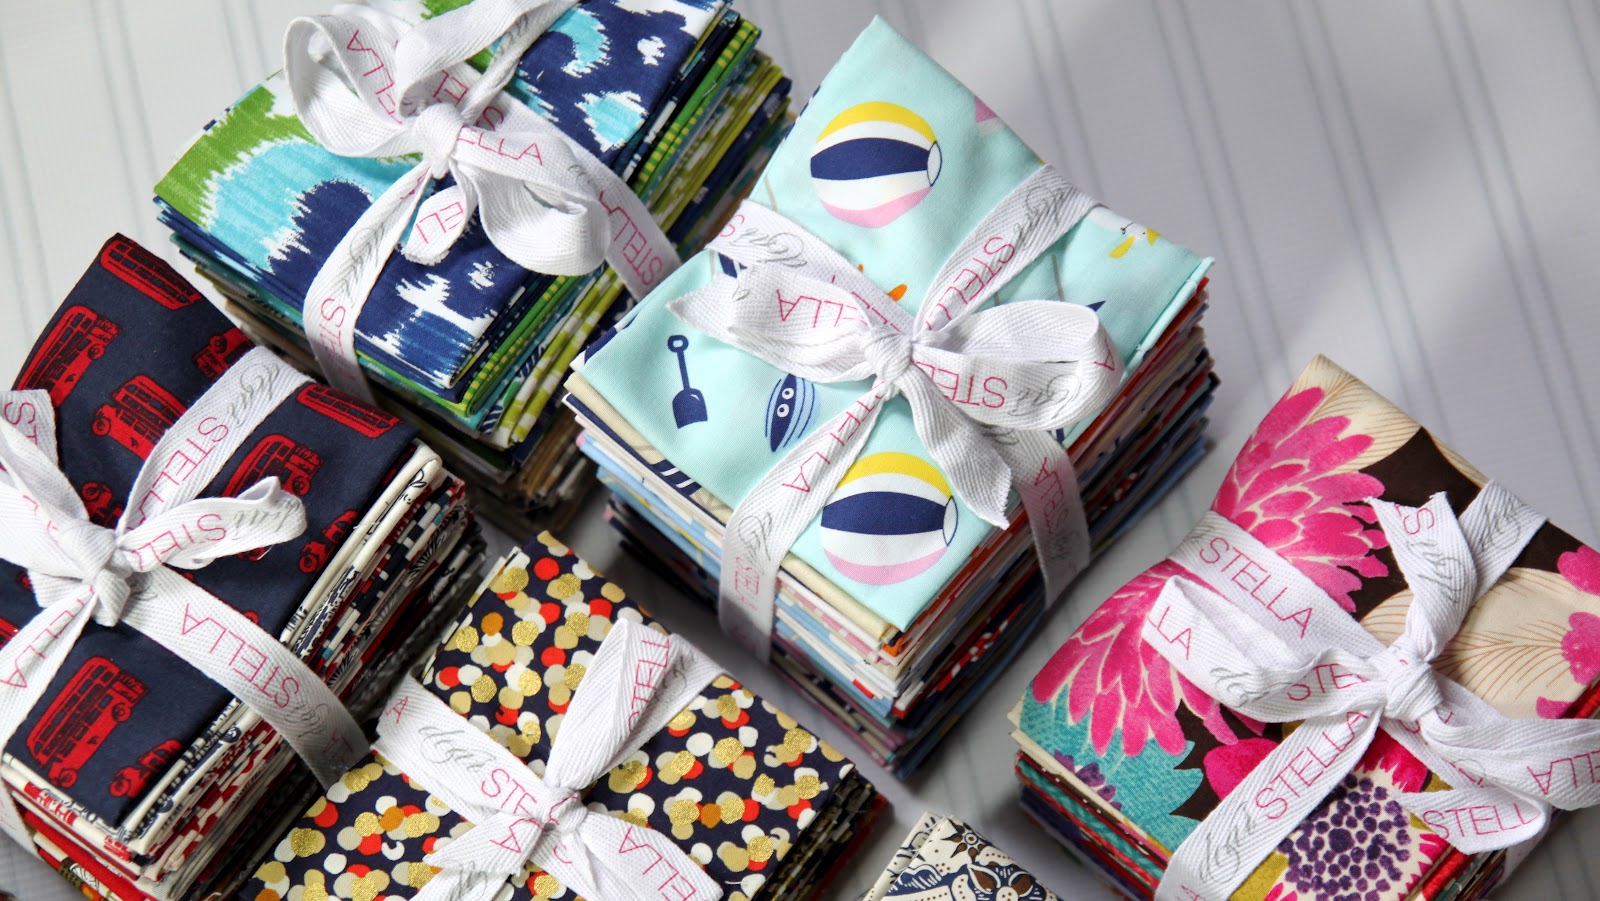
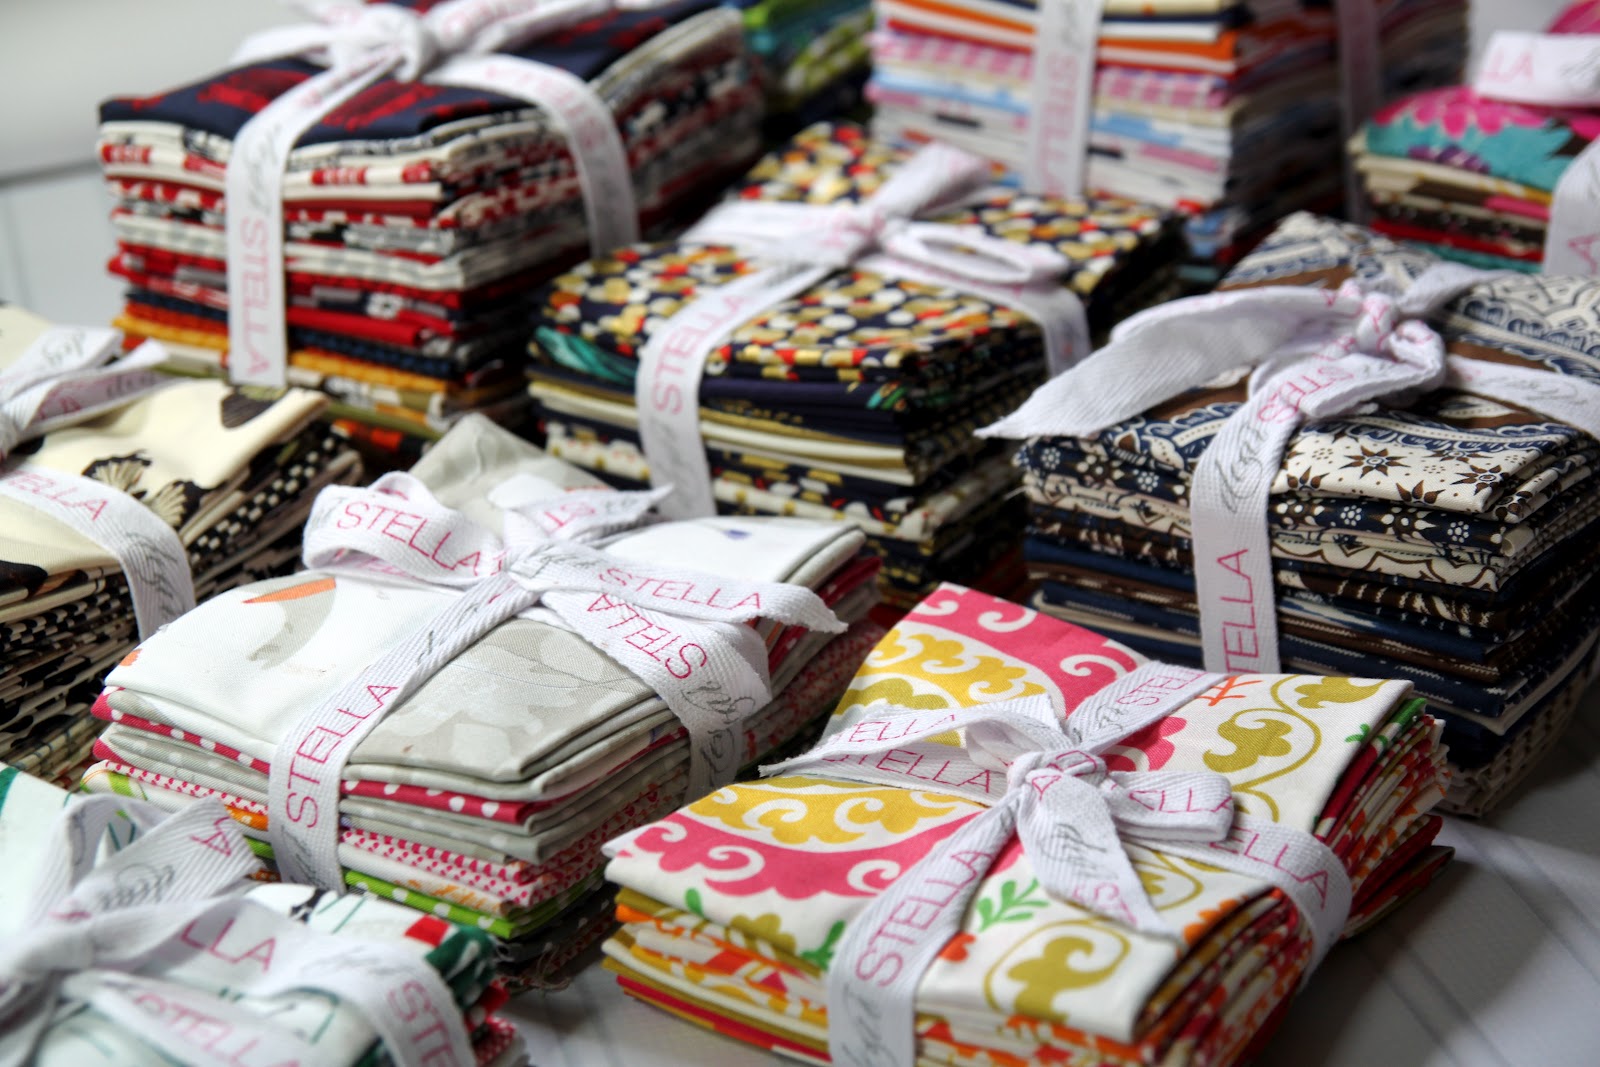
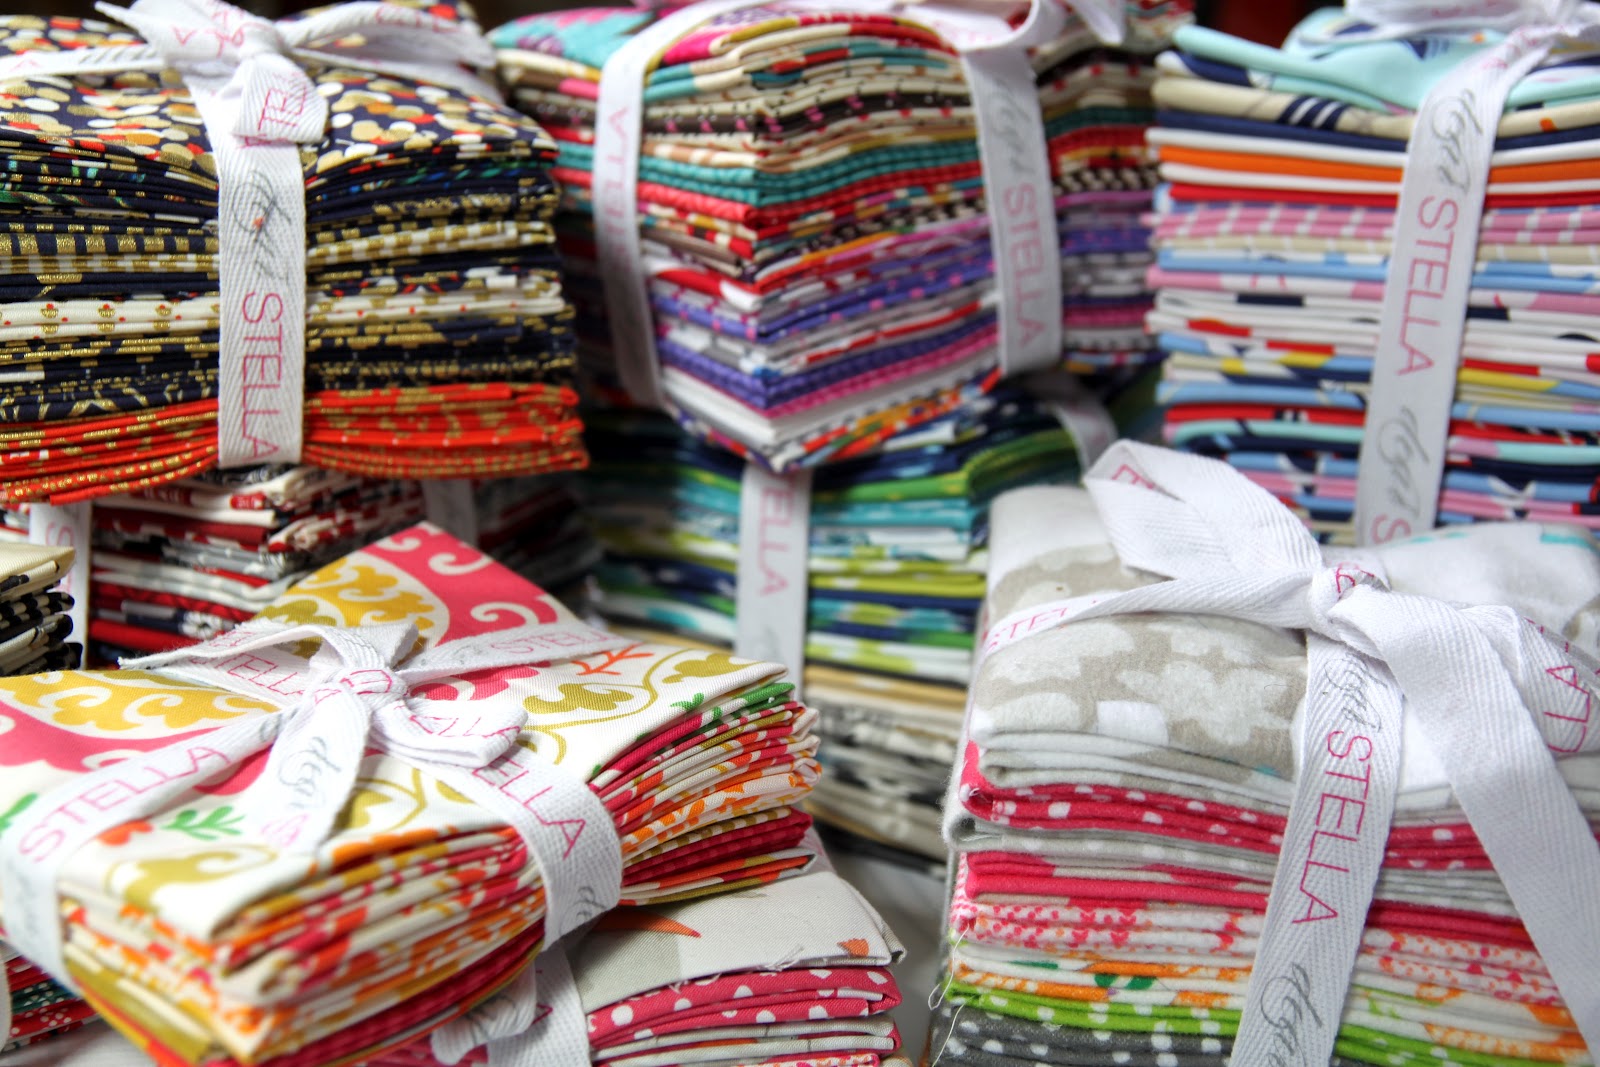
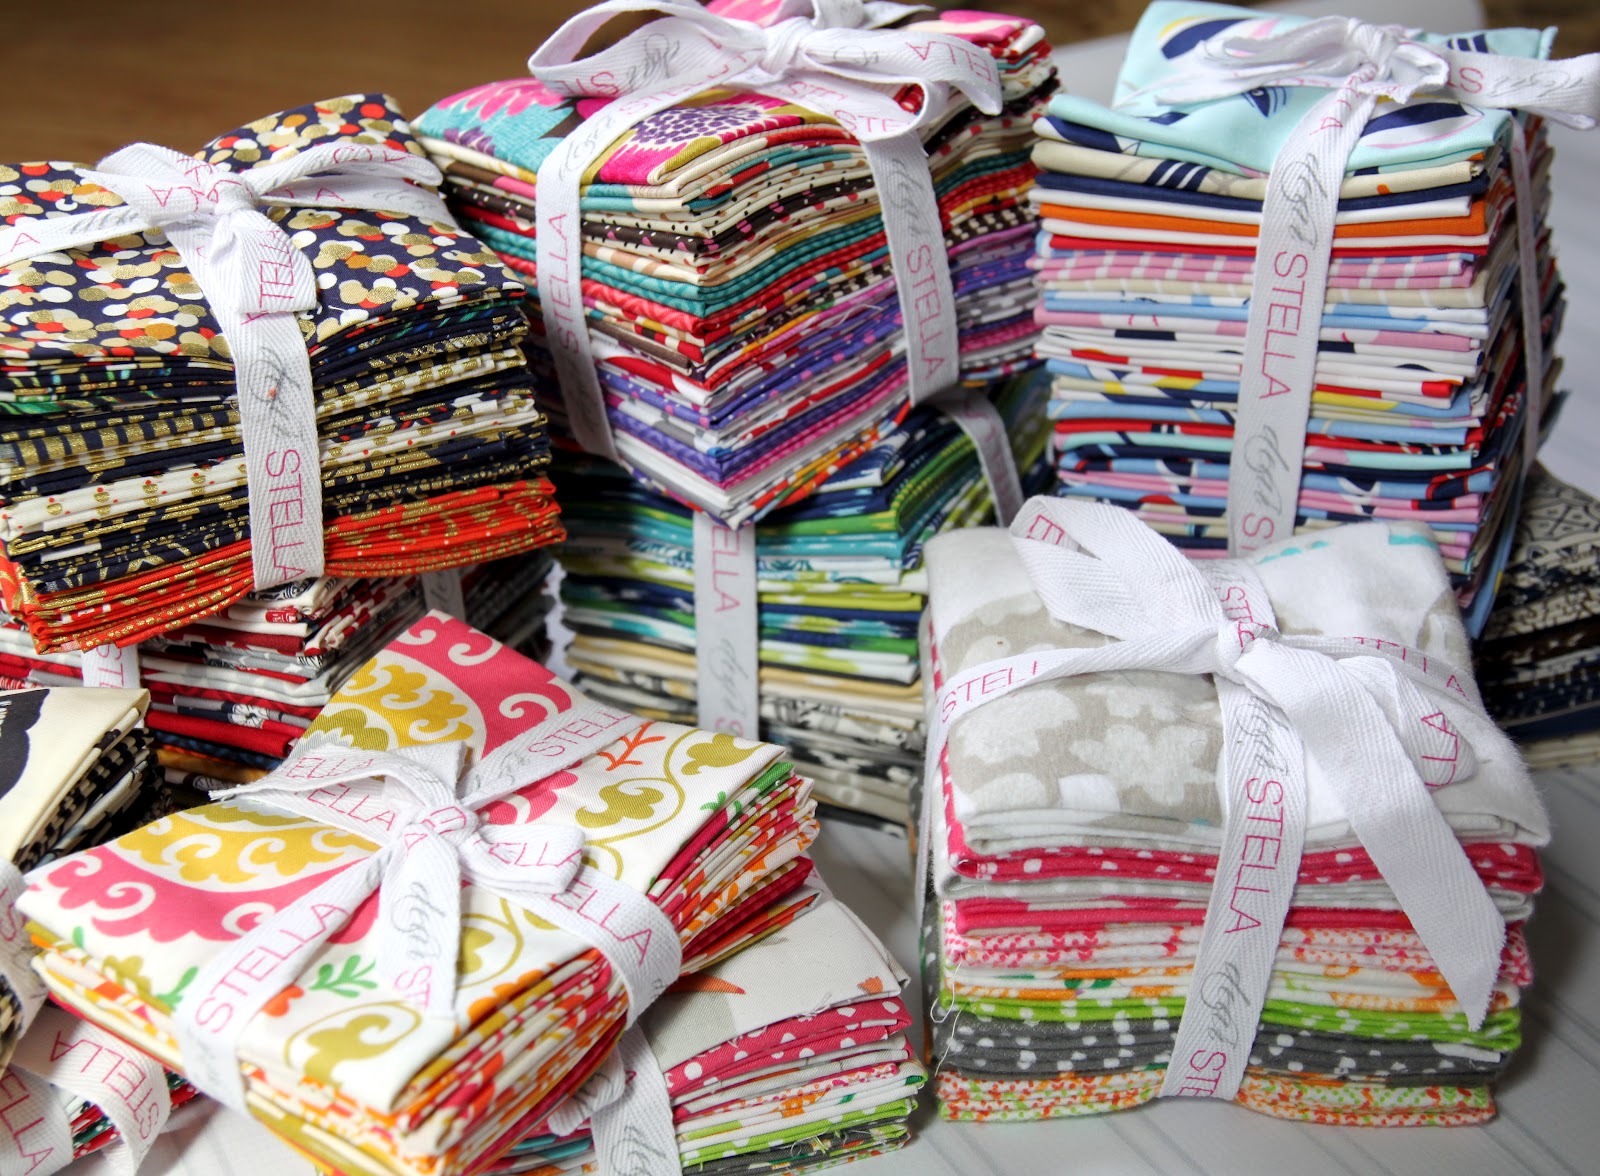
The bundle I selected is $45 and it includes a fat quarter of each of the prints and solids pictured above (which is a total of 15 fat quarters). There is a little bit of everything in this bundle. And I really think it shouts Fall! What prints and solids are included?
Here is the list from Fat Quarter Shop…….
Bundle includes:
- Chicopee – PWDS31-REDXX
- Cameo – PWAB99-CARMI
- The Birds and the Bees – PWTP024-SUGAR
- Chicopee – PWDS27-LIMEX
- Chicopee – PWDS27-REDXX
- Cameo – PWAB98-SCARL
- Lilly Belle – LB-1104
- Seaside – C2966-BLUE
- The Birds and the Bees – PWTP26-SUNSE
- Indie – IN-5106
- Lark – PWAB75-JADEX
- Cameo – PWAB94-INKXX
- Pure Elements – PE-427
- Pure Elements – PE-417
- Kona – K001-346
So, again, I just wanted to let you know that the bundle was now available for purchase since all of the prints have arrived. I don’t make any money from the purchase of these bundles, but they are sending me my very own bundle to play around with ~ yay!


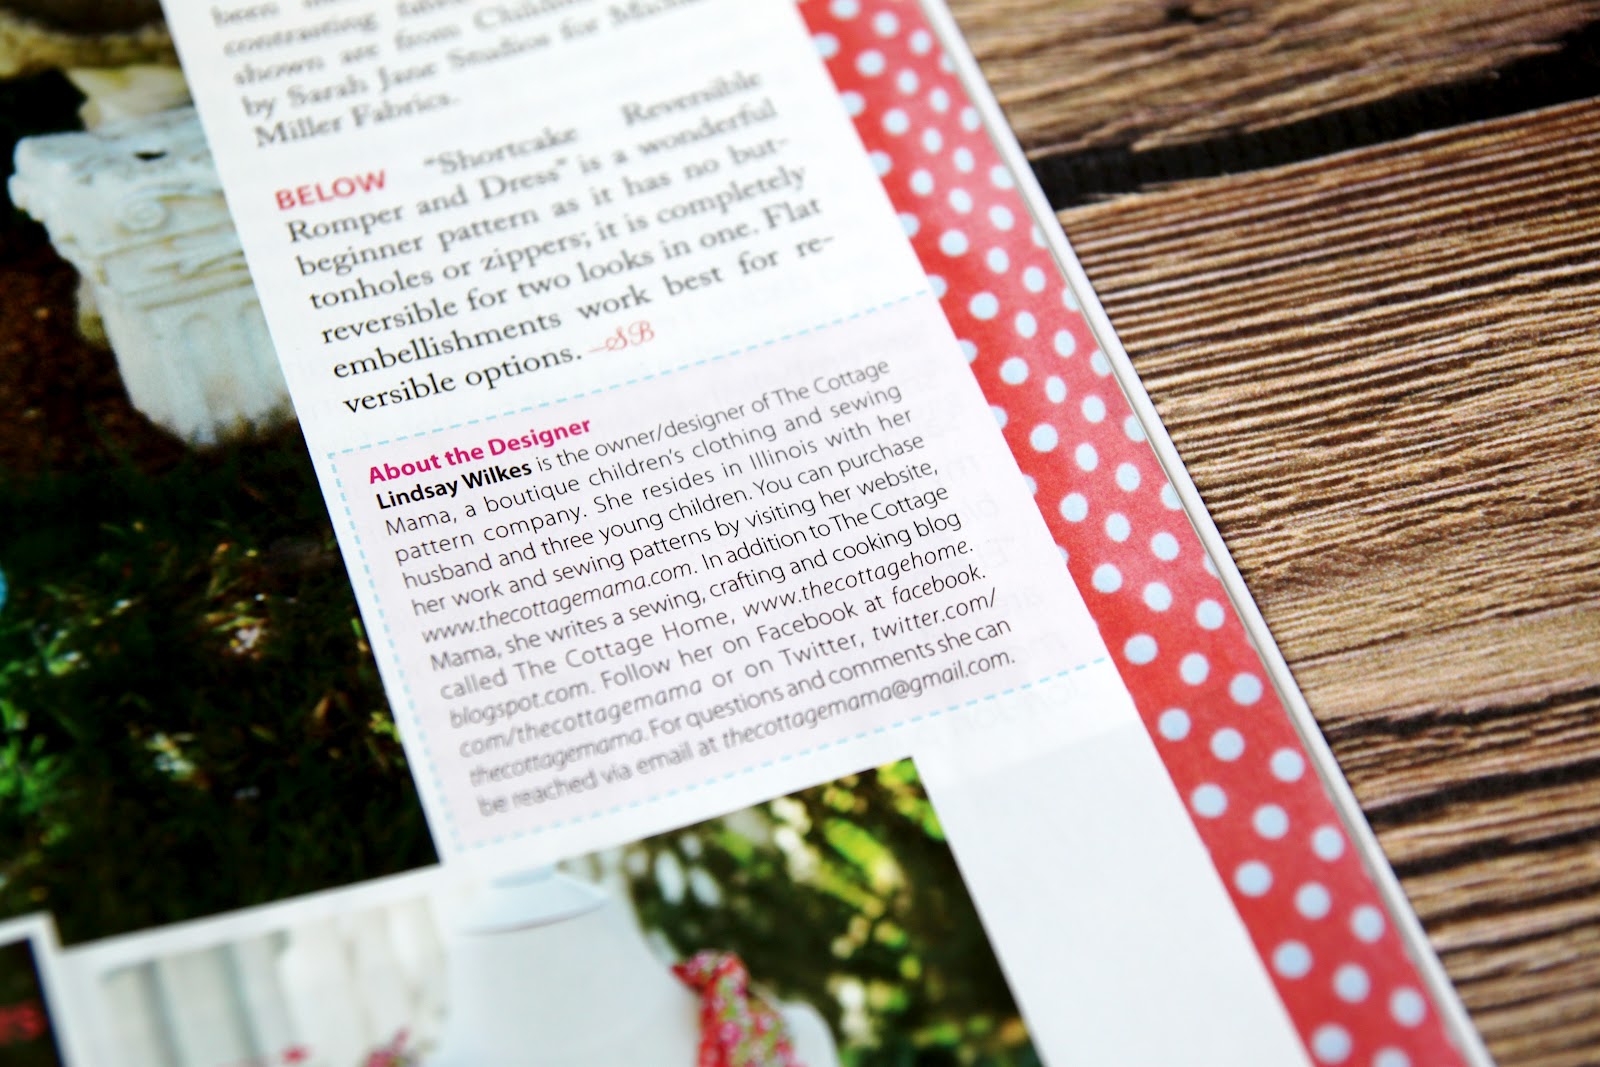


 Lindsay Wilkes is the owner and designer behind The Cottage Mama. She creates timeless, vintage inspired sewing patterns for children’s clothes. She is also a fabric designer for Riley Black Designers / Penny Rose Fabrics, author of the book ‘Sew Classic Clothes for Girls’ and can be seen teaching nationwide and online in her video series ‘Lessons with Lindsay’ sponsored by Baby Lock Sewing and Embroidery machines.


