Empire Waist Dress – Comfy Sews Vs. Cozy Knits

Shannon from Luvinthemommyhood invited me to participate in her latest “Versus” series – Comfy Sews vs. Cozy Knits.  Guess which side of the ring I’m on?………ding, ding, ding……you guessed it, Comfy Sews.  I love Shannon and her blog so I’m thrilled she has chosen to include me again!  You might remember my Shawl Collar Sweater tutorial that was included in the last round.

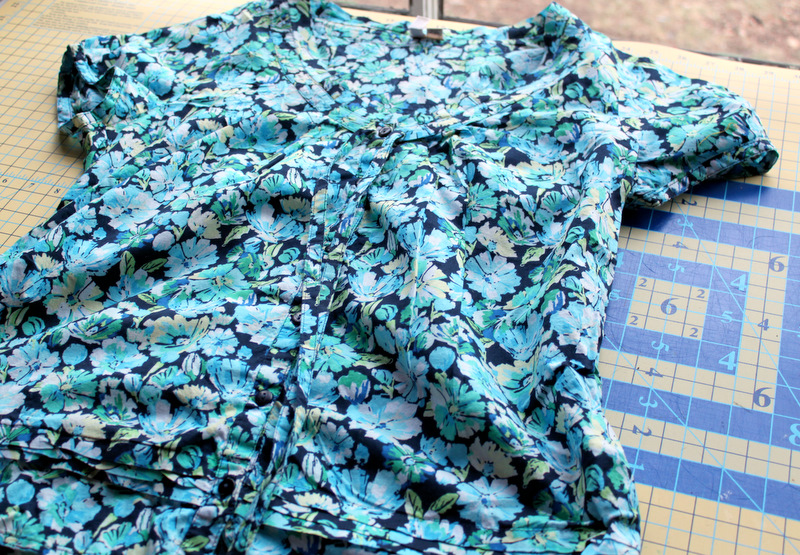
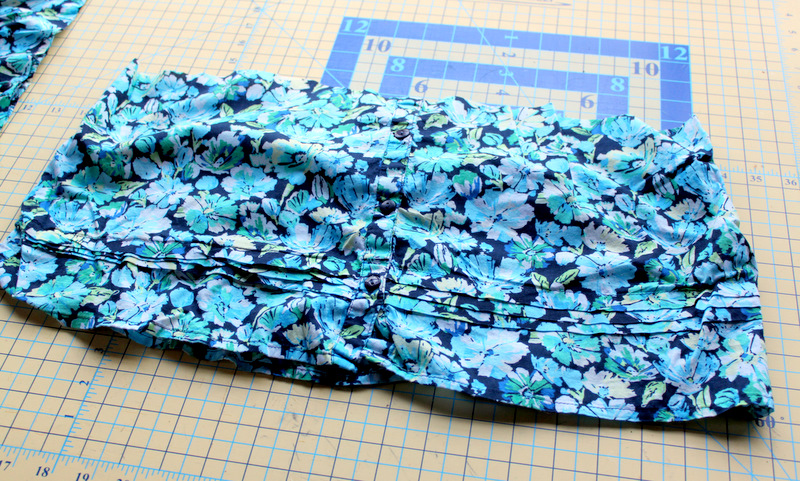
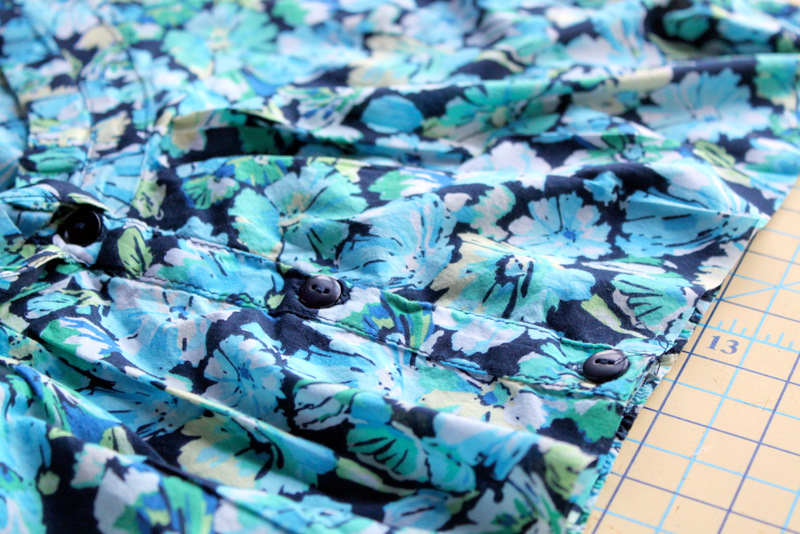
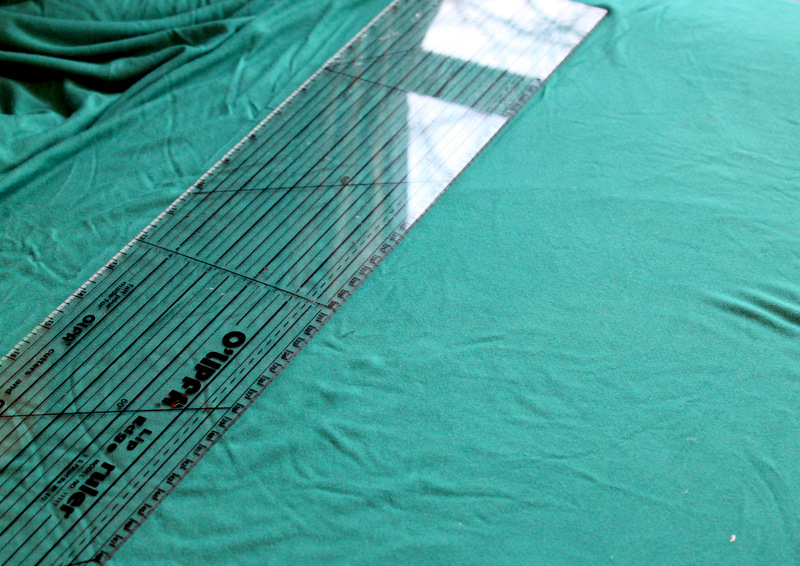
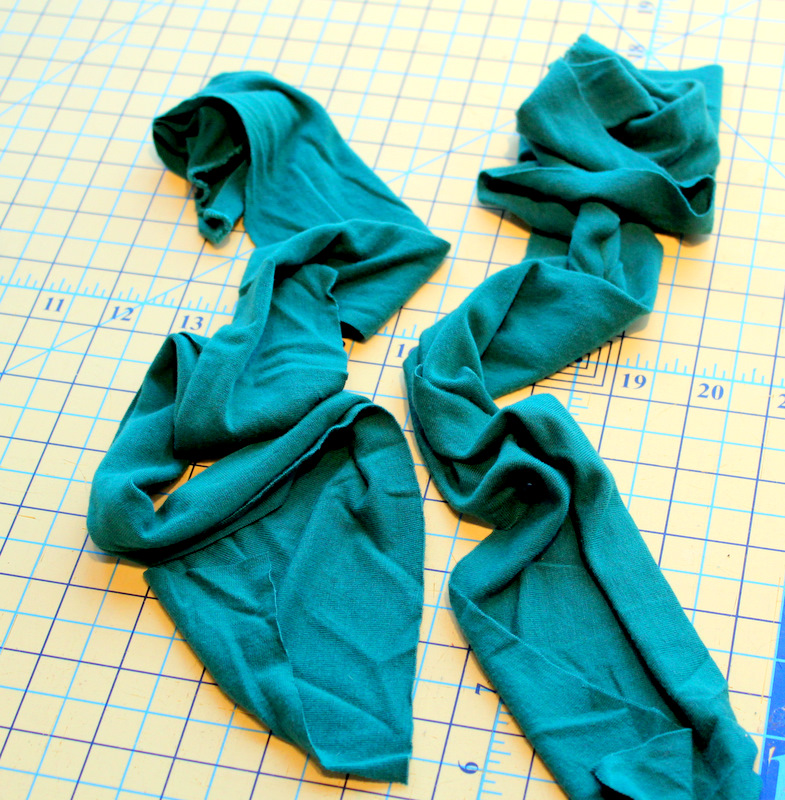
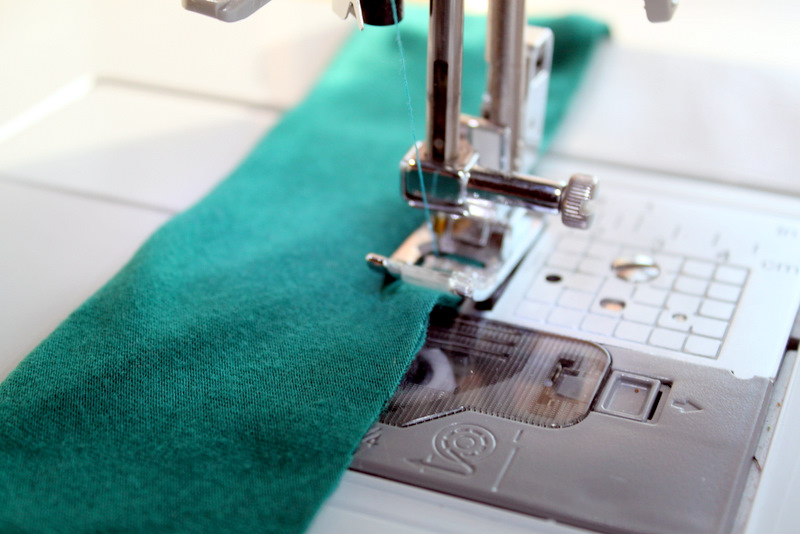
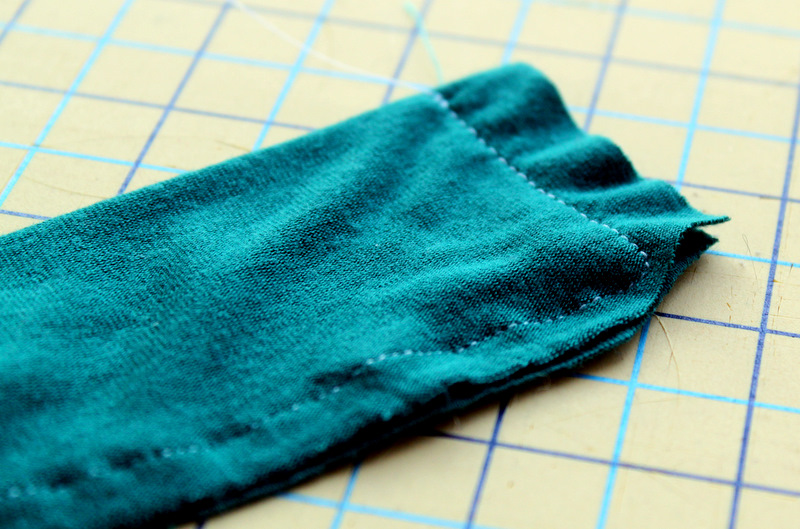
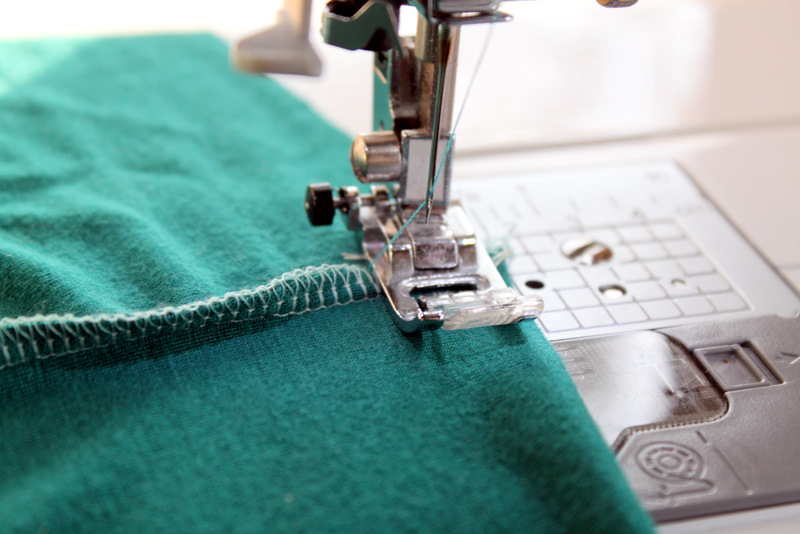
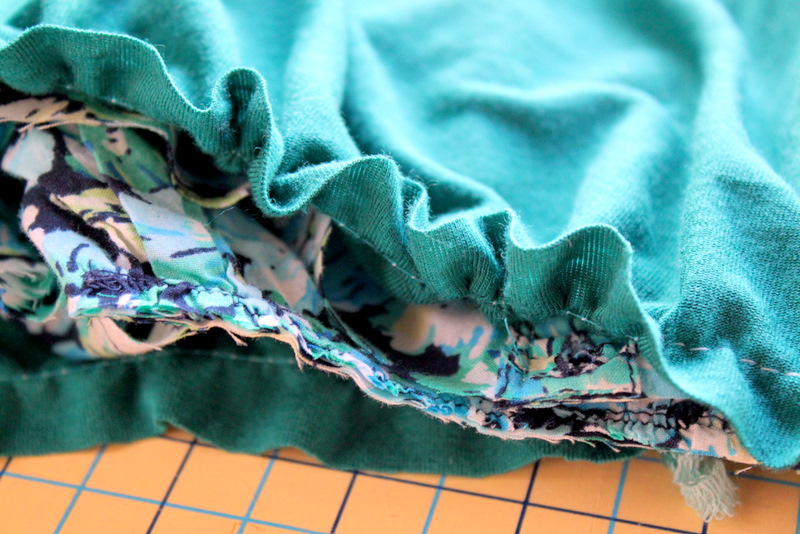
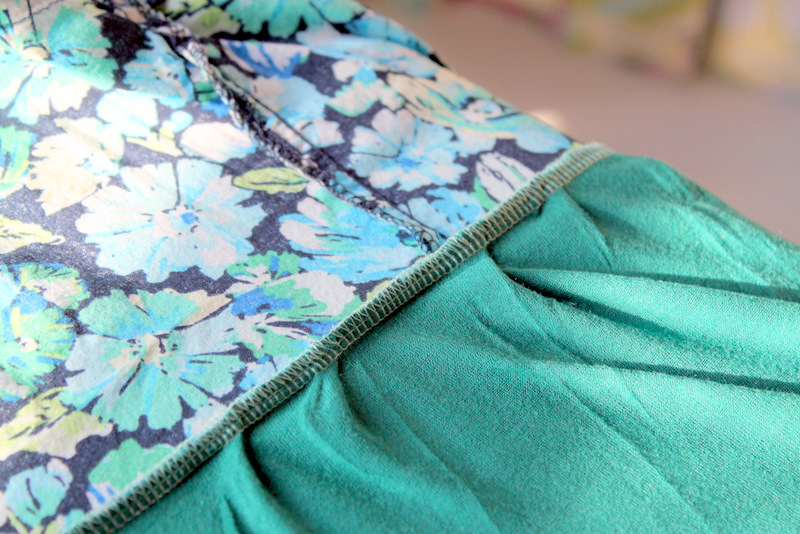
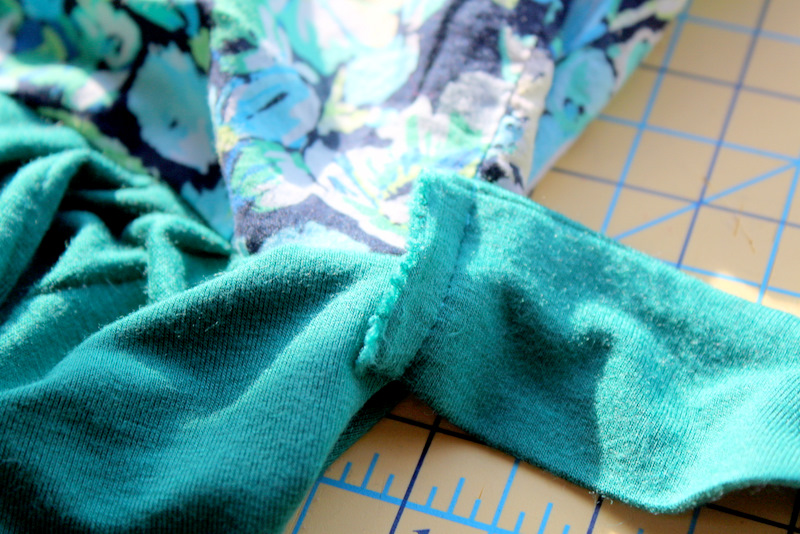
For this challenge I decided to create an easy Empire Waist Dress.  As most of you know, I am pregnant with baby #3 and I wanted to create something super-comfy to wear throughout the summer during this pregnancy.  I made this dress from a shirt that was a little too boxy for my body and some additional jersey knit yardage.  The dress will take you only about an hour to complete and is great practice for sewing with knits.

This dress could certainly be made the exact same way for a non-pregnant person and would be just as cute!  So let’s jump in the ring and let the battle begin……….

Empire Waist Dress
Maternity and Non-Maternity
Supplies:
1 shirt
1-1.5 yards jersey knit fabric (60 inches wide)
Scissors
Sewing machine
Iron and ironing board
Ball-point sewing needle (for sewing with knits)
Directions:
Grab a shirt.  I chose this one because I liked the print but I always felt like it was a little boxy in the waist area.  You could certainly use a simple t-shirt or any shirt that you are ready to transform into a dress.
Cut off the bottom of the shirt.  I left the top of my shirt 13.5″ long from the shoulder to under the bust line.  Try on your shirt to figure out how much of the bottom you would like to take off.  Make sure to allow for a 1/2″ – 1″ seam allowance for attaching the skirt piece.
Here’s the top of my shirt after it had been cut.  There were also a couple of fabric ties at the top that I decided to remove as well.
And what will I be doing with the bottom of the shirt?  Well, that is going to be turned into a skirt for one of the girls.  I like a little cheesy “mommy and me”, so I think it will be just darling on Miss Savannah or Miss Matilda.
Since this shirt had buttons down the front I decided to sew the button area shut.  I used my zipper foot to make this happen.  This way I don’t have to worry about any buttons coming undone.
Now it’s time to cut your knit fabric.  I chose a jersey knit because it is SO soft, super-stretchy and very light-weight.  If you are making this as a maternity dress I would highly recommend sticking with jersey because of the amazing stretch.  If you are making this non-maternity, then you could still use a jersey knit, knit interlock or you could even use a woven cotton if your top is made from t-shirt material.
I cut the skirt portion of the dress 27″ long x 60″ wide.  I am about 5’5″ and this fell right below the knee.  Cut the skirt any length that you like.
Cut 2 pieces for the fabric ties.  These were cut 32″ long x 4″ wide.
When sewing with knits you will need to change out your needle to a ball-point needle – these are specially designed for sewing with stretchy knits.  Fold the ties in half lengthwise and sew one short end and down the long end.  You should have one short end still open.
Clip your corners, turn right-side out and press with a hot iron.
For the skirt, fold in half, right-sides together and sew down the short side – in my case this was 27″.  I used my serger because I like using it for knits, but a regular sewing machine would work just as well.  This seam will go to the back of the dress.  Now run a gathering stitch around the top of the skirt.  Set your sewing machine to the longest stitch length (5.0, in my case) and sew all the way around the top making sure not to back-stitch at the beginning or the end.
Gather the top of the skirt by pulling on the bobbin thread.  Gather the skirt until it is the same width as the bottom of the shirt piece.  Place the skirt and the top, right-sides together and sew in place.
Press the seam between the skirt and the top upward.  Again, I used my serger, but that was just because it was easier for me and finishes very nicely.
Now it’s time to attach the fabric ties.  Normally I would place these in a seam, but that didn’t work out for this dress.  Stitch the ties on either side of the dress.  If you are going to have the dress tie in front then you want the raw edge pointing towards the front so that when it ties it will be covered up.
Here’s the fabric tie on the side.  You will not see the raw edge when you tie the bow in front.
I decided to leave the bottom of the dress with a raw edge because I find jersey knit doesn’t fray.  If you would prefer a more finished look definitely sew a hem, but make sure you allow for that additional length when cutting the skirt piece.
This dress is incredibly comfortable and will definitely grow with me through out this pregnancy.  It’s still a bit chilly here in Chicago so I paired it with a cardigan and a pair of leggings.  I’m so happy to have breathed a new life into this shirt.
Maternity dresses can be pretty expensive, so this dress was a bargain at $3.00 total for the jersey knit (which was found in the 50% clearance section at Joann’s).  So, what do you think?  Have any shirts that you might transform into an Empire Waist Dress?
Thanks again, Shannon, for inviting me into the mommyhood – you rock, girl!  This is just week one of Comfy Sews vs. Cozy Knits, so make sure you guys all visit Shannon’s blog and check out some of the other fabulous projects from some seriously talented bloggers.

Like this post? Want even more?
Sign up below and receive all my tutorials, recipes and updates directly in your email inbox.

10 Comments

  1. Nice tutorial. I have been wanting to expand into sewing knits for quite some time, but just haven’t gotten up the courage. You have inspired me to take a second look at shirts I never wear and see what I can do. Do you have to use a special thread to sew knits?

  2. Great tutorial! Now I need to go search my closet for shirts 🙂

  3. Lindsay,
    That’s too cute! My oldest daughter is getting married in October and i’ve sketched out and am making her wedding dress. It is real simple with an empire waist….it’s such a flattering and comfortable wearable style for anyone!
    Great tutorial 🙂

  4. Thanks for joining in my dear! Luv ya!

  5. What a great idea! I am amazed at the creativity that I see on blogs. Your dress turned out beautifully.
    Hugs, Cindy

  6. That is great! I have several shirts that I could do this to.
    And you look so darling in those pictures. When is your newest arrival due?

  7. Thanks for this. That dress is great. A great pregnant and not-pregnant dress alike, which is great. Thank you!

  8. So adorable, thank you for posting this!! I’ve been looking for a fun non-workie work dress pattern, and this will be perfect. You’re so talented!

  9. These colours look gorgeous on you. I’m not pregnant but I think I’m definitely in need of a dress like this. I think it may even help me overcome my fear of sewing with jersey 🙂

  10. Great project! I always intended to sew a dress or two for myself while pregnant but never got around to it! This would have been the perfect project!