Welcome to those of you visiting from over in the “Mommyhood”! I’m so excited that Shannon asked me to be part of this month long battle she is having going on over on her blog, Luvinthemommyhood – Comfy Sews vs. Cozy Knits. Guess which side of the ring I’m on?
For those of you that know me, you know I am all about the sewing over on my blog, The Cottage Home. On a rare occassion I pick up my crochet hook and maybe someday I’ll learn how to knit, but for now, the sewing needle is my tool of choice.
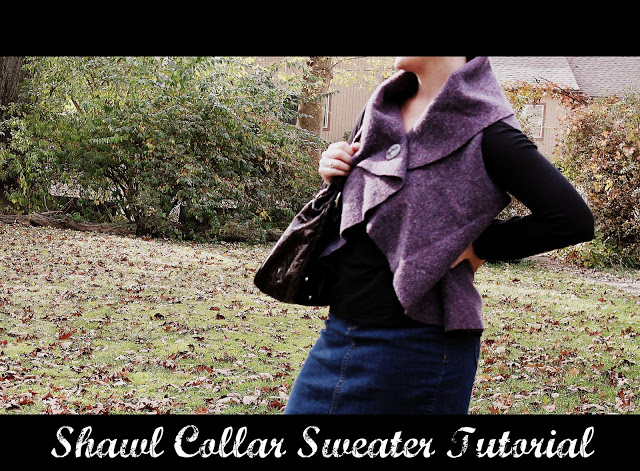
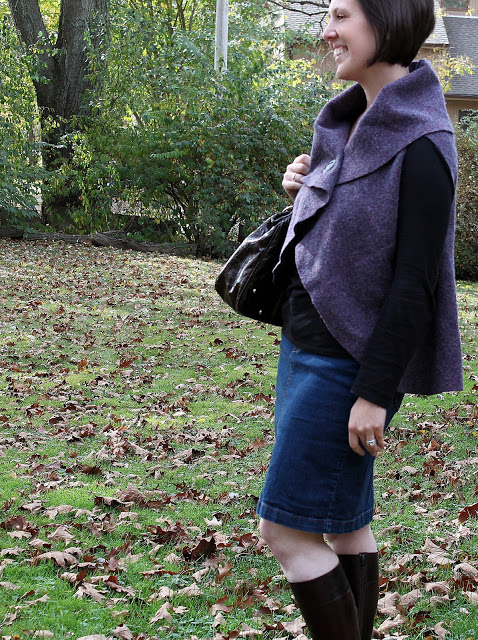
As of lately I’ve been slightly obsessed with felted wool. I thought this would be a great project to bring some of those on the “Cozy Knits” side of the ring over to the dark-side, “Comfy Sews”. Surprisingly this project has minimal sewing and does not even require a sewing machine (though there is some hand-sewing involved). So if you have ever thought about trying a sewing project, trust me, this will be right up a beginners alley!
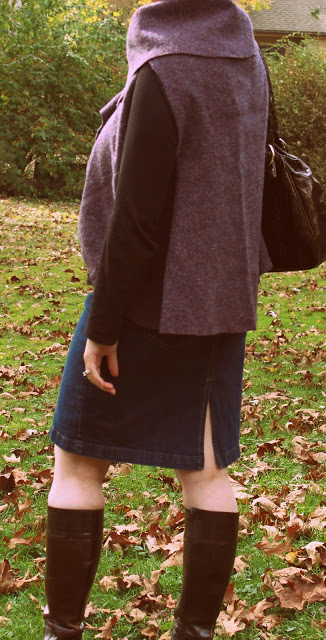
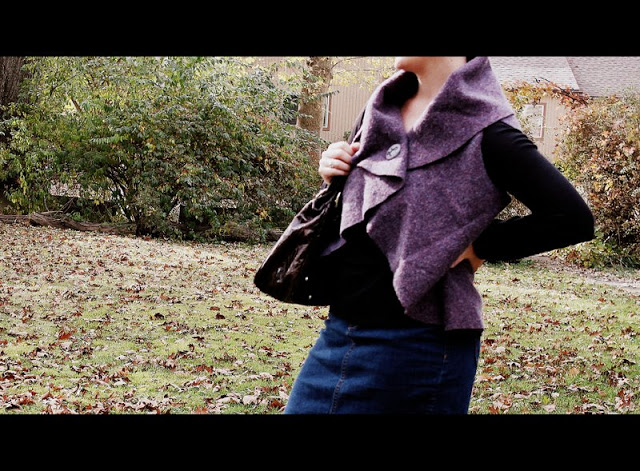
I don’t know if you’ll believe me, but this is just one large oval of fabric! You can use regular fleece fabric, recycled felted wool sweaters or, if you knit, you could simply knit your own fabric oval and felt it. If you have never felted wool before, click here to view my latest tutorial.
Let’s get started……….
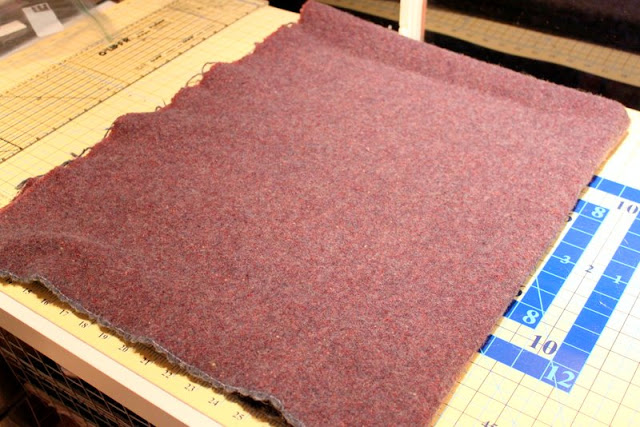
Fold the yard of fabric in half length-wise, then width-wise. I am using a large piece of felted wool here (that I purchased from my thrift store and felted at home), but you can use any fabric you like that won’t fray. We are leaving the edges raw and the arm holes raw, so you don’t want a fabric that will fray. Fleece would be a nice choice or you could even try to use some kind of knit.
Cut a quarter circle. Divide your length measurement in half and your width measurement in half and connect the dots with your curve. This will give you an even oval.
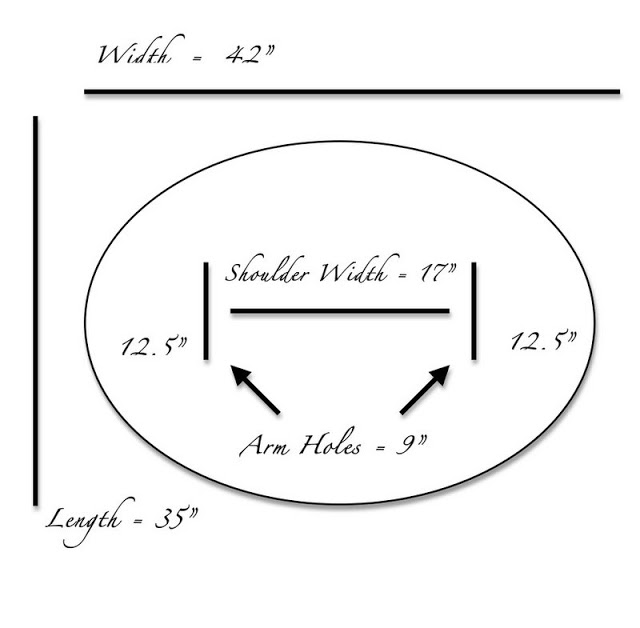
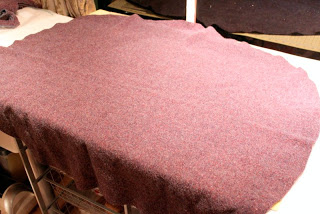
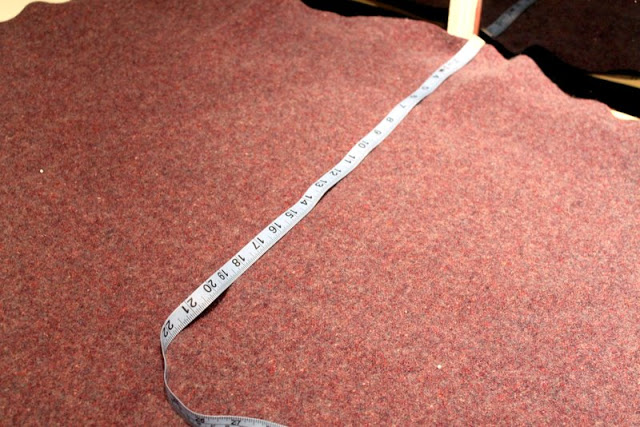
Unfold your oval piece of fabric. As you can see, it is a rather large oval, that’s why I included the first diagram.
Measure half your width and half your length to find your center point.
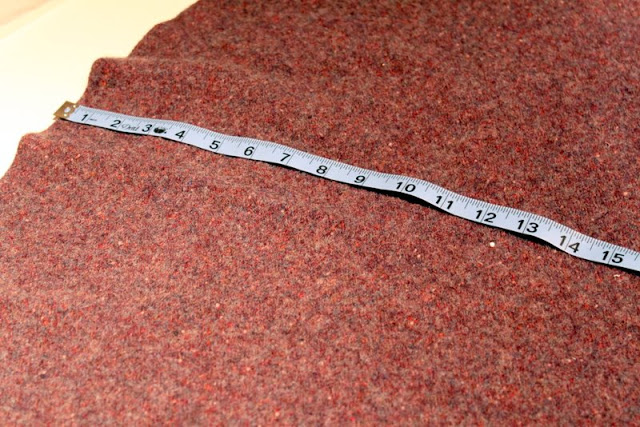
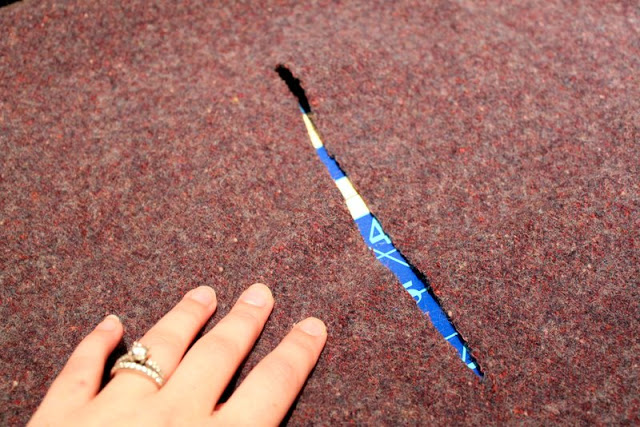
Measure the widest part of your back (up by the shoulder blades). Cut your arm holes 9″-10″ long in the center of the oval – they should be cut your back measurement apart. My back was 17″, therefore each arm hole was cut 12.5″ in from the edge of the oval (see first illustration).
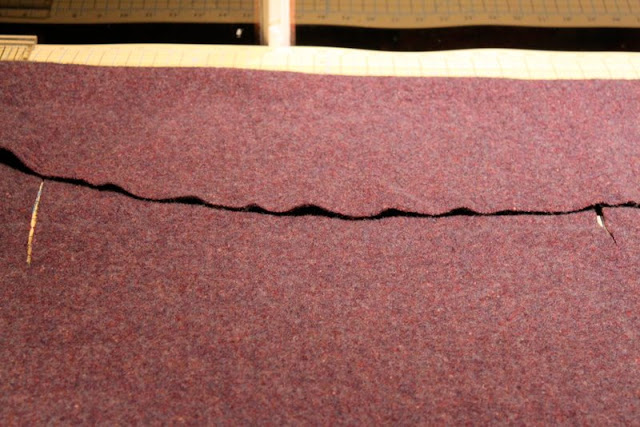
After you have cut your arm holes. Fold over the top of the oval 9″-10″. The 9″-10″ is for the largest part of the curve.
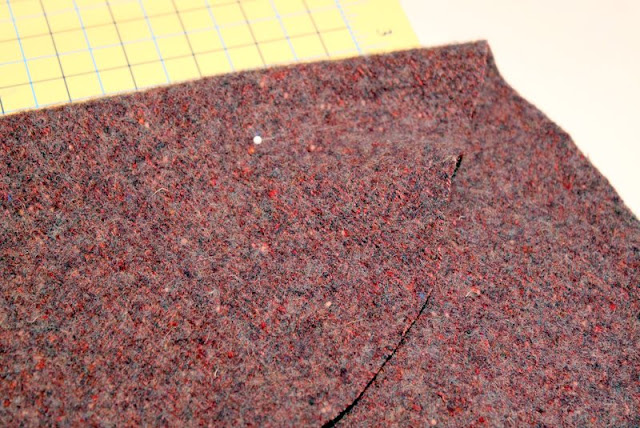
Try on your shawl sweater to determine button placement. My button placement was about 3″ from the edge. You can sort of see the white head of the pin in the picture above.
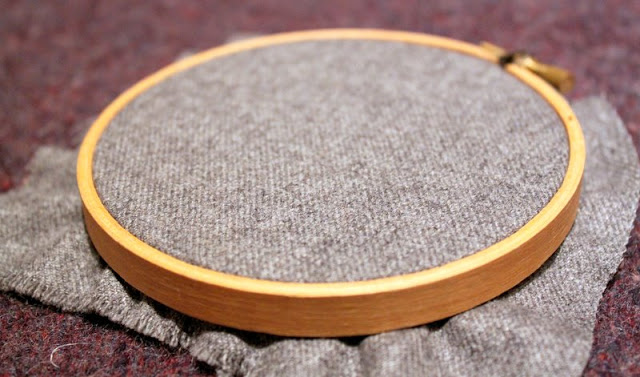
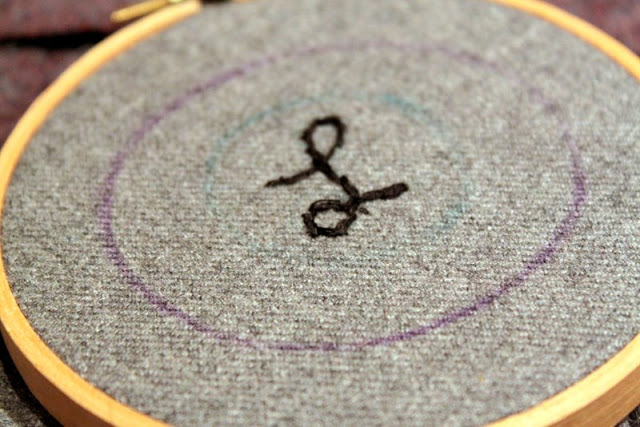
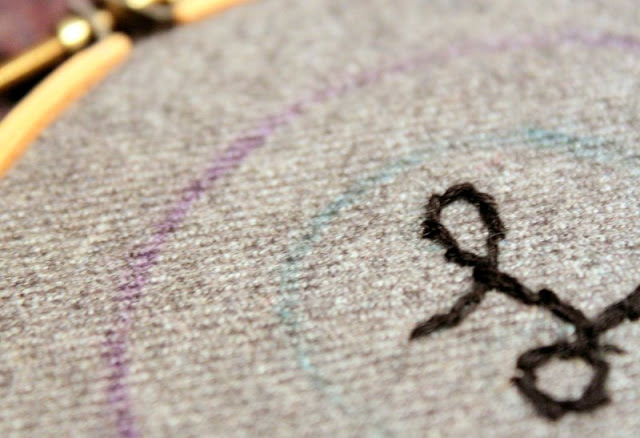
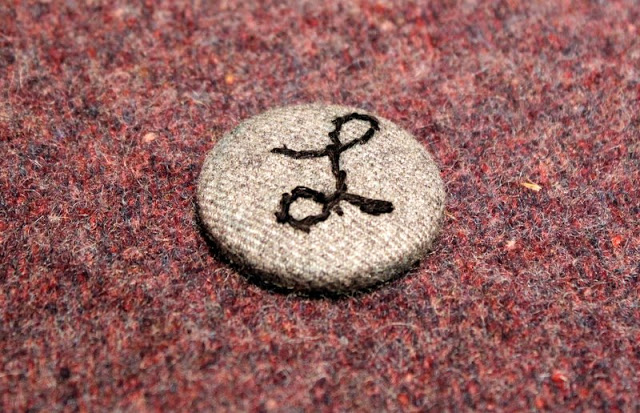
This next step is completely optional. I wanted to make a special monogrammed button, but you could definitely use any button you have on hand. If you aren’t monogramming your button, you can skip the next several steps. I also used some wool suiting fabric for my covered button.
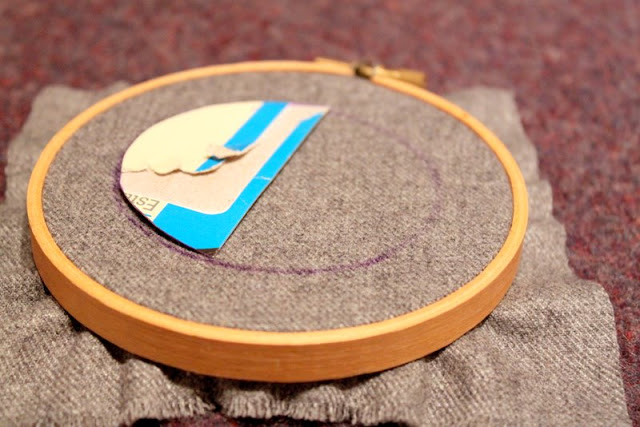
Trace your covered button template onto the fabric.
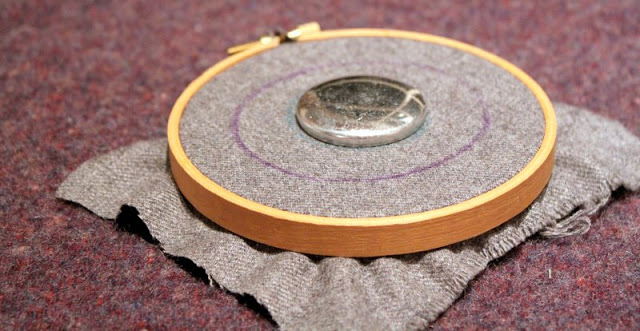
Trace your button inside the template with a water-soluble fabric marker.





 Lindsay Wilkes is the owner and designer behind The Cottage Mama. She creates timeless, vintage inspired sewing patterns for children’s clothes. She is also a fabric designer for Riley Black Designers / Penny Rose Fabrics, author of the book ‘Sew Classic Clothes for Girls’ and can be seen teaching nationwide and online in her video series ‘Lessons with Lindsay’ sponsored by Baby Lock Sewing and Embroidery machines.


This looks fabulous! And so easy to be made! Thanks for sharing!
Thanks again for joining in on the fun Lindsay, you’re the best. Hugs.
I just love this…both the look and the price! 🙂
Lovely sweater and what a deal! Thanks for the tutorial 🙂
How did you get such a large piece of wool from the thrift store? Was it a blanket? I’ve seen men’s sweaters that I’ve picked up and felted for making small projects but that is a really big piece! Thanks for the great idea.
Strike a pose girlie! Your pictures look great, you did an awesome job with this!!!
XOXO,
Mags
when felting, instead of putting the wool into the machine, can you boil it in a big pot on the stove??? i ask as its something my friend and i were discussing the other day!!! we both want to try it out for various projects. thanks
becky bpbajona at maltanet dot net
Thank you guys for your kind words!! Yes, you can definitely boil the sweaters, but it’s much easier to do in the washing machine. If you boil them then you have to make sure you REALLY stir them and work a lot harder to get them to felt.
I believe this was a wool blanket that I felted. Another great option would be to do some patchwork with several sweaters to make a piece this large.
Thanks again for commenting – I love hearing from you guys!!
Oh Lindsay, you have done it again! That is so gorgeous on you, I am loving the color. You are my most favorite blog to read, you are absolutely inspiring and so consistent with awesome tutorials, beautiful pictures, and full of inspiration.
Thanks!
what a lovely blog! i received the introduction today through your gifts of creativity and this post. thank you for sharing your gifts!
peace.
so cute and warm looking! how clever you are. 🙂
oh my gracious…LOVE it! now to find the time to give it a try!!!
I’m glad you stopped by mommyhood, because you’re blog is fantastic! Definitely adding it to my reader. And love the Tutorial – i definitely need to hit the thrift store tomorrow!
Thanks for such a nice tutorial. We are heading into our long hot summer Down Under but I will bookmark it for next winter. Perhaps I’ll pick up some wooly bargains over summer like you did. Thanks again.
you look like you stepped out of a Vogue photo shoot. If I find the right fabric piece, I am definitely going to make this shawl. Brilliant.
you have such a cute blog!!! 🙂
thelibertybelleblog.blogspot.com
This is awesome! So simple and yet so stylish. Thanks for sharing.
ooooooh, love this. seriously, love it!
I almost exclusively sew things that are pint-sized… this might push me into the realm of sewing for grownups. 🙂
This is simply fabulous! I love felted wool. I’m going to have to hunt for something to use… Love a fast and hip project for me too–I don’t like to spend as much time on myself–need more time to create for the girls! This is perfect.
I am twitching. Ack. I cant wait to try this out. Great tutorial.
thanks for your advice lindsay. will be gathering some wool tops soon as i like that shawl.
(0)
becky
I love this and I have the perfect piece of fabric to use. I normally sew for my daughters but this has me inspired to make something for me:) (although I sure my oldest will ‘borrow’ this)
And your blog is wonderful, I just found it this morning and have spent the last bit looking through it. I just love the projects you have on here, your style reminds me so much of my own.
Do you think this would work with fleece back sweat shirt material? I’ve been wanting to make something other than a sweatshirt with some fabric I have.
Thanks for this great tutorial. I’m currently wearing my very own Shawl Collar Sweater which I made from a lovely piece of wool plaid I found at the thrift store. The fun part came when I got to choose which of my fabulous vintage buttons to pair it with. Choosing a button took longer than it did to make the sweater. Thanks again!
Thanks everyone for all your wonderful comments. Yes, I definitely think sweat shirt material would be great for this! The more I’ve thought about it, the more I’ve realized that there are lots of wonderful fabrics that would be perfect for this project (not just felted wool).
Jan – I would love if you would add your picture to The Cottage Home Blog flickr group (http://www.flickr.com/groups/thecottagehome/).
If anyone else decides to make one, I would love, love to see a picture!
Gorgeous! I love this! Thank you for sharing!
Thanks so much for the tutorial, Lindsay! I dashed off to JoAnns to get some fleece and I am now proudly displaying pictures of my new sweater on my blog 🙂 ~Bethany
Wow, I am inspired!
Hey Lindsay…..I actually did make one of these for myself. I also made one for my 1 1/2 year old….she loved it so much that I had to bribe her to take it off, haha! I will send pics soon!
That is so gorgeous.
I just want to ask if the mesurments are in INCH or CM??
Hello Lindsay! I found your blog because I was looking for a laptop case tutorial. I got distracted by the simple gorgeousness of your shawl sweater and made one just now out of pale beige fleece and used a brooch instead of a button. Thank you for the easy-to-follow instructions and the inspiration! I love it!
çok güze olmuş .çok beğendim in turkey selamlar
i planned to make an nice sweater as a holiday gift to my mom, but never find the right pattern. here it is!
I just want you to know that I just made this delightful sweater. I reviewed it and posted pics on https://www.facebook.com/needleartistandcrafters.
Thank you so much for sharing this pattern
I just love this design and thanks for the tutorial….can’t wait to start. blessings, judyb
Love it! Love it! Love it!
I thinking of going to Goodwill and finding an XL or XXL mens wool sweater and felting it. I have an embroidery attachment for my sewing machine and it would be a lot of fun to do some pretty embroidery on it after cutting it out! And it would be even better (for me) if this were even a bit longer in the back and arms..that should be pretty easy to figure out. Great idea!!!
I liked it soooo much .this is gorgeous.
Came together quickly. I love it and made fingerless gloves to match too!