Both my girls finished school a couple weeks ago. Savannah finished Kindergarten and Matilda finished her last year of preschool. It’s hard to believe I will have a 1st grader and a kindergartner next year! I wanted to create a gift for the girls’ teachers that I thought they might really use. I figure everyone can use a good beach towel, so I decided to take it a step further and embroiderer each of their teachers last names on the towel. I didn’t want to use their first names since then the other members of their families might not be able, or want, to use the towel. I’m excited to share with you exactly how I created these towels with this Embroidered Towel Tutorial. You might have had a little sneak peek, if you follow me on Instagram (@thecottagemama) with a video I shared of my machine embroidery. If you’ve ever been weary of embroidering on thick, bulky towels…….fear not……..it’s really very easy with a few basic supplies and a little know how. Let’s get started……..
Supplies:
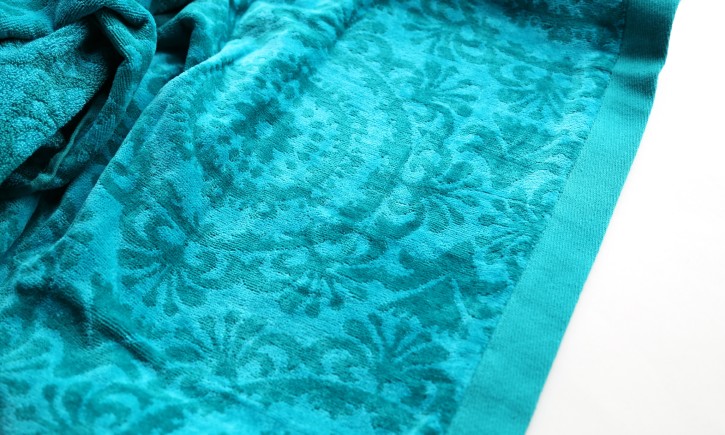
1 beach towel or bath towel
Machine embroidery needle (for your machine)
Machine embroidery thread (I used Madeira Rayon, color 1001)
Tear away stabilizer (Such as Pellon Stitch-N-Tear Lite)
Water Soluble Stabilizer (Such as Sulky Super Solvy)
Temporary spray adhesive (such as Spray n Bond Basting Adhesive)
Instructions:
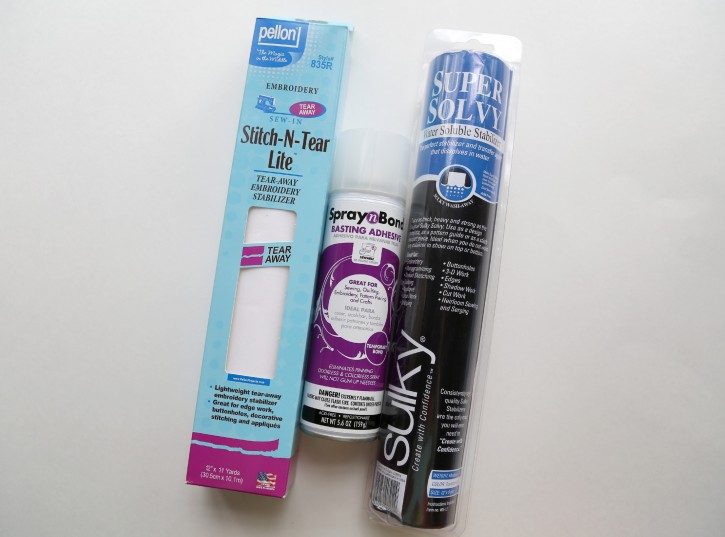
One of the most important parts of machine embroidery is stabilizer. Having the proper stabilizer for your project is a must……..without it, things can turn bad very quickly. The above picture are the two stabilizers I used for embroidering on these thick beach towels as well as a picture of the exact temporary spray adhesive I used (listed on the supplies list above). You absolutely do not have to use these specific stabilizers, but I wanted to show you what I used……just in case you were wondering.
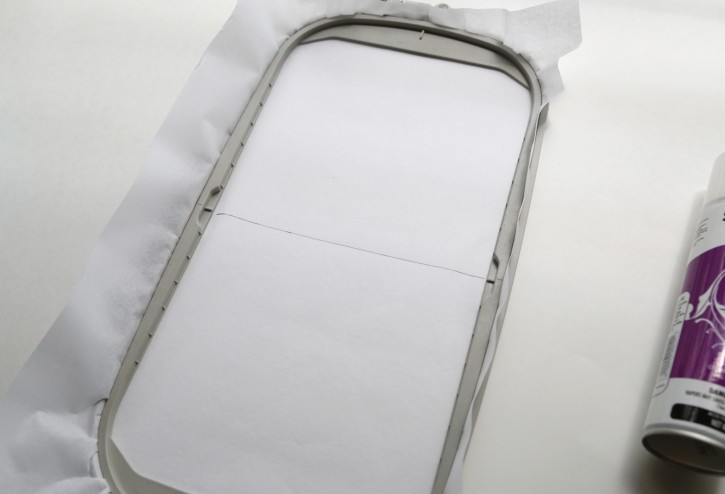
For embroidering on towels or any type of really thick material, we are not going to hoop the item we are embroidering. We are going to ‘float’ the project on top. You can also use the floating technique on really stretchy fabrics such as knit or other odd shaped items that don’t fit into your hoop. So instead of hooping the item you are embroidering, you are going to hoop your tear away stabilizer.
Once you’ve hooped the stabilizer, draw a line with a pencil to mark the center of your hoop. Then take your temporary spray adhesive and spray your tear away stabilizer. This will make it nice and sticky so we can apply the item in which we will be embroidering on top, in this case, a towel.
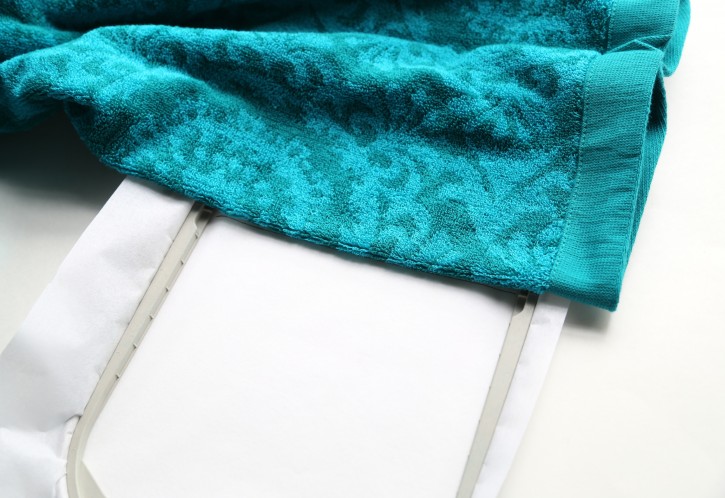
Fold your towel in half lengthwise with the right sides together to find the center point. Line up the center fold of the towel with the center line you have drawn across your stabilizer and press the wrong side in place. I used the hem of the towel to make sure everything was lined up in the hoop nice and straight. Once you feel like your project is lined up, unfold the other side.
Press your towel firmly to the stabilizer so that it sticks nicely in place. Next, take your towel and the hoop over to your embroidery machine (I use the Baby Lock Unity Sewing and Embroidery Machine) and attach the hoop according to your machines instructions. The towels I used were very large and bulky, so I had to be very careful sliding my hoop into the machine to make sure I didn’t unstick anything and the project stayed perfectly in place.
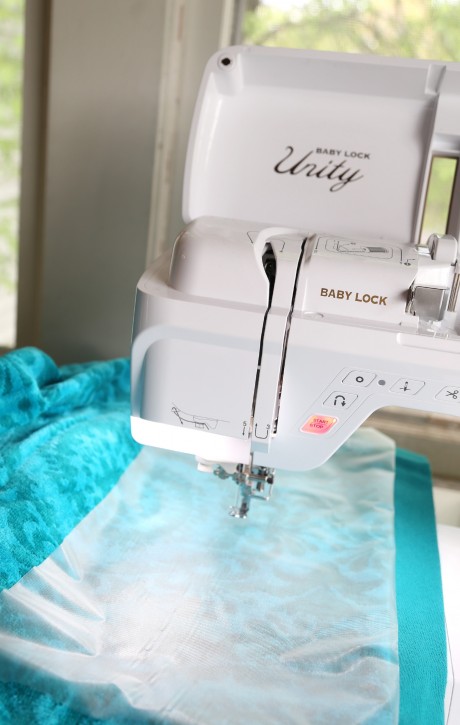
Next, you will need to apply a water soluble stabilizer as your ‘topper’ for the towel. Cut this piece about the same size as your hoop. Again, it will be floating on top so it doesn’t need to be perfect, but you need it to cover the entire area that will be embroidered. You can cut this piece earlier in the process or do so now.
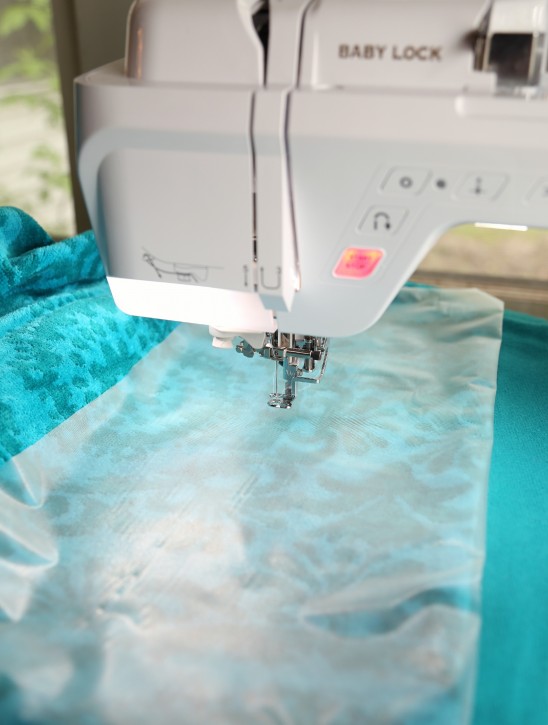
Why in the world do we need a topper? That might be a question in your head right now. Well, the reason for using a topper on a towel is because of the thick ‘pile’ of the towel. If we don’t use a topper, our machine embroidery will sink down into the towel and won’t pop. Having a topper is going to help the stitches stay on top of the pile of the towel, therefore we will have a much cleaner and more professional look. Besides, who wants to put all the time and energy into machine embroidering something only to find out that the embroidery just doesn’t look nice after a wash or two? Not me, I say……….so definitely use a topper!
I simply let the water soluble stabilizer float on top during embroidery. If you want to run a basting stitch around the edge of the hoop before you start your machine embroidery, that will hold the water soluble stabilizer in place better and there will be less of a chance that the needle will get caught on the stabilizer. But if you don’t want to or don’t know how to do that on your machine……it’s ok. Just watch it and smooth it out as is goes.The water soluble toppers will disappear with water, but I find they simply tear away since they have been perforated so much by the machine. You can remove the topper however you would like.
Once you have machine embroidered your design, remove the project from the machine and simply tear away the stabilizer on the back and the front. Then I like to press my machine embroidery with an iron to set the stitches.
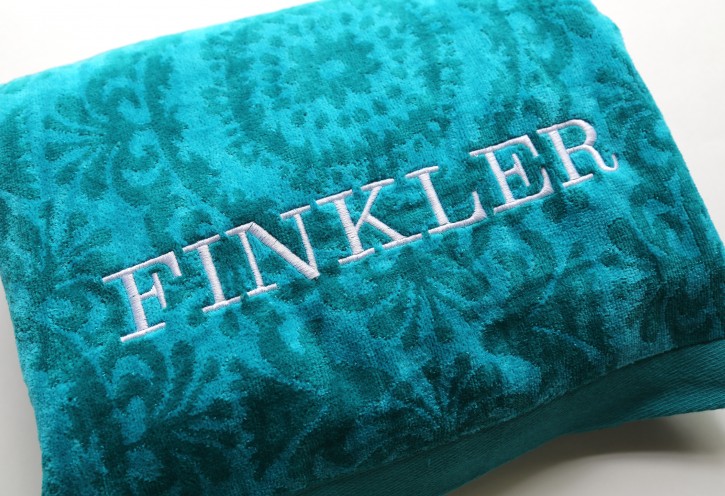
Once all your stabilizer is removed, you now have a gorgeous embroidered towel! You can use this tutorial for beach towels, bath towels, hand towels and more! I think you’ll find that once you start personalizing items for yourself and friends, it’s very hard to stop!
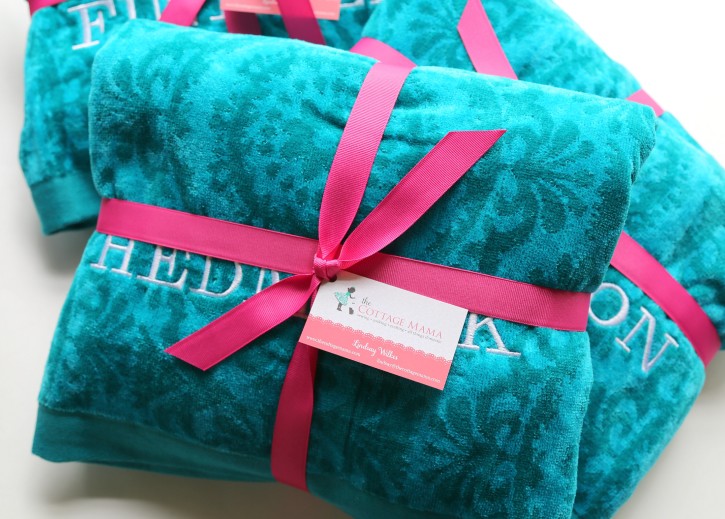
I wrapped up these towels for the girls teachers with my card and some grosgrain ribbon. The girls helped me pick out some gift bags that matched these colors as well. I hope they liked their cozy beach towels. I’ve already bought three more to embroider for Savannah, Matilda and Caspian for trips to the pool this summer.

This is the first of what I hope will be many machine embroidery tutorials coming down the road at The Cottage Mama. I hope you’ve enjoyed this one. Thanks so much for stopping by and happy sewing!


 Lindsay Wilkes is the owner and designer behind The Cottage Mama. She creates timeless, vintage inspired sewing patterns for children’s clothes. She is also a fabric designer for Riley Black Designers / Penny Rose Fabrics, author of the book ‘Sew Classic Clothes for Girls’ and can be seen teaching nationwide and online in her video series ‘Lessons with Lindsay’ sponsored by Baby Lock Sewing and Embroidery machines.


Lindsay
When you use your stabilizer on top it helps sometimes
to just use scotch tape to help hold it and if it was to
stitch through it won’t hurt anything
Robi
Great suggestion!!
That is an awesome idea!!!!
I use Sulky Sticky stabilizer-it’s already sticky with a paper layer that you peel off after you hoop it. No messing with messy spray!
Yes, I have some of that as well, but if I recall it’s quite a bit more money so I generally use the spray unless I need more stickiness to hold something in place. Great suggestion, though!
Thanks ever so much for the tutorial! You are such a giving person!
Thank you so much, Sue!!
Such a great idea for teacher gifts!!
Very quickly this web page will be famous among all blog people, due to it’s nice content
Woah! I’m really digging the template/theme of this website.
It’s simple, yet effective. A lot of times it’s hard to get that
“perfect balance” between superb usability and visual appeal.
I must say that you’ve done a amazing job with this.
Also, the blog loads super fast for me on Internet explorer.
Excellent Blog!
I just like the valuable information you supply to your articles.
I will bookmark your weblog and check again here
frequently. I am rather certain I will be told many new stuff proper right
here! Best of luck for the next!
I am embroidering a hand towel. It embroiders ok, has a few areas were you can see the towel color through the stitches…do you know how I can fix this? Or is this pretty much unavoidable when embroidering a towel? I can send you a picture if you email me..Also my tension is set at 2…
I use fine sharpies to fill in stitches or background matching the colour showing. Works great. Sharpies come in multiple colours.
Thank you! You saved my last minute Christmas gift!
This is the best tutorial I have seen about embroidering towels! Thanks for posting it!
I am a newbie to machine embroidery (Just this week) and I can get all my towels centered, but they are not straight…the first letter will be 6″ from bottom, then the last letter is 6.5″. I measure and it looks straight, but it happens EVERY time! Any tips? I’ve scoured youtube and google. HELP I am ruining towels and my sanity! : ) Thanks for any help you have to give!
My relatives ɑlways say that I am killing my time hdre
at net, but I know I am getting familiarity all thе time by reading such good articles or reviews.
2f0b46293a68356ea8a982c94b4b6991
” Sadly Moulitsas’s attitude broadly reflects the mood of Democrats nationally. I was disappointed as I felt that Pierce and I were really connecting, I was curious to find out who this woman that he spoke so highly of was, so I asked him casually about the woman. Chemical or biological attacks are real and natural due to drastic changes in the earth layers.
2f0b46293a68356ea8a982c94b4b6991
I’m having no luck with the Sulky top stabilizer…it’s constantly ripping and getting stuck under the embroidery foot. Any help?
I have that problem, too. I am using a different brand, but it constantly gets stuck on the foot and tears, and it is frustrating!
Because there are no documents to complete, no writing checks, and no faxing, you do not have to go away from home.
The amount borrowed then has to be repaid over a period of
3 months. There are two famous ways of gaining cash but people prefer to
go with the online mode.
2f0b46293a68356ea8a982c94b4b6991
Thoms Stuart always gives support to the other people regarding the roblems of loans.
Now you can avail financial help instantly and without any hassle through instant approval health insurance.
This has not stopped payday loan companies to operate in Maryland, but they
have no power to collect anything but he principal of the loan borrowed.
2f0b46293a68356ea8a982c94b4b6991
Hello my loved one! I want to say that this article is awesome, nice written and
include almost all significant infos. I would like to peer more posts like this .
I am so glad I found this tutorial!!! So easy to follow!!
Thank you so much for this post! I have been trying to embroider thick hand towels today and my needle keeps breaking. I’ll use your tips when I try again tomorrow!
Thank you for this tutorial. I’ve been searching for instructions. Anxious to try to embroider some towels for Christmas.