
Happy Memorial Day! I hope you all have had a wonderful time this weekend celebrating all the men and women who have done so much for us and our country in the line of duty. And to any of you reading this who have served our county, I thank you from the bottom of my heart for all you do or have done. You are truly selfless human beings and are courageous beyond belief.
We have been lucky enough to have my dad visiting with us in from Italy this weekend. I think I’ve mentioned that he lives over in Tuscany, but in case I haven’t, he lives about half way in between Florence and Rome. It’s been about a year and a half since we’ve seen him and this was his very first time meeting Mr. Caspian Finn.
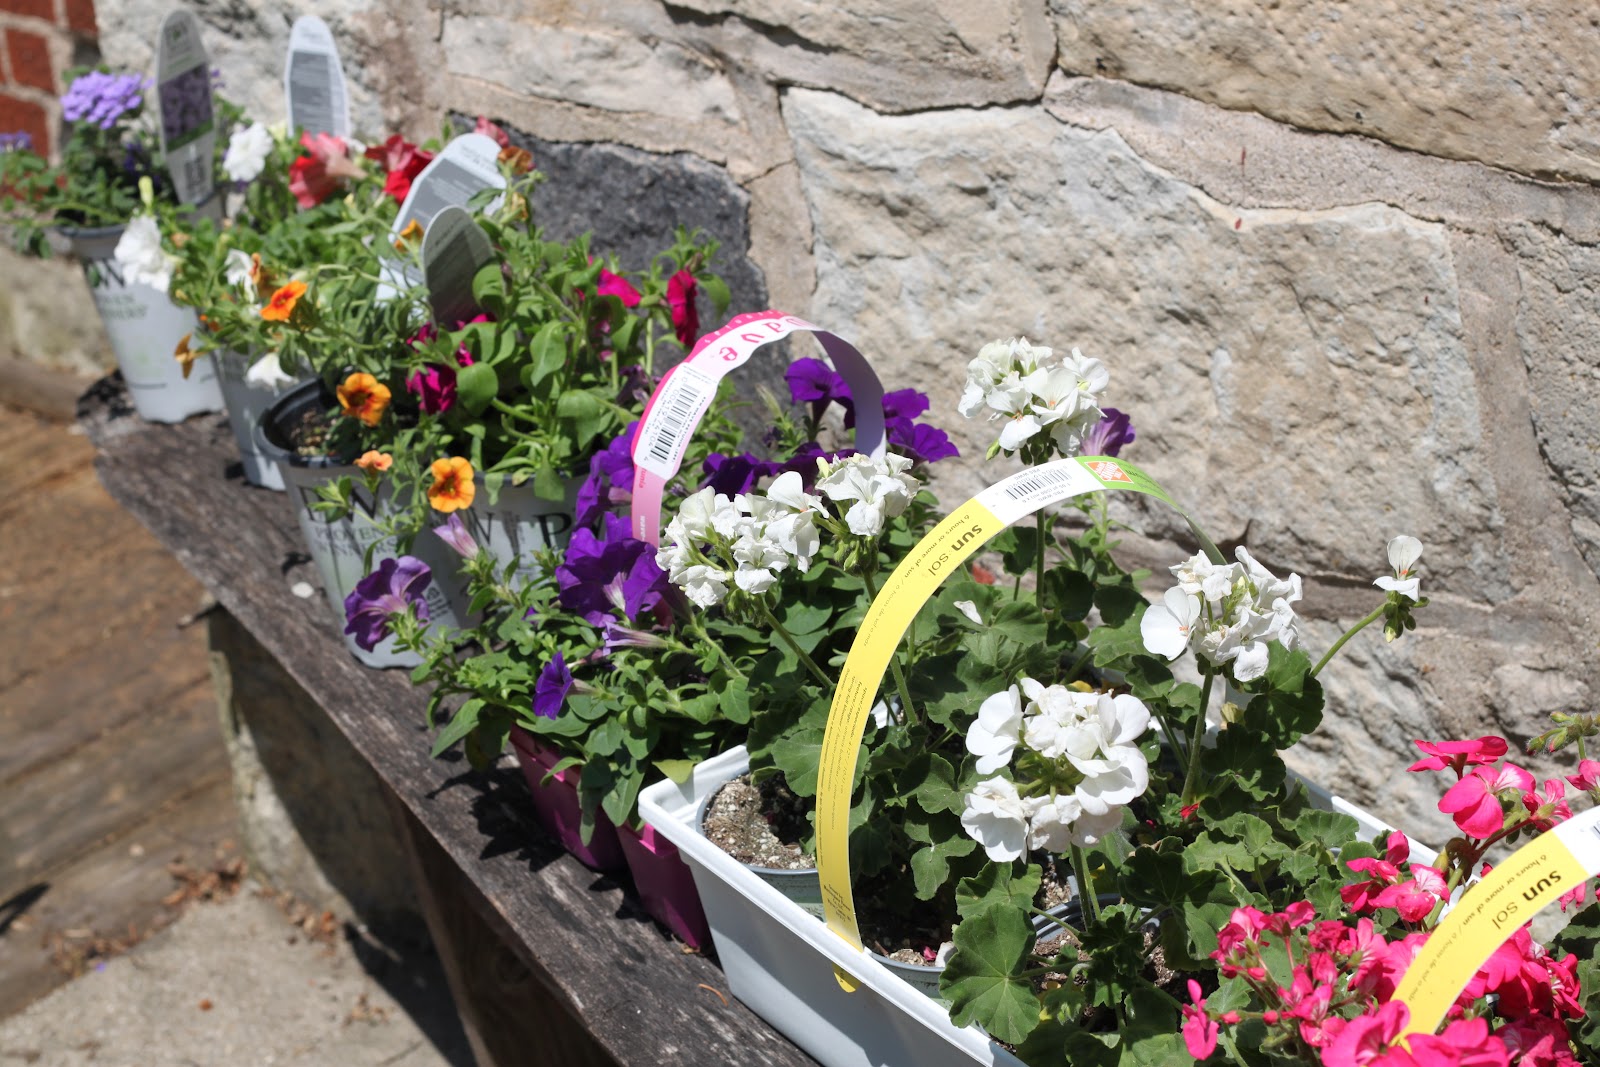
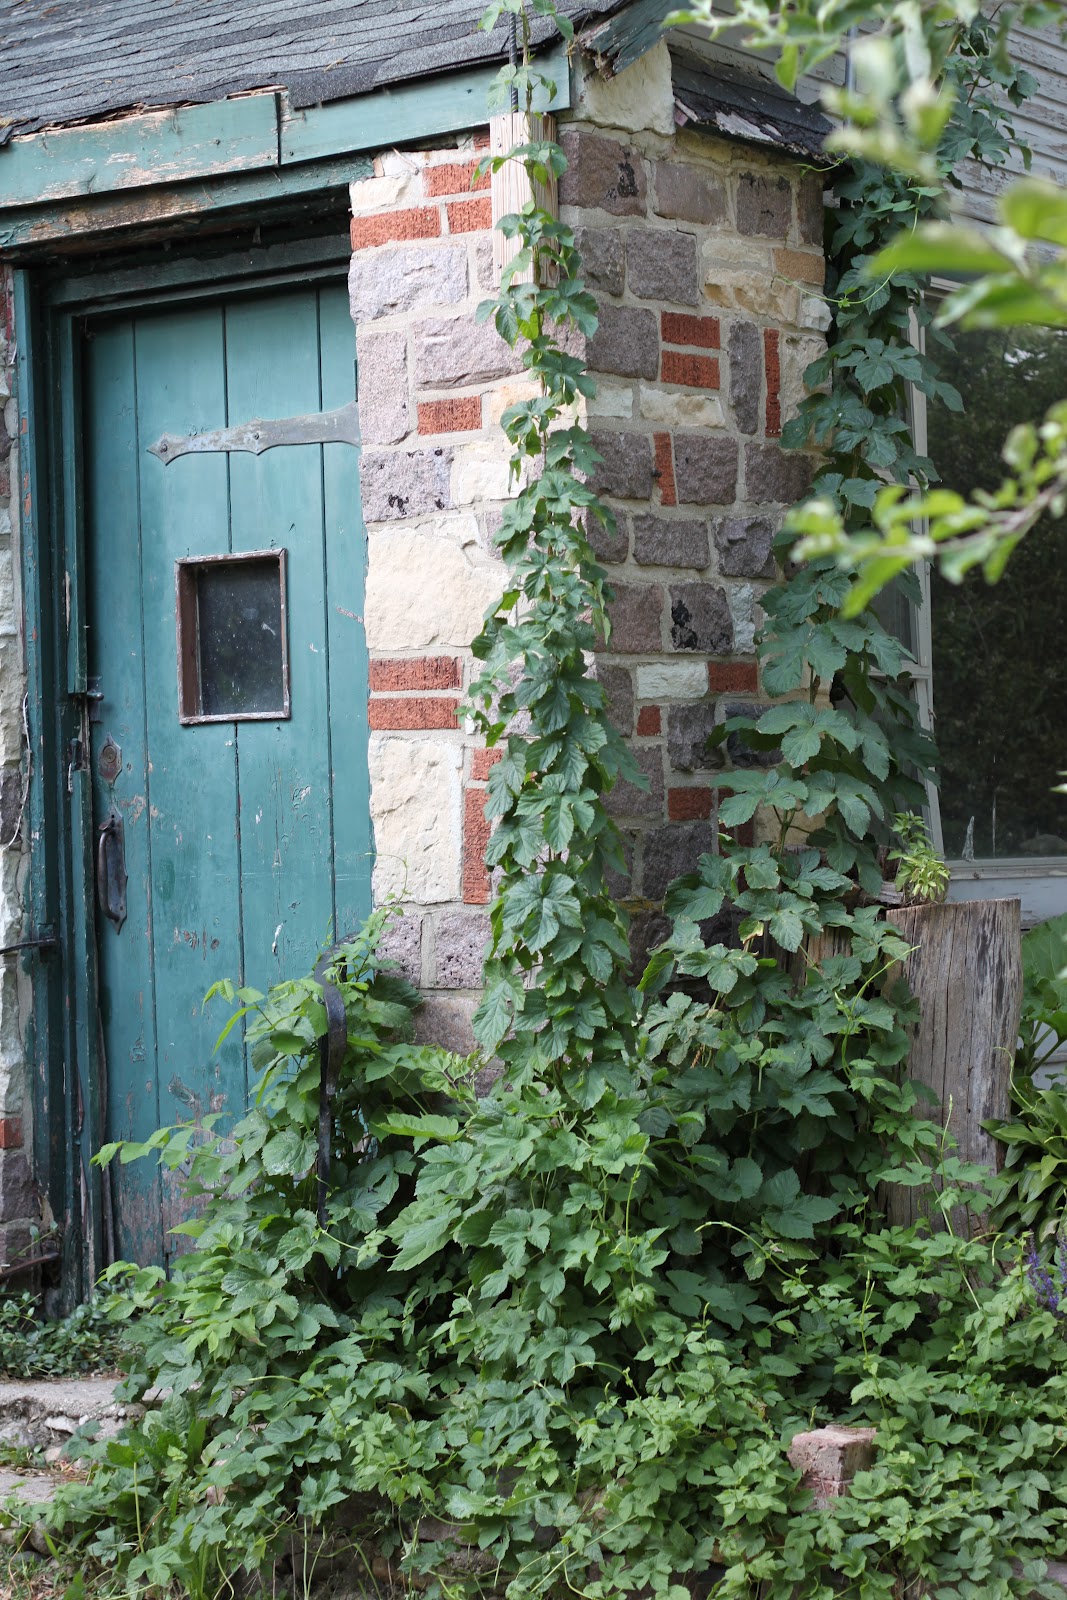
My dad has the ultimate green thumb. I’d say he’s probably the best gardener I know, so he has been helping us get the cottage garden back into tip-top shape. We have been so busy traveling as well as with work and the kids, that we really hadn’t gotten a chance to get out in the yard much.


You might say my dad has a mild obsession with gardening. I can remember many, many weekends as a child spent in our local garden centers. He always took such loving care of our plants and yard and I was very proud to have my friends come over to our house and spend time outside. I don’t consider myself to have a green thumb quite like him, but I love being able to have him here sharing a little bit of the knowledge he has gathered over the years.
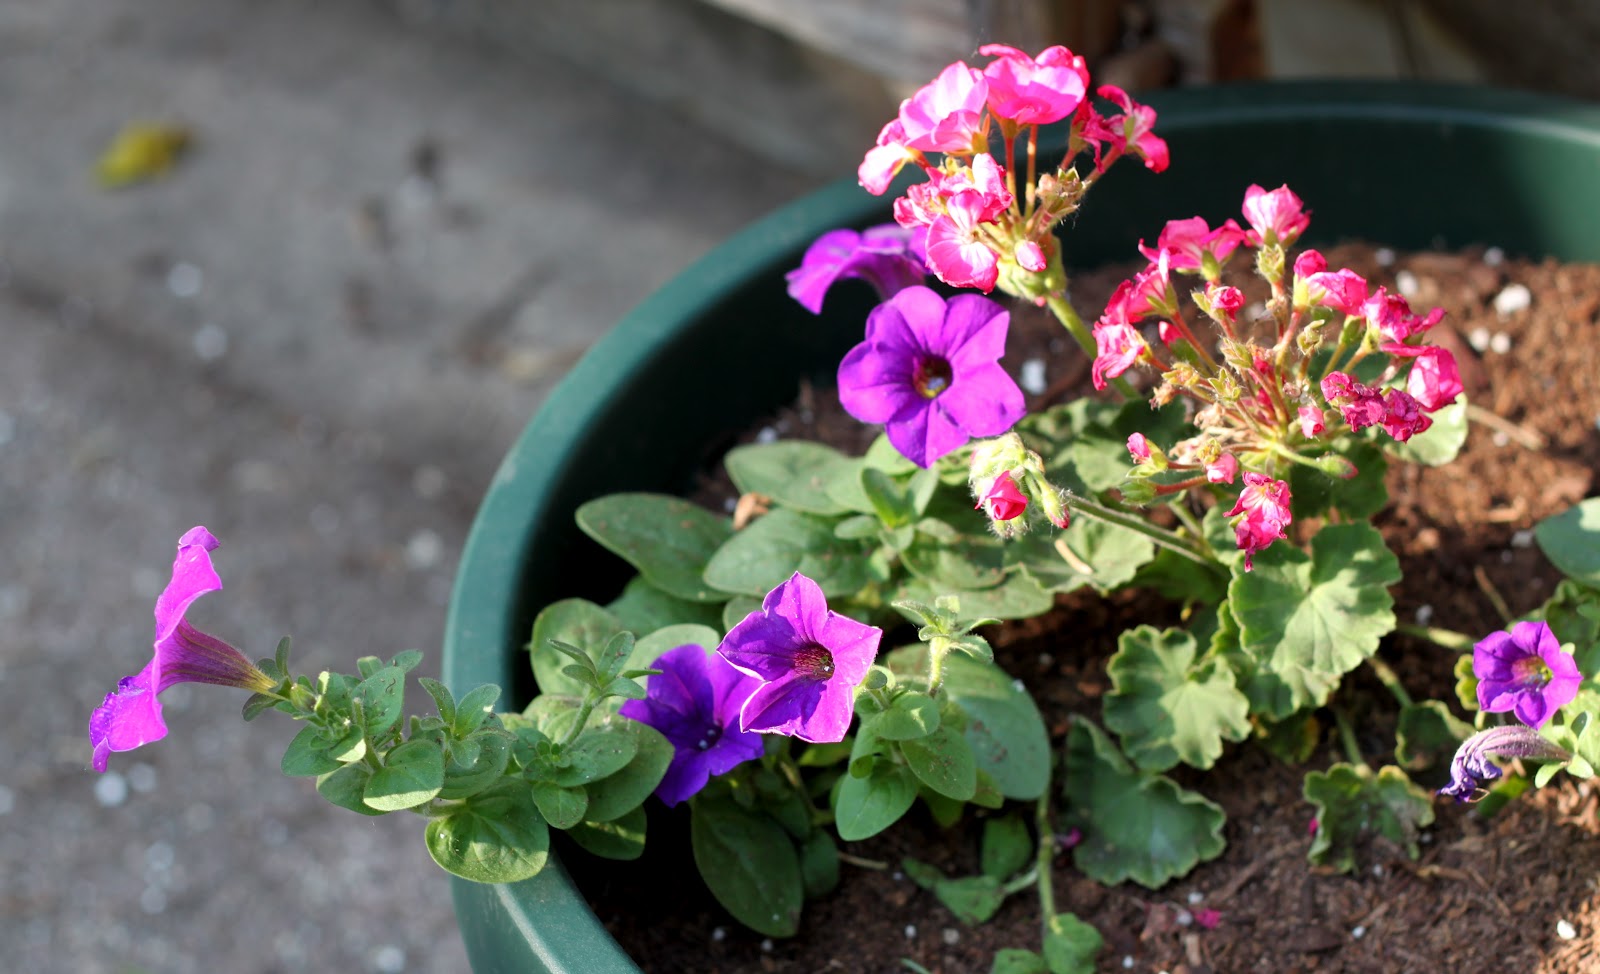
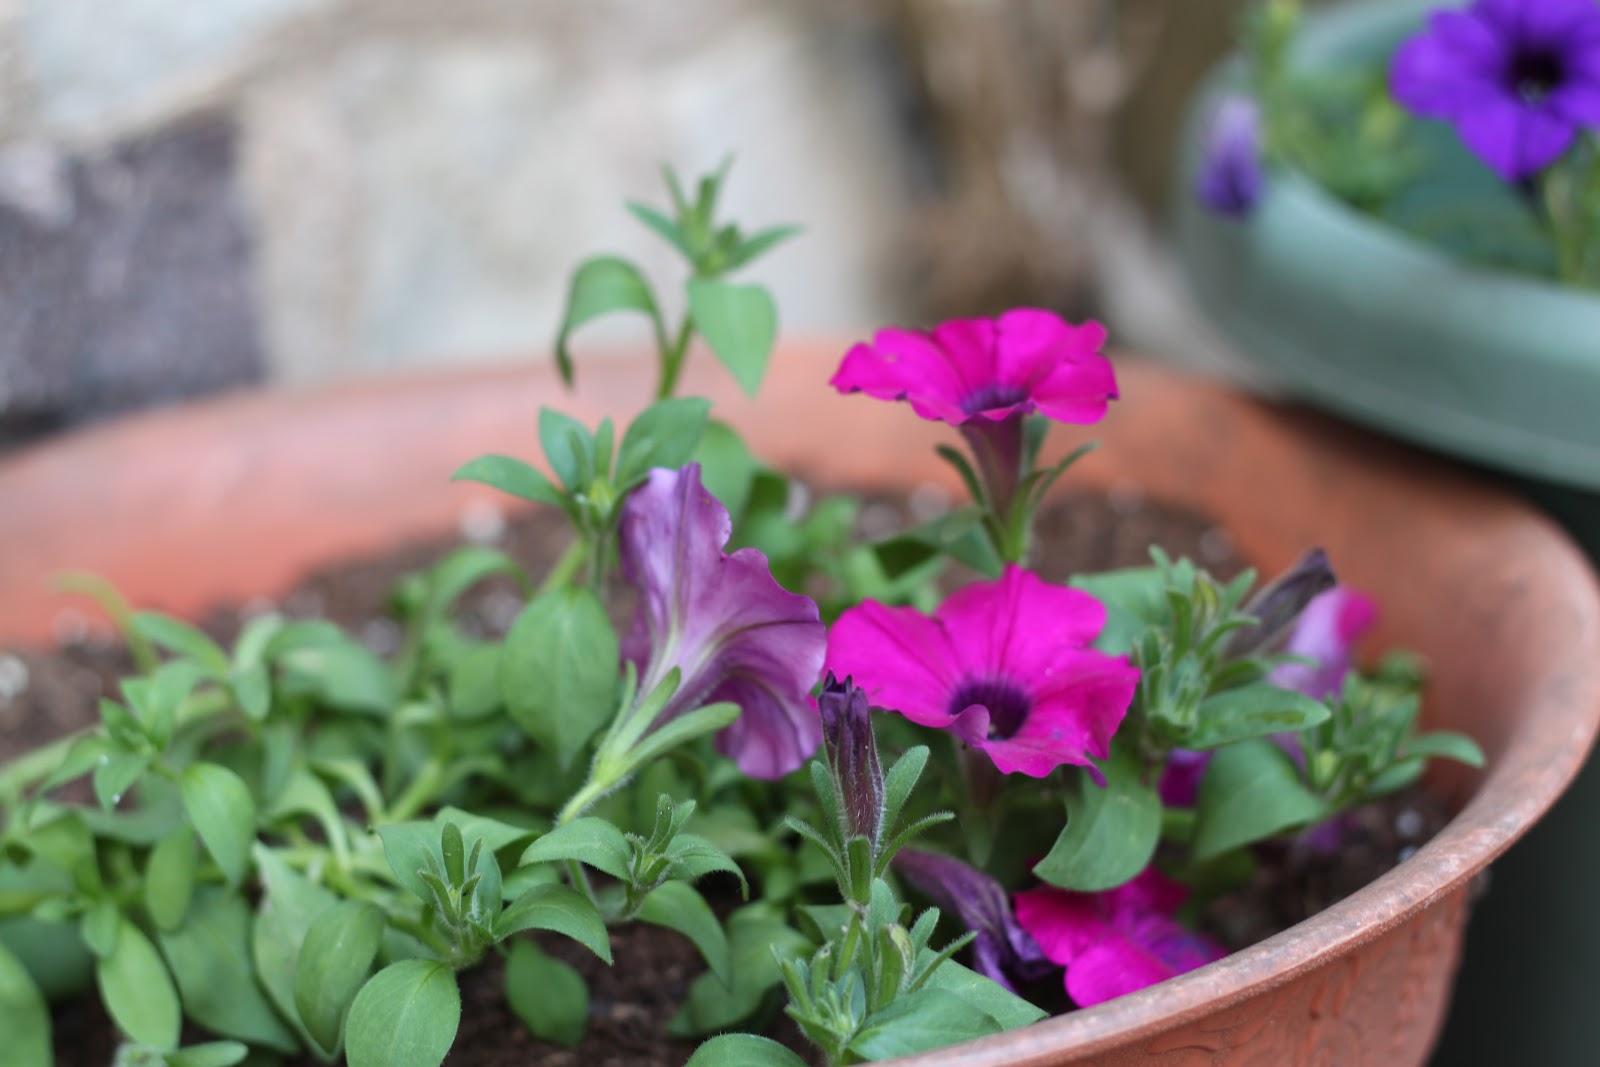
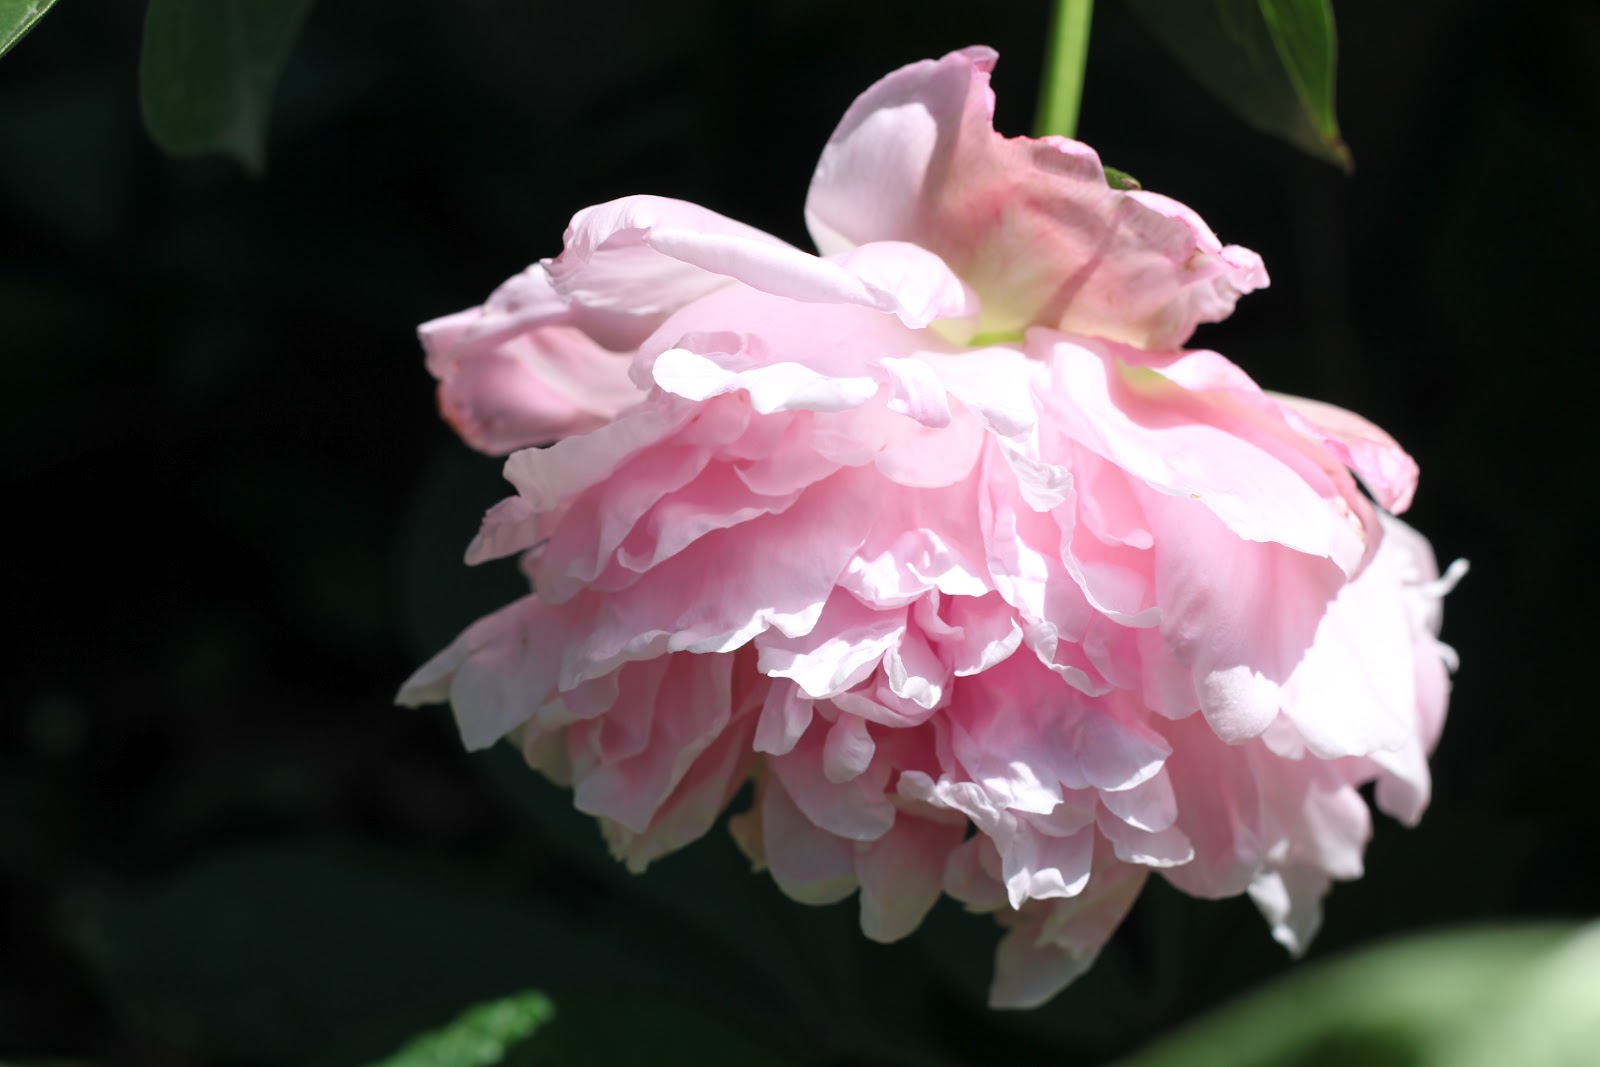
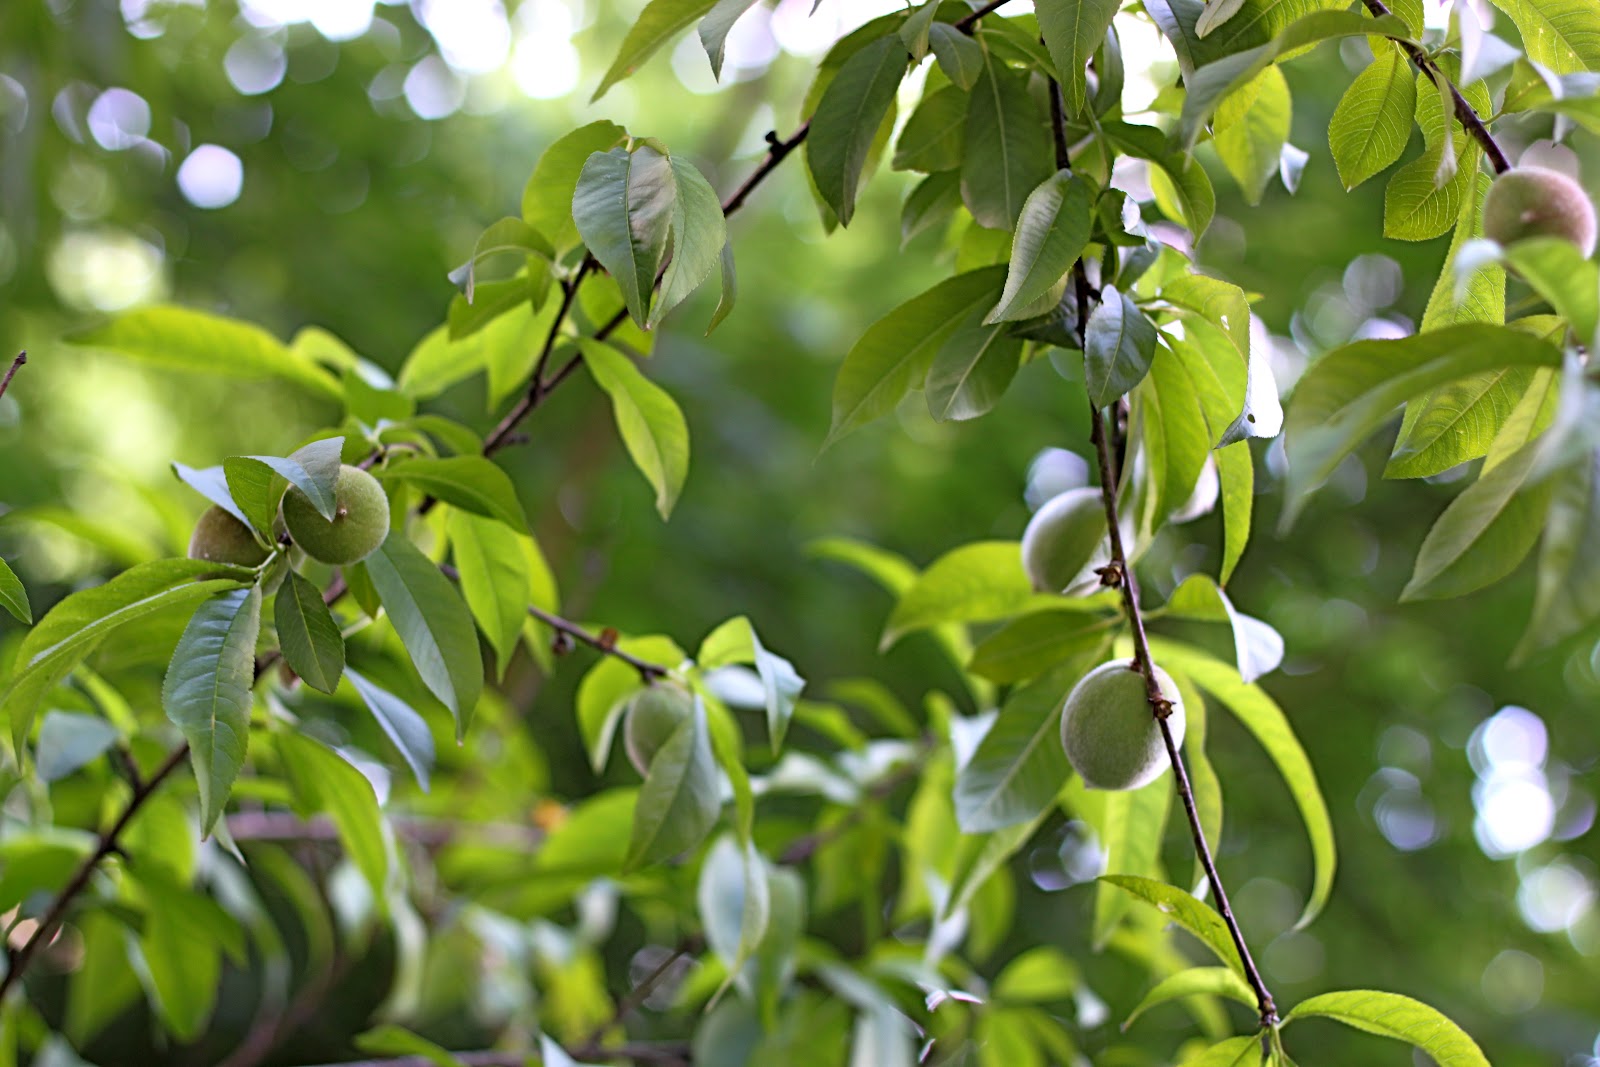
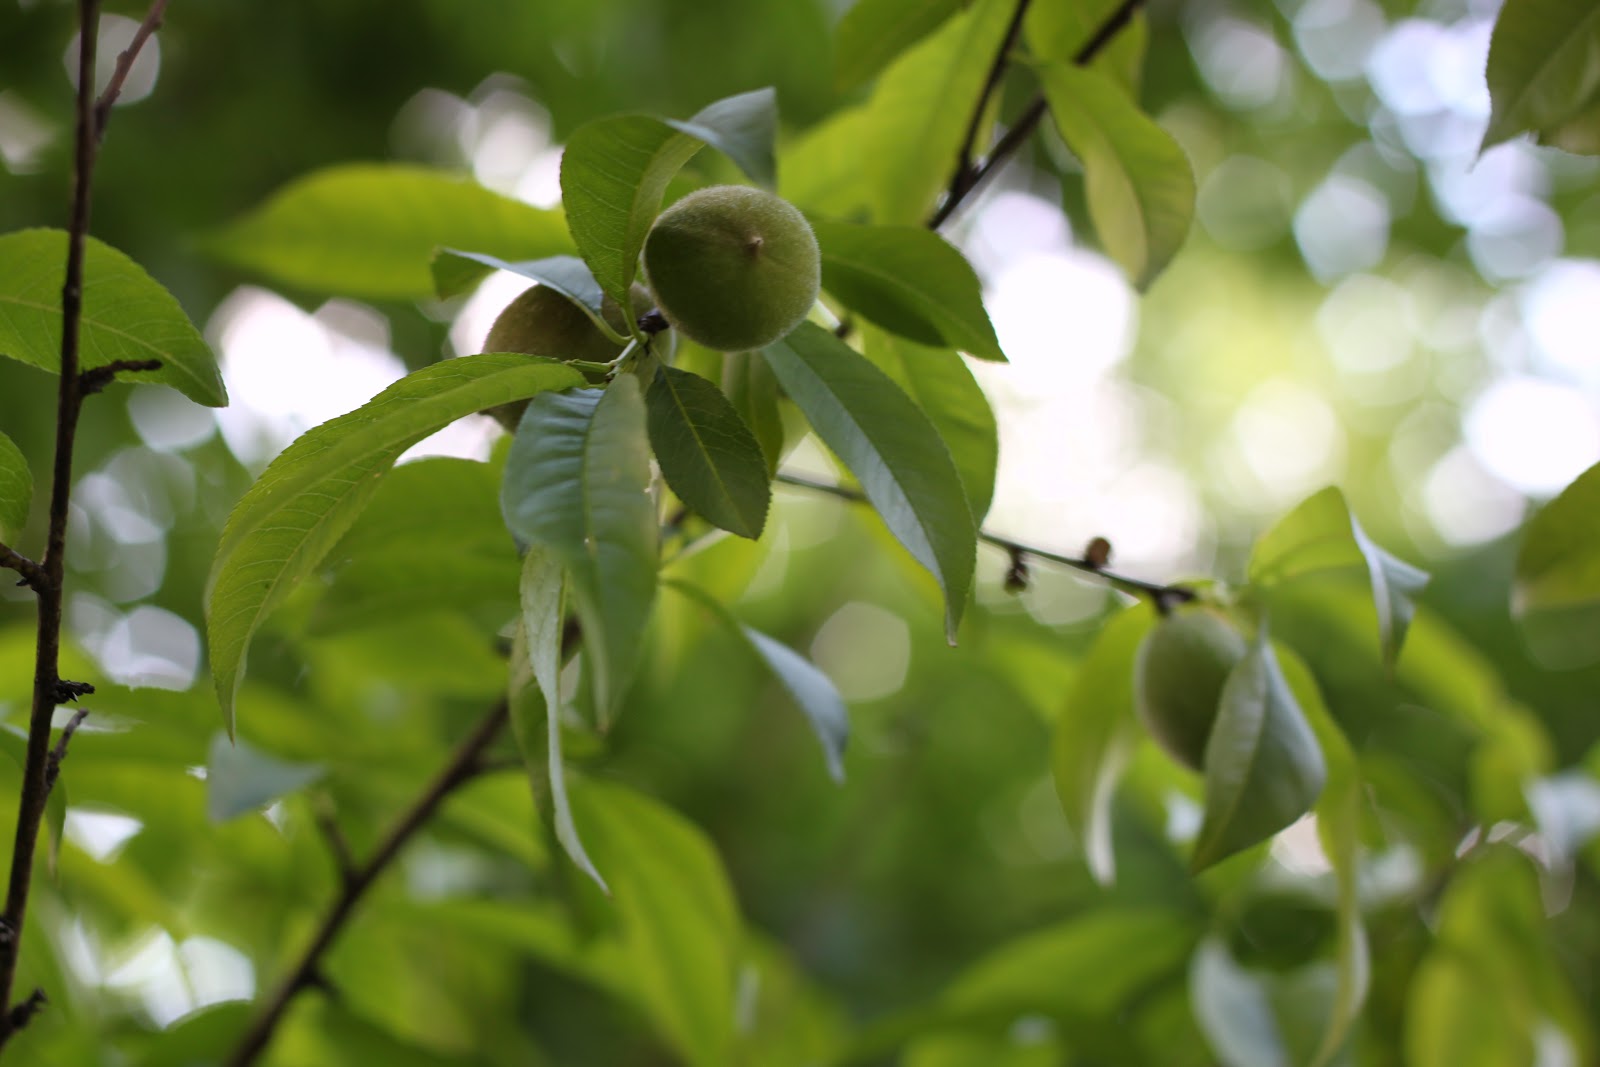
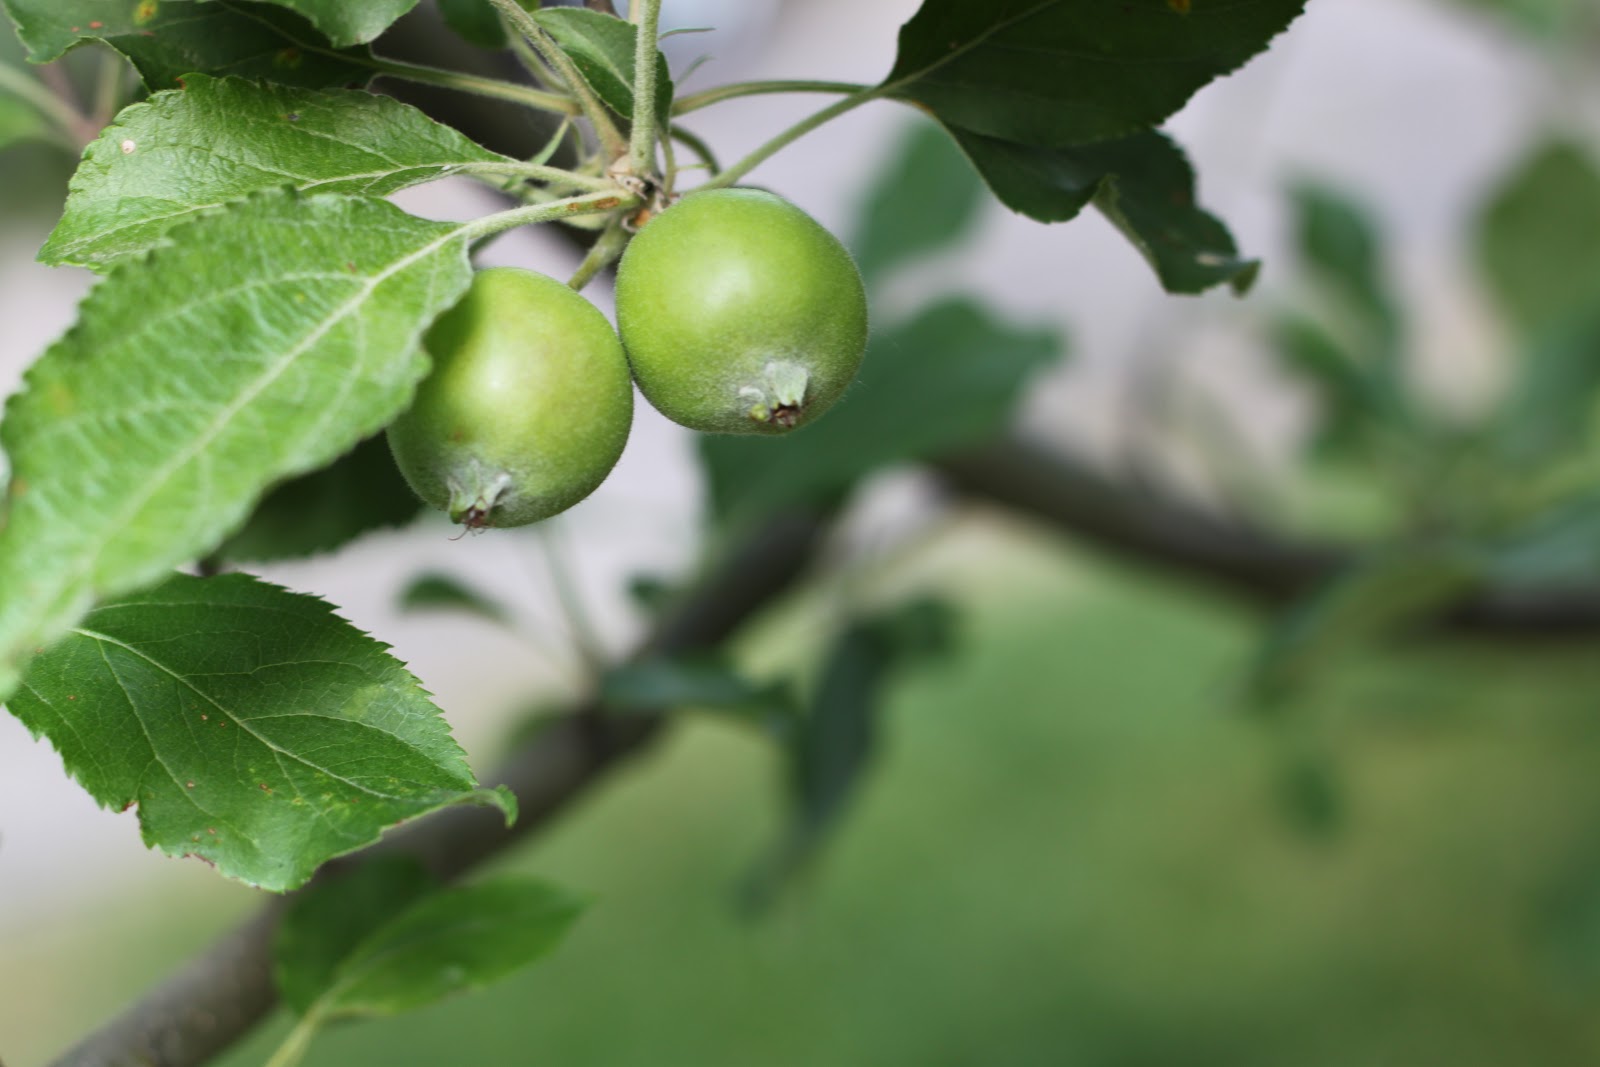
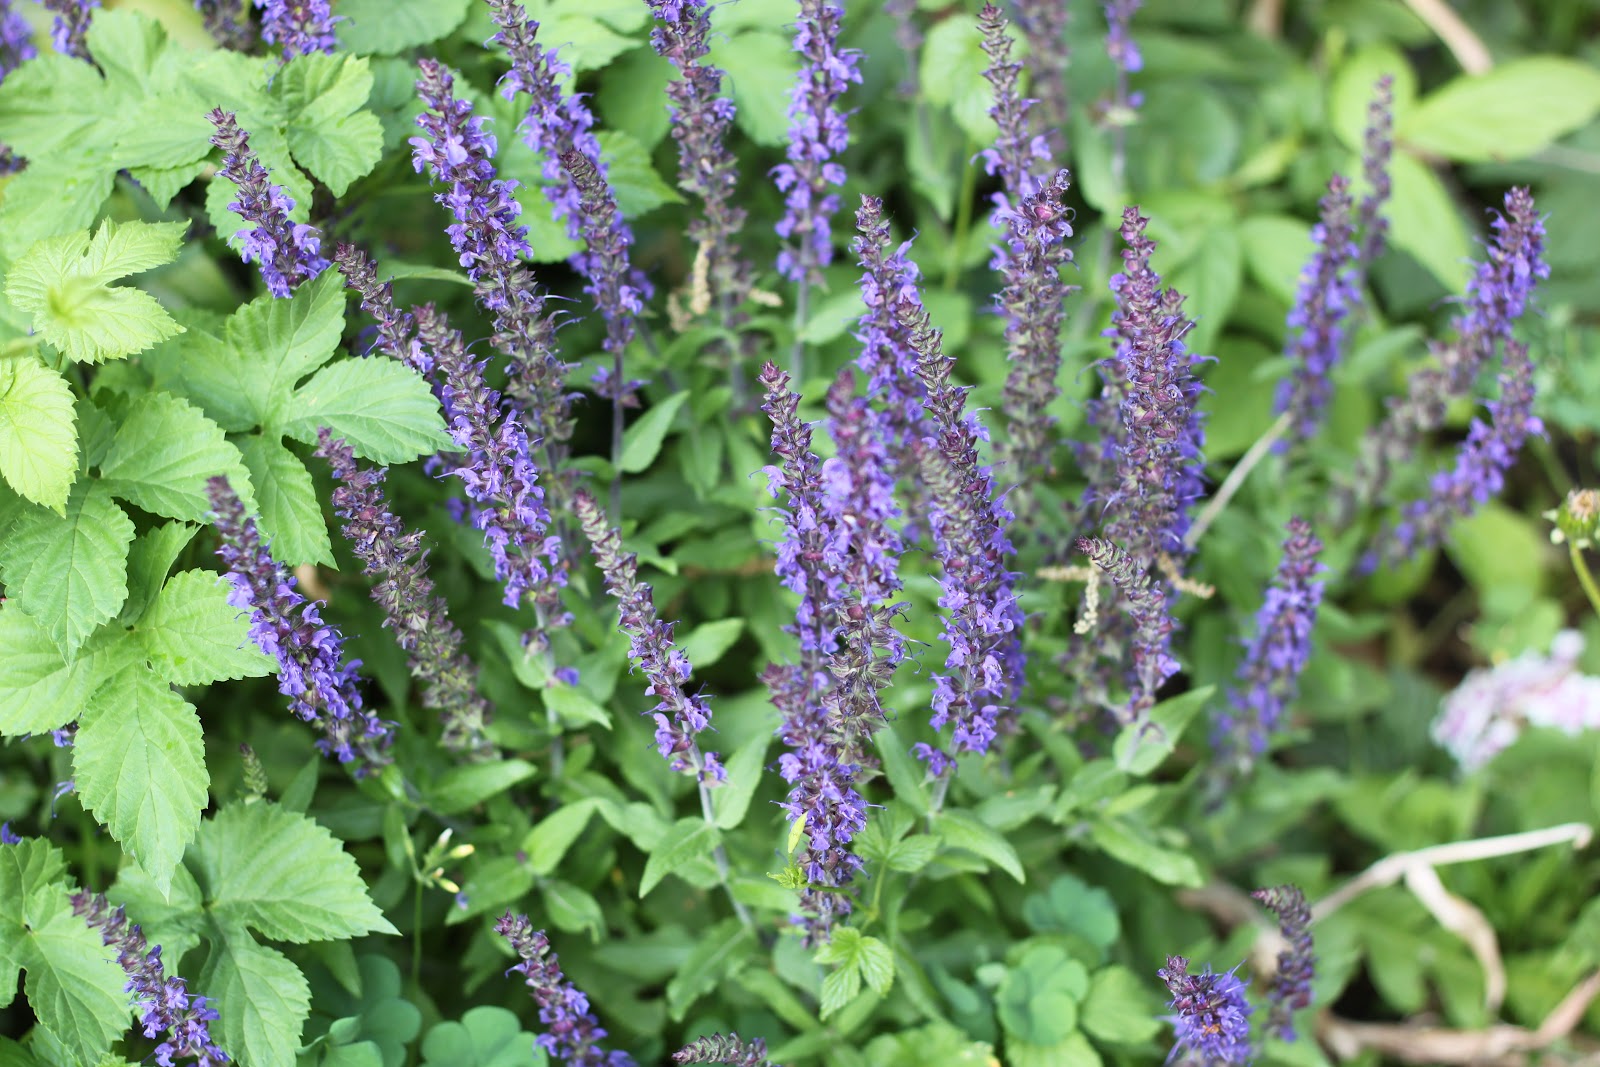
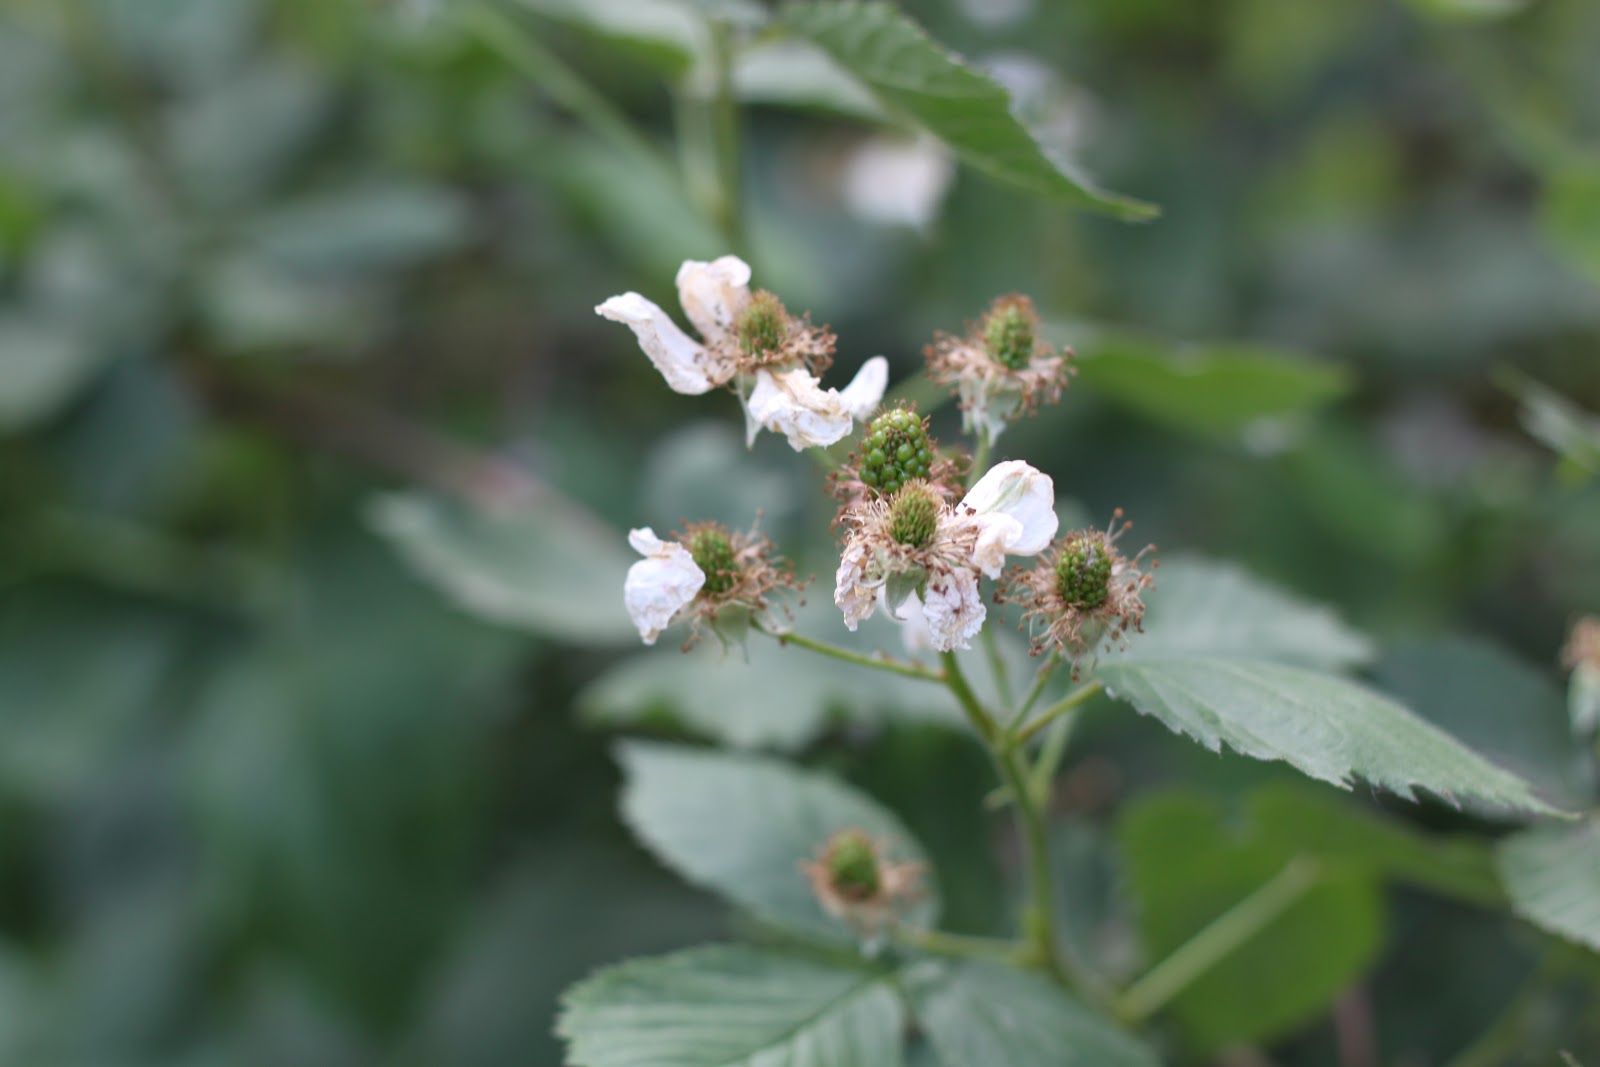
Memorial Day seems to mark the beginning of new growth here in Chicago and it’s when we can rest assured that we probably won’t get another freeze. Here are some pictures of a few of the wonderful things that are happening around the cottage garden……..


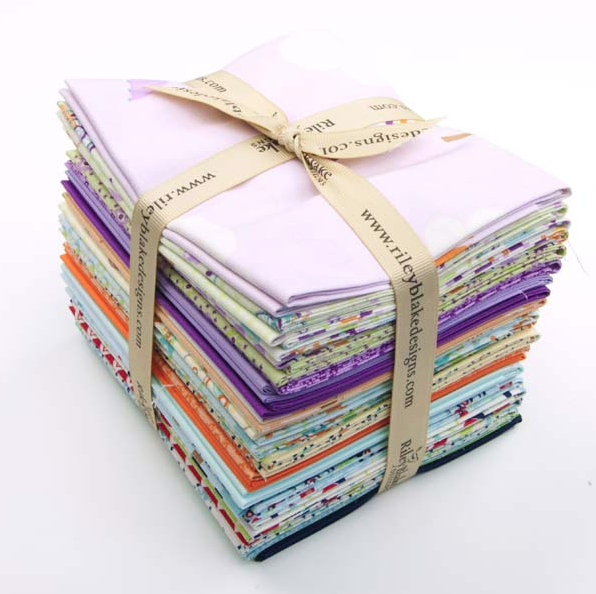


 Lindsay Wilkes is the owner and designer behind The Cottage Mama. She creates timeless, vintage inspired sewing patterns for children’s clothes. She is also a fabric designer for Riley Black Designers / Penny Rose Fabrics, author of the book ‘Sew Classic Clothes for Girls’ and can be seen teaching nationwide and online in her video series ‘Lessons with Lindsay’ sponsored by Baby Lock Sewing and Embroidery machines.


