
My name is Lindsay Wilkes from The Cottage Mama and I’m so excited to be here as part of the ‘Skirting the Issue’ series. What an amazing cause and I’m thrilled to be able to provide some handmade skirts for some very special little ladies. I make clothing for my children all the time and the idea of a child never having something special made just for them, breaks my heart. Every little one deserves to feel special, pretty, girly and loved and it is the least I can do to provide some skirts to hopefully bring those feelings into some little girls hearts.
In thinking about what kind of skirt I wanted to make, I was considering several things. I definitely wanted these skirts to wash well……..meaning no need to press. I wanted them to be light and summery with a bit of twirl factor, so I decided on making some Seersucker Double Layer Twirl Skirts. Want to make some yourself? Here’s the how-to……..
by Lindsay Wilkes from The Cottage Mama for Skirting the Issue
12 Month
Top Layer – 10” x 18”
Bottom Layer – 12” x 18”
Elastic – 18”
18 Month
Top Layer – 10.5” x 19”
Bottom Layer – 12.5” x 19”
Elastic – 18”
Size 2T
Top Layer – 11.5” x 20”
Bottom Layer – 13.5” x 20”
Elastic – 19”
Size 3T
Top Layer – 12.5” x 20”
Bottom Layer – 14.5” x 20”
Elastic – 19”
Size 4T
Top Layer – 13.5” x 21”
Bottom Layer – 15.5” x 21”
Elastic – 20”
Size 5
Top Layer – 14.5” x 21”
Bottom Layer – 16.5” x 21”
Elastic – 21”
Size 6
Top Layer – 15.5” x 21”
Bottom Layer – 17.5” x 21”
Elastic – 21”
Size 7/8
Top Layer – 16.5” x 22”
Bottom Layer – 18.5” x 22”
Elastic – 22”
Size 9/10
Top Layer – 17.5” x 22”
Bottom Layer – 19.5” x 22”
Elastic – 23”

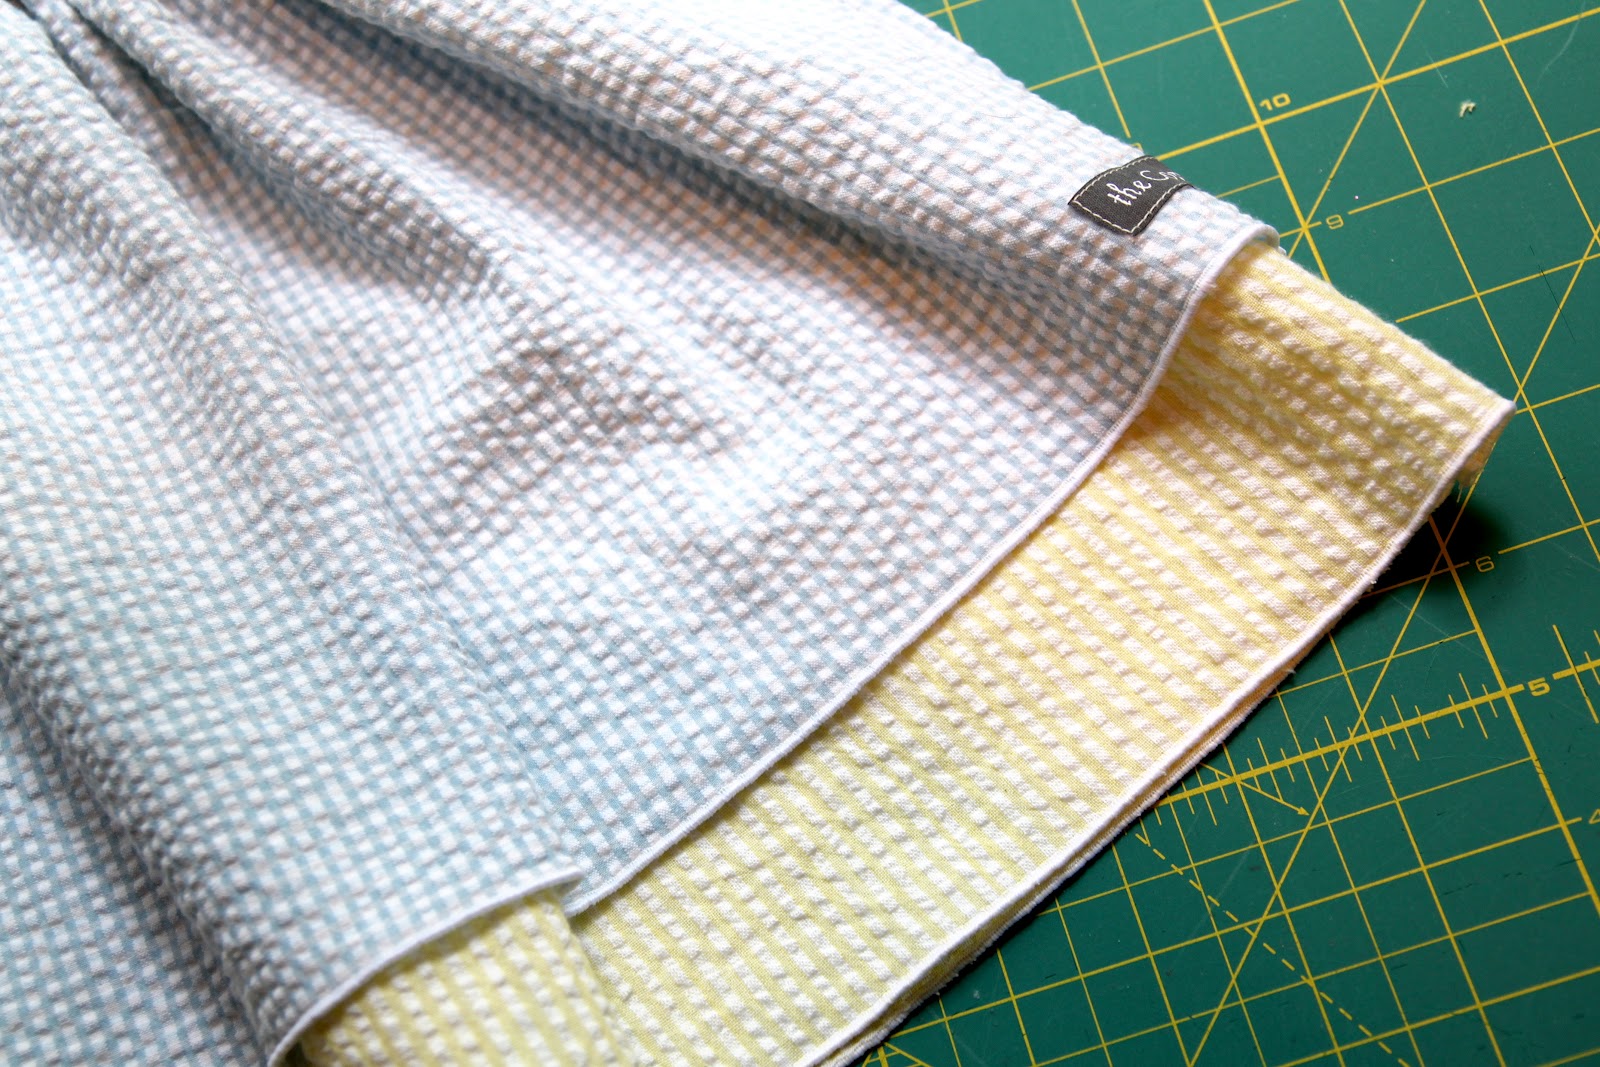
Cut your two layers (following cutting dimensions above).


Fold over the top of the skirt 1″ towards the wrong side of the fabric. Sew in place, leaving a 2″ opening.

Cut your elastic. If you don’t have a bodkin, I highly recommend one…….they make threading elastic so much easier. But if you don’t have one, just attach a safety pin to the end and that will work just fine.


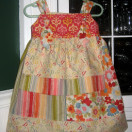
Here are some of my skirts ready to be sent off to some very special little girls. I had such a fun time sewing these this past weekend. The whole time I was just imagining these little girls receiving one of these skirts and knowing that someone had care enough about them to take the time to make them something. I cannot even imagine being a foster care child, but I hope that this little gesture will at least brighten their day to know that someone out there is thinking of them, praying for them and wishing they could send each one of them a big giant hug.

I encourage you to whip up several of these twirl skirts. I promise they don’t take much time at all and not only will it bring joy into the lives of some little girls, it will bring joy into your heart as well!
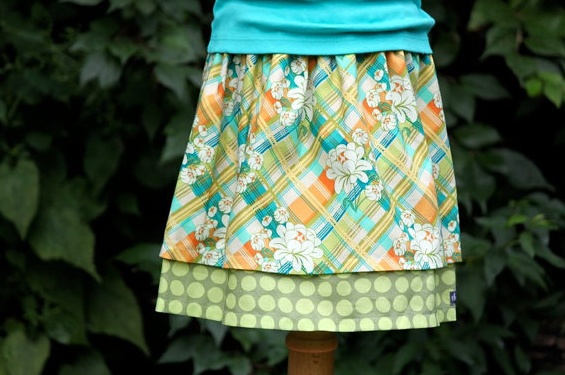
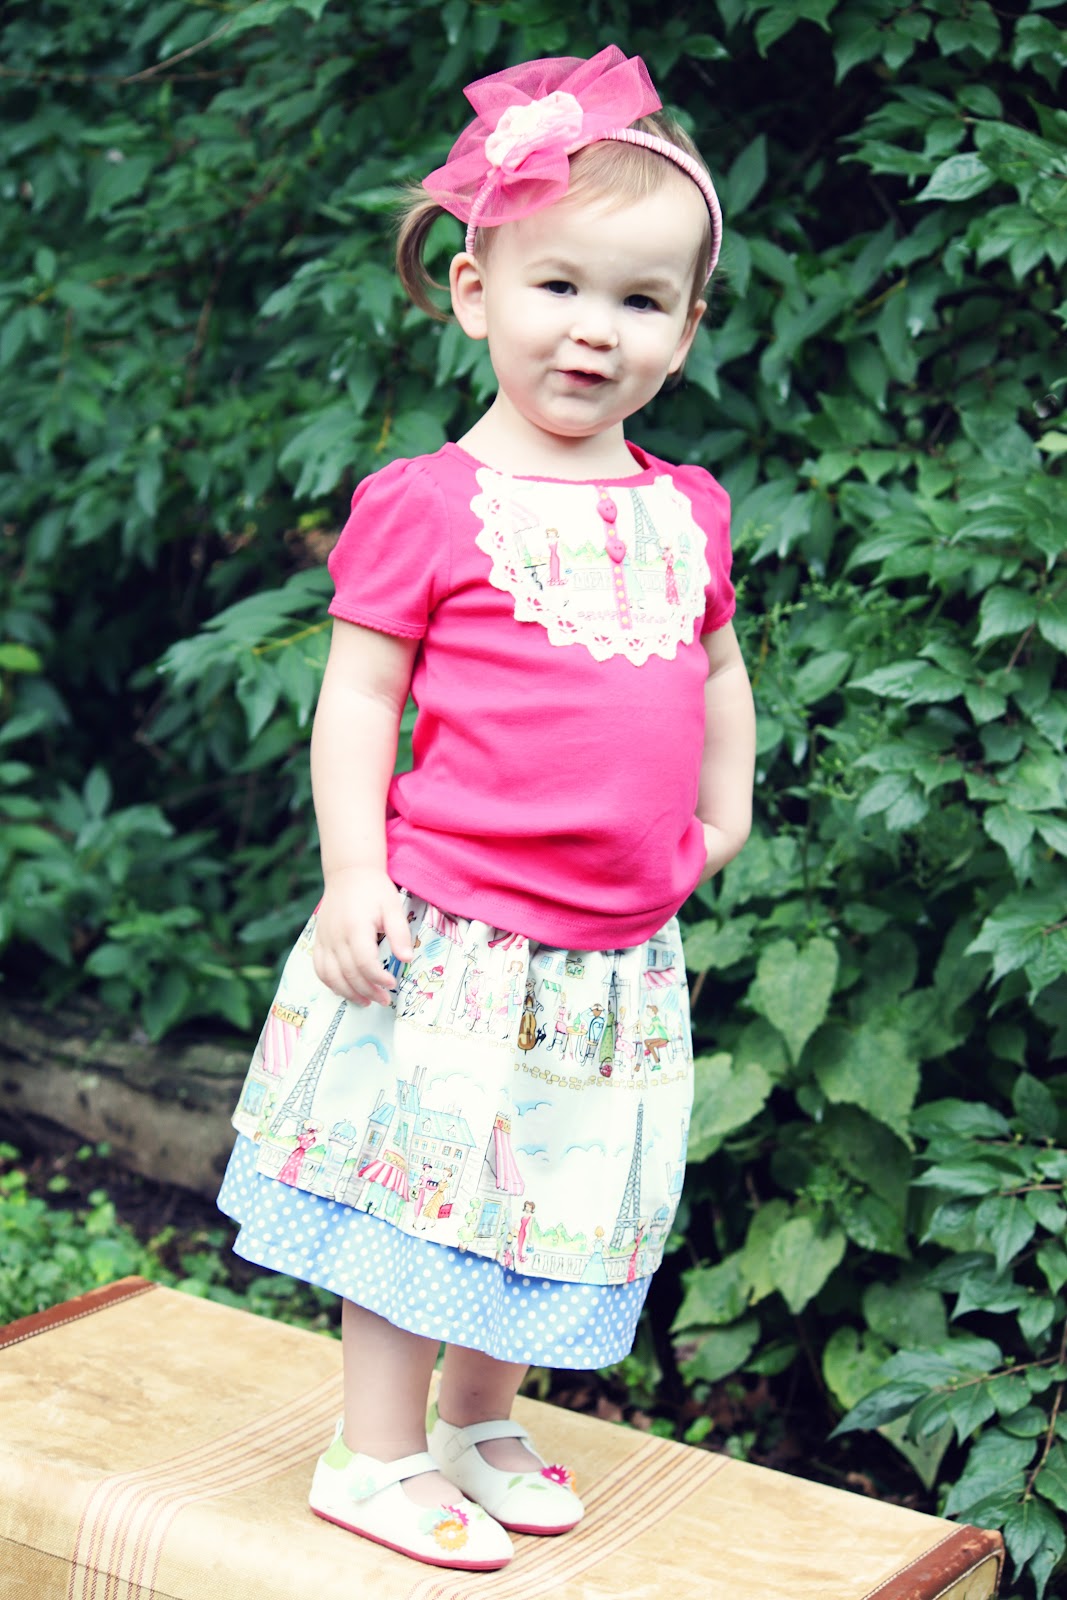
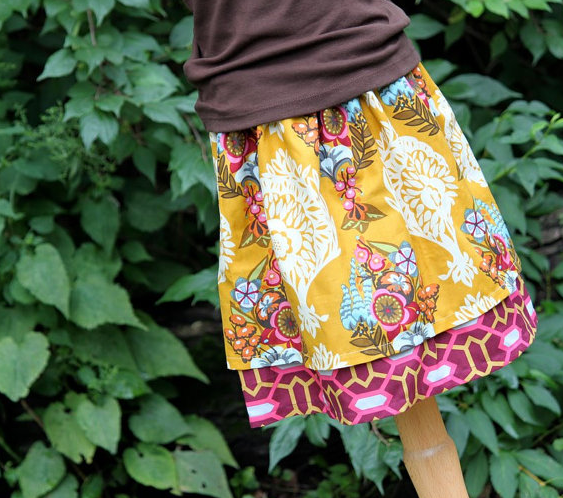
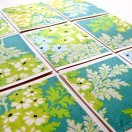
Here are some examples of these skirts made from designer quilting cotton:


 Lindsay Wilkes is the owner and designer behind The Cottage Mama. She creates timeless, vintage inspired sewing patterns for children’s clothes. She is also a fabric designer for Riley Black Designers / Penny Rose Fabrics, author of the book ‘Sew Classic Clothes for Girls’ and can be seen teaching nationwide and online in her video series ‘Lessons with Lindsay’ sponsored by Baby Lock Sewing and Embroidery machines.


Lindsay…..thank you so much for this tutorial!!! I just made my first skirt for Katie Mae this weekend. Now, I’ll have to try your tutorial and do a double layer! Thanks again, Jen C
Please help me out here “Sew each of the layers together at the side seam (wrong sides together)…” Wrong sides? I get the rest of it and love love love this skirt! Thanks again, B-)
This is so cute! I have alot of small one yard pieces so I’m sure I can make this. It is just wonderful you included sizes up to 10. Thank you very much. I love it!
This is just precious! As a Great Grandma to be of a little girl in January, I will surely be making some of these-thanks so much!
Thank you so much for this post. I want to let you know that I posted a link to your blog in Creative Busy Bee Craft Inspirations, under the Page 2 post on Oct. 02, 2012. Thanks again.
Thanks for another great pattern…will be looking for so seersucker next trip to the fabric shop. I remember my Granny making me dresses in seersucker…its a fabric I haven’t thought of for a long time.
Hugs Tanya
I LOVE seersucker! I even made a ring bearers pillow for beach themed weddings. Thanks for the guest tutorial; I’ve visited the blog and love what they do. Janet @ sagalohandmade.blogspot.com
Do you like DIY and are you searching for Scrapbook Material? If so, then you might be interested in our Yama DIY Ribbon. We are the leading ribbon company from China, we have vast selection in stock for your choice. Get Discount Ribbon here without any hesitation: http://www.yamaribbon.com
I have that bee ribbon in my stash! Got to try this.
Very cute! I had bought some fabric for Valentine’s gifts for a pattern I thought I still had & guess what – can’t find it so must of gotten rid of it. This will work great! Thanks!