So here we are…….we’ve got our quilt top pieced together and our quilt backing ready to go. Now for the most exciting part, actually quilting our quilt. Mom (Grandma Jane) has some really great information and tips in Part 4 of the ‘Will It Go Round In Circles?’ quilt pattern and tutorial. If you’ve ever been a little nervous about quilting, don’t worry, Grandma Jane will show you the way…….
Part 4: Quilting
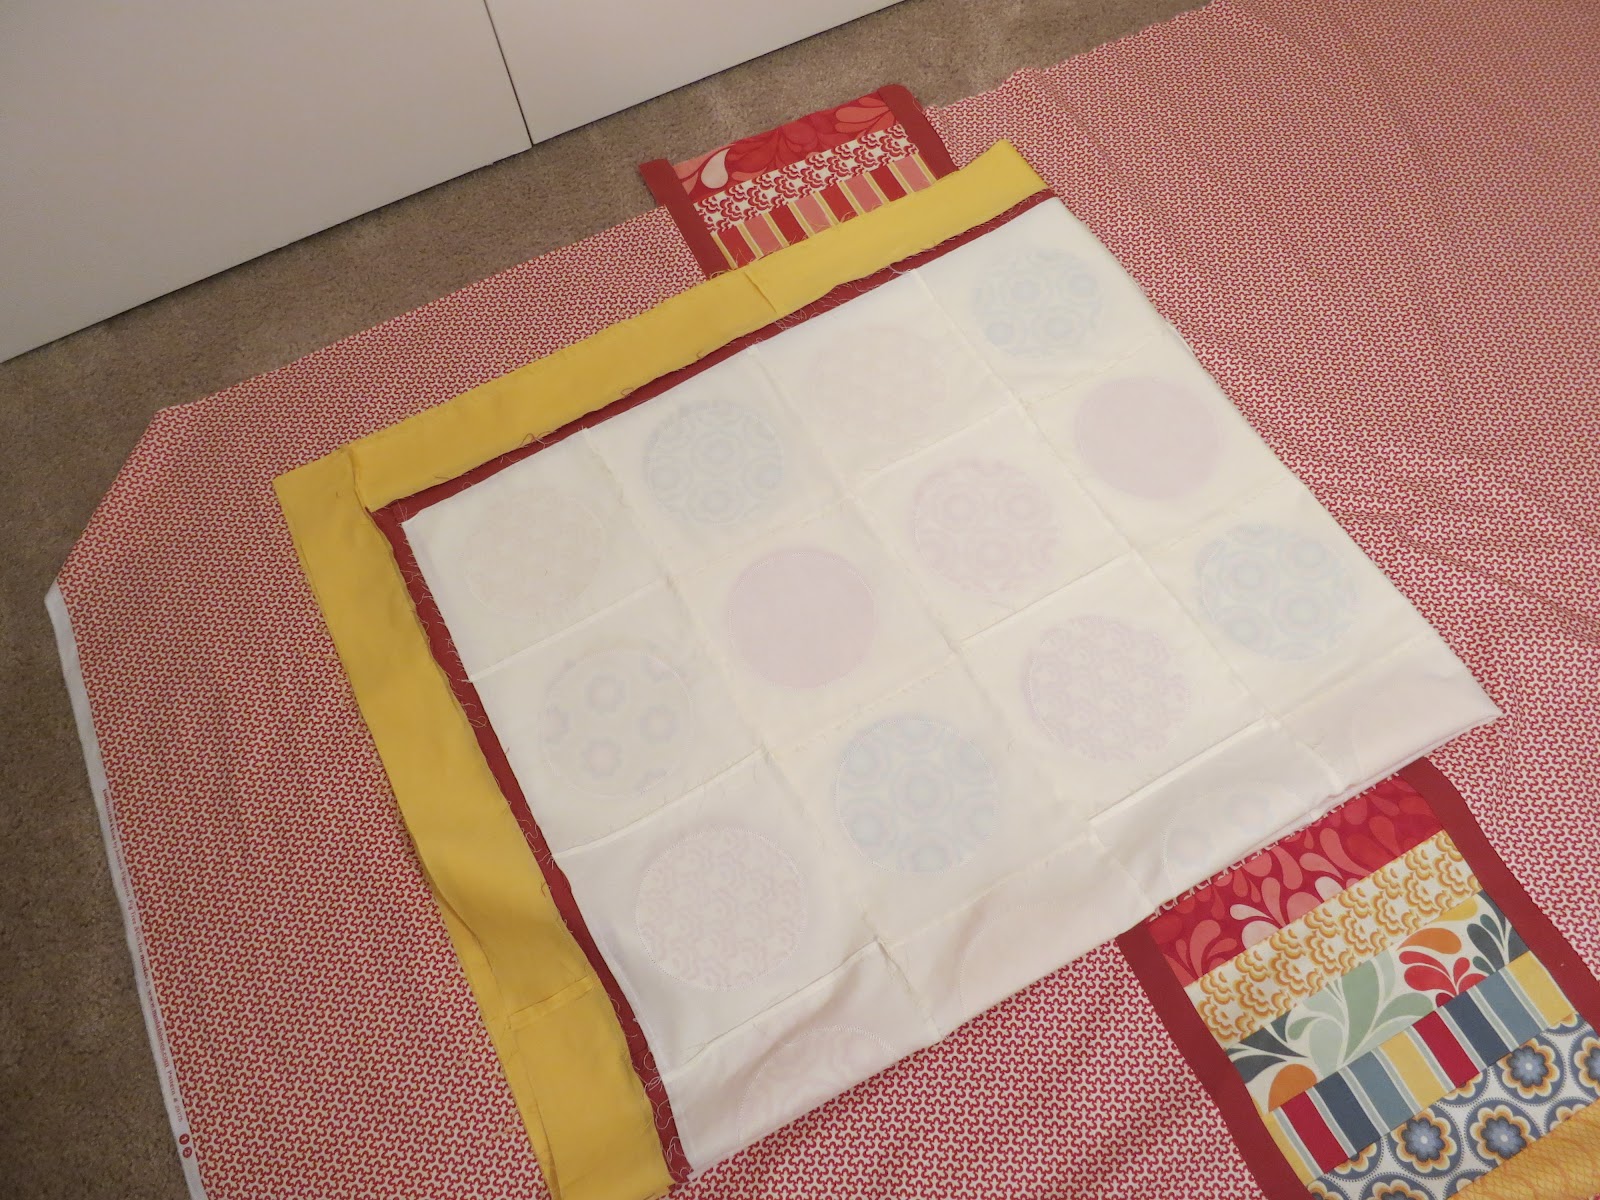
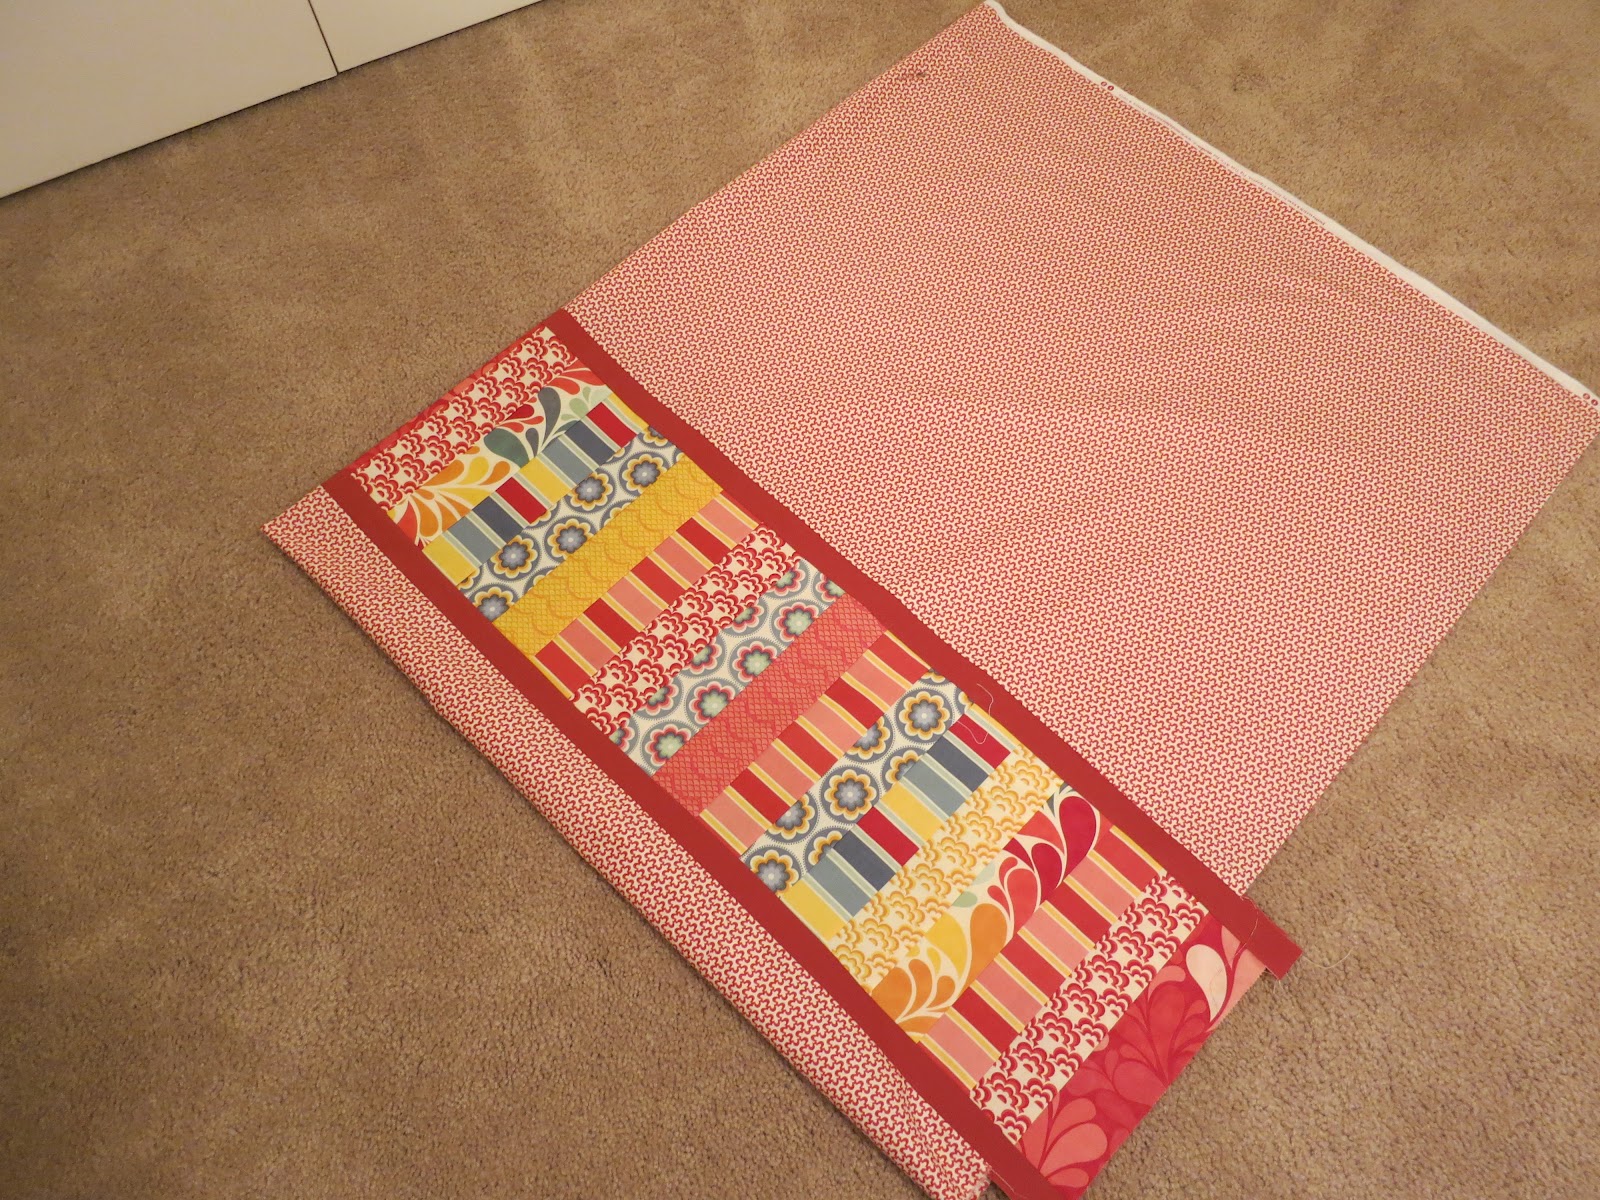
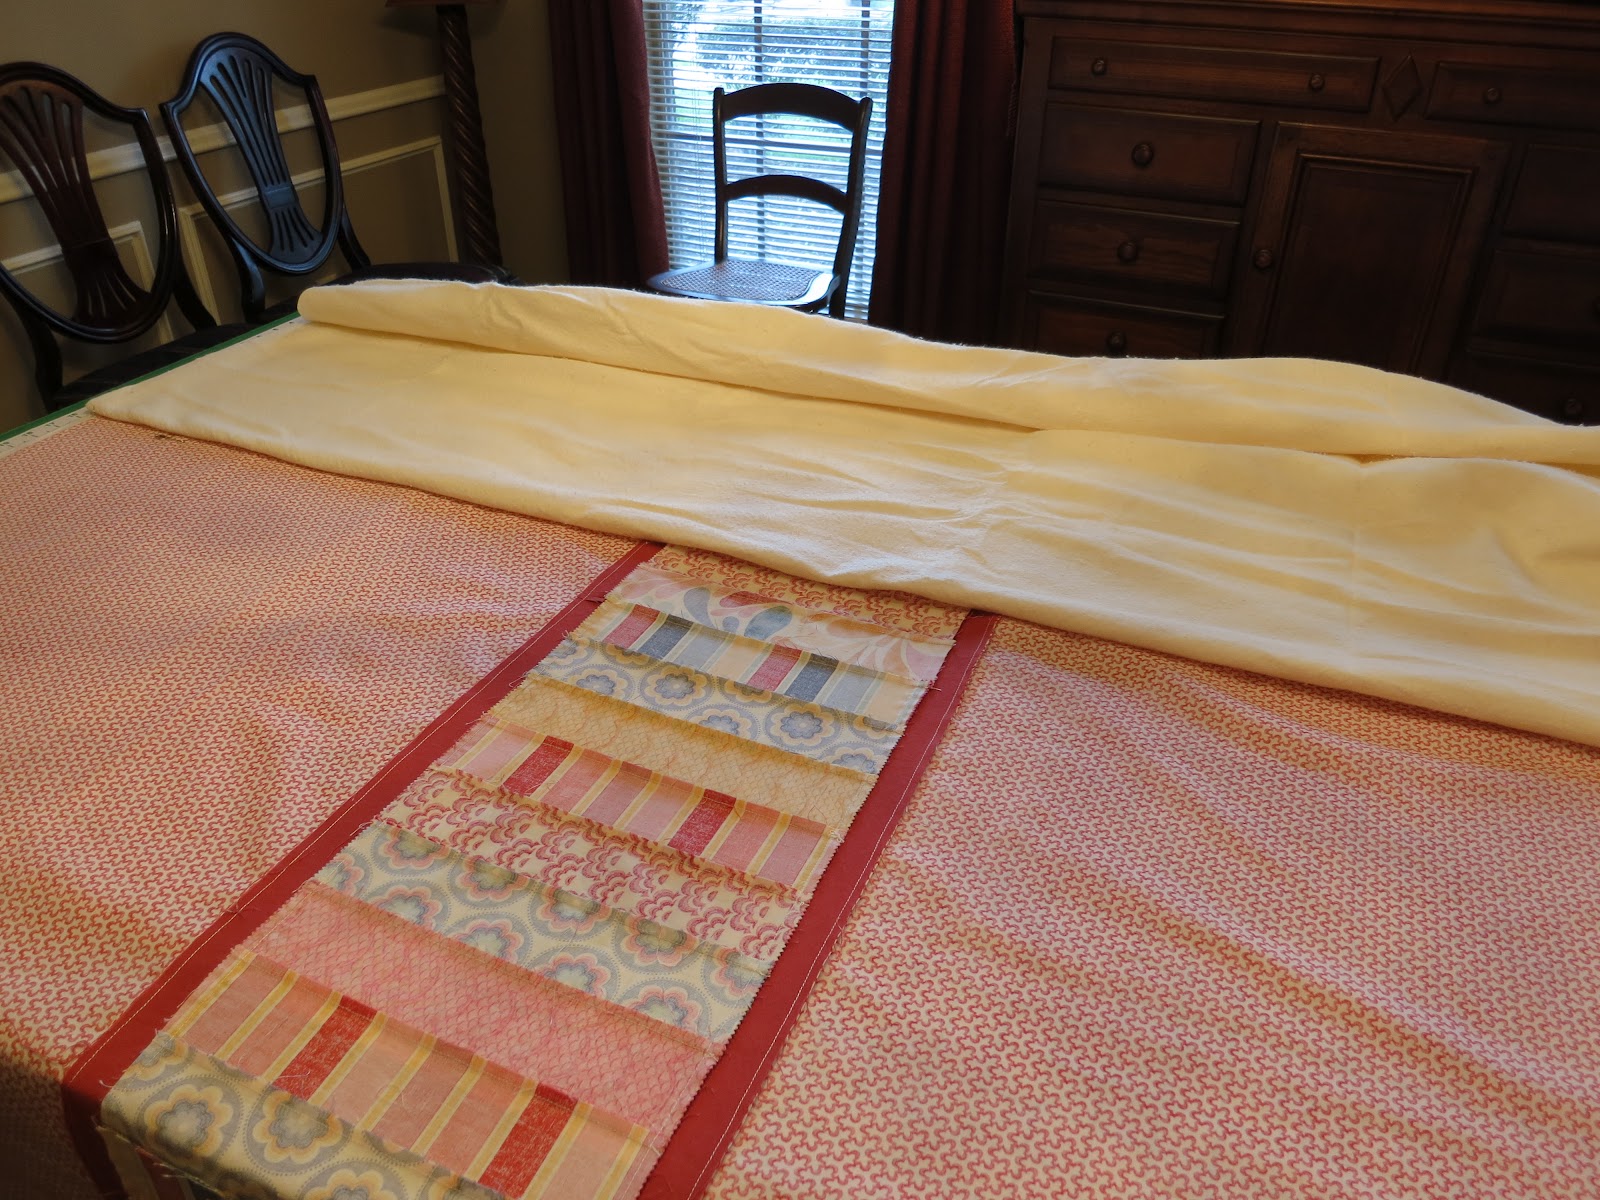
19. How to “sandwich” your quilt—I like to lay the backing and the quilt top out on the floor to check for placement. I decided I wanted the pieced section to be even with my second row of circles. Use safety pins to mark the sides for this placement. I also always mark the middle of the top, bottom and sides of my quilt top and backing with safety pins for help when positioning when I sandwich the quilt.

20. Fold the quilt top in half RIGHT sides together and fold in half again.
21. Fold the backing in half WRONG sides together and fold in half again.
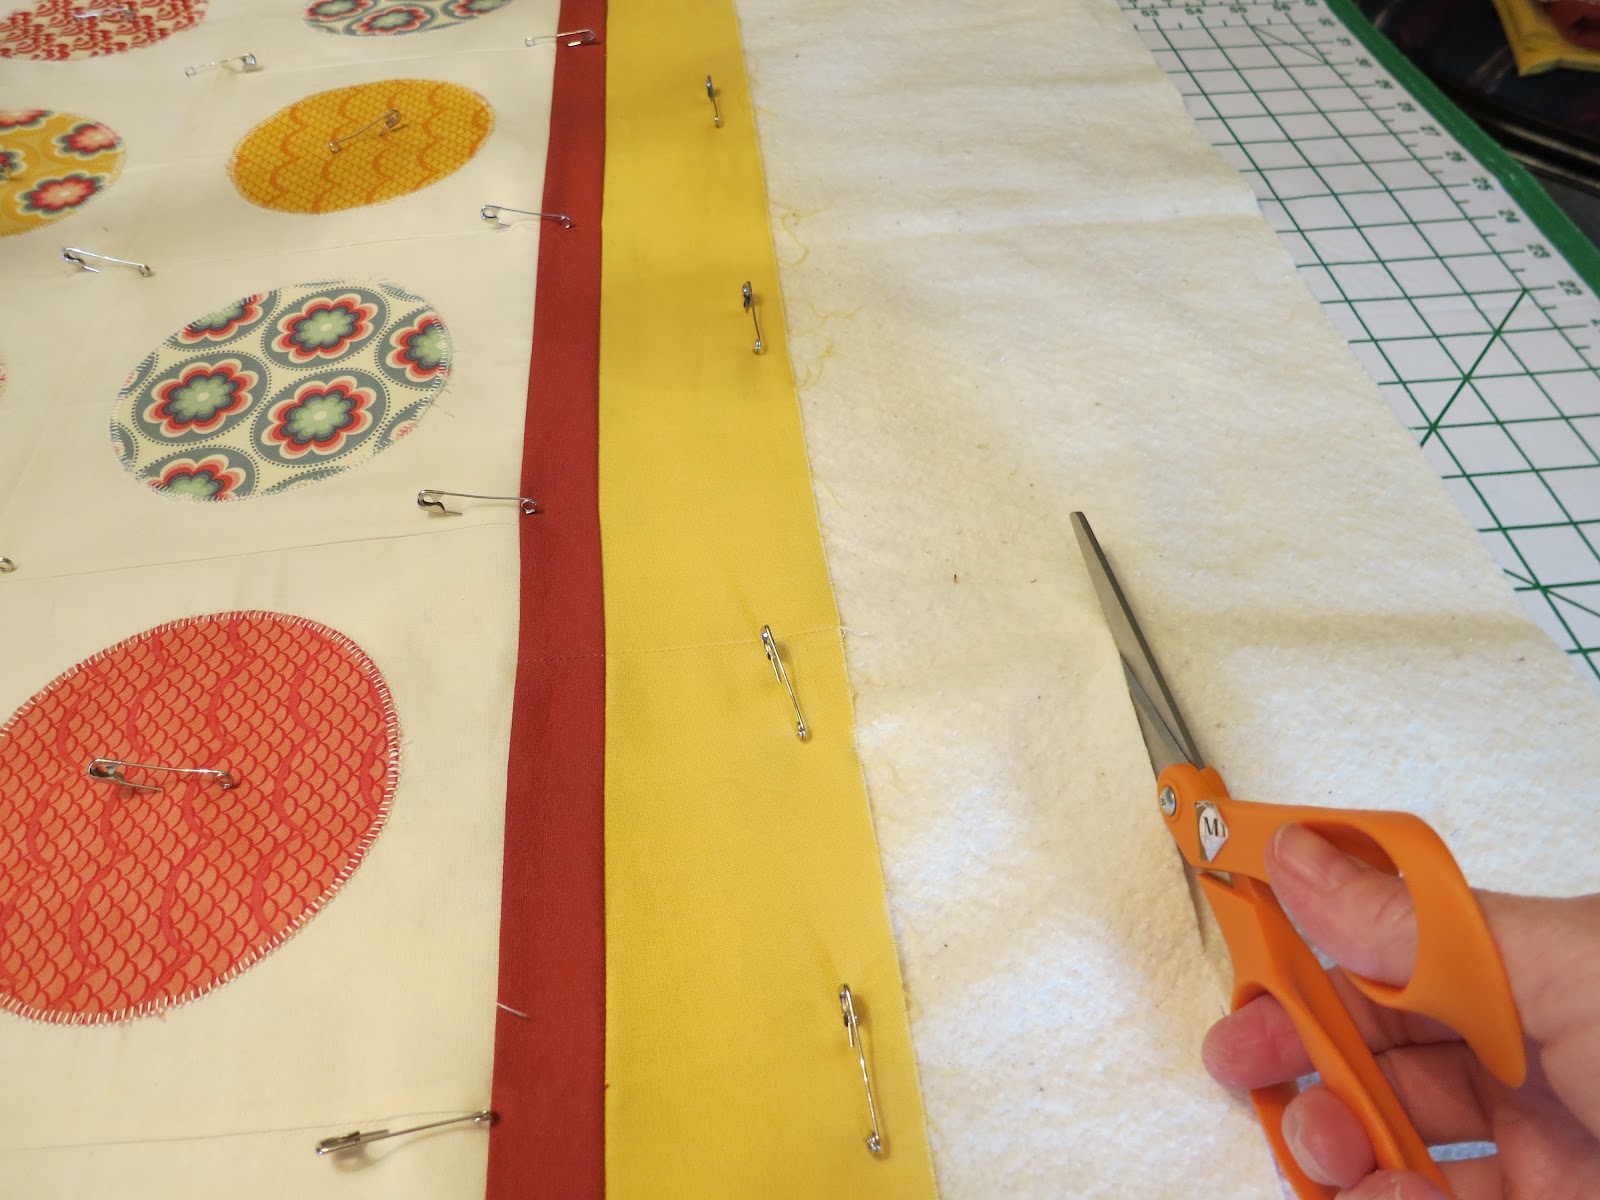
22. Cut your batting in the size directed—you need at least 4-6 inches extra on each side top and bottom so it is cut larger than your quilt top. I usually buy a queen size batting at JoAnn’s when I have a coupon or when they are on sale. The queen size will make a good size lap quilt and a couple of baby quilts depending on size with leftovers that you can baste together for other projects. Mark the middle of the sides, bottom and top of the batting with safety pins for placement later.
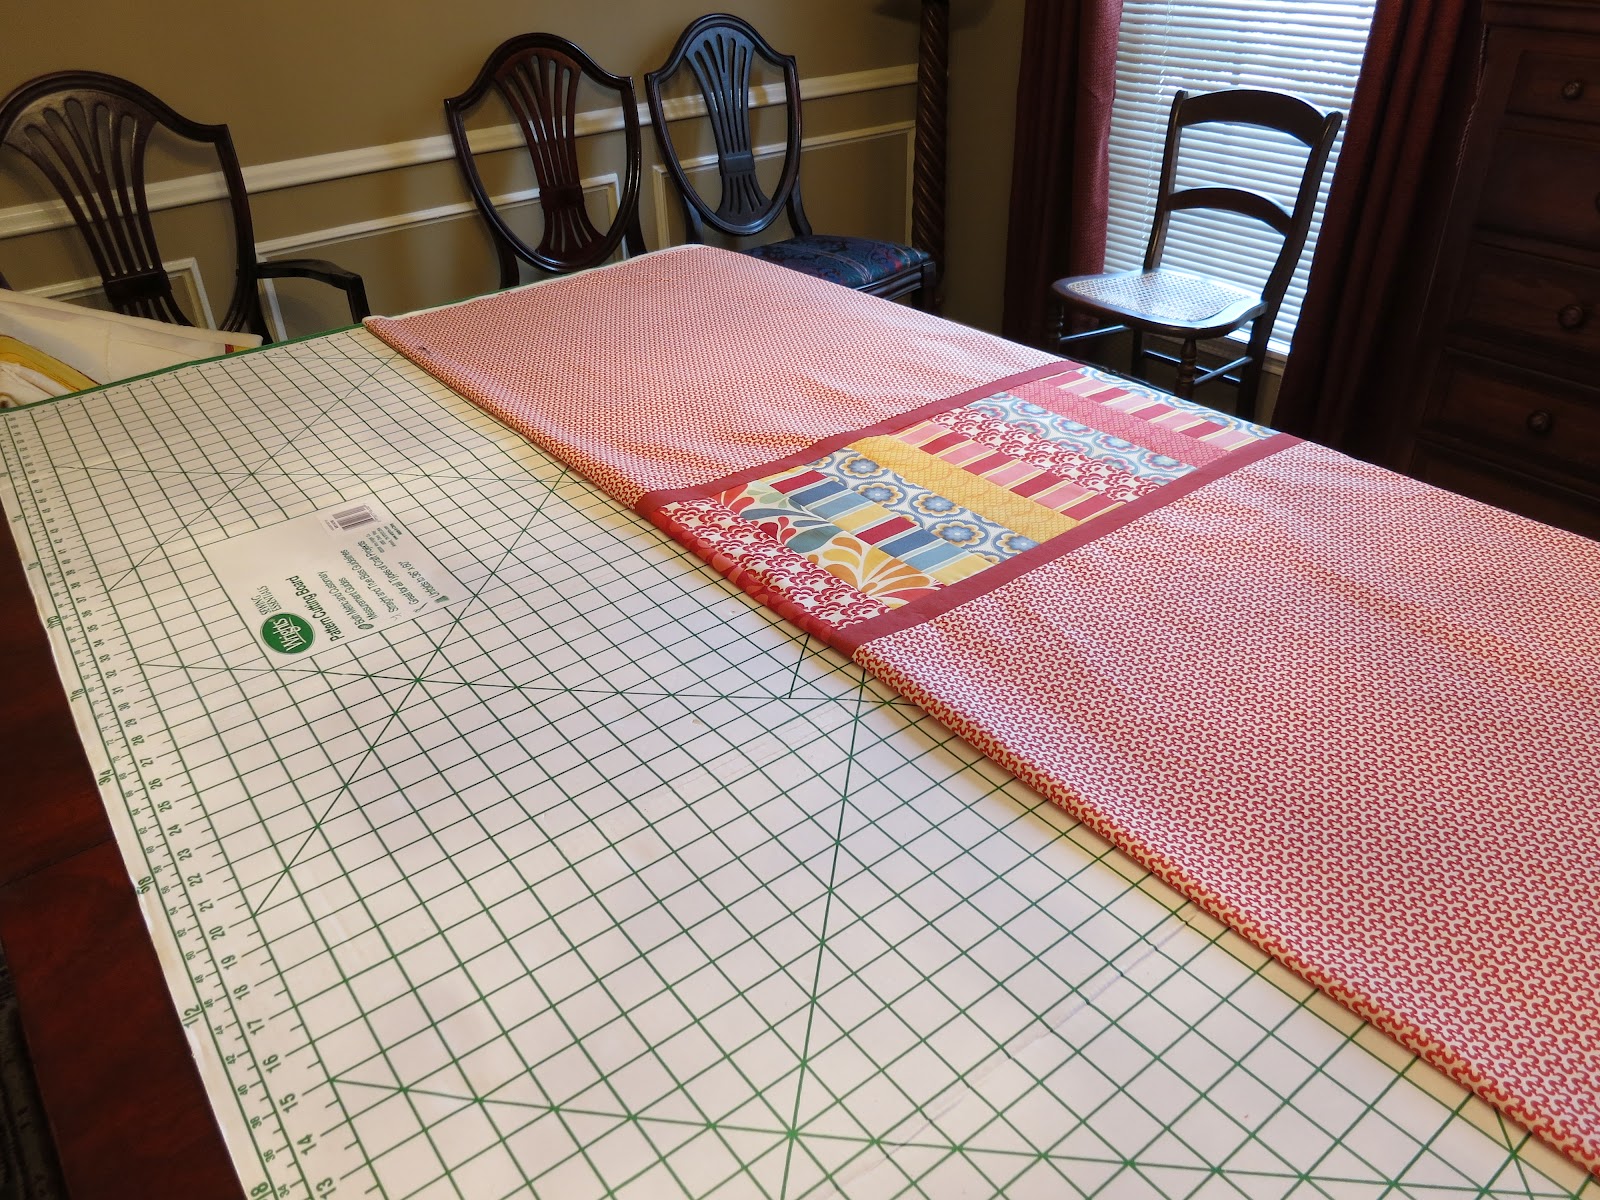
23. I sandwich and pin baste my quilts with curved quilting pins on top of my dining room table with a cardboard pattern cutting board and my rotary cutting mat on top to protect the table. I take extreme care not to scratch the table finish. (This was my new hubby’s table before we got married last year and a scratch would not score me any points!) I have tried the floor for putting the quilt together but I have a knee that doesn’t cooperate so I go the careful table route!
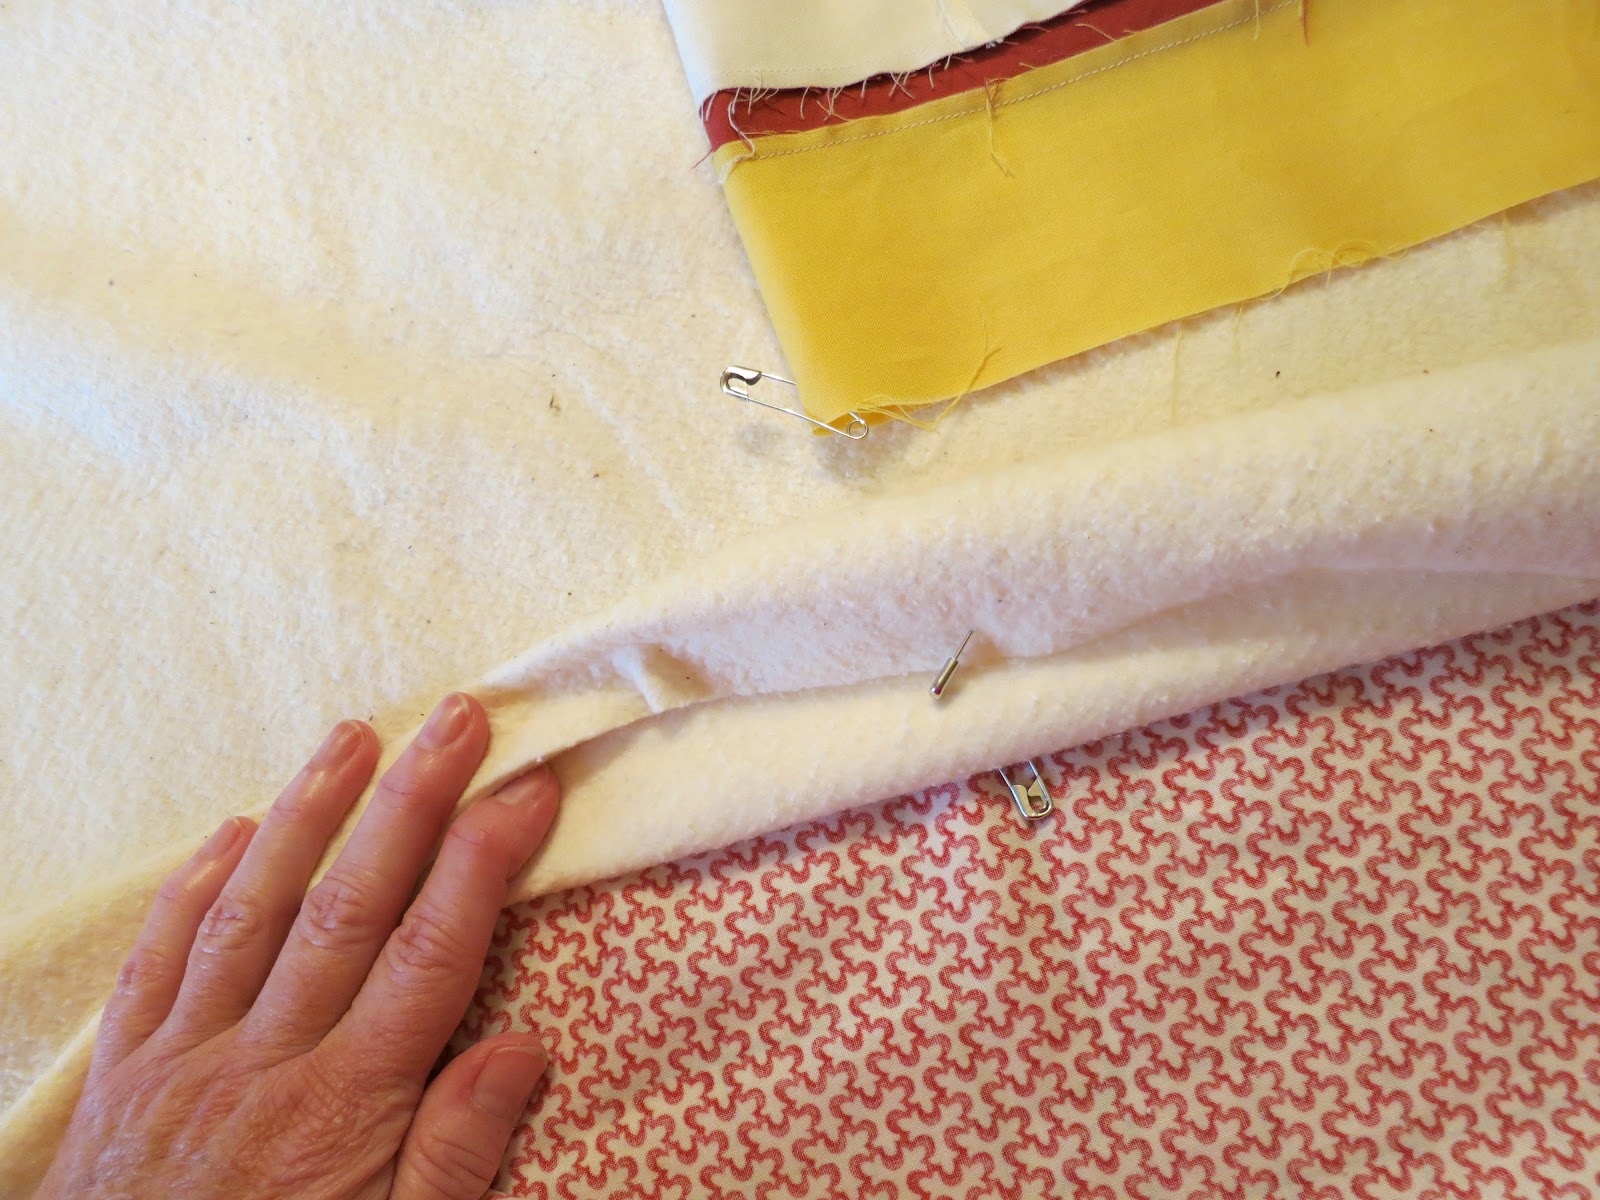
24. Carefully unfold your quilt back right side DOWN on the table and smooth out. Fold your batting in half length wise and place on top with center fold down the middle of the quilt. Match the safety pins that you marked the middles of your batting and quilt back. Unfold batting to cover the quilt back and smooth out, starting in the middle and working out.
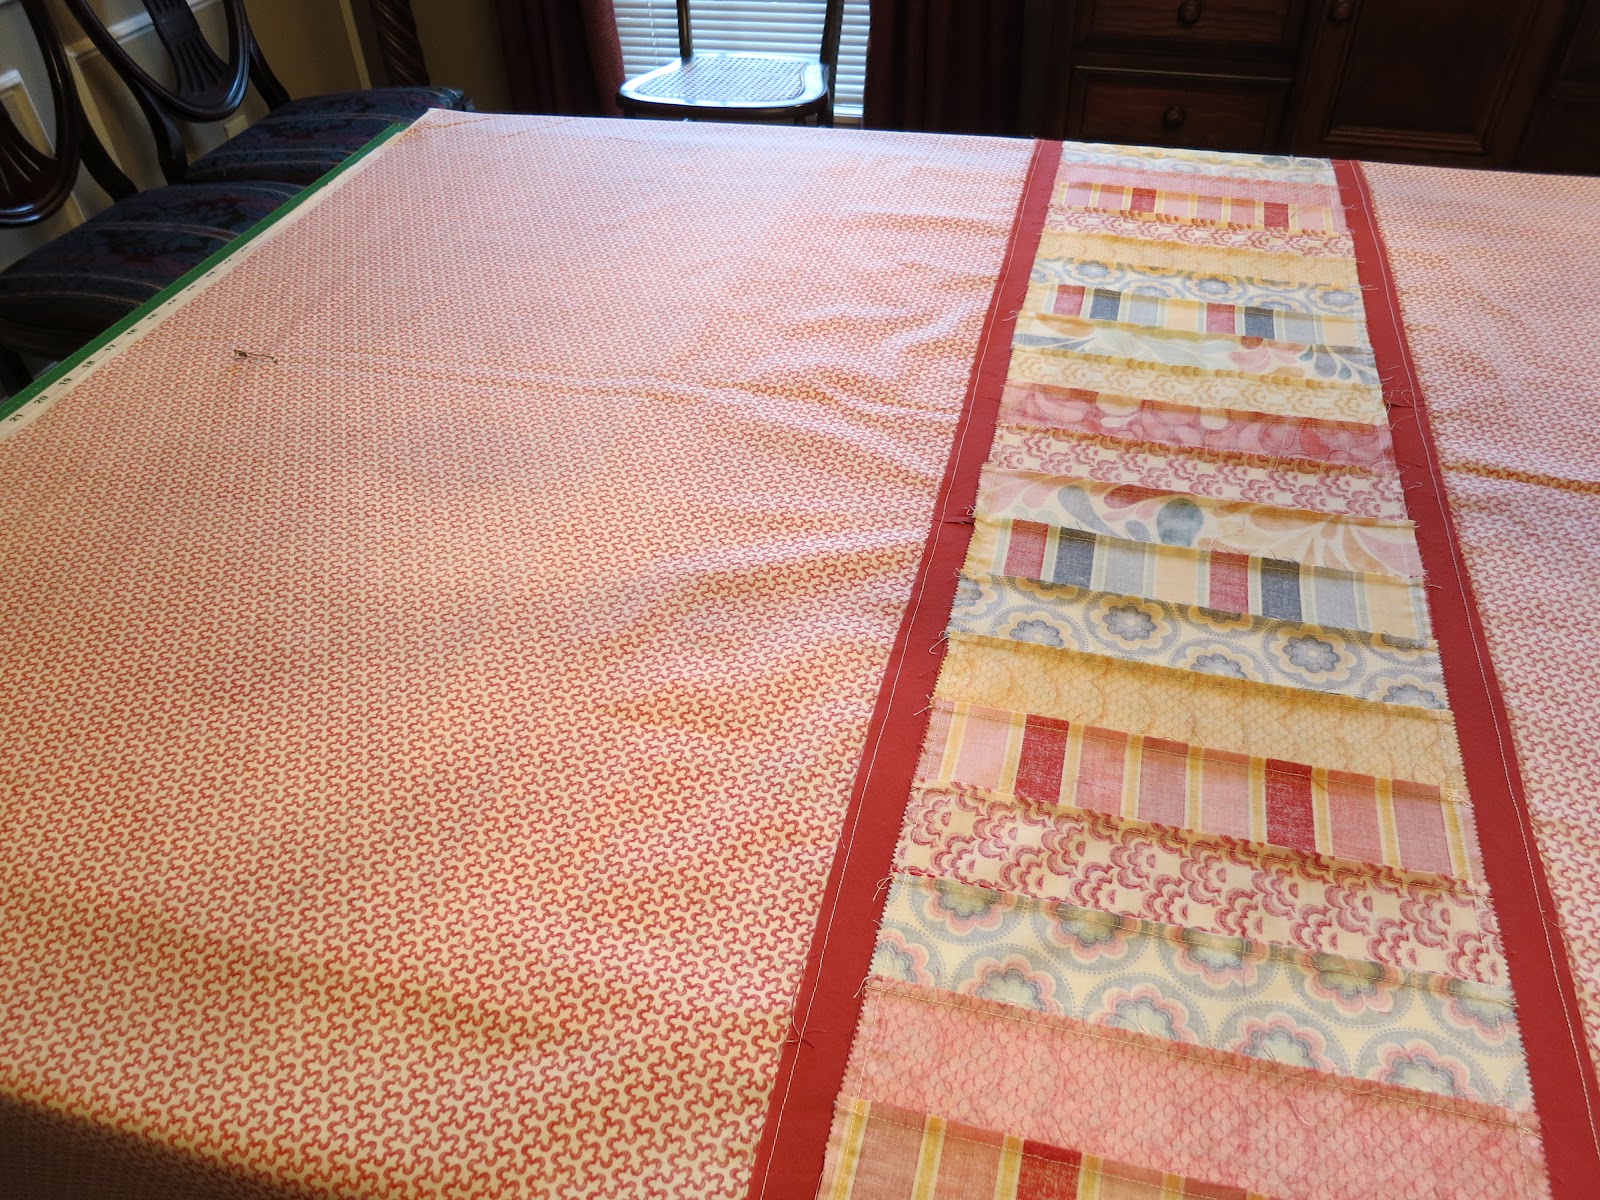
25. Unfold the quilt top, centering the center fold and matching up the safety pins in the middles of the tops and sides of backing, batting and top. Match up where you marked for the pieced backing—you do want that to be straight across the top. Peak under to make sure everything lines up.

26. Now smooth, smooth, smooth! Get out all the wrinkles that you can!
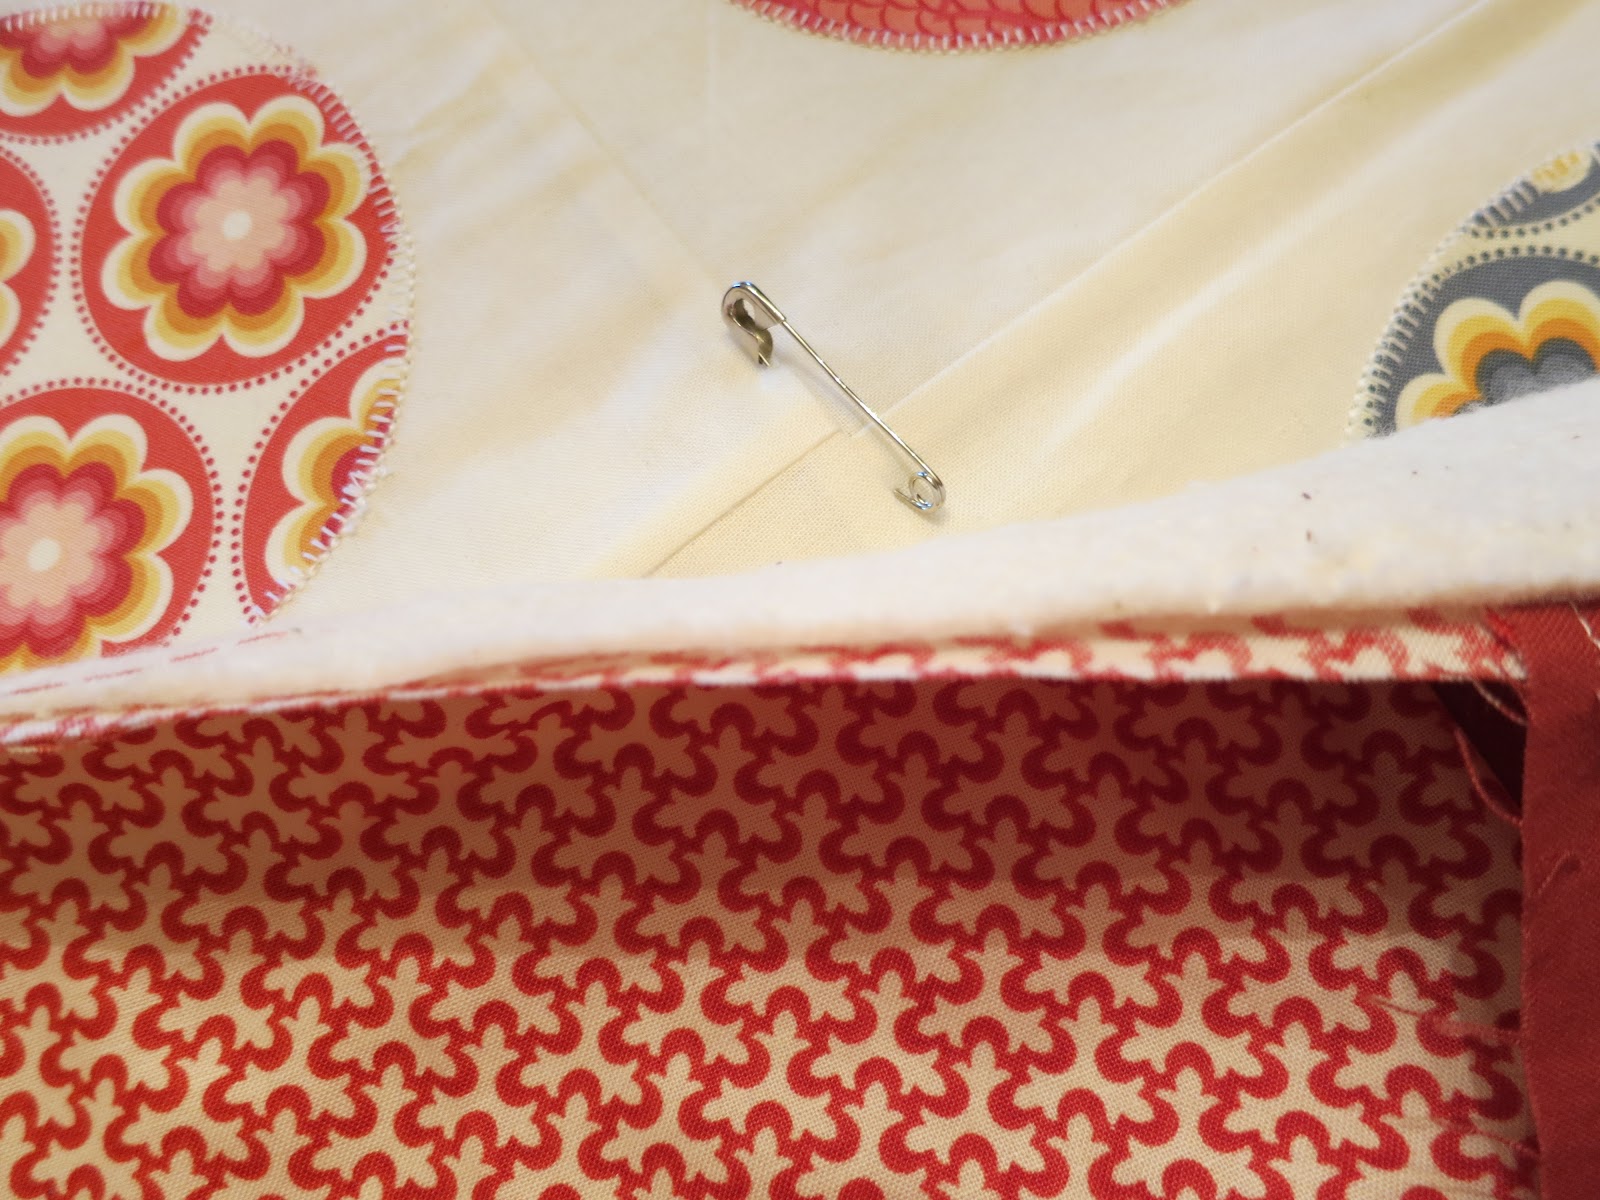
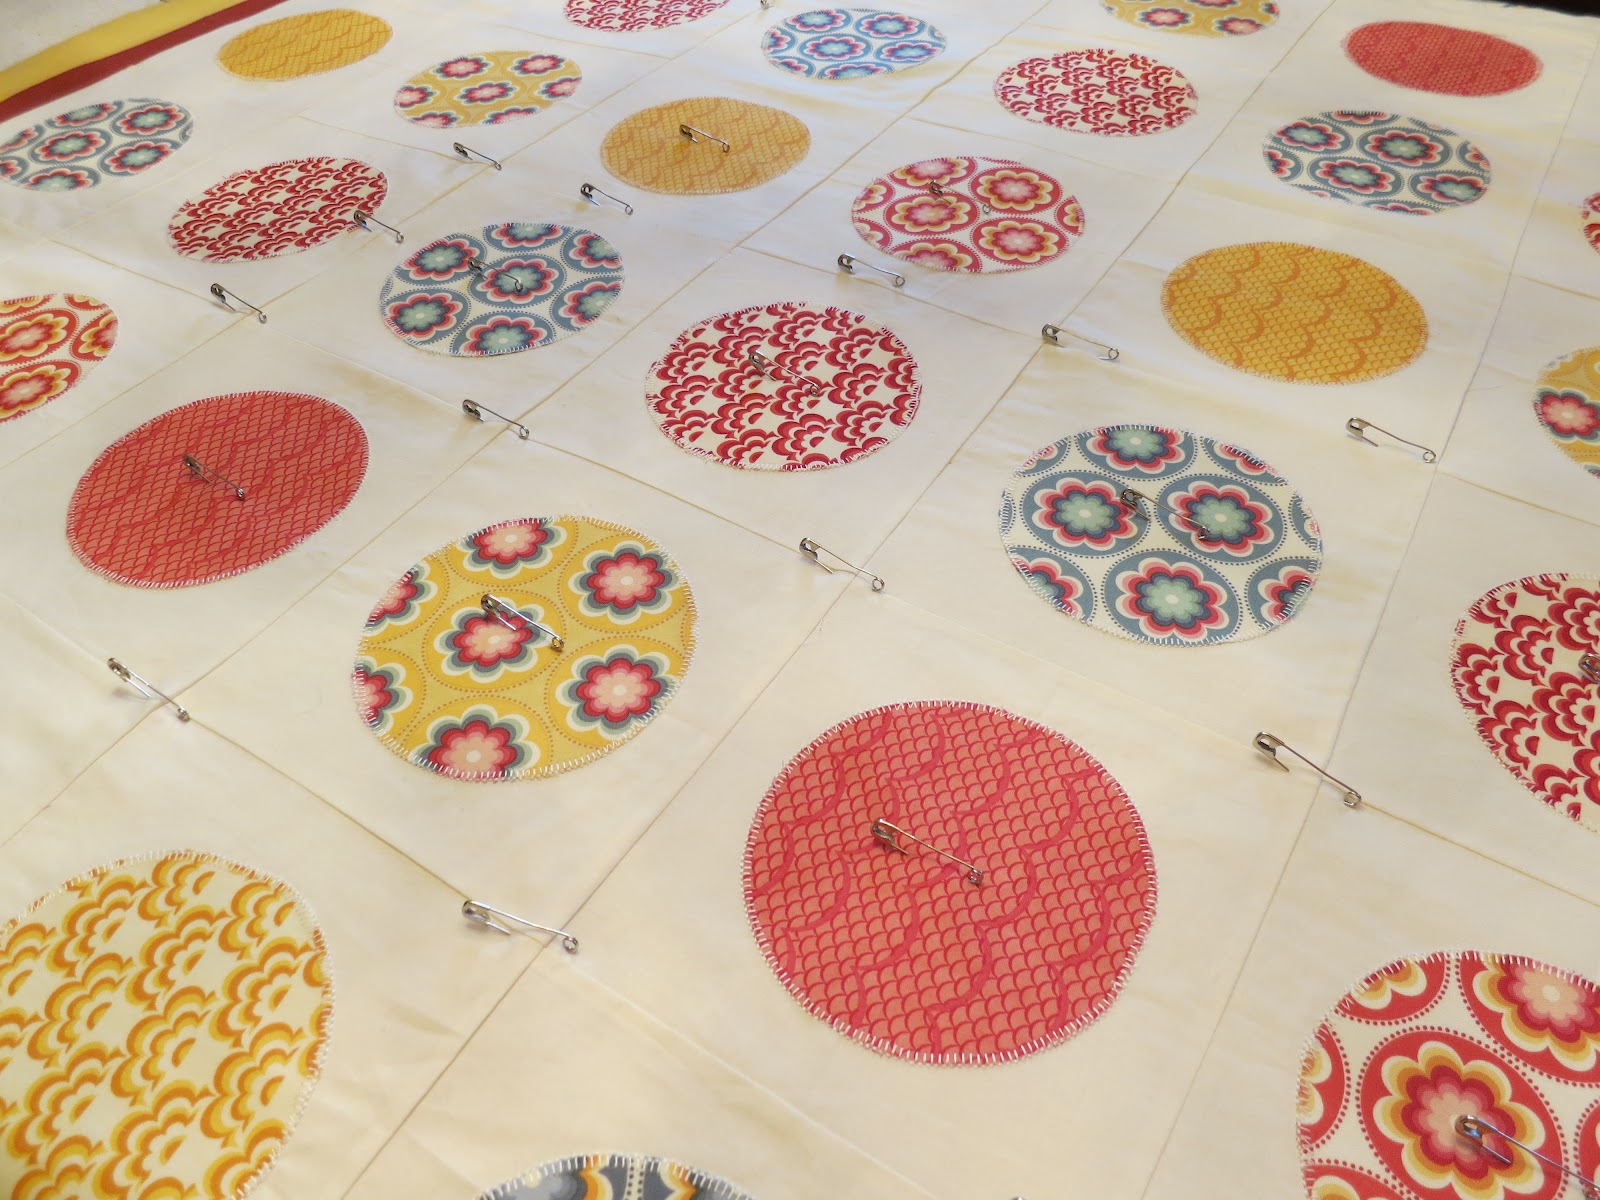
27. Using the curved quilting safety pins, pin baste together all three layers. Place pins every 4 -5 inches. Once I pin baste the entire area of the quilt on the top of the table, I gently move the sandwich to either side of the table and finish up the basting. I kind of scoot the cardboard and rotary mat around also to make sure my table top is still protected. Trim off the edges leaving about 2 inches all the way around the quilt.
28. Roll the sides in towards the middle of the quilt and fold to carry to your machine. I like to quilt the length of the quilt first as this is always going to be less bulky because there is less fabric than rolling up the other direction.

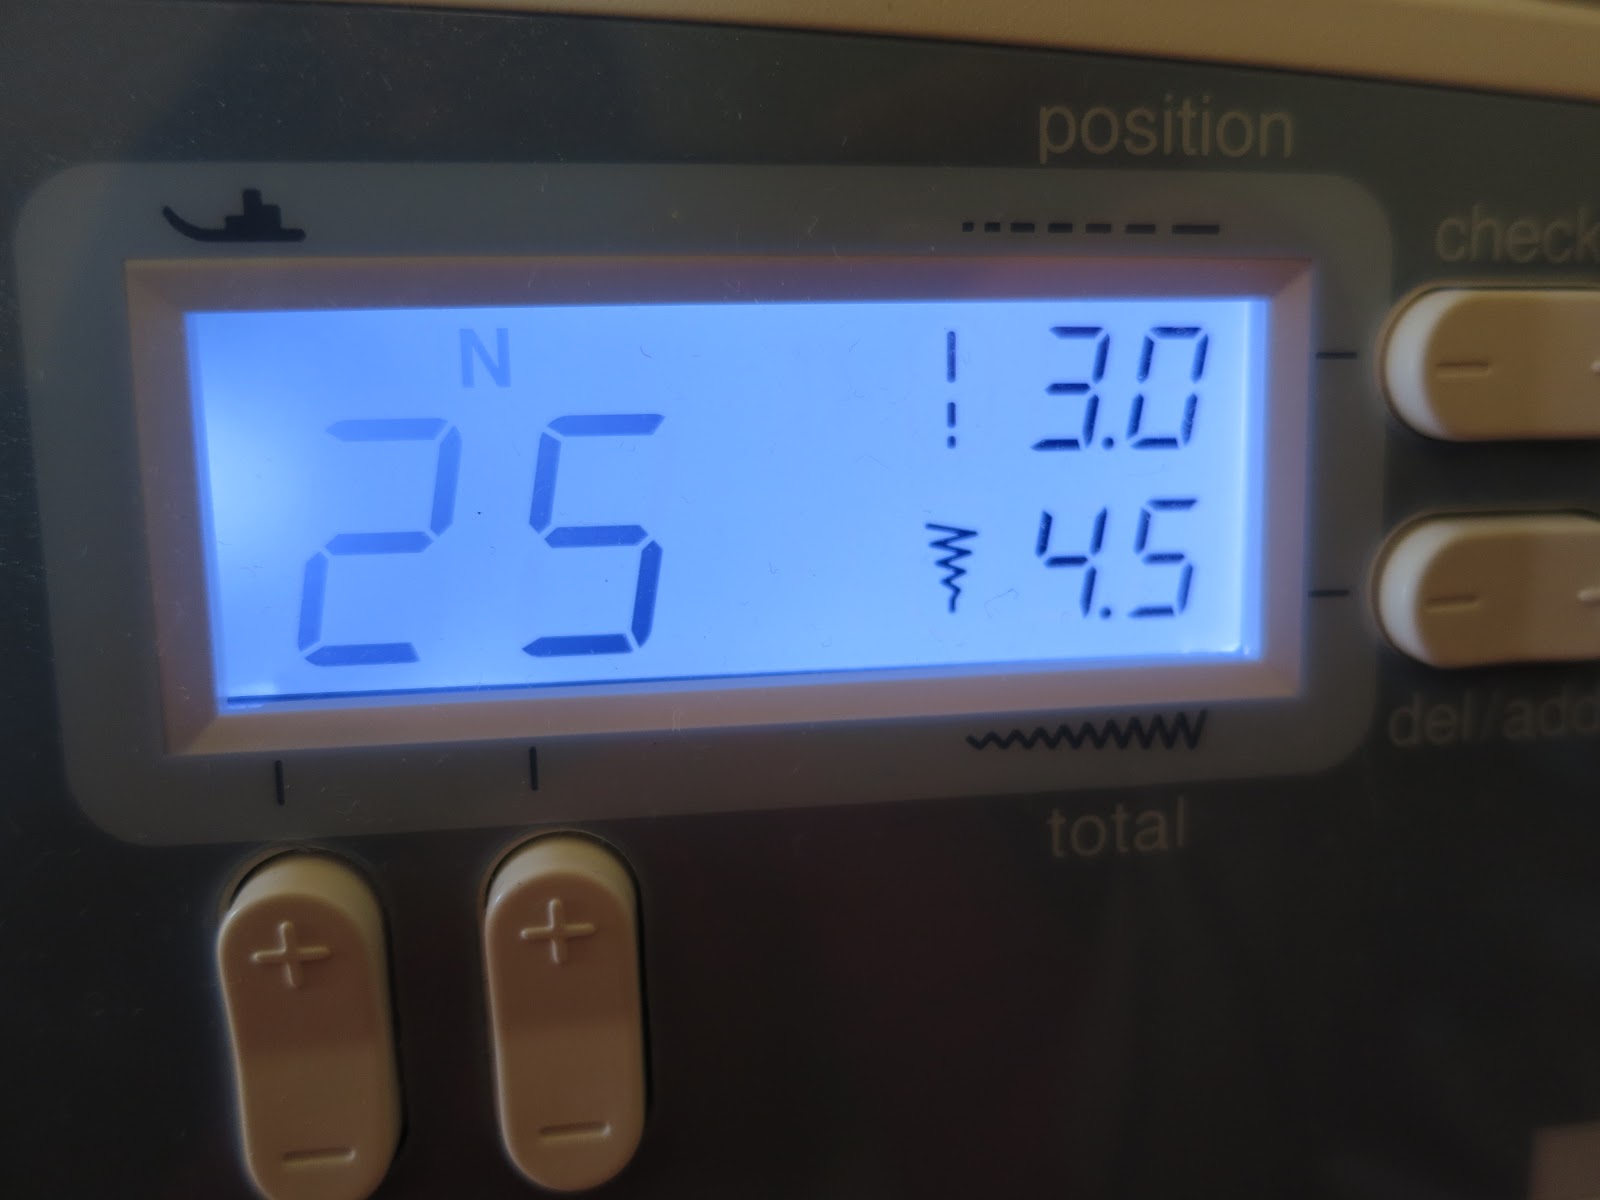
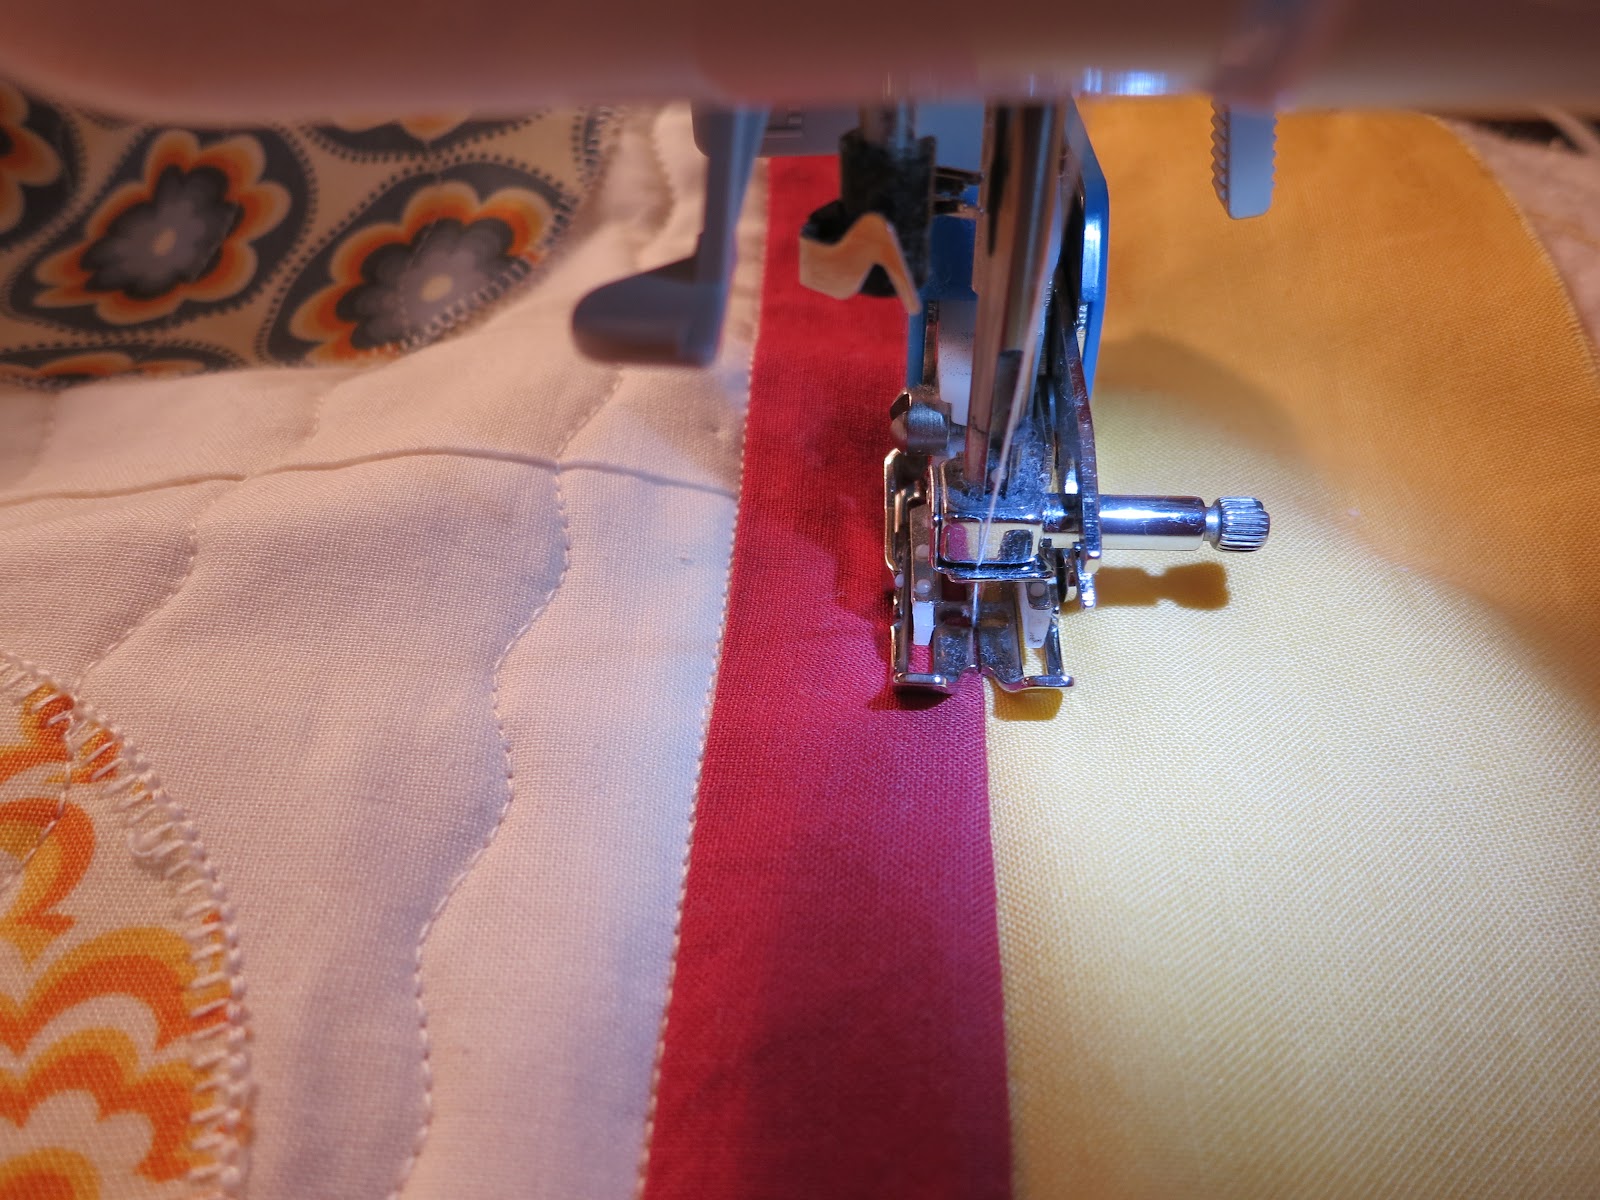
29. Quilt Stitching—now in my dreams, I will someday be an awesome free-motion quilter—even took a class recently with my friend, Diane. However, until I practice a lot more—I will stick with some simpler quilting. A walking foot for your machine is a must—helps evenly “walk” over the three layers of your quilt. I did not use one the first two quilts I made and noticed a huge difference the first time I used one. For my circle quilt, I decided to go with a little tip the gal who taught the free motion class showed us. You can adjust your machine to get this curvy sort of stitch and use your walking foot to change up a basic straight line quilting. I wanted something a little softer to go with the ideas of the circles and so this was perfect. This is the setting I used on my machine.

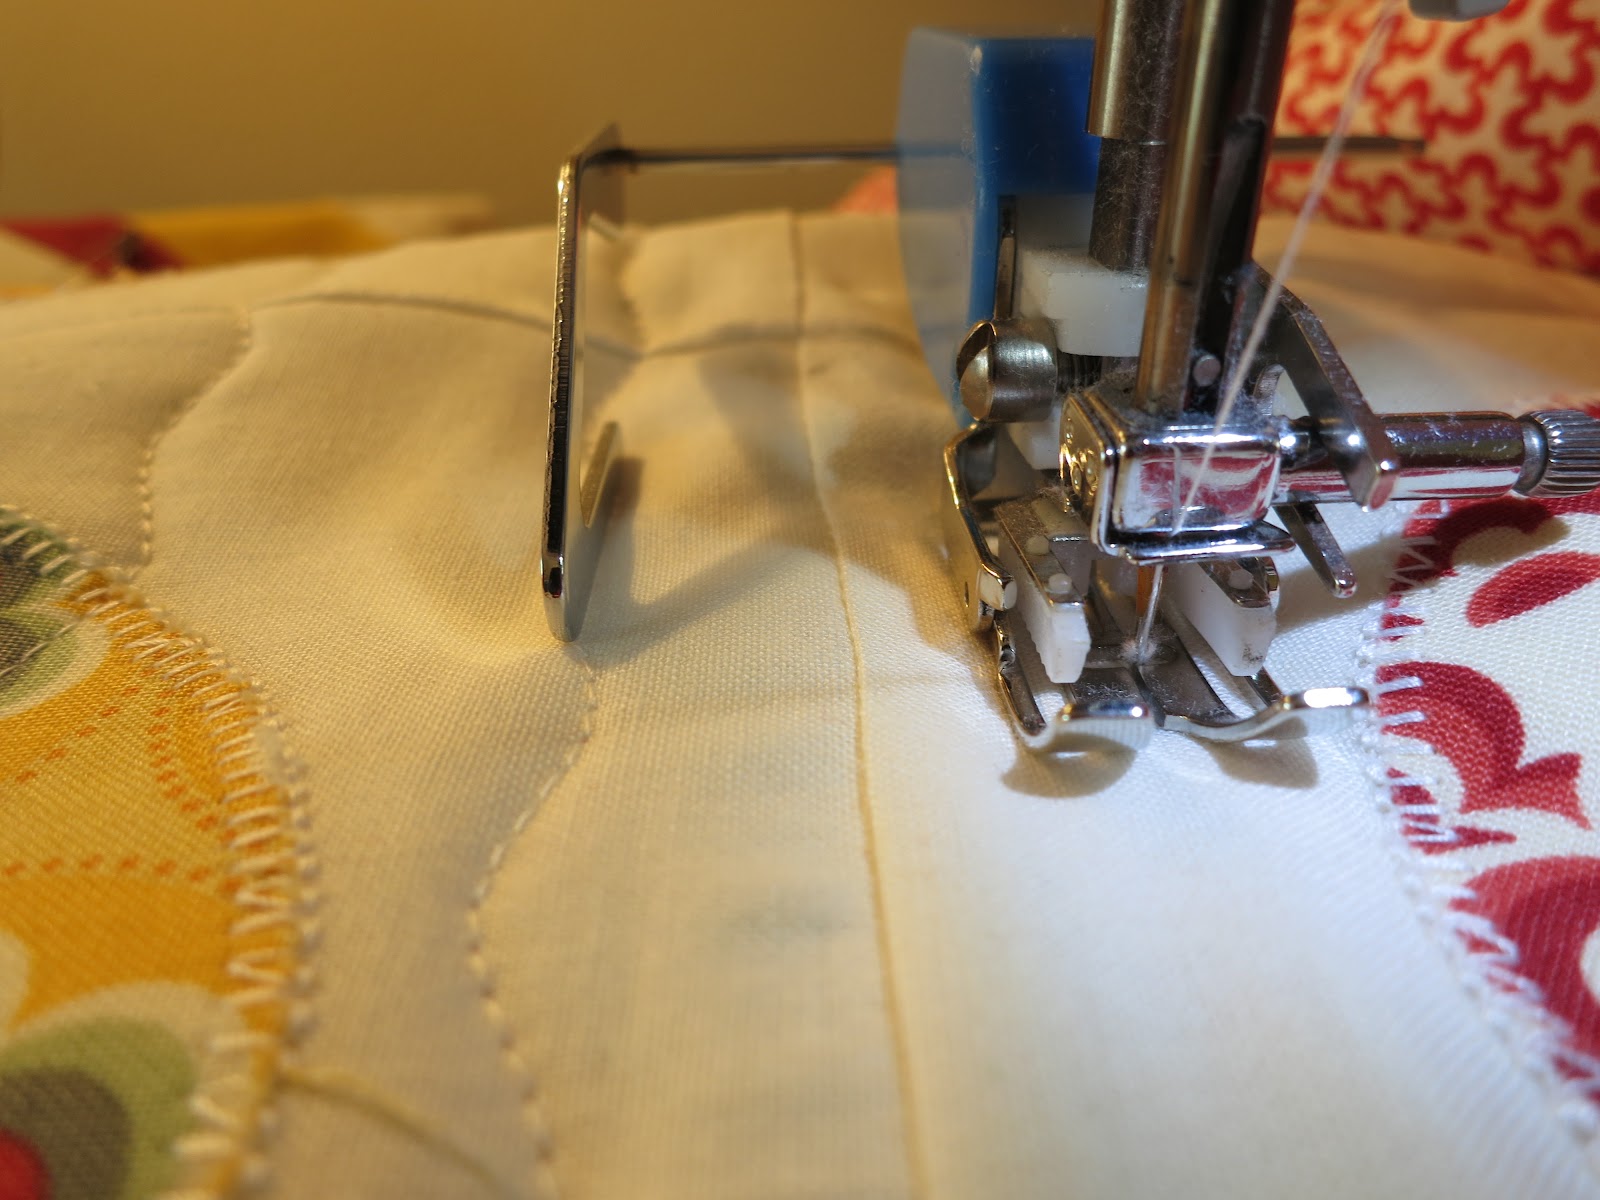
30. Starting at the top, stitch down the middle of your quilt. (See those cute quilting gloves? They look funny but really do help you hold onto your fabric as stitch.) The first few lines of stitching when you are trying to move the bulk of your sandwich through the machine are the hardest. Hang in there. Best not to let your quilt sandwich hang down off your table as that creates more resistance. I like to sling the quilt up over my left shoulder and then move it through the machine. The more table space you have to the left and back of your machine—the better but we have to work with what we have got.

31. Work your way out to the right side with each subsequent line of stitching. I used the walking foot guide to stitch 1 ¼ inch to 1 ½ inch from the previous line of stitching. This way you are reducing the bulk of the quilt that you are trying to manage in the neck of your machine. It gets so much easier as you reach the edges of the quilt. Keep the left side of the sandwich rolled up as you go so it doesn’t fall off the table, drag and cause resistance. Make sure you remove your safety pins as you go—stitching over a pin and getting it caught in the walking foot will make you jump to attention very quickly! Not fun!


32. Once you have quilted the first half from the middle and out to the right side, flip the quilt over so the bottom is now at the top. Stitch again in the middle, 1 ½ inch from your very first line of stitching, using your guide, working from the new top down. Work your way out to the other side with subsequent lines of stitching. I like my curvy stitches-what do you think? Beauty of this, too, is that no one can tell when you get off a little bit. No need to be perfect when quilting! No one will ever see your mistakes once you wash and dry your quilt.

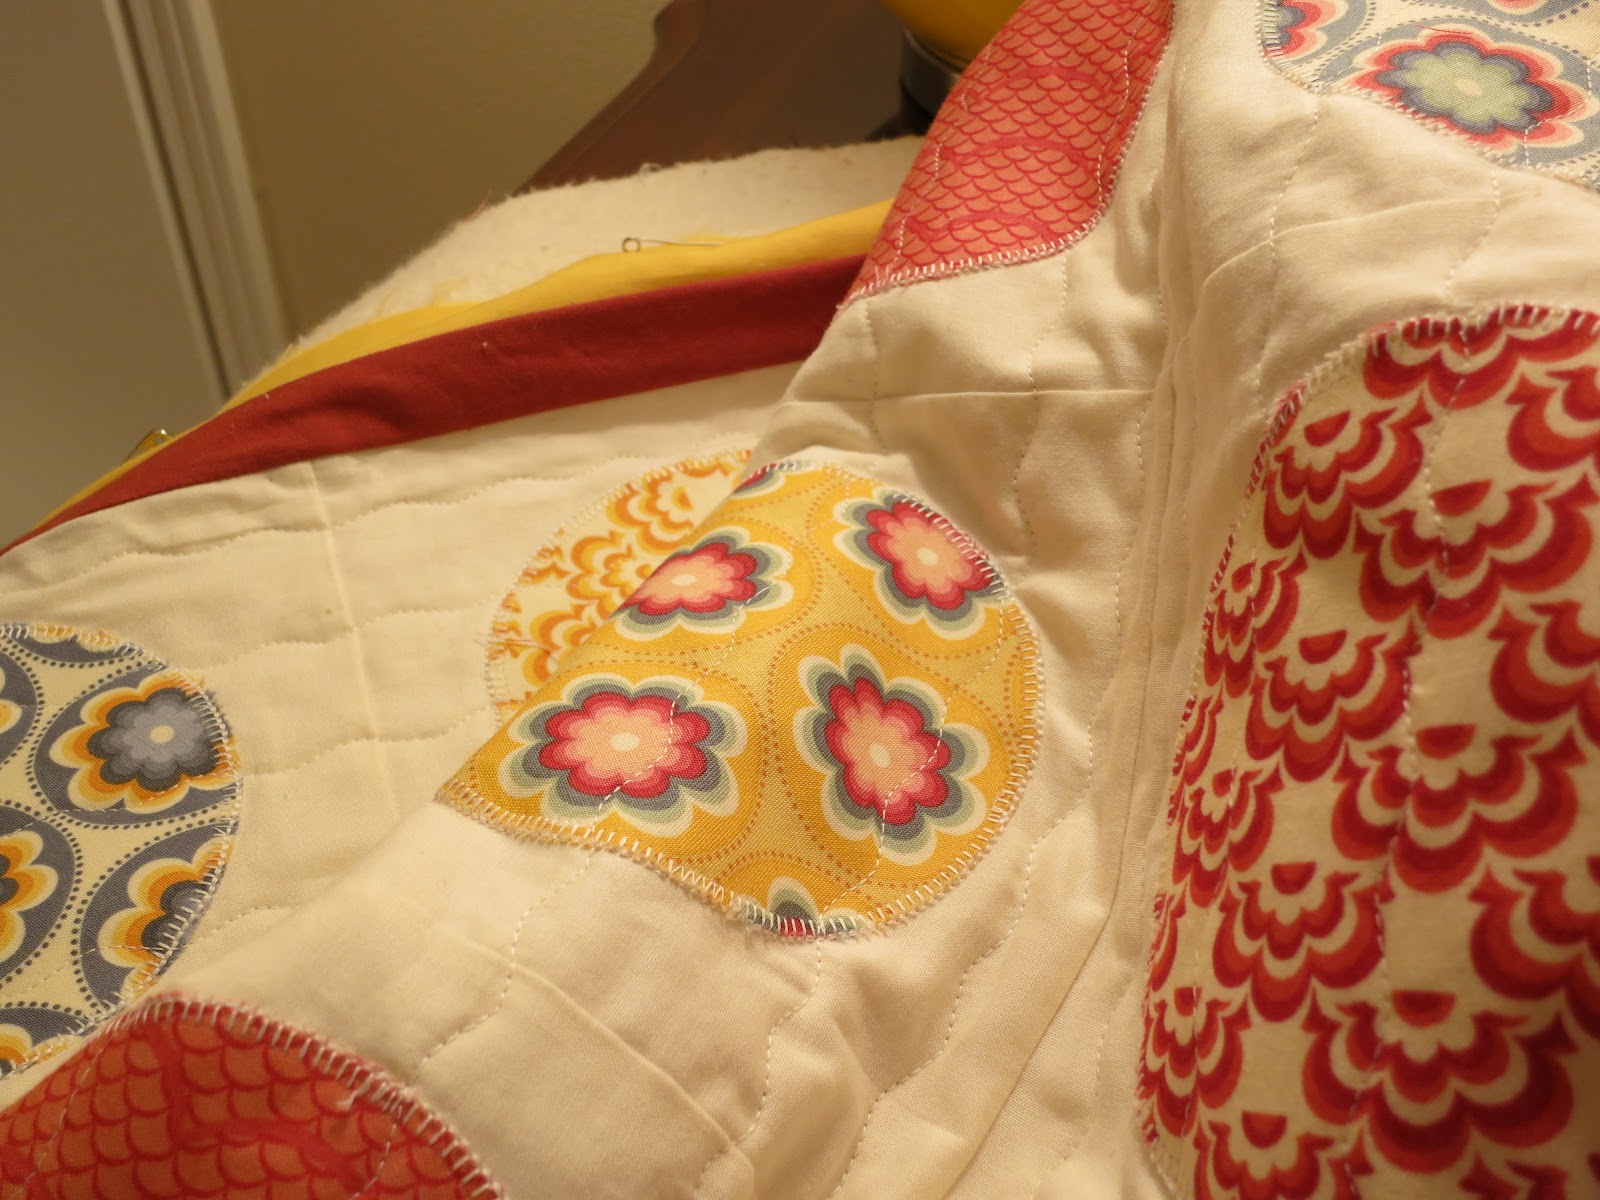
33. Once the main body was quilted, I “stitched in the ditch” around the two borders. This can be a little tricky—you just stitch as close as you can—ideally right in the “ditch” between the two pieces that are sewn together.


 Lindsay Wilkes is the owner and designer behind The Cottage Mama. She creates timeless, vintage inspired sewing patterns for children’s clothes. She is also a fabric designer for Riley Black Designers / Penny Rose Fabrics, author of the book ‘Sew Classic Clothes for Girls’ and can be seen teaching nationwide and online in her video series ‘Lessons with Lindsay’ sponsored by Baby Lock Sewing and Embroidery machines.


Great tips for putting the quilt sandwich together!!! I’m going to try this on my next quilt!
Thanks so much for the great quilting tips — I have to go back and read the other posts for this project. I landed here from the hoodie tutorial you have on the Riley Blake website. I love that tutorial and will be trying it out! Thanks so much for sharing this wonderful knowledge. 🙂
I never thought of using safety pins… And I’m glad to finally kow what that funny metal thing is for! Been a while since I quilted but this gets me all excited again. Thanks grandma Jane, for a wonderful tutorial. Talent definitely runs in your family!
That’s the way I “sandwich” my quilts, also. Works so well! I take the extra step of getting rid of the pins by machine stitching a 4″-5″ grid, in a basting stitch length, using water soluble thread in the top and regular thread in the bobbin. That way I don’t worry about hitting the pins when FMQ. After binding, I wash the quilt and the bobbin thread just falls away (even where it catches in the quilting, it isn’t a big deal!). Here is a small pic of a wall quilt I did. The white stitching in the grid pattern is the bobbin thread on the backing.http://treadlemusic.wordpress.com/2012/03/08/sunshine-grey-clouds-and-quilting/ Great pics and tute!!!
Очень красивое получилось одеяло !!!! И так подробно все показано и рассказано . Обязательно попробую сшить такое одеяло сама. Спасибо и удачи тебе в следующих работах!
Great work! Your quilt back has inspired me along with the wavy stitch you used. What a beautiful quilt.