Archives for July 2010

Show and Tell: Gathered Ruffle Camera Strap Cover

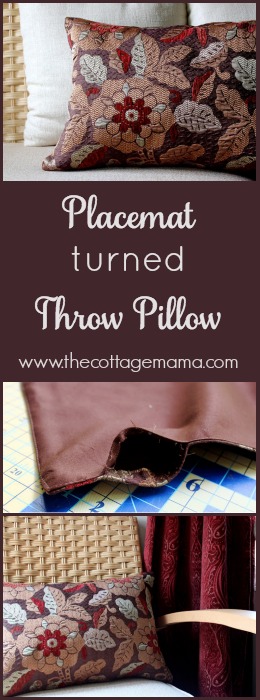
Remember a month or so ago when I told you about my new baby (my new DSLR camera – Canon Rebel T1i)?  Well, I have seen a gazillion cute camera straps around the internet lately and I thought “I want one!”.  So today I decided to make myself one for my new camera.

I’ve seen a lot of great tutorials, but nothing was exactly what I was looking for, so I just decided to go for it and make my up my own little design with a little inspiration from here and there.

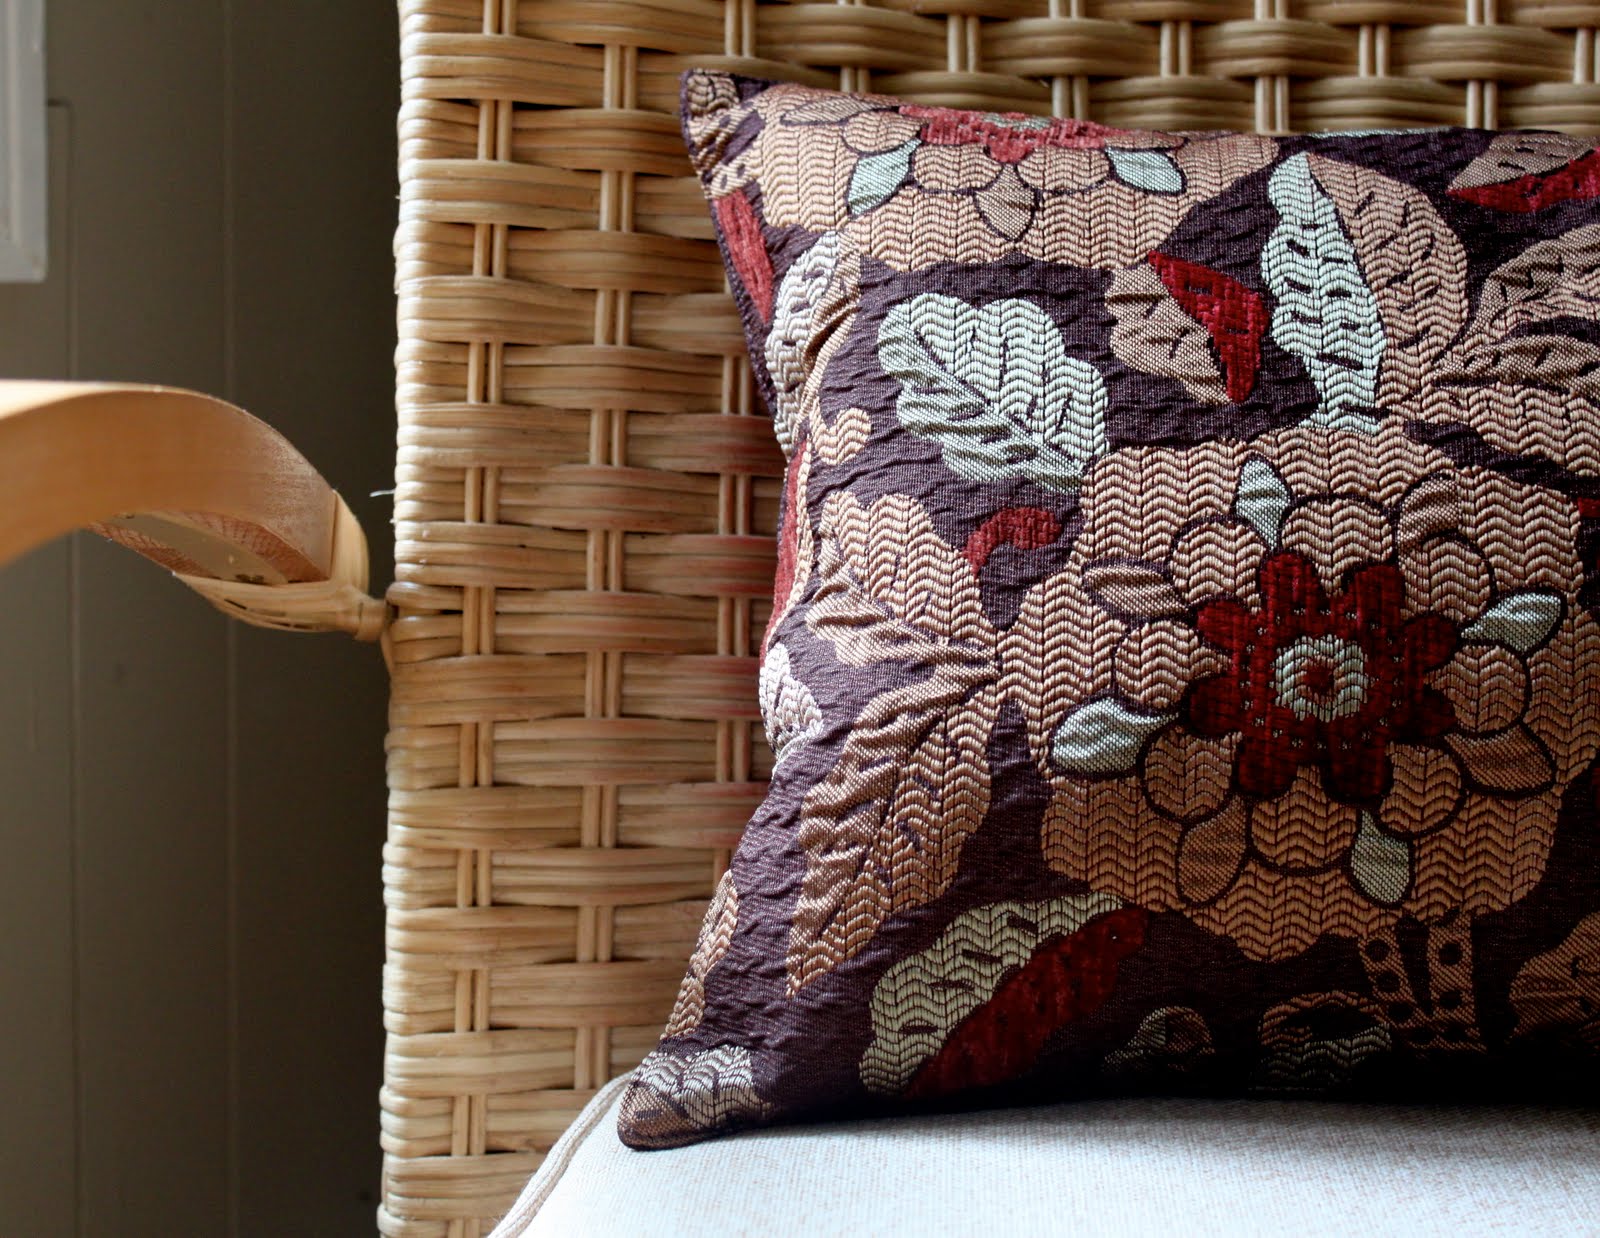
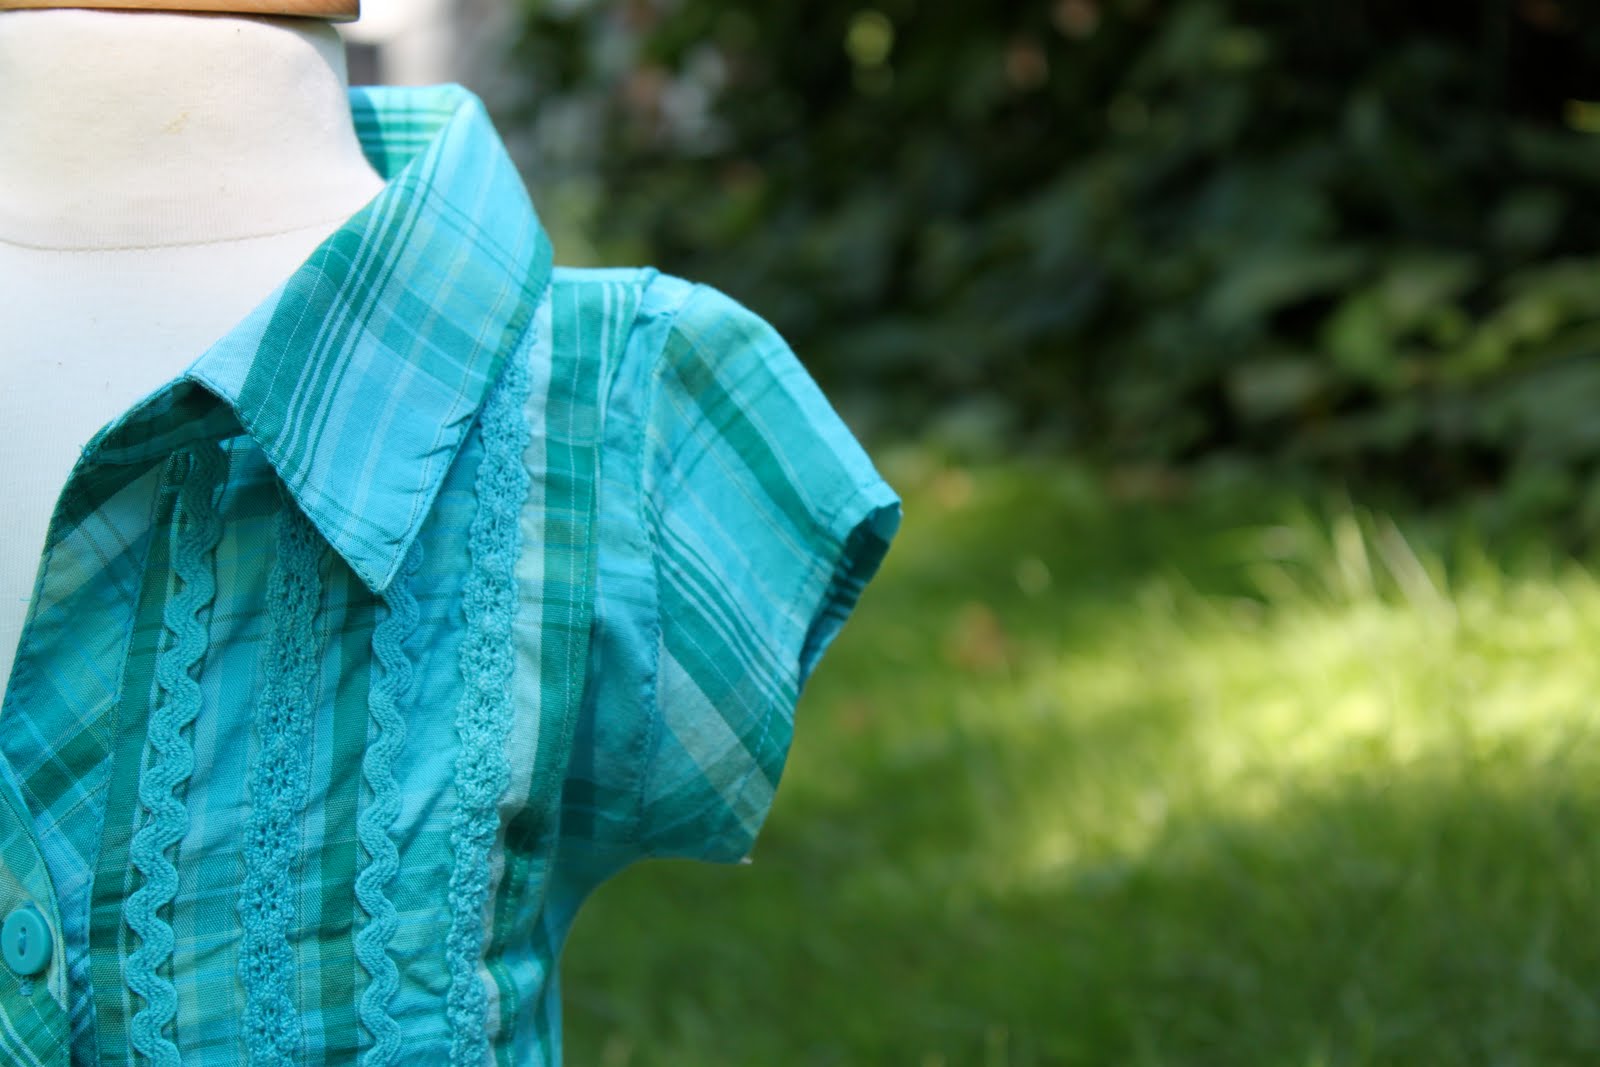
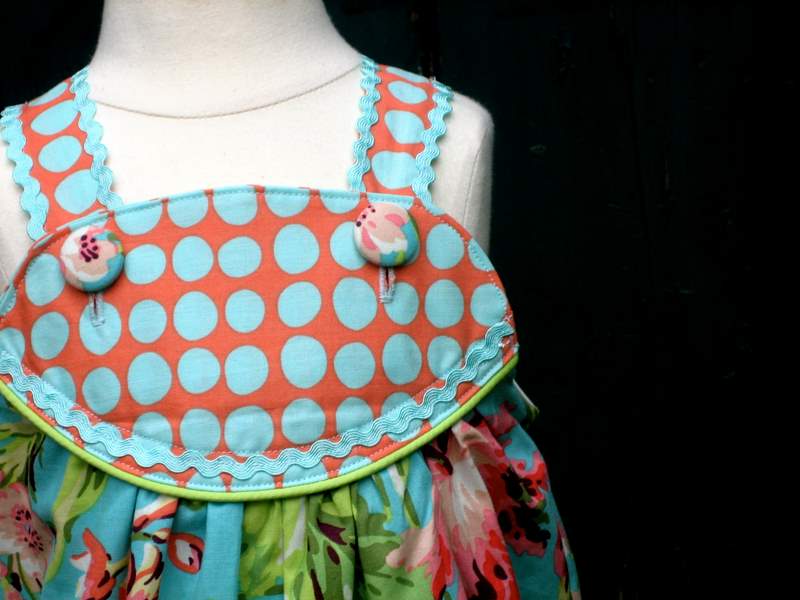
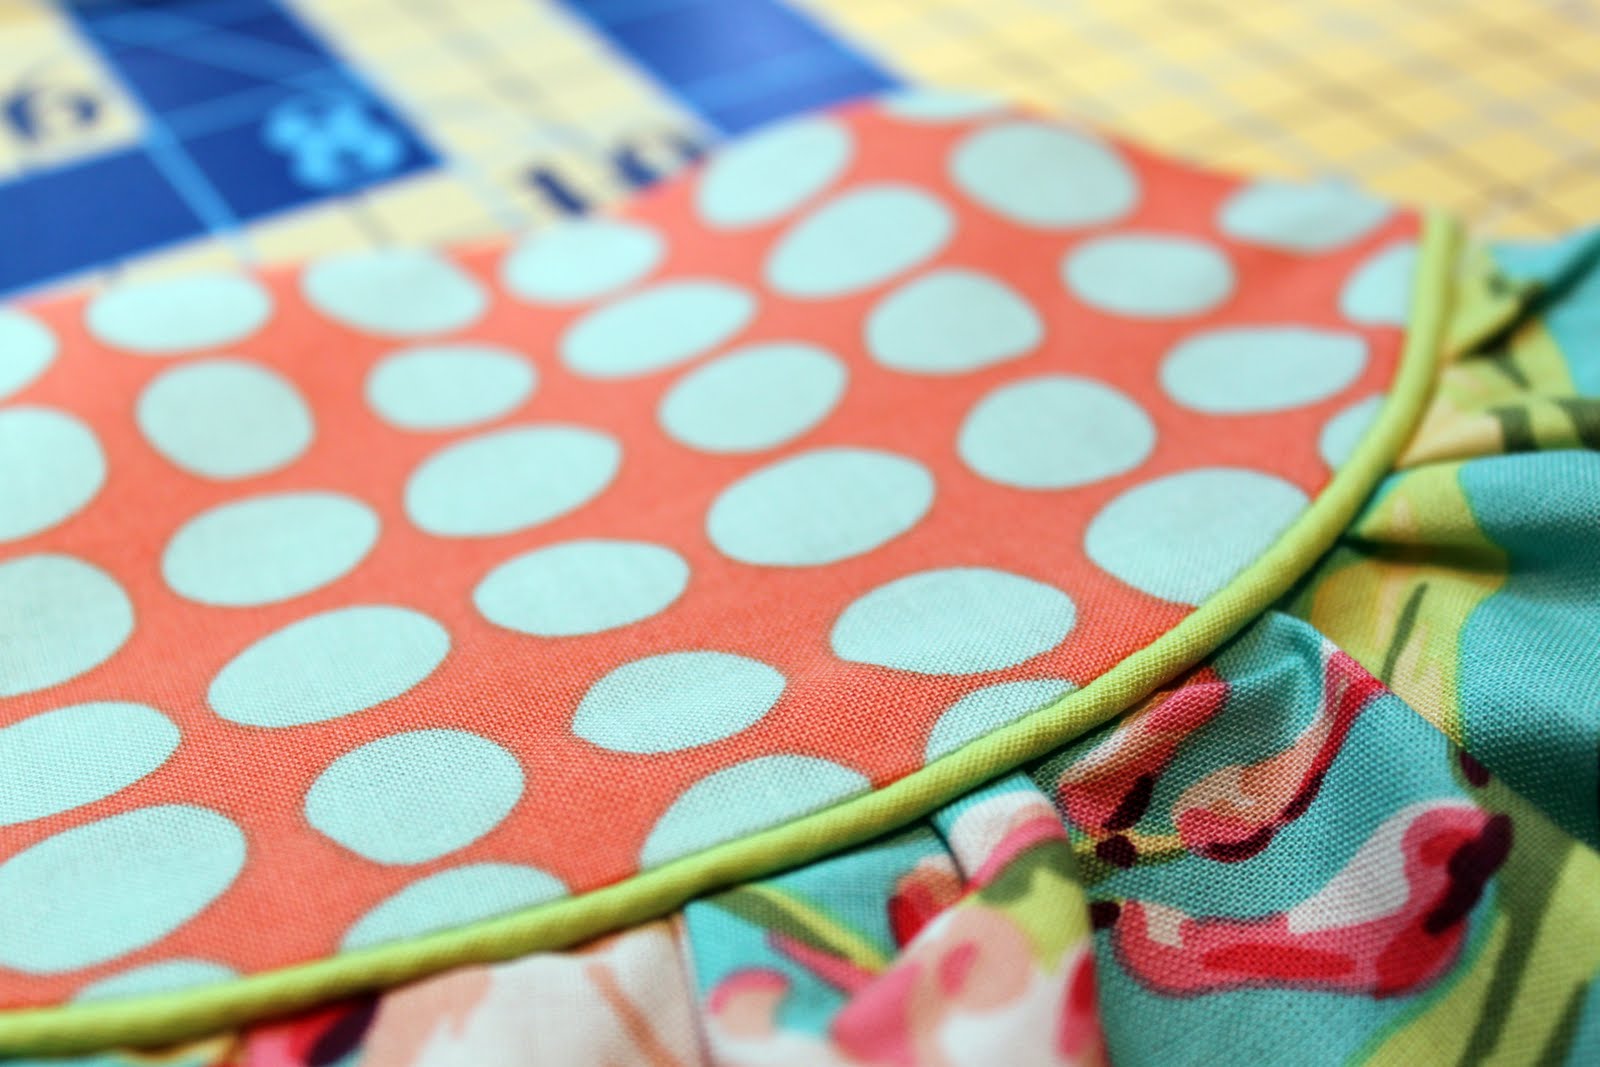
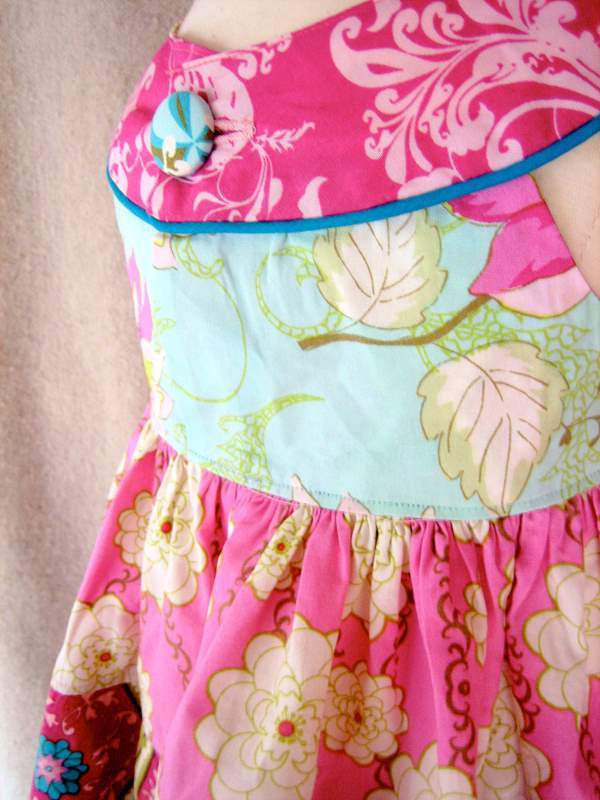
I used fabric from designer Anna Maria Horner.  When I was first introduced to this designer I was not initially won over by her work (sorry to say), but now I LOVE it!  I guess it’s grown on me – I love the eclectic mix of patterns she uses with vintage, geometrics and florals.

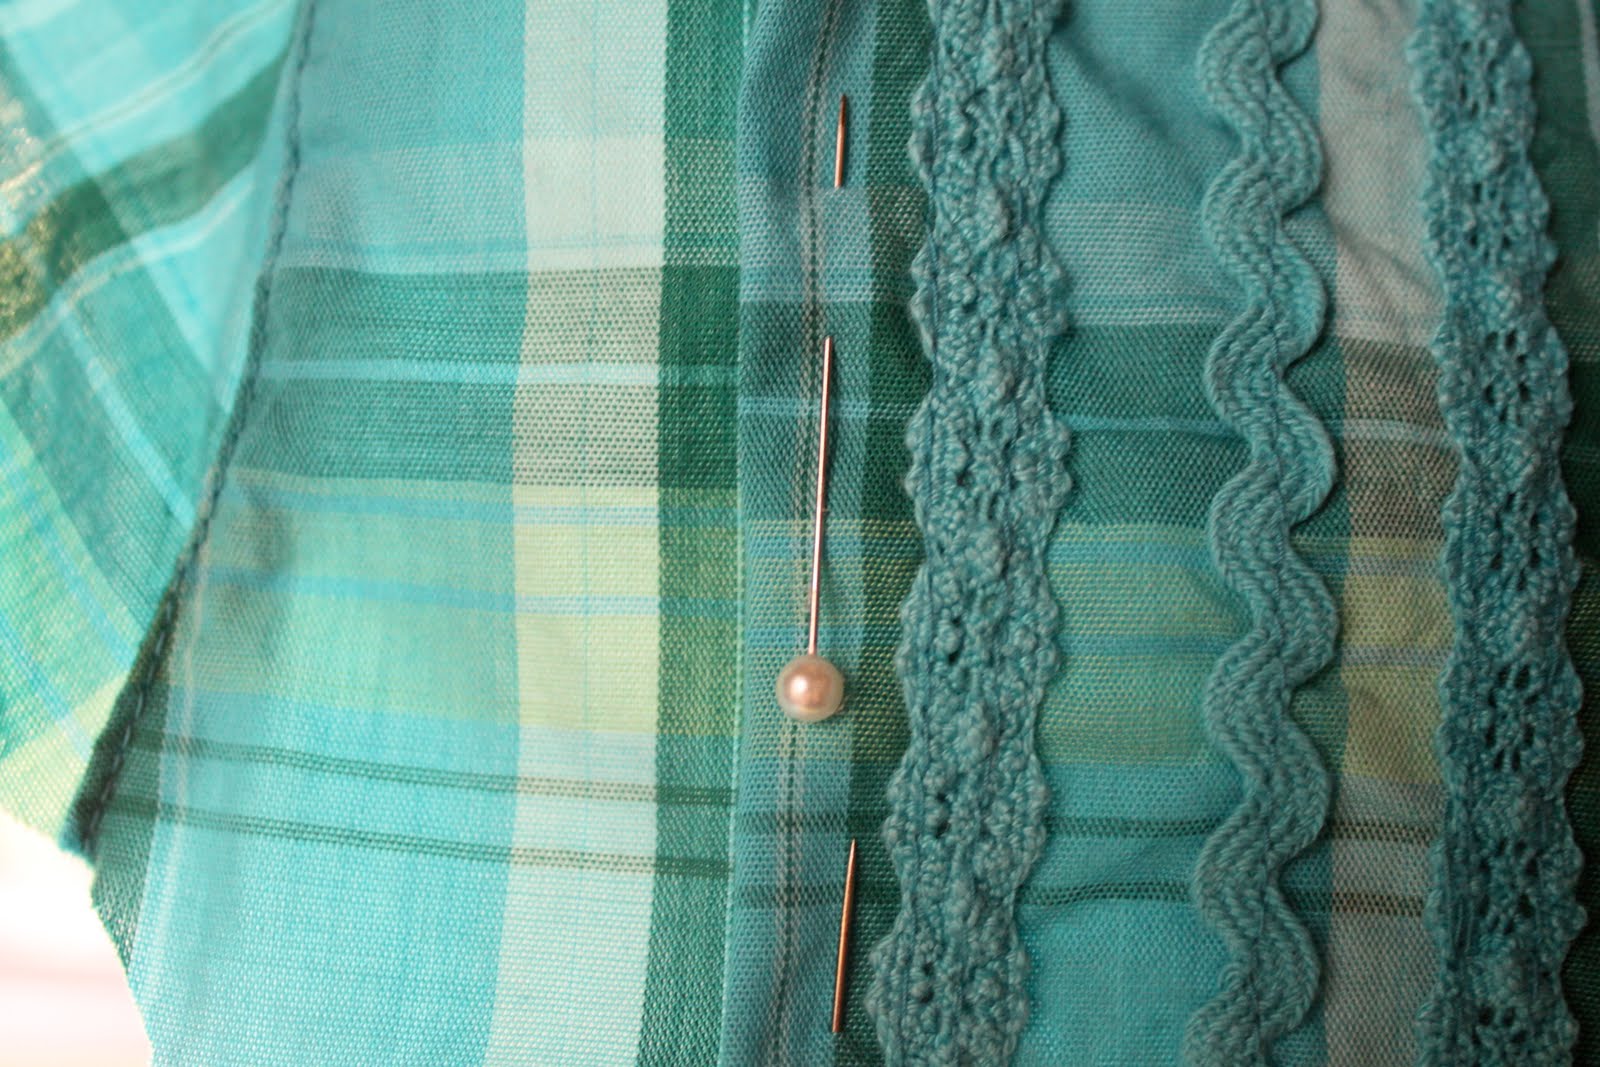
I used a piece of woven trim that I purchased at a very old local fabric store.  I don’t know if it is vintage or not, but it’s old and I just loved its charm.

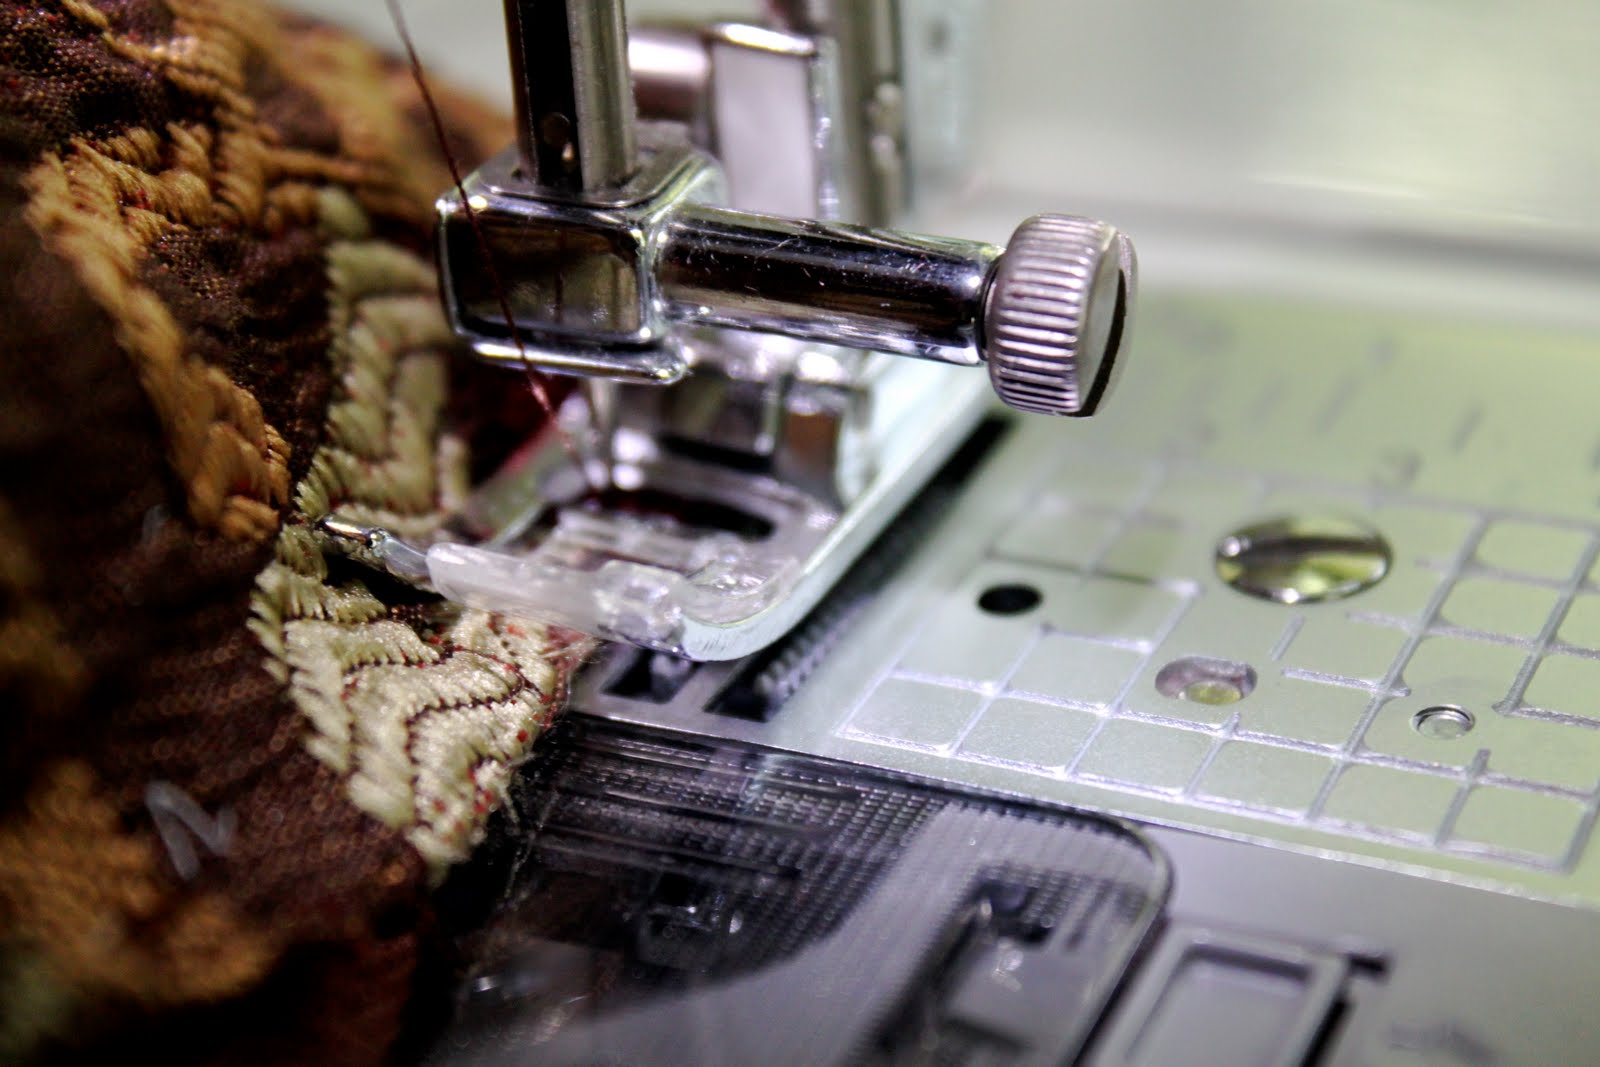
I wanted my camera strap to be slightly padded so I added some fusible fleece to the under-side.  I’m very happy with the amount of padding this gives the strap cover – not too much, not too little.

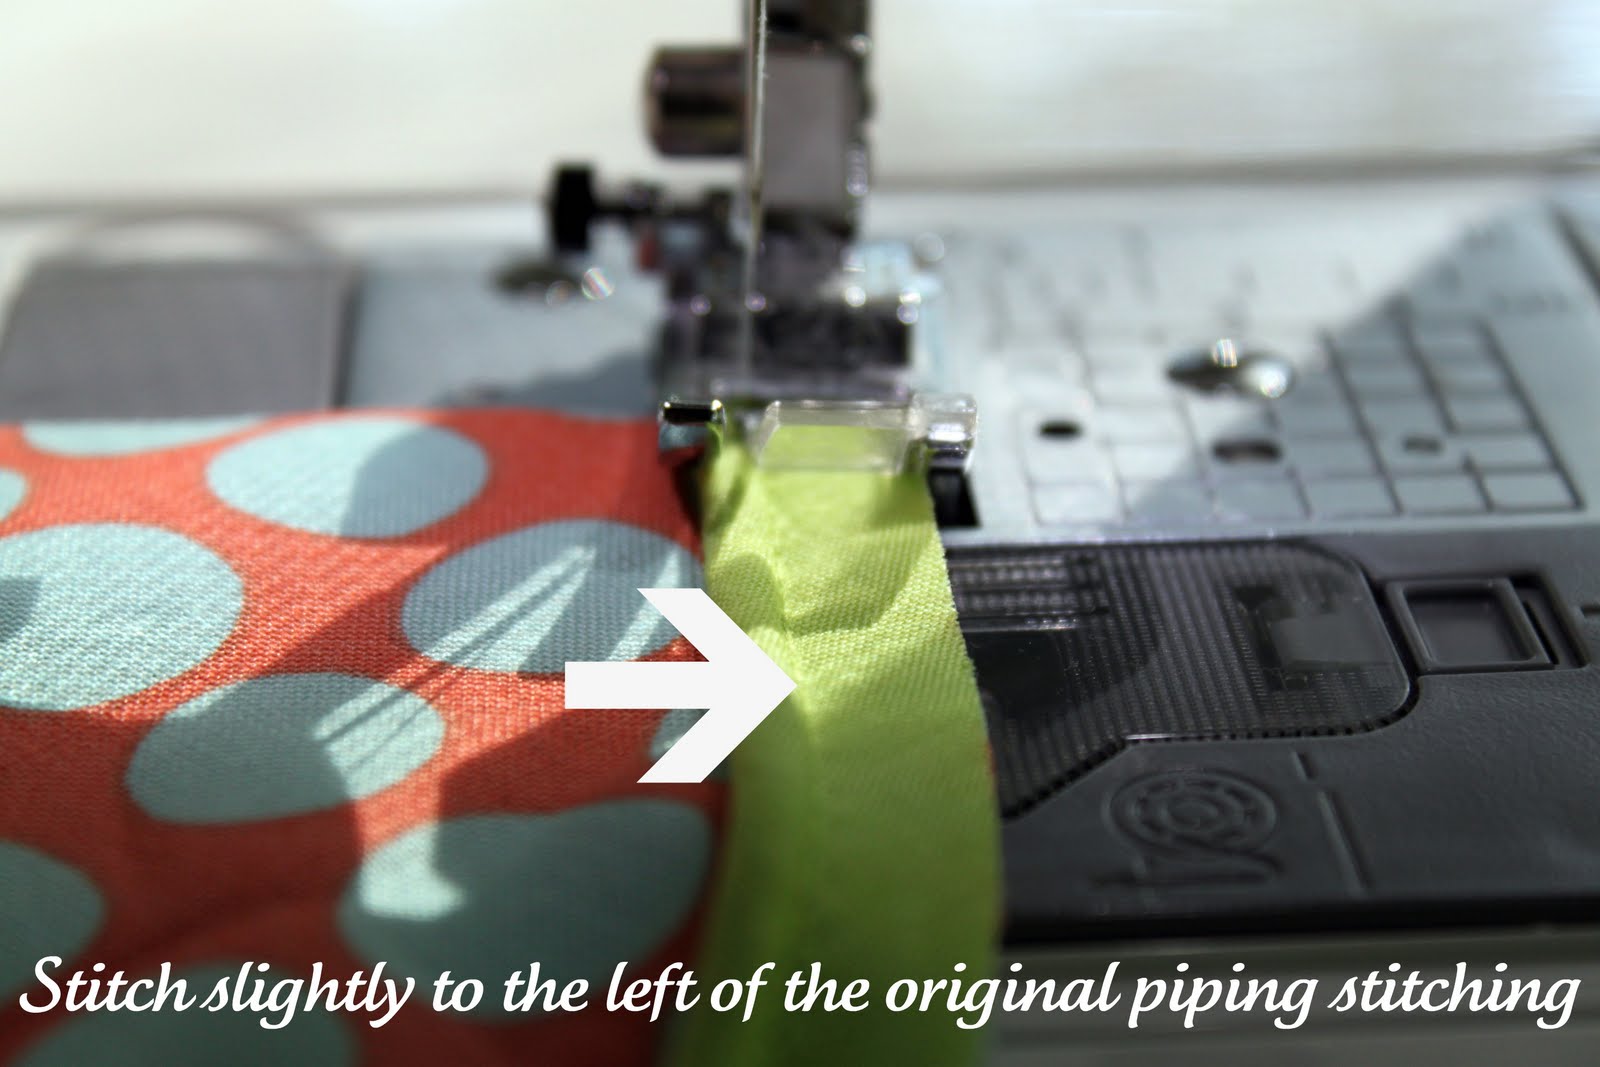
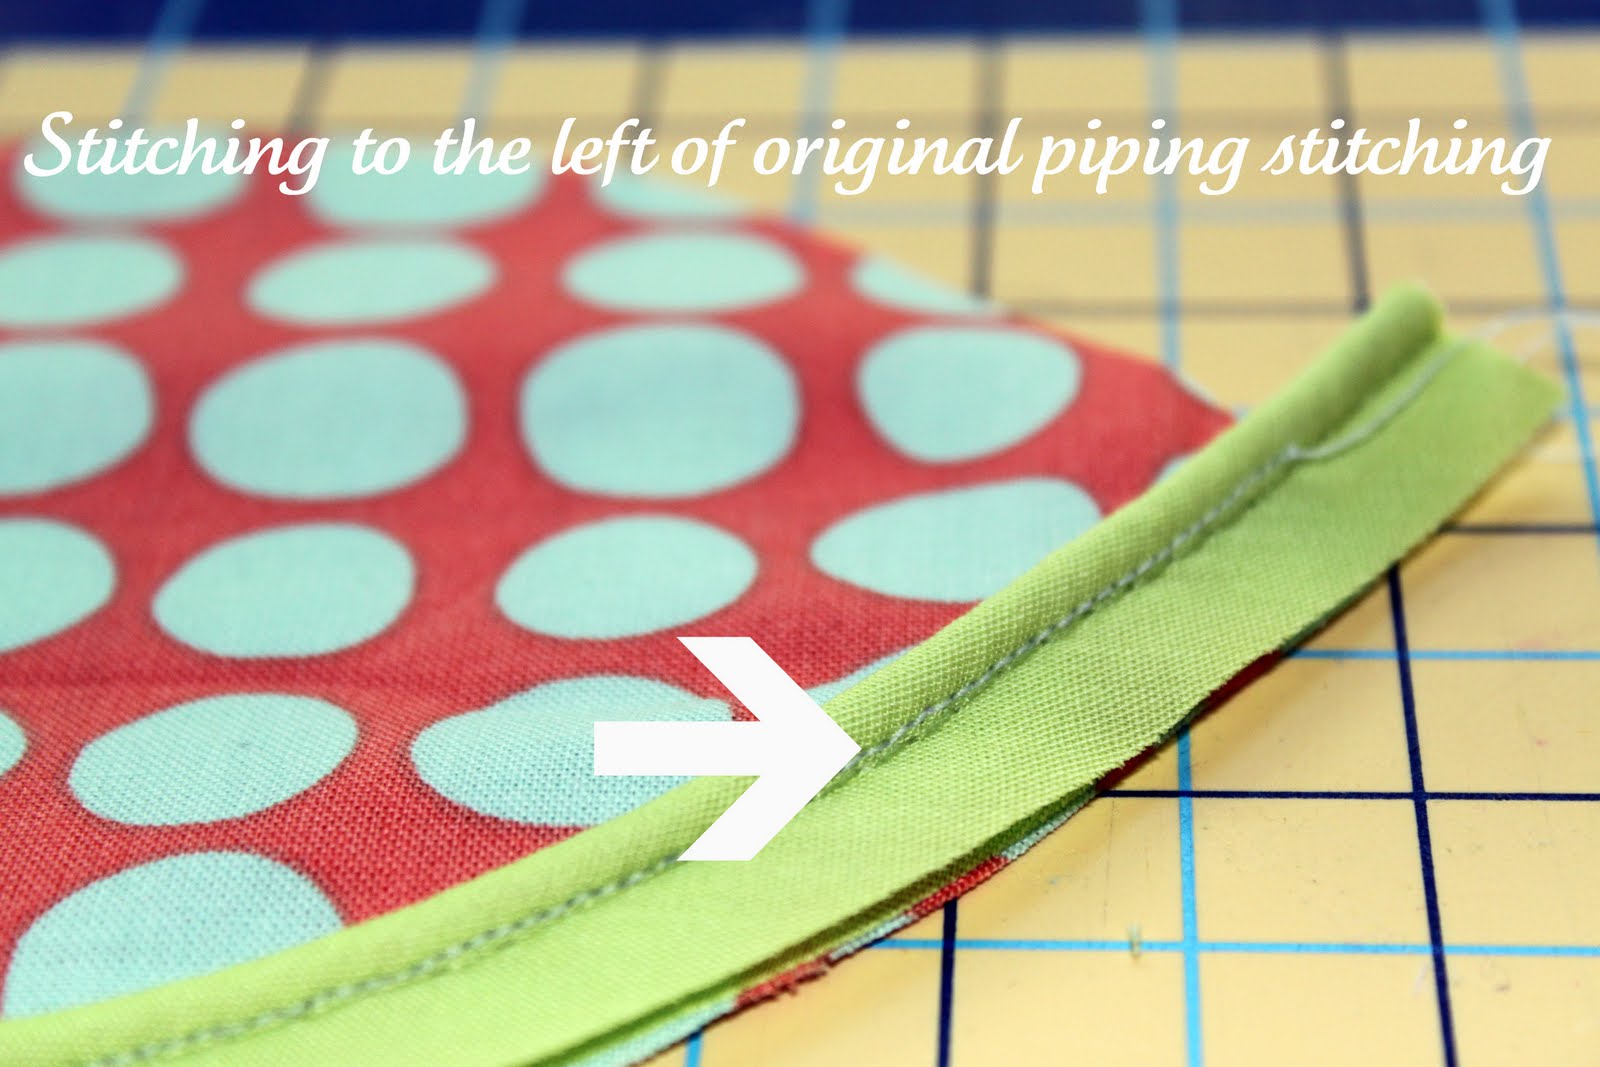
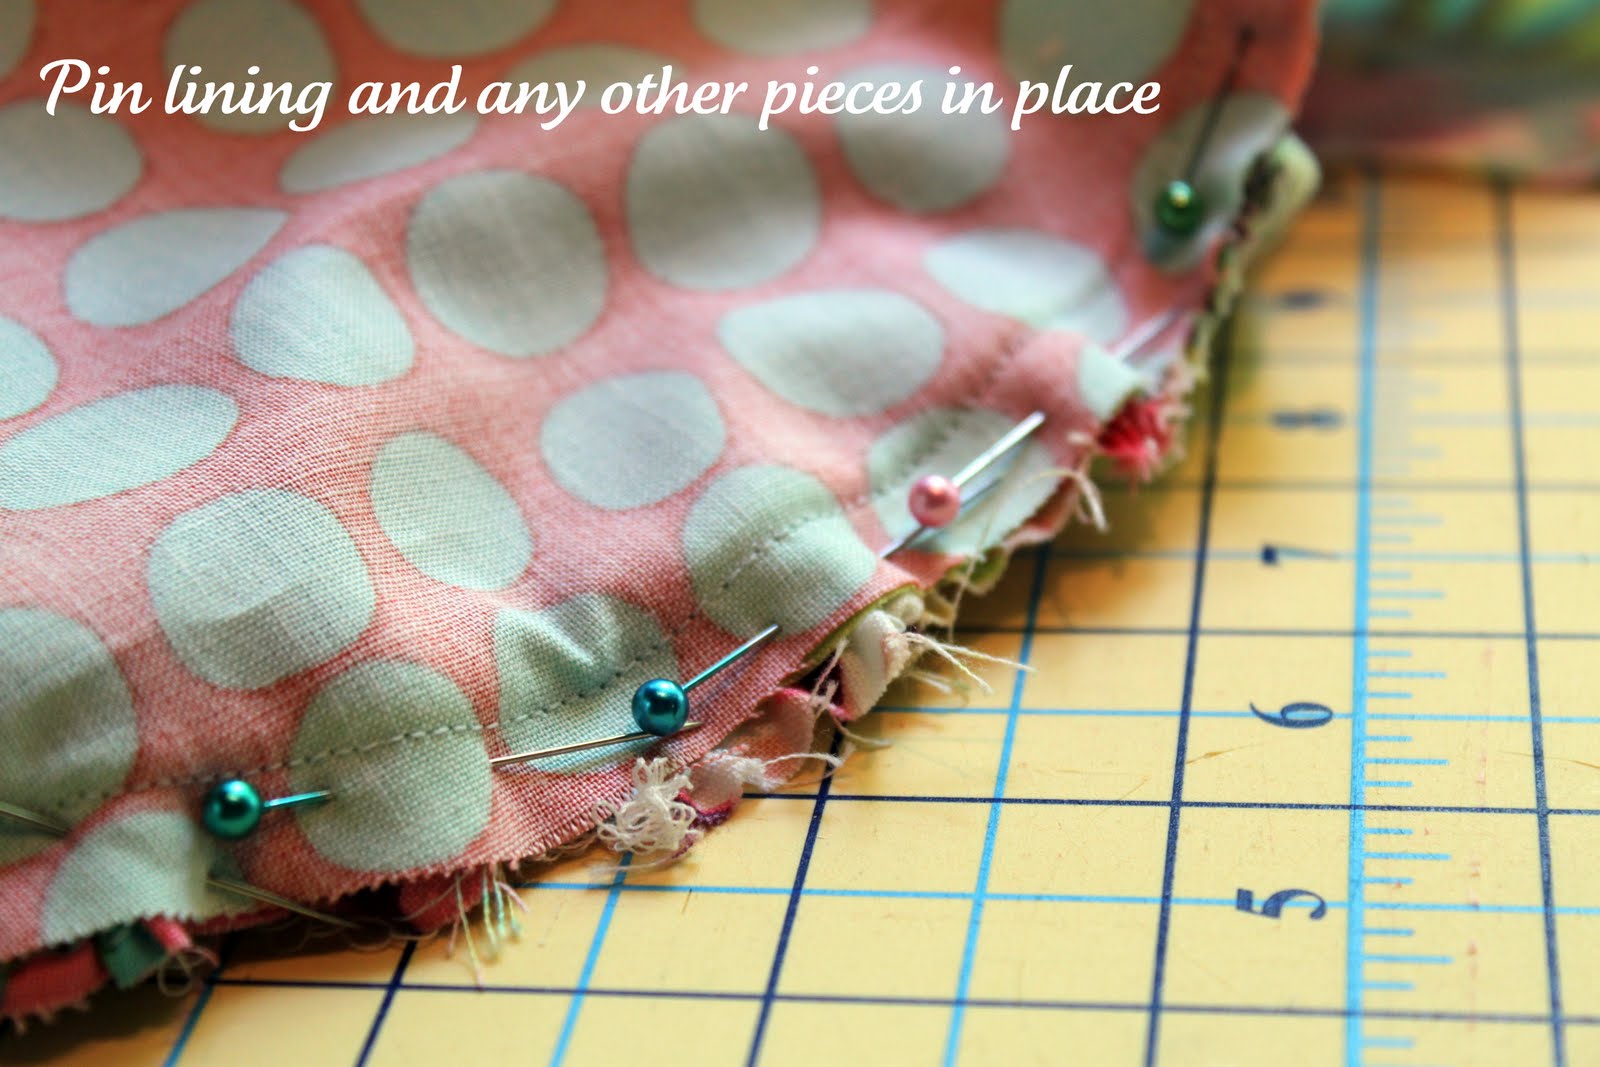
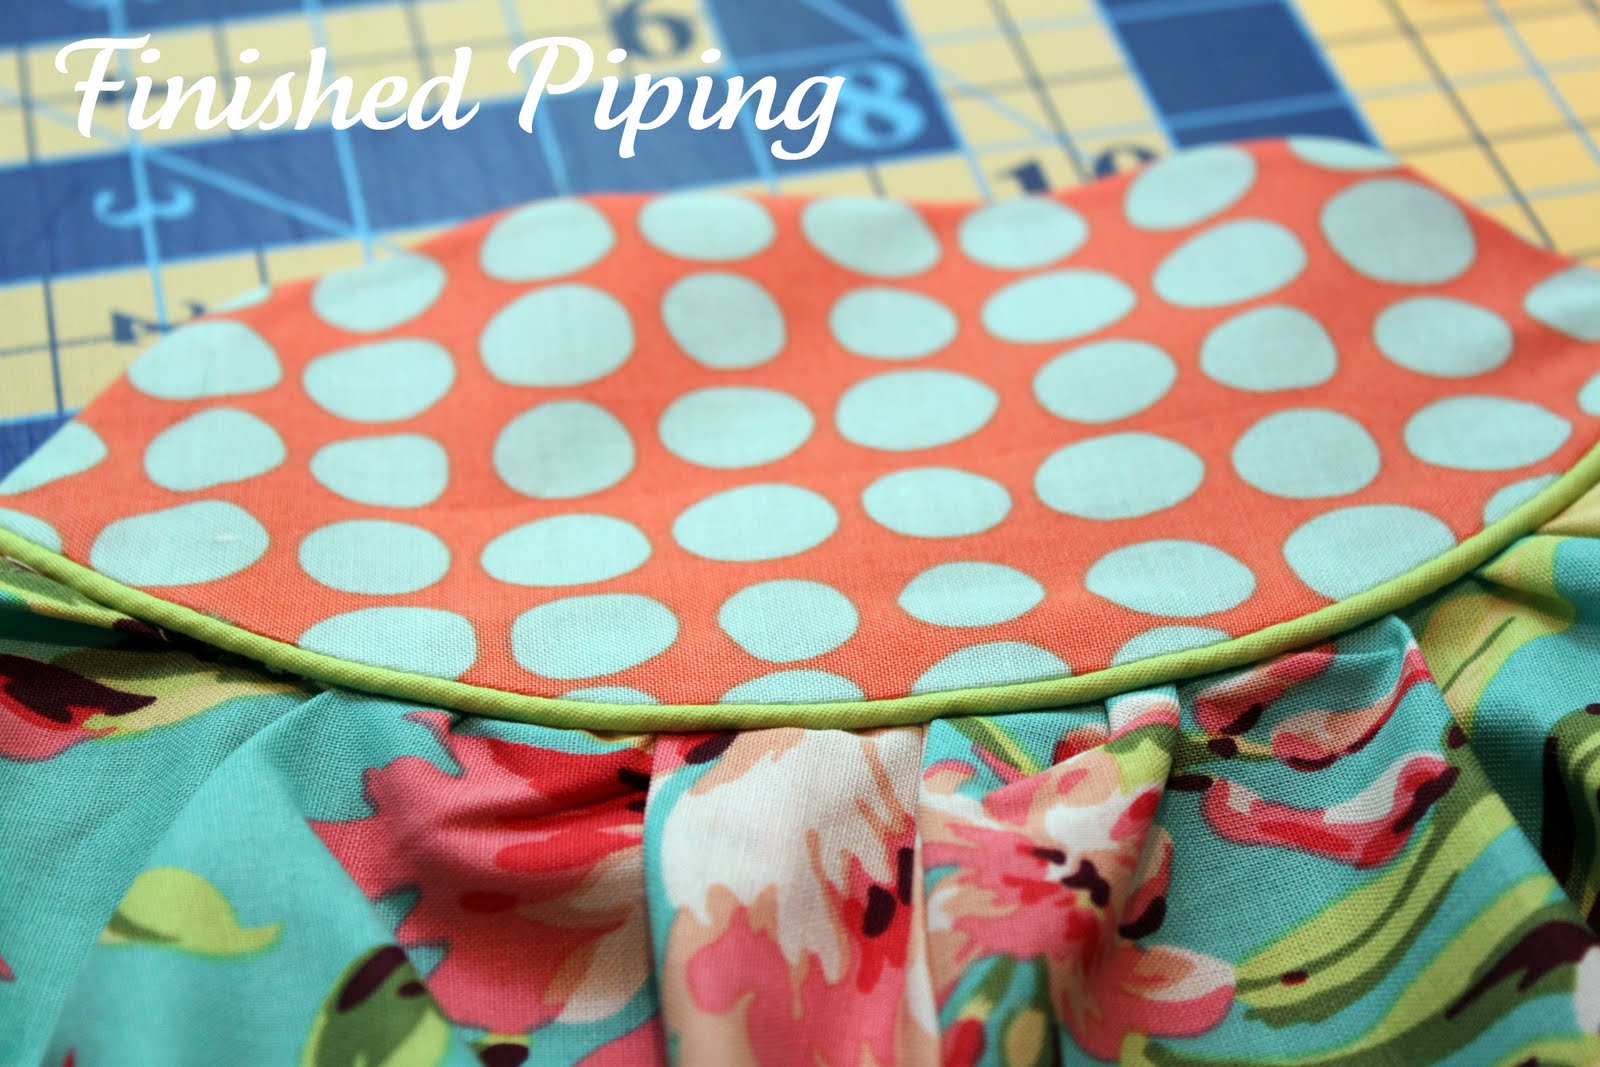
I used a gathering stitch on the top layer (don’t worry if you don’t know what that means, I promise to cover that in my “Sew Basics” series) and stitched the ribbon down the center of the ruffle.  I then sewed the top layer to the bottom layer (right-sides together) and turn it right-side out to reveal the completed camera strap cover.

On the inside I stitched in my label – The Cottage Mama.  It’s so fun to have your own labels!  Even if you don’t sell the things you make, I highly recommend purchasing some for any of the gifts you give or the clothes you make.  I feel so proud when I see my girls wearing “The Cottage Mama”.

And there’s me – “hi there!” sporting my new, hip camera strap cover.  I designed, cut, and finished this camera strap during naptime today, so it sewed up pretty quick.  If you have a boring camera strap right now, why not take a little time to make yourself something special, I’m sure you deserve it!!

Have a great weekend!

Cottage Mama’s Note: Since there are so many tutorials out there on making camera straps, I figured I would just kind of tell you what I did.  If you have any questions about how I made mine or if you would like a tutorial just leave me a comment or email me ([email protected]).

Easiest 10-Minute Throw Pillow from Placemat

Today I’m sharing an Easy Throw Pillow Tutorial with you all……and believe me, it doesn’t get easier than this! Would you believe me if I told you that the pillow pictured above was originally a placemat?  Well, it’s true!  I got this placemat today at Pier 1 on sale for $3.10 (including tax).  I turned this beauty into a pillow in less than 10 minutes, yes, LESS than 10 minutes.  Even if you don’t own a sewing machine, you can do this Easy Throw Pillow – just get out your seam ripper and hand-sewing needle.

Like I said in my previous post, I have really been into sprucing up The Cottage Home, but with being a stay-at-home Mom, I am usually on a pretty tight budget.  So I am doing the best with what I have (rearranging things galore) and adding in the occasional thrifty find.  I am so excited about this project and I hope you will be too!!

10-Minute Throw Pillow Tutorial

Supplies:
1 double layer placemat
Seam ripper
Fiberfill or other stuffing
Sewing machine or hand-sewing needle
Thread
Directions:
Grab a standard-size placemat.  I got mine at our local Pier 1 (though I was inspired by all the pretty things I’ve seen in the Potterybarn catalog lately).  Perhaps you have a placemat on-hand or check out any of your favorite stores – I guarantee a place mat will be FAR less expensive than a pillow but will still have the same style as your favorite store.
I picked this placemat because I loved the texture and the colors (our family room is deep red, brown, tan and green).  Make sure you choose a placemat that has two layers – a top layer and a bottom layer.  Some placemats are trimmed with bias-tape.  Try to stay away from those for this project as it will only make your life more complicated.
Here’s what the back of my placemat looks like – just a simple, solid brown.
Remove the tag from the placemat.  I decided this would be a good place for me to open up both layers as it already looked a little wonky to me.  But you can open your placemat any where you see fit.
Take your seam-ripper and carefully open up your placemat.  Open a hole large enough for you to stick your hand through.  You need to be able to get your hand inside to stuff the pillow.

This is the size hole that I ended up with after opening up both sides of my placemat (I have kind of small hands).

Take your fiberfill (or whatever stuffing you are using) and fill your placemat.  Keep filling until you are satisfied with the look.

After you have filled your pillow, pin the opening shut.  I know my pinning is not entirely proper here, but just do your best to pin the opening closed.

For the next step, if you have a sewing machine, line up the original stitching and close your opening with coordinating thread.  Mine was a 1/8th seam allowance.  If you DO NOT have a sewing machine, hand-sew the opening closed in coordinating thread.

Here is what the side of my pillow looked like after I closed the opening.

And there you have it – a pillow in less than 10-minutes – does it get any easier than that?  Well, not for $3.00!!

I saw some placemats at Pier 1 with some fabulous beaded trim on two sides – that would make a totally cute addition to a pillow, don’t you think?.  Hmmmm…….my wheels are turning…….perhaps I need another placemat or two.  What about you?  Will I see you out tomorrow picking up a placemat?

Turn a Placemat into a 10-Minute Throw Pillow on The Cottage Mama. www.thecottagemama

Loaded Potato Salad Recipe from Matilda’s Summer Garden Party

So, I’m finally getting around to posting some of the recipes from my daughter, Matilda’s Summer Garden Party that we had earlier this month.  The first recipe I would like to share with you is my Loaded Potato Salad.

I get weak in the knees for a good loaded baked potato.  I mean I love the works – butter, cheese, sour cream, bacon, chives, salt and pepper – YUM.  A good, loaded baked potato was my inspiration for this wonderful potato salad.  Even if you don’t traditionally like potato salad, give this a try – you might be a potato salad fan after all!


Matilda’s Loaded Potato Salad
Serves 12

Ingredients:
2 pounds red potatoes, cleaned and cut into 1 inch chunks
1 pound of bacon, cooked and crumbled
5 green onions, cleaned and sliced
1 stalk celery, finely chopped
1 cup mayonnaise
1 cup sour cream
Salt and Pepper, to taste
Directions:
Bring a large pot of salad water to a boil.  Add potatoes cut into 1 inch chunks.  Cook until tender, but not mushy (it’s very important not to over cook your potatoes).  Cooking time is approximately 15 minutes.  Drain potatoes, place in refrigerator to cool.
Meanwhile, cook your bacon.  You can cut it prior to cooking, as I have done here, or cook the strips and crumble them later (it’s up to you).  Once cooked, crumble each bacon strip and set aside.  
Add mayonnaise and sour cream to a large mixing bowl and combine.  Then add green onions (or chives, if you prefer), celery, bacon, and salt and pepper.  Finally add your cooked, cooled potatoes (don’t worry if they aren’t totally cooled – that’s ok) and fold ingredients together to combine.  Taste and then adjust seasoning.  
Place potato salad in the fridge for at least an hour to allow the flavors to come together.  This is definitely a great make ahead dish, so feel free to make this the day before your party or event! 
Enjoy!
Cottage Mama’s Note:  If it doesn’t taste quite right to you, it probably needs more salt.  I find that salt can make or break a potato dish – just the right amount and you can hit it out of the park, too little and your flavor will fall very flat.  Keep tasting and adjusting as you see fit.  Remember you can always add more salt, but you can’t take it out.

The Farm Chicks in the Kitchen

I was so excited to receive an unexpected package in the mail today.  Isn’t it exciting when you find a package at your doorstep and you have know idea what’s inside because it’s not your birthday, Mother’s Day, Christmas or your Anniversary?  Well, yes, that was me this afternoon.

But of course, this lovely package was from my wonderful Mother.  The Cottage Mama’s Mama always knows how to put a smile on her girls face.  I had mentioned last week that I wanted to get this book – The Farm Chicks In The Kitchen.  And of course, being the amazing Mom that she is, she surprised me and ordered it!

So tonight I plan on reading through this lovely book that I am SO excited to finally have in my possession.  Do any of you have this book?  Thoughts?  Any recipes I MUST try?  Well, if I come across any winners, I’ll make sure to share with you all!

Here’s a link to The Farm Chick’s blog if you want to check it out – it’s really cute and has great style.

On another note, I’m on a super nesting kick right now (no, I am not pregnant 🙂 – rearranging and de-cluttering my house.  It feels great, but I’m in the stage right now where it looks worse before it can look better – ahhhhh.  I’m really trying to work on my lack of patience and understand that this is going to take more than a day, but hopefully I can get it all done this week (we’ll see).  Wish me luck!

Hope you all had a great weekend and have a wonderful week ahead!

Marinated Fresh Mozzarella

I love fresh mozzarella.  There really is no comparison to the stuff you buy in a brick or pre-shredded.  I love a good piece of crusty bread with sliced mozzarella, drizzled with olive oil and sprinkled with garlic salt – Yum!

When I want to take fresh mozzarella to the next level, I love to marinate them in herbed olive oil.  Have you seen the marinated mozzarella in the store?  It’s pretty expensive in comparison to the regular un-marinated variety – usually about 2 times the price (if not more).  Marinated mozzarella is so simple to do at home at the fraction of the cost.

Marinated Fresh Mozzarella
Ingredients:
1 package medium size, fresh mozzarella balls
3/4 cup good olive oil
Herbs (fresh or dried) – oregano, thyme, basil, rosemary, parsley, ect..
Salt and Pepper, to taste
Optional: Red Pepper Flakes
Directions:
Drain fresh mozzarella.  Place cheese in a small container.  Sprinkle herbs on top.  This is where you can get creative – use what you like (fresh or dried).  If you have an herb garden go to town with fresh, if you don’t, just use what’s in your cabinet – it will be good either way.  If you like spice, add some red pepper flakes.  Sprinkle some salt and pepper (about a 1/4 teaspoon).
Fill container so mozzarella is covered.  You may use more or less olive oil depending on your container size.
Cover container with a tight lid and let sit overnight.


Antipasto platter from Matilda’s Garden Party with Marinated Fresh Mozzarella

Cottage Mama’s Note: Use this mozzarella on a beautiful antipasto platter (as seen above).  Or cook some pasta, let it cool and add the marinated mozzarella (with oil and herbs) to make a delicious pasta salad.  Or simply place cheese on a crusty piece of Italian bread and enjoy!

Sewing Refashion – A Simple Shirt Dress Tutorial

Refashioning seems to be a hot trend that is here to stay.  With people trying to get back to basics, saving money and using what they have on hand, it’s no wonder it’s become so popular.

Now this isn’t exactly a tutorial for the following dress, since I got a little lazy with my picture taking, but I thought I would just give you a rough idea of what I did and you can make up your own version if you like.

I got these button up shirts in the clearance section at Target.  I thought they were a little bit much for a grown woman, but I thought these would make adorable shirt dresses for little girls.

I used my 6 month old mannequin to get the sizing for baby Eloise’s little dress.  I have about four different sized mannequins that come in handy for children’s clothing.

I pinned the garment inside out and then cut away the excess fabric that I didn’t need.

If you don’t have a mannequin to get your sizing, just take an a-line dress in a 6-month size and use that as your pattern.

To take in the shoulders, I simply created a little tuck.  I tucked about an inch of the shoulder fabric underneath the fabric closer to the collar.

I continued the tuck all the way down to about the waistline in the front and the back of the dress.  I tapered the amount of fabric that was tucked away as I got down to the waistline.

This is what the back looked like before it was sewn.

Then I stitched the side seams together – right-sides togethre. (Yes, that is crayon all over my dress-form – Savannah got a hold of this one when I wasn’t looking one day).

I stitched my little pin tucks into place with coordinating thread – one on each side of the shirt.

I took off some of the length from the shirt and sewed a basic hem.

And here is the little shirt dress for baby Eloise!  It looks a lot bigger in these pictures, but it really is 3-6 month size.

This shirt came with some great trim already on it – you know how I love rick-rack, so I just thought this was perfect!

The back of the dress has some basic shirring with elastic thread.  This is great for a little ones shirt dress, because it allows it to appear very fitted, but it still has a lot of give in the rear for playing.

Here are the pin tucks after they have been sewn into place.  You hardly ever know that this shirt was super big before!

And there you have it, a simple shirt dress!

Sew Basics: Piping

Collage

I’m starting a new series and it’s called, Sew Basics, and the first lesson is all about piping…..Sew Basics: Piping!  I’ve realized, from the emails I’ve received,  that many of you are beginning sewers and would like to learn some of the basic skills involved in sewing.  So, for those of you seasoned sewers, perhaps you already know most of these skills, but I always think it’s fun to see how other people do things, don’t you?

I’m sure many people have different techniques in adding piping to clothing, but here’s how The Cottage Mama does it……so, here we go…….

Sew Basics: Piping

Piping is a narrow piece of fabric that encases a piece of cording.  You can make your own piping or buy pre-made piping in the notions section of your local fabric store.  Today we will discuss store-bought piping.  I will cover creating your own custom piping in another “Sew Basics” session.
Piping is a wonderful way to add detail and professionalism to any garment.  I love using piping in my children’s clothing that I sell in my etsy shop.  I think it takes clothing to a whole new level and makes each piece truly special.
Piping can be inserted into any seam.  Whether you want to add a little piping detail in a collar, waistband, arm hole, ect……..the options are endless.  You can also use piping in decorative household projects as well.

So, here is a little bubble romper from my etsy shop (no longer available) where I used piping in the seam between the bodice and the main body of the romper:

For this garment, I decided some bright-green piping would be a lovely detail separating the bodice from the main body of the romper.
So to insert piping into a garment like this, you will need store-bought piping and straight pins.
But if you want to make your life REALLY easy, then you should get yourself some Wonder Tape.  This stuff is awesome!!  In order to sew piping, you do not need Wonder Tape, it’s just nice to have.
You can find Wonder Tape in your notions section of your local fabric store.  My Joann’s always seems to be out of this, so if you find some, snatch it up.  It’s not cheap, but it will last you a LONG time.
Wonder Tape can be easily sewn through and will not gum up your needle (most other tapes will mess up your needle).  It disappears after washing too.  So, if you are trying to hold something in place and would rather not use pins, Wonder Tape
is a great option – try it with other trims as well!
First you will need to apply your Wonder Tape to the piping.  If you are not using Wonder Tape (which you definitely don’t NEED to), then skip this step.  You want to apply the tape to the side of the piping that will be up against your fabric.
After you have applied one side of the tape to the piping, remove the paper backing.  Surprisingly, the paper comes off really easily.
Now it is time to apply the piping.  Place the piping with the raw edges of the piping to the raw edge of your other piece of fabric.  Generally your corded piping piece should be towards the inside and the raw edges to the outer.  If you are not using Wonder Tape, pin your piping in place.
At this point, if you are using a pattern, please make note of the seam allowance.  You want your piping to be in your seam, so if you have a 5/8th seam allowance, you may need to move your piping in a little ways away from the edge of the fabric.  Please adjust where you place your raw edge of your piping accordingly.  Because I was not using a pattern, I just lined up the raw edge of my piping to the raw edge of my fabric.  Depending on where you decide to add piping, the seam allowance may or may not really matter.
This is what your piping will look like when it is ready to be stitched.  If you aren’t using Wonder Tape, then you will have straight pins holding the piping in place during this step.
In the next step, I talk about the original piping stitching and I just wanted to give you a visual so you know what I am talking about.  The original stitching is the line of stitches that holds the cord in place and is already there on your store-bought piping.
Now you will want to stitch slightly to the left of your original piping stitching.  You need to make sure you stitch to the left, because if you don’t the original stitching will show through when you turn your garment.
Also, I like to use my regular sewing foot for piping, but some people like using a zipper foot.  With a zipper foot you can get closer to the piping.  For me, I feel like I have more control with my regular foot.  Give both a try and see which way works best for you.
This is what your stitching looks like after.  It’s hard to see, but my stitching is the white one ever so slightly to the left of the green.
For this garment, there was the main body of the romper and then the lining of the bodice to pin in place.  So, basically all of the raw edges meet up and I pined them all together.  If you were just adding piping to a collar or arm holes, you would not need to worry about the gathering the main body (like in this romper).  You would just pin (right-sides together) the collar with the piping to the other piece of the collar.
Make sure you pin with your stitching-side up because you will need to see this in the next step.
Now stitch again, ever so slightly to the left of where you stitched earlier.  In this step you are squeezing the piping and this is what is going to make it look nice and clean from the other side.
If you don’t sew enough to the left of your other stitching, that’s ok, just go back and stitch again until it looks right when you turn things right side out.
This is what your piping will look like when your turn your fabric right side out.  Make sure you press your garment to make your lines look clean.  Again, like I said if you didn’t squeeze the piping enough, just turn the garment in side out and stitch again until it looks like this.
You can top-stitch once you have turned your garment or just leave it as I did.  Top-stitching just means to add a decorative line of straight stitching with a 1/8th seam allowance.  I like using top-stitching for added durability in children’s clothing.
Here is the completed bubble romper with piping detail in the bodice.  I love the way the green piping pops against the orange and blue.
Here are a few other dresses with piping in the collars:
Give piping a try.  It’s not very hard once you try it a couple times.  You may not get it the first time, but try, try again.  Once you get used to it, you will be looking for ways to add it into all of your sewing projects.

Fun with Knits

Since today was my birthday, I decided I was going to sew whatever I felt like.  Nothing for The Cottage Mama, just something that I had been dreaming up in my head.  I recently received a shipment of new cotton knit fabric – Patty Young for Michael Miller and I have been dying to get working with them.

To be honest, these knits are a little “funky” for me, since I consider myself to be a little more classic in style, but every once in a while I like to step outside of the box.

Here’s a little number I came up with today for my daughter Savannah……..

For the little layered flower on the top, I added interfacing behind each piece of knit to give it more structure.  I left the edges raw and just used a straight-stitch around each circle.  I free-handed the circles so they would look a little more organic.  I finished it off with a little pink button.

For the pants I didn’t hem them, I just left a raw serged edge.  A nice hem would definitely be a cleaner look, but since I plan on these being play clothes for Miss S., I thought the raw edge was perfect.

I didn’t use a pattern for this outfit, I just kind of mix and matched different pattern pieces of my own to put it together.  Some day I will have to do a post on how I come up with my own designs……..I kind of have my own process of doing things that works for me.  But we’ll save that for another day.

I find mixing and matching patterned fabrics to be so much fun!  These knits are amazingly soft – I’m thinking I may have to make a little something for myself and Miss Matilda too!

Do you like sewing with knits?  They really are very easy to work with.  Give them a try and I bet you’ll be hooked.  Interested in any tips for sewing with knit fabric?

Cottage Mama’s Note:  Please take notice of how Savannah is NEVER looking at the camera.  Wow, getting a good picture of a toddler is MUCH harder than anything I have ever sewn!!

Happy Birthday……to me!!

Hi!  So that’s me in the picture above.  I realized that the two pictures I have on the blog are with long hair……..so nope……I’ve got short hair now.  Today is my birthday and I thought I would take this opportunity to tell you a little bit more about myself.  That’s fun, right?  Personally, I love getting to know people better so I thought you might too!

So, my name is Lindsay Michelle Wilkes and I was born July 15, 1981.  That makes me 29 years old today.  How old did you think I was?  Not sure if it’s a good thing or bad thing that I reveal my age on here, but there you have it – 29 years old!

I was born in Indiana, but moved shortly after I was born to the bay area in California.  I spent the first 13 years of my life in CA, then (due to my Dad’s job) we moved to The Woodlands, Texas (suburb of Houston).

It was during my junior year of high school that I met my now husband (Brett) – he was a senior at the time (an older man, I know!).  After my senior year of high school, my parents ended up getting divorced after 20+ years of marriage…….definitely was big shocker to everyone.

Upon high school graduation, I attended the University of Cincinnati – College Conservatory of Music majoring in musical theatre (singing, acting, and dancing).  After a year of being in Cincinnati, I decided that musical theatre was not a practical major and knew that if I wanted to make things work with my (at the time long-distance) boyfriend, I needed to move to Chicago (where he was attending school).  I made the move to Chicago and transferred to DePaul University majoring in Finance.

Before my senior year of college, Brett proposed to me and we got married the summer after I graduated.  A month after we got married we closed on “The Cottage Home” and have lived here ever since.  We will celebrate our 6th wedding anniversary later this month.

After graduation I worked in commercial banking, then transitioned into selling real estate and ultimately ended up where I am now.  I stay-at-home Mom, sometimes work-at-home Mom raising my two beautiful daughters, Savannah Rose and Matilda Jane.

Hmmmmm………what else about me……..

  • My favorite food is shrimp.
  • My favorite color is deep red.
  • My cocktail of choice is gin and tonic.
  • I prefer red wine to white.
  • I LOVE carbs – bread, pasta, ect…..
  • I sleep on the left side of the bed.
  • I love jazz music.
  • I watch trashy TV and am not ashamed (i.e. The Bachelorette, The Hills, Keeping Up With The Kardashians).
  • I sing in the shower.
  • I love Broadway shows.
  • I need coffee to function.
  • I find balancing motherhood, house-work, being a good wife, blogging, and running a small business quite difficult at times.
  • I love being a Mommy.
  • I had a natural birth with my first daughter and a c-section with the second.
  • I had postpartum depression after the birth of my first daughter, but luckily recognized it quickly and did not suffer long.
  • I think my husband is one of the most talented people I know.
  • I truly love my in-laws (I know, rare, right?)
  • I would love to live near the ocean someday.
  • I never feel like I “get it all done”, though I wish I could.
  • I consider my Mom my best girl friend and wish we lived closer.
  • I am Catholic.
  • I love, love, love to create and sew (sure you already knew that)……..especially for my girls!
  • I love all things vintage.
  • I think my daughter Savannah is one of the funniest people I know.
  • I love the feeling I get when my girls wrap their arms around my neck and hug me tight.
  • I feel blessed beyond belief and sometimes take my life for granted.  But when I step back, there is no where I would rather be.

Well, I’m sure that was WAY more than you ever cared to know about this Cottage Mama, but I just thought I should put it out there.  Anything else you would like to know about little ole me?  Hope you all have a happy day!!

What’s Coming Next

I feel like my posting has been a bit sporadic lately.  With being away for almost a week in St. Louis at Grand-Molly’s funeral, I have some SERIOUS catching up to do on The Cottage Mama custom orders.  I’m going to need to really focus on getting those orders out to my lovely customers, but I promise to be back with some more regular posts very soon!

So, I thought I would let you know what to expect from me in the coming weeks.

  • Piping Tutorial – I will show you how easy it is to add beautiful piping to your handmade garments.  For example, adding piping to clothing items such as these;
  • The Cottage Mama Sewing Studio Reveal.  I’ve gotten quite a few inquiries about where I sew, craft, and create.  So, ask and ye shall receive.  I will be sharing some pictures of my little sewing studio.

Well, that’s it from me for now.  If there are any sewing tips or tutorials, or projects you are interested in me posting about, just leave me a comment or send me an email ([email protected]) – I love hearing from you guys.  I’m off to my sewing machine.  I hope you all have a wonderful day!  Thanks for reading!!