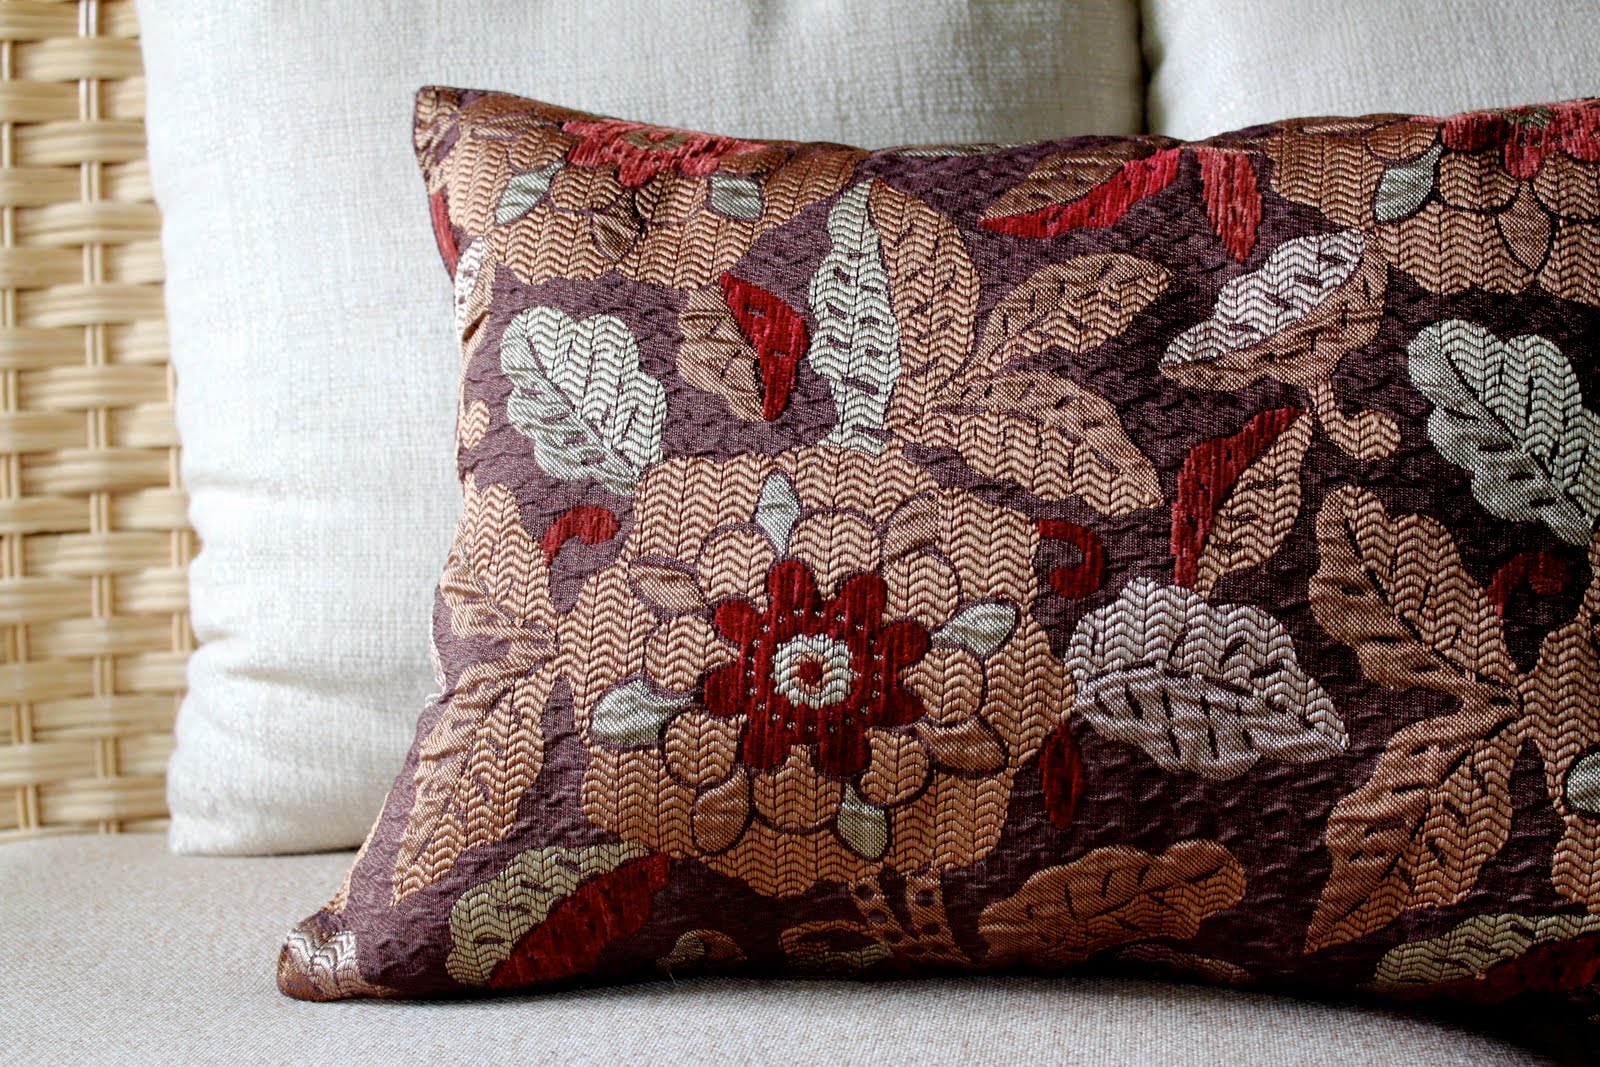
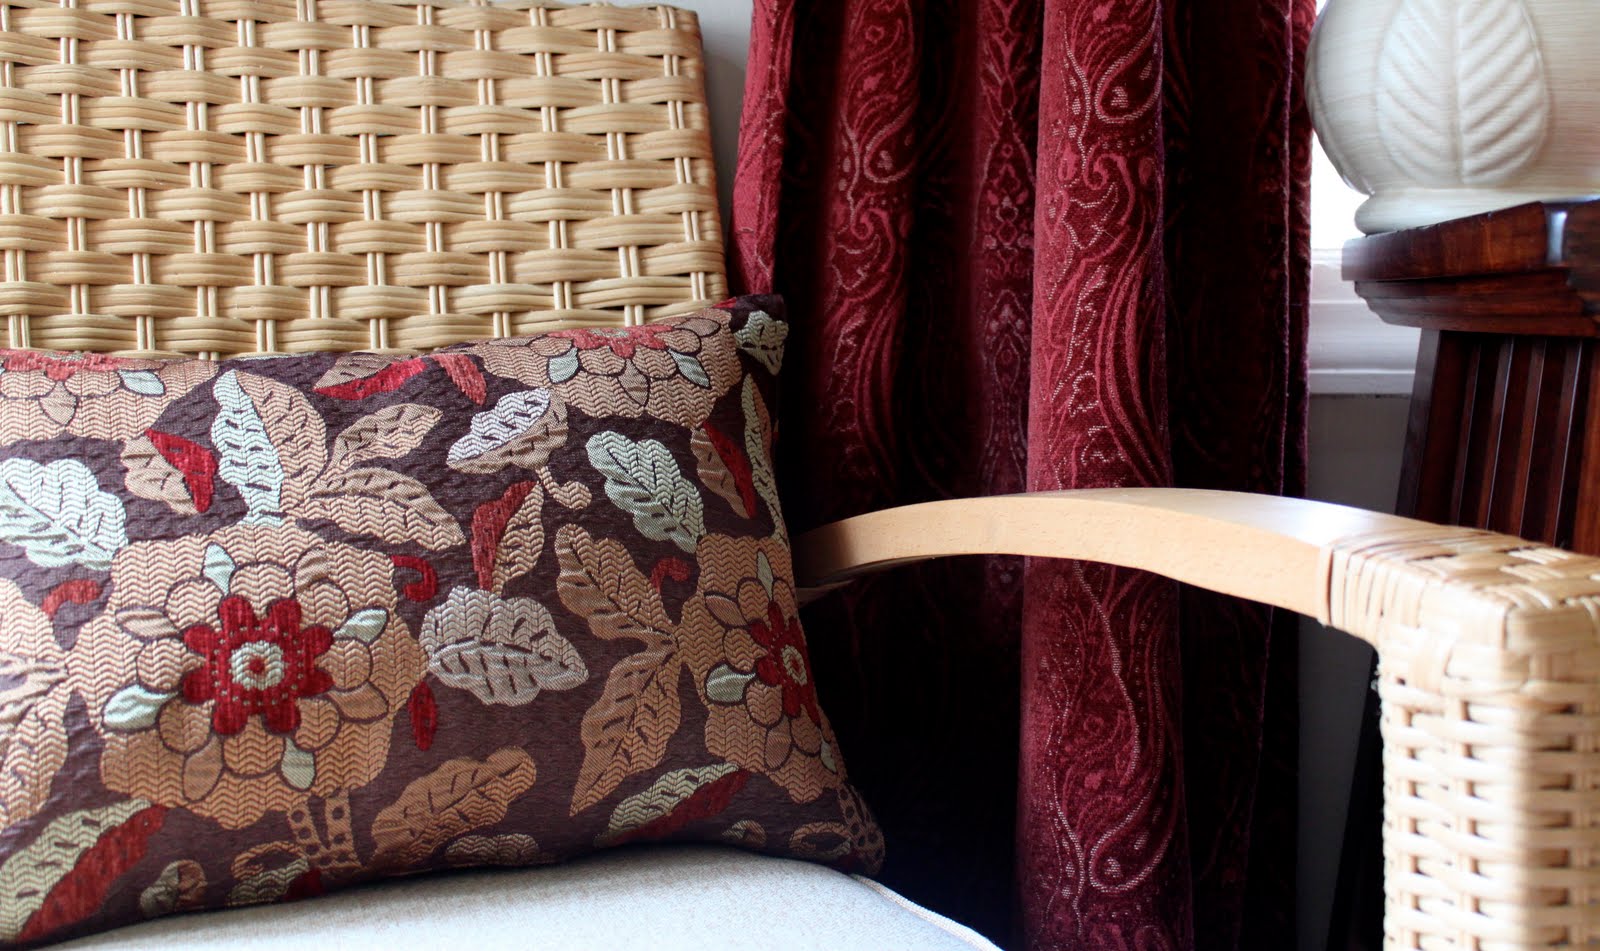
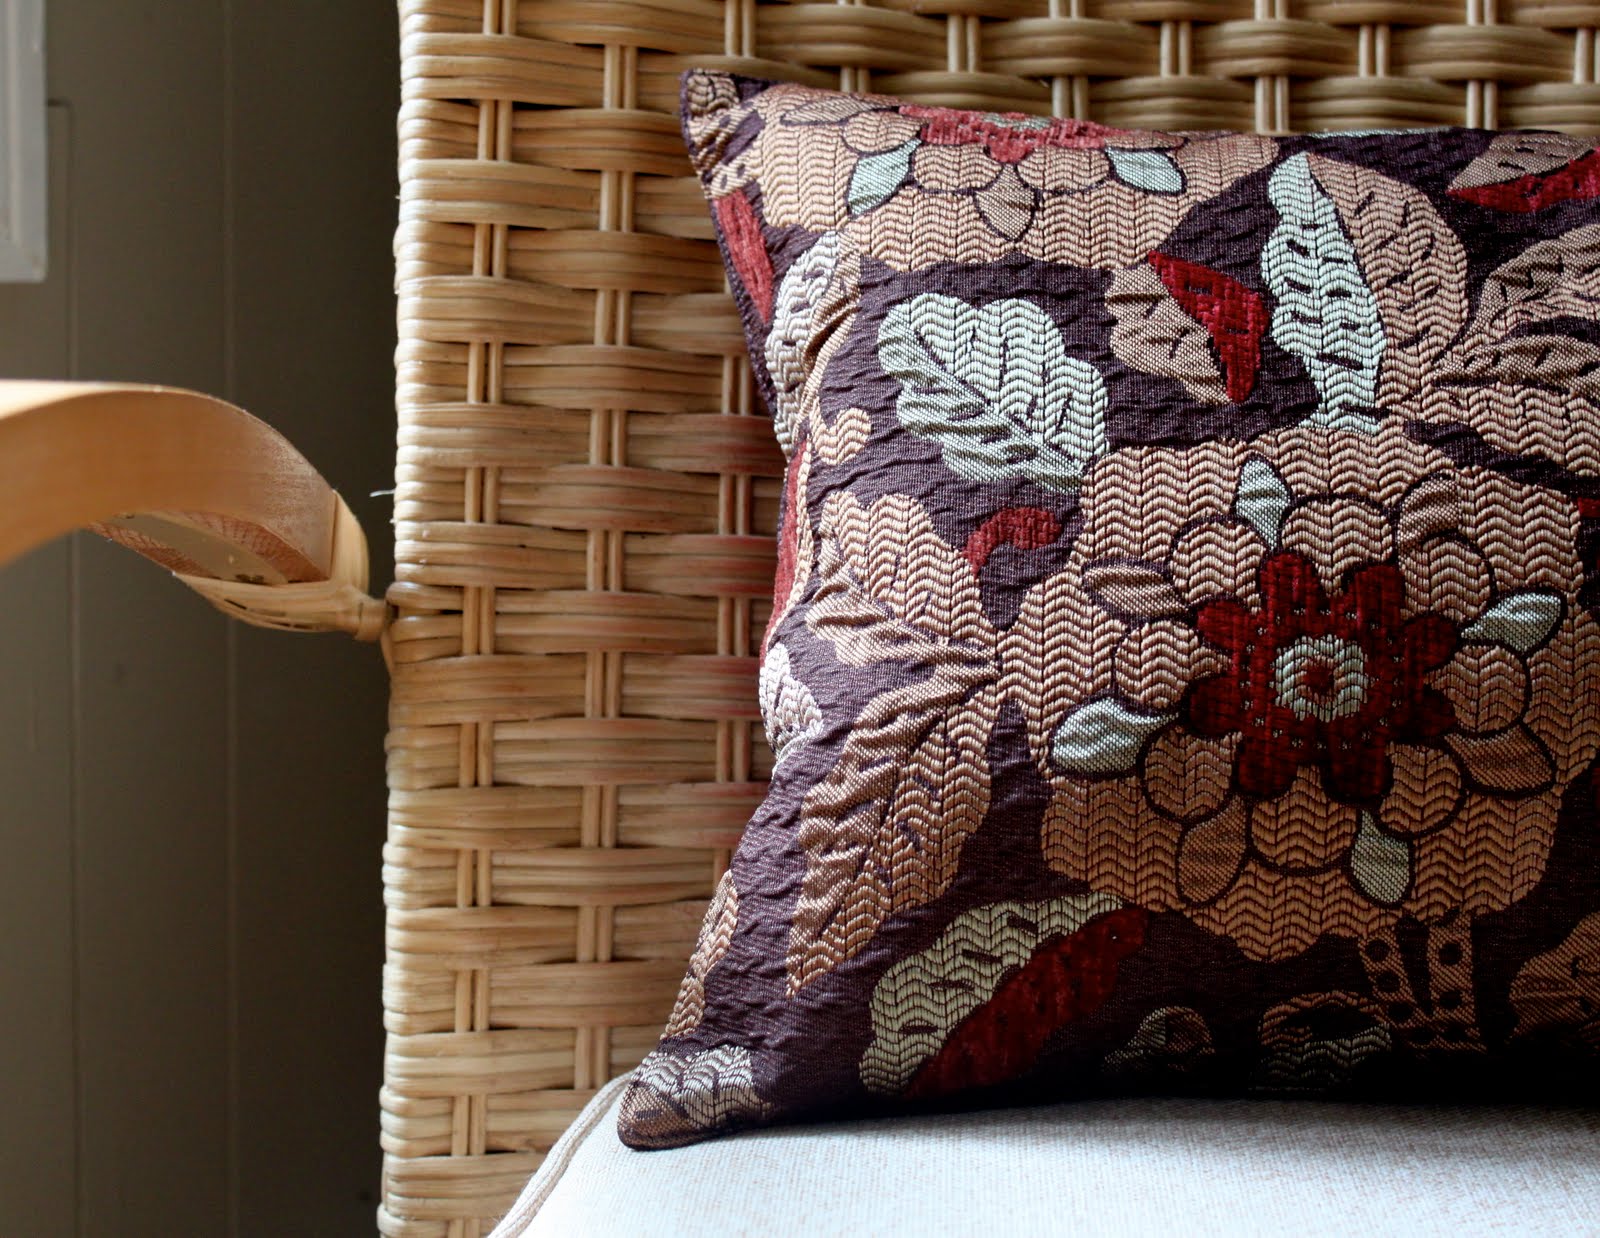
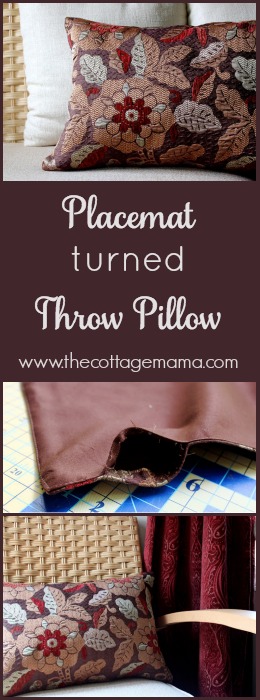
Today I’m sharing an Easy Throw Pillow Tutorial with you all……and believe me, it doesn’t get easier than this! Would you believe me if I told you that the pillow pictured above was originally a placemat? Well, it’s true! I got this placemat today at Pier 1 on sale for $3.10 (including tax). I turned this beauty into a pillow in less than 10 minutes, yes, LESS than 10 minutes. Even if you don’t own a sewing machine, you can do this Easy Throw Pillow – just get out your seam ripper and hand-sewing needle.
Like I said in my previous post, I have really been into sprucing up The Cottage Home, but with being a stay-at-home Mom, I am usually on a pretty tight budget. So I am doing the best with what I have (rearranging things galore) and adding in the occasional thrifty find. I am so excited about this project and I hope you will be too!!
10-Minute Throw Pillow Tutorial


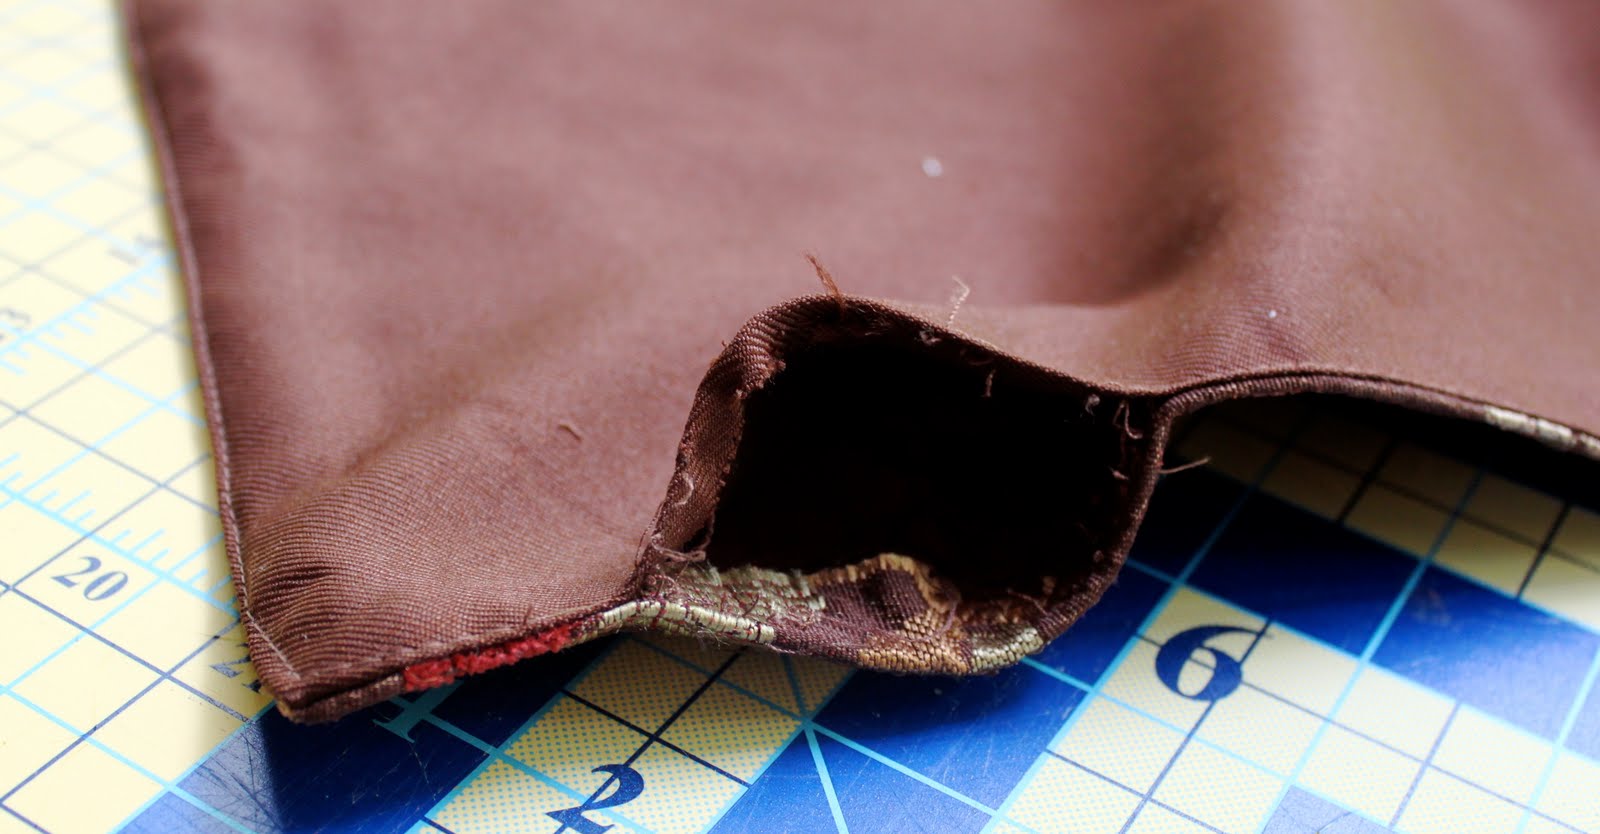
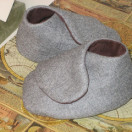
This is the size hole that I ended up with after opening up both sides of my placemat (I have kind of small hands).

Take your fiberfill (or whatever stuffing you are using) and fill your placemat. Keep filling until you are satisfied with the look.

After you have filled your pillow, pin the opening shut. I know my pinning is not entirely proper here, but just do your best to pin the opening closed.
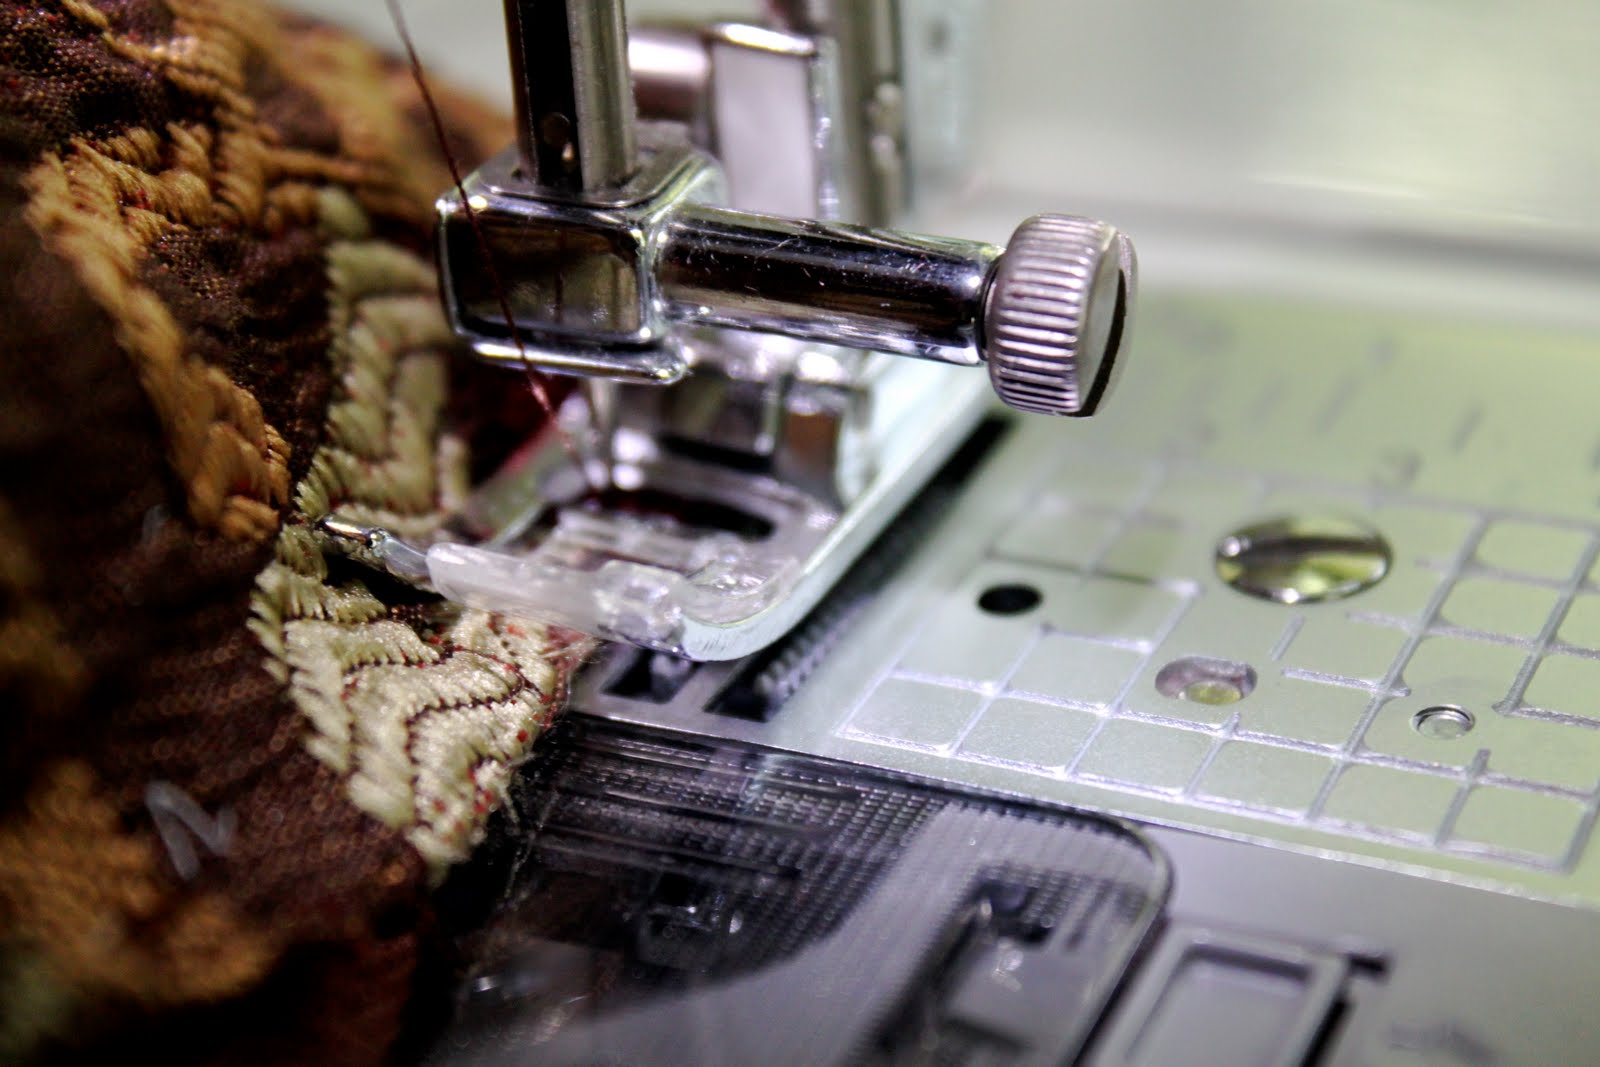
For the next step, if you have a sewing machine, line up the original stitching and close your opening with coordinating thread. Mine was a 1/8th seam allowance. If you DO NOT have a sewing machine, hand-sew the opening closed in coordinating thread.

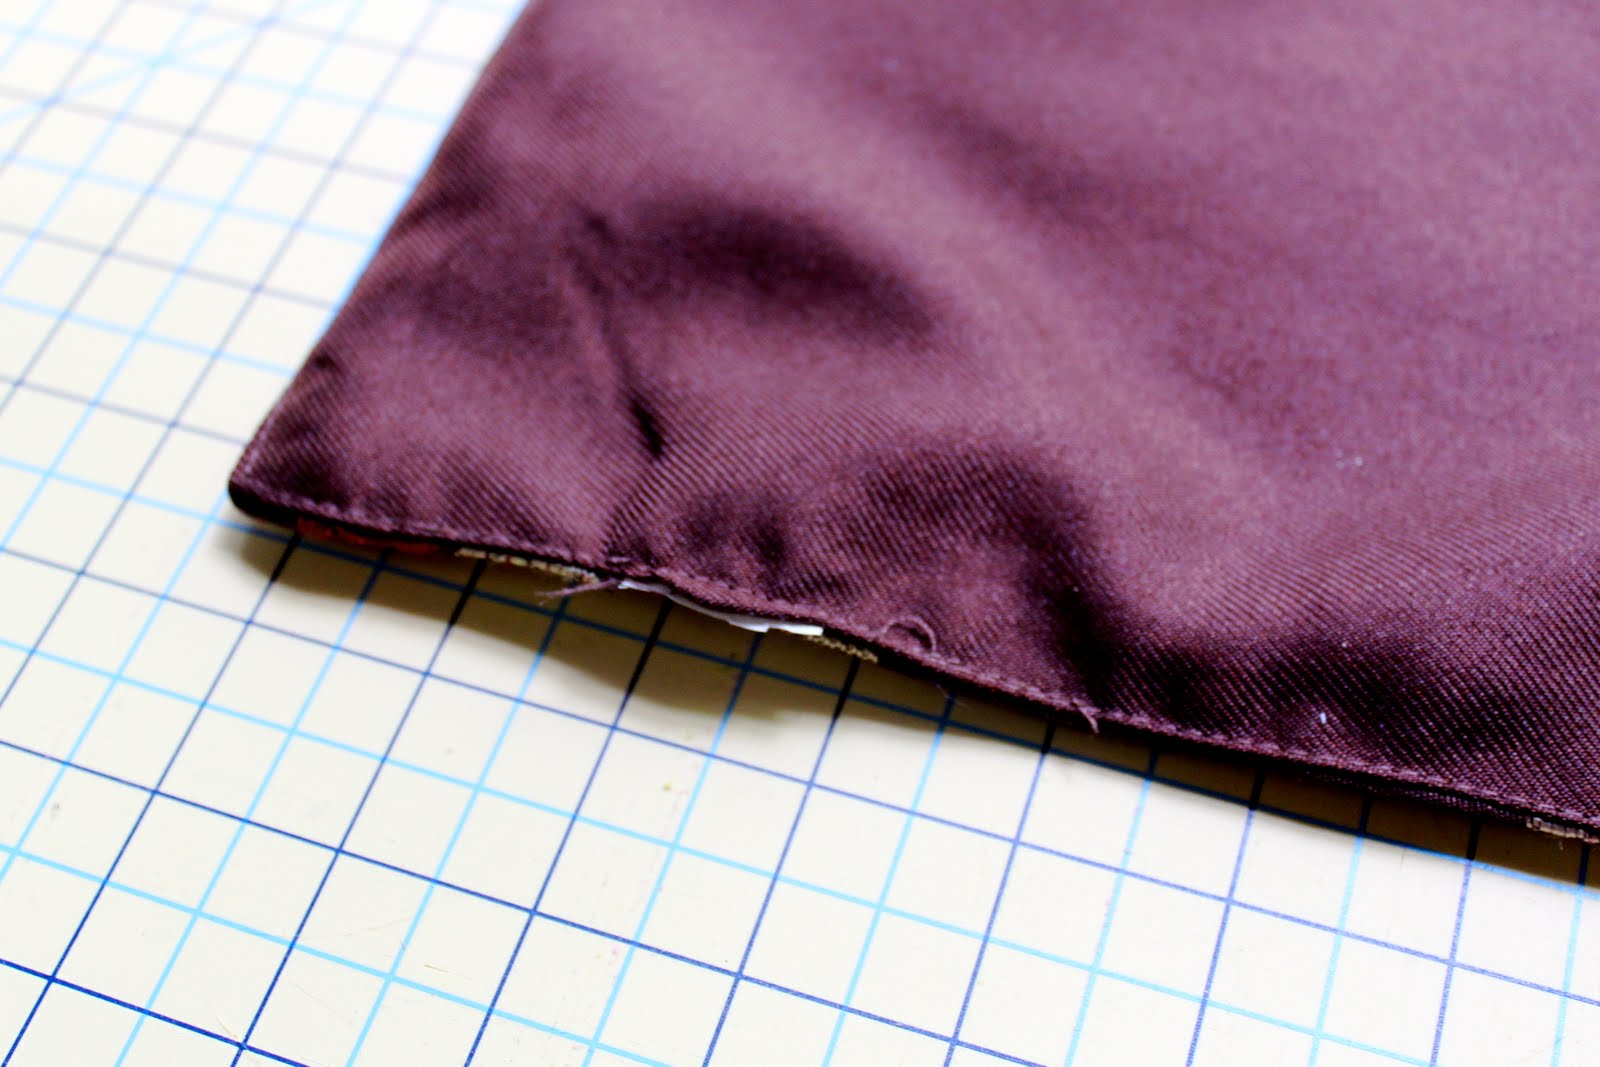
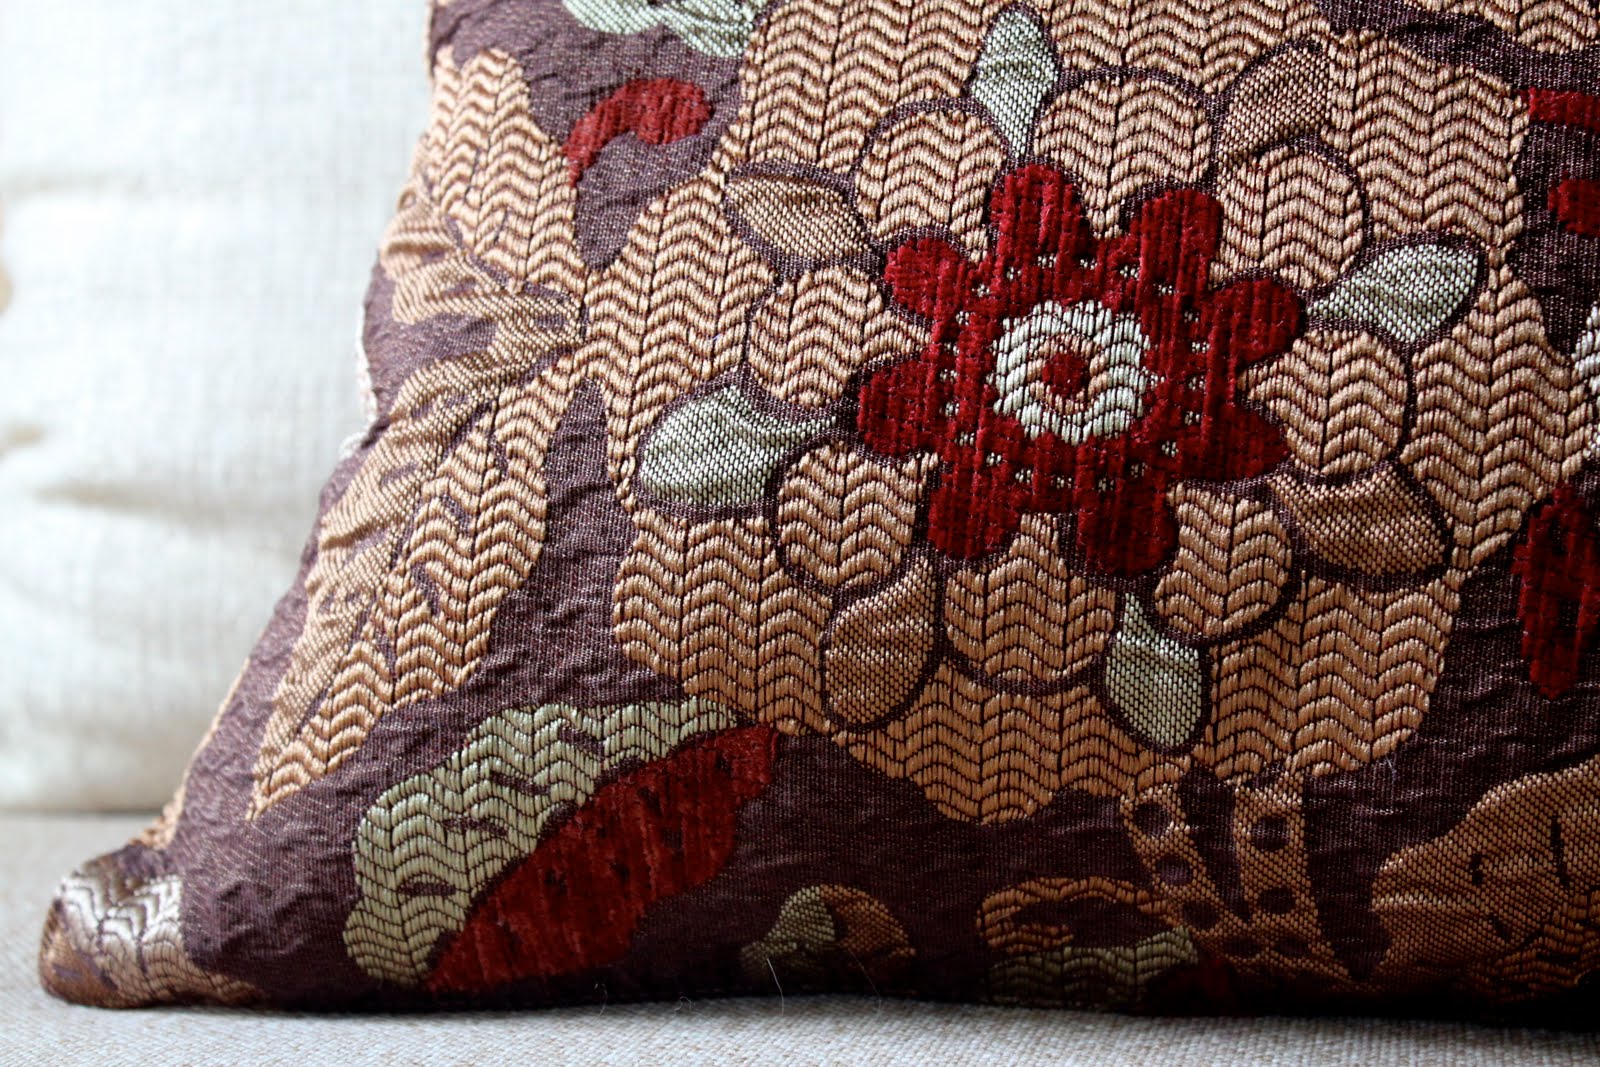
Here is what the side of my pillow looked like after I closed the opening.

I saw some placemats at Pier 1 with some fabulous beaded trim on two sides – that would make a totally cute addition to a pillow, don’t you think?. Hmmmm…….my wheels are turning…….perhaps I need another placemat or two. What about you? Will I see you out tomorrow picking up a placemat?


 Lindsay Wilkes is the owner and designer behind The Cottage Mama. She creates timeless, vintage inspired sewing patterns for children’s clothes. She is also a fabric designer for Riley Black Designers / Penny Rose Fabrics, author of the book ‘Sew Classic Clothes for Girls’ and can be seen teaching nationwide and online in her video series ‘Lessons with Lindsay’ sponsored by Baby Lock Sewing and Embroidery machines.


really cool lindsay, that placemat was a perfect choice. 🙂
this is such a creative idea and so doable! thanks for posting – i must try it one of these days!
I am totally doing this project tomorrow… I have been making placemat purses, but this is another great use for them. Thanks so much for the wonderful inspiration!!
Hi Lindsay, I love your pillow idea. Placemats come in some gorgeous prints nowadays. The possibilities are endless!
what a great idea!
That is such a great idea, I will be looking at place mats everywhere now.
thank you so so so much for this. i’ve read that you can make placemats into pillows but wasn’t quite sure how to do it or what to look for in a placemat so again, THANK YOU!
That is genius! I am all about refashioning and reusing. Such a great idea.
I have always wondered what I could do with the lovely placemats I see in stores like Pier1, HomeGoods, etc. and now I know! Thanks for sharing!
beautiful…simple…so creative.
I’ve been following your blog for awhile and LOVE it!
Great idea. Thank you for sharing this.
Stopping by from New Friend Friday. 🙂
I did something so similar with napkins … it was one of my few “original” ideas. http://penn-fam.blogspot.com/2010/04/my-little-project.html
Oh what a fab idea!!! I would not have thought to create a pillow this way with a placemat.
The fabric only looks so-so as a placemat (in my opinion) but it looks absolutely stunning as a pillow! Unbelievable!!!
You had some great vision there!
Thanks for linking up!
That’s great! You are super talented!
smiles!
http://www.blackberryvine.blogspot.com
Stopping by from New Friend Friday … awesome blog! Love the potato salad recipe – will definitely give that a try.
Alicia
http://www.kramercottageschool.blogspot.com
excellent!
easy + 10min + something really sophisticated as a result.
we love this formula.
do come link it up at our site so that our readers can find this and your other wonderful ideas:
http://www.finecraftguild.com/diy-tutorial-linky-party-8/
(new party every wednesday, findable at our home page)
we look forward to featuring your work!
Very nice! Far to pretty to eat off of too. 😉 Makes the perfect pillow!
LOVE this idea!!!! I stumbled this post for you!!
What a Fantastic idea! Now I’m on the lookout for a pretty placemat. Thanks for posting. 🙂
kim l.
Hello…..I just found your blog today and I just love it. I don’t sew (except on greeting cards that I make) but that doesn’t keep me from buying fabric and hoarding it.
I am excited that you will be sharing some beginners tutorials. Thank you for that!
This pillow blows. me. away. I’ve never seen this idea before….brilliant! I was just at Pier One on Friday but now I want to go back today!!!!!
Have a great weekend.
I did make some of these, and they turned out so cute! I posted about it on my blog if you’d like to check it out here: http://sandysewz.blogspot.com/2010/07/more-pillows.html
Thanks again for the great idea… I’ll be making more of these!
Pure.genius.
♥