
It’s really starting to feel like fall here in the Midwest. We still have our occasional warm day, but for the most part fall is upon us. Fall is my favorite time of year with all the fun festivals, pumpkin patches, apple orchards…….I truly value the beautiful seasons each year.
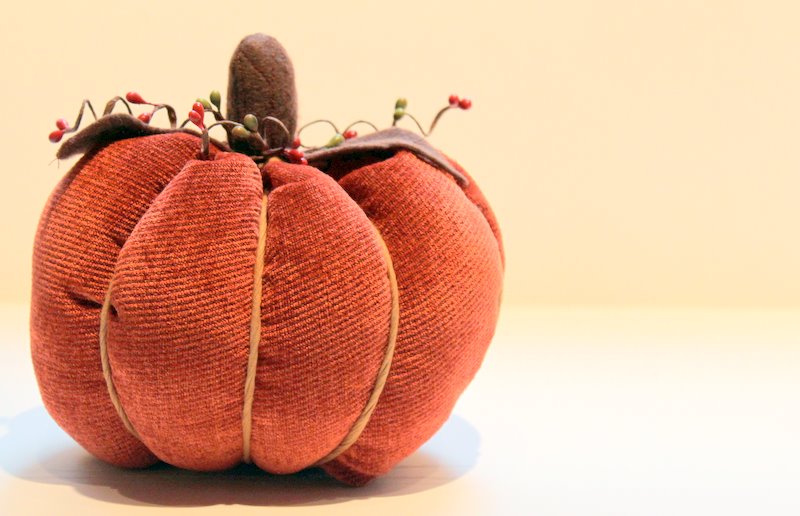
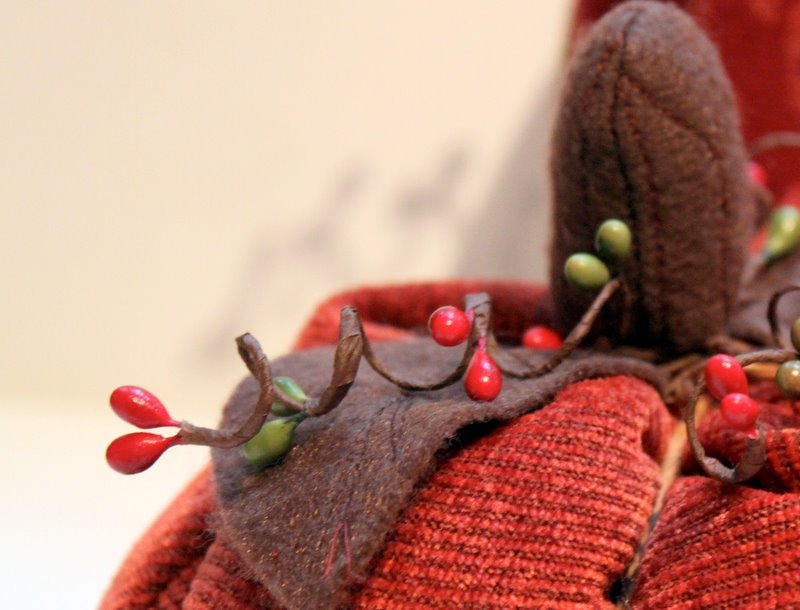
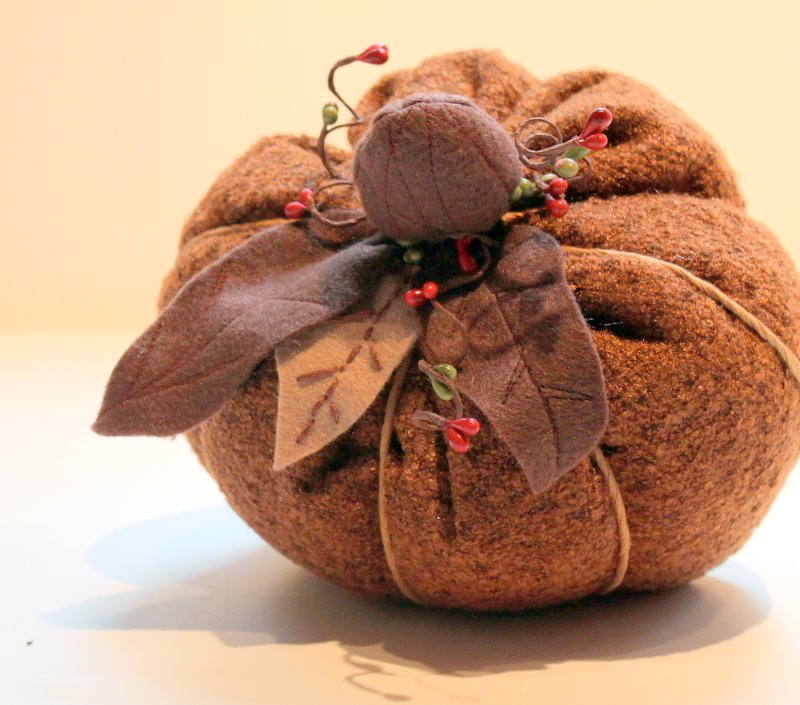
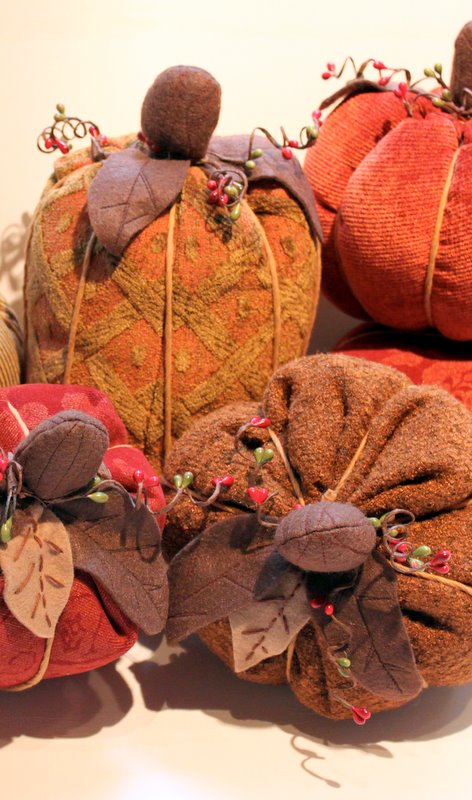
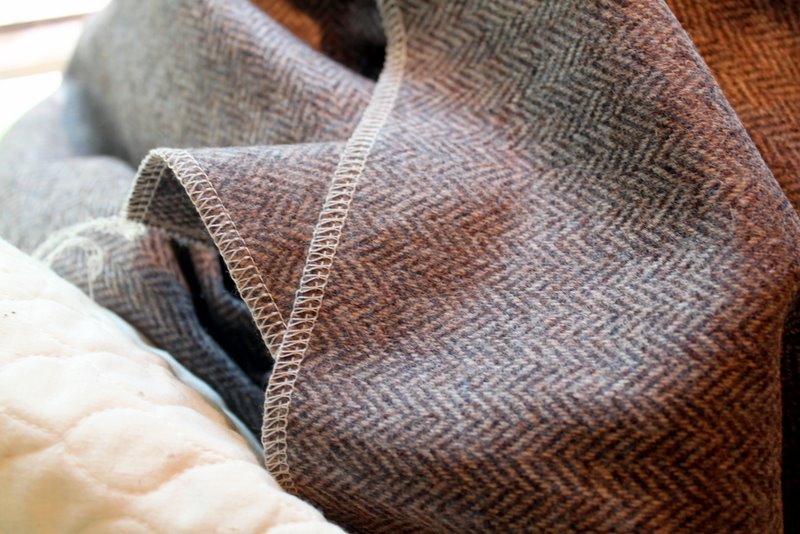
Since it finally feels like fall, I think it’s time to get out some decorations for around the house. I wanted to make something for our home that tied in with the season as well as our decor. Though I tend to use bright colors in my clothing design, my home is decorated in more rich tones….think deep red, green, mahogany and cherry wood. I came up with these chubby fabric pumpkins and can’t wait to put them around the house. I thought you might like to make some too………so here’s the “how to”:
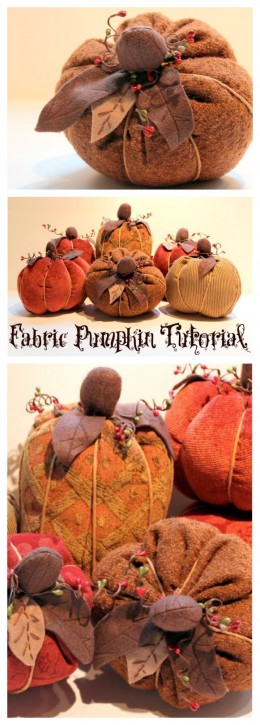
Fabric Pumpkin Tutorial
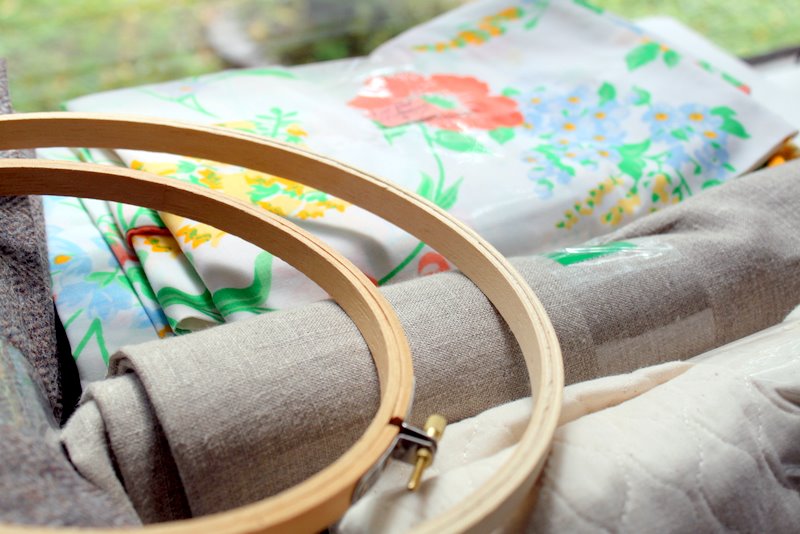
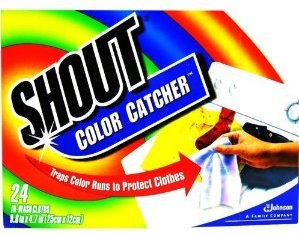
Supplies:
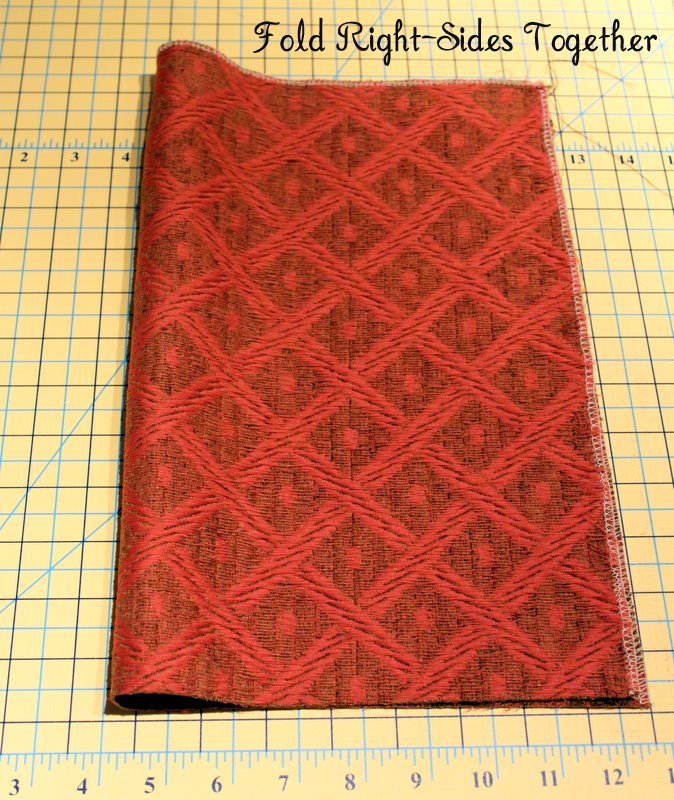
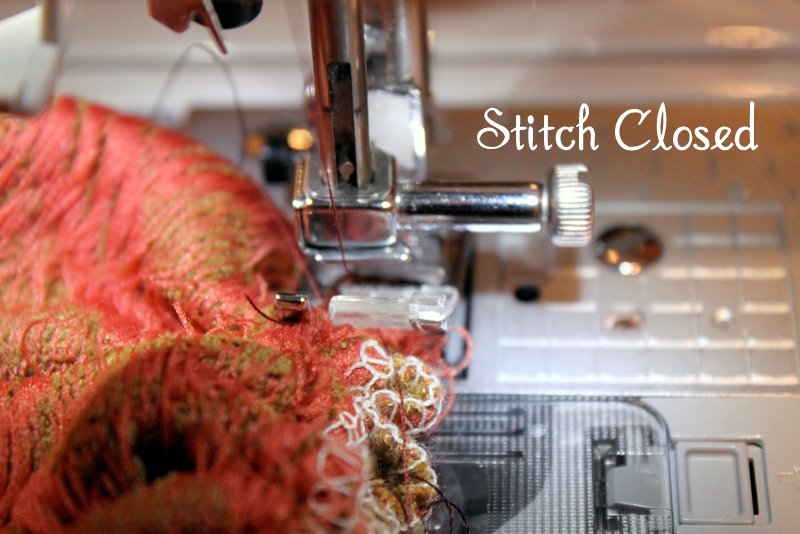
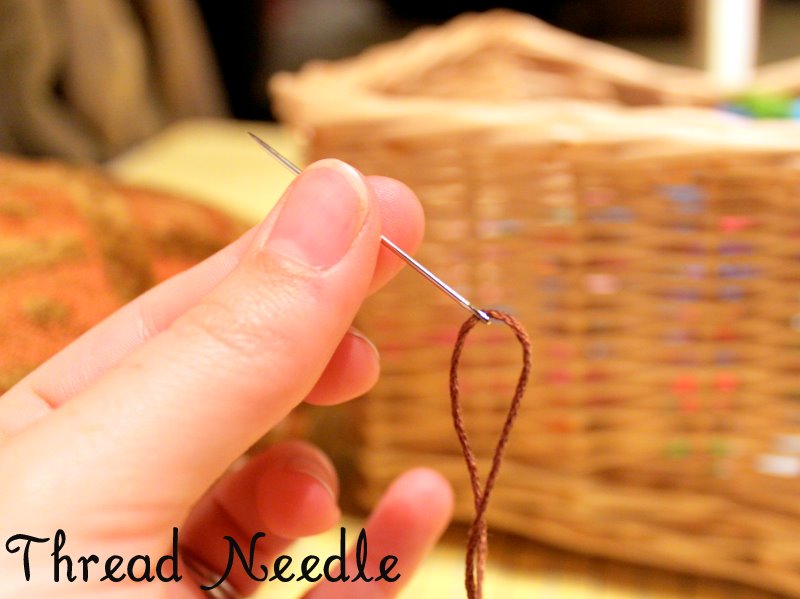
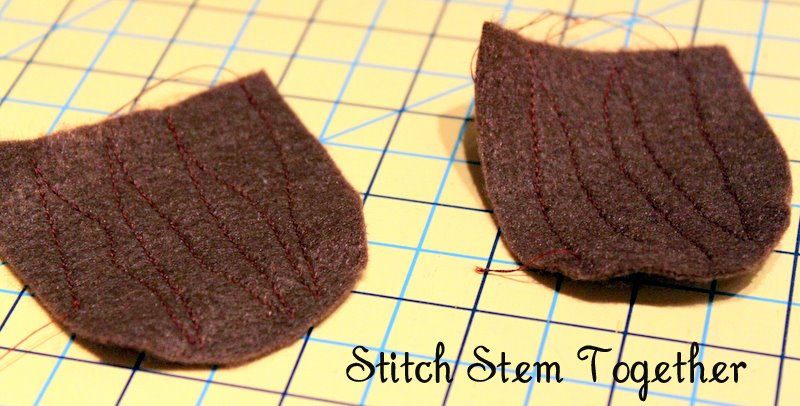
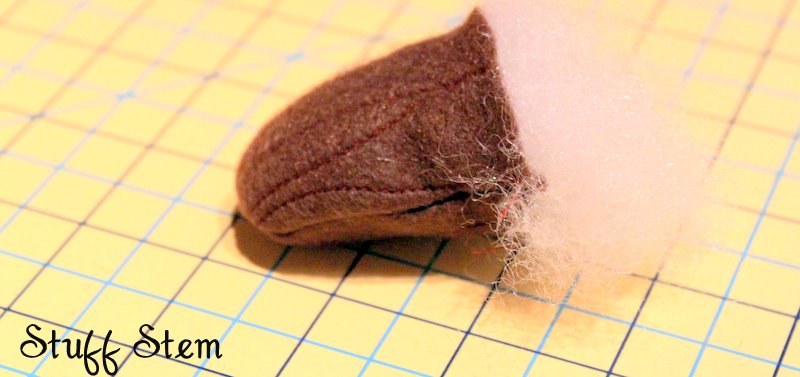
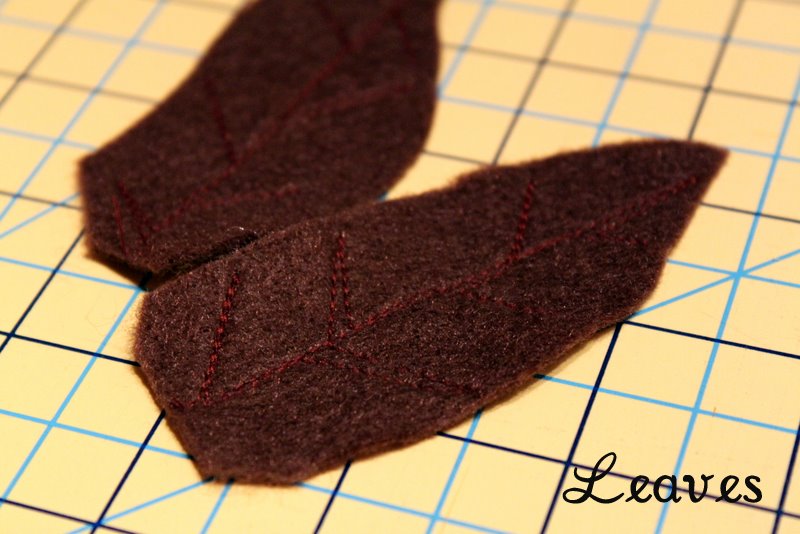
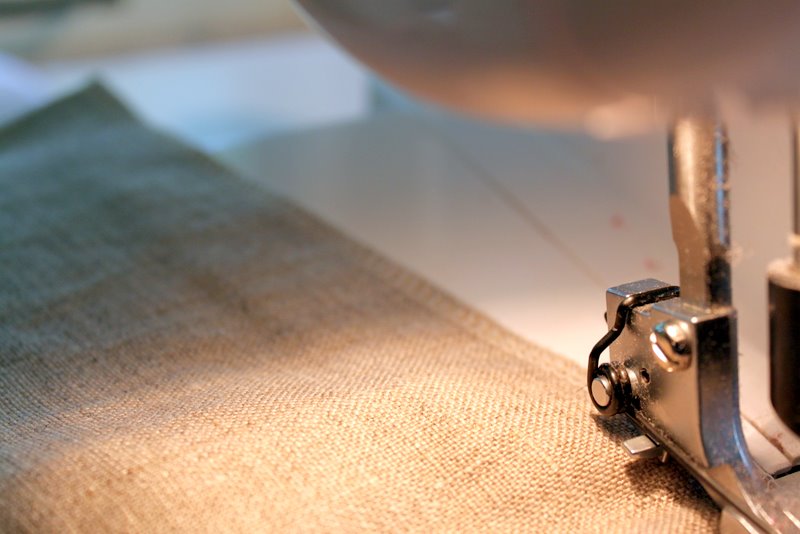
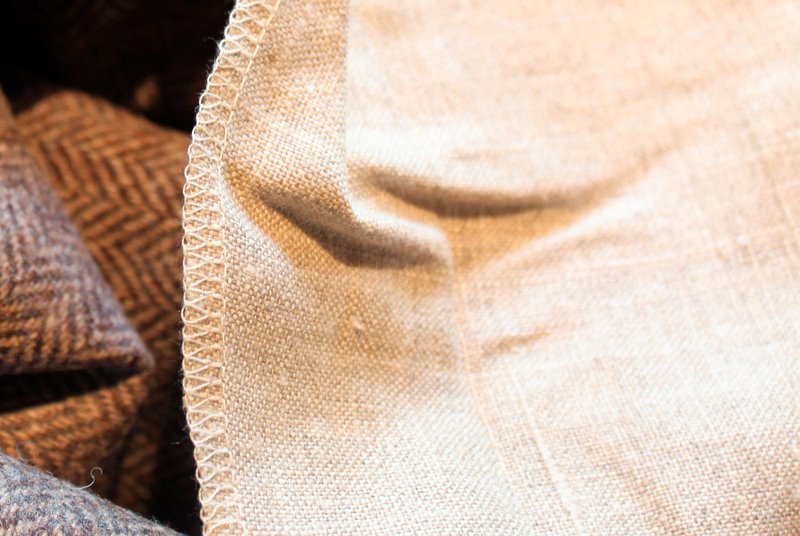
Directions:


 Lindsay Wilkes is the owner and designer behind The Cottage Mama. She creates timeless, vintage inspired sewing patterns for children’s clothes. She is also a fabric designer for Riley Black Designers / Penny Rose Fabrics, author of the book ‘Sew Classic Clothes for Girls’ and can be seen teaching nationwide and online in her video series ‘Lessons with Lindsay’ sponsored by Baby Lock Sewing and Embroidery machines.


