
Now that my morning sickness seems to be entirely gone (knock on wood), I’ve been getting back into cooking. I love flavored cream cheeses, but my favorite varieties are the savory ones – veggie, onion, sundried tomato, ect. There’s nothing better than making your own flavored cream cheese. It’s a fraction of the cost of the store-bought variety and is twice as yummy!
Make several different cream cheeses for a brunch party or keep a couple in the fridge to please your whole family. This is my savory variety, but you could certainly make your own sweet flavored cream cheese such as honey walnut, raspberry or strawberry.
Veggie Cream Cheese
Ingredients:
2 packages cream cheese (8 oz. each – light or regular), softened
1 carrot, peeled
1 stalk celery
3 small green onions (or two large)
Salt and pepper, to taste
Directions:

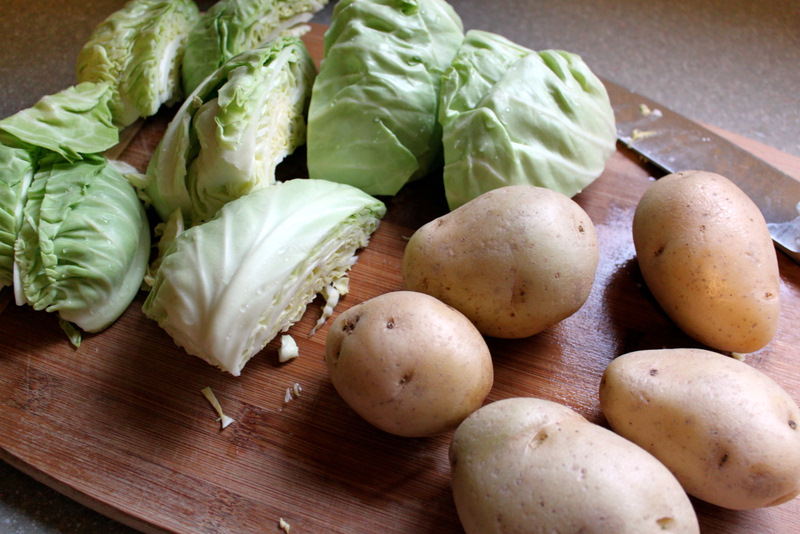
Grab your veggies. Use whatever you like – if onions don’t speak to you, then omit them.
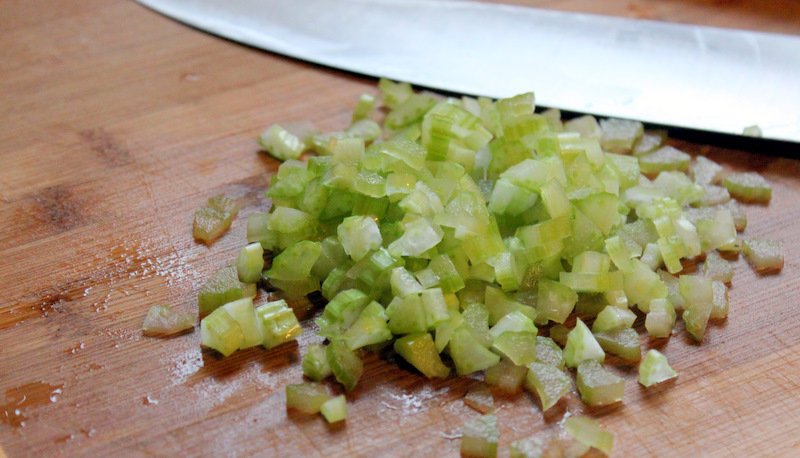
Finely dice your vegetables.

Place all finely diced vegetables in a medium-sized mixing bowl.
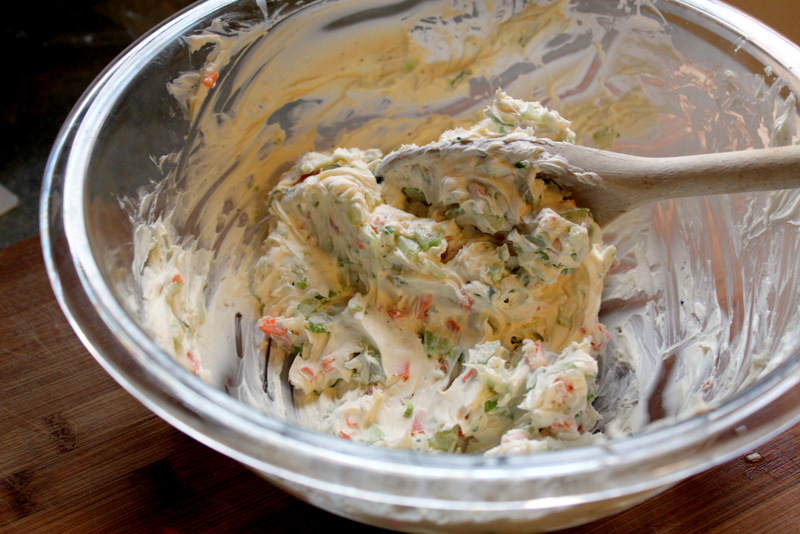
Mix in softened cream cheese and add salt and pepper to taste. Be sure to mix the cream cheese and the vegetables thoroughly.

Slice and toast your favorite bagel – mine happens to be Sesame with an Everything bagel following close behind.

Spread your cream cheese on top. Be generous, you want to make sure you get in all your veggies!

Place cream cheese in a food storage container and refrigerate. I find the cream cheese to be even better once it has had some time for the flavors to come together in the fridge.
Try this cream cheese on a whole wheat pita pocket with fresh turkey, cucumber and tomato for a healthy lunch option or spread it on some crackers for a tasty little snack for the kiddos. The options are endless!


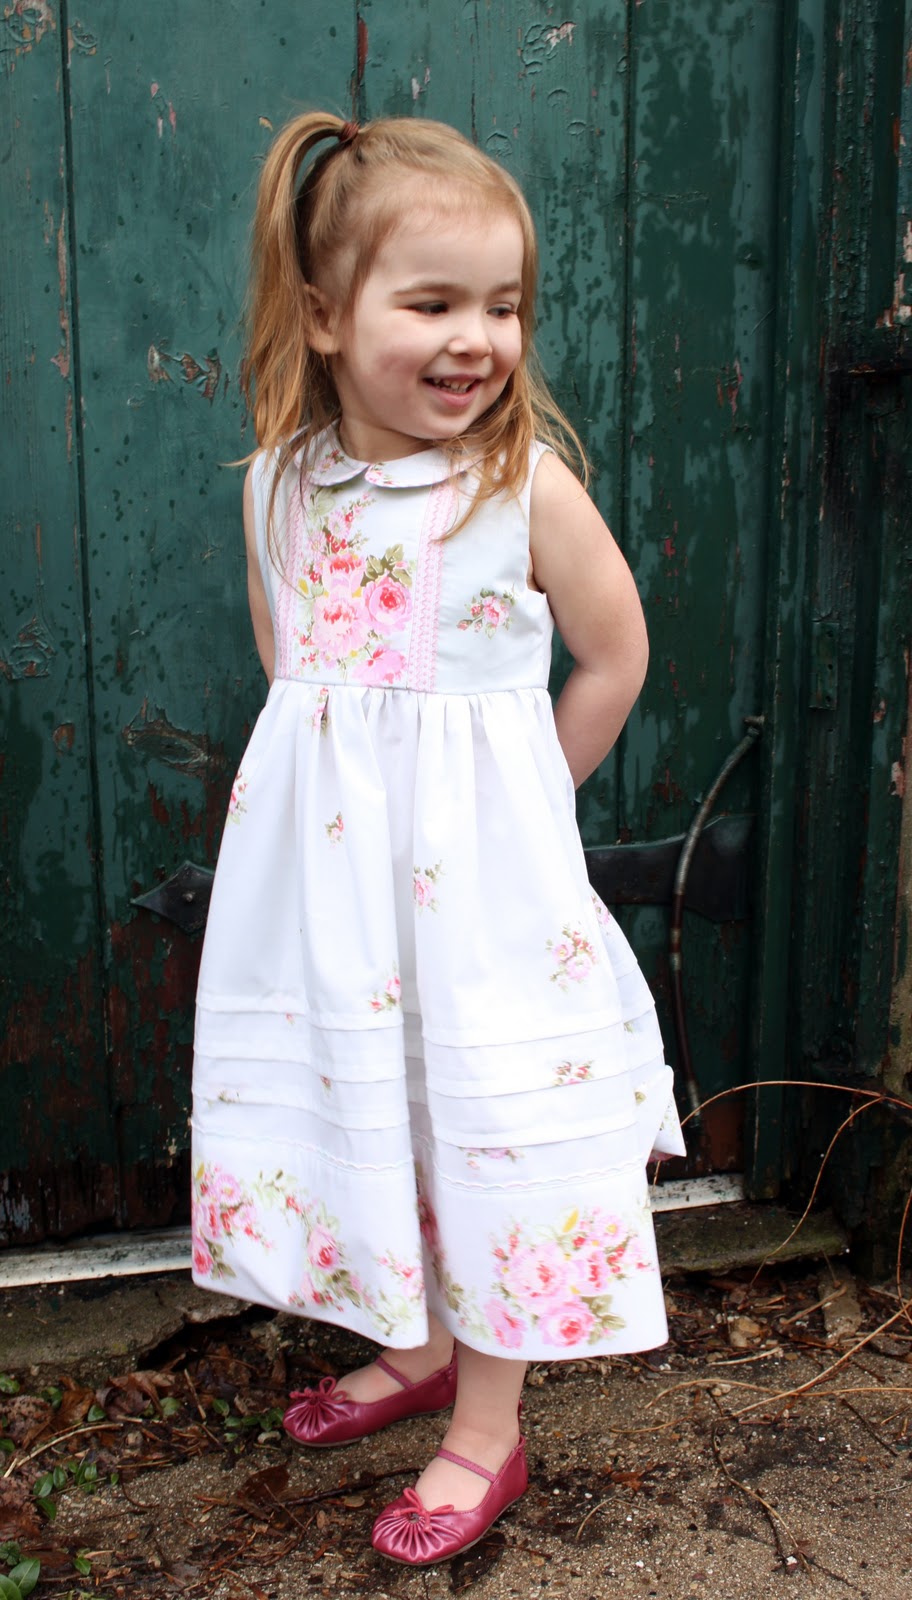


 Lindsay Wilkes is the owner and designer behind The Cottage Mama. She creates timeless, vintage inspired sewing patterns for children’s clothes. She is also a fabric designer for Riley Black Designers / Penny Rose Fabrics, author of the book ‘Sew Classic Clothes for Girls’ and can be seen teaching nationwide and online in her video series ‘Lessons with Lindsay’ sponsored by Baby Lock Sewing and Embroidery machines.


