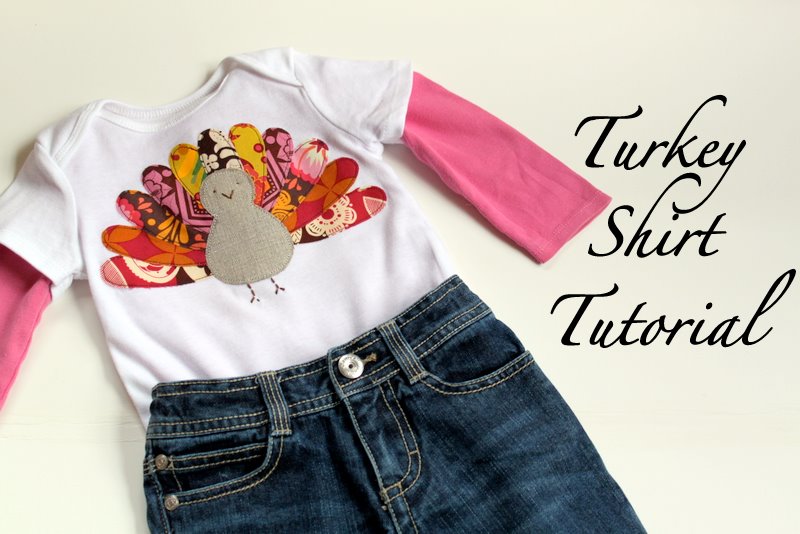
Gobble, Gobble: Turkey Shirt Tutorial


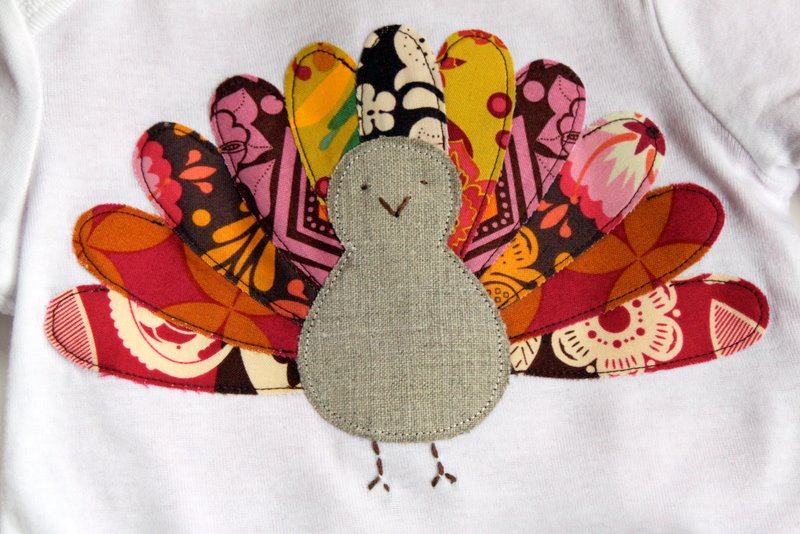
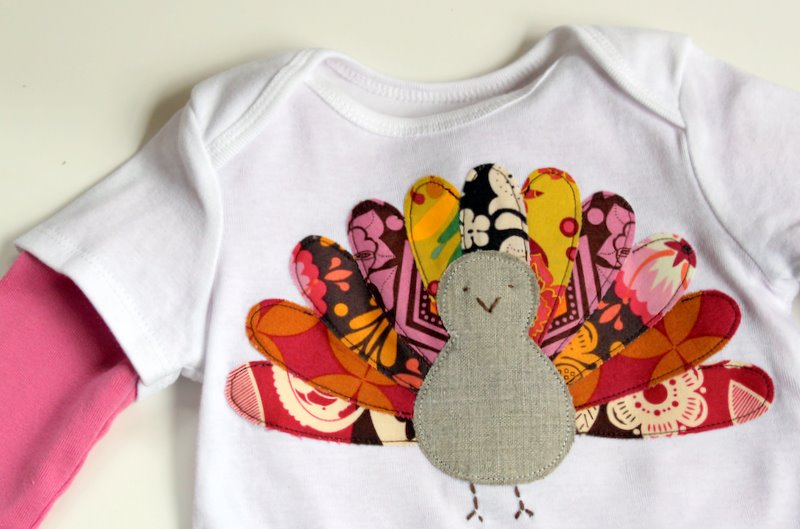
Thanksgiving is just around the corner and I wanted to make some shirts for my girls to celebrate one of my favorite holidays of the year.  I love the fun and colorful nature of this turkey shirt.  This is a wonderful way to use up those small scraps of fabric that you have lying around.

For this tutorial I have included a template for you to use for the turkey body and the feathers.
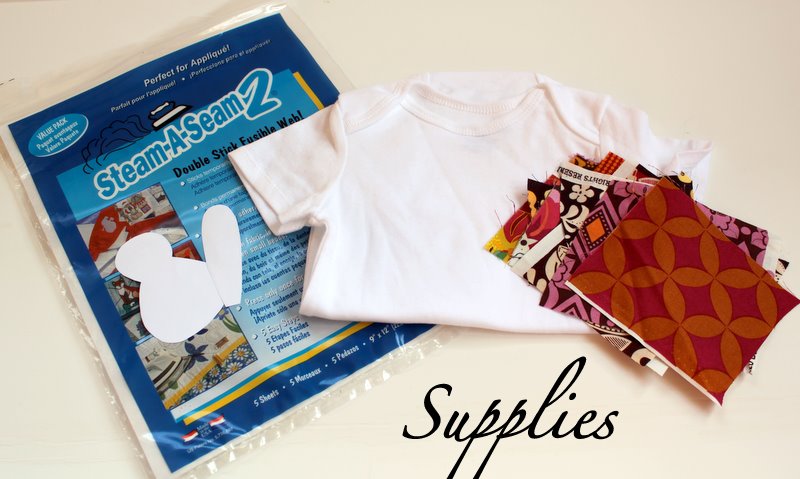
Click HERE to view and print the template.
Supplies:
1 Shirt or Onesie
6 different prints of scraps of fabric
Fusible interfacing (Steam-a-Seam or WonderUnder)
Sewing Machine
Iron
Embroidery floss and needle (optional)
Thread
Directions:

Gather your supplies.  Print out the turkey template and cut out the body and feather.

Take out one sheet of fusible interfacing.  You can use whatever type of fusible interfacing that you prefer.  I don’t really have a preference, I tend to flip-flop between different brands.
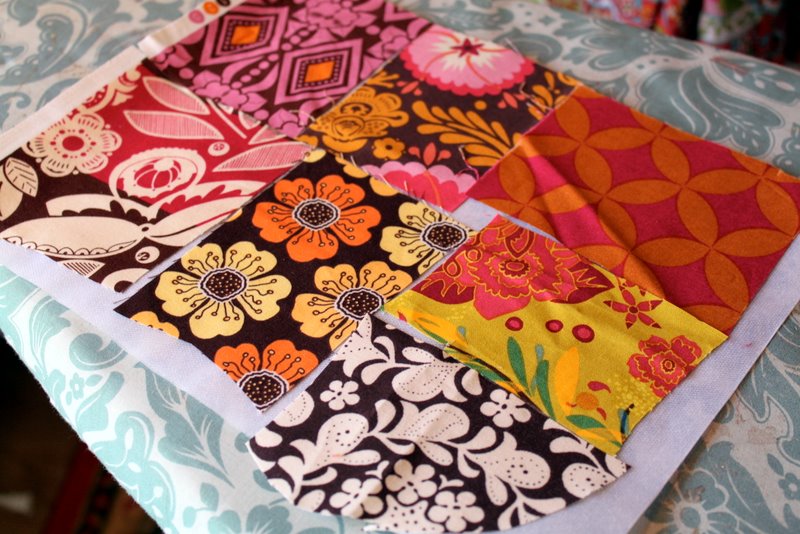
Peel off one side of the paper on the fusible interfacing.  Place your fabric scraps on top of the side without the paper.  Fabric should be right-side up.  Press fabric to the interfacing.  I like to press on both sides – fabric and paper.  Make sure your iron doesn’t touch any of the exposed parts of the interfacing (that could get a little sticky)!
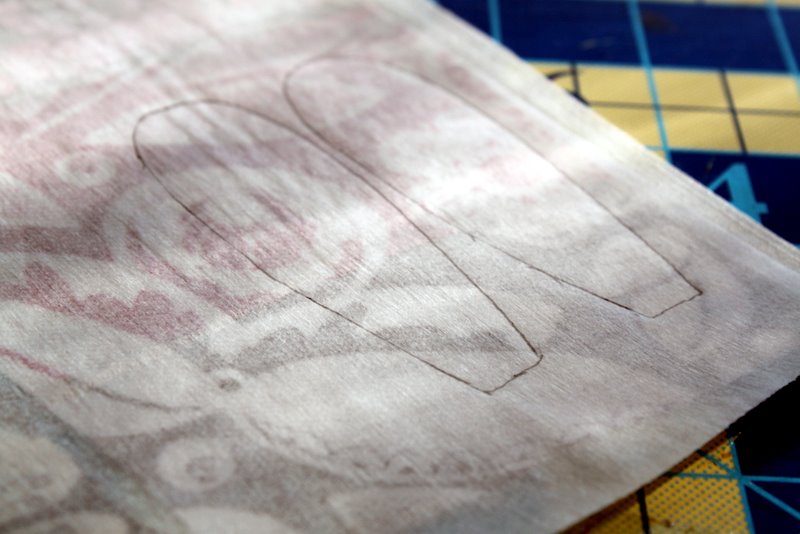
Trace the feathers onto the paper side of the interfacing.  Trace about two feathers per scrap of fabric.  Cut out feathers.
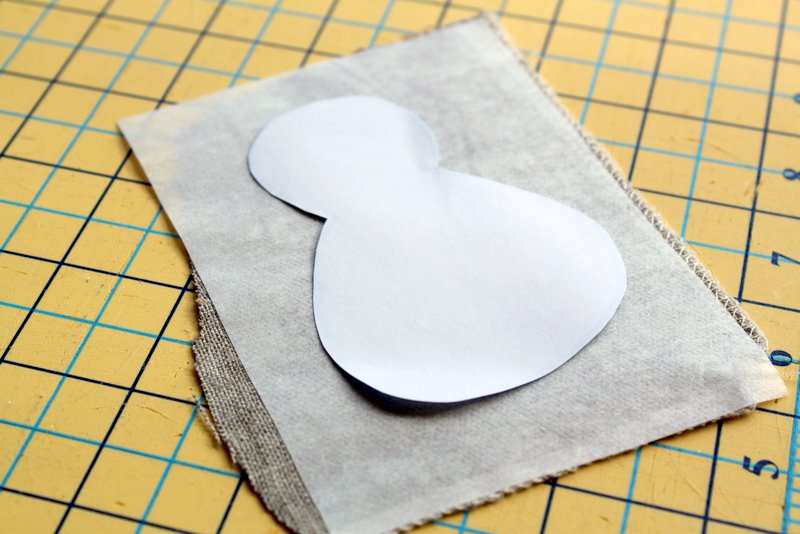
Apply interfacing to the fabric you are using for the body of the turkey.  I chose to use a linen/cotton fabric for the body to add a little texture.  Use whatever fabric you like (cotton, linen, felt, fleece, minky, chenille).  Trace the turkey body from the turkey template.  Cut out turkey body.
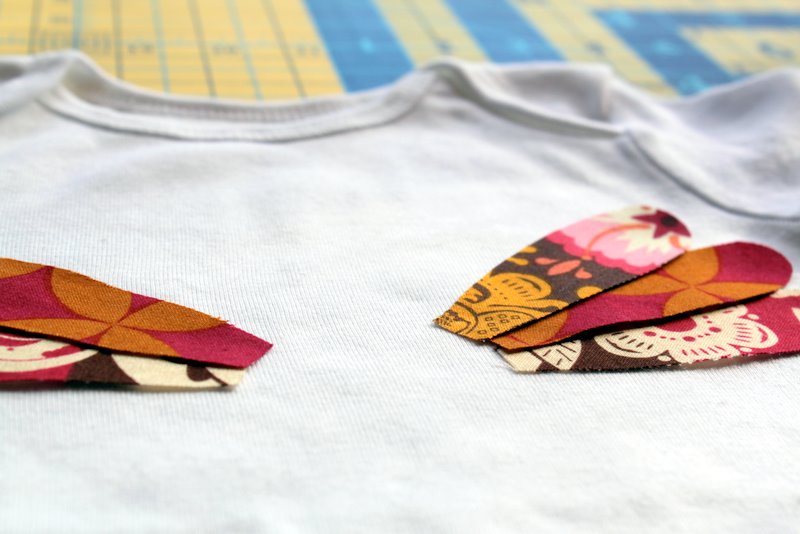
Peel the paper backing off all of the feathers.  Start laying out your feathers.  This is kind of trial and error until it looks the way you want it to and is somewhat centered.  I started from the outside and worked inward, though you could do the opposite if you prefer.  I used two feathers out of each fabric scrap except for the very middle feather.  That was a total of 11 feathers (six different fabric prints).
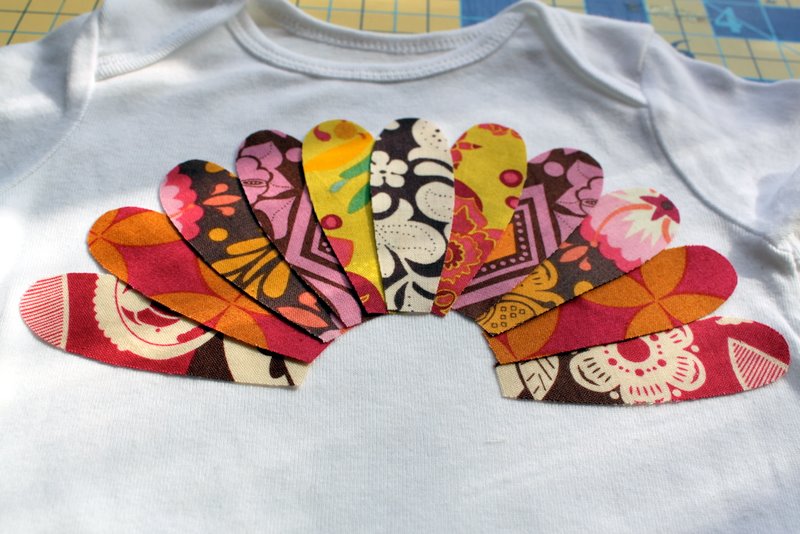
Once you have the feathers laid out the way you want them.  Peel the paper backing off of the turkey body and place in the middle.  Press the feathers and the body with a very hot iron to fuse the turkey to your shirt or onesie.
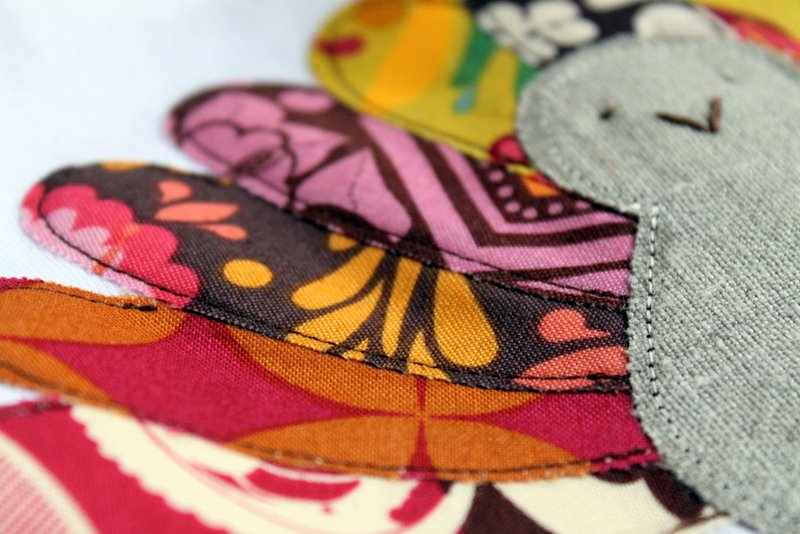
Once the turkey is fused to the shirt, stitch around the exterior of the feathers and the body.  Normally I would prefer a zig-zag stitch, but I thought a little fraying might be nice since this is a bird – so I used a straight stitch.  If you look closely in the picture above, you will see that I stitched around three-quarter of each feather and stopped when one feather overlapped with the other.  I also stitched around the entire exterior of the body.
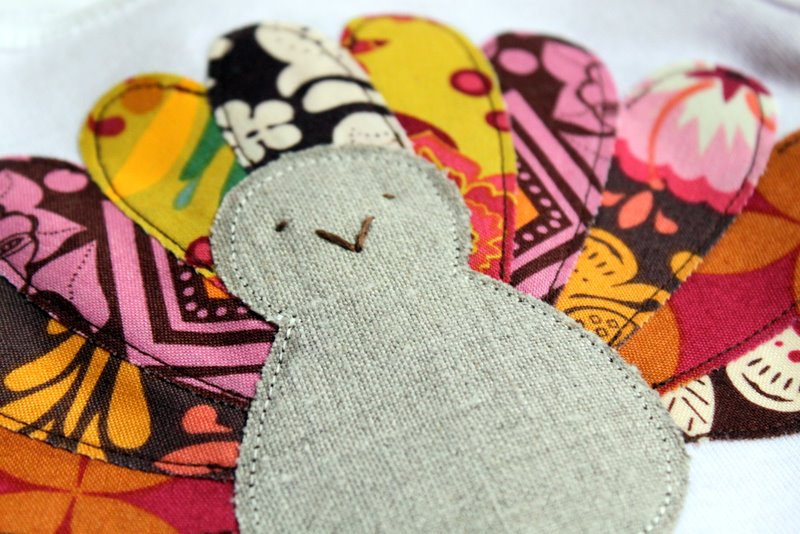
I added two eyes, a nose, and two little feet with some brown embroidery floss.  You can do your own thing with this part of the shirt – make it as simple or elaborate as you choose!  You could even cut these parts out of fabric and applique them on.  I love little embroidered touches, so that’s why I opted for the embroidery floss.  Either way will look adorable!
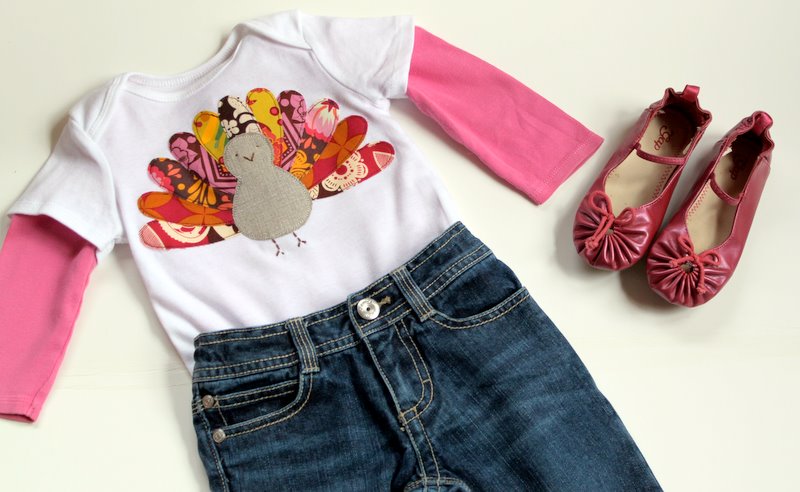
Once your turkey shirt is complete, pair it with a skirt or jeans and your little ones favorite shoes and you’ve got a cute and festive outfit sure to get noticed in a crowd!
This shirt would work well for a boy or a girl.  Try using some green, blue and brown fabrics for the feathers on a boy shirt and change up the body by making it brown.
Turkey Shirt Tutorial from The Cottage Mama. www.thecottagemama.com
Gobble, Gobble!

Shabby Fabrics Giveaway WINNERS!

Thank you to everyone who entered the Shabby Fabrics Giveaway.  The THREE winners are……..

Winner of the $50.00 Gift Certificate:

Winners of the $25.00 Gift Certificates: 

Congratulations to all three of you!  Please email me at thecottagemama[at]gmail[dot]com with your contact information and we will make sure you receive your gift certificates as soon as possible. 

Thanks again to everyone who entered and, if you haven’t had a chance, go check out Shabby Fabrics!
If you are interested in becoming a sponsor of The Cottage Home blog, please email Lindsay at thecottagemama[at]gmail[dot]com for rates and additional information.

Caspian Finn

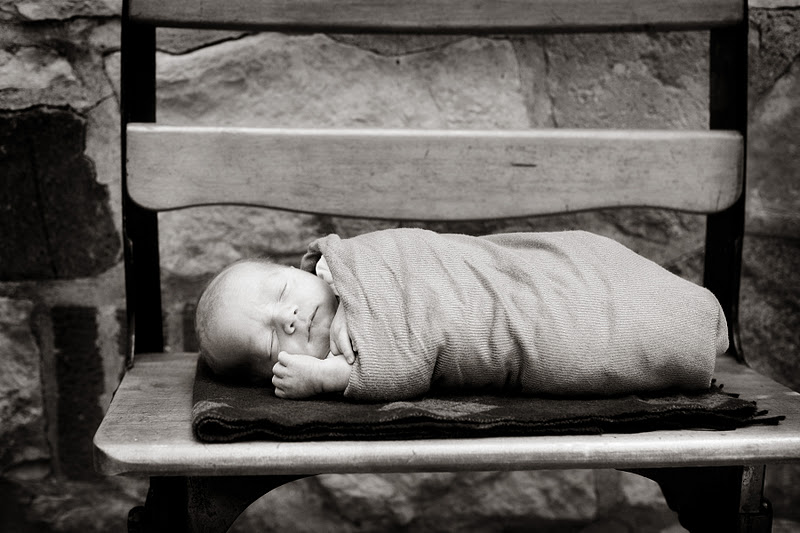
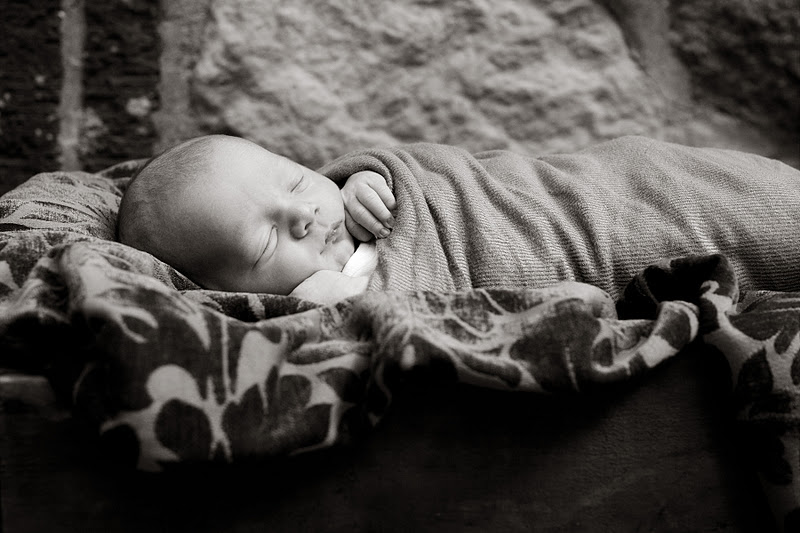
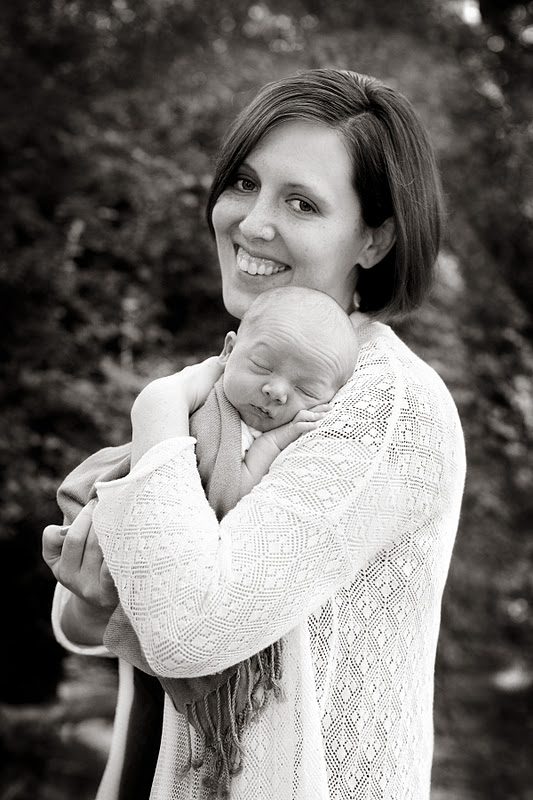
When our new baby boy, Caspian Finn, was born we hired my good friend Megan, of Megan Abelard Photography, to do our newborn session when he was one week old.  We never did formal newborn sessions with either of the girls, but I just really wanted to make sure we captured this special moment in our lives.

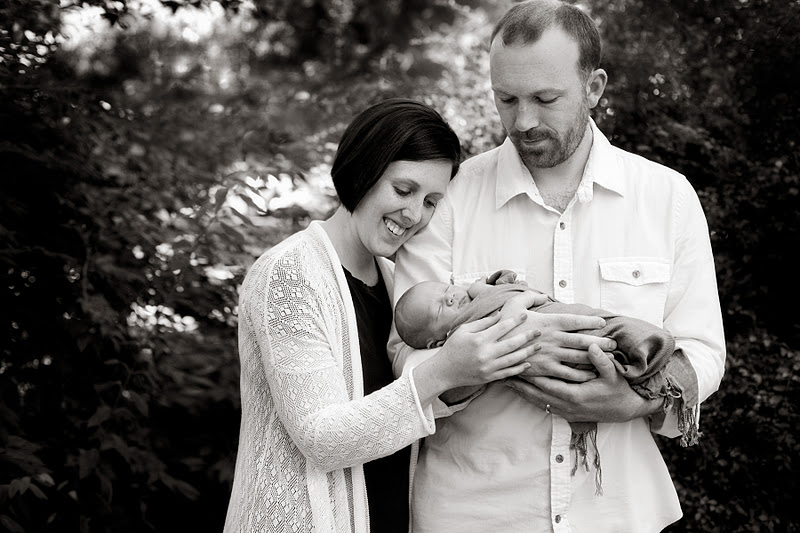
I love some of the sweet moments Megan captured and I wanted to share these moments with all of you.  So I hope you’ll indulge me a little bit while I show off our sweet little boy and our new family of five. 

We took some family shots as well, but with three kids under the age of four, getting everyone to cooperate and look at the camera is a giant task in itself.

And then I’ll leave you all with several more of our new little man…….
When Cass is older he probably will not care for the fact that I shared his little nakey self here on the blog, but I couldn’t help myself.  It’s just too cute! 
We love you little Caspian Finn!

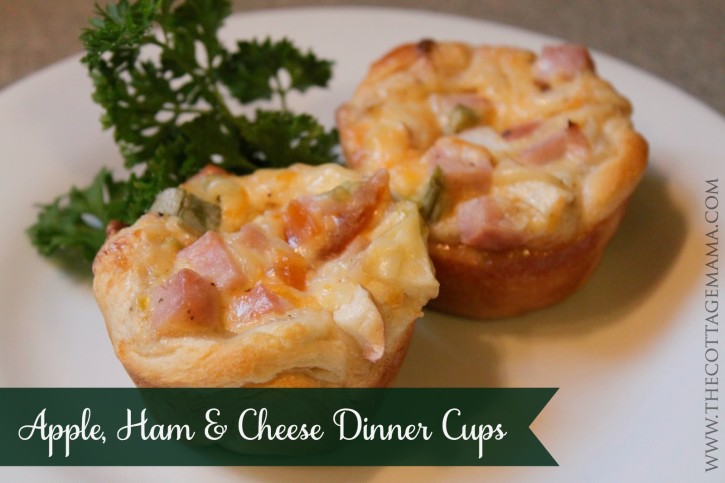
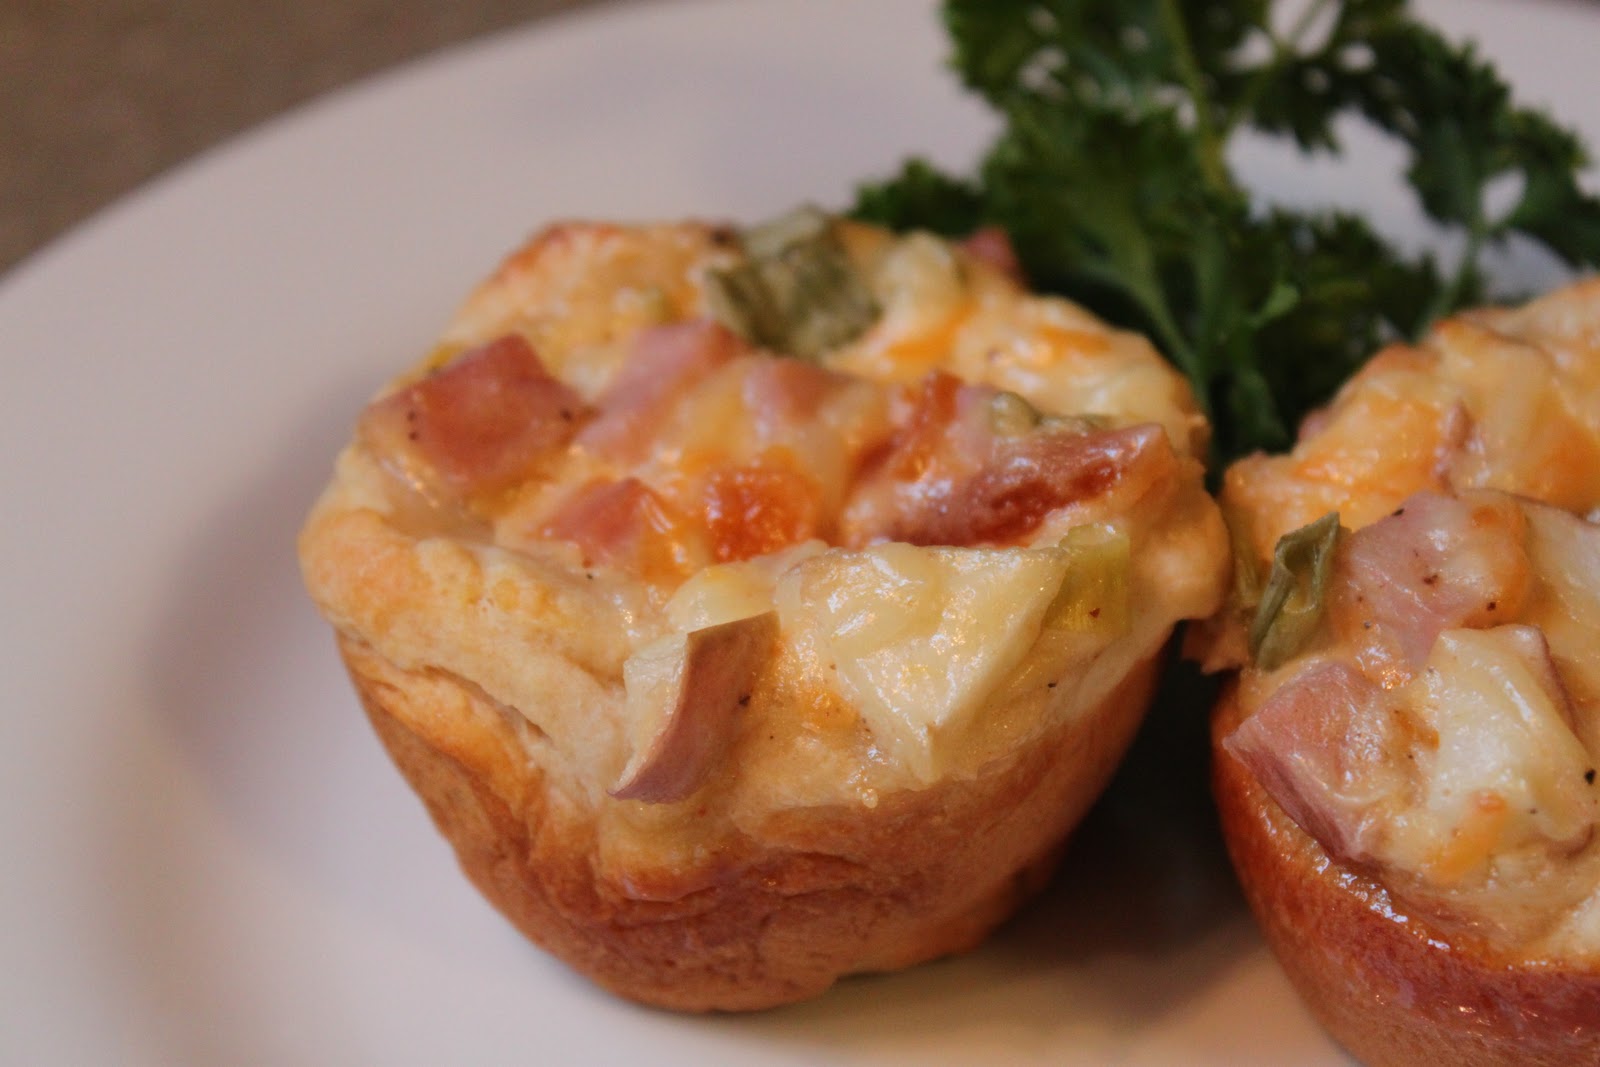
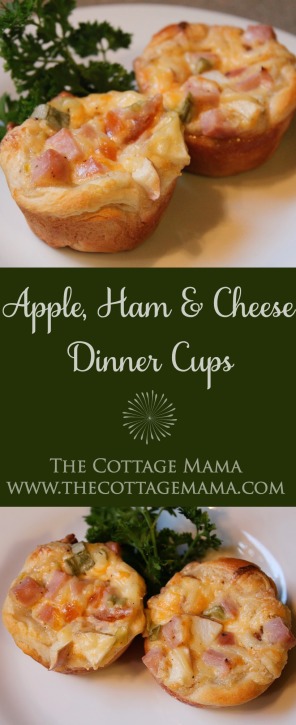
Apple, Ham and Cheese Dinner Cups

Apple, Ham and Cheese Dinner Cups from The Cottage Mama. www.thecottagemama.com

My mom (Grandma Jane) came to stay with us for a week after baby Cass was born.  Whenever she comes after I have a baby she brings tons of recipes and does major cooking.  She completely stocked our freezer with easy-to-prepare meals and little shortcuts (like already cooked shredded chicken) to make my life easier.

Well, while mom did tons of cooking while she was here, there were a couple recipes she never got around to making, so I decided to try my hand at this one after she left – Apple, Ham, and Cheese Dinner Cups.  Mom forgot the recipe, so I lucked out and found it in our kitchen after she left.  She had already bought all the ingredients, so it was super-easy for me to whip up!  I called them dinner “cupcakes” to entice my girls to give them a try.


Apple, Ham and Cheese Dinner Cups
Author: 
Recipe type: Main Course, Kid-Friendly
Prep time: 
Cook time: 
Total time: 
Serves: 5
 
Ingredients
  • 1 can Pillsbury Grands Jr. Golden Layers Biscuits (10 count)
  • ⅓ cup sour cream
  • ½ teaspoon Dijon mustard
  • ¼ cup apricot preserves
  • ¾ cup chopped ham
  • ¾ cup chopped apple
  • ¾ cup cheddar or jack cheese
  • 2 tablespoons chopped green onions
Instructions
  1. Preheat oven to 375 degrees.
  2. Pull out your regular sized muffin pan and spray with cooking spray. Open biscuit can and stretch out each biscuit to about 2.5"-3" wide. Place biscuit into muffin tray, pressing it so it's like a little cup that you can use to put your filling inside.
  3. Mix sour cream, mustard and preserves together in a bowl. Once mixed, add your meat, apple, cheese and green onions. Divide the mixture among the 10 muffin cups. Bake for 22-25 minutes or until golden brown. I suggest using the middle rack of your oven.
  4. Serve two per plate along with a nice side salad.


Apple, Ham and Cheese Dinner Cups from The Cottage Mama. www.thecottagemama.com

Enjoy!

Accuquilt GO! Baby Fabric Cutter Giveaway WINNER!

Wow, this was the most entered giveaway we have ever had here on The Cottage Home!  I guess I know what kinds of things you guys would like to win!  I wish I could give one of these sweet little machines to each and every one of you, but unfortunately I only have one to giveaway.

There was no way I could pick a winner from 765 entries, which is why I used a random number generator to pick for me.  So without further ado, the winner of the Accuquilt GO! Baby Fabric Cutter PLUS three dies of your choice is……..

Congratulations, Clover!  You are one lucky gal!  You’re going to absolutely love this machine and I can’t wait to see what you end up creating.  Thank you to everyone who entered the giveaway.  I’ve got a ton of other giveaways coming up, so keep trying your luck, you never know when you might just win!

Clover, if you could please email me at thecottagemama[at]gmail[dot]com with your contact information and the three dies you would like (you can choose any that are GO! Baby compatible), that would be great!

If you are interested in becoming a sponsor of The Cottage Home blog, please email Lindsay at thecottagemama[at]gmail[dot]com for rates and more information.

Blog Sponsor Giveaway: Shabby Fabrics

Last month we had a great new blog sponsor join The Cottage Home blog and I wanted to take this opportunity to introduce them.  Shabby Fabrics has a wonderful giveaway for you all today, so please welcome our newest sponsor……….

Here are a few words from Shabby Fabrics:

My name is Jennifer Bosworth, owner of Shabby Fabrics. I am honored to be a guest at The Cottage Home.  Thank you so much, Lindsay!
The Shabby Fabrics story begins here. All along while growing up, I loved arts and crafts with every ounce of my being. When it came time to choose a career and go to college, I figured I couldn’t make a living crafting so I pursued an aeronautical degree and became an airline pilot. I would take my hand sewing with me on trips and stitch to my heart’s content while laying over at various hotels.  The love of crafting never left me. 
The events of September 11, 2001 changed the entire world and definitely my own personal world in a very big way.  Soon thereafter the airlines began furloughing pilots. Both my husband (also a United pilot) and I found ourselves out of work with no health care, two children and a mortgage. These were indeed uncertain and scary times. All of the flying experience  I had accumulated over the last 20+ years suddenly meant nothing. No one was hiring pilots. I knew I would have to reinvent myself and awaken a skill set that I never even  knew I had.  After much prayer and contemplation, I felt God urging me to do something I loved and knew a great deal about already. After all, we needed to find work right away! I applied for a business license and  began selling a few fabrics on ebay. 
Ten years later, we are selling fabrics from our own website worldwide and loving every moment. There is no question that God is behind the success of Shabby Fabrics. I have a wonderful staff that I enjoy working with each day. Besides buying products and deciding which projects will becomes kits, block of the month, etc, I also design a line of quilt patterns called Shabby Exclusives. Some of our designs have been featured recently in McCalls magazine. When I think to the future of our company, I remind myself to remain flexible and attentive to God’s word and plan. After all, He’s the author of this great book.

Blessings to you all,
Jennifer

Thank you so much, Jennifer for sharing your story with all of the readers.  And now I wanted to share some of my favorite items from Shabby Fabrics……..
 
I am a big fan of kits, so I love the two pictured above – Annie Basket Quilt Kit and Cupcake Cuties Kit.  You can find all sorts of quilt kits as well as purse, home accessories and more.  Kits are so convenient because you can have everything you need to complete a project delivered right to your door.  I’m planning on doing some kits to go along with The Cottage Mama Sewing Patterns in the future.
Are you thinking about Christmas yet?  It will be here before we all know it and I love the 12 Days of Christmas Collection.
You all know I’m not much of a quilter, but I just love the quilt pattern pictured above.  How perfect would this be for a wedding or anniversary gift?  LOVE it!
So now onto the giveaway……..
Today Shabby Fabrics has an incredibly generous giveaway for The Cottage Home blog readers.  They are giving away one $50.00 gift certificate and two $25.00 gift certificates to be used in their shop.
To enter the giveaway, please do one or all of the following.  Leave a separate comment for each entry:
1) Visit Shabby Fabrics and let us know what your favorite item is in their shop (click HERE).
2) Sign up for the Shabby Fabrics Newsletter (click HERE).
3) Become a follower of the Shabby Fabrics Blog (click HERE).
Giveaway is open until October 4, 2011 at midnight (CST).
If you are interested in becoming a sponsor of The Cottage Home blog, please email Lindsay at thecottagemama [at]gmail[dot]com for rates and additional information.

The Cottage Mama Sewing Patterns

I am very pleased to announce the release of my first two printed sewing patterns!
Shortcake Reversible Romper and Dress

Janey Jumper
These two patterns have been a labor of love for me and I have been working them for the last four months or so.  I’ve learned a lot along the way in regards to publishing printed patterns and I’m looking forward to working on more in the future.  
So without further ado…..here are the first two The Cottage Mama Sewing Patterns:
 SHORTCAKE REVERSIBLE ROMPER AND DRESS:
Size 6 Month – Size 6
DESCRIPTION:
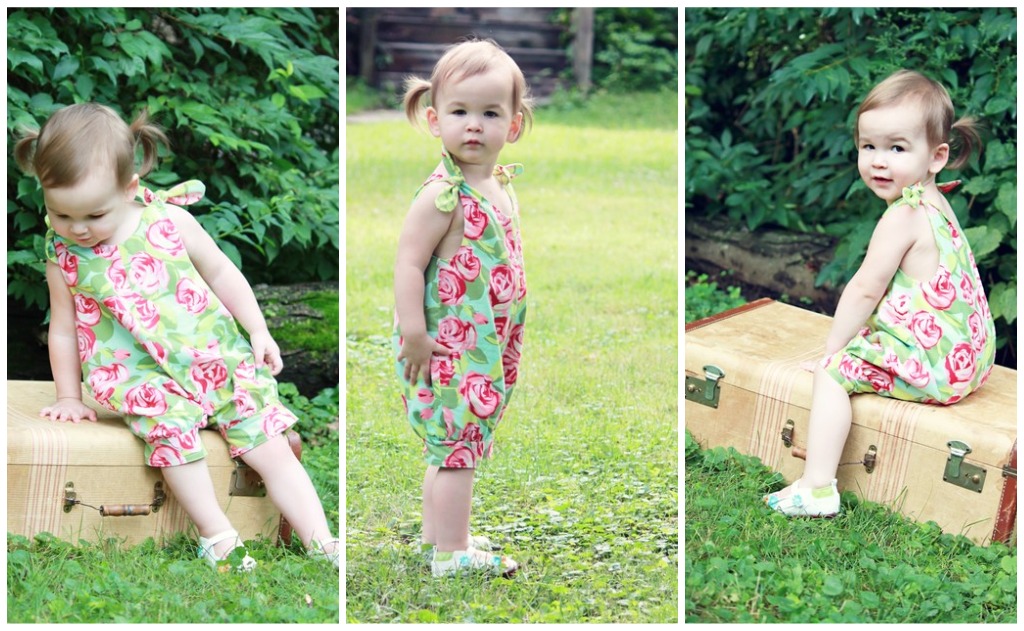
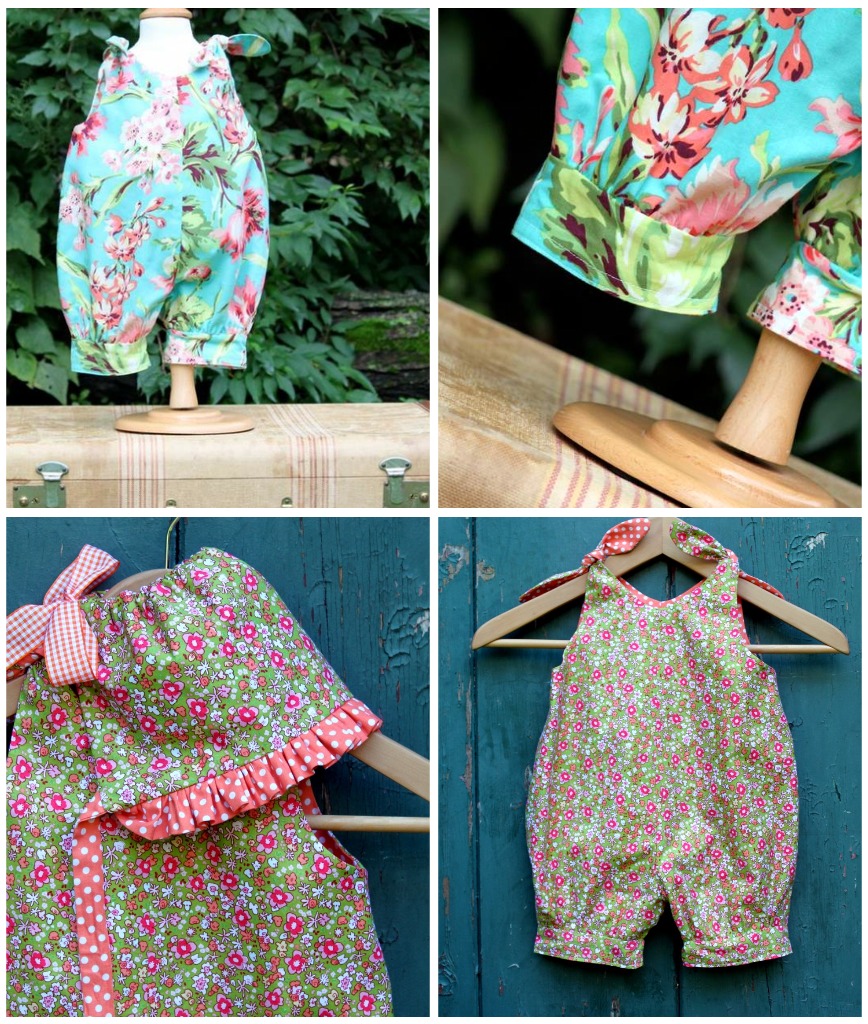
The Shortcake Reversible Romper and Dress is an adorable, quick-sew essential for your little one’s wardrobe.  The perfect coordinating look for sisters!  Both garments are fully reversible (two looks in one) and tie at the shoulder.  The dress can easily grow with your child by turning it into a top. Take these outfits from summer into fall by layering them with a long-sleeve shirt and pants/tights.  
Neither garment includes any buttonholes or zippers, so this pattern is a great introduction to sewing for a beginner and a fun pattern to play around with for a more advanced seamstress.


Shortcake Reversible Romper:

 Shortcake Reversible Dress:
The dress is designed to have a lot of swing to it, so it’s really a fun piece for little girls to wear.  The final picture, with the ruffle front is a variation, is a look that I will eventually be demonstrating on the blog so you will be able to easily add that to your Shortcake Dress! 
The Shortcake Reversible Romper and Dress pattern has a color printed front and back cover and includes full-size printed pattern pieces in size 6 month through girls size 6 as well as pictured step-by-step instructions for completing the romper and the dress.  All sizes included in each pattern.
JANEY JUMPER:
Size 6 Month – Girls Size 10
DESCRIPTION:
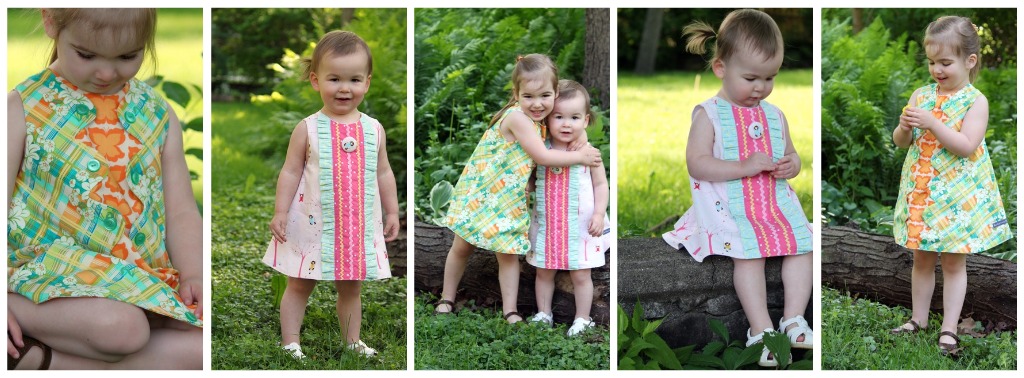
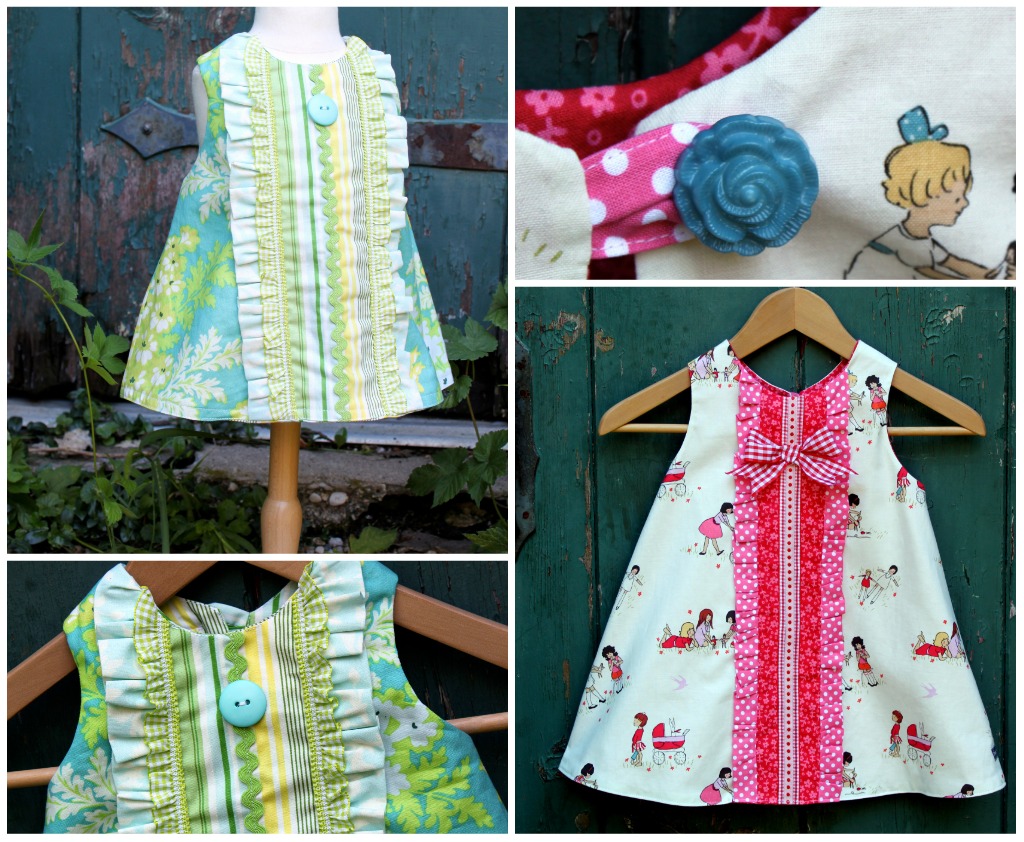
The Janey Jumper is an A-line dress with a back-button, loop closure and is offered in three different design variations.  View A has a unique scallop detail down the front in two contrasting fabrics.  View B, the ruffle variation, adds a bit of whimsy to the traditional A-line dress.  And, View C, the patchwork variation, offers a fun way to use up scraps of fabric or charm squares.  Both View B and C give you the opportunity to use beautiful, unique trims. 
Neither garment includes any buttonholes or zippers, so this pattern is a great introduction to sewing for a beginner and a fun pattern to play around with for the more advanced seamstress.

Janey Jumper View A and B:


Janey Jumper View A – Scallop Variation:

Janey Jumper View B – Ruffle Front Variation:
Janey Jumper View C – Patchwork Variation:
So, as you can see there are many different design options with the Janey Jumper sewing pattern.  The jumper is designed to fall at the knee which is a perfect length for playing and running around.  For fall and winter, I would suggest layering this dress with a long-sleeved shirt and leggings or tights.  The 6 month size can also be used as the perfect matching little doll dress for a cabbage patch or other baby doll. 
The Janey Jumper pattern has a color printed front and back cover and includes printed pattern pieces in size 6 month through girls size 10 as well as pictured step-by-step instructions for completing the three different design variations.  All sizes included in each pattern.
Additional Information:
For right now I plan to do printed sewing patterns, but I may venture into a few PDF’s on more simple designs further down the line.  Both of these patterns have very large pattern pieces and, believe me when I tell you, that you would not want to have to print these on your home computer and tape them together.
I’d like to give a special thanks to my design artist, Natalie Michalski of Moon Cookie Gallery.  Natalie designed the front and back cover art as well as several different graphics that are used in the instruction portion of the pattern.  We hope to collaborate on some projects in the future to combine her whimsical artwork with The Cottage Mama sewing design.  To view more of her original work and to order prints, please visit her website www.mooncookiegallery.com.
To purchase one or both of The Cottage Mama Sewing Patterns, please click “add to cart” below.  Or you can visit my online shop at www.thecottagemama.com.

Size 6 Month – Girls Size 6
$12.50

Size 6 Month – Girls Size 10
$12.50

For pattern wholesale inquiries, please email Lindsay at thecottagemama[at]gmail[dot]com for ordering minimums and additional information.

Mexican Taco Pasta Bake

Life with three kids is going pretty well.  Have I touched my sewing machine since Caspian was born? Well, no, not even once.  I’ll get back to the machine eventually – it’s always there waiting for me, ready to welcome me back with open arms.  But this little guy…….he’s already growing up right before my eyes, so I am trying to soak up all the little baby time possible.

One of my biggest challenges has been preparing dinner because I’m never quite sure when my little guy is going to nurse.  He tends to want to eat right when I should be cooking dinner – go figure, right?  However, he seems to be doing a pretty good mid-afternoon nap, so I’m trying out some new recipes that I can prepare during the day and then just pop in the oven before dinner.

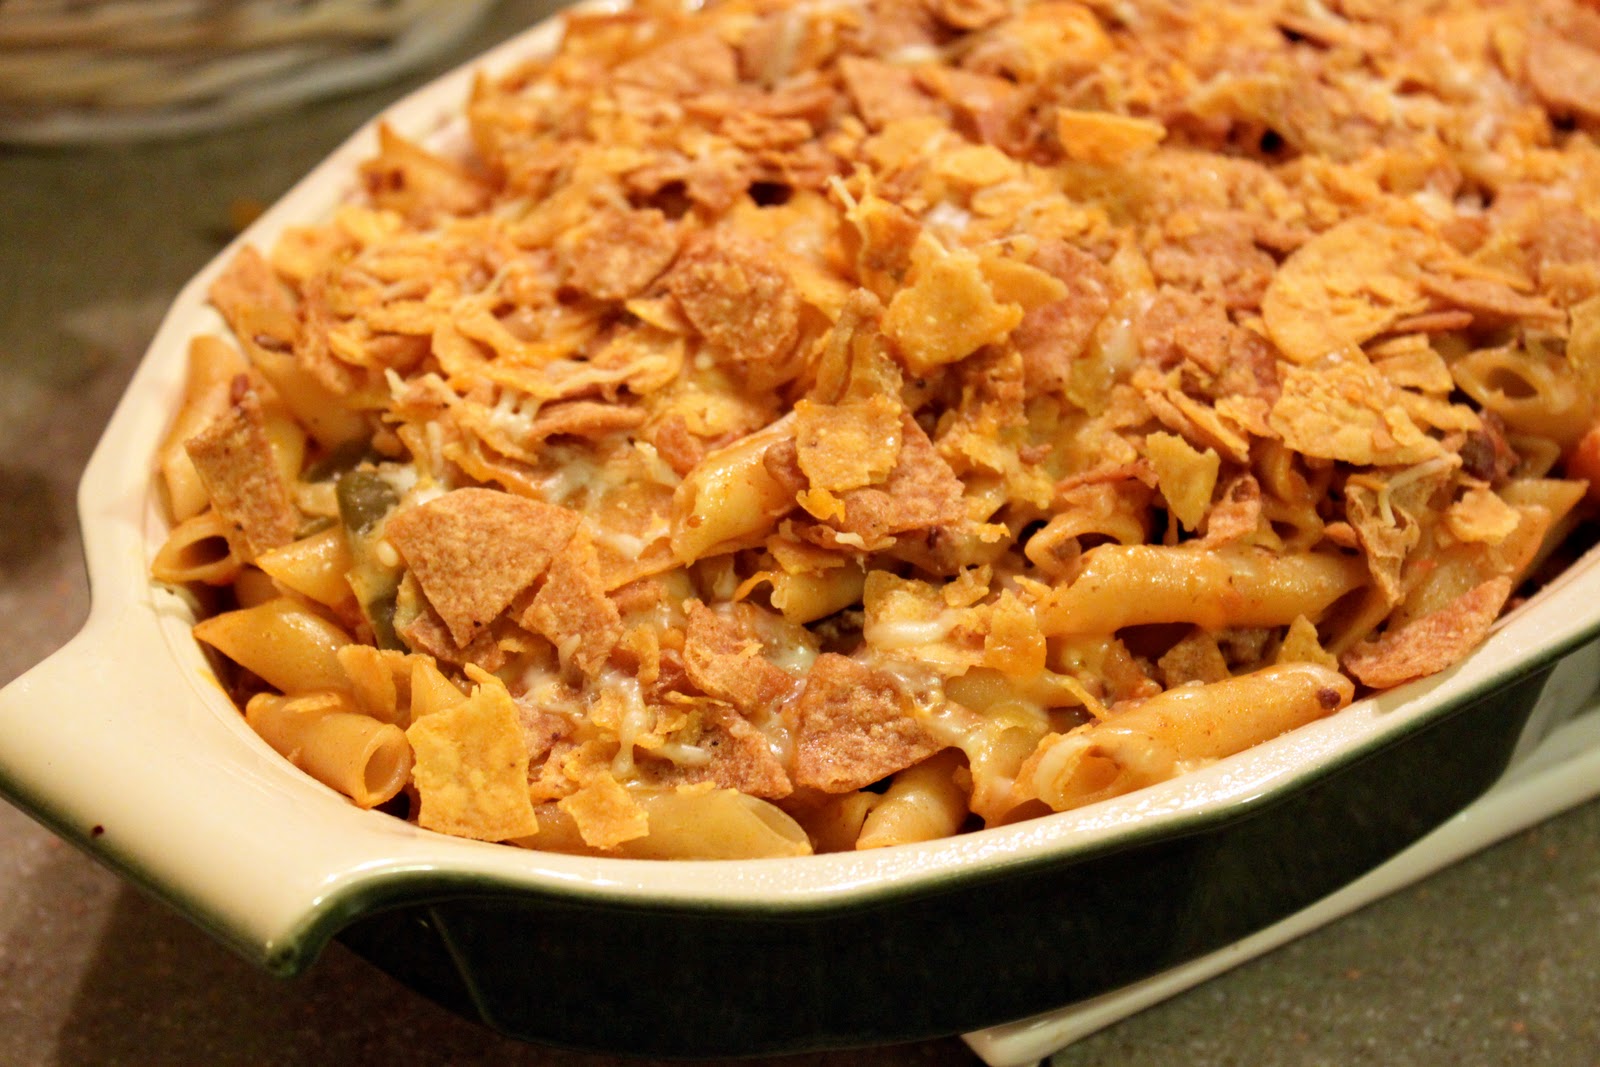
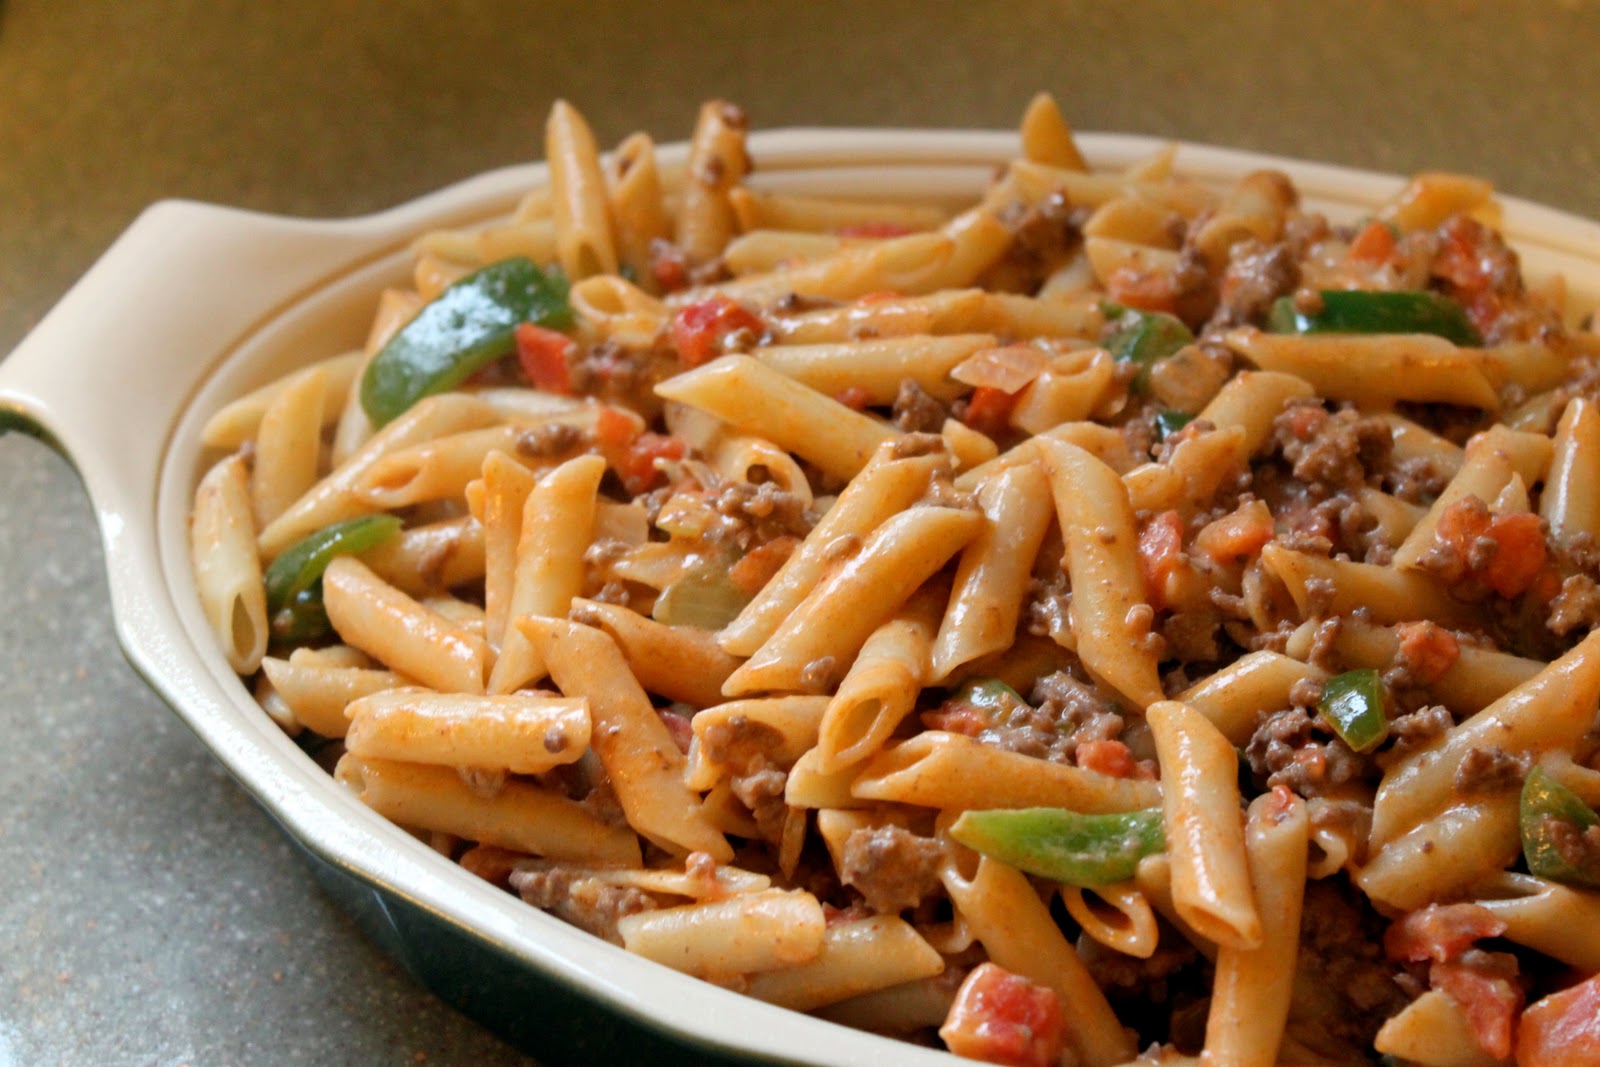
Today I’m sharing my latest recipe that I tried out last night.  I’m calling it “Mexican Taco Pasta Bake”.  It’s really all the flavors in a taco, but mixed is mixed in with pasta and cheese.  What could be bad about that, right?

The next time you want to prepare a meal ahead of time, give this one a try.  My husband even went back for thirds!  Would also be great to feed a crowd and your kids will love it too!!

Mexican Taco Pasta Bake
Ingredients:
1 lb. ground beef (or ground turkey)
1 lb. pasta (any shape)
1 onion, chopped
1/2 green bell pepper, chopped
1 can Rotel (tomatoes with green chile)
1 package taco seasoning
1/2 brick light cream cheese
1/2 cup Monterey Jack cheese, shredded
Topping:
1 cup crushed tortilla chips
1/2 cup Monterey Jack cheese, shredded
Garnish:
Sliced green onions, slice black olives, and sour cream.
Directions:
Preheat oven to 350 degrees.
Cook pasta according to package directions.  Meanwhile, brown ground beef in a large saute pan.  Remove beef from pan and drain on a paper towel.  Add onion and green pepper to pan and saute until cooked through.  Add back in cooked ground beef, taco seasoning and Rotel.  Stir to combine and cook for 3 minutes.  Add in cream cheese and melt it down into the beef mixture.  Once cream cheese is melted, add 1/2 cup shredded cheese.  

Drain pasta.  Pour beef and cheese mixture over cooked pasta and stir to combine.  Spray a large casserole dish with cooking spray.  Pour combined pasta and beef mixture into the casserole dish.
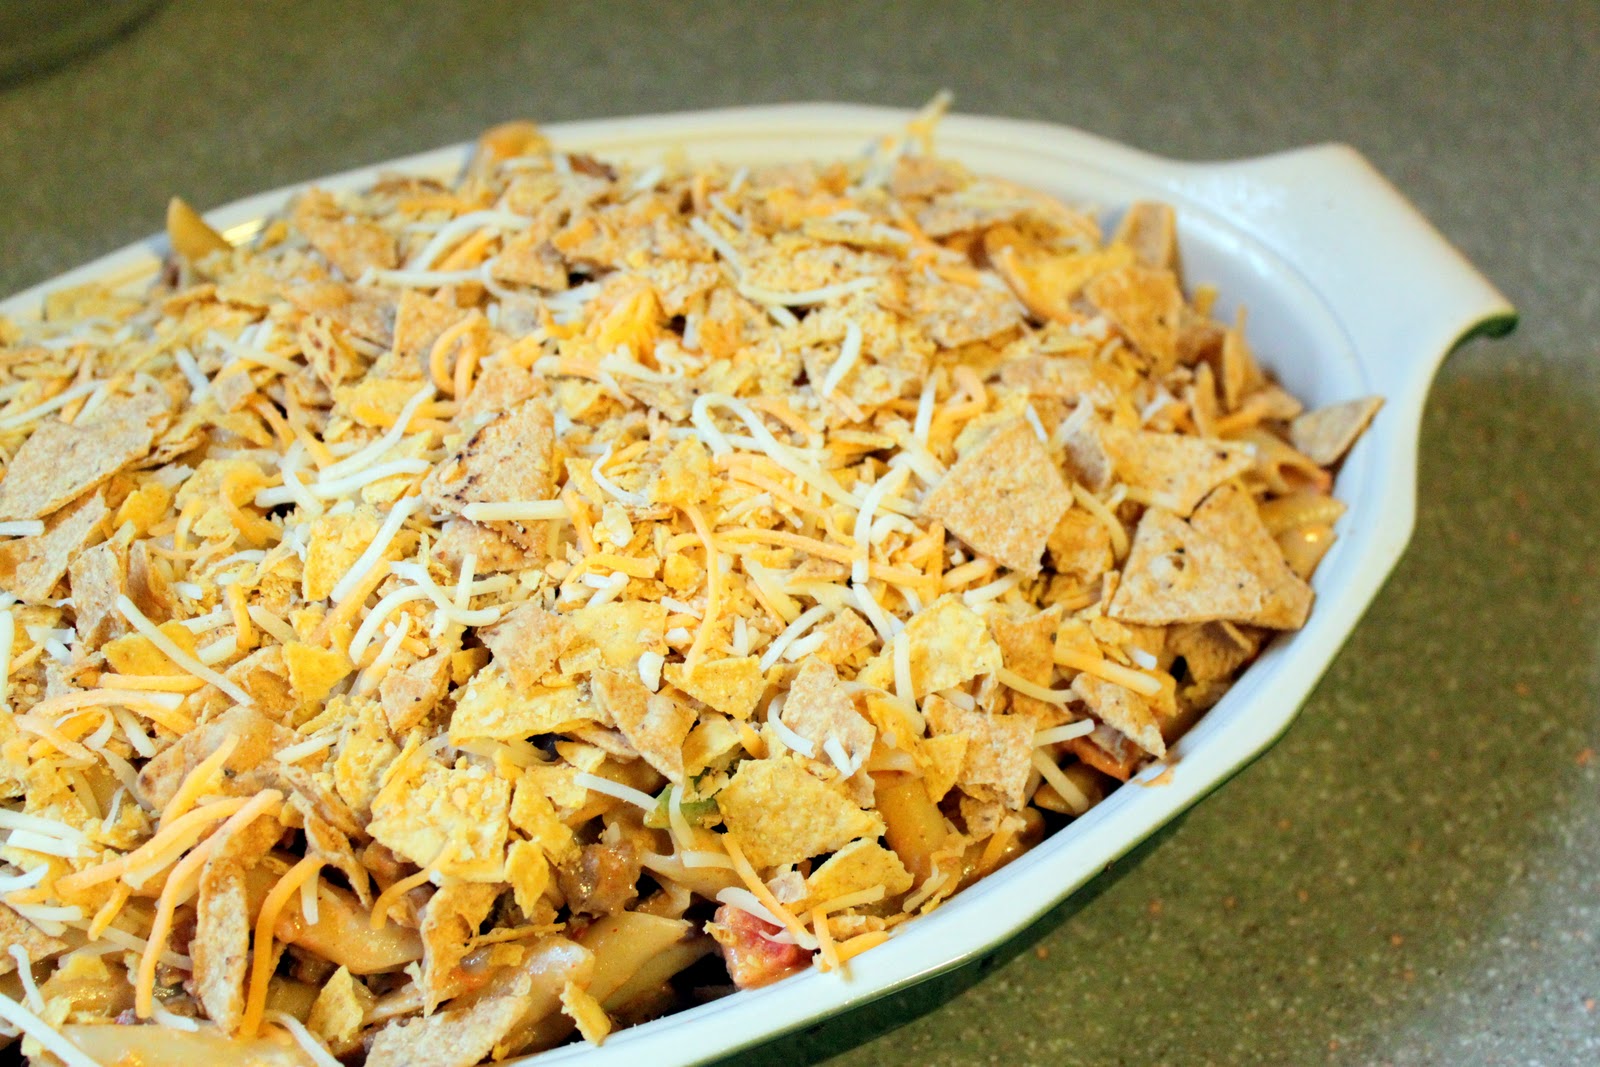
Sprinkle the top of the pasta with crushed tortilla chips combined with shredded cheese.  Place in oven and bake for 20 minutes.  Might need a little longer if it has been refrigerated.  Basically you are just melting the cheese and heating it through since all the ingredients are already cooked.
Serve with a dollop of sour cream and a sprinkle of sliced green onions and black olives.
 

Accuquilt GO! Baby Fabric Cutter Giveaway

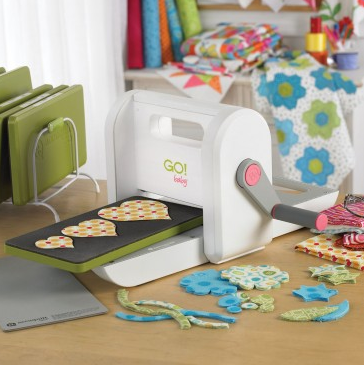
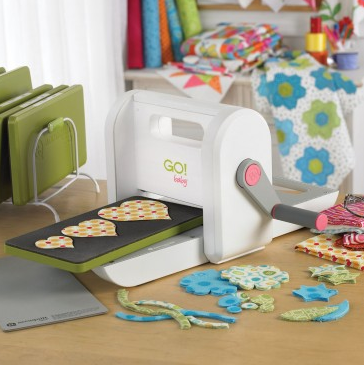
 This is probably one of my most favorite giveaways that I have done here on the blog!  Today we are giving away an Accuquilt GO! Baby Fabric Cutter PLUS three dies of your choice to one very, very lucky The Cottage Home blog reader.  Pretty cool, right?  I love this sewing/quilting tool and I know you will too!
In case you missed my previous post about the girls appliqued shirts that I made recently.  Here are some pictures of several of them that I made using my own Accuquilt GO! Baby Fabric Cutter…..

So, would you like to win your very own GO! Baby Fabric Cutter with three dies of your choice?
Here’s how to enter – Please leave a separate comment for each entry.  You can do one or all of the following:
1) Leave a comment letting me know what you would make with your GO! Baby Fabric Cutter.
2) Become a follower of The Cottage Home blog (follow via Google Friend Connect in the left side-bar of the blog).
3) Become a fan of The Cottage Mama on Facebook (click HERE to sign up).
4) Sign up to receive 22 FREE Patterns from Accuquilt (click picture link below).
22 Free Patterns - Download Now
Giveaway is open to US residents only. Winner will receive one Accuquilt GO! Baby Fabric Cutter plus three dies of their choosing.  Giveaway open through September 29, 2011 at midnight (CST).

Good Luck!

Finny and Zook Giveaway Winner!

The winner of the Finny and Zook – Whimsical Nursery Art giveaway is………

Congratulations, Tara! Please email me at thecottagemama[at]gmail[dot]com with your contact information and we will get you your artwork as soon as possible.  Thank you so much to everyone who entered.  I love Finny and Zook and I hope you do too!!

If you are interested in becoming a sponsor of The Cottage Home blog, please email Lindsay at thecottagemama[at]gmail[dot]com for rates and more information.