
Today kicks off Day 1 of The Cottage Mama Sewing Patterns Blog Tour!
Throughout the next two weeks, there will be 24 blogs sewing up the new The Cottage Mama Sewing Patterns (www.thecottagemama.com). These are all bloggers that I absolutely adore and have become friends with over the last several years. A few of them are newer bloggers or ladies in the online sewing community who don’t blog too often, all of which I have a tremendous amount of respect for their sewing technique and design abilities.
I encourage you to check out their blogs for the full post on each pattern review and while you are there, poke around………you are sure to be inspired! I don’t know about you, but I love seeing different takes on the same pattern design. I hope you do too.
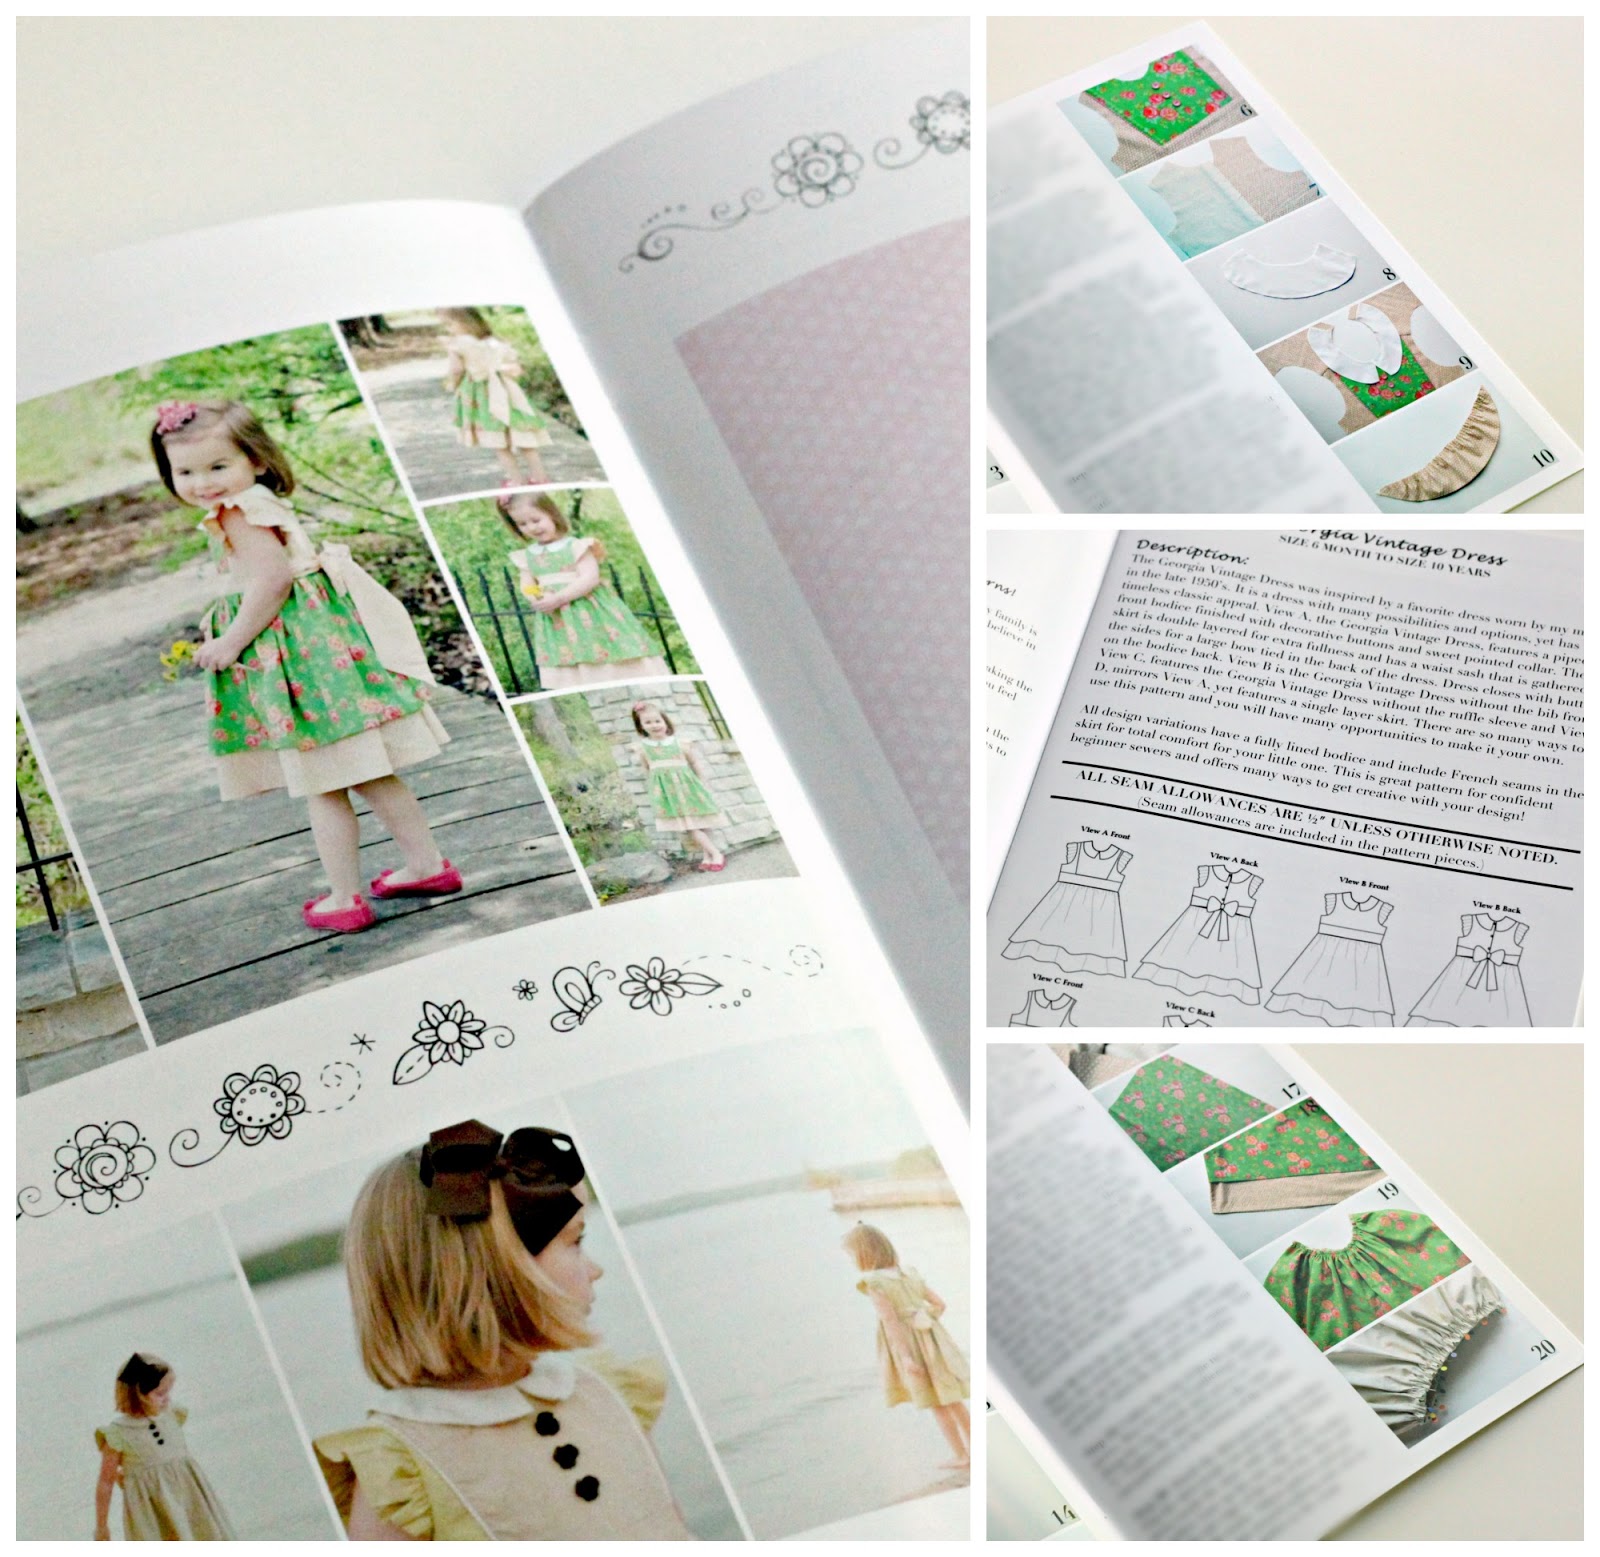
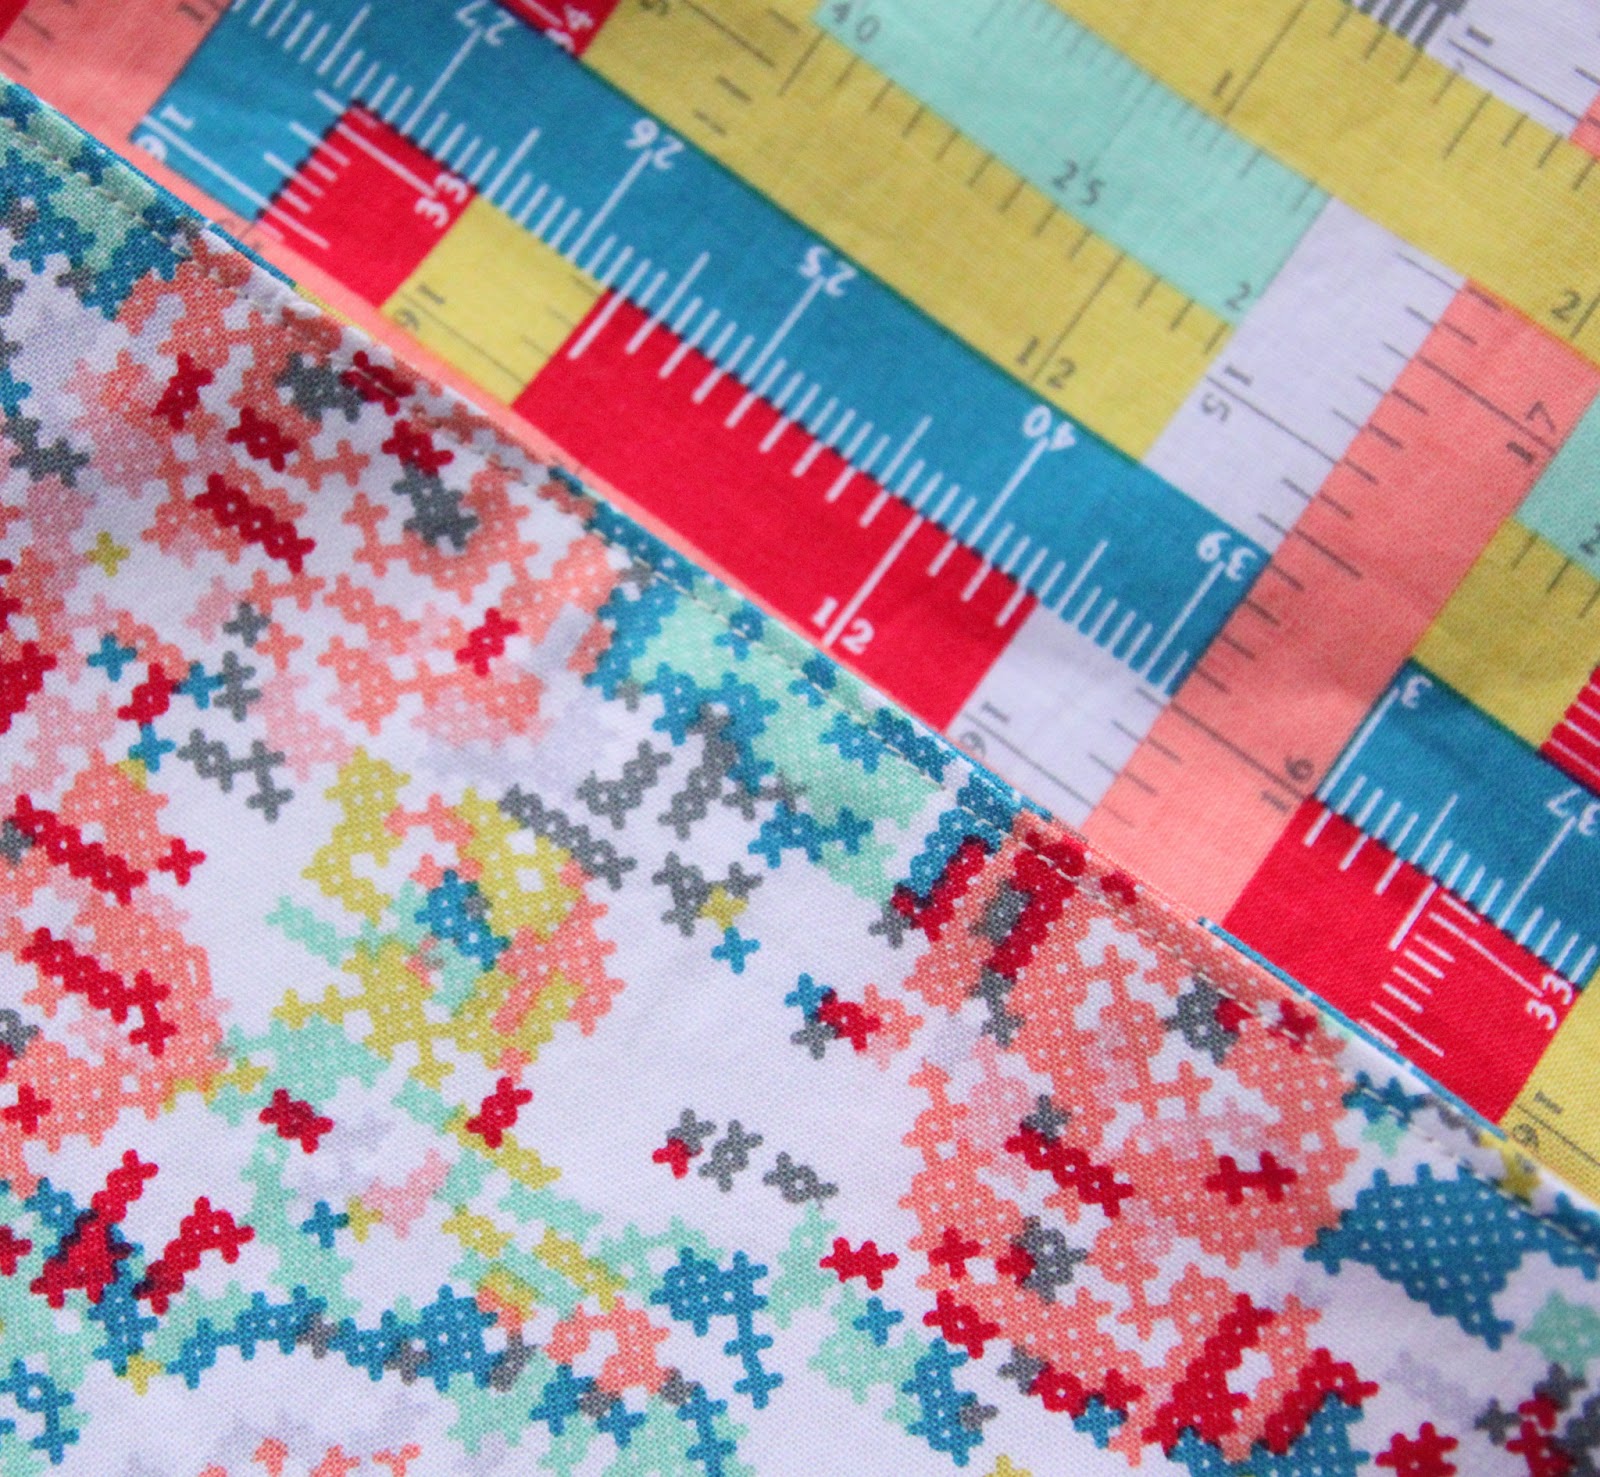
Georgia Vintage Dress:

Crystal was actually one of my pattern testers and tested the Miss Matilda and Daphne pattern. I was so impressed by her work that I asked her to be part of this tour. Her blog is absolutely adorable and you will be seeing Crystal again here on The Cottage Mama when she guest blogs a back to school tutorial in September. Head over to her blog to see her darling version of the Georgia Vintage Dress. Click HERE.
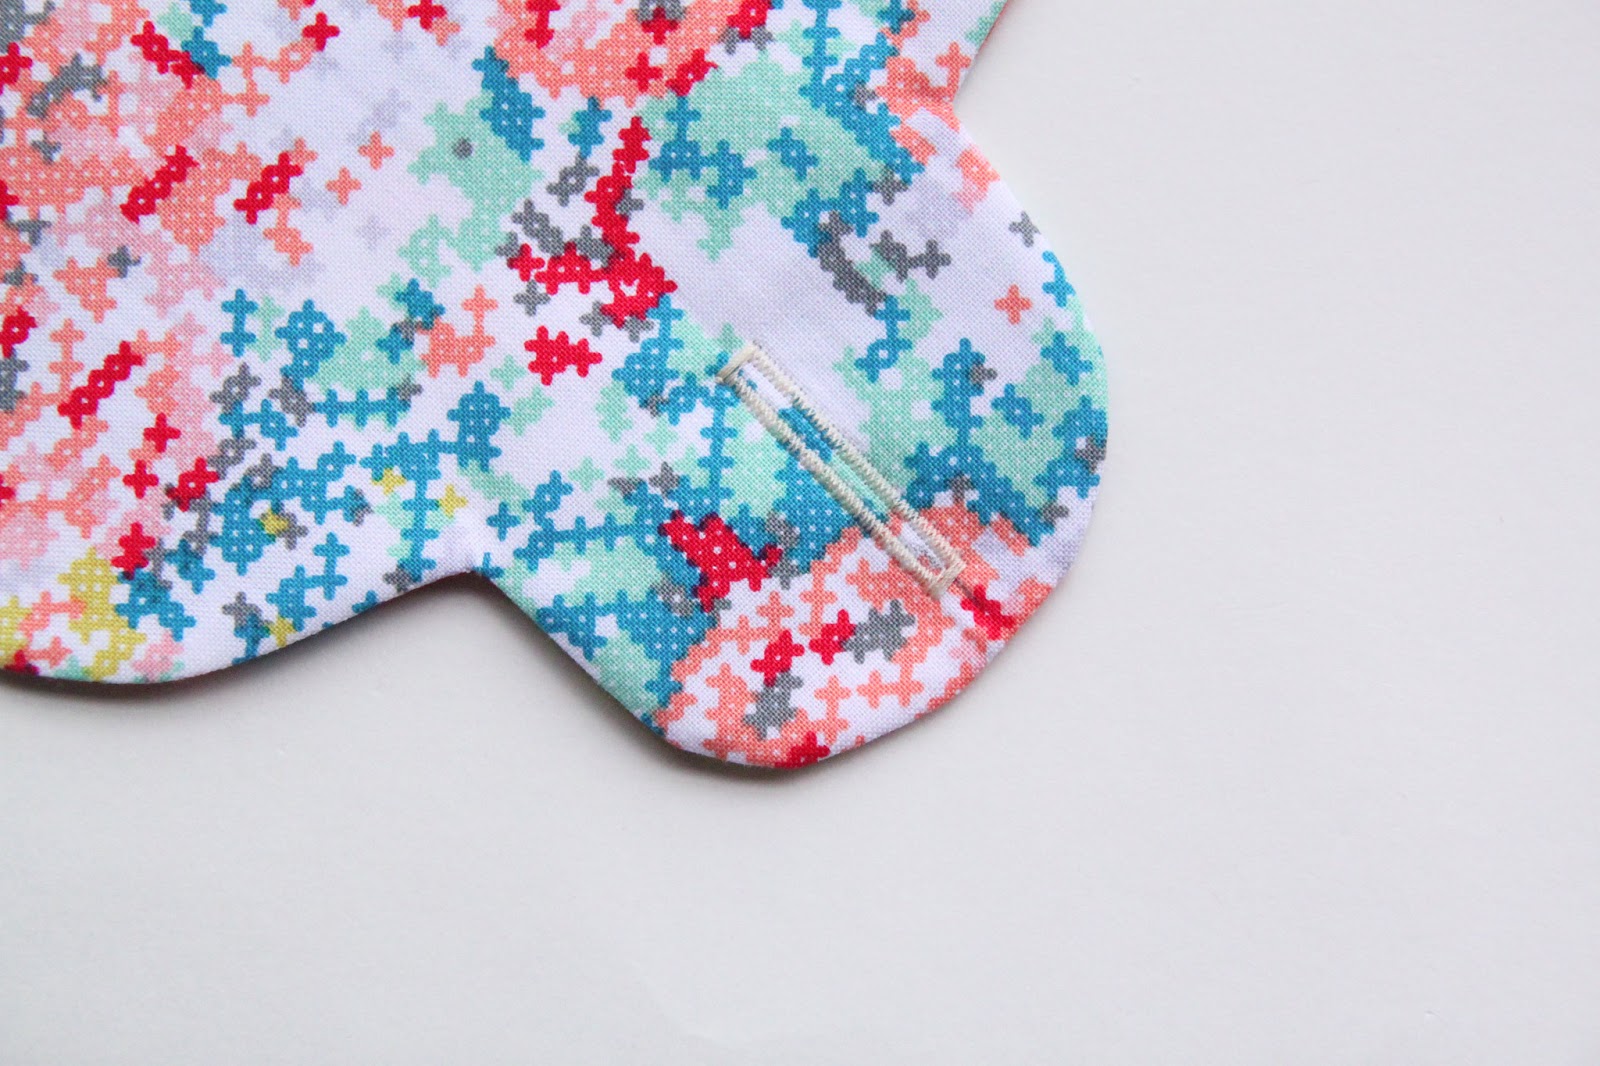
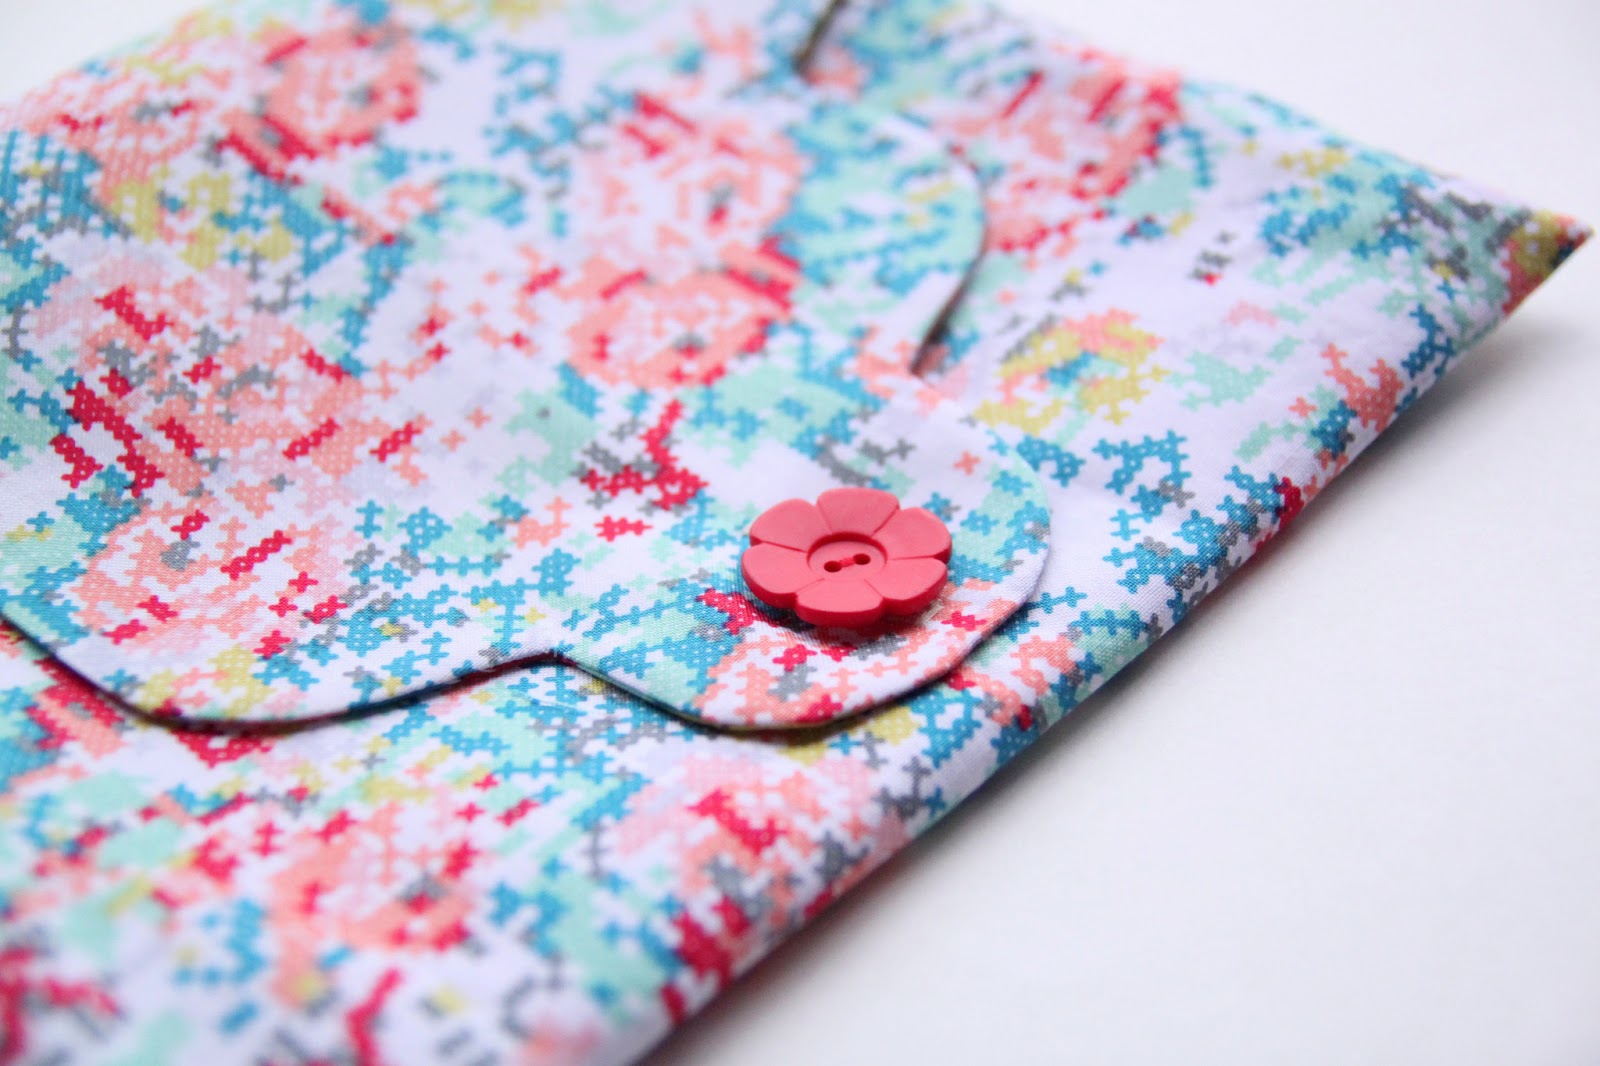
Miss Matilda Dress and Top:

I have gotten to know Caila over the last year and her blog is a ‘must-see’. I think you’ll really love her classy style with modern details. Her photography is beautiful, her fabric selections are unexpected and she also blogs some really great boy designs as well. Check out her version of the Miss Matilda Dress and Top Pattern. Click HERE.
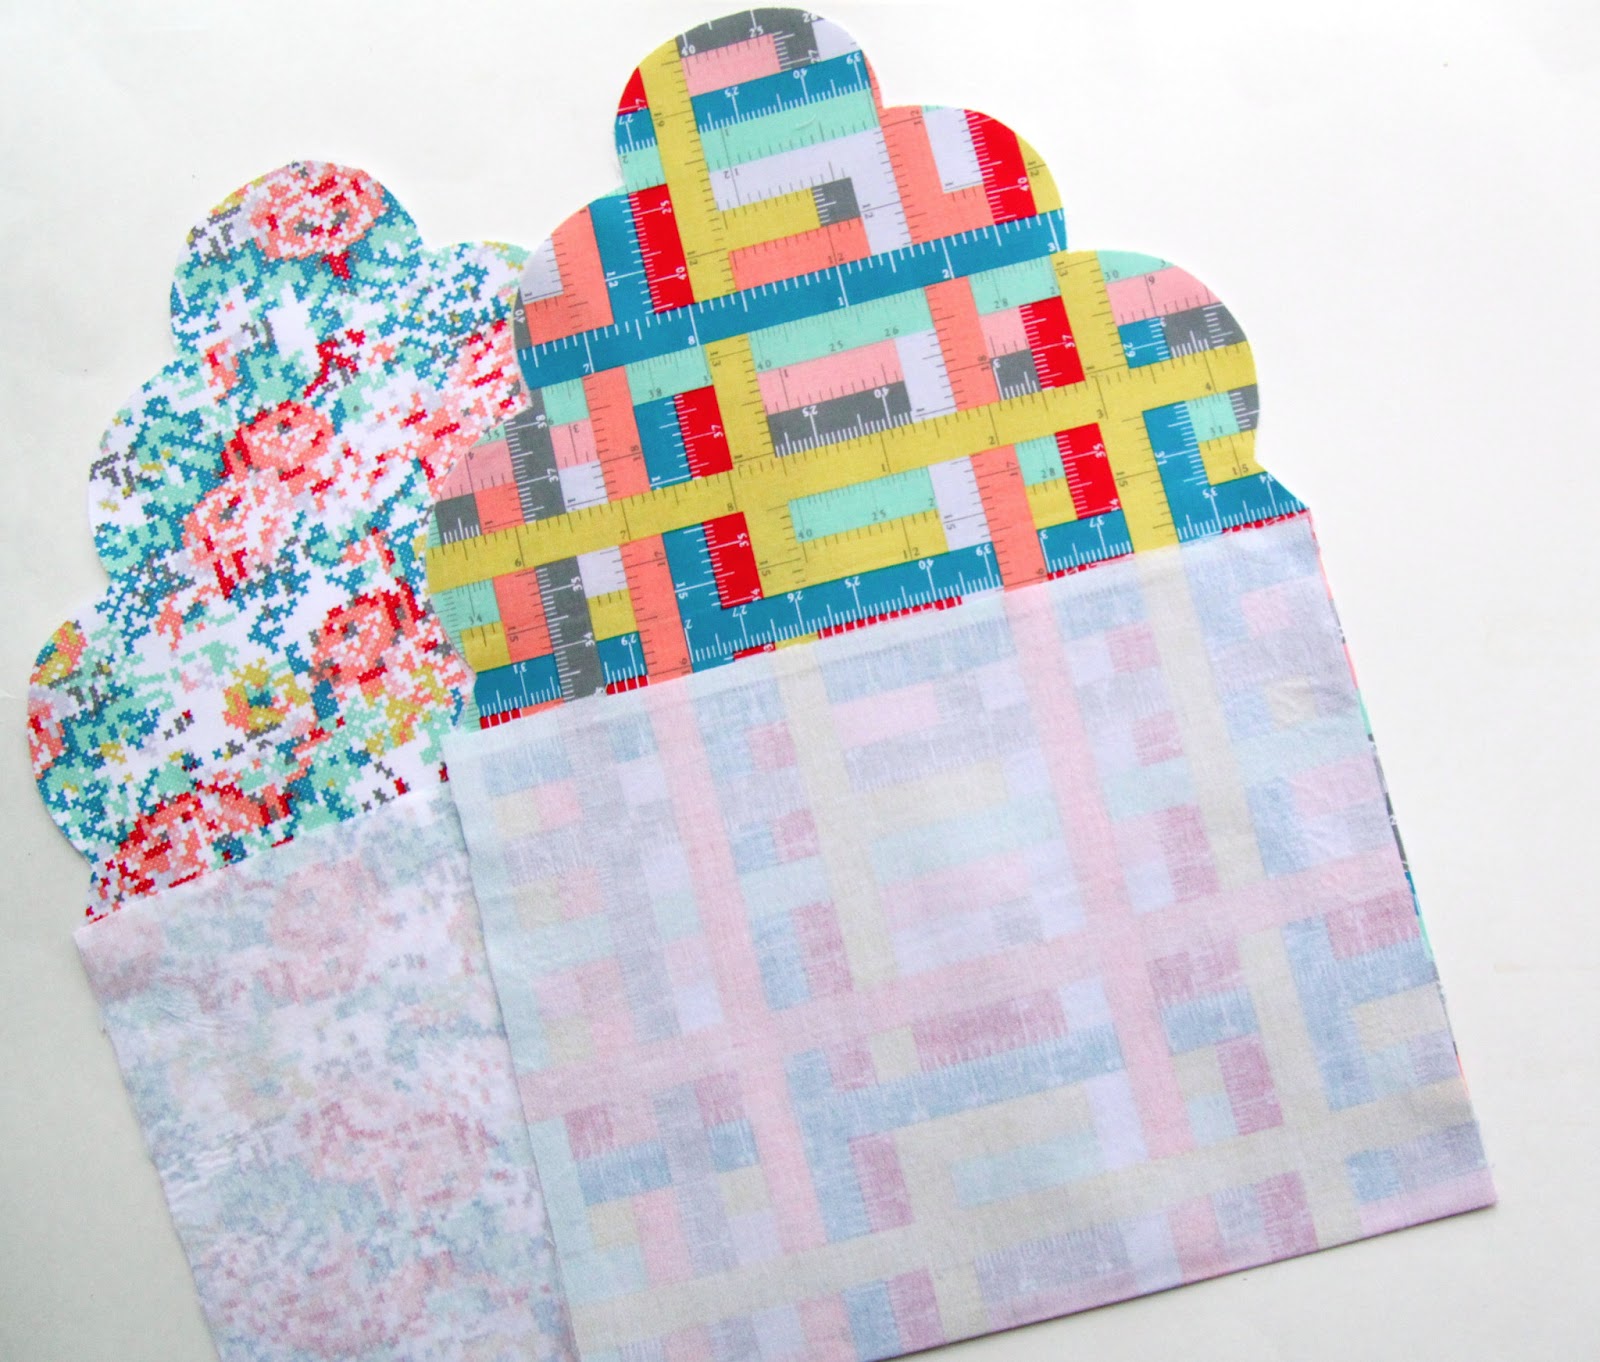
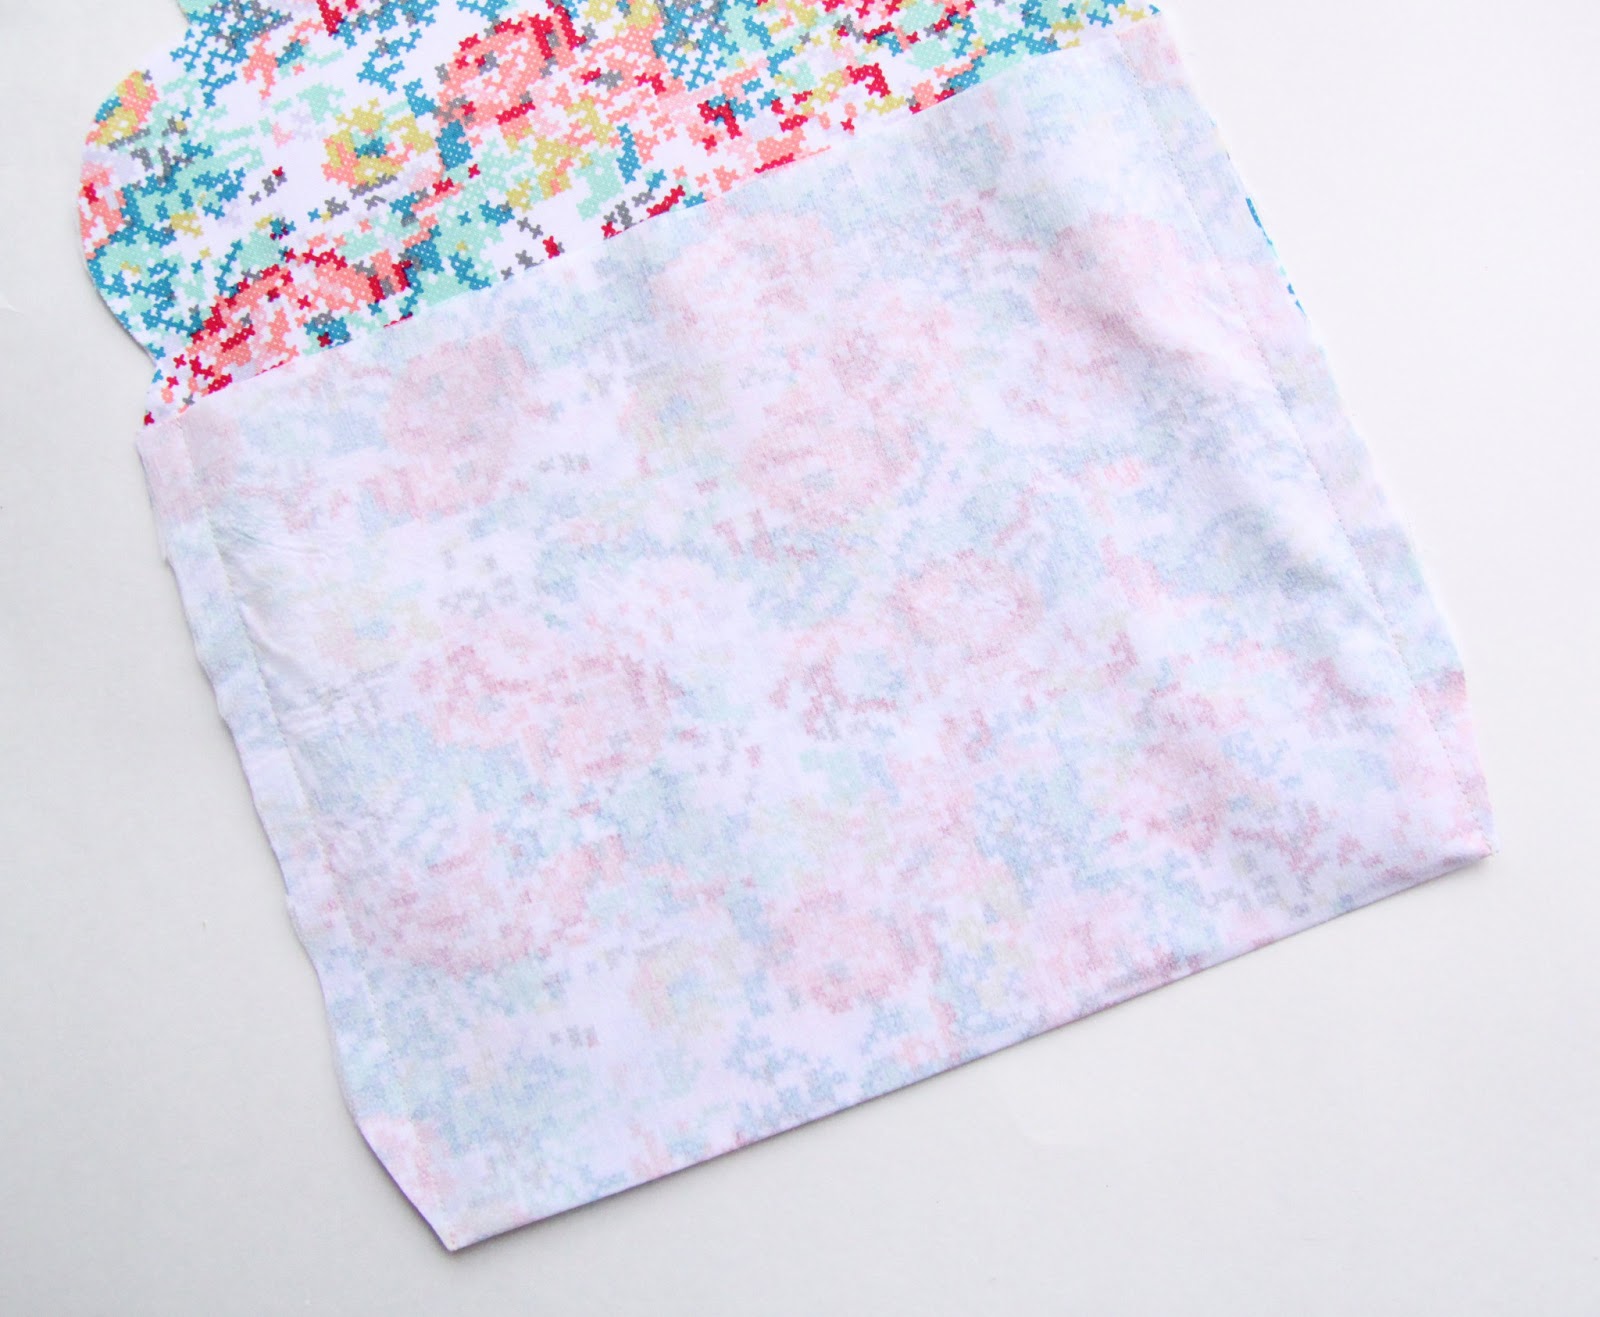
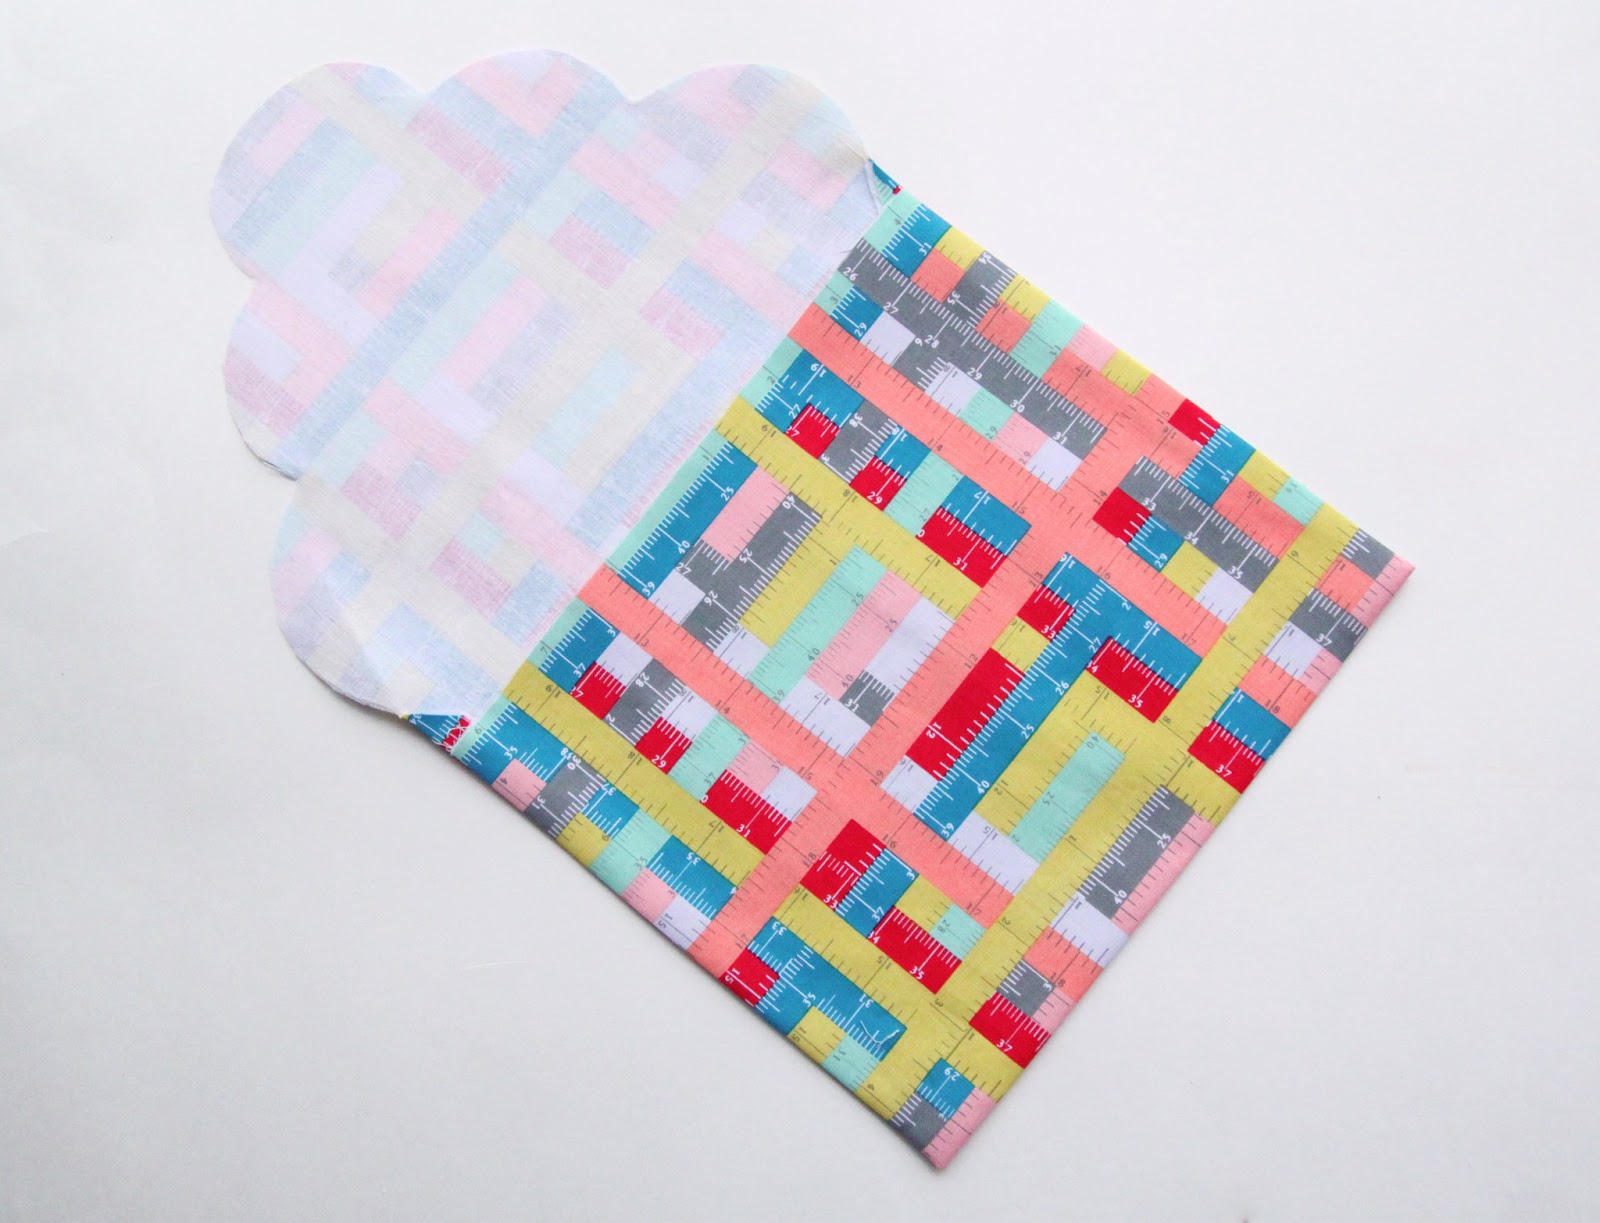
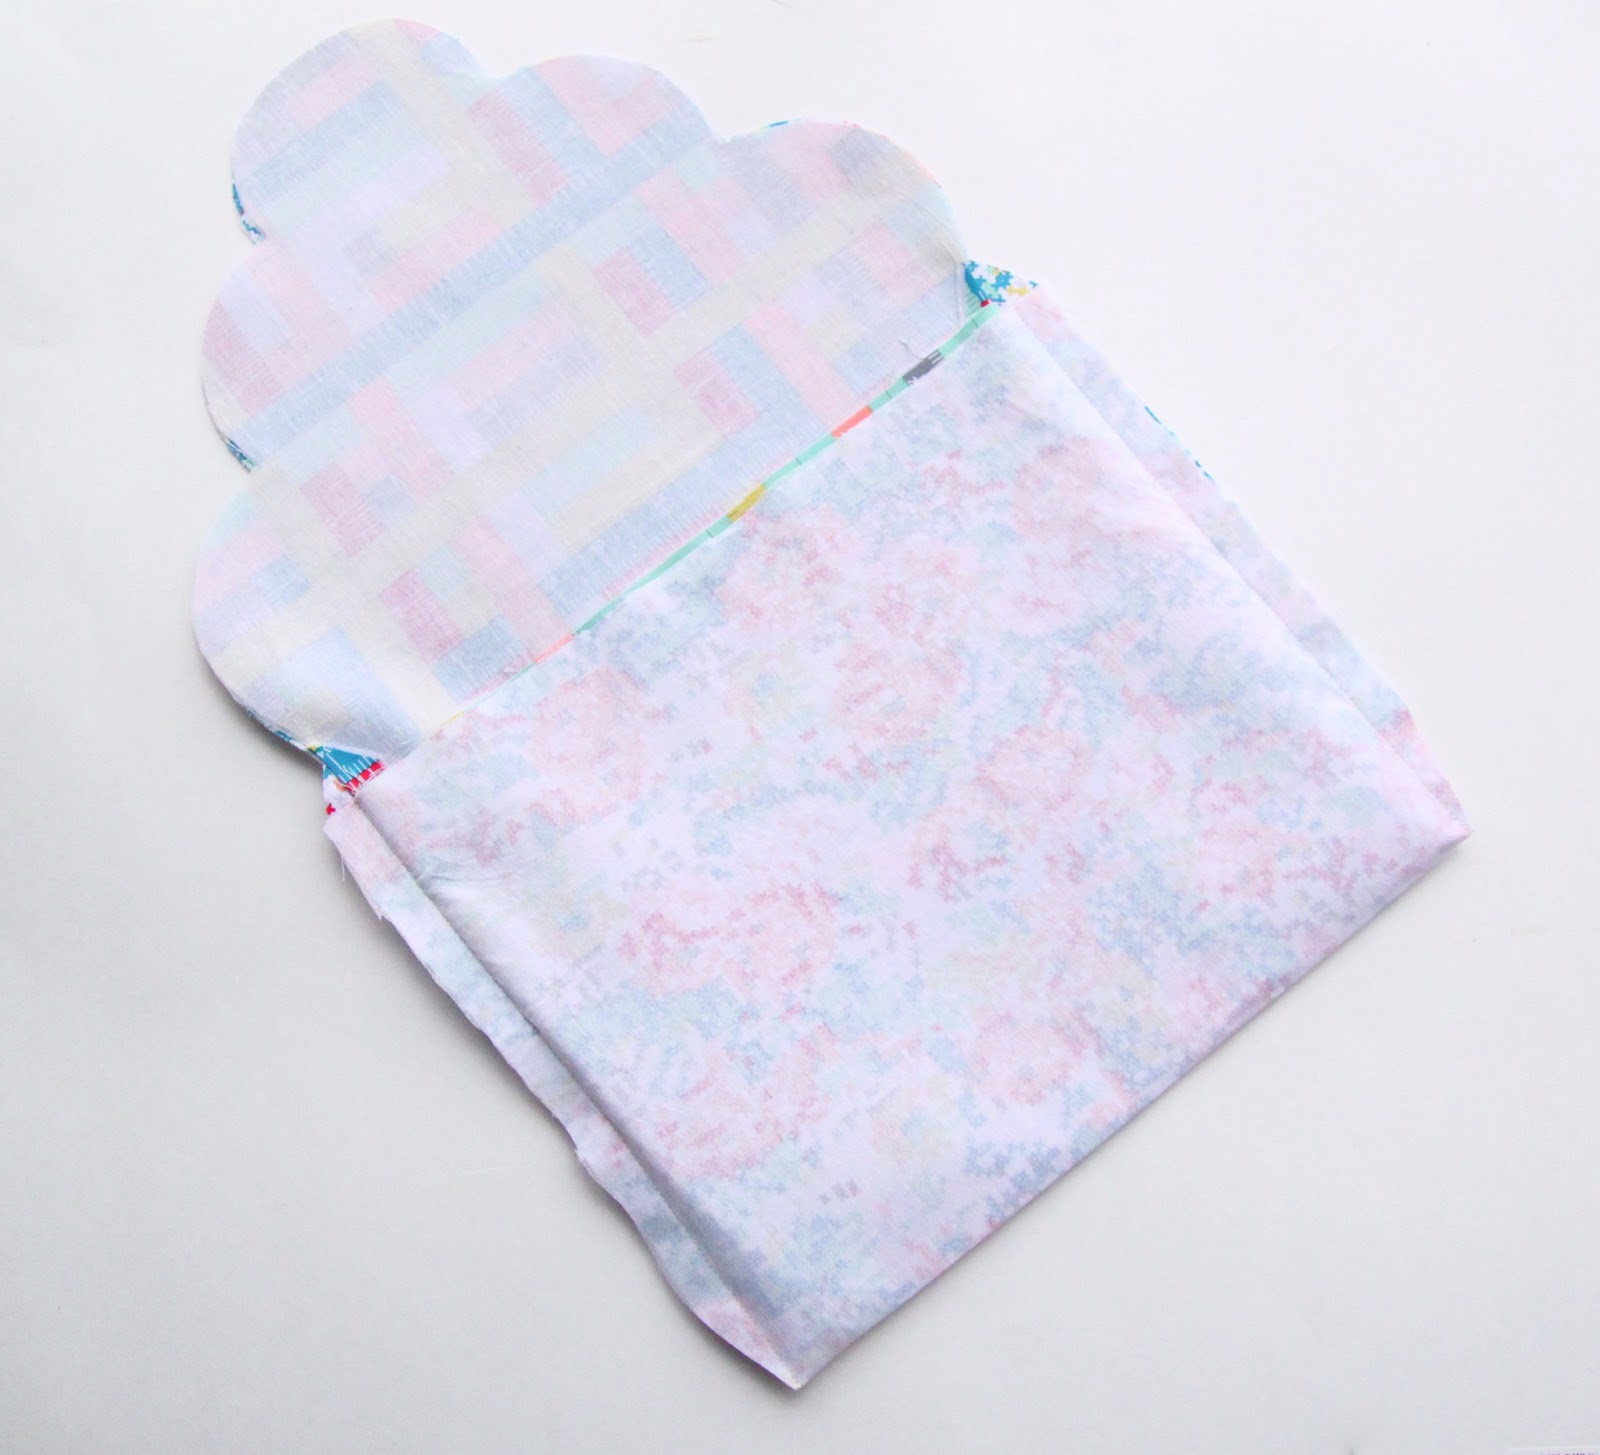
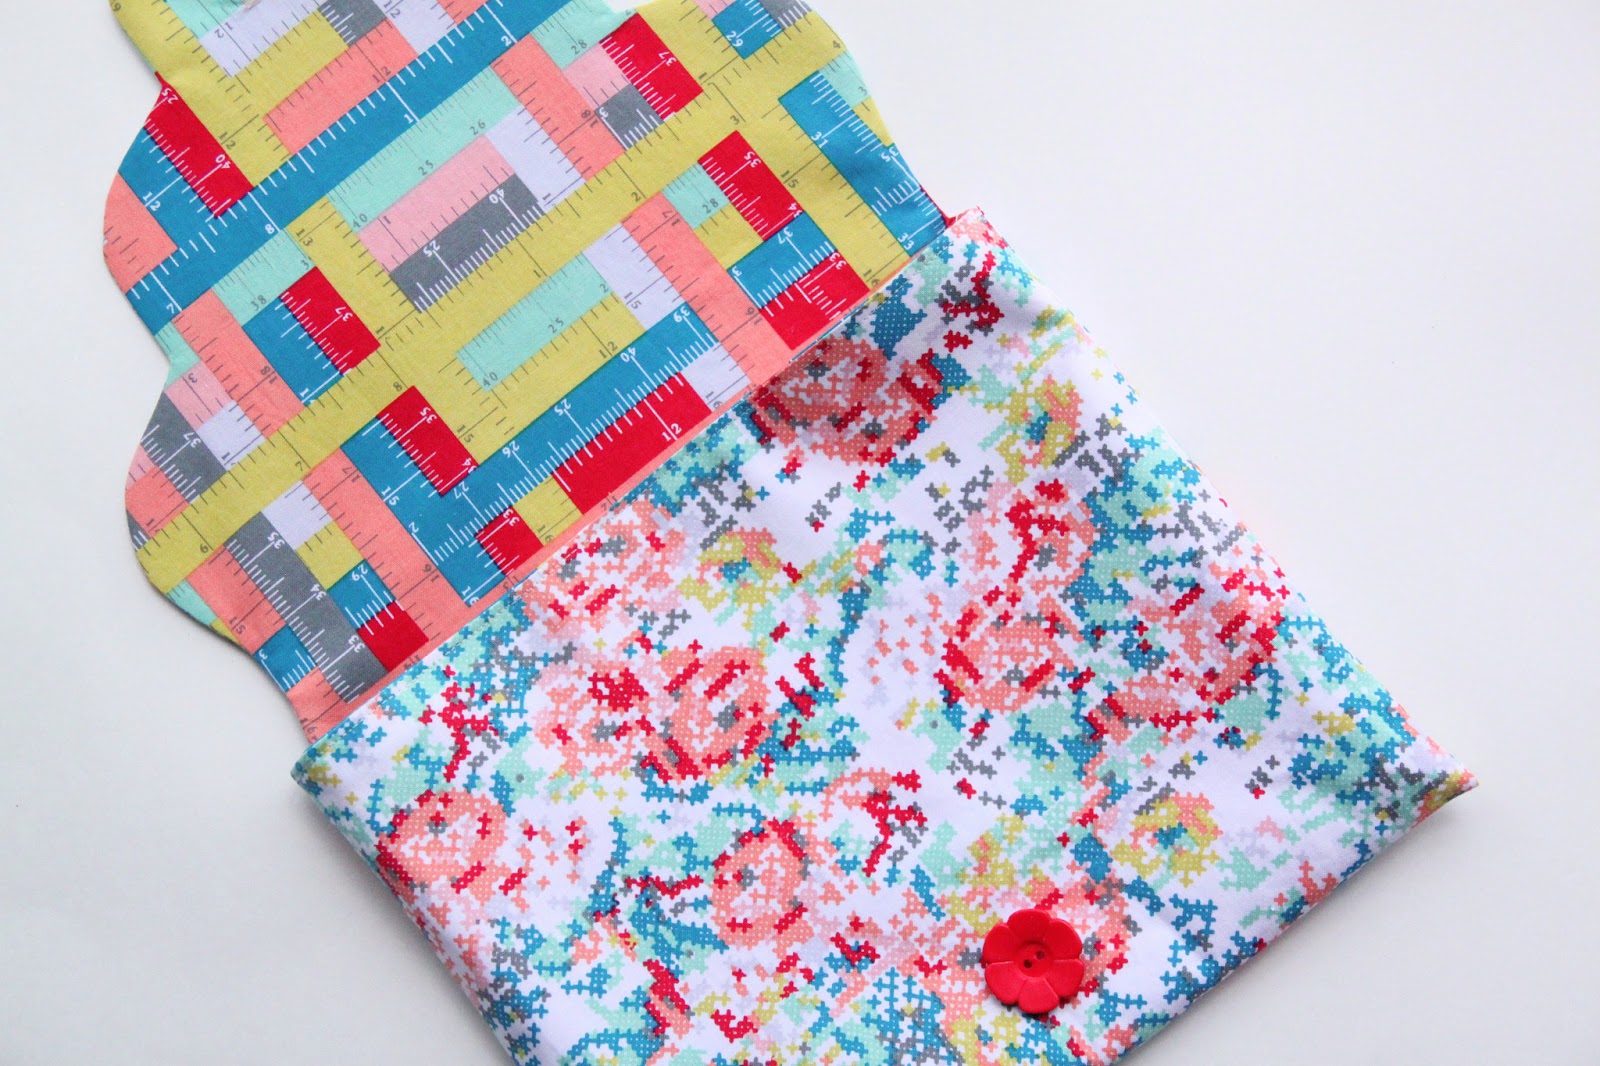
Daphne Wrap Dress and Top and Skip and Play Pants and Capris:

How do I love thee? Let me count the ways……….I am a big fan of Frances Suzanne, two sisters that create. Their style is classic with heirloom quality details. Do you know that feeling when you happen upon someone that has similar taste and style like you do? Yep, that’s Frances Suzanne. Go over and check out their version of the Daphne Top and Skip and Play Pants and Capris……you’re going to love it! Click HERE.
All patterns are available in print and instant download PDF and can be purchased at www.thecottagemama.com
Check back tomorrow for three new versions of the new The Cottage Mama Sewing Patterns!


 Lindsay Wilkes is the owner and designer behind The Cottage Mama. She creates timeless, vintage inspired sewing patterns for children’s clothes. She is also a fabric designer for Riley Black Designers / Penny Rose Fabrics, author of the book ‘Sew Classic Clothes for Girls’ and can be seen teaching nationwide and online in her video series ‘Lessons with Lindsay’ sponsored by Baby Lock Sewing and Embroidery machines.


