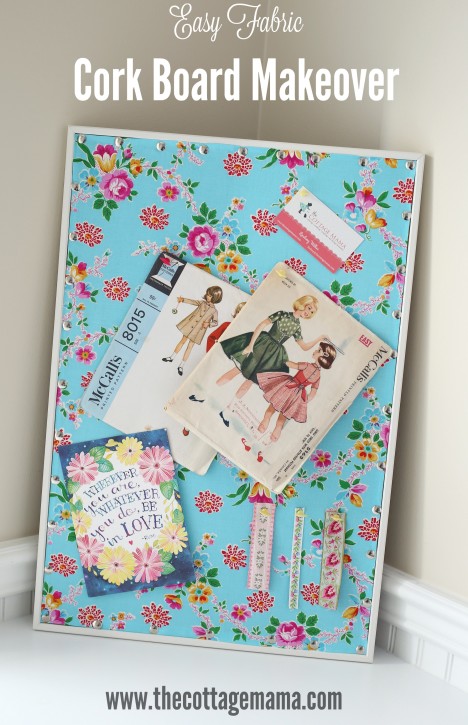
I’m slowly but surely starting to focus on hanging some things up in my new sewing studio. I bought three of these inexpensive cork boards from IKEA a few months ago……..one for my office and two for Savannah and Matilda’s room to go next to their desks. I originally thought I would just put them up as is, but that just seemed kind of boring. I’m all about incorporating fabric whenever and where ever I can, so I did these Easy Cork Board Makeovers this weekend and I’m excited to share this DIY project with all of you.
If you love fabric (and I know you do because you probably wouldn’t be reading this blog if you didn’t have a little fabric love in your heart), then you need to make one of these Easy Fabric Cork Boards for yourself. It’ll make you smile every time you look at it hanging on your wall. Let’s get started……..
Easy Cork Board Makeover
Supplies:
1 piece of fabric (approximately 1″ larger than the dimensions of your board)
Scissors or rotary cutter
Iron
Instructions:
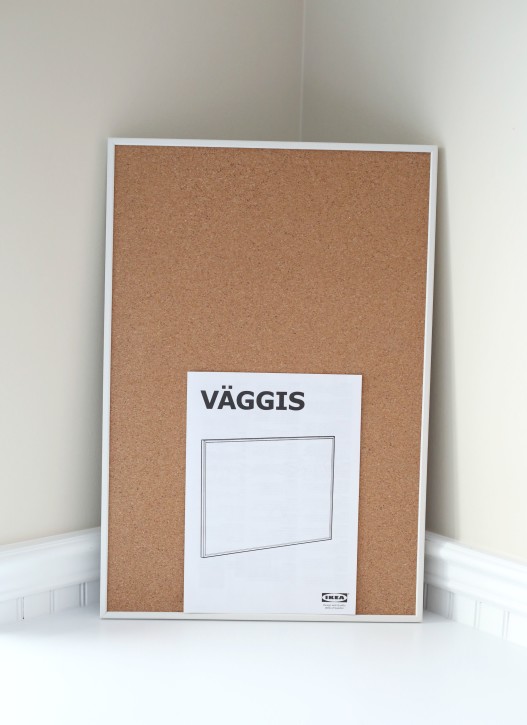
Grab your basic cork board. This one is the Vaggis board from IKEA. It’s about as basic as it gets (and is only $5.99), but I liked that it had a simple white frame. I was also at our local thrift store this weekend and saw one for $2.00. If you end up with a cork board that has a brown frame or is a color that doesn’t speak to you, consider spray painting the frame before you begin this project. You could certainly do this makeover with a fancier cork board that has a more elaborate frame (I’ve seen some really pretty ones at Hobby Lobby), but I like that this project will be super-gorgeous for very little money. Here is one I found on Amazon.
Measure the cork portion of your board. Mine measured approximately 22″ x 14 3/4″.
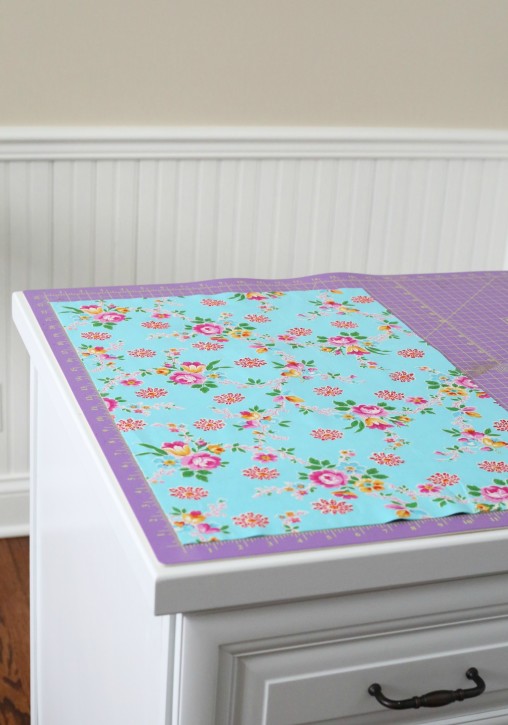
Cut your fabric approximately 1″ larger than the cork measurement of your board. You want to be really precise here since we want the fabric to fit on the board just right. I chose this pretty aqua blue fabric by Jennifer Paganelli (Happy Land) that I’ve had for a loooooong time. Choose a fabric that matches your decor and makes you happy!
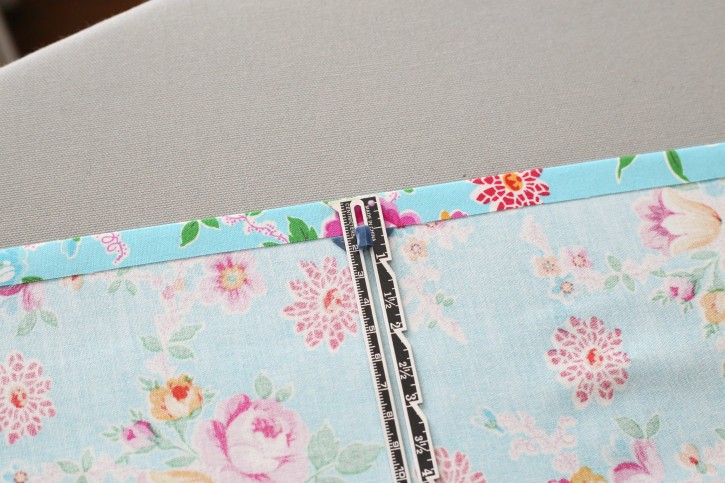
Then you’ll need to press your fabric 1/2″ towards the wrong side of the fabric. Use your hem gauge for accuracy. I found pressing the two long sides prior to the short ends worked best. I could check and see if I needed any adjustments before pressing the two short sides. Hopefully your measurements will be spot on, but if not, just press your fabric again and adjust to fit.
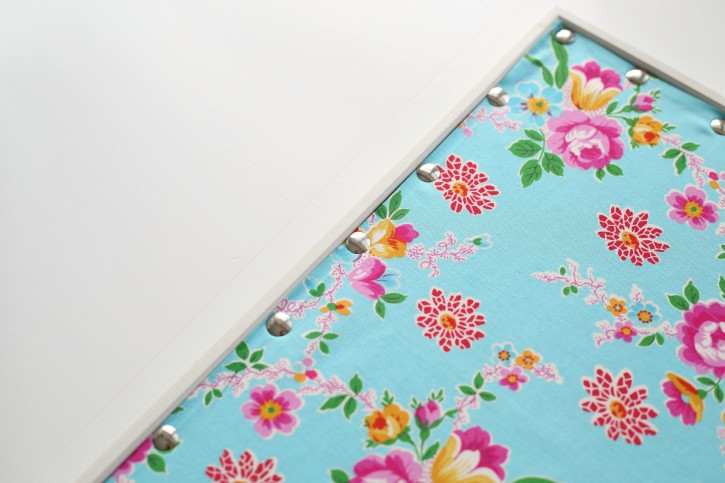
Then lay your fabric on top of the cork board. Pin the four corners with your flat metal pushpins and then start pinning all the sides. You can space the flat push pins as close or as far apart as you would like. You may need to smooth out some of the bumps in the fabric as you pin. Just do this as you go. You could use some spray adhesive on the board before you lay down your fabric, my only fear is that it might be a tad tough to smooth out any ripples in the fabric. But if you give it a try, let me know how it works!
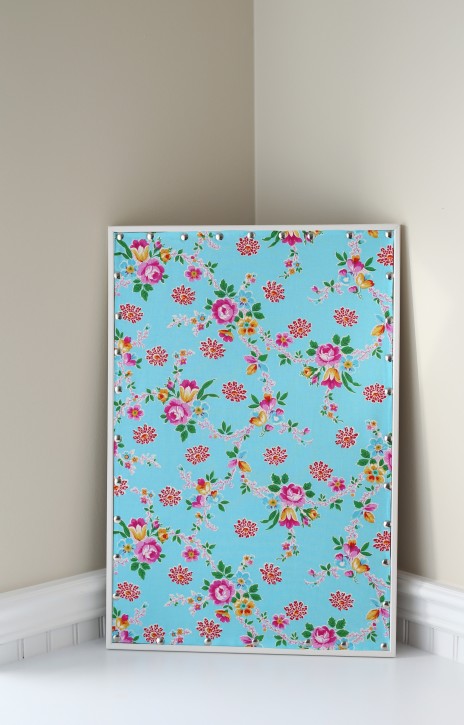
Once you get all your flat pushpins arranged just the way you would like, your cork board makeover is complete! It doesn’t get much easier than that!
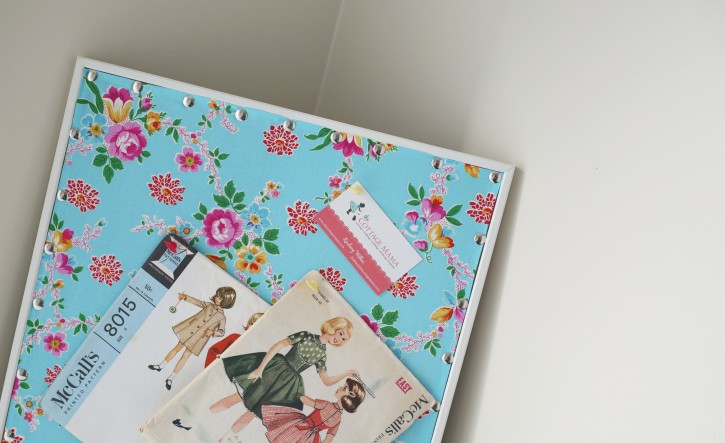
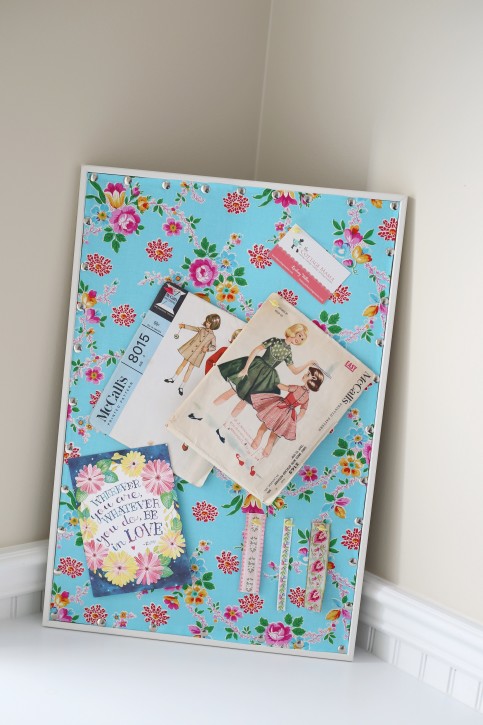
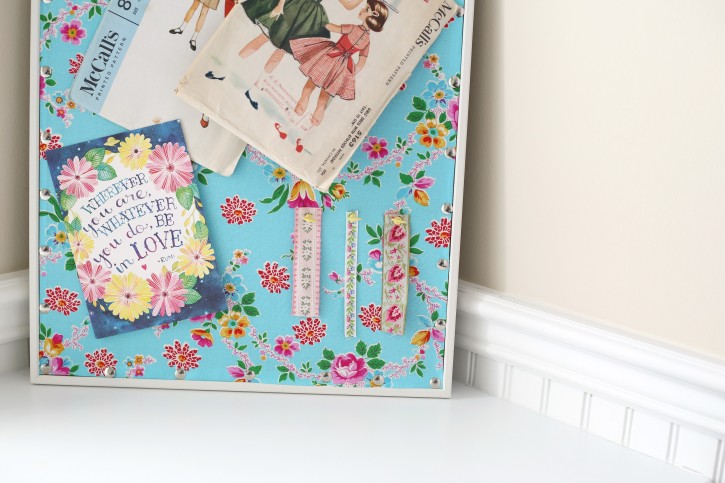
So if you are looking to add a little pop of color to your walls, give this Easy Cork Board Makeover a try. It’s perfect for a home office, kids rooms, play rooms, kitchens and so much more!
Thanks for stopping by!

 Lindsay Wilkes is the owner and designer behind The Cottage Mama. She creates timeless, vintage inspired sewing patterns for children’s clothes. She is also a fabric designer for Riley Black Designers / Penny Rose Fabrics, author of the book ‘Sew Classic Clothes for Girls’ and can be seen teaching nationwide and online in her video series ‘Lessons with Lindsay’ sponsored by Baby Lock Sewing and Embroidery machines.


Love things that make me happy!
Great idea, thanks!