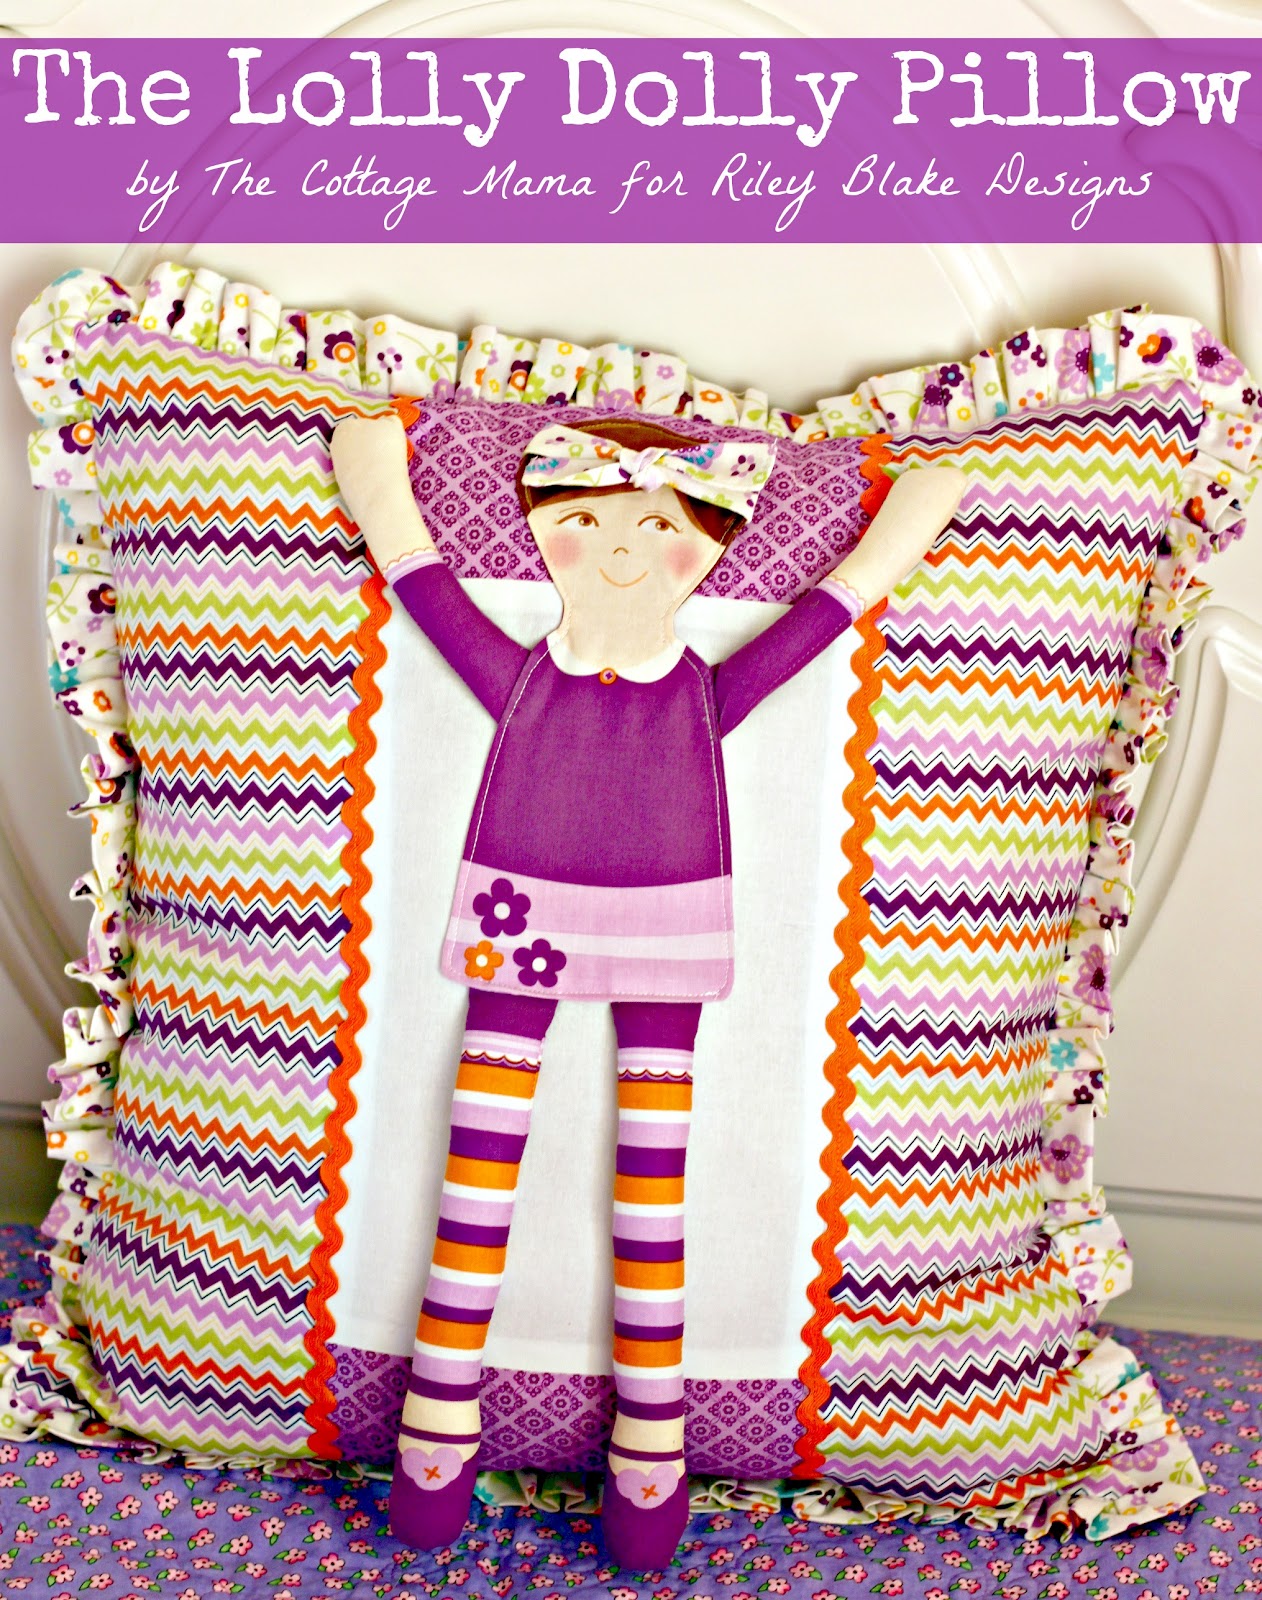
Hi, I’m Lindsay from The Cottage Mama and I’m thrilled to be back with you again today sharing my most recent design team project. Deciding which fabric line to use for this tutorial was so darn difficult as I wanted to use just about all of the new lines that were coming out. So I decided to post the lines I was considering on The Cottage Mama Facebook Fan Page and let the fans vote for their favorite. It was a pretty close call, but we finally settled on ‘Dress Up Days‘. I think this line is absolutely adorable in every way and I’m thrilled to be able to share this project with you today…….The Lolly Dolly Pillow.
‘Dress Up Days‘ has this wonderful panel in three different colorways that is meant to be used to make a doll that you can dress up in several different outfits (so cute). But I wanted to try to use this panel in a little bit different way and decided to turn it into a pillow. I hope you like what I came up with today.
Basic sewing supplies


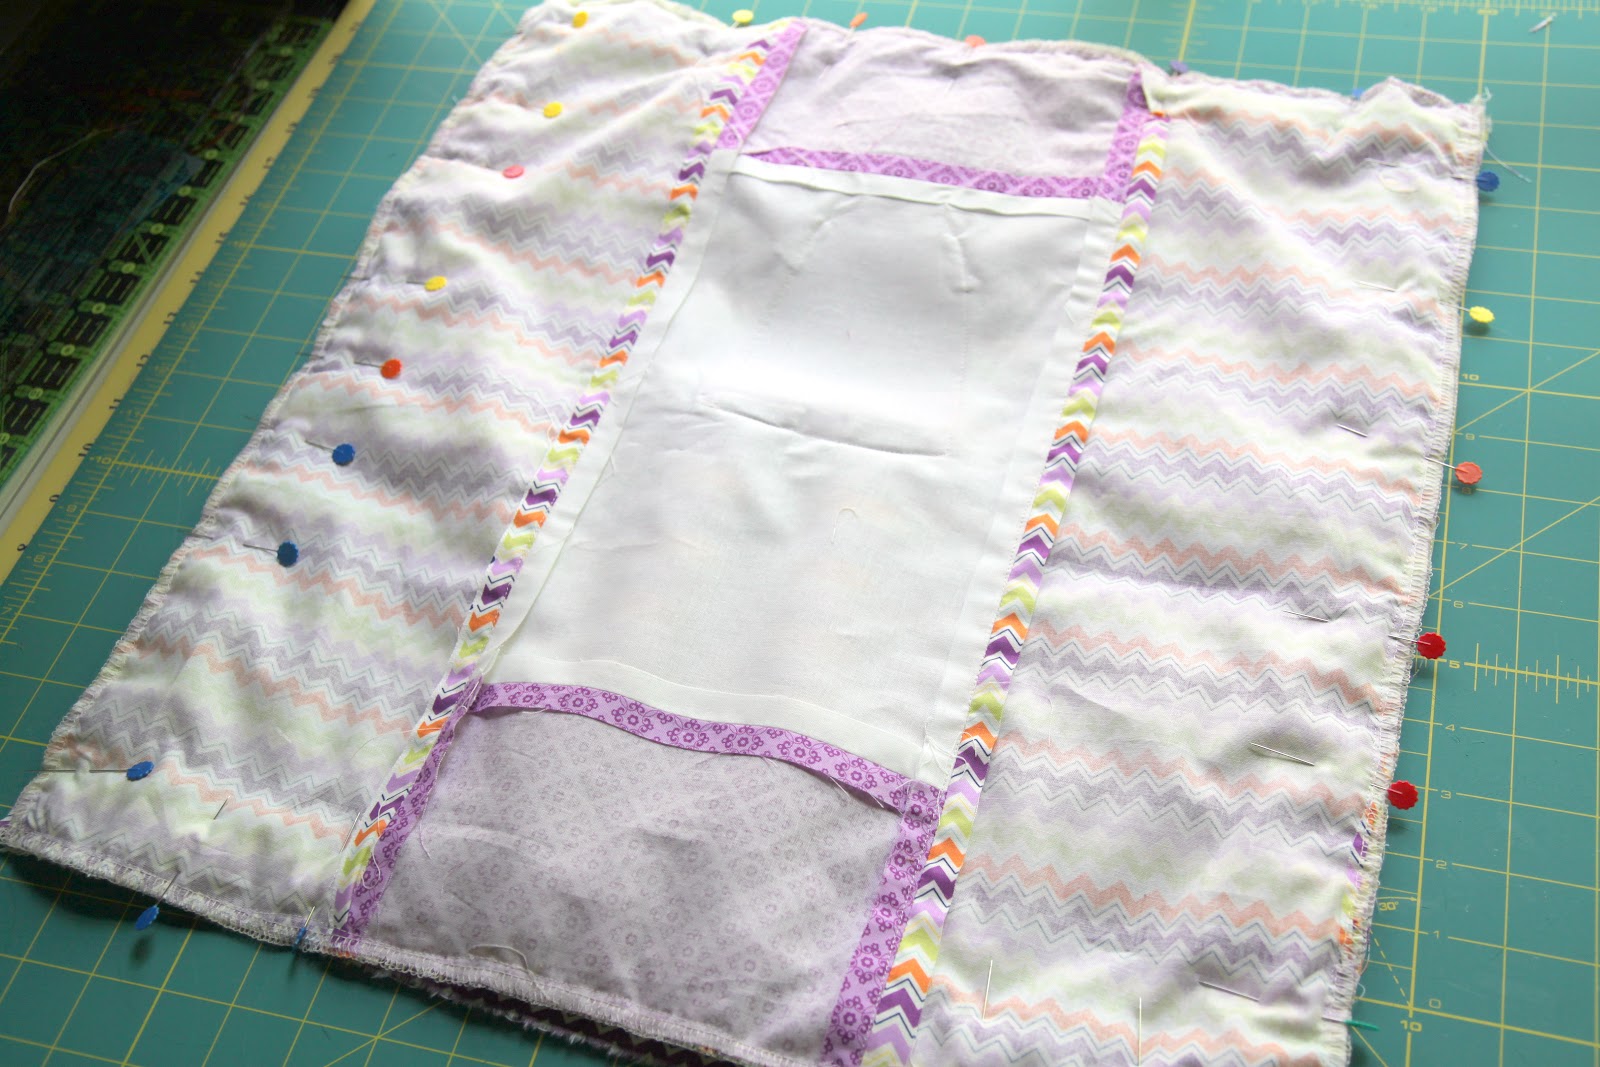
If you are not familiar with a gathering stitch, you need to set your stitch length to the longest setting (mine is 5.0) and increase the tension on your machine. Run a stitch about 1/4″ from the edge all the way around the fabric and then pull one of the threads to gather. Make sure you do not back stitch at the beginning or end otherwise your fabric will not gather. Another note……make sure you are using polyester thread for this project as cotton thread will break when pulled for gathering.


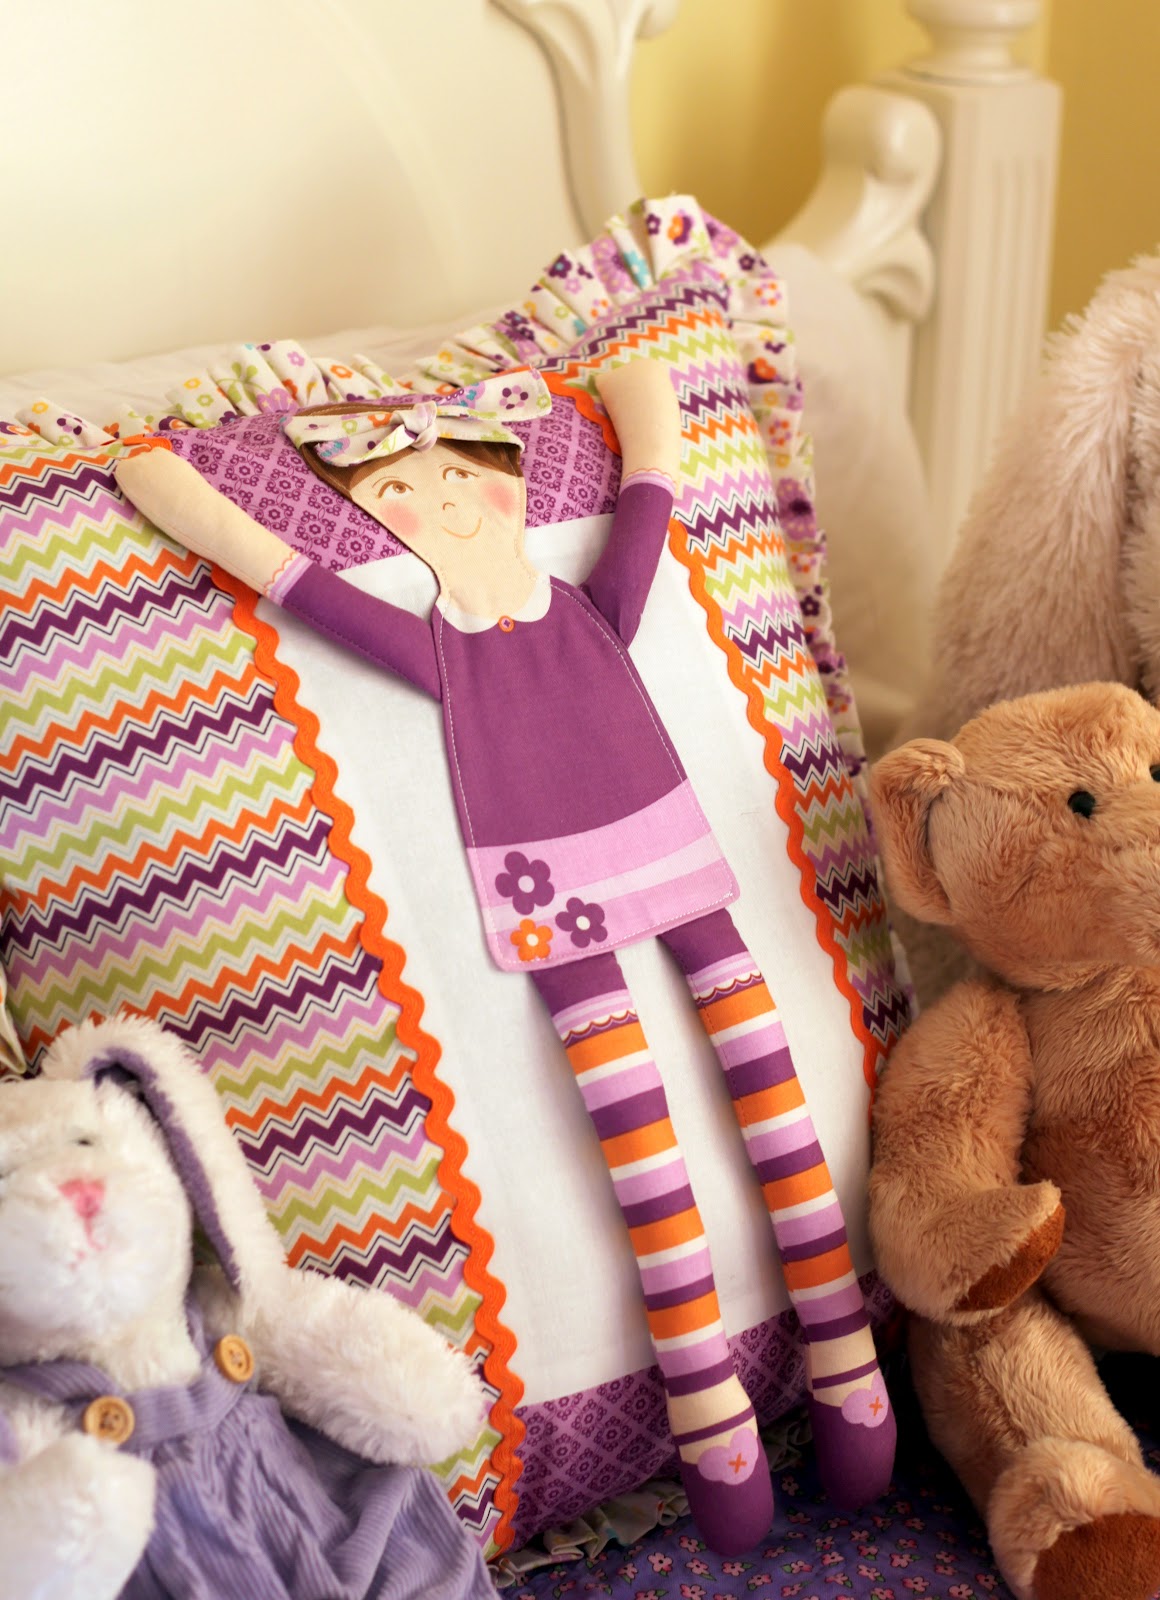

This is such a fun and different addition to a little girls bed. This pillow is pretty generously sized, but you could make it even bigger if you want to.


 Lindsay Wilkes is the owner and designer behind The Cottage Mama. She creates timeless, vintage inspired sewing patterns for children’s clothes. She is also a fabric designer for Riley Black Designers / Penny Rose Fabrics, author of the book ‘Sew Classic Clothes for Girls’ and can be seen teaching nationwide and online in her video series ‘Lessons with Lindsay’ sponsored by Baby Lock Sewing and Embroidery machines.


So cute, thanks!!!
Genial!!!!!!!!!!!
Muchas gracias
Charo
http://www.cosiendoyaprendiendo.blogspot.com
precioso !! gracias por enseñarlo !
🙂
I did see this earlier and I want to make one of those for my girls room – problem is I think they are already about too old at 9 and almost 7 🙁 I think they would poo-poo the idea. so sad…
I have this fabric but in Fat Quarters. It is adorable. I will try to get it done before Christmas. Thank you so much.
Super cute! Thank you for sharing!
I love fabric by Robert Kaufman
Thank you so much for this post. I want to let you know that I posted a link to your blog in Creative Busy Bee Craft Inspirations, under the Page 2 post on Sep. 13, 2012. Thanks again.
¡Hola! Gracias por explicarlo tan bien, seguiré visitando tus trabajos. Besos. http://mispuntosyotrascosas.blogspot.com.es/
What a great idea for this adorable doll panel!
I want to make this for my little girl – SO CUTE!!
Oh Lindsay, this is so adorable. I bookmarked this page…thank you so much for the tutorial and inspiration!!! You’re the best!!!
~Cathy
Super cute!
Lindsay, you’re a genius! This is beyond cute!!!
What a creative idea! Love it
Sooo stinking precious! Great job!
This pillow is so adorable!
So so cute, I just came to visit from Doohikey Design blog to leave a comment about the give away for the FQ. Thanks!!
This is so cute – I might make one into a cheerleader. My son and his new bride both have a friendly rivalry going – he’s an LSU grad, and she is a University of Oklahoma grad. I can see making them each a pillow in their school colors and making the doll a cheerleader!
Makes me wish I had a “little” girl!
So cute! I have a niece who would love this pillow!
Such a cute idea! Love the dolly attached to the pillow!
LOVE this idea!!! So adorable!
I think this is the most adorable little girl pillow ever!!!!!!
This is so cute! Perfect for a little girl.
This is so cute! Perfect for a little girl.
What a cute idea, sometimes I can not figure out what to do with the panels, but a pillow is a great idea.
Erin
I saw this on the Riley Blake blog at the time and loved it then. I have a young niece tha tthis will be perfect for.
I thought this was really cute (and clever) when first saw your post on RBS. Then today saw it on doohikeydesignstudio again so stopped by…
This is SO adorable. Thanks for sharing the tutorial.
thanks for sharing..
So stinking adorable!
Totally making this. I’m in the middle of making a quilt and pillows for my daughter using these fabrics. Thanks for the inspiration!
Totally making this. I’m in the middle of making a quilt and pillows for my daughter using these fabrics. Thanks for the inspiration!