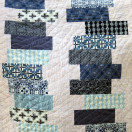
Part 2 (Quilt Top Continued):
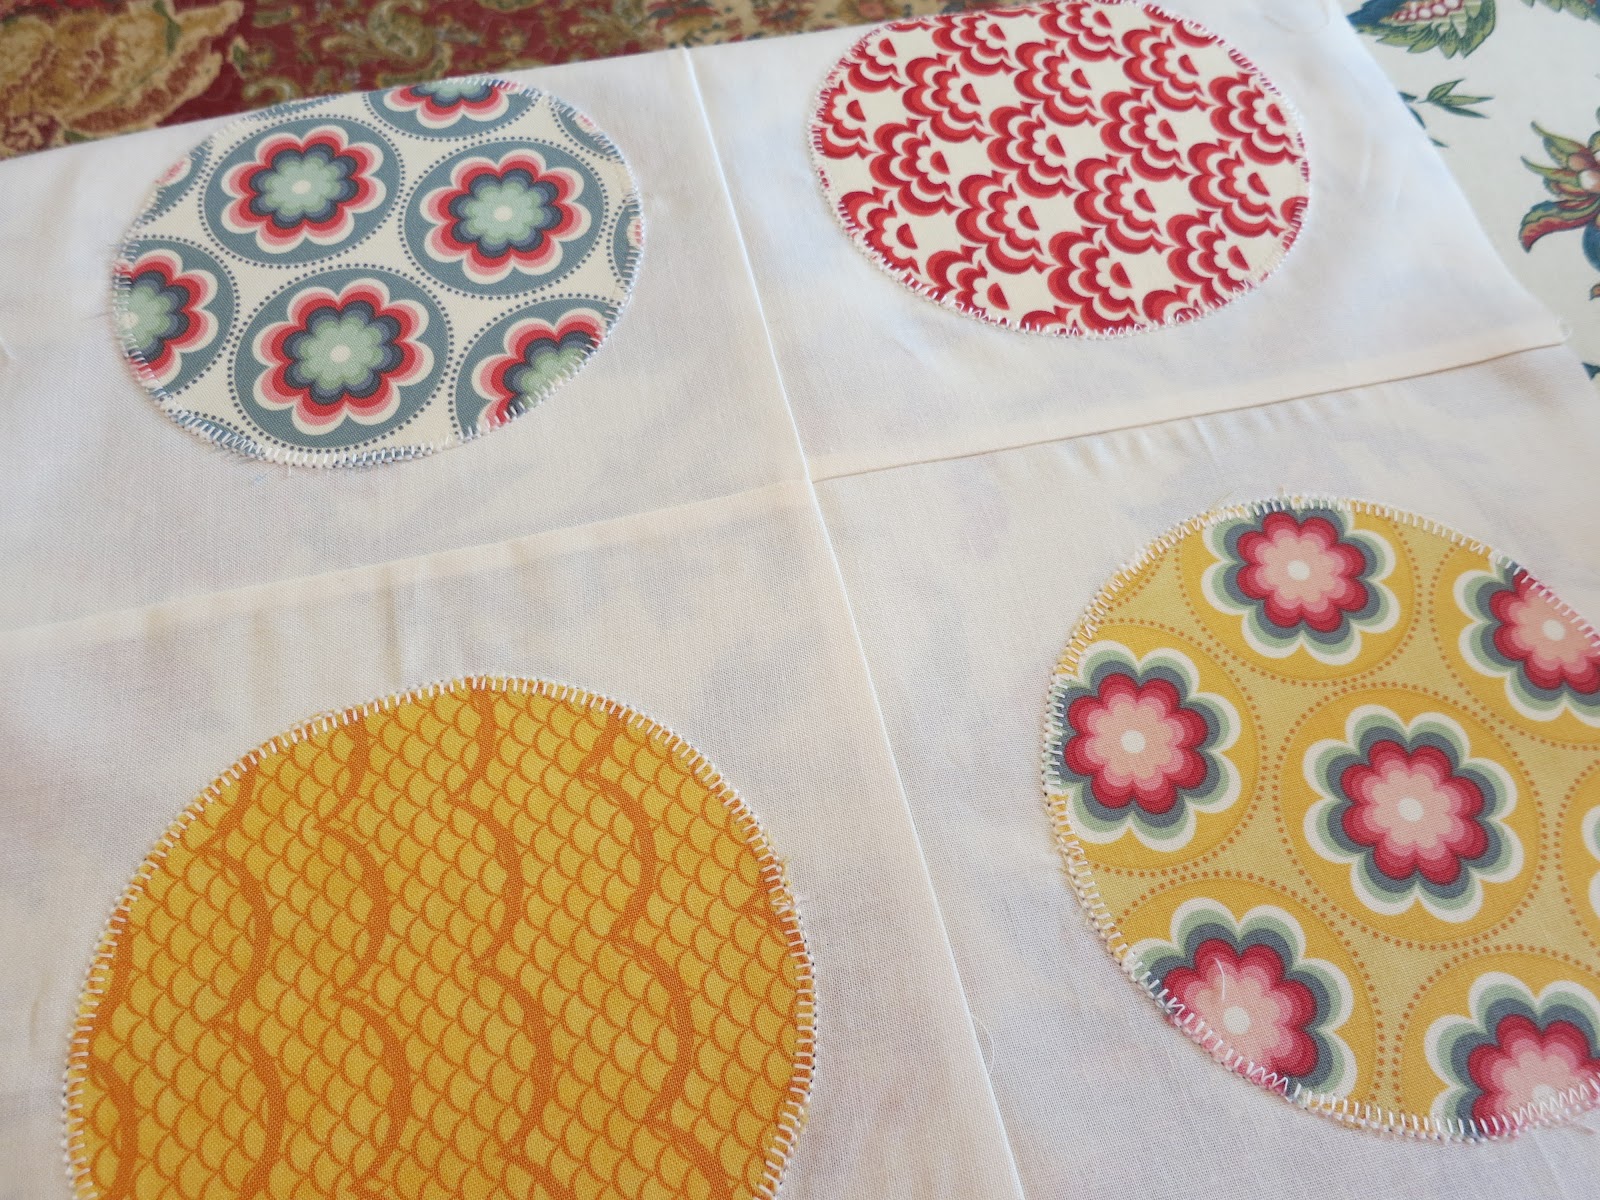
7. Now with all 56 squares, complete, lay out the squares again and make sure you like your color placement. Sew your blocks together into rows of 7 blocks each with a scant ¼ seam. I love Diary of a Quilter Amy Smart’s helpful tutorial on the “scant ¼ inch seam” (click HERE to view her tutorial). The first couple of quilts I made I did not realize that I was sewing more than a ¼ inch and I think it can make a difference.
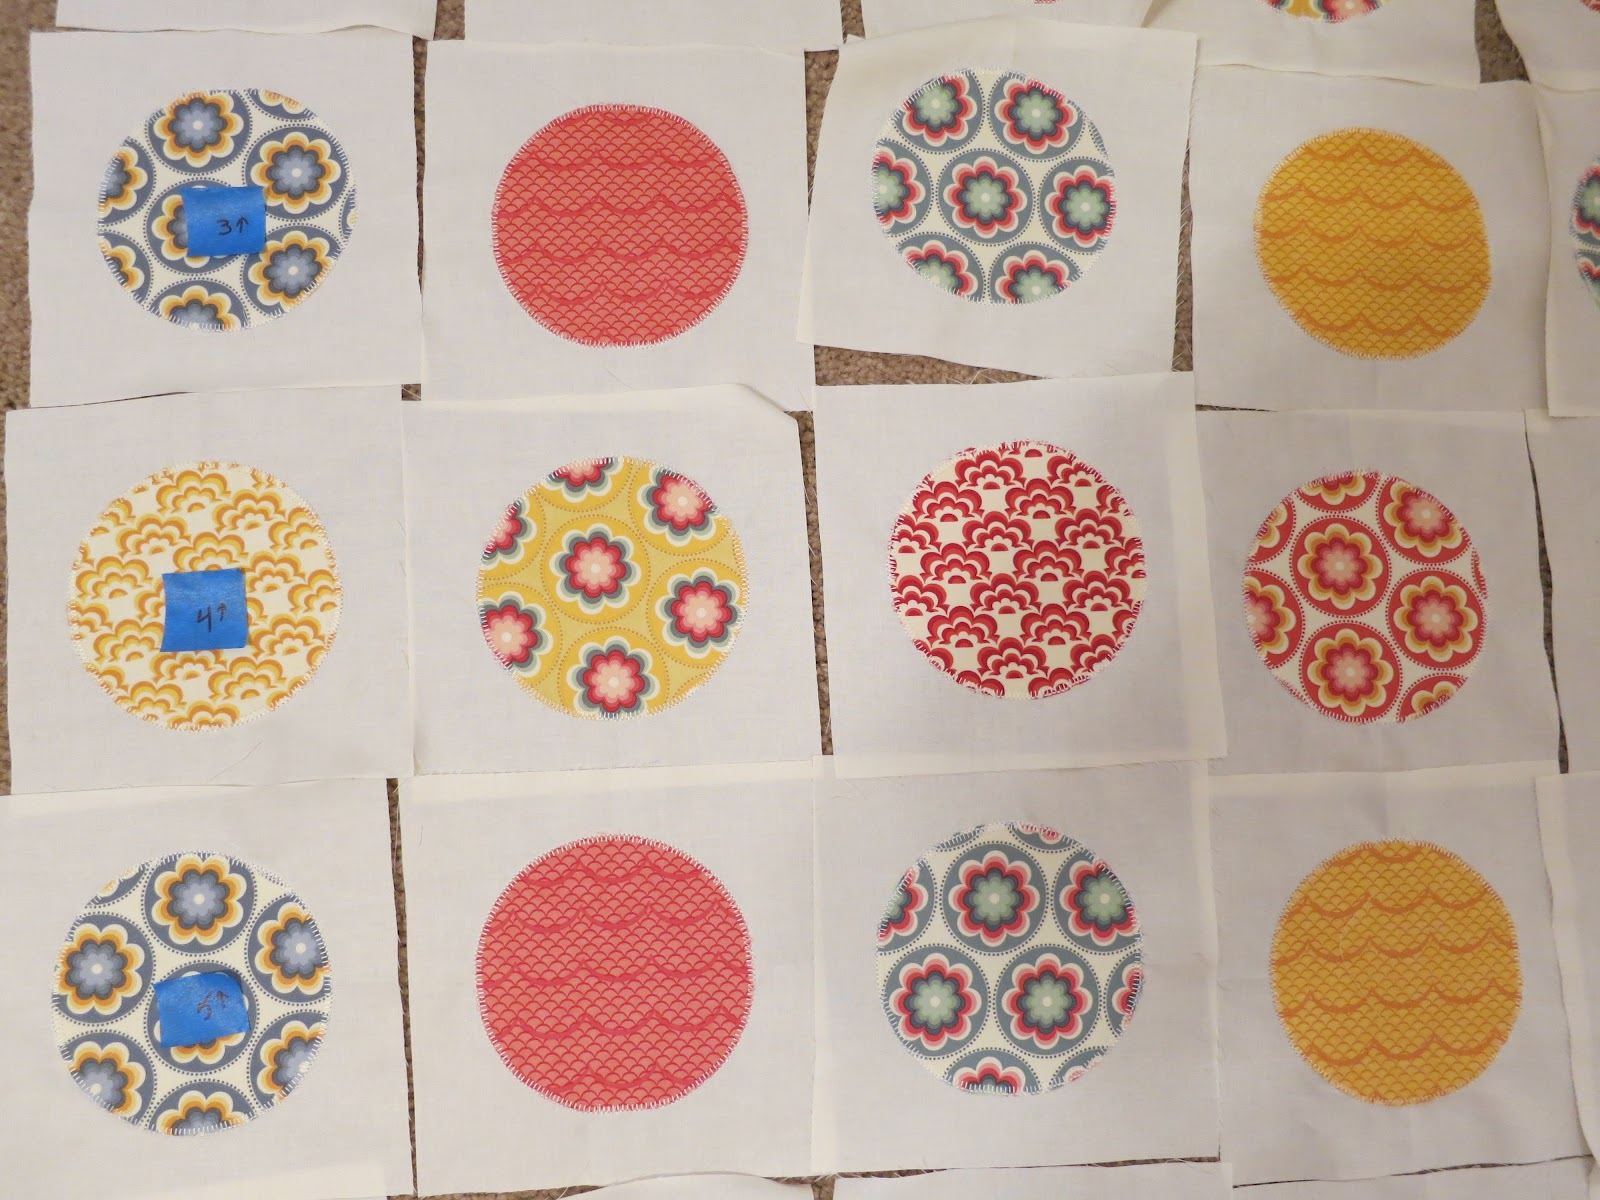

8. Press all seams of the blocks to the side after you finish each row. I typically press odd numbered rows to the left and even numbered rows to the right. Pressing as you go is SO very important and a step you cannot skip in quilting or with any kind of sewing for that matter. Remember to “press”—running/pulling the iron back and forth can stretch your seams and fabric.
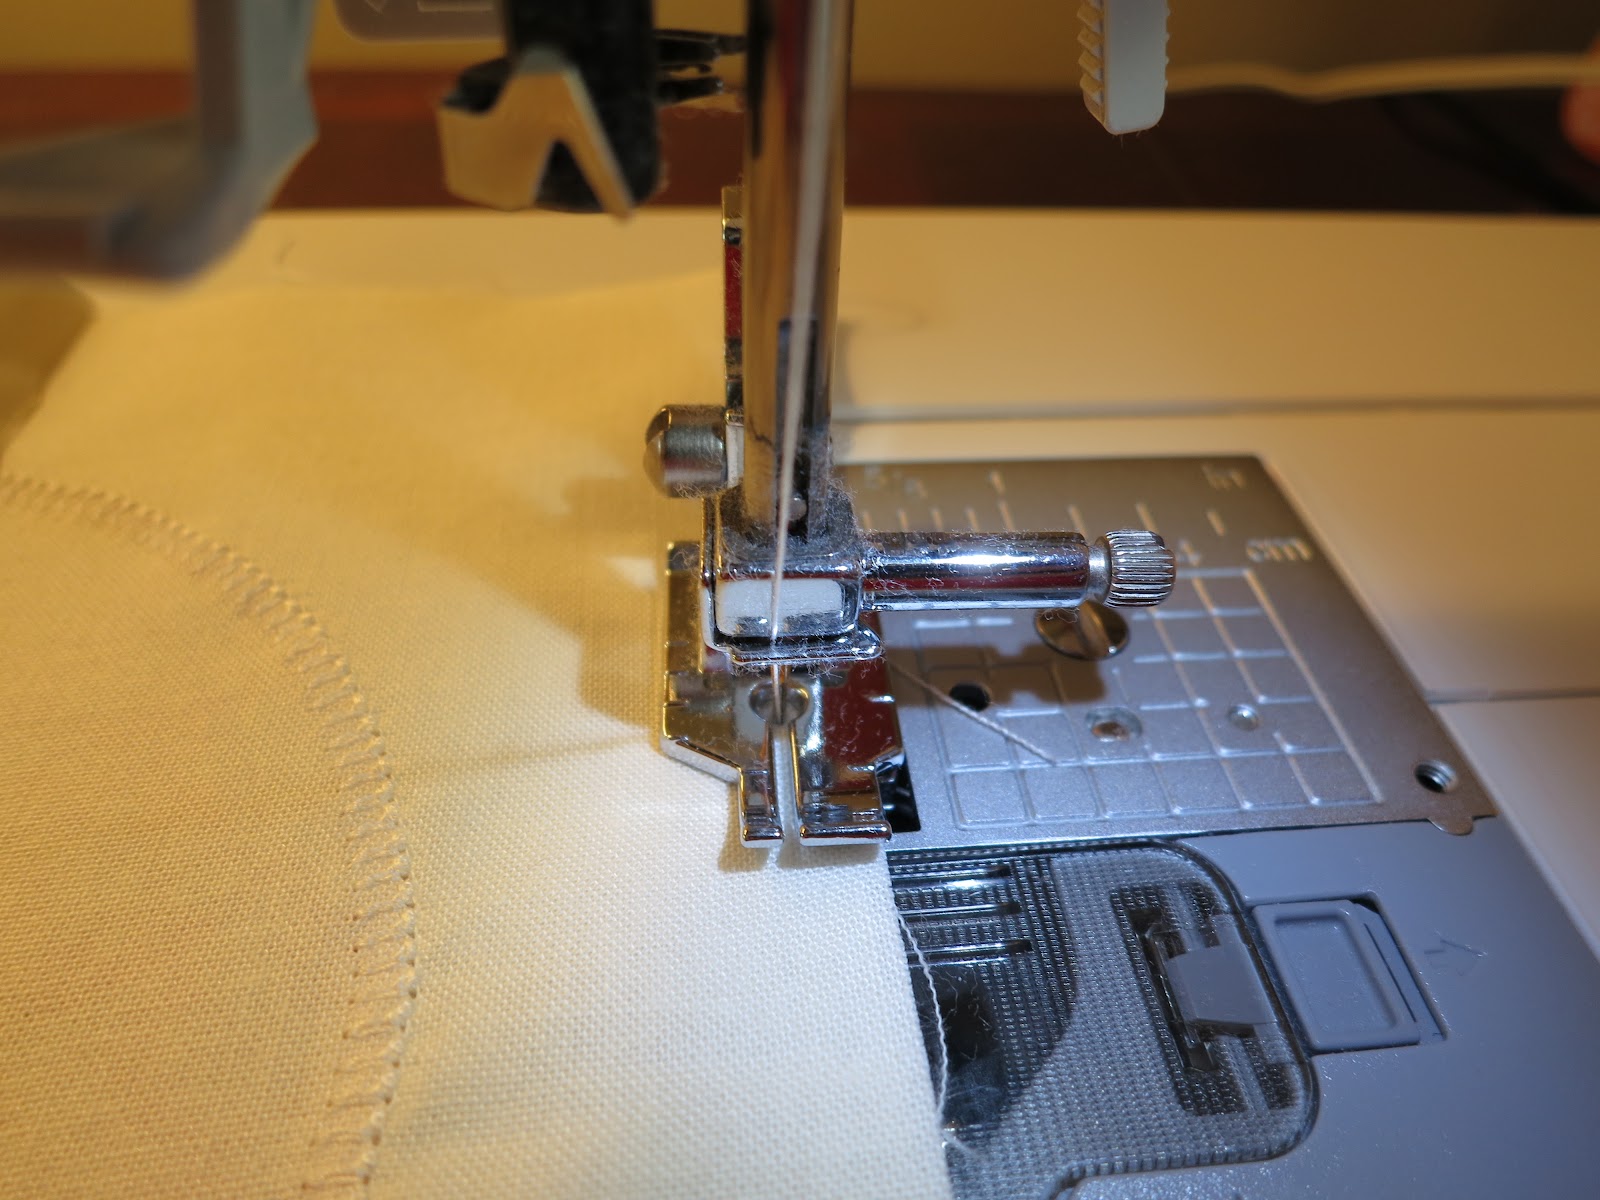
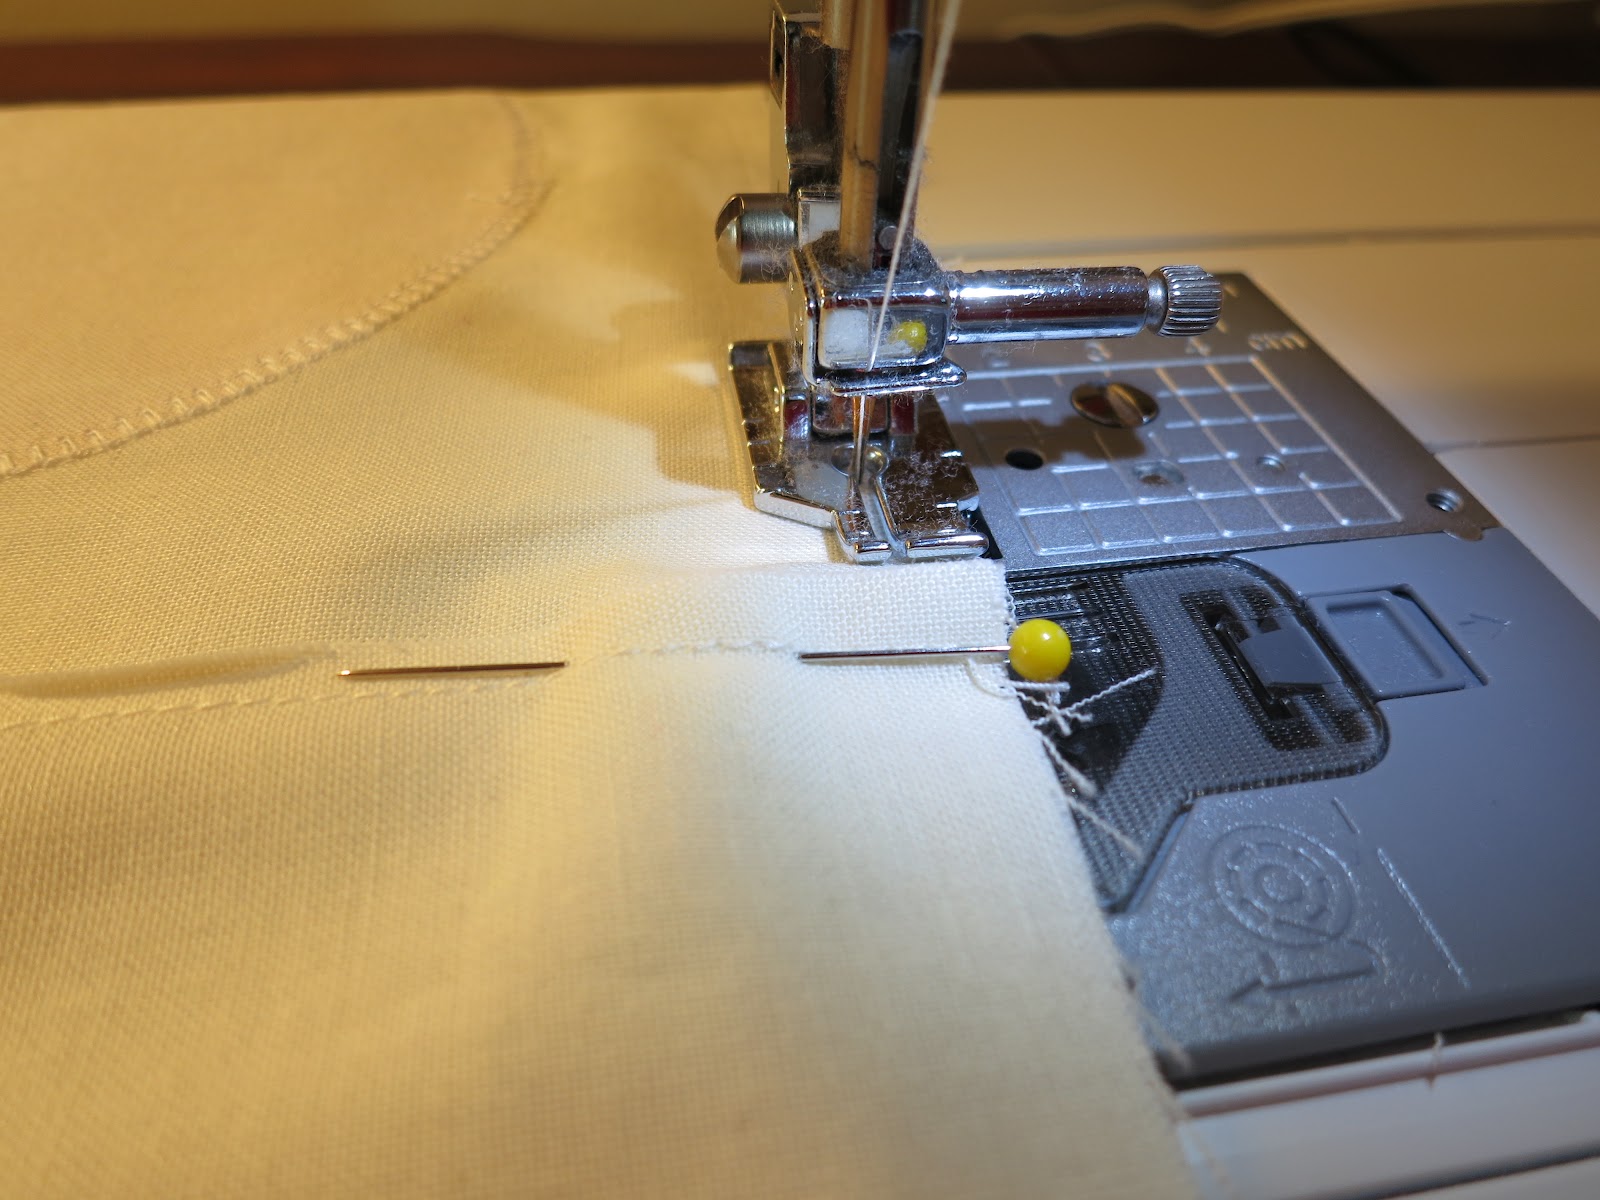
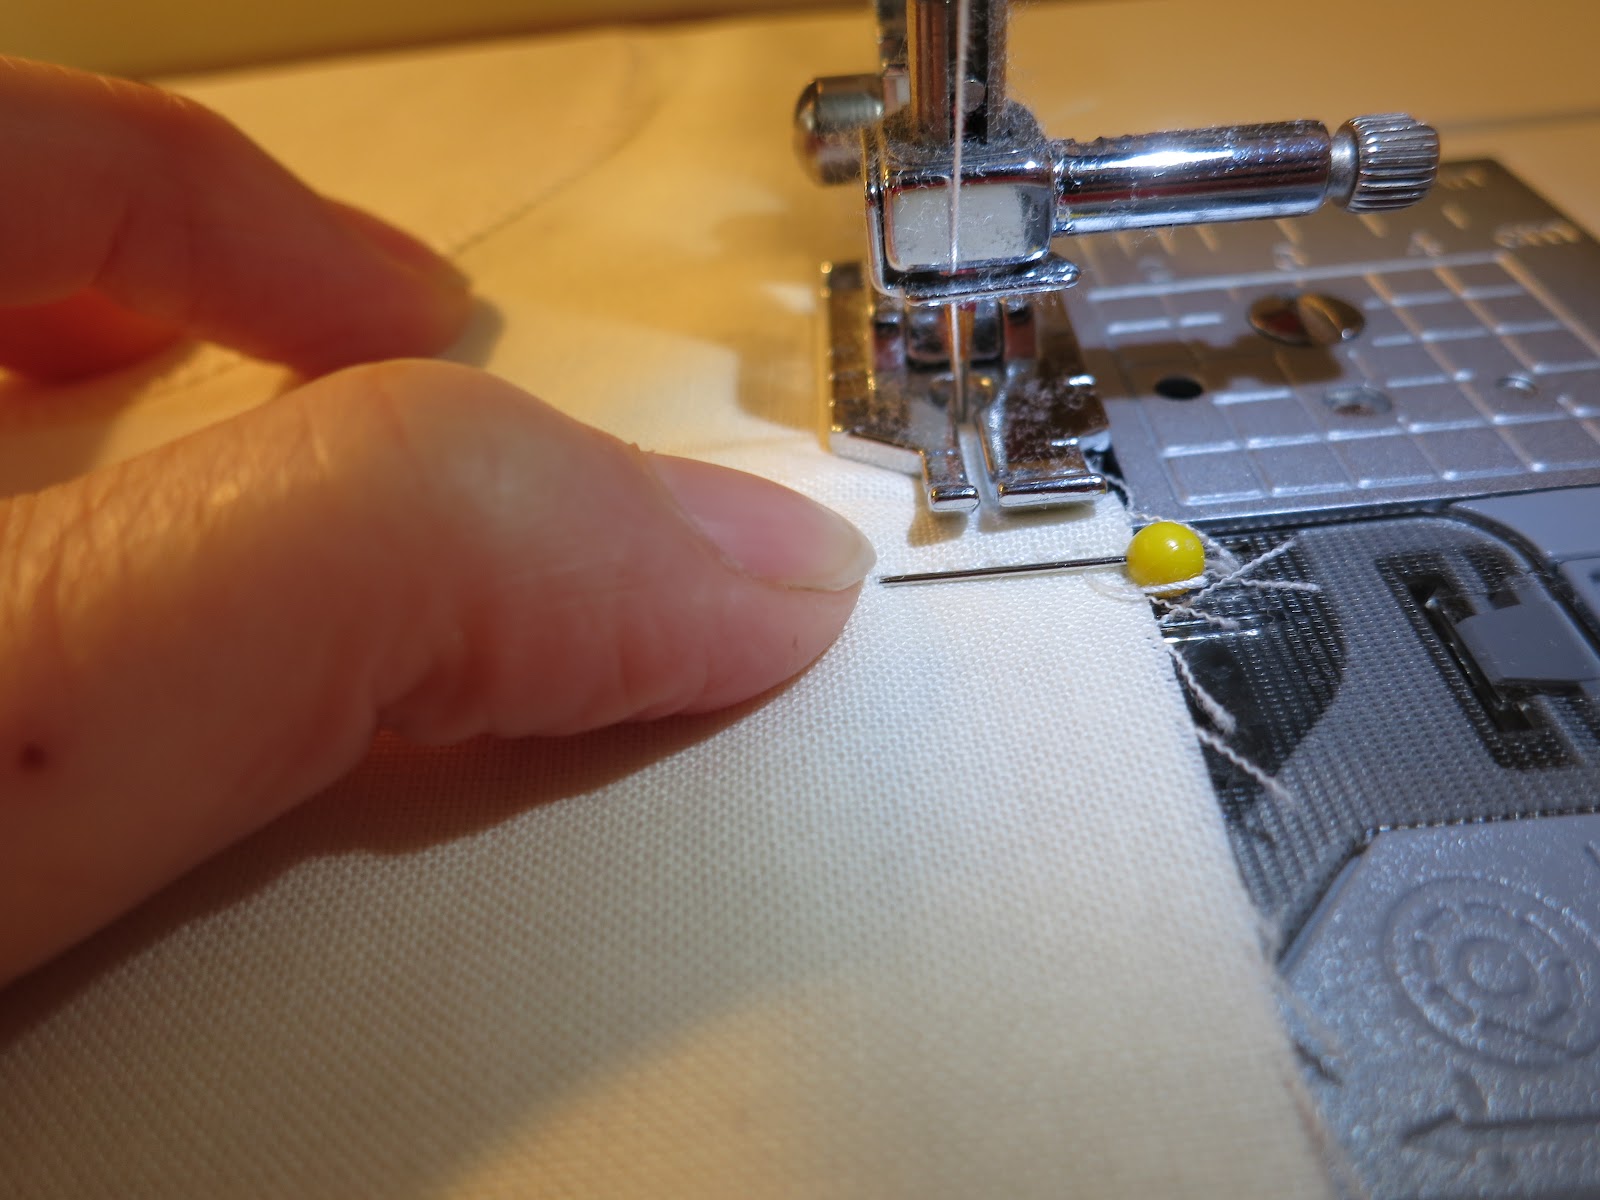
9. Now pin two rows together, carefully matching your seams. As you pin and match your seams—aim for right along the stitching. You will feel your pin slip in smoothly if it is in the right place. Some resistance may mean that you need to try again to align properly.


10. Stitch the two rows together. I typically leave the pins in the fabric until I am just about to the pinned seam, lift slightly to make sure it is aligned, pull out the pin and keep sewing.
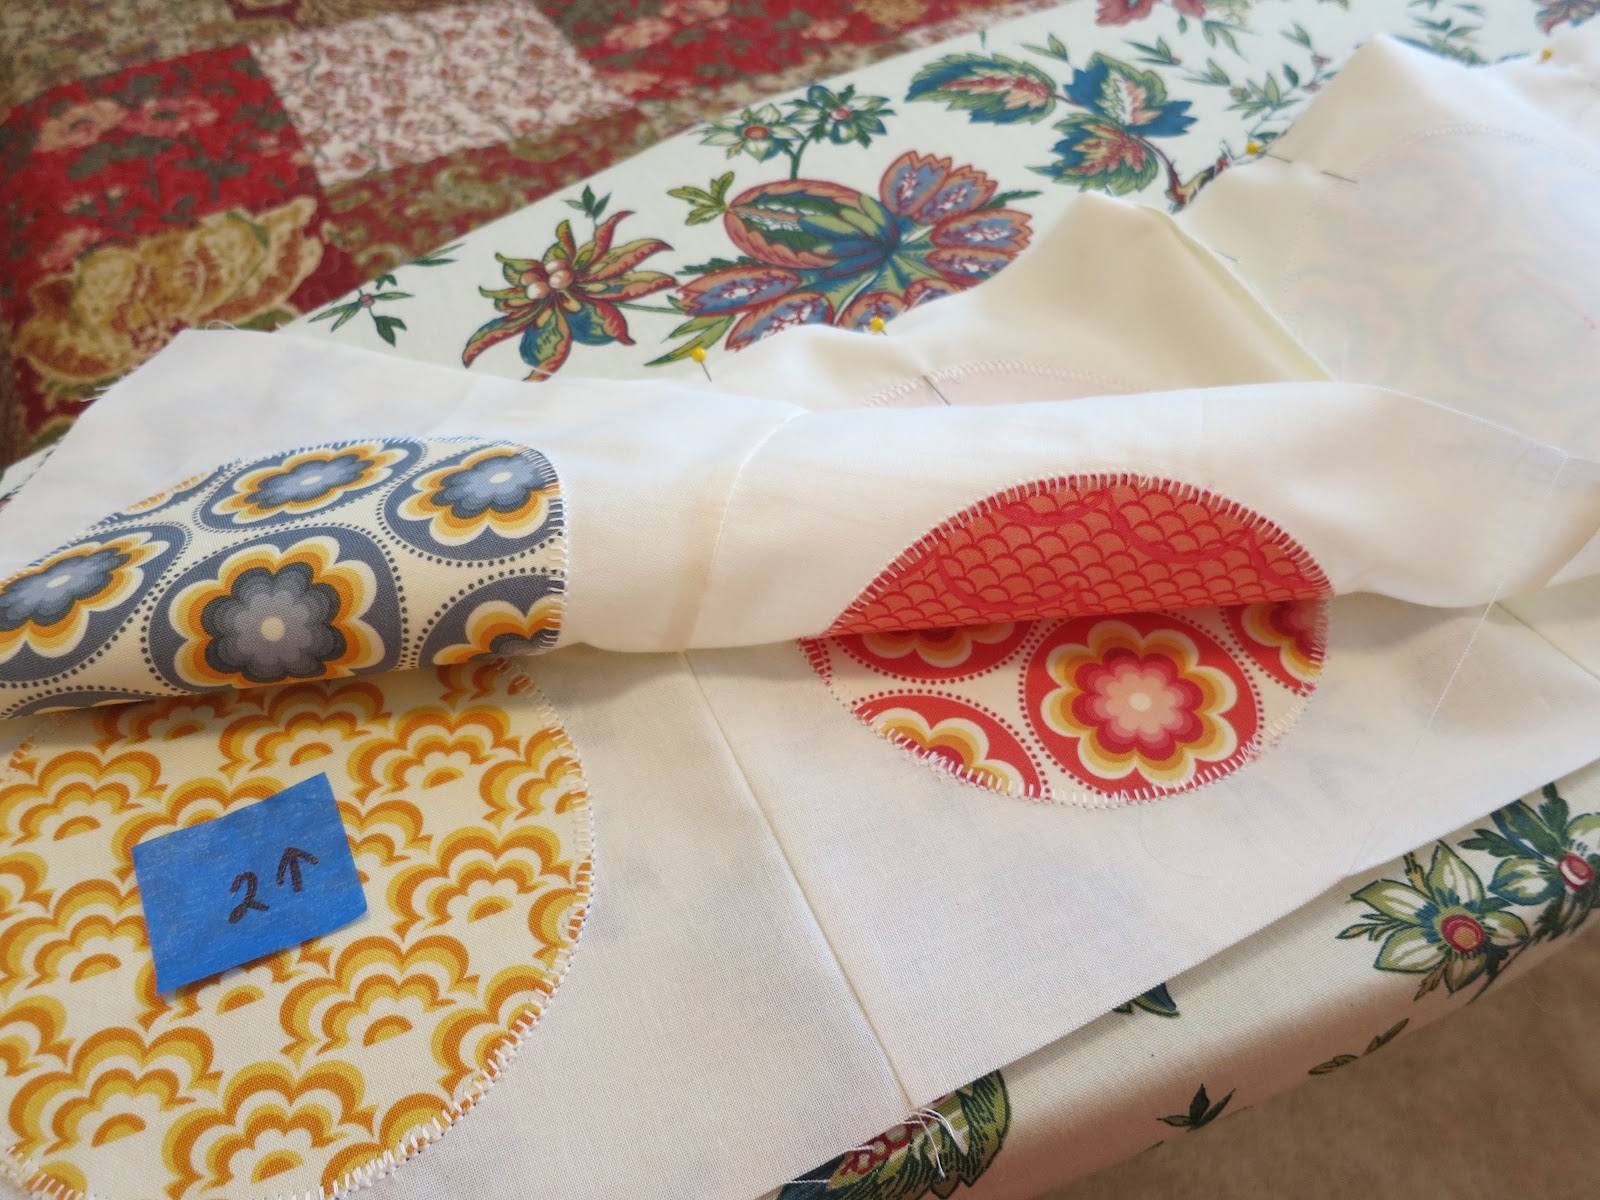
11. This is where those nicely pressed seams come in to play as they nest so well together. Press the seams for the rows in one direction—I usually press the seam towards the top of the quilt. Press well on both sides—front and back.
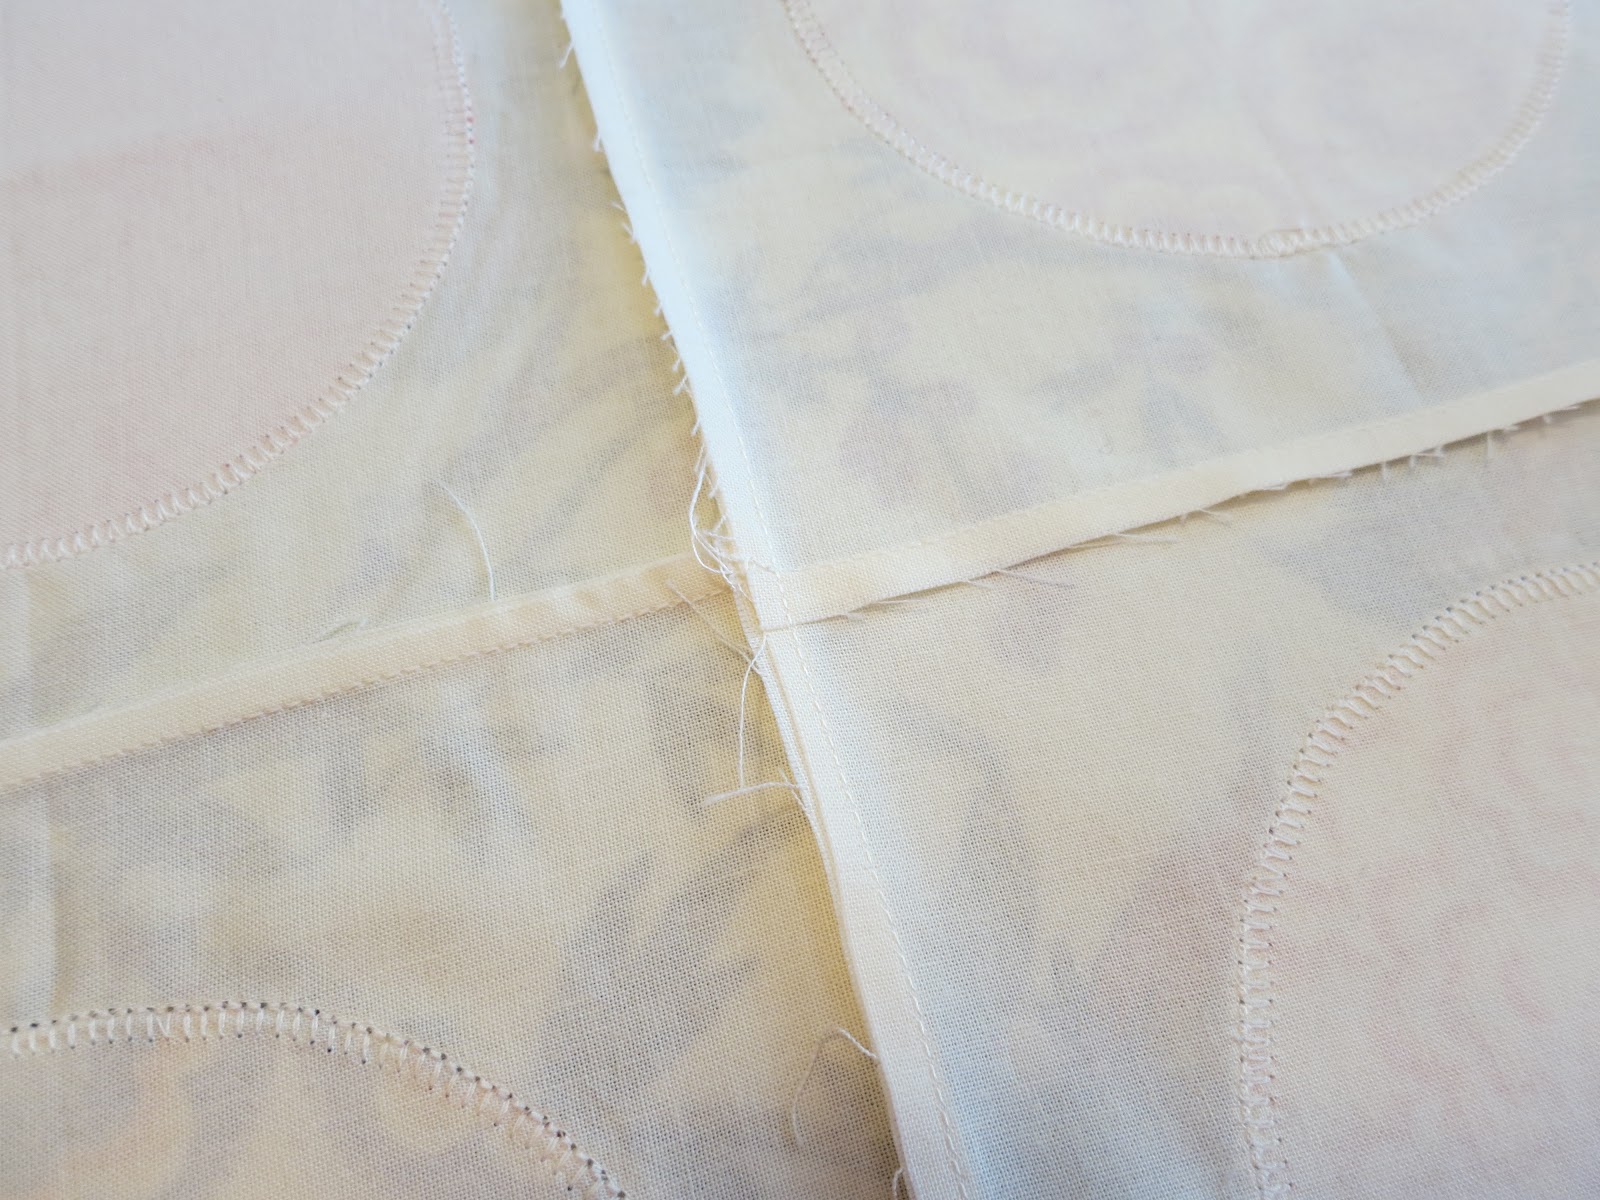
12. I Like to join two rows at a time, press and then join to another two row panel just to make it a little easier to handle. Continue until all 8 rows are sewn together and press seams and front well.


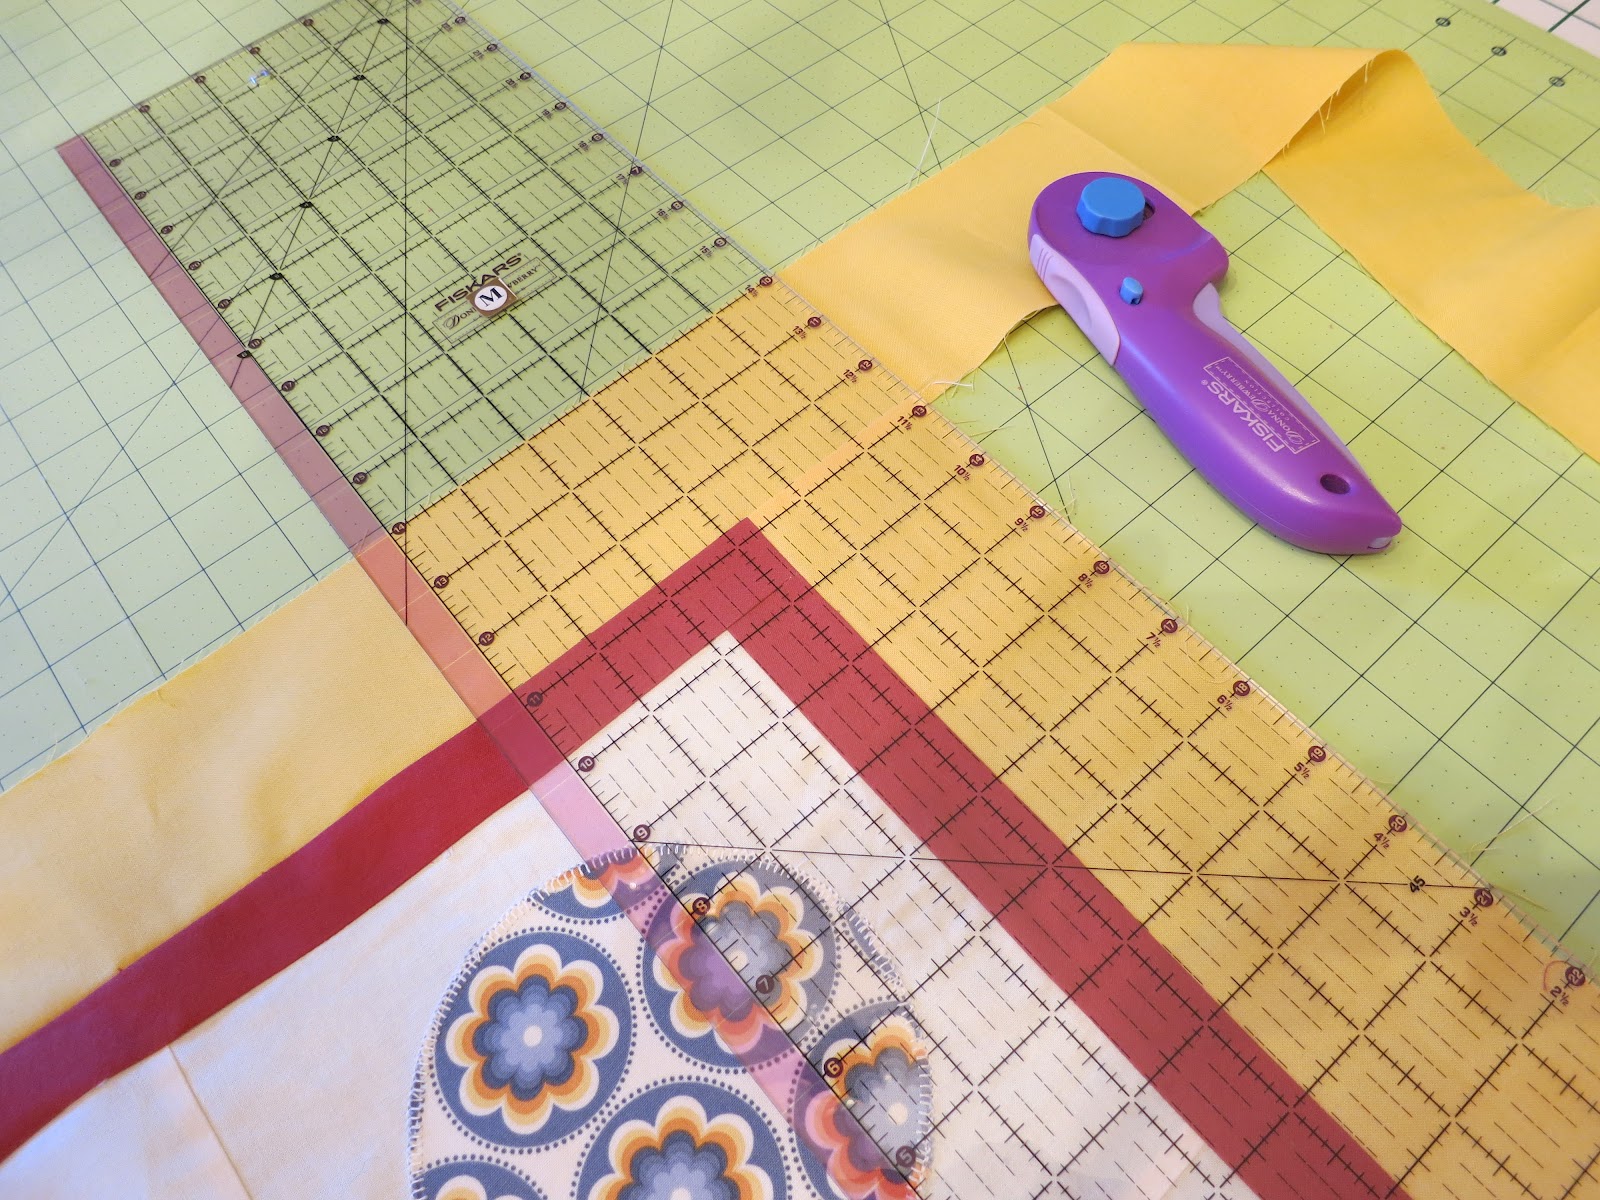
13. For your borders, sew short ends of narrow borders (right sides together) with ¼ inch seams. Measure sides of quilt and cut two pieces to fit. Sew border (right sides together) with ¼ inch seam on both sides of quilt top. Press seam towards border. Trim ends/edges. Apply border in same way to top and bottom.

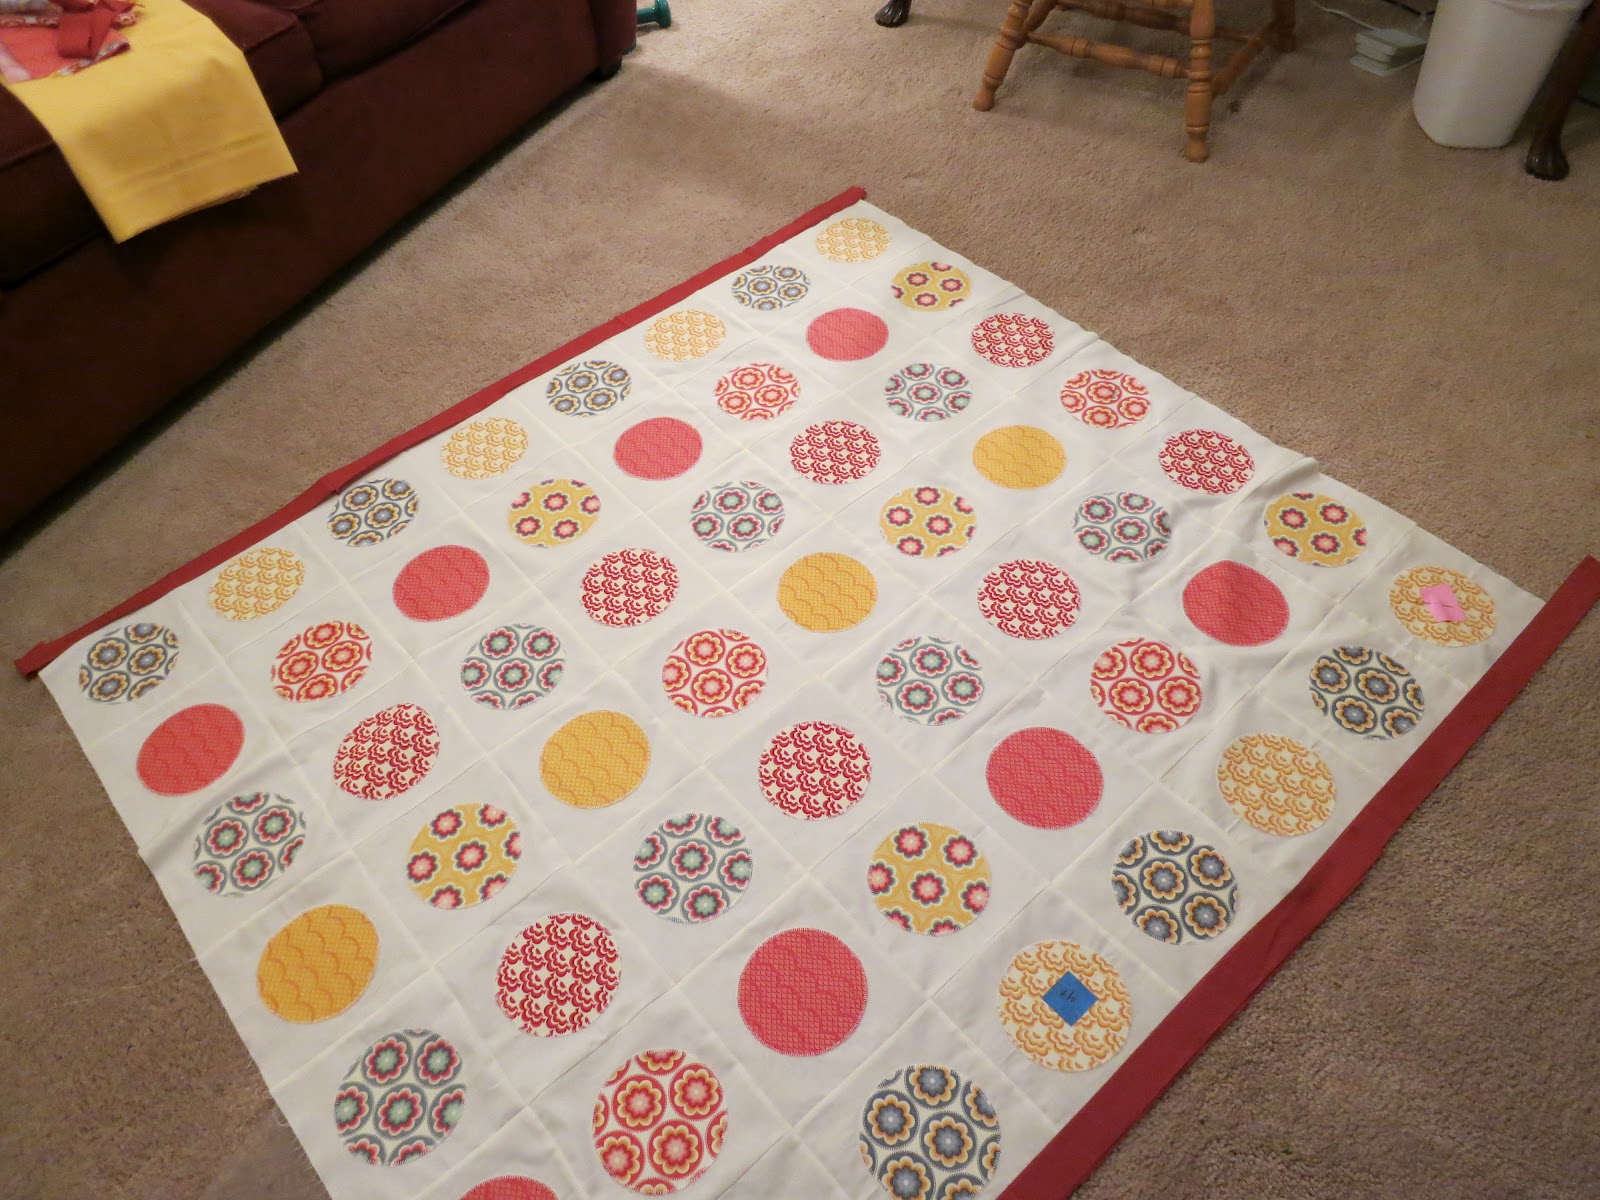
14. Repeat for wide border pieces. Sew sides and then top and bottom. Trim and square up edges. Your quilt top is finished!
Thanks again, Mom!
If you all have any questions, please leave a comment and Grandma Jane will be on the blog to reply.


 Lindsay Wilkes is the owner and designer behind The Cottage Mama. She creates timeless, vintage inspired sewing patterns for children’s clothes. She is also a fabric designer for Riley Black Designers / Penny Rose Fabrics, author of the book ‘Sew Classic Clothes for Girls’ and can be seen teaching nationwide and online in her video series ‘Lessons with Lindsay’ sponsored by Baby Lock Sewing and Embroidery machines.


The painter’s Pressing as you go is SO very important – What is painter’s pressing?
Oh my –typo/error! Don’t know where the word painter came from ???–should be “pressing is important!” Sorry–Jane
thanks!
I may not come out of my apartment in Indiana for the first whole week,,, unless I need sewing supplies.. I can’t wiat!
This is the quilt I REALLY want to make for my little boy when he graduates from his crib. But I need it in a twin and I have no head for figuring out yardages, I would be forever grateful if you could help me figure it out how much fabric I would need! paulakoconnor@gmail.com