22
Mar
Easy-Sew T-Shirt Shrug Tutorial
So I never sew anything for myself these days. Right now it is all about my girls, but I decided today was a new day, the sun was shining and it was time for the cottage mama to have something new to wear. I saw this idea here and it looked SO easy that I had to give it a try.
I know several of you have commented or emailed me about being new to sewing. This is the perfect project for a beginner sewer. Don’t be intimidated by the fact that I am using knit here…….trust me……you can do it!
So let’s begin…….
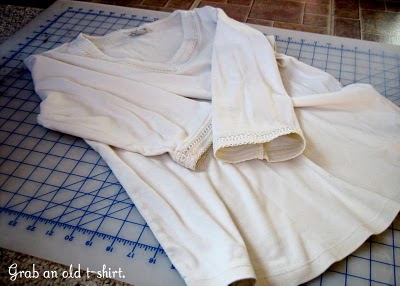
This was a long-sleeved t-shirt that I had been wearing this past winter. Unfortunately it had gotten several small holes right in the center of the shirt and had a small little stain (as is with most of my white shirts).
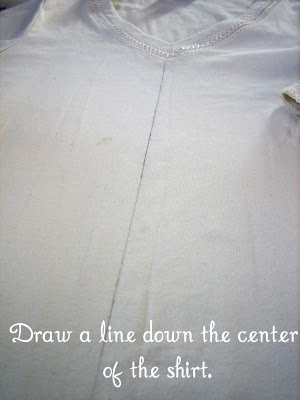
There are the holes in the middle of the picture……see them……they are very tiny, but they are there. But no worries, they will be hidden as I turn this t-shirt into a shrug.
I used my quilters ruler and drew with a regular pencil.
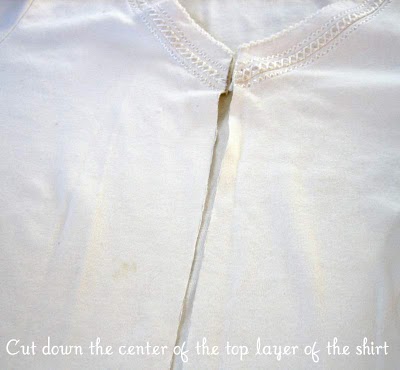
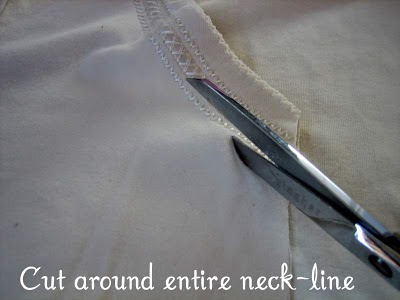
Make sure you just cut the top layer of the shirt and don’t cut the back.
It was sad to cut off this beautiful trim, but I saved it and will use it for another one of my many projects.
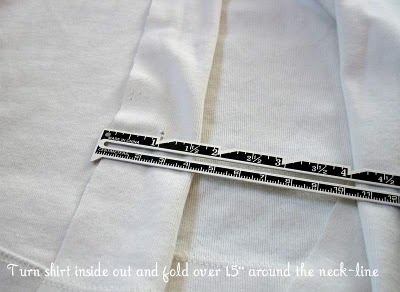
Turn the shirt inside out and measure around the entire area that you have cut – up and around the neck-line.
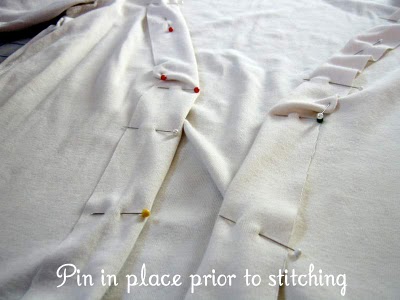
Pin all the way around – please, please do not skip this step. I know there are some who think that having to pin is a big pain in sewing, but trust me, it is the only way to achieve professional looking results.
When sewing with knits, I prefer to use a Singer “orange” needle that is especially designed for sewing with knit-like fabric. You can use your regular needle, but I find the other needle to move through the fabric more smoothly.
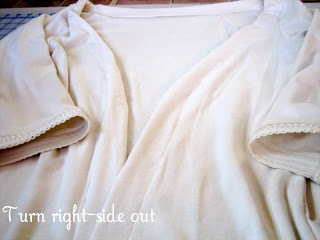
Once you have sewn around the entire center and neck-line turn your shirt right-side out. I don’t know if you can see it very well, but we have created an opening all the way around the neck-line. Ok, stay with me, we’re almost done!
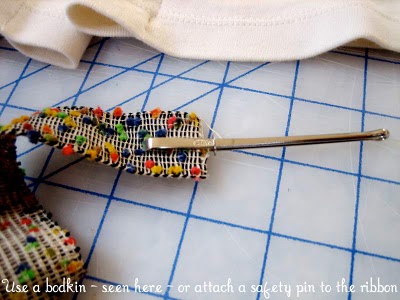
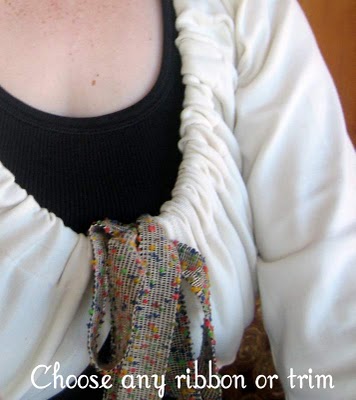
This was a really fun piece of trim that I got recently and I decided to use it for my shrug. Any ribbon or string will work. You can find bodkin’s at all of your sewing shops – they are very inexpensive and I much prefer them to the safety pin.
You will use approximately a yard and a half of ribbon – give or take, depending on your size and how much gathering you do with your shrug.
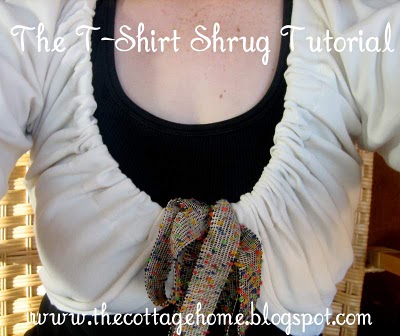
Completed T-Shirt Shrug
(that’s me taking a picture of myself)
Then pull your ribbon tight and tie it into a bow (pulling the ribbon on both ends will cause the shirt to gather). You can wear the bow higher or lower on your chest. Just play around with it and see what fits your personal style.
There are so many ways to personalize this shrug. Use any kind of knit t-shirt – go edgy, punk-rock, preppy, laid-back……..whatever your style, you can make it work with this look!
Have fun and happy sewing!!







 Lindsay Wilkes is the owner and designer behind The Cottage Mama. She creates timeless, vintage inspired sewing patterns for children’s clothes. She is also a fabric designer for Riley Black Designers / Penny Rose Fabrics, author of the book ‘Sew Classic Clothes for Girls’ and can be seen teaching nationwide and online in her video series ‘Lessons with Lindsay’ sponsored by Baby Lock Sewing and Embroidery machines.


I assume you saw that from my blog? I love that too! One of these days I will actually make one. Yours is really cute! I love the “ribbon” you used!
So creative! It looks amazing and I LOVE that trim!
Oh-oh-oh-oh…I am crafting with my friend this Thursday, and I do believe I will be doing this now- how fun!
Oh my goodness, I’m freaking out over this!!! I LOVE it!!! What an awesome idea!!!
Thanks so much ladies! I love the way these types of tops fit – so flattering for all body types and super comfy. Not to mention, this had to be one of my quickest sewing projects EVER!
I love that tutorial! Your project turned out wonderful, love the trim.
What a great tutorial! I think I have just the shirt to do one! Thanks!
Fun idea! I never would have thought of that!
You are one talented lady Linds! I have a lot of friends who visit your blog now too. It’s a fun escape from a busy day
Molly
Awwwwwww, thanks so much!! I love reading all of your comments!
Great tutorial and wonderful idea! Thanks!
what a great idea… I’m pregnant and regular length cardigans look odd on me right now- this would be perfect!

we have a friday fun finds party- if you’re interested, we’d love it if you’d link up.
Came over from OPT…you did a great job. Way to add a little class to an old shirt.
How clever! I want to do that right now!!!
love it! simple & fast! Instant gratification!
How awesome! I have an ever growing collection of shrugs, and just how awesome it would be to have my “own” in it! I’ll definitely be trying this out once I get the hang of my sewing machine! Again, I’m just so happy I found your blog! My mind is going crazy with what all I want to do!