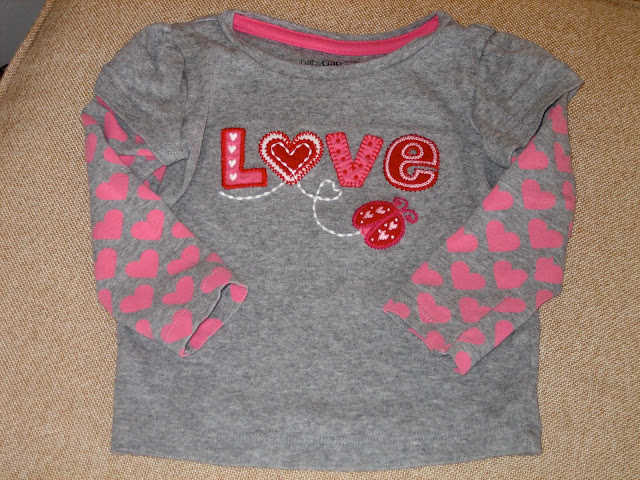
My daughter Savannah had this super-cute Valentine’s Day shirt last year that I bought from BabyGap:
I love this shirt! It’s just so perfect for Valentine’s Day, but that sad thing is that she only really wore it for a couple weeks last year. She went through a major growth spurt and it seemed like overnight the shirt was too short – total bummer!! Do you find that happens a lot – the shirts don’t get too tight, they just get too short? That always seems to be our problem around The Cottage Home.
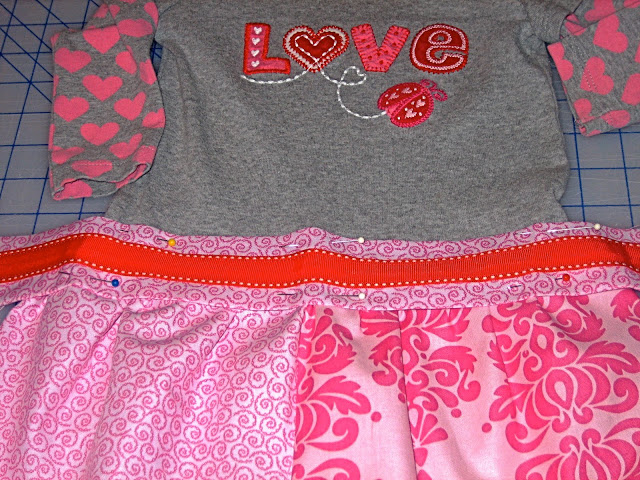
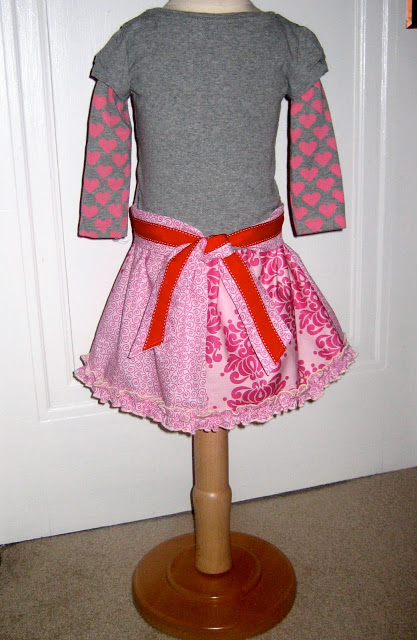
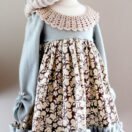
In thinking about what I wanted my little miss to wear for this Valentine’s Day, I kept thinking about that shirt from last year, but it was 12-18 month and she is now in 2T. Well, I am certainly not interested in buying her anything new this year because I am really trying to make do with what we already have (not to mention, she will probably hit another growth spurt :-). So I got an idea!!! I’ll turn this cutie little shirt from last year into a dress for this year!















 Lindsay Wilkes is the owner and designer behind The Cottage Mama. She creates timeless, vintage inspired sewing patterns for children’s clothes. She is also a fabric designer for Riley Black Designers / Penny Rose Fabrics, author of the book ‘Sew Classic Clothes for Girls’ and can be seen teaching nationwide and online in her video series ‘Lessons with Lindsay’ sponsored by Baby Lock Sewing and Embroidery machines.


Super cute! Thanks for the ideas for fat quarters… I have a bunch I’d like to use up and this would be a great dress for my little one.
That is so cute. Seriously! I love it!!! I want to make one for my daughter!
What a cute blog you have – I love the colors!
XOXO
Jen
What a great idea & how adorable! Thanks for sharing! 🙂
Just adorable 🙂
Feel free to link this up at Talented Tuesday on My Frugal Family:
http://theherberfamily.blogspot.com/2010/01/talented-tuesday-links-january-19th.html
So cute! Great way to use those adorable shirts that they grow out of just way to fast.
-Crystal
LOVE it! I have plenty of shirts to use this idea with!
Way to go..I did the same kind of thing with a top that was too big..take a look:
http://yarboroughhouse1929.blogspot.com/2010/01/thrift-to-cool.html
tammy
Very cute Tammy! Great job – I love repurposing clothing and thrift stores are the best!!
Holy cow, I wish I knew about this (and a lot of other things…) when my girls were little! The dress is adorable, thanks for linking up!
That is A-DORABLE!
Oh mylanta! This is adorable!
Love this! And I have plenty of those ‘short’ shirts that still fit too! I cannot master my Serger yet though. =( I have serged an entire full length apron but I want every stitch to be perfect! =/ Any tips to having that perfect serged edge? I have tweeked it here & there but still… not a happy camper.
[email protected]
That is SUPER cute! I can’t wait to try it!
I want to find a shirt like this! The dress turned out so cute! your daughter is one Lucky little girl with all the projects you make for her!Thanks for linking up at somedaycrafts.blogspot.com.
so cute! i had a question, where did you get the little dress form? i think thats so cute!
Oh, thanks! I got a set of children’s dress forms from ebay – my father actually got them for me for Christmas! I don’t know the exact seller, but just enter “children mannequin” and you will get lots of hits – they were VERY reasonable as well.
It helps to have the dress forms because my 2-year old is in an anti-photo mood lately :-).
A good writing style and information is certainly useful.For all readers
continue to write such excellent articles.Thank you.Thanks for sharing high visibility clothingthis formation.Valuable.enjoyed reading it…
I find the color of the dress really cute! I love the color pink and black and pink is a very nice combination. The details added is making the dress more attractive to look at.
Oh yeah, many thanks! I managed to get some children’s outfit kinds coming from auction web sites : my father really got them for me personally regarding Christmas! I am not sure the precise vendor, but merely key in “children mannequin” and you will get lots regarding hits – these folks were Affordable too.