Archives for February 2012

A little of this and a little of that ~ Kids, Hats and Dresses

Life has been very busy around here and I’ve been meaning to share some pictures of the kids I took recently.  These were taken a couple weeks ago.  Caspian Finn is getting into that adorable chubby, smiley, almost 6 months phase and I could just eat him up.  Of course I think he’s just too cute, I’m sure I see him differently since I am his mama, but even as I look at his picture right here, I just want to snuggle this little guy.

Here are some more pictures of Mr. Caspian at 5.5 months old:

I ordered these hats for the kids for Christmas from my lovely blog sponsor, The Hook Up.  I heard about her through a fan/friend over on The Cottage Mama Facebook page and have been in love with her work ever since.

And one more shot of my little snow bear.  I took this when I was in my studio working and my husband came to the doorway to tell me they were going out in the snow.  I couldn’t believe the cuteness and had to reach for the camera.  Caspian got those mittens for Christmas and they actually look like little bear paws.  So cute!!

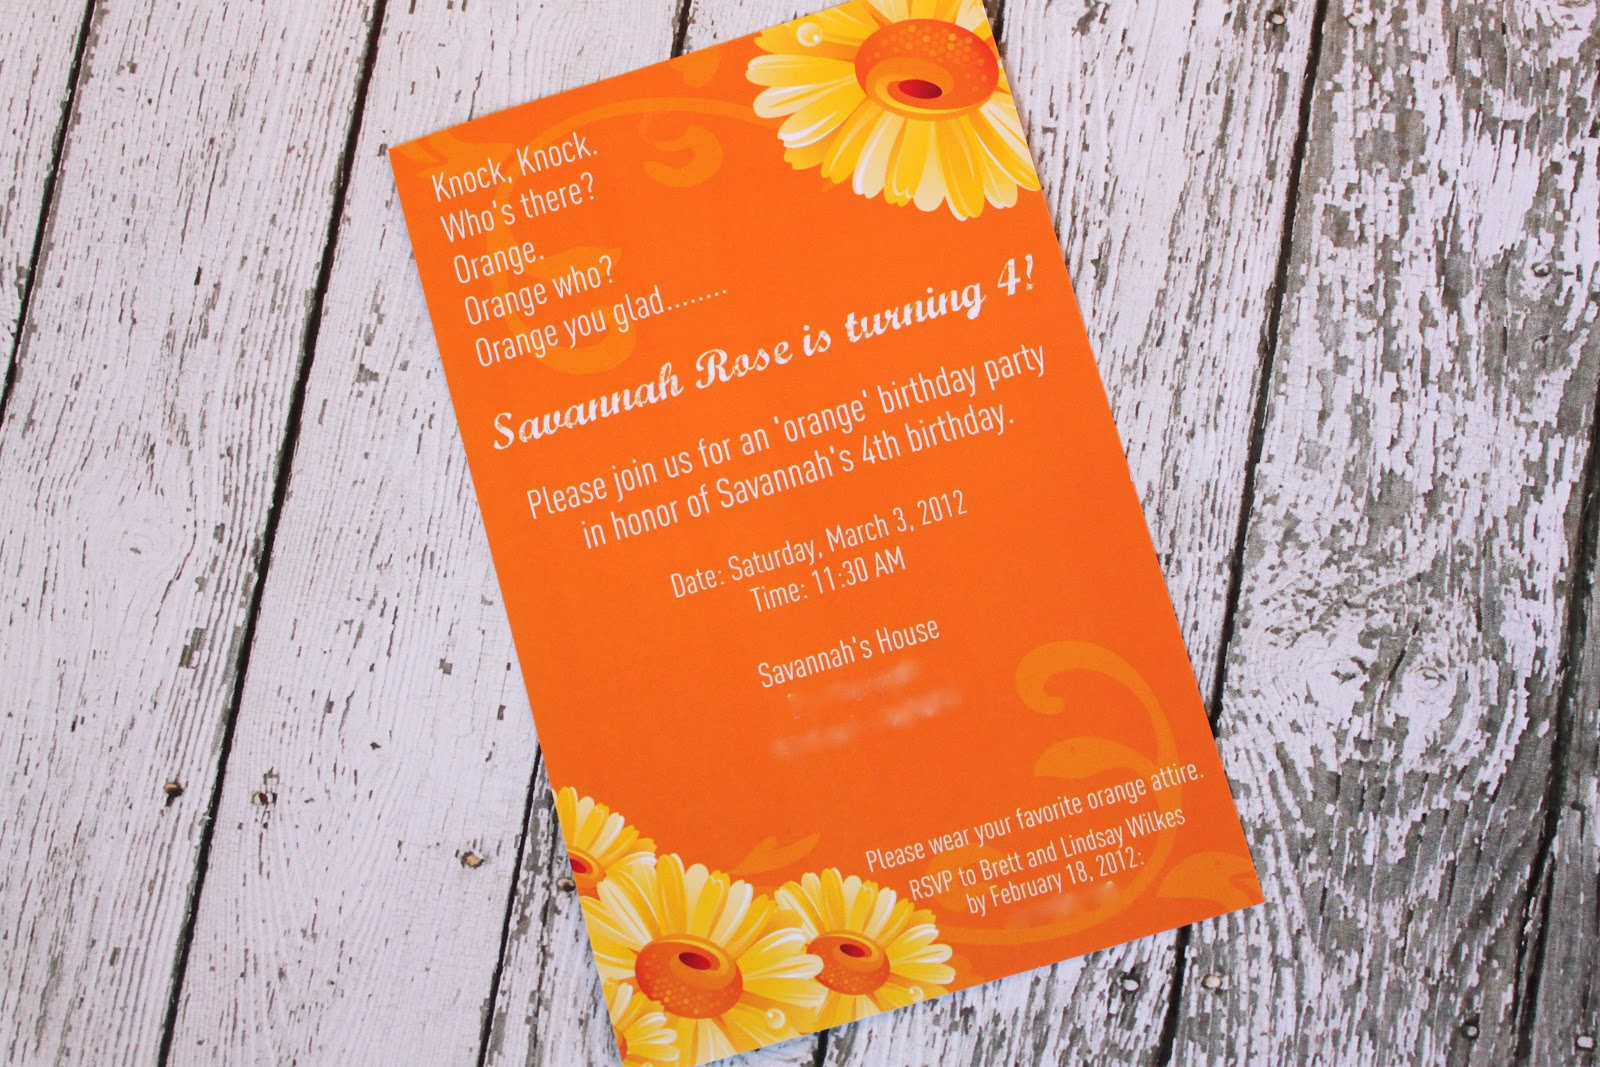
Here are a few shots of Miss Savannah (who will be 4 one week from today):

And here are a couple of Matilda (who is very difficult to photograph these days):

This tongue is what I get most of the time these days when I ask her to smile for me.  I guess we’ll call it her ‘signature look’.

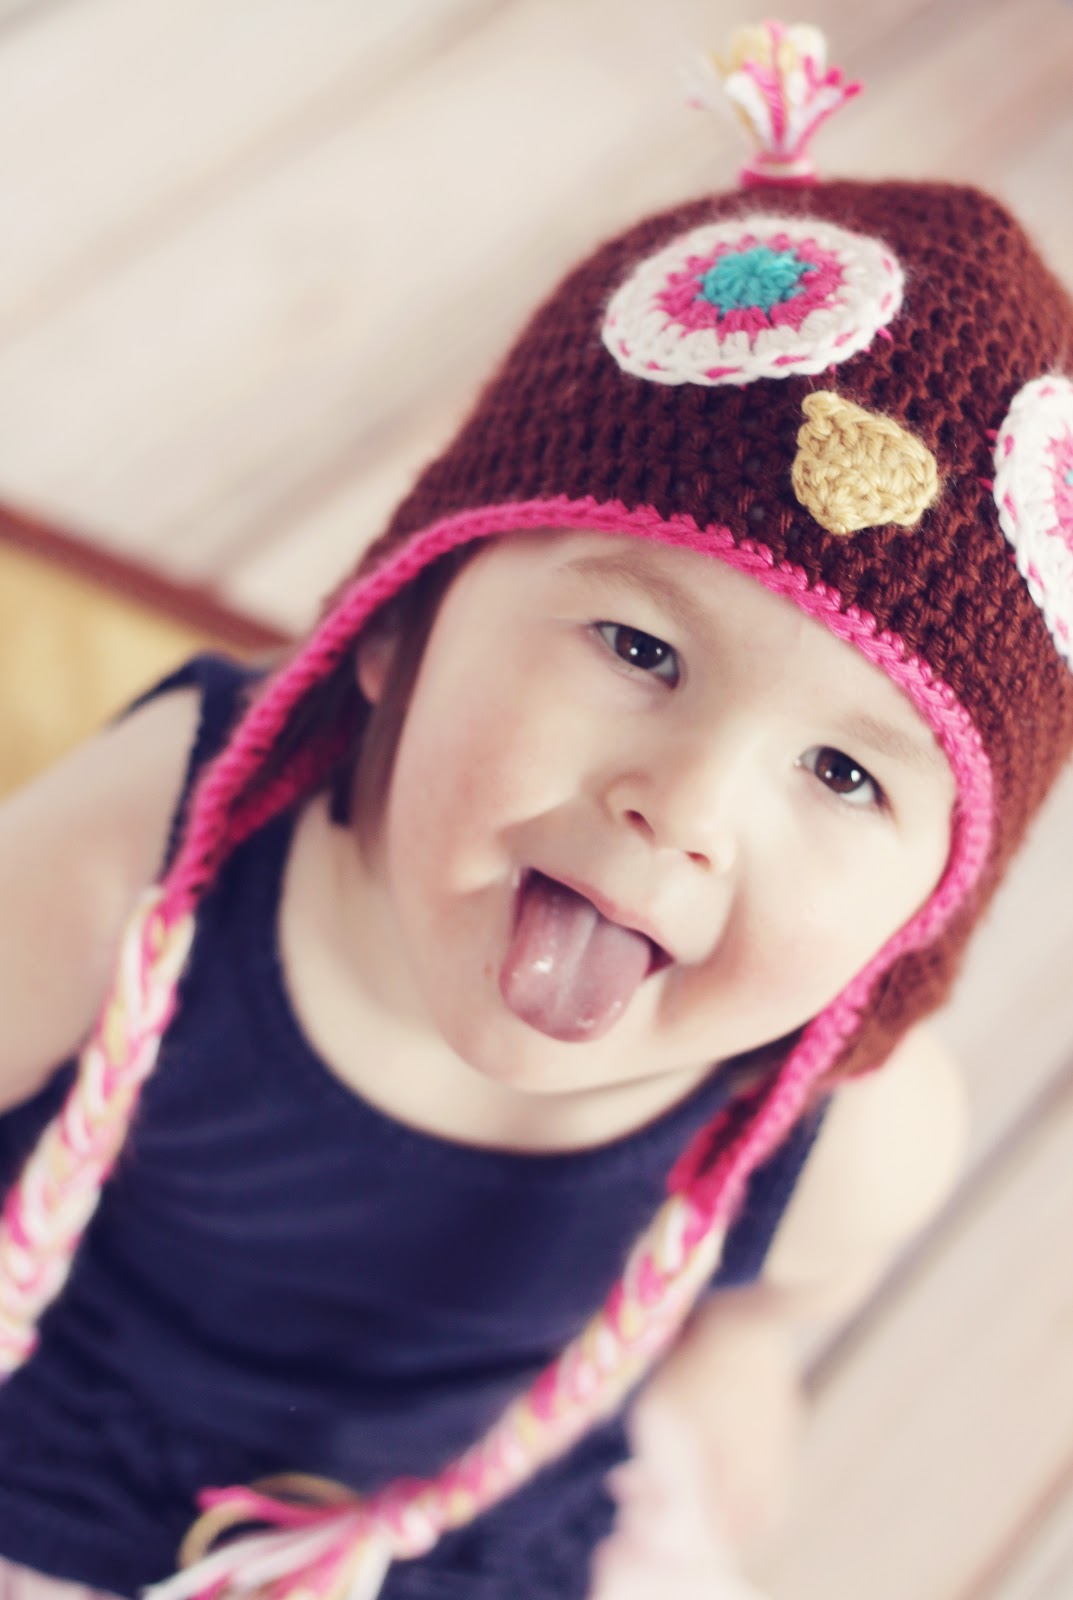
The girls hats are also from The Hook Up and they match their winter coats just perfectly.  The Hook Up will be participating in our Giveaway Day coming up on March 1, so if you like these hats, make sure you come back and enter to win.

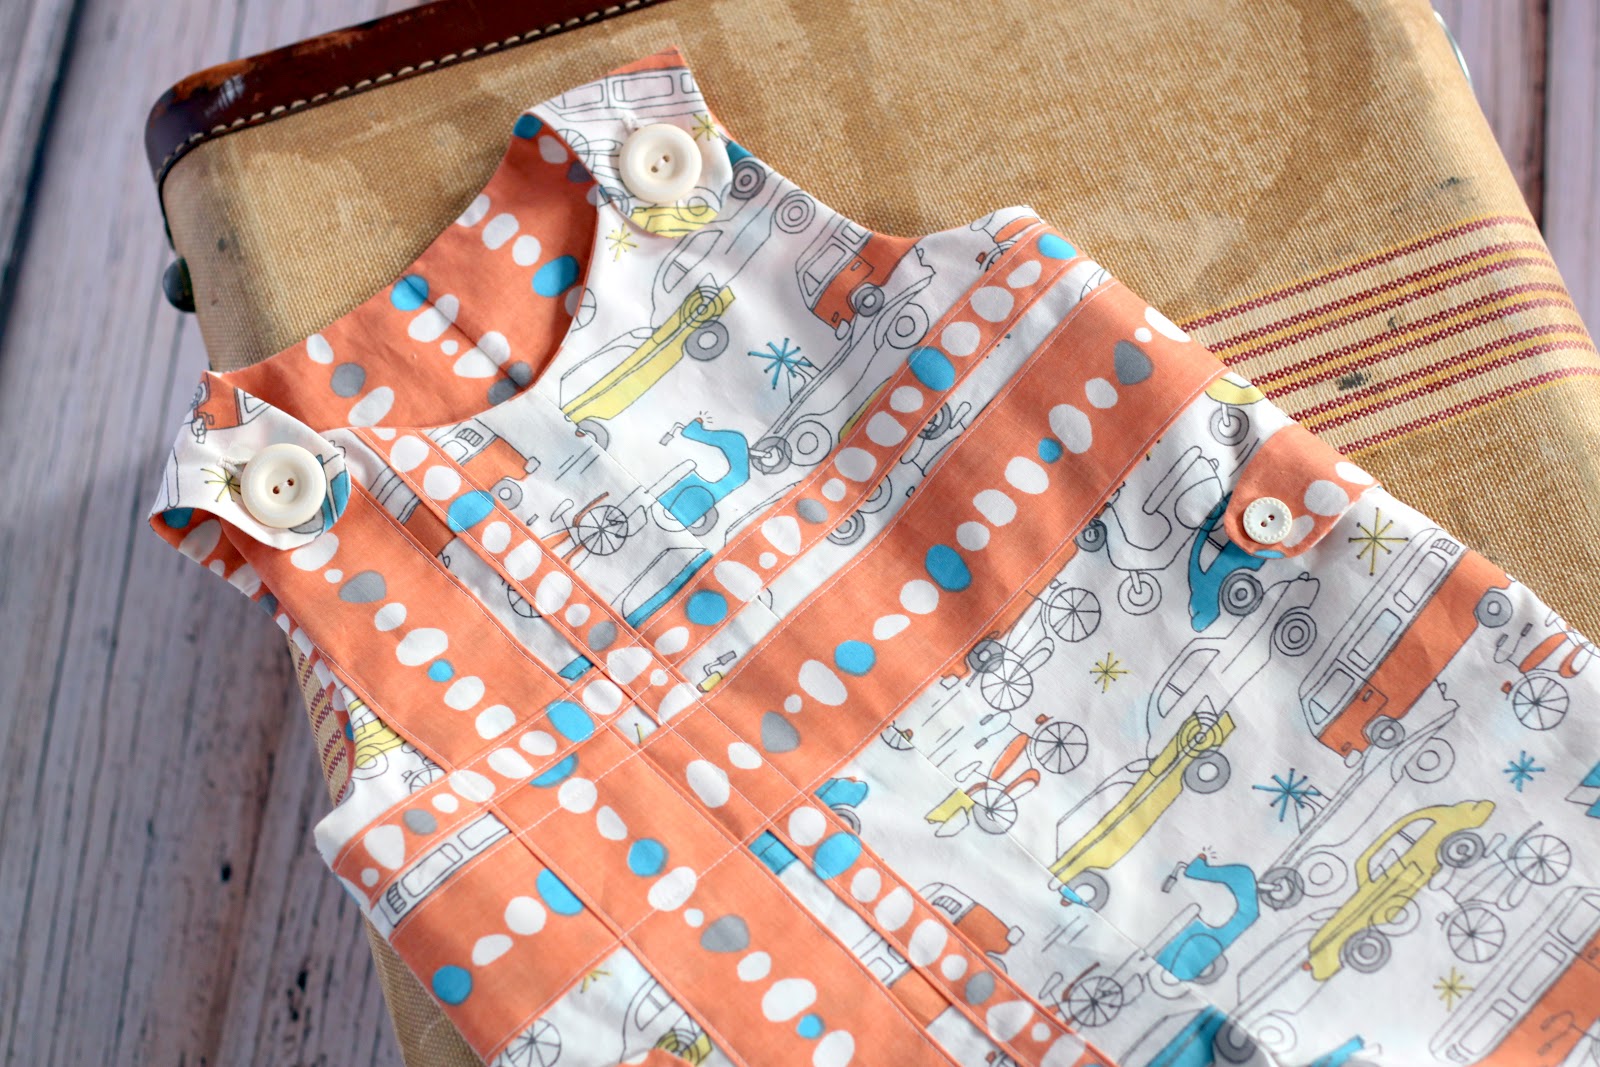
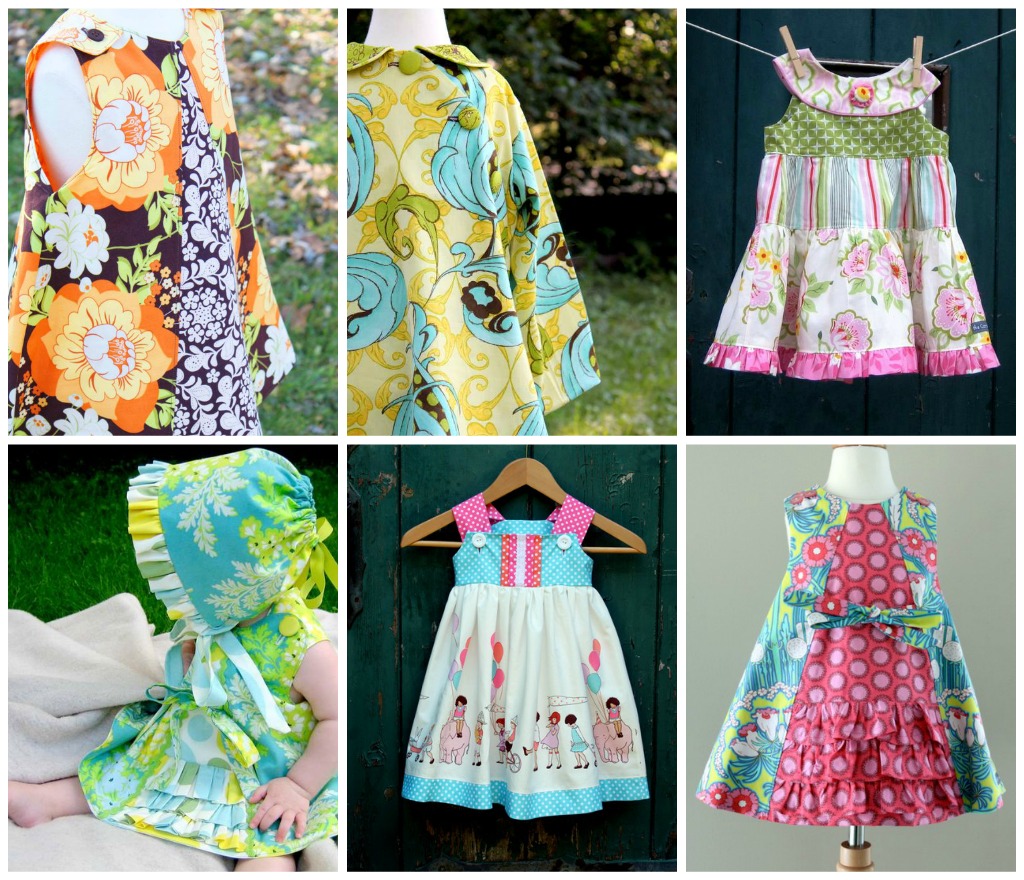
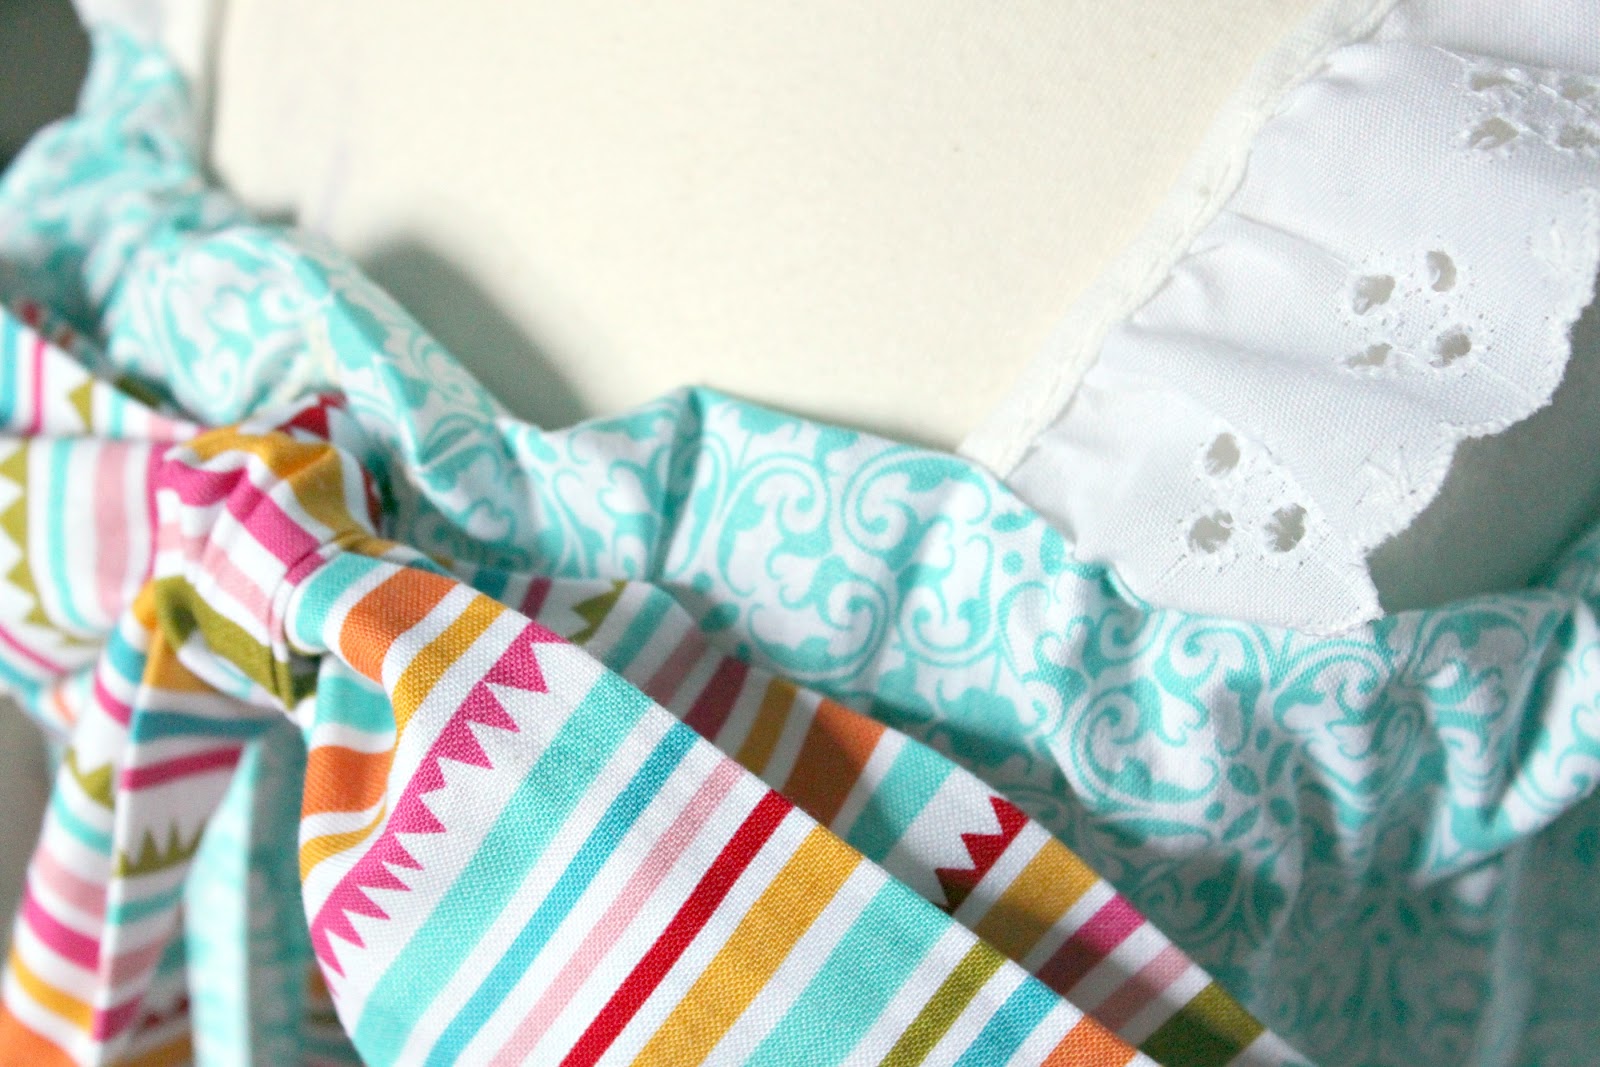
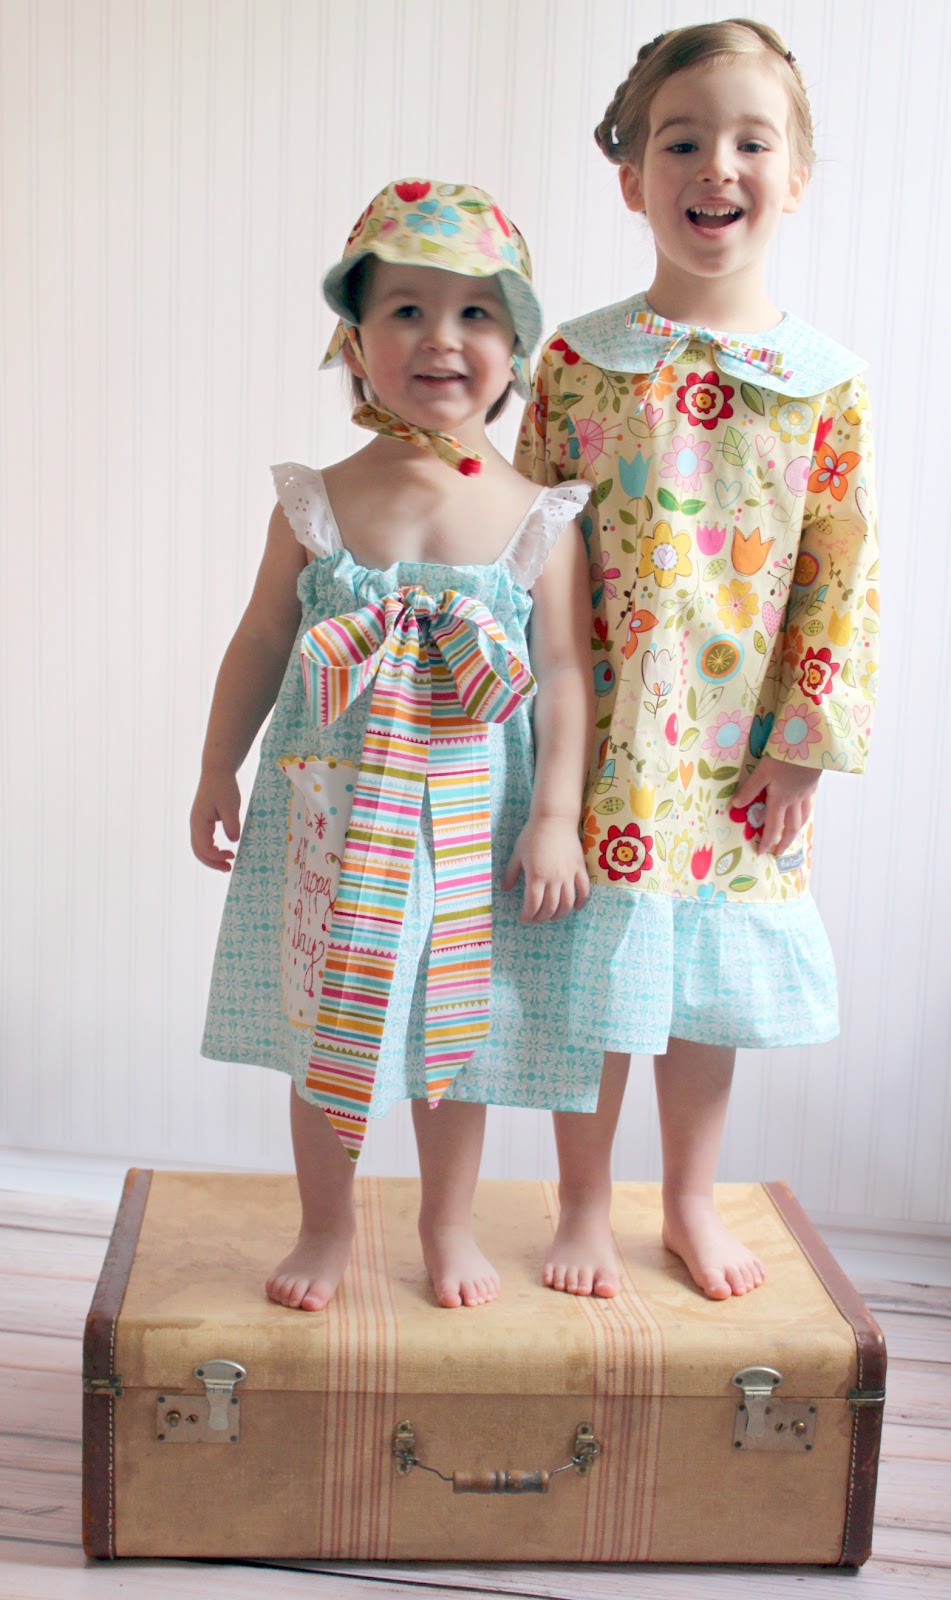
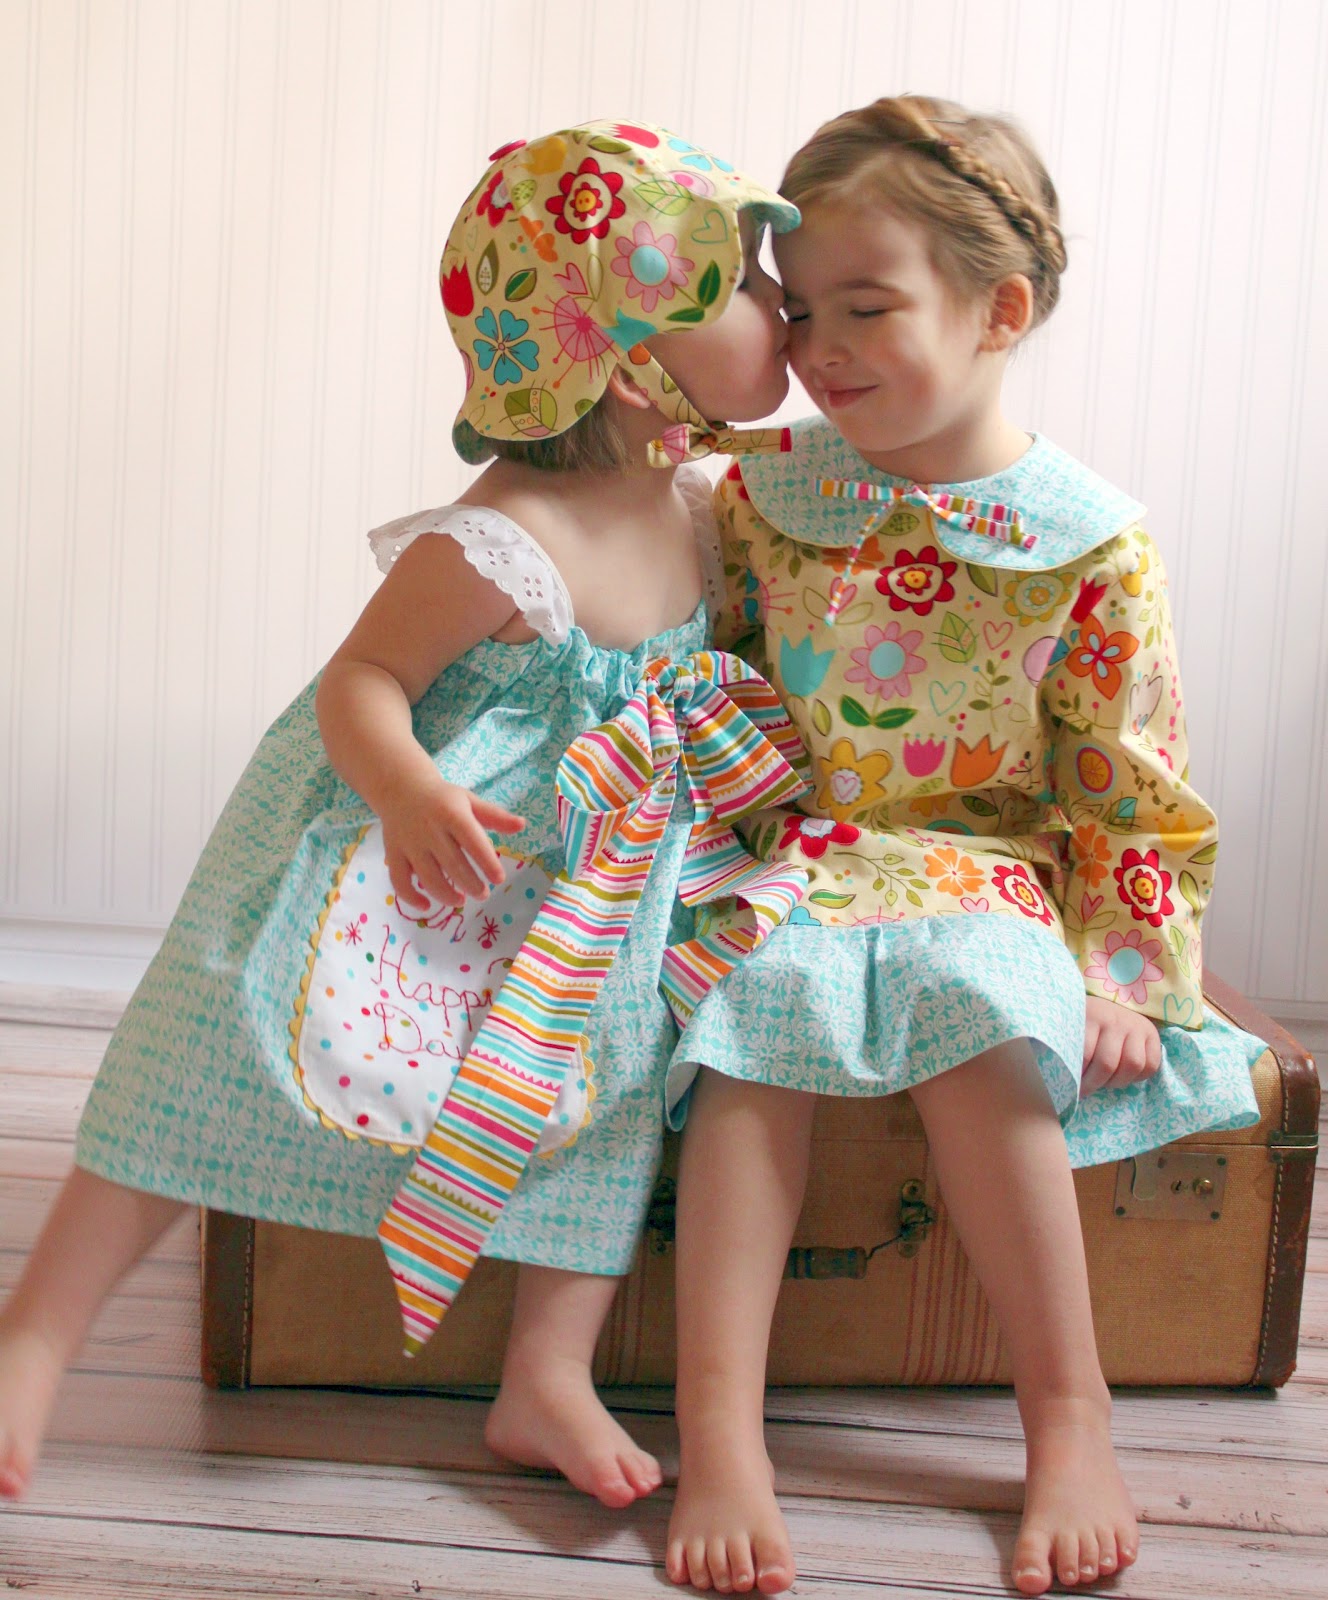
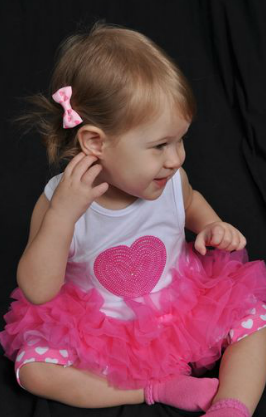
Another few pictures that I’ve been meaning to share with you are these adorable dresses that my mom sent the girls for Valentine’s Day:

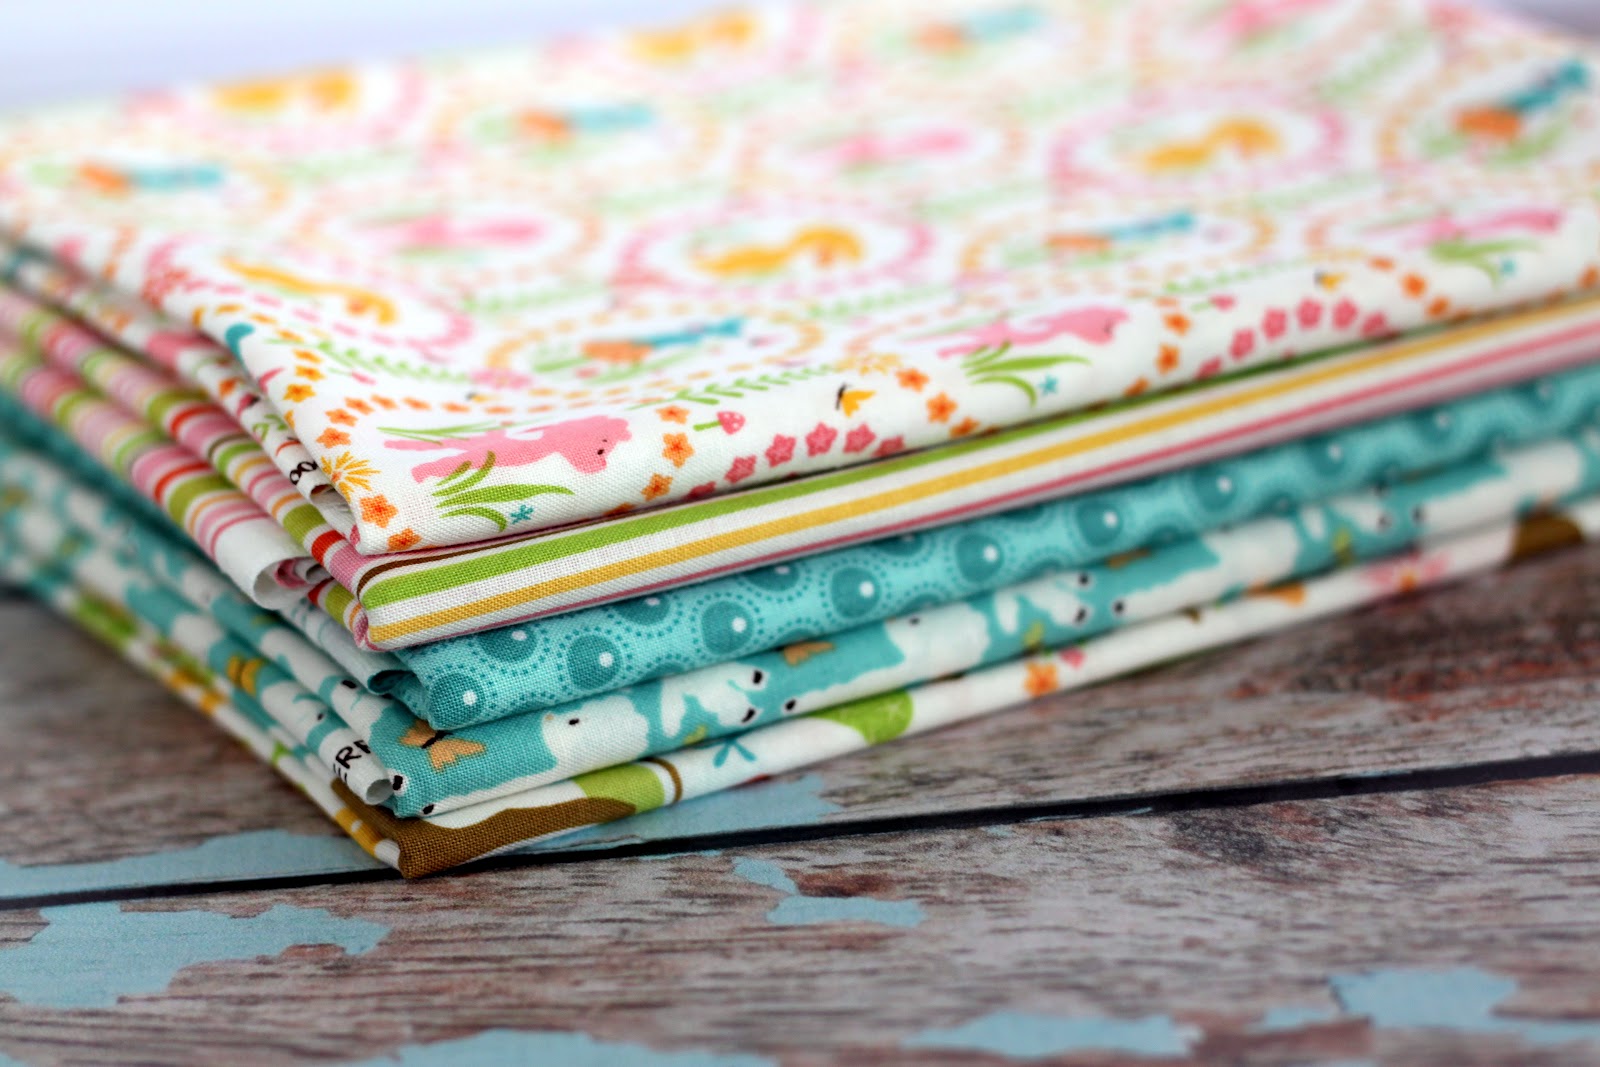
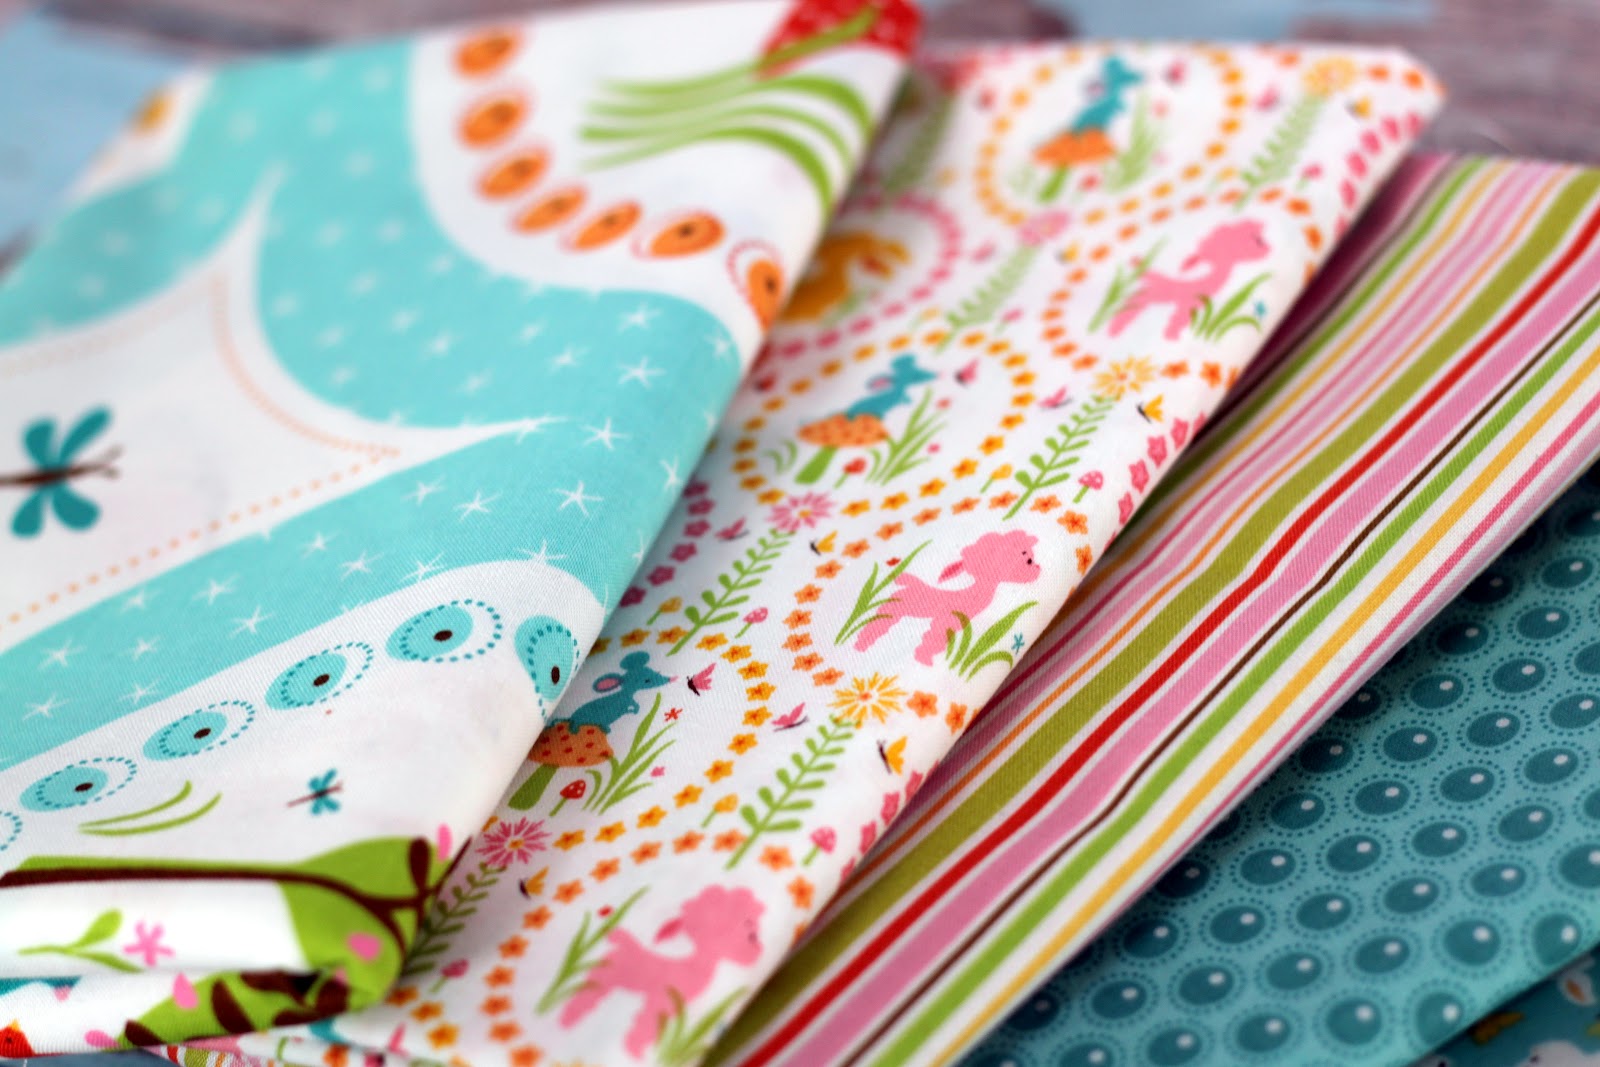
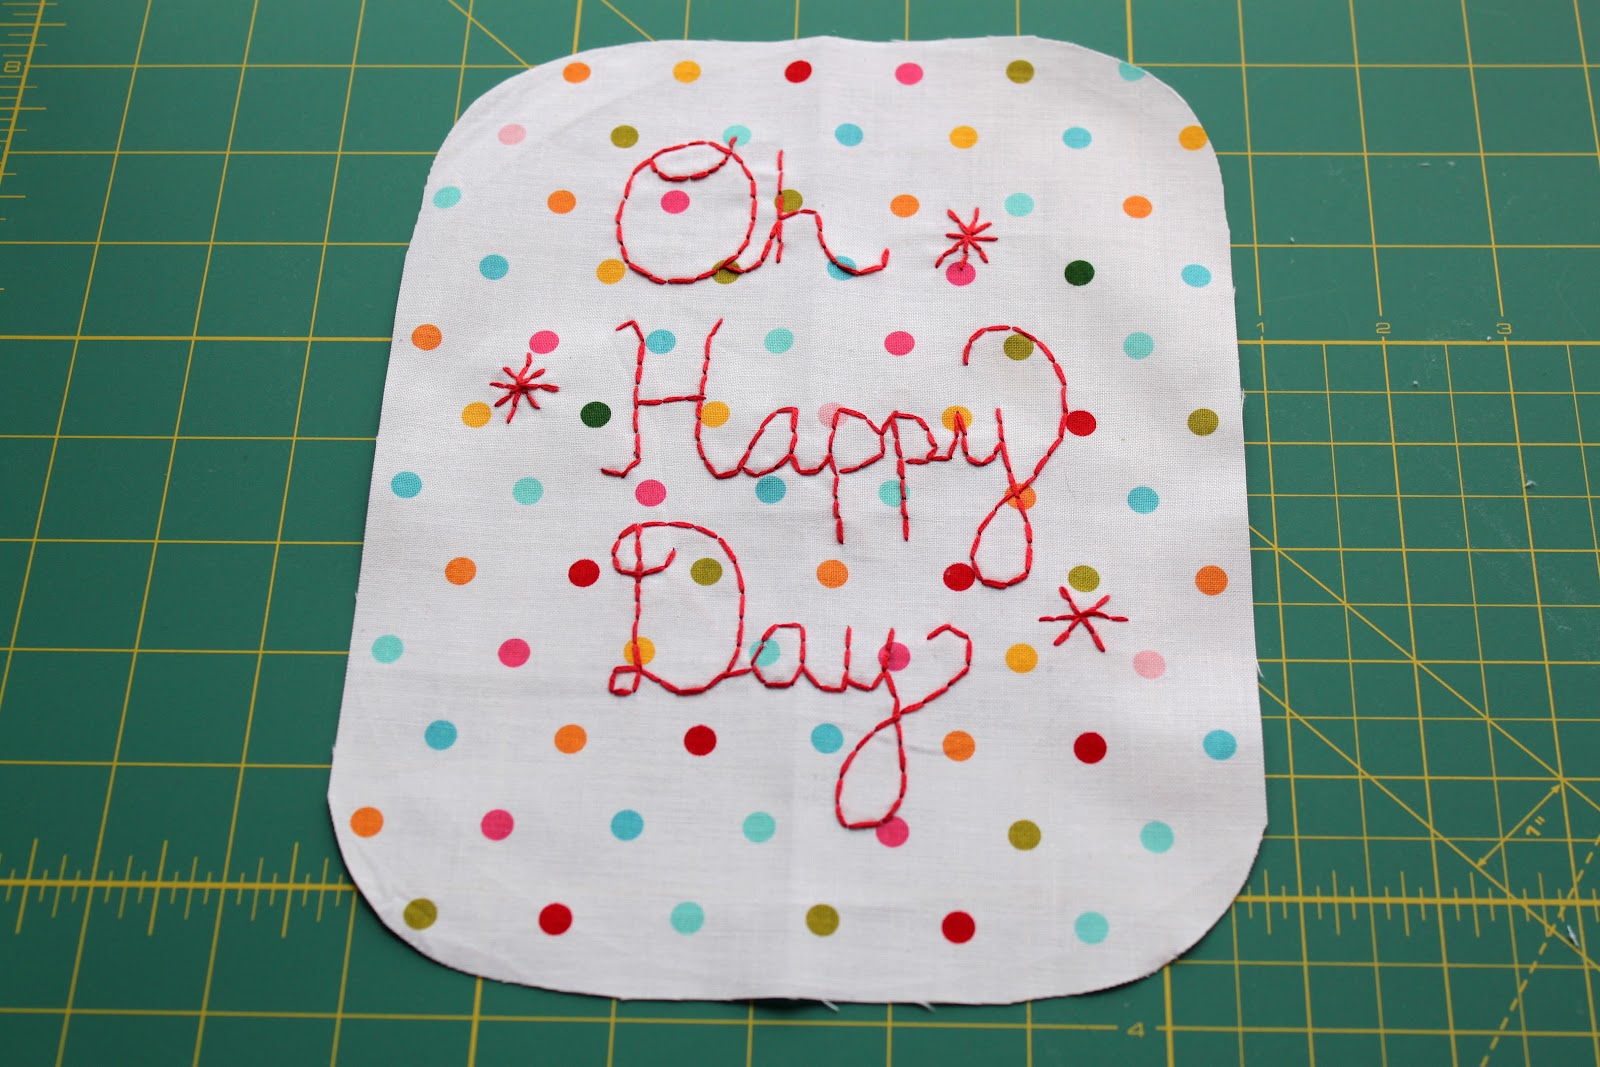
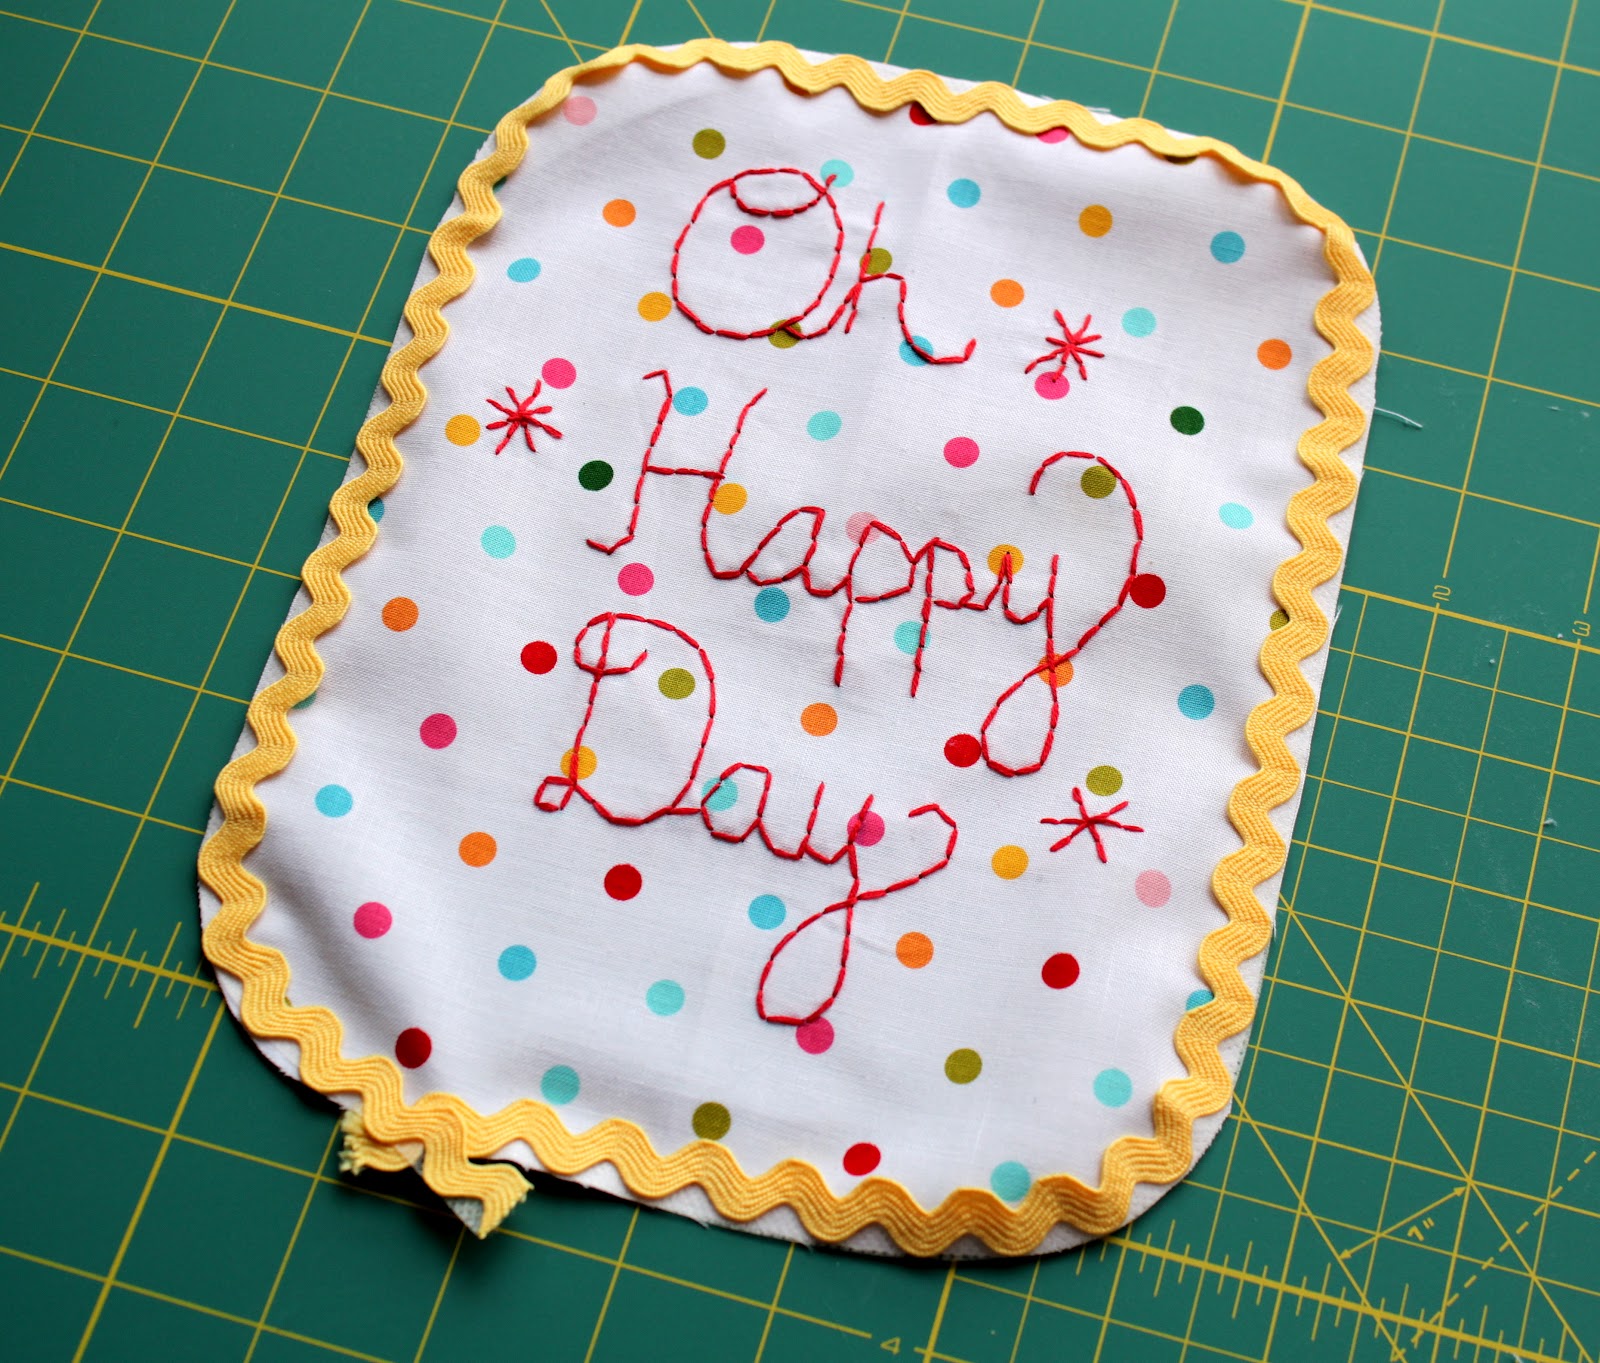
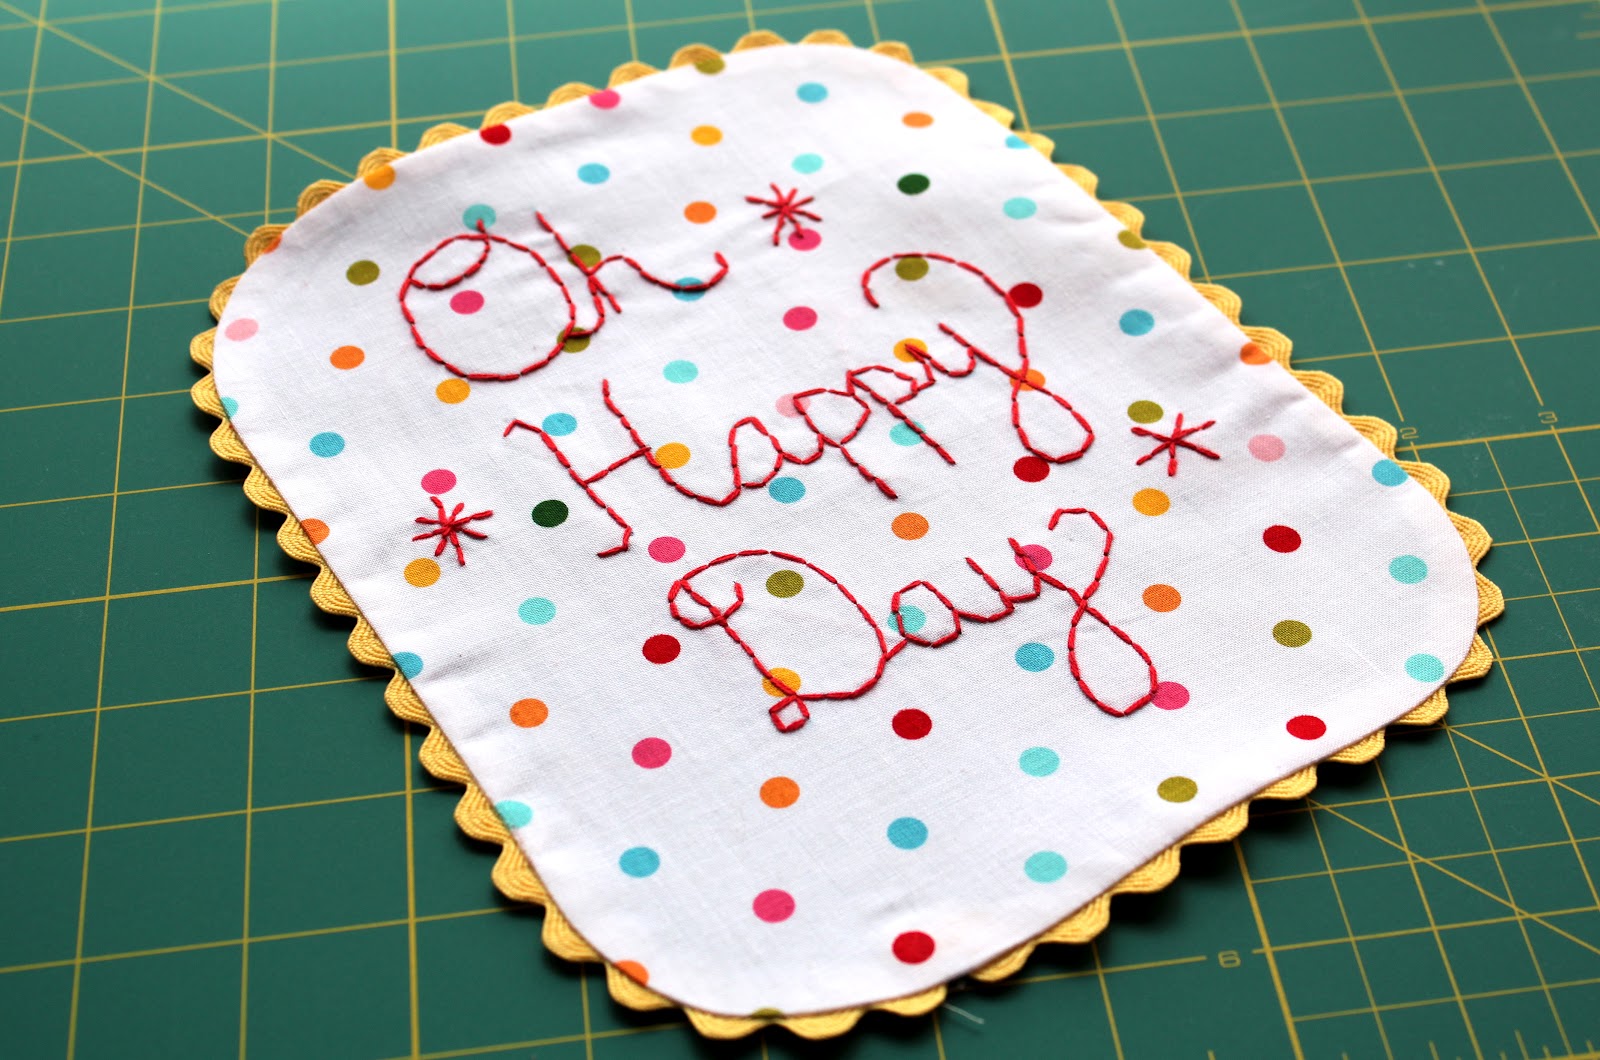
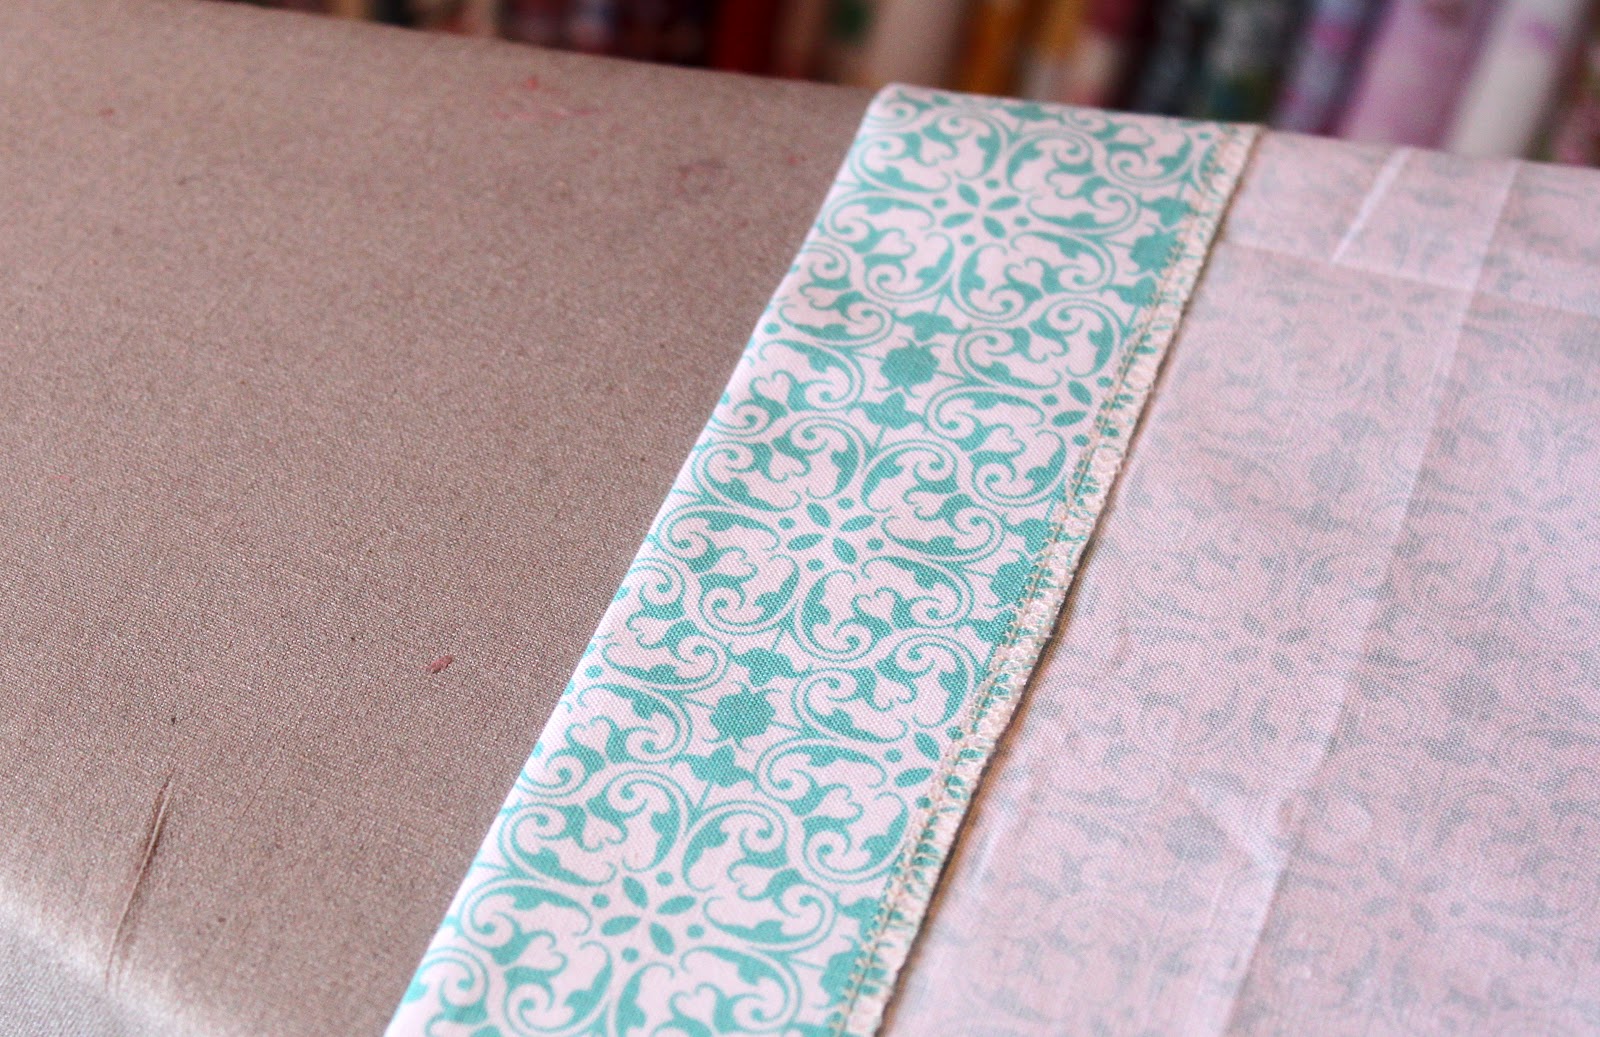
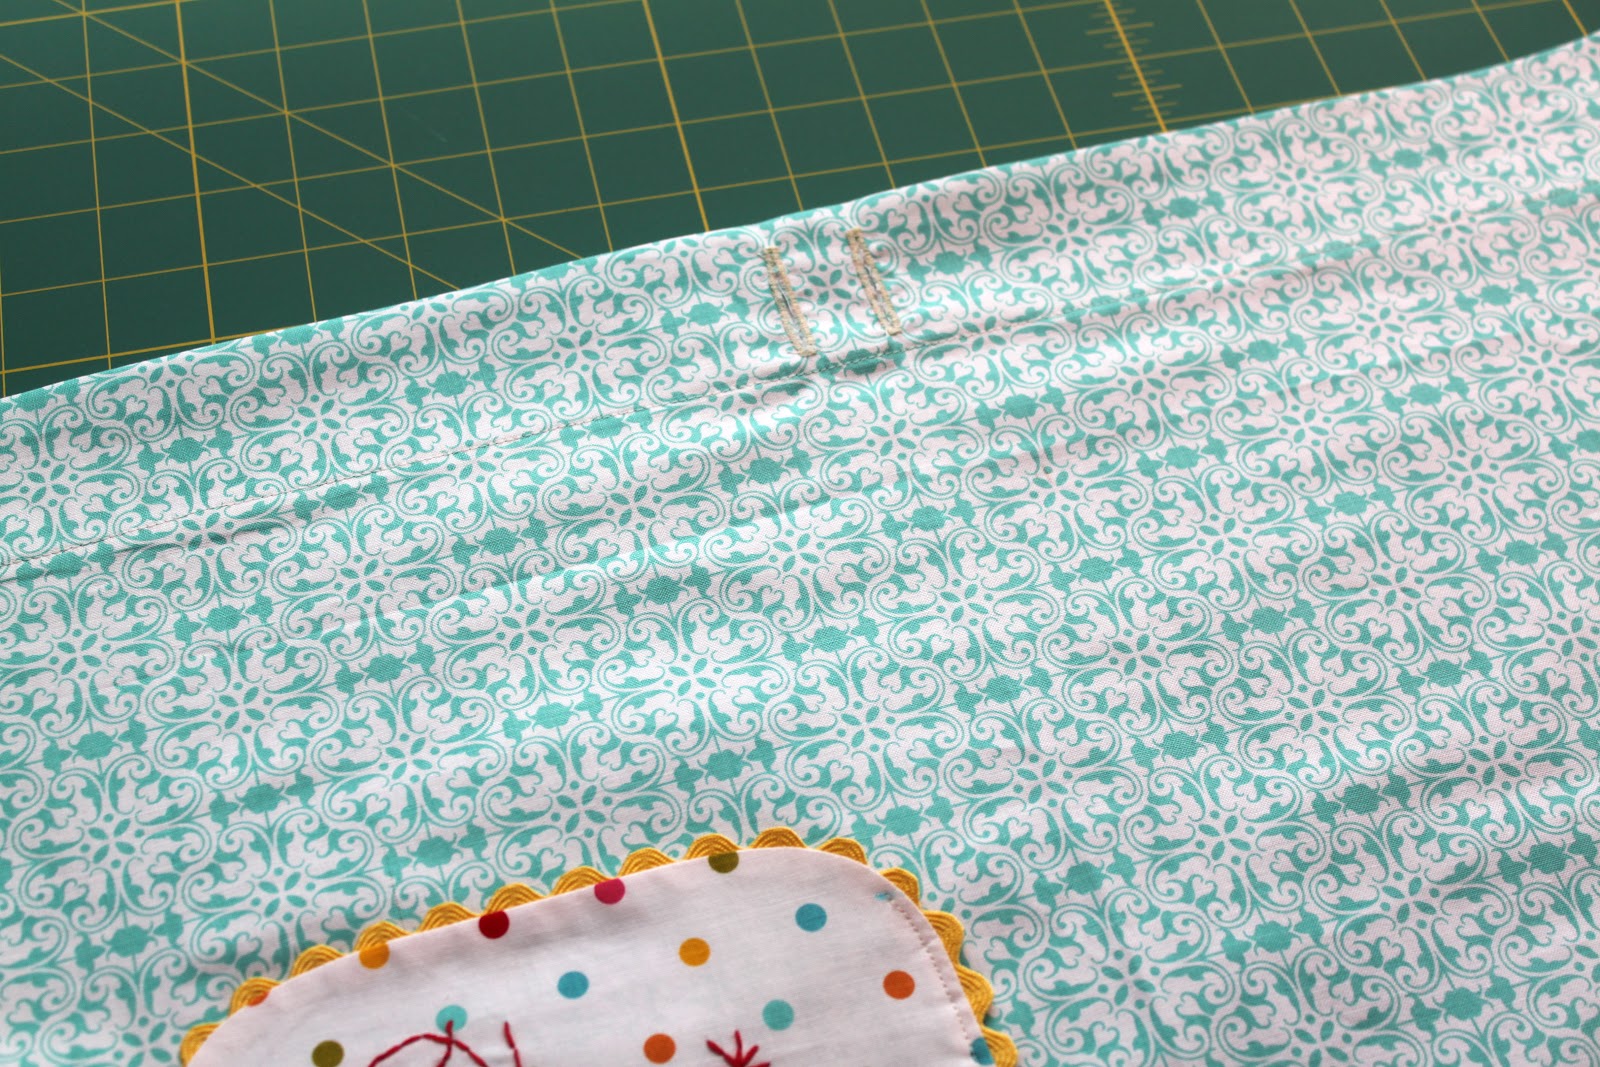
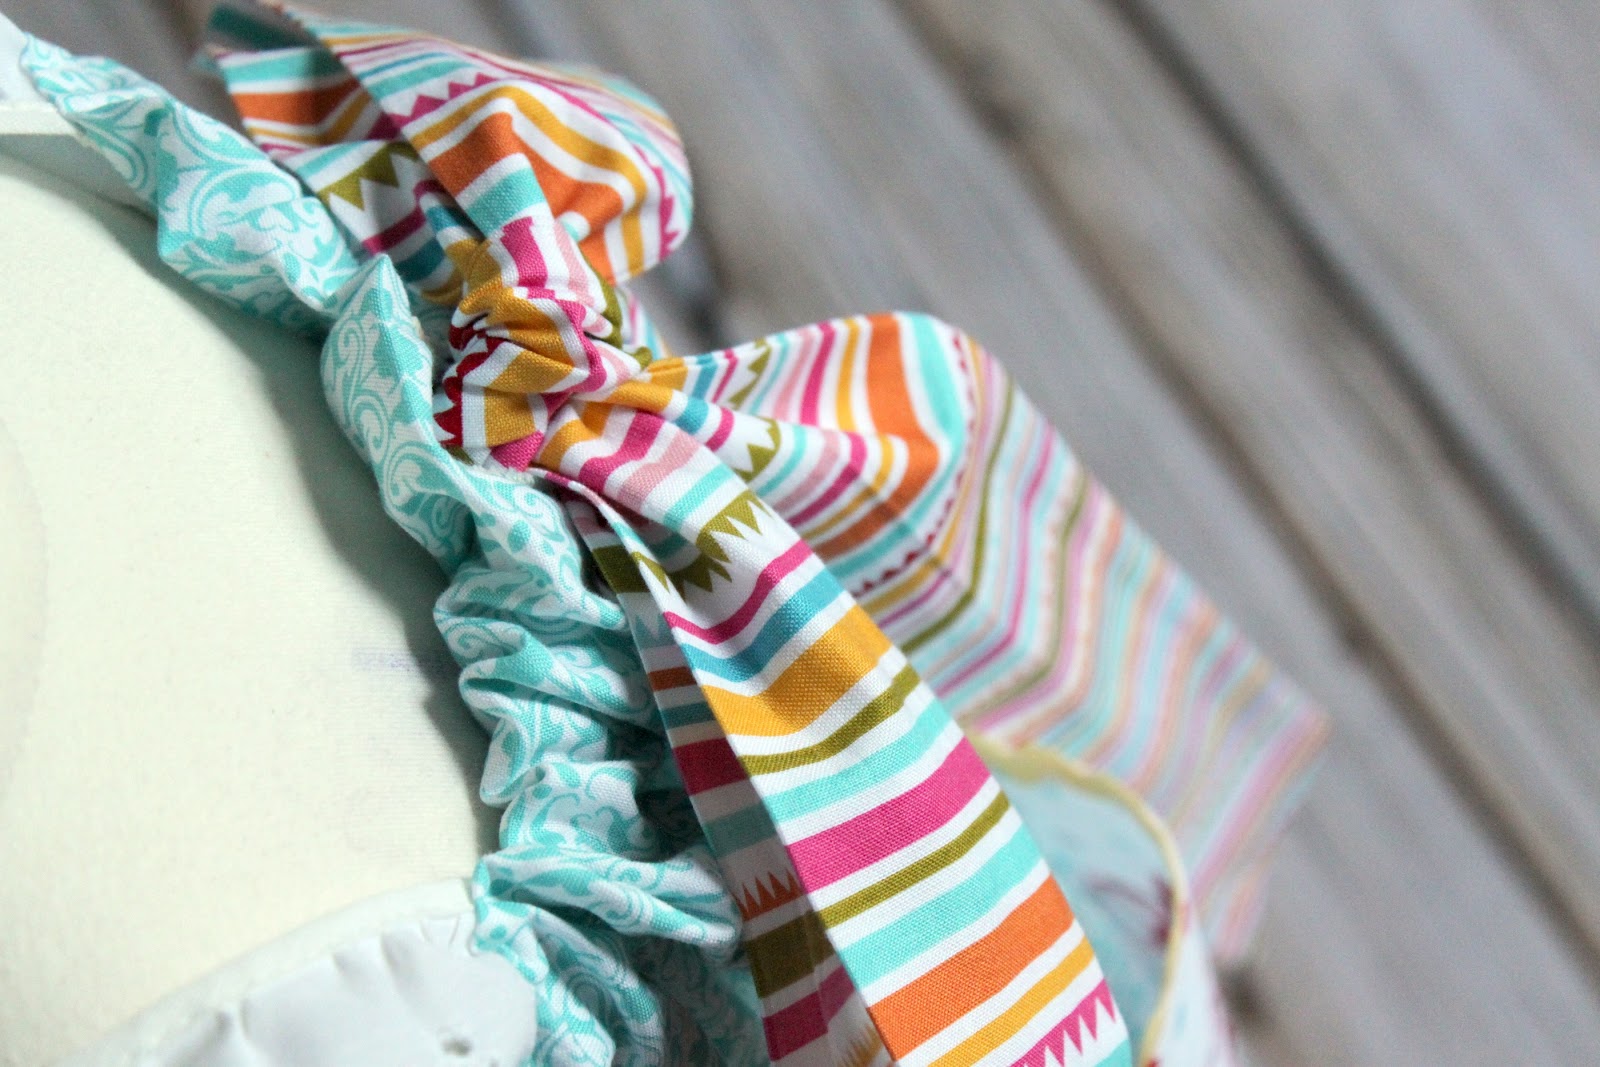
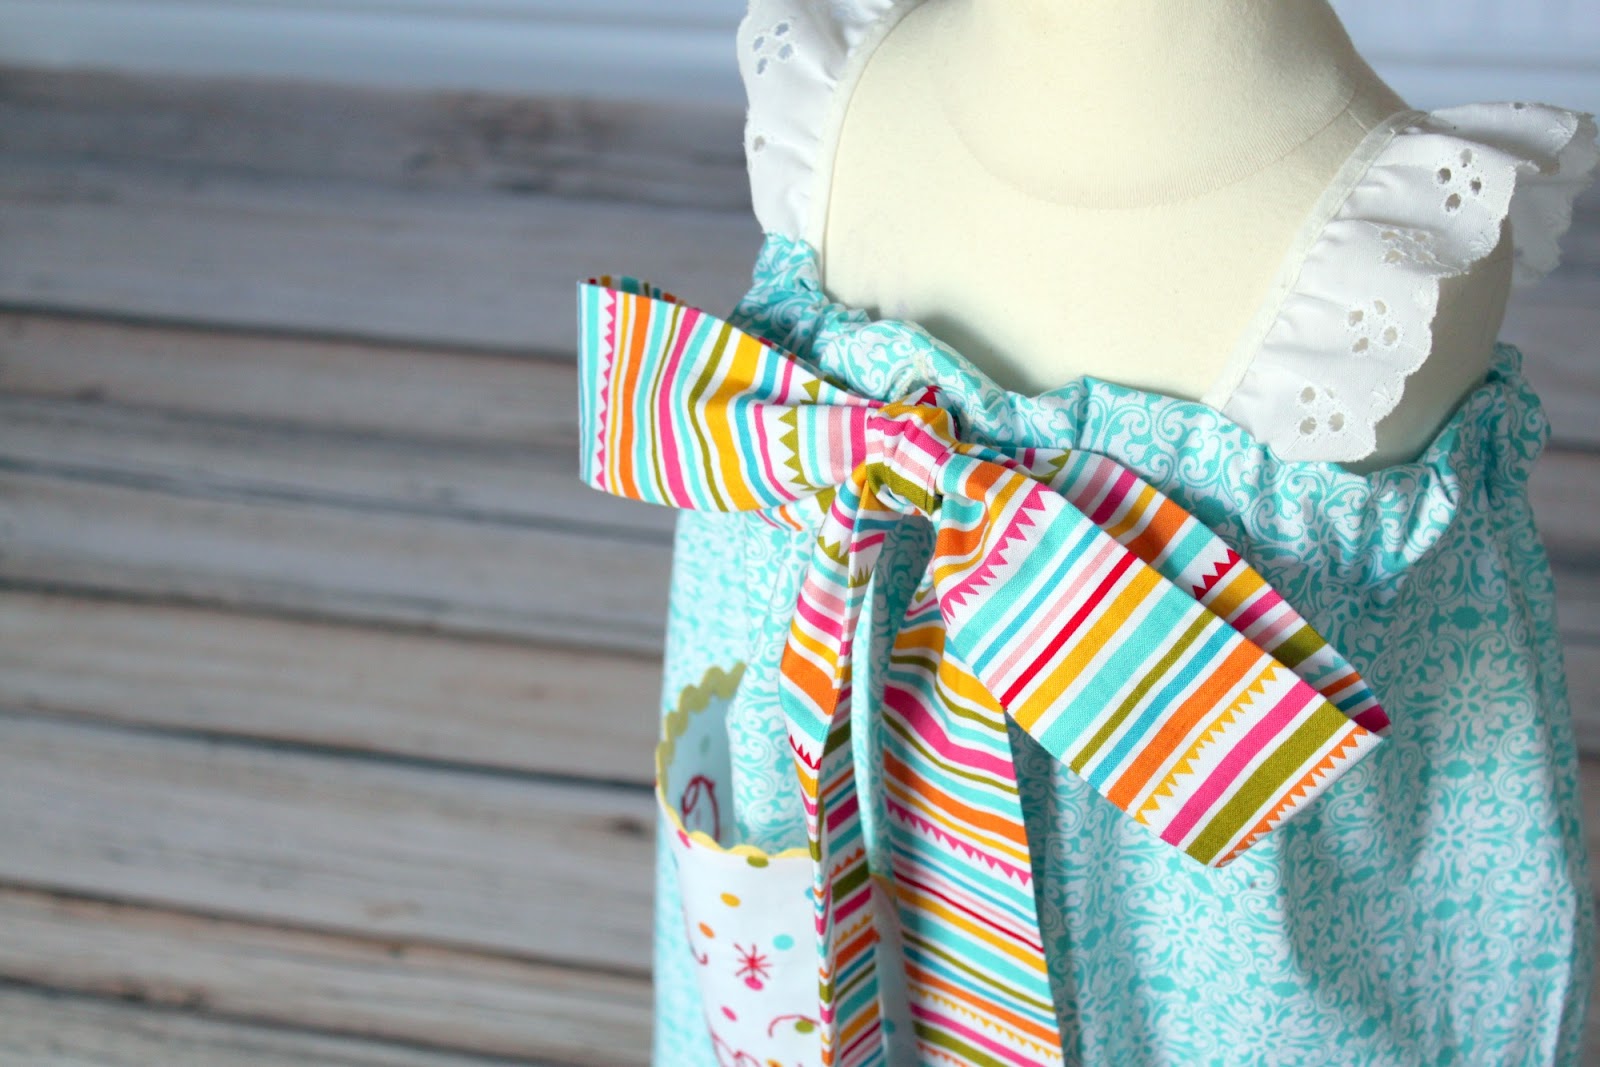
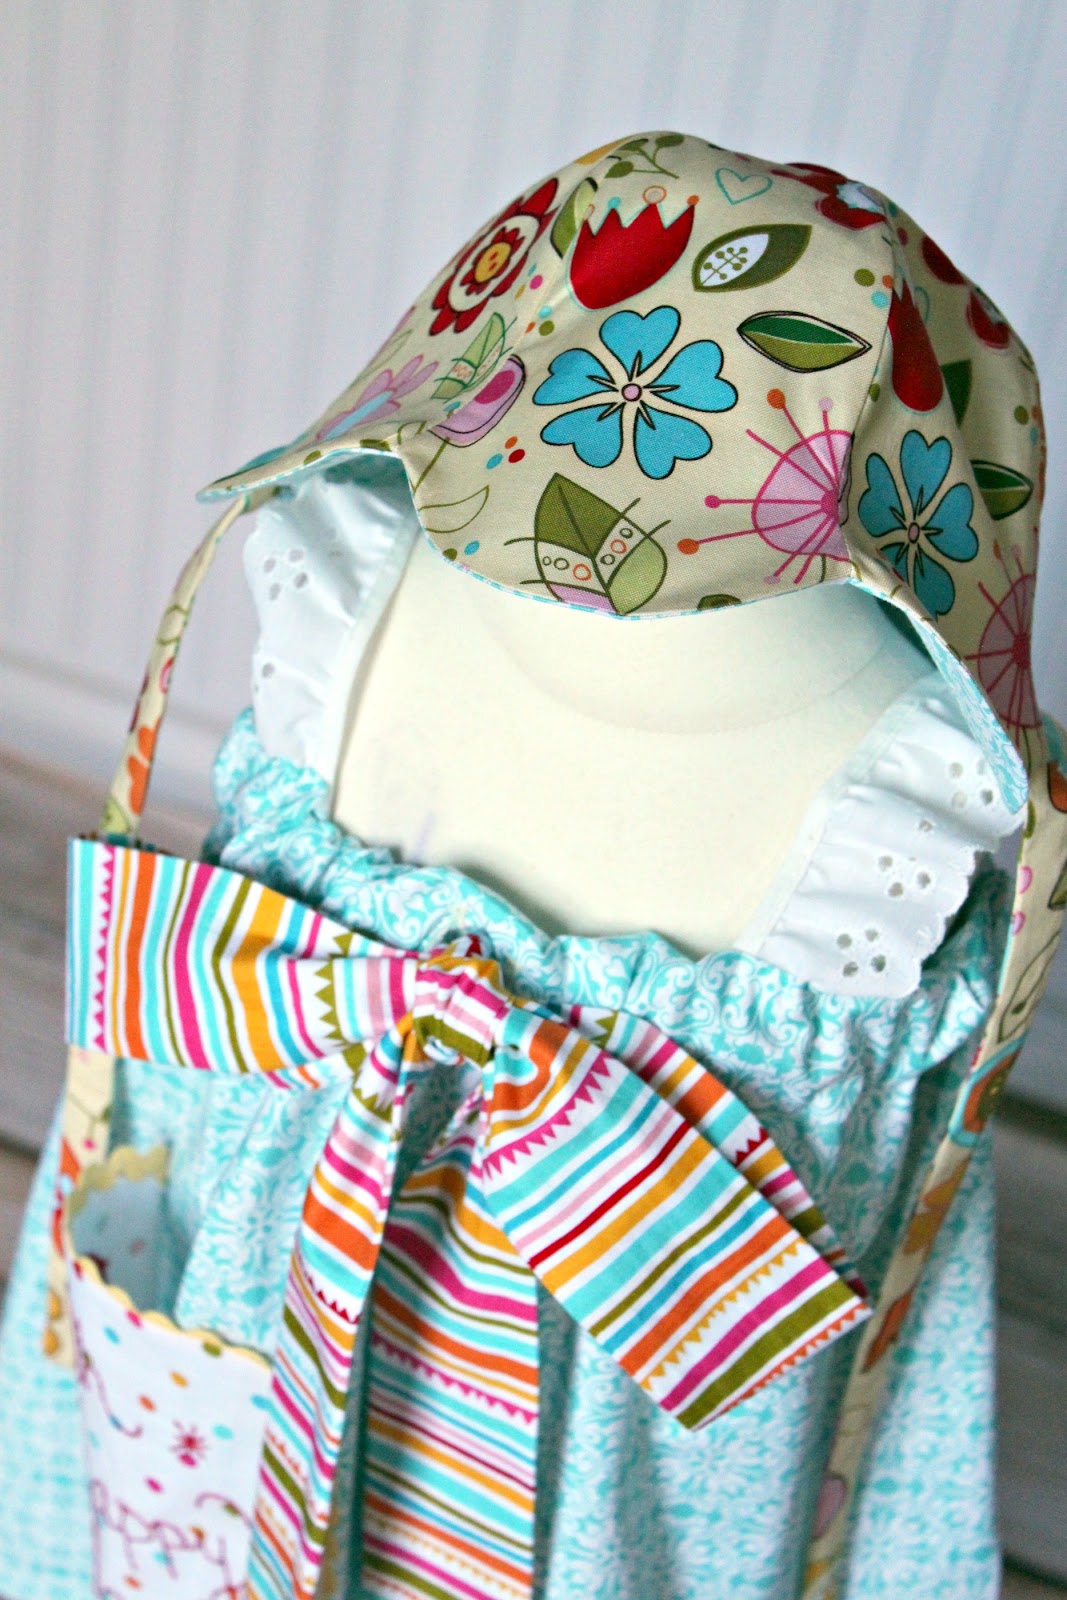
This dress is my ‘Janey Jumper‘ pattern that my mom where my mom added a sweet embroidery piece to the front.  We got this embroidery pattern by Aneela Hoey at our trip to quilt market last spring.  I ordered several bolts of this fabric line, Little Apples, and just haven’t had the time to cut into it, so I’m so glad Mom was able to start putting it to good use.  Mom made the girls matching dresses in size 3 and size 5.

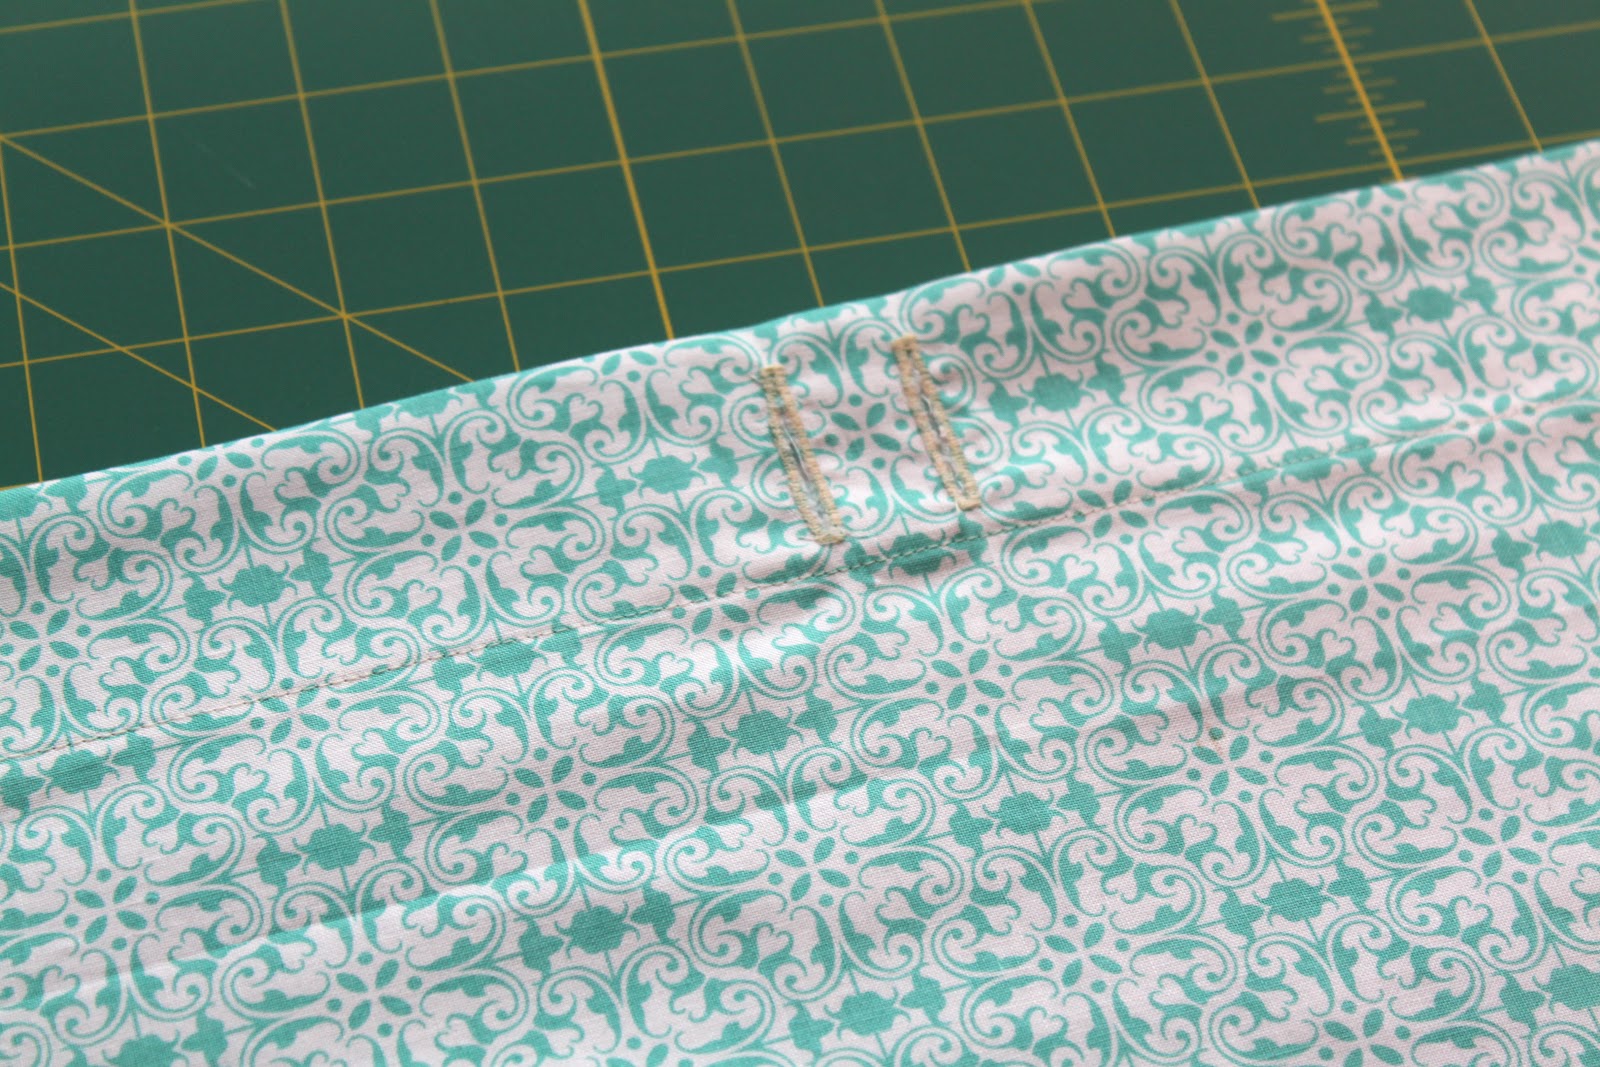
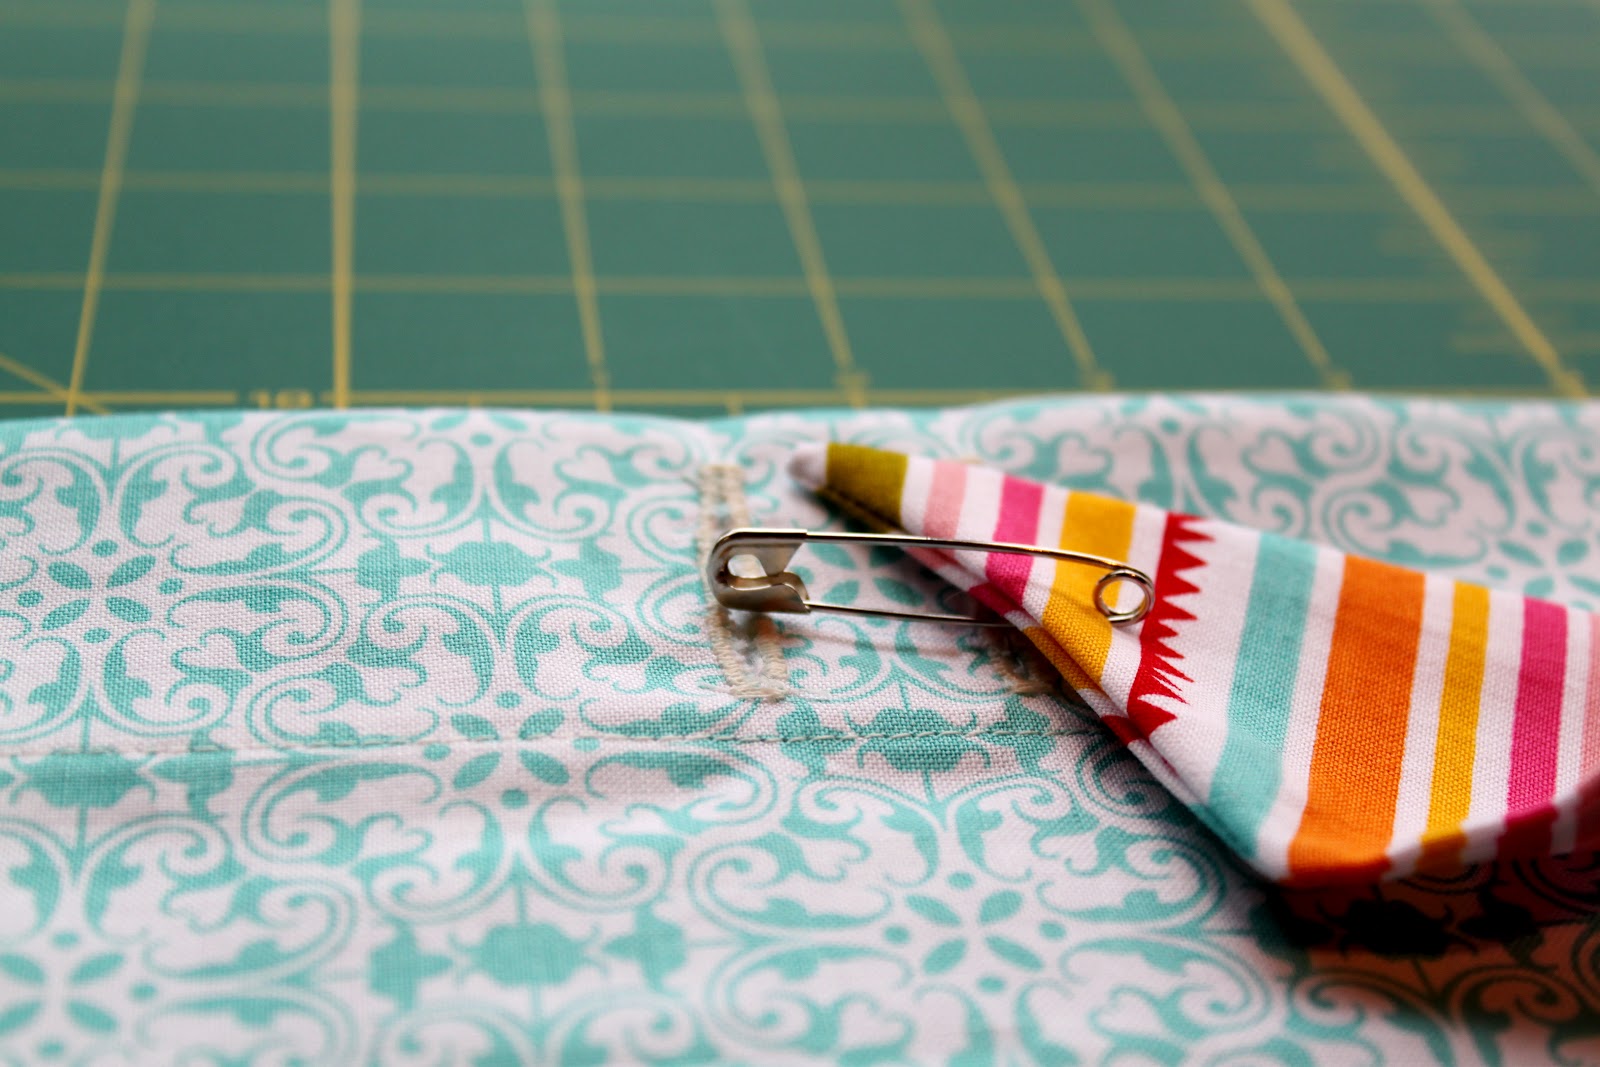
Mom added a bow with a button to the front of the girls matching dresses.  But rather than sew it onto the dress, she made it on a safety pin so that it can be removed before washing.  Smart idea, huh?  We are really getting into embroidery over here, so you can expect to see some more things in that department soon.

On another note, I just sold my 1000th pattern!  I seriously cannot believe it ~ I am beyond excited.  When I ordered my original shipment of patterns, I was honestly a little nervous that I would be sitting with these for several years, but went ahead and took a chance.  It seems hardly possible that I’m almost ready for a re-order on both of the first two patterns.  A big giant thank you to all of you that have purchased patterns from me and another thank you to all the online and brick-and-mortar stores that are now carrying, ‘The Cottage Mama Sewing Patterns.’  Without you, I could not do what I do ~ you are helping make my dream a reality.

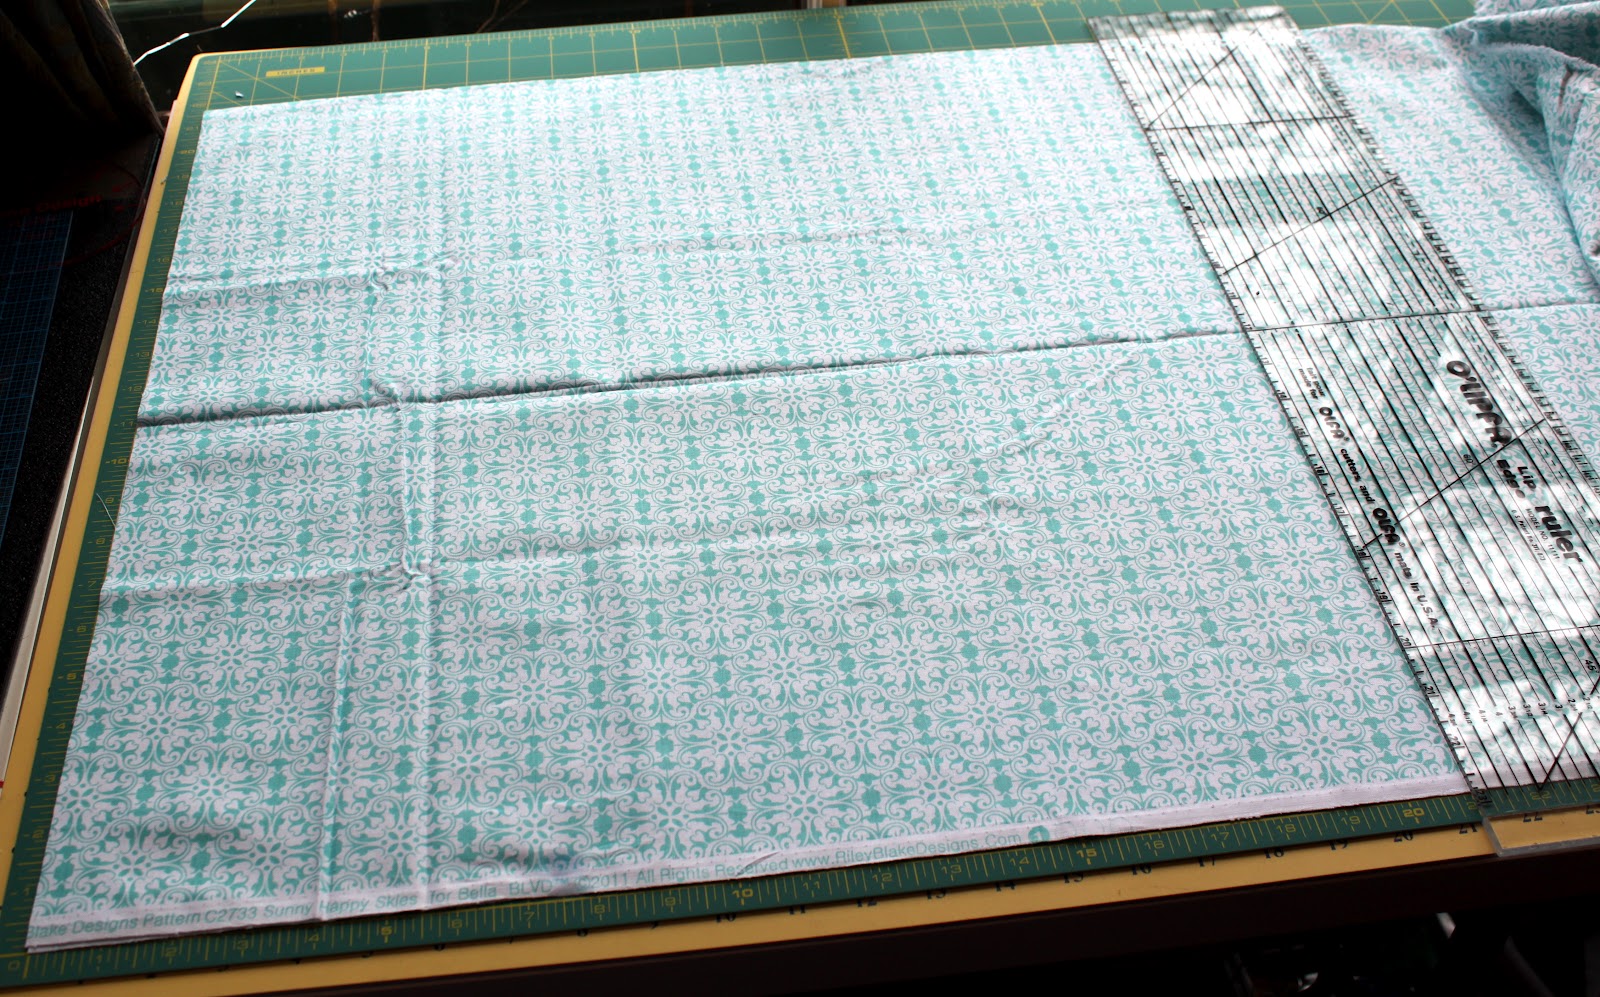
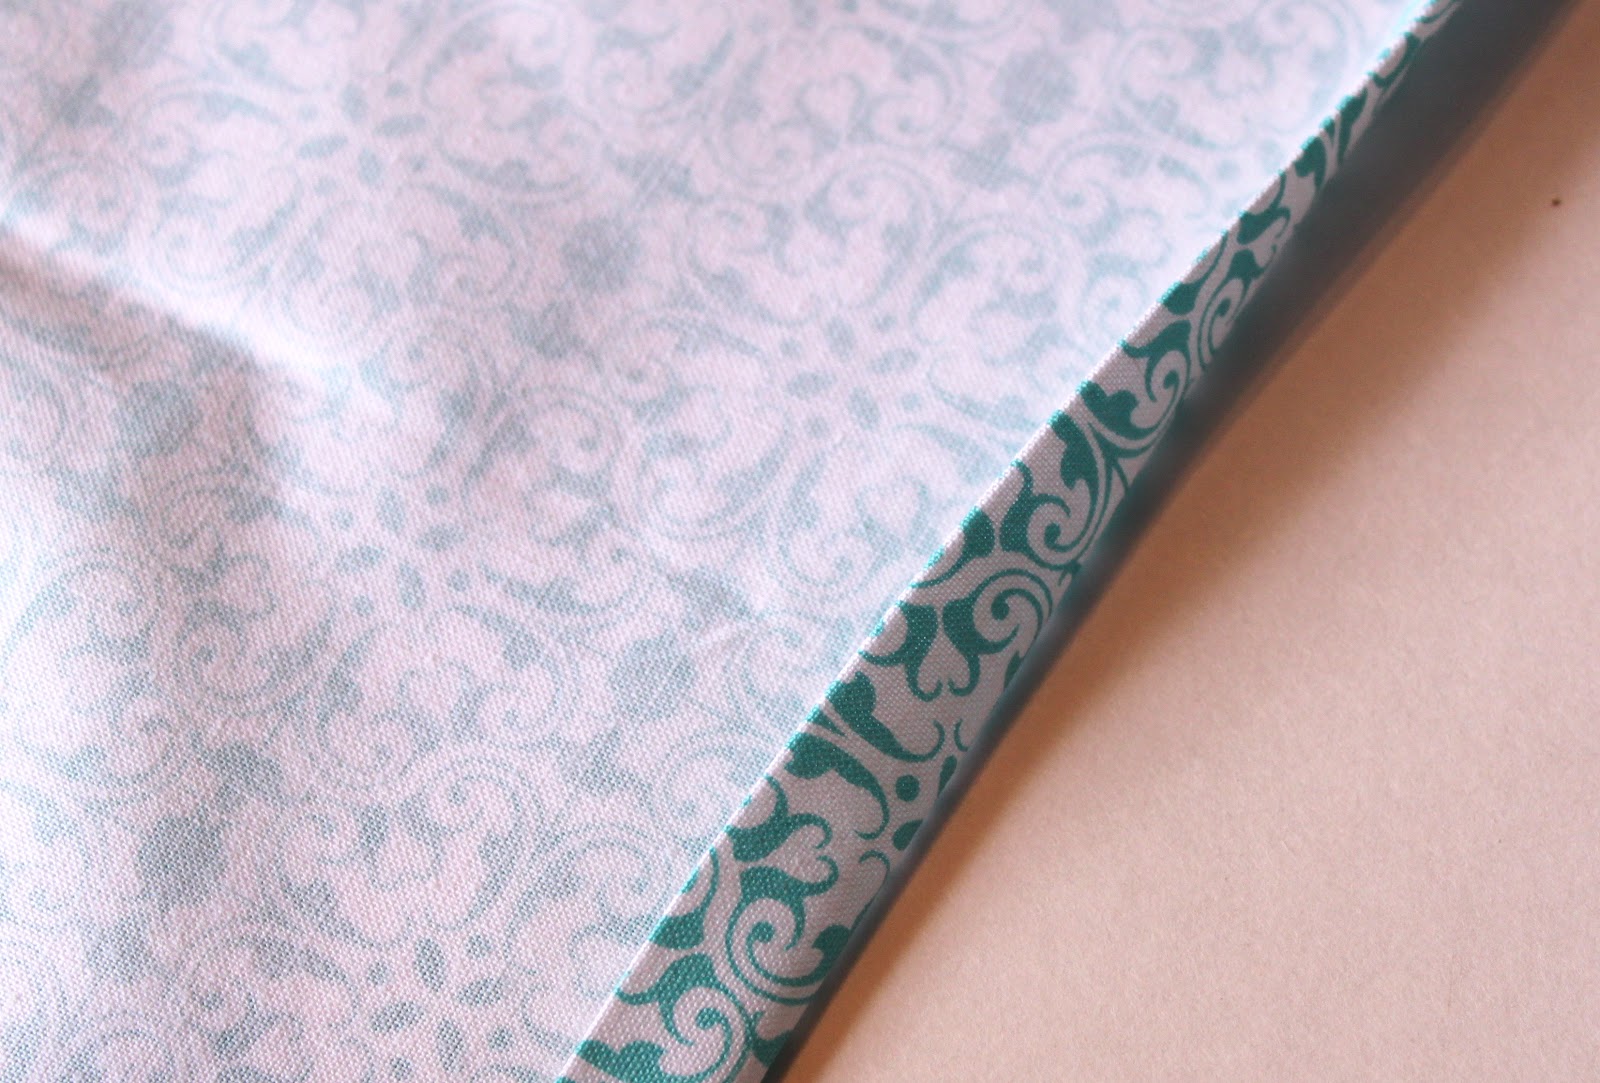
So now I’m in ‘orange’ party planning mode as Miss S’s party is this weekend.  Savannah’s dress is cut for the festivities, but not yet sewn together.  This dress has more pieces then I have ever cut in my life.  Not sure what I’ve gotten myself into, but I’m hoping to make some serious headway on it today.

That’s what’s been going on over here…….a little of this and a little of that.  I hope you all have a great week ahead!
Happy Monday!

Broom Love

You may think I have totally lost my mind with this post.  A post about a broom, Lindsay, really?  Well, that’s what my mom thought when I called her and said, “I’m so excited for my new broom to arrive!”  And as I just wrote that, I realized, that it does sound pretty strange……..what has my life come to?  I’m excited about a broom?  Someone over here may need to get a life……..

Enough about my craziness, though, and let me tell you about my new broom.  I have really been trying to live according to this William Morris quote since we entered 2012…….

“Have nothing in our homes that we do not know to be useful, or believe to be beautiful.”

I have done a pretty good job clearing out a bunch of clutter that we no longer need and the house is starting to feel more organized.  However, when I posted this quote over on The Cottage Mama Facebook page one of my international readers chimed in and said, ‘how about…. do not have anything we do not know to be useful AND believe to be beautiful?  And I thought, yes, that’s even better!

So I needed a new broom for our home and I took this Facebook conversation to heart and thought, “if I’m going to buy a new broom, it’s going to be one I love and get excited to use.”  And I’m a firm believer that you can buy just about anything on Etsy.com, so I headed there to begin my search and this is what I ended up with:

I ordered this handmade broom from the Broomchick on Etsy.  I had never heard of her shop, but she had great reviews and I just loved the natural style of this one, not to mention the fact that it fits in perfectly with our cottage.

I can’t just name one part of this broom that is my favorite.  I love that it is handmade ~ that’s a big thing for me, it’s always great when I can buy handmade and support local, US small business.  I love the multi-colored broomcorn and I love the natural wood stick handle.  The Broomchick has many different brooms to choose from, but this is a multi-colored standard kitchen broom.

I am currently keeping this broom hanging on a hook in the kitchen next to our kitchen hutch.  It’s too pretty to put away and hide.  My sister-in-law thought it was just for decoration when she saw it in our kitchen and my mother-in-law said she wants one for her birthday.

So sweeping is not the most exciting task, but why not get excited about it by using a tool you truly love?  Again, you still might think I’m nuts, but I’ll tell you one thing…….I’ve never been more excited to sweep in my life than I am with this broom!

"I Spy" Fabric Matching Game ~ Tutorial

Here’s a super-fun kids game tutorial for an I Spy Fabric Matching Game.  Savannah Rose will be getting this game for her 4th birthday that is coming up on March 5th ~ I can’t wait, I think she’s going to love it!
This year I have three sewing re*sew*lutions:
1) Use up my excessive amount of fabric scraps
2) Design and sew more boys clothing
3) Dabble in the world of quilting

To start off 2012, I thought I would start at the top of the list and use some of the fabric scraps that have been invading my sewing studio.  Since I typically design and sew children’s clothing, the amount of fabric scraps is out of this world.  Big pieces, little pieces……you name it, I’ve got it…….it’s getting a bit ridiculous!

My girls are beginning to become interested in playing games.  With them being 2.5 and almost 4 years old, there aren’t a lot of games they can play together, but we’ve found that they really enjoy matching games.

I was inspired by the ‘I Spy’ quilts that many people seem to enjoy making and came up with a game version ~ the ‘I Spy’ Fabric Matching Game.  This is a great way to use up the many different fabric scraps you have lying around.  If you have little ones, they will truly enjoy playing this game.  It is stimulating, fun, and pretty much indestructible (which you know is important if you live in the world of toddlers).  There are two different ways to play so it’s great for 2 year olds on up.

‘I Spy’ Fabric Matching Game
~Tutorial~
Supplies:
20 4.5″ squares of fabric (2 squares of 10 different prints)
20 4.5″ squares of fabric (all the same print)
20 4.5″ squares of batting
Basic sewing supplies


Instructions:
Take one piece of your printed fabric, one piece of the fabric backing and one piece of batting.  You will be making a total of 20 squares, 10 of each different print.  All of the backs will be the same.
Layer your three pieces.  Place the back fabric and printed fabric with the right sides together and layer the piece of batting on top of the back of the printed fabric.
Stitch all the way around the square with a 1/2″ seam allowance, but leave a 1.5″ opening on the side.
Clip the four corners of the square.  This will allow you to turn the corners out nicely.
Turn the square right side out by pulling the fabric through the opening that was left on the side of the square.
Grab your point-turner to push the corners out.  If you don’t have a point turner, you could use any pointy edge tool (i.e. a chopstick, ect).  Point-turners are really inexpensive, so it’s a great tool to have in your sewing basket.
Insert the point-turner and push each corner out by using the pointy end.
Sometimes it takes a little work to get the corners pushed out, but just take your time.
Once your corners are turned out nicely, press each square.
Press the opening on the side under so it is in line with the rest of the square.
Top-stitch around the edge of the square using a 1/4″ seam allowance.  The top-stitching will catch the opening and sew it closed.  Press both sides to set your stitches.
Continue top-stitching all the squares until you have 10 sets of 2 for a total of 20 squares.
So here’s how to play……….
Option 1: Advanced Matching (age 4 and up)
Turn all of the 20 squares over so that the back sides are up. Place them in four rows of five.  Make sure the squares are all mixed up.
Each player takes a turn turning over two squares.  When they turn over two squares that match they get to keep them.  This method requires the child to remember where they have seen a specific pattern to find the match.  The person who collects the most matches wins!
Option 2: Beginner Toddler Matching (Ages 2-4)
Lay out all of the squares with the printed sides up.  Have each player take a turn picking out one print and simply finding the other one that matches.  Continue taking turns until all the matches have been made.  In this version everybody wins!
I think the ‘I Spy’ Fabric Matching Game is the perfect gift idea for any child.  You can make the game themed if you are not using fabric scraps – make it geared towards a boy or girl or keep it gender neutral.  You could also theme it towards the child’s interest – nature, animals, bugs, flowers, sesame street, ect…
Perhaps I’ll make a little bag to keep this version of the ‘I Spy’ game together, but we’ll save that for another tutorial on another day.
Fabric Collections used (starting from the top left):
3) Joann’s super-clearance fabric purchased a year ago
I Spy Fabric Matching Game from The Cottage Mama. www.thecottagemama.com

A Little Change: Giveaway Day

So I’m making a few little changes around here on the blog and one of them is in regards to giveaways.  While I absolutely love sharing new businesses and products with you all, I feel like my blog content has had too many giveaways over the last several months.  Promoting and growing small businesses is very important to me, as I am a small business owner myself, but I’m going to start doing things a little differently.

The main reason I started this blog was to share my love for creating and hopefully inspire you all to want to create in your everyday life.  I want to make sure I keep the content here on the blog focused in that direction.  I try really hard to post projects and ideas that you hopefully all enjoy and keep the majority of posts written by me (although my mom, Grandma Jane, will be ‘guest posting’ coming up).  I never in a million years thought I would make any money from blogging.  While I feel incredibly blessed to now be able to generate some income from blogging, I would be blogging regardless.

With that being said, instead of having several giveaways a week, I am now going to be hosting one giant giveaway day per month.  My sponsors all have the opportunity to participate in this day and I am also opening the day up to other small businesses as well.  I got this idea from my friend Jessica (from Happy Together) and she assures me it is working out great.

I hope you don’t mind this change.  If you love giveaways, then you’ll want to mark your calendar for the first day of each month as that will be the BIG giveaway day.  I will still do personal giveaways (from me) and the occasional book and fabric giveaway, but these will be very selective.

I’m really excited about the change and it will free up some days in my blogging schedule for me to post more about starting a small business, recipes, projects, crafts, ect……..
So, what do you think?  Sound ok?
If you are a small business and are interested in participating in the upcoming Giveaway Day on March 1, 2012.  Please email me, Lindsay, at thecottagemama[at]gmail[dot]com for rates and additional information.

On the Cutting Table: New Fabric, New Designs, Ect.

It’s been a busy week over here.  Lots of things going on and trying to juggle my family, the kids, the blog and the business is always a challenge.

This past week I finally decided it was time for me to bring in a little help so that I can prioritize some things in regards to my work-life balance.  The only people that have ever watched our kids since our oldest Savannah was born are family members…..mainly my in-laws.  But I decided to ask the high school girl from next door to come over two afternoons a week (for three hours each day) to play with the kids while I get some work done.  So for right now I am home the entire time she is here working in my studio, but after Cass is done nursing in another 8 months or so, I might feel comfortable enough to leave for a little bit.

I have gone back and forth about this for months and now I’m wondering why I didn’t do it sooner? Well, I know why I didn’t do it sooner……….guilt.  I think my business was ready for this about three months ago, but personally I wasn’t.  It’s really hard being a work from home mom because as much as I want to grow my business, I want to be there for my kids during this precious time that is going by way too fast.  But I need to create.  It’s just part of me.  It makes me a better mama to do what I love and it is so very important to me that my children recognize that Mama has passions and dreams just like they do.

So I decided it was best for the kids to have a young person come play with them two days a week that is completely focused on them.  They are getting used to someone new watching them (other than family) and are just in love with our new sitter.  And for me, I get to devote six very focused hours of my week in my studio doing what I love and working on my business.  I am really happy with my decision now and I think it’s a win-win for all of us.  But being as though I value the fact that I am able to stay home with my children, it’s not a decision that came about lightly.

So what was going on this last week?  Lots of stuff………

Fabric is ‘Circa 52’ by Monaluna for Birch Fabrics

Well, I’m excited to say that I got my next three patterns sent out this week!  One is for boys and two are for girls and I think they are so cute (of course, I’m a little biased).  It will still be several months before they are available for sale, but they are officially now in production. It’s amazing how long it takes to get a printed pattern fully ready for sale!

Above are the pictures of the lovely bundle that arrived this week from Riley Blake Designs.  Being on the Project Design Team definitely has its perks and working with pretty fabrics is one of them.  I am so in love with this line ~ Woodland Trails.  It’s fun, whimsical, girly and springy.  I’m certainly feeling Easter with this line, what about you?

My next tutorial on the Riley Blake Designs blog will be done in this line as well as a pincushion I am designing.  And those trims and buttons, you’ll see those coming up soon too!

I also got a few things listed in my shop, The Cottage Mama:

Wide Leg Boys Pants – Size 4/5

These were a boys pant pattern that I drafted.  It will not be one of the next patterns that are released as there are a few things I will probably tweak, but they were really fun to make.  They are made from a thin blue and white striped stretch denim and are trimmed with a fun orange bike fabric from ‘Children at Play‘ by Sarah Jane Studios.
And here are a couple other fun dresses that I created from my ‘Shortcake Reversible Romper and Dress‘ pattern:
Fabric is ‘Sweet on NYC’ by Sugar Pixie for Timeless Treasures
This is the dress version of the ‘Shortcake‘ pattern where I added a double ruffle down the front.  Adding the ruffle makes it not able to be reversed, but it’s still fully lined which is really nice.
Fabric is ‘Sweet on NYC’ by Sugar Pixie for Timeless Treasures
This is also the dress version of the ‘Shortcake‘ pattern with the optional rick rack trim at the bottom.  I think this fabric is so fun and funky and the lining is red with little pink flowers.
So this last week has been a little crazy, but I feel like I got so much accomplished.  I’m feeling so much more centered having finally decided to add a little help around here.  There are a few other projects in the works that I’m not quite ready to reveal (and no, none of them involve another baby).
I’ve got a lot of projects to work on coming up in the next couple weeks, but this week I will be focused on designing Miss Savannah’s orange party dress for her orange birthday party!  I can’t believe my baby is going to be turning 4.
I hope you all have a wonderful week ahead and thanks so much for reading The Cottage Home!

Inexpensive Wall Art ~ Decorating with Paper

I love when I find a great print that can bring an entire room together.  Usually I’m looking for it in the form of fabric, but when I can’t find exactly what I want, sometimes I have to turn to other sources ~ like paper.

Several months back I was shopping at my local Home Goods store and as I was going to check out this fabulous wrapping paper caught my eye.  You know how much I love patterned fabric so it was no surprise that I was drawn into this bold wrapping paper.  I needed some wrapping paper for a wedding shower gift, so I picked it up and it said $3.99 and I said ‘sold!’.  Well, I wasn’t even paying much attention, but when I got it home I noticed that is was Vera Bradley wrapping paper.  No wonder I liked it, I love her designs!

I used this wrapping paper to wrap of the wedding shower gift and then had quite a bit leftover.  I noticed that it actually picked up quite a few different colors that I have going on around our house, especially in the family room.  So I pulled two frames off the wall that were needing an update, cut the wrapping paper to size and framed them. 

Instant wall art ~ how great is that?  And inexpensive, to boot!

Here is a little corner of our family room with the two framed pieces of wrapping paper.  In addition to wrapping paper, think about framing fabric, wall paper or sheet music as well.  It’s an easy update that can really bring a room together.  And if you get tired of it, no biggie, just change it out and move on to something new that you love.

Above is a picture of our bedroom, where I simply framed two squares of fabric to tie the room together.  Another easy, inexpensive wall art project.  Definitely a great bang for your buck!

Guest Blogging at Project Run and Play: Creating a Signature Style

Today I’m guest blogging over at Project Run and Play discussing how to ‘Create a Signature Style‘.  If you’ve never checked out Project Run and Play, you must!  Think Project Runway for children’s clothing.  I was lucky enough to compete in Season 1 and I’m so excited to be back.  The blog has under-gone quite the transformation since the amazing Elizabeth and Liz of Simple Simon & Co. have taken it over this last season.
If you get a moment, come on over and say hello.
(Click HERE)
Have a great day!

Savannah’s Orange Birthday Party ~ The Invitation

Miss Savannah has a real thing for orange at the moment.  It’s her absolute favorite color.  Who knew she would be so en-vogue with her color selection? Seeing as though ‘Tangerine Tango‘ is one of the Pantone Colors of the Year she is staying right ahead of the current trends.  Just kidding……she obviously doesn’t have a clue about that, but I just thought it was kind of funny.

Anyway, Miss S. is crazy for orange, so she decided she wanted an orange birthday party this year.  What does that mean?  It means that everything is going to be orange ~ the food, drink, candy, flowers, balloons, her birthday outfit, the guests attire, the invitations and if she has her way, her fingernails too!  If you hang with us over on The Cottage Mama Facebook page, then you know that I wasn’t sure about this theme at first, but now I’m really excited about it.  I can’t wait to start designing her orange party outfit!

The invitations went out this last week and I designed them in Picnik.  I was going to show you all exactly how to make something like this of your very own, but since Picnik has decided to close, I’ll have to wait and show you in a different program (once I decide my favorite alternative).

Here are Savannah’s orange birthday invitations:

On the backside of the invitation I included a recent picture that I took of the birthday girl.  I know invitations usually get thrown away right after the party, so I thought some of our family members could enjoy it a little longer with the picture on the back.

I had these invitations printed through VistaPrint.  I really love this site for inexpensive custom printing options. I print a lot of my business pieces for The Cottage Mama through them such as business cards, postcards, stickers, return address labels, ect.  I’ve had really good luck with this company.  Our Christmas cards had a little bit of a printing issue, but they fixed the printing problem and rushed delivered them several days later, no questions asked.

VistaPrint allows you to upload your own custom design which is great or you can use one of the many templates they provide.  You can design your cards or printed material in any program that you have (i.e. Photoshop, I-photo, Picasa, Picnik) and then just upload it to the site.  The thing you will want to keep in mind is to make sure you’ve resized your design to fit whatever size card you are printing.  Savannah’s birthday invitation was designed to be printed on a 5 x 7 postcard.

So, here is a blank version of the invite I designed for Savannah’s party in case you want to throw your very own orange party.  You can save the picture to your computer or you can head over to Google Docs where I’ve uploaded it and grab it HERE.  Just pull the invite into any program you have and add your text.  If you decide to bring it into Microsoft Word then you will need to add a text box on top of the picture to add your text.

I’m looking forward to sharing more details about the party as they unfold.  
Have you ever thrown a color-themed party?  
If so, I’d love to hear about it!

Happy Day Big Bow Dress ~ Pattern and Tutorial

Today I’m excited to share my tutorial for the ‘Happy Day Big Bow Dress’ with all of you.  I created two coordinating sister looks from this gorgeous fabric (see previous post here) – ‘Sunny Happy Skies’ by Riley Blake Designs.  The big bow dress is an easy, beginner sewing project that makes a big statement with the over-sized pocket and bow.  Yes, there are two button holes, but trust me, you can handle it!

Make this dress for any holiday by changing up the fabric.  The dress can also be layered with long-sleeves and tights for the colder weather months.  Let’s get started…….

Happy Day Big Bow Dress
by The Cottage Mama
Size 12 Months – Size 8
Supplies:
3/4 yard main fabric (varies depending on size)
1/3 yard fabric for bow
Fat quarter of fabric for pocket
1 yard pre-gathered eyelet or ribbon trim for straps
Embroidery floss
Rick Rack trim
Basic sewing supplies
Embroidery and hand sewing needle
Wonder Tape (optional)
Instructions:
Cut the fabric for the main body of the dress.  Keep fabric folded with the selvages lined up.  Selvage is the edge of the fabric with the name of the fabric line on it.  This edge of the fabric prevents it from unraveling.  Cut the length according to chart below:
Size 12m-24m: 19″
Size 2/3: 21″
Size 4: 23″
Size 5: 25″
Size 6: 27″
Size 7: 29″
Size 8: 31.5″
The dress I made for Matilda is the size 2/3.  You can see where the dress falls on her and adjust yours accordingly depending on if you would prefer a shorter or longer length.  If you follow the sizing above, your length should look about the same as her dress.
Turn the main body fabric so that the right sides are facing each other.  Stitch the selvages together to make the body of the dress.  Do this by sewing a straight line matching up the selvages.  This seam will be the back of your dress.  Use a 1/2″ seam allowance.  Press seam open.  You won’t need to finish the edge because we’ve left the selvage in tact so there will be no fraying.

Hem the bottom of the dress.  It won’t matter which side you hem, unless you are using a directional fabric.  In which case, you will need to hem what appears to be the bottom.  To hem, turn the raw edge up 1/2″ and then turn it up another 1/2″ and stitch in place all the way around the bottom.
Now cut the fabric for the large bow.  Cut TWO strips on the fold, both 5″ wide (you will use the full width of the fabric).  See picture above. If you are making the 12-24 month size, you may want to shorten the length by about 5″-7″.  
Now you will have two long strips of fabric that you need to sew together.  Put them right sides together and sew one of the short sides together – use a 1/2″ seam allowance.  This will make one giant long strip of fabric that is approximately 82″-84″ long x 5″ wide.
Fold the 5″ wide strip in half with the right sides facing and make a diagonal cut on both ends.  Do this however you think looks best.  There’s no right or wrong way about it.

With the right sides together, sew the long strip using a 1/2″ seam allowance.  Leave a 4″ opening in the middle of the strip so you will be able to turn it right side out.  Before turning, make sure to clip your corners to remove bulk.
Turn the strip right side out by pulling the fabric through the opening.  Work out the corners with something sharp line a bone-turner, pen, or paint brush and press with your iron.  Normally I would suggest that you hand-sew the opening closed, however, this part of the bow is going to end up encased in the top of the dress so don’t even worry about closing it.

For the pocket, you can embroider whatever you would like.  I used a water-soluble marking pen and simply wrote ‘Oh Happy Day’ and embroidered over it.  If you aren’t sure how to embroider, I will have to do a tutorial for that on another day.  But in the meantime, my friend, Jen, started a blog called ‘Ginger Freckle‘ not long ago and she’s got a great tutorial for the basics here.  
It’s kind of fun to have your own hand-writing on your child’s garment, so don’t worry if you think you don’t have neat hand writing……..just give it a try…….I think you will be pleasantly surprised.  Everything looks better with embroidery on top of it!
Once you’ve finished your embroidery, cut your fabric down to a 10″ x 8″ rectangle.

To make the rounded corners, find an object with a rounded edge.  I used one of our mason jar drinking glasses that I pulled out of the kitchen cabinet.  Fold your square in half and use your rotary cutter to cut around the curve.  If you don’t have a rotary cutter, simply trace the curve and cut with scissors.

The easiest way to add the rick rack around the edge is to use my favorite product, Wonder Tape.  I know I have said it a thousand times before, but Wonder Tape is a double-sided tape that will wash away after a garment goes through the washing machine and it doesn’t gum up your needle.  It is amazing at holding trims in place.  But if you don’t have it, just use regular straight pins.
Pin or tape rick rack on the right side of the fabric around the edge of your pocket.  Line up the edge of the rick rack with the raw edge of the fabric.  Cross over the ends as seen in the picture above.  Stitch straight down the center of the rick rack all the way around the pocket.

Use your iron and press the rick rack to the back side of the fabric all the way around.

Pin the pocket piece to the dress.  Just use your best judgment about where you would like the pocket placed.  Also, mark where you would like the top of the pocket to open.  Top-stitch around using a 1/4″ seam allowance.

Fold over the top of the dress 2″ and press towards the wrong side of the fabric.  I finished the top edge with my serger to prevent fraying.  If you don’t have a serger, you may choose to use pinking shears to finish the edge or a zig-zag stitch before you press the fabric in this step (totally optional).

Measure down from the top of the dress by 1/2″ on the right side of the fabric.  I made my button holes 1″ long, though you could probably make them 3/4″ if you would prefer.  I also set mine about 1″ apart from each other.  Before making the button holes, turn the 2″ of fabric that you pressed in the prior step back up (you don’t want to catch the other side when we make the button holes).  We just wanted to press it down so we could mark our button holes appropriately.

I’m going to assume everyone does button holes a little different depending on what kind of machine you have.  I have a button hole foot on mine, so that’s what I use.  If you need a button hole tutorial, you can check out this one from Sew Mama Sew.  Do not be afraid of the button hole – they really aren’t as hard as they look!

Once you’ve made your two button holes.  Fold the 2″ back over and stitch in place to create the casing for your strip of bow fabric.

To thread the bow fabric, use a bodkin or a safety pin on one end of the long strip.  Work the bow fabric through one button hole and out the other.
For the straps, I used pre-gathered eyelet, but you could use any kind of strap you like ~ try using ribbon, decorative trim, or you could try your hand at making ruffles from coordinating fabric.
Sorry I don’t have better pictures for this part.  I got a little excited to be finishing the dress and forgot to snap them.  I’m going to recommend measuring your child for the strap length.  The straps for the 2/3 dress for Matilda were cut at 10.5″ each.  If you would prefer to just make a guess, you can add an additional 1/2″ – 1″ for each additional size up from the 2/3. 

Remember when deciding on your strap length that you will be losing about 2″ based on sewing the straps in line with the casing stitching (in the step below).  So make sure to add 2″ to your desired strap length when cutting.  Logic would tell you that you’d be losing 2″ on EACH side, but the way the bow gathers the top of the dress, you really only end up losing 1″ on each side for a total of 2″. 

You will attach each strap by lining up the raw edge of the strap with the line of stitching that made the bow casing around the top of the dress (the stitching that we did 2″ from the top of the dress).  Make sure the strap is placed inside the dress.  Stitch over that line to attach the strap.  Then hand stitched the strap in all four places to the top edge of the dress.
Then tie a big giant bow in the front of the dress, step back and admire your work because you’ve done it!!  You’ve completed the ‘Happy Day Big Bow Dress’.
And finally, put this happy little dress on your happy little lady. Enjoy!
To download my free pattern and tutorial for the ‘Tulip Petal Sun Hat’, please visit Riley Blake Designs Cutting Corners blog by clicking here.

Sponsored BabyLegs Giveaway: FiFi Ruffles

We’ve got another great new blog sponsor that has joined the crew here at The Cottage Home, please welcome the children’s apparel website, FiFi Ruffles!
A little bit from the owner of FiFi Ruffles……

Hi, I am Kim Woitkowski, owner and founder of FIFi Ruffles. I am a mother of four and recently welcomed our first daughter 11 short months ago. Our first three children are “grown boys”, ages 18 thru 24. Growing up I was never a “girly girl”, however in my adulthood I began to adore little girls clothing and would find myself browsing those sections in the stores years before we decided to have another child. Once we knew we wanted another child we hoped and prayed for a girl! To our amazement we were blessed by the prettiest, sweetest  and pleasant little girl, Sophia (aka FiFi). 
 During my pregnancy my husband and I went shopping (and LOTS of window shopping as well!) in search of the most adorable and unique clothing we could find. As you could imagine, we had been out of the loop on the little ones clothing scene for quite some time and let’s face it…when the boys were growing up the internet was just coming of age and there weren’t very many options for adorable clothing for them. We quickly realized we both loved little girl clothing and would get excited for every new find! We fell in love with Mud Pie Baby (along with many others). 
 At the same time I returned to work and realized a few months ago that I wanted to be home with my little girl and finally take the leap in business ownership (YIKES!). With this venture and inspiration from my daughter, we not only started the business but I have begun sewing and making my own little creations! I aspire to create our own clothing line someday and open our own little boutique. I am blessed to have finally found a “job” that I truly enjoy.    
We are estatic that our family has ventured down this path and hope to place smiles little girls’ faces when they wear the clothing we offer. After all, wearing anything that ruffles is sure to make you feel like a princess! We strive to offer the LOWEST price on Mud Pie Baby Products, in return, brining smiles to Mommy and Daddy’s face as well!!
 Today Kim is giving away a 3 pairs of BabyLegs Winter Collection Leg Warmers to one lucky The Cottage Home blog reader.  The winner will be able to select any three pairs that they would like from the selection here.  
I owned about 6-8 pairs of BabyLegs when Savannah and Matilda were itty bitty and I absolutely adored them.  So incredibly cute, yet so useful for easy diaper changes and protecting knees for early crawlers.
Here’s how to enter to win a set of three pairs of BabyLegs (one entry per person):
1) Like the FiFi Ruffles Facebook Fan Page and make sure to let Kim know that ‘The Cottage Mama sent me!’ (click here).
The winner will be selected a little differently this time…….  
Kim will hold an old fashioned raffle to determine the winner.  All entries will be placed in a hat and FiFi (Kim’s daughter pictured below) will draw the winner.  A video of the drawing will be placed on the FiFi Ruffles Facebook Fan Page.  Kind of fun, huh?
Here’s a picture of little Miss ‘FiFi’ who will be selecting the winner:
Giveaway open until Saturday, February, 11, 2012 at midnight (CST).
If you are interested in becoming a sponsor of The Cottage Home blog, please email Lindsay at thecottagemama[at]gmail[dot]com for rates and additional information.