Archives for September 2010

Baby Boys and Robots

Is it just me or does it seem like there are a ton of babies being born during this time of year?  It seems like all our friends have been having babies left and right……as a matter a fact our good friends Patrick and Anita just had a new baby today…….baby Lucy!

As I’ve mentioned before, I’ve been busy getting my inventory ready for a show next week, but I have managed to find some time to whip up a few baby gifts here and there (and I have a couple more to do this weekend).  My friend Shannon just had her second baby boy so I thought I’d make her a little something special for her new little bundle……..baby Kevin.

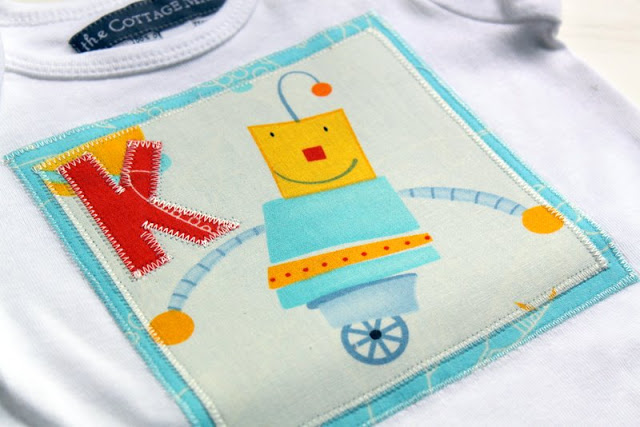
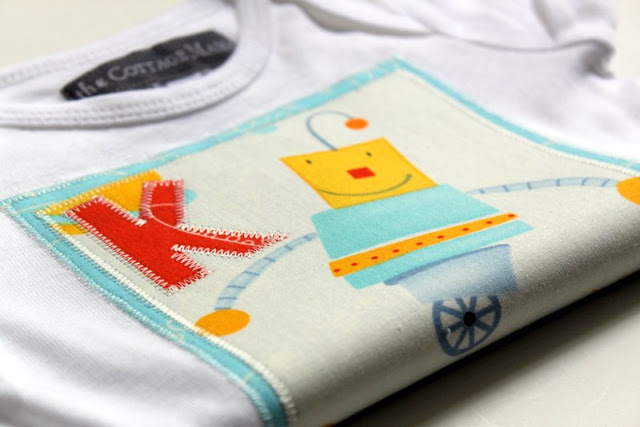
I made Shannon’s baby boy, Kevin, this little robot gift set.  A custom appliqued organic cotton onesie and two cotton chenille burp cloths.

I love David Walker’s “Robots” fabric – isn’t it just so cute?  I’m not all that versed in boys, seeing as though I have two girlies, but I’m used to seeing cars, sports and dinosaurs for boys.  I think the robots are unique.  I used the applique techniques from this “Sew Basics” post for the onesie.

I used three fabrics for the applique.  The light blue for the border, the robots for the main fabric and the red for the “K” (for “Kevin”).  I applied the applique with fusible interfacing and I used a medium sized zig-zag stitch around the edge to prevent any fraying. 

Do you want me to tell you a little secret?  I used embroidery thread instead of my regular thread for the applique and it turned out awesome!  I don’t have a fancy sewing machine so I never thought of embroidery thread to even be an option for me, but this worked like a dream.

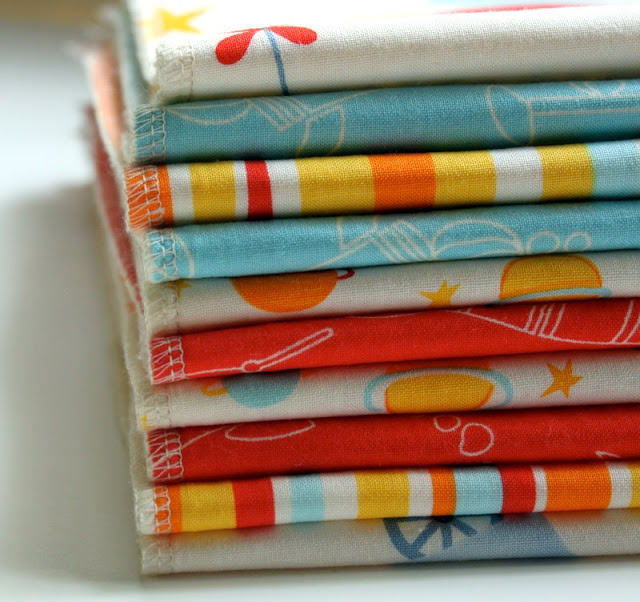
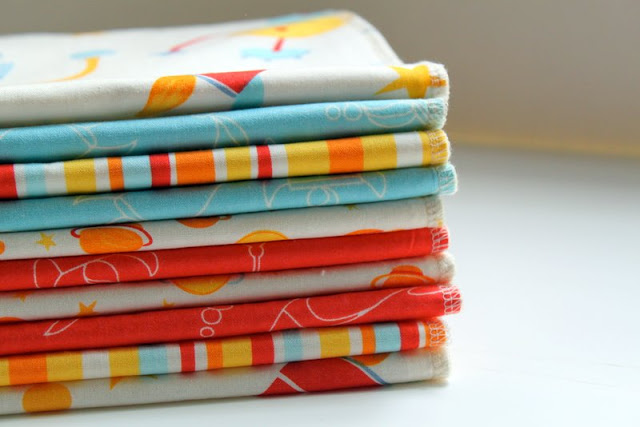
To go along with the “Robot” onesie I made a couple burp cloths.  And since I was making burp cloths, I decided to make a bunch for my show this next week.

These came together rather quickly because I used my serger.  I’m typically not a huge fan of a serged edge, but I think it works for boy things.

I used a wide variety of fabrics from David Walker’s “Robots” collection.  I love how these can be put together as burp cloth sets.  I don’t think I will be listing these in my etsy shop, but they will be great for shows and make wonderful gifts!

For the backing I used a super-soft cream chenille.  Chenille is definitely my favorite fabric for baby – so soft and cuddly but really durable as well.
Thanks for letting me share! 
  Do you know lots of people having babies during this time of year?  
What kinds of fun baby gifts are you making? 

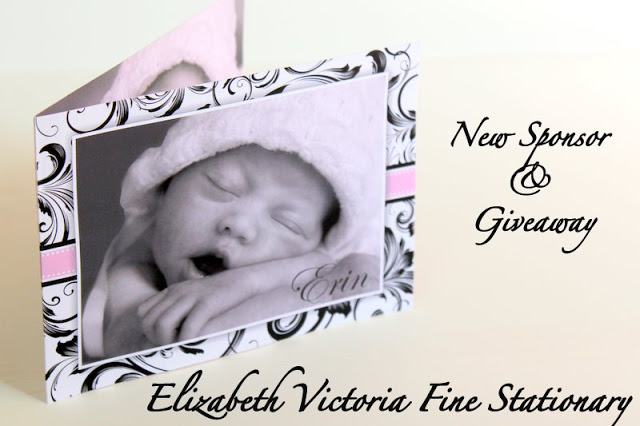
New Sponsor and Giveaway – Elizabeth Victoria Fine Stationary

I’m so excited to announce the newest sponsor of The Cottage HomeElizabeth Victoria Fine StationaryElizabeth Victoria is giving away a gift certificate to their shop to one lucky The Cottage Home blog reader.

Want a chance to win?

Click here to read more about our great new sponsor and enter to win this wonderful giveaway.

Embroidered Reusable Snack Bag Tutorial

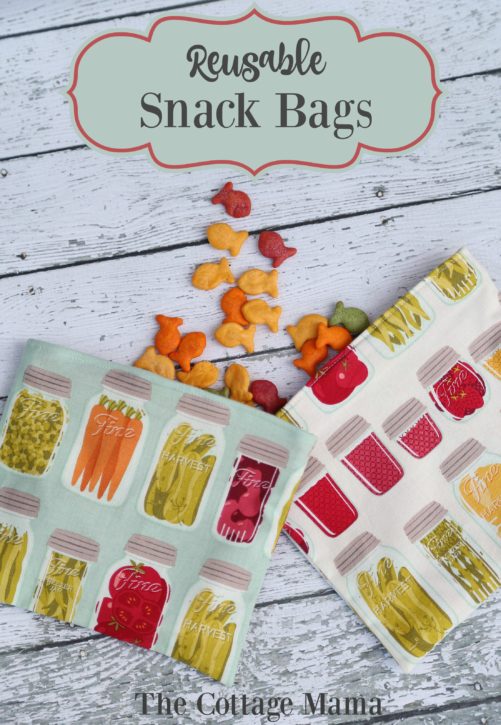
Reusable Snack Bag Tutorial by Lindsay Wilkes from The Cottage Mama

I have been wanting to make some reusable snack bags for my girls for about six months now.  Today I finally took the initiative and got some made (it’s about time, right?).  I made these today partly out of necessity (we are out of plastic sandwich bags) and partly because we are taking a road trip down to Tennessee next week for me to do a show for “The Cottage Mama” and I just thought they would be great for the car ride.

There are about a gazillion tutorials on the internet for these reusable bags (there are some really great ideas out there).  But as it is with most things for me, I didn’t find exactly what I was looking for…….so I made up my own version and now I’m happy to be able to share it with you………

Reusable Snack Bag Tutorial

Supplies:
1 piece exterior fabric (8″ x 13″)
1 piece unbleached interior fabric (8″ x 13″) – I used Osnaburg cotton
Velcro (7″)
Fabric scraps for embroidery
Water soluble fabric pen
Embroidery floss, needle and hoop
Sewing machine
Scissors
Thread
Iron

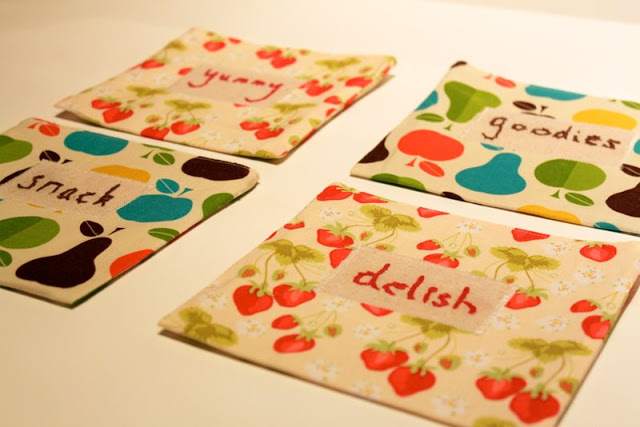
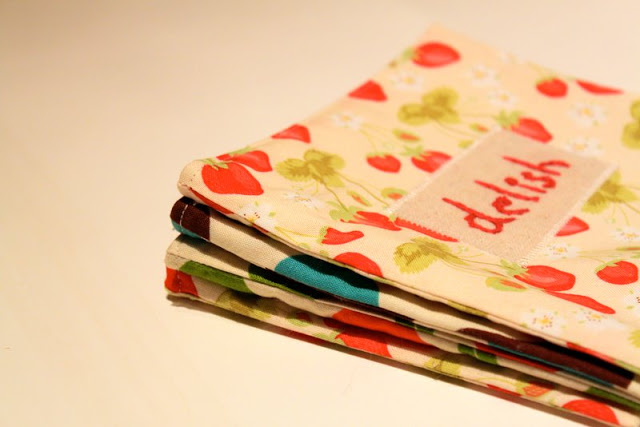
The embroidery on these snack bags is what I think makes them fun and unique.  You can use whatever words you like – I used “yummy”, “delish”, “snack” and “goodies”. Take your water soluble pen and write your word onto your fabric (again, I used Osnaburg Cotton).  Embroider over the wording.  Take a damp cloth and remove any of the blue pen that still shows through.

Cut words into rectangle shape.

Take your interior fabric piece and pin velcro in place.  Pin 1/2″ from the end and both sides.  I used osnaburg cotton for my interior fabric because I wanted to make sure that I used something that would be unbleached, natural and food-safe.  You can use muslin as well.  I just love the feel of osnaburg (and it’s very inexpensive too).
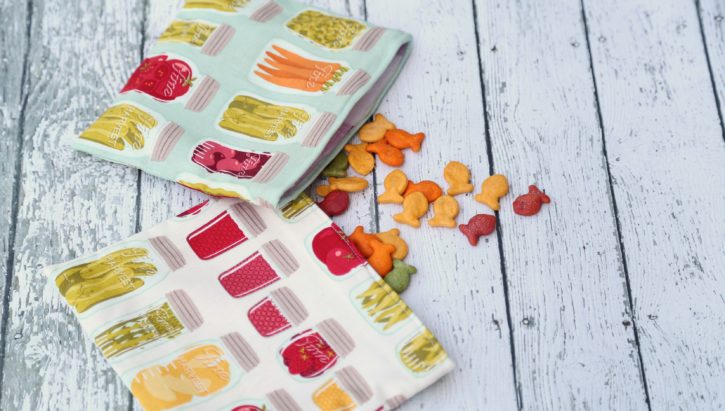
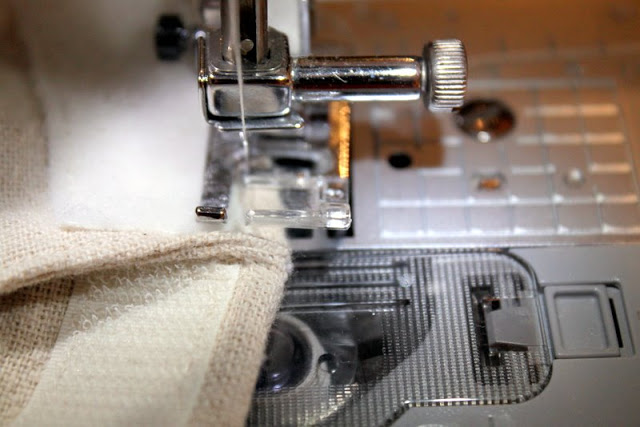
Stitch your velcro in place on both sides.  Stitch as close the edge of the velcro as possible.

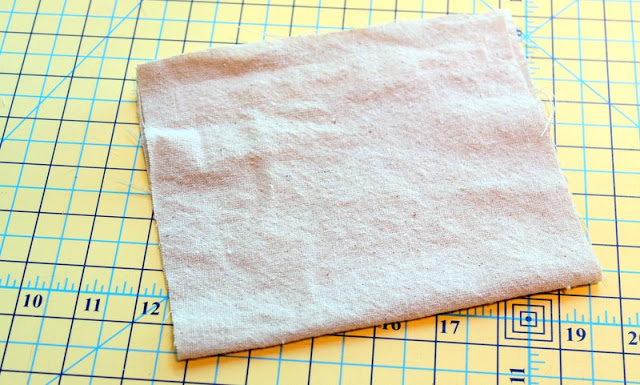
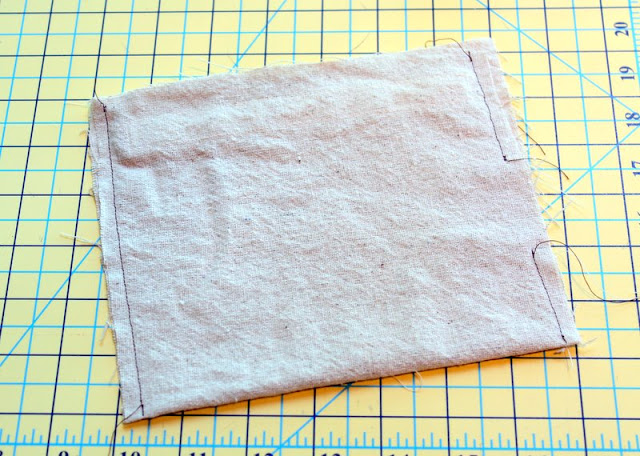
Fold your lining (interior) fabric in half (right-sides together).  Stitch down the right and left side, but leave a small opening on one side (see picture below) – 1/2″ seam allowance.

I left a small opening on one of the sides – you will need this little opening later to turn things right side out.

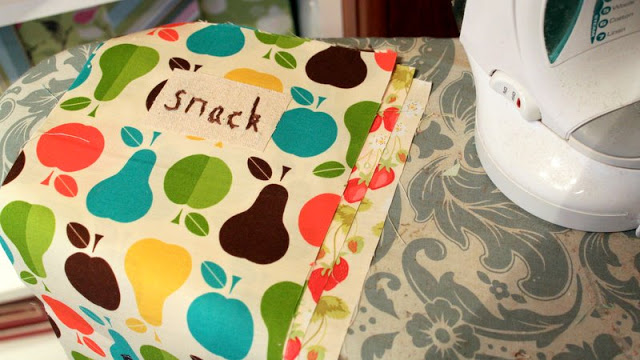
Apply fusible interfacing to all of your embroidered words (according to package directions).  Make your words as big or as small as you like.  Mine were all a little different, but I like it this way because it has a more handmade feel.  Iron each word to the exterior fabric.

Use a zig-zag stitch around the exterior of each word rectangle.  You can use a straight stitch if you prefer, but just be aware that you will have some fraying on the edges (but some people like that look).

Fold exterior fabric in half (right sides together) and stitch down the right and left side – 1/2″ seam allowance.  Clip corners.  Turn right side out.

Once turned right side out press with an iron.

Turn exterior fabric inside out again.  Place interior fabric inside exterior fabric with velcro facing the right side of the exterior fabric.

Line up the raw edges and pin in place.

Stitch interior and exterior fabrics together by stitching around the top of the snack bag – 1/2″ seam allowance.

Now this is why we needed that little opening.  Pull exterior fabric through the opening to turn the whole snack bag right side out.

To close the opening in the lining, stitch down the side of the interior lining.  I stitched the other side too just to make them both the same.

Add top-stitching around the top of the snack bag in coordinating thread.

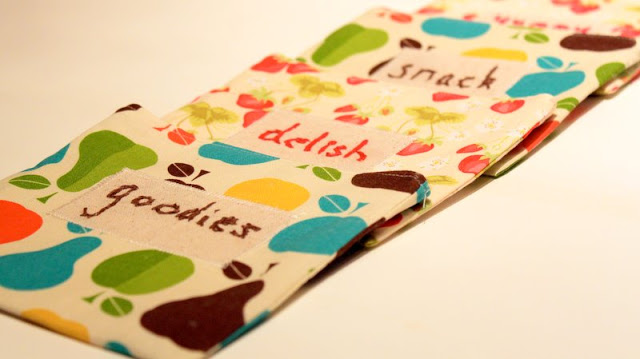
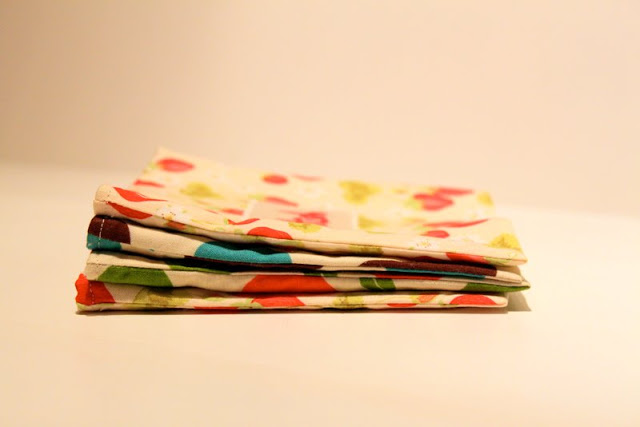
And there you have it – snack bags for the little ones in your life.  Or just for you (my husband said he even liked them!).

I think it would be fun to embroider kids names on the bags or other fun words that having meaning to your family.

I couldn’t decide between “goodies” or “munchies” but Savannah said she liked “goodies” better.

You can adjust the measurements of this tutorial and make these bags as big or as small as you like.

These snack bags came together really quickly by doing them assembly line style.  So I recommend doing it that way if you plan on making these.

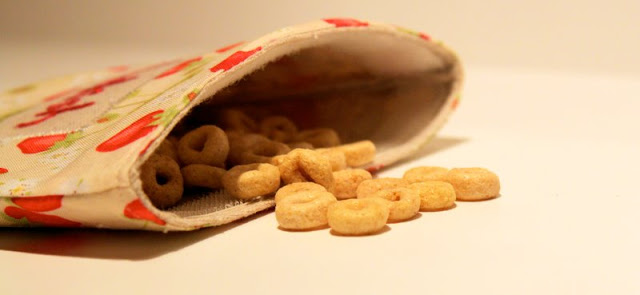
 Perfect for dry snack foods like Cheerios!
Cottage Mama’s Note:  These snack bags are completely washable, but are not waterproof.  I know oil cloth is a very tempting fabric to use for these bags, but please avoid using that product as it is not considered food-safe.
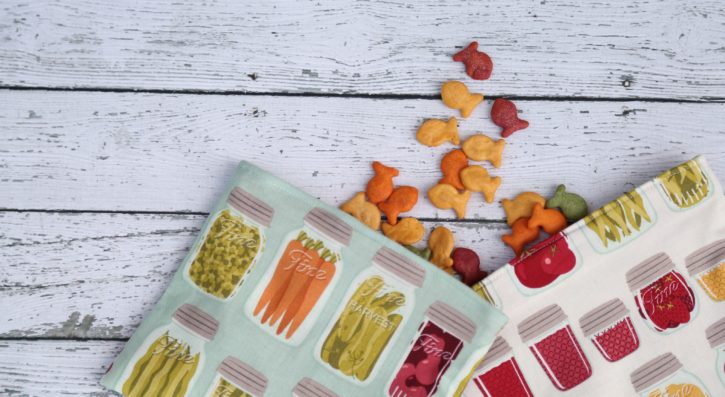
Here is an updated version of the Snack Bag without embroidery!
Reusable Snack Bag Tutorial by Lindsay Wilkes from The Cottage Mama
Until next time……

Happy Sewing!

The Cottage Mama Clothing Labels

I love my clothing labels.  Yes, I need clothing labels because I sell children’s clothing, but even if I didn’t sell my clothing I think I would still want my own labels.  There’s just something so gratifying about sewing your own label into a completed project……whether it be your kids clothing, a baby gift, a quilt, a fun clutch, ect.

I have had a handful of emails over the last month in regards to where I purchase my clothing labels (which by the way, I am happy to answer because I love hearing from you guys).  I know I’ve cited it in a few posts, but I thought I would dedicate this post to just clothing labels.

So there are pretty much two options when it comes to purchasing labels for your goods – woven or printed.  I prefer woven as they will stand up to heavy-duty washing and seeing as though I do mostly children’s things that is definitely important.  If you sew things such as handbags, quilts, or other items that are washed less frequently then printed might be a fine option for you.

There is a difference in price when it comes to woven vs. printed labels.  Woven are more expensive as the text or image is woven into the label.  Price is certainly something to consider when deciding which option is more appropriate for you.

I purchase my “The Cottage Mama” clothing labels from Fancy Weaver on Etsy.  I went with this company as it came recommended to me by several other Etsy artisans.  I find them to be very reasonably priced and easy to work with.  The only thing to take into consideration is that is will take 3-4 weeks to receive your labels as they are produced overseas. 

My labels are text only.  I chose the background color, text color, label size and the font that I wanted (my tags have two fonts).  This is the most inexpensive option for woven labels.  You can also choose to have a logo (which includes multiple colors), but again then you are driving up the price.  If your logo is very important to you then go for it, but for me, text only is perfect!

So here are some resources for purchasing labels:

Also, if you are interested in making your own clothing labels, you must check out these tutorials from Patchwork Pottery, Allyson Hill and Kojo Designs.

In regards to my size tags, I purchase them from Big Apple Fabrics on Etsy (always love to buy on Etsy)!  Again, I order woven size tags as well due to the durability.

Cottage Mama’s Note: Even if you don’t sell your items, I highly recommend investing in some little labels – either by purchasing them or making your own.  They don’t have to be fancy, just a little something to show that your item was handmade with love.

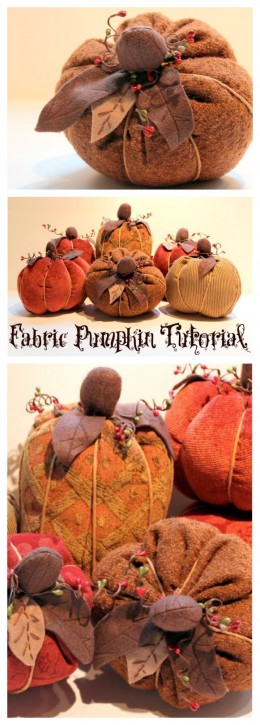
Fall Fabric Pumpkin Tutorial

It’s really starting to feel like fall here in the Midwest.  We still have our occasional warm day, but for the most part fall is upon us.  Fall is my favorite time of year with all the fun festivals, pumpkin patches, apple orchards…….I truly value the beautiful seasons each year.

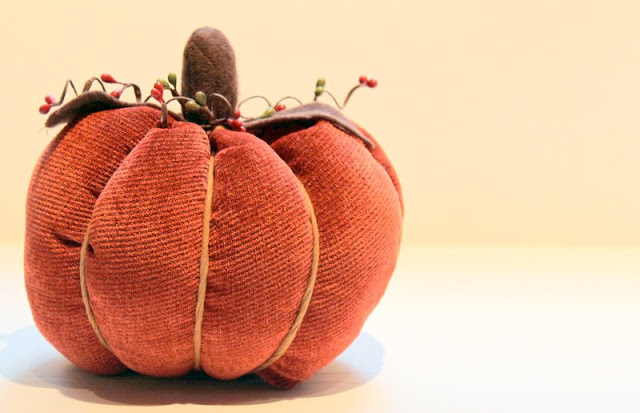
Since it finally feels like fall, I think it’s time to get out some decorations for around the house.  I wanted to make something for our home that tied in with the season as well as our decor.  Though I tend to use bright colors in my clothing design, my home is decorated in more rich tones….think deep red, green, mahogany and cherry wood.  I came up with these chubby fabric pumpkins and can’t wait to put them around the house.  I thought you might like to make some too………so here’s the “how to”:

Fabric Pumpkin Tutorial

Supplies:

Fabric pieces – variety of sizes
2 pieces of brown felt
1 piece tan felt
Fiberfill or other stuffing material
Brown embroidery floss
Thick twine
Hand-sewing needle
Sewing Machine
Decorative wire berries (optional)


Directions:

Gather your fabric.  I found these upholstery fabric samples at Joann’s for $2.00 a piece.  They were discontinued special order fabrics.  I decided to use decorator fabric because I love the variation in textures and designs, but you could definitely used quilting cotton for this project if you would prefer.
Cut your fabric.  I wanted my pumpkins to be all different sizes since no two pumpkins are ever the same.  Here are some of the measurements I used:
17.5″ x 10″
17.5″ x 12″
12″ x 6″
12.5″ x 7.5″
17″ x 13″
Basically you are looking to cut out a rectangle shape.
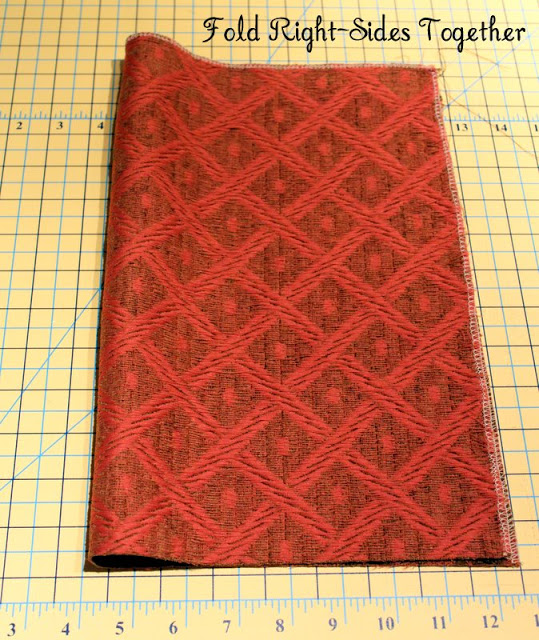
Fold your rectangle, right-sides together.  Stitch down the long-side (side to the right) with a regular straight-stitch.  Then run a gathering stitch around the top and the bottom (leaving the top and bottom OPEN).  Turn right-side out.
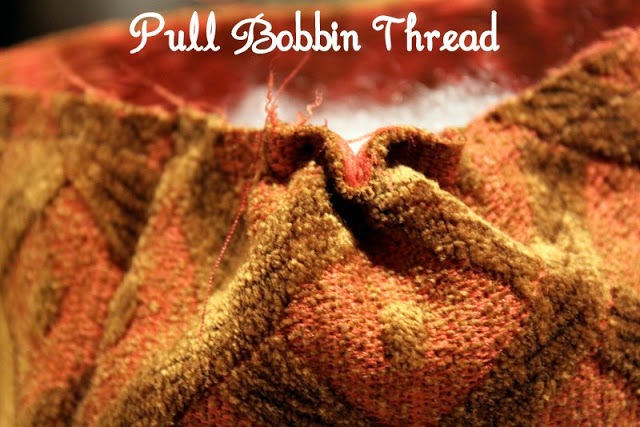
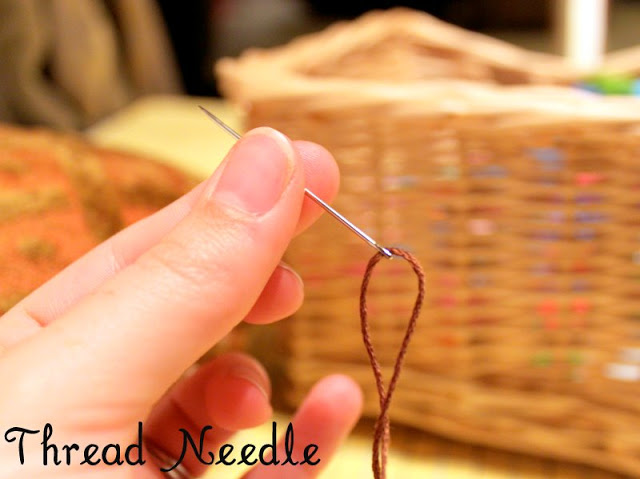
Pull the bobbin thread to start gathering one of the ends.  Work the gather until you have pulled it as closed as possible.  If you are using regular cotton this will be much easier.  If you are using decorator fabrics, this can take some time.  You may also consider hand-sewing a large straight stitch with embroidery floss and using that to gather instead of your machine (my thread broke on one of my pumpkins).  Either way will work.
This is as tight as I could pull my bobbin thread with the upholstery fabric.  Tie your thread ends together and turn it in-side out again.
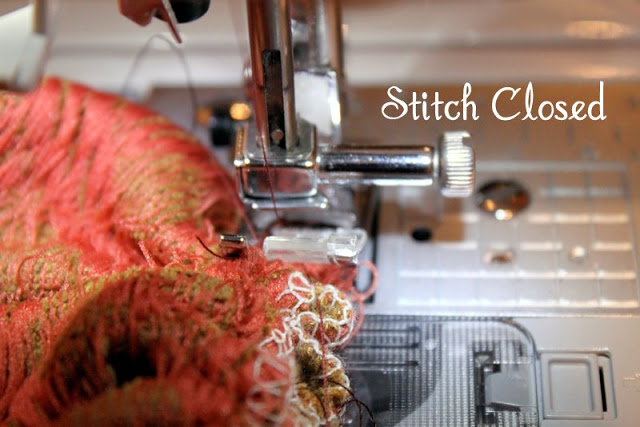
Place the gathered end in your sewing machine and stitch to close.  You will have to kind of jam the fabric under the foot as it is very thick, but don’t worry, your machine can handle it.  You may also choose to hand-sew the opening closed with embroidery floss.
Next fill your pumpkin with fiberfill or whatever type of stuffing you have on hand.
Once you have stuffed your pumpkin, pull the bobbin thread from your other gathering stitch to begin to close the opening.
Close the opening entirely by hand-sewing.
Take your twine and wrap it around the pumpkin (very tightly).  Do this as if you were wrapping a present.  Loop it around, then cross-over, around and cross-over.  You will cross-over at the top and bottom of the pumpkin.  Go back and forth until you have 6-8 sections on each pumpkin.  Finish by simply tying in a knot.
You may need to slide the twine around until you have even look sections – just work it until you like the look.
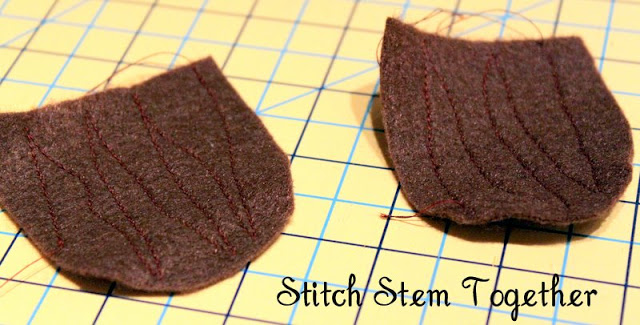
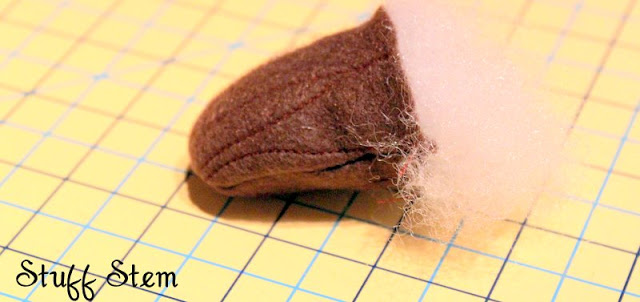
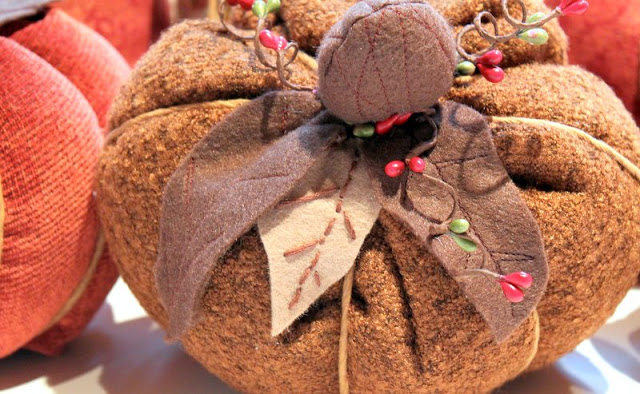
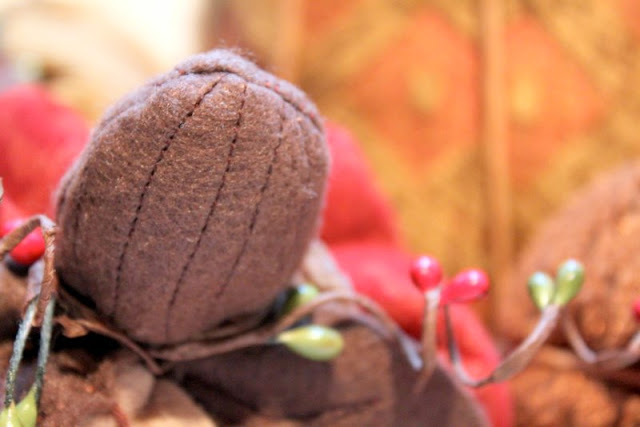
Next you will need to make your stems and leaves.  I made each stem a different size, so just cut out whatever shape you like from your brown felt.  I also machine stitched on top of the felt to add some texture.  Place both stem pieces together (right-sides together) and stitch around the curve (leave the straight-side open).  Turn right-side out.
Suff your stem with fiberfill.
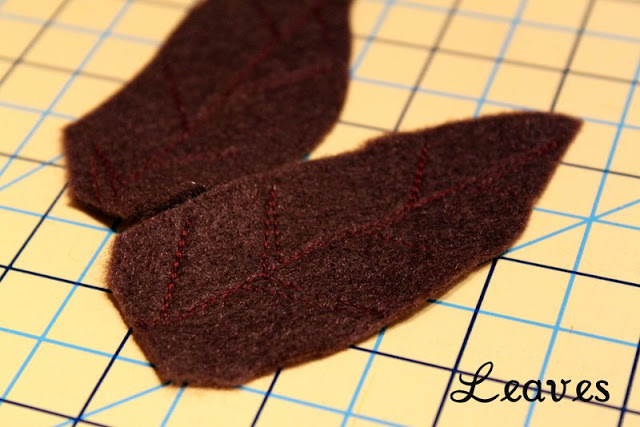
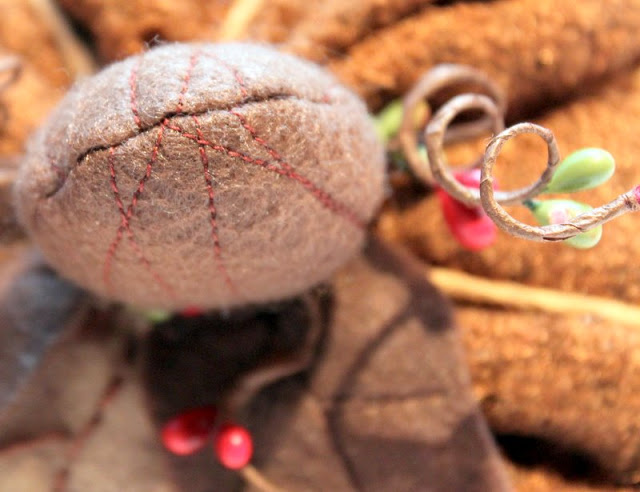
Cut out two to three leaves per pumpkin.  I did mostly brown leaves and a couple tan ones.  Again, I machine stitched veins onto the brown felt with brown thread.  This is your opportunity to be creative……cut your leaves out in any shape or size that you like.  Mine were all different.
Next hand-sew your stem and leaves to the top of each pumpkin.  There is no special technique here.  Just place the leaves where you like and stitch away.
You can certainly skip the stitching on the stem and the leaves, but I think it adds a more realistic feel to the pumpkins.
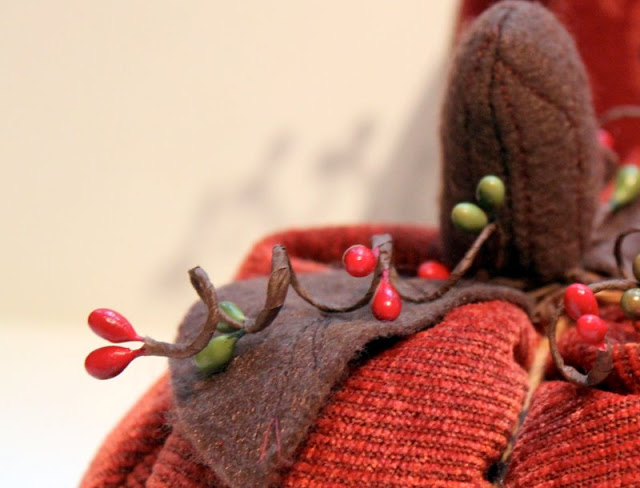
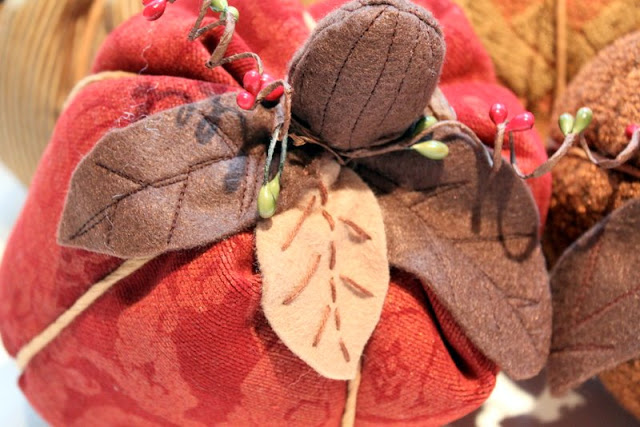
For a final finishing touch, I took a bunch of deep red and green berries and added them to the top of each pumpkin.  This was just one bunch that I purchased at Joann’s.  I cut the bunch apart and wrapped two wire pieces around each stem.  To make the curls, wrap the wire around a pen or pencil.
On a couple of the tan leaves, I hand embroidered some detail.  I like the contrast between the tan leaves and the brown ones.  You could hand-embroider all of the leaves or machine-stitch all of them……again, it’s up to you.
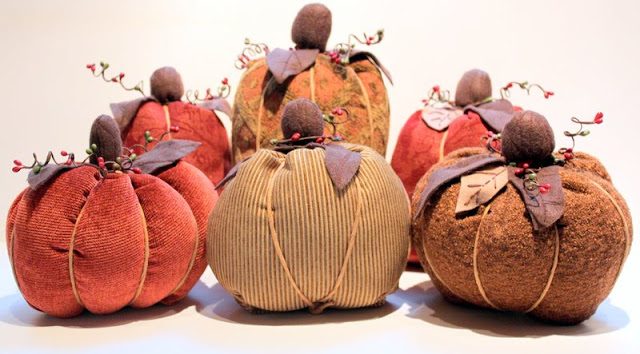
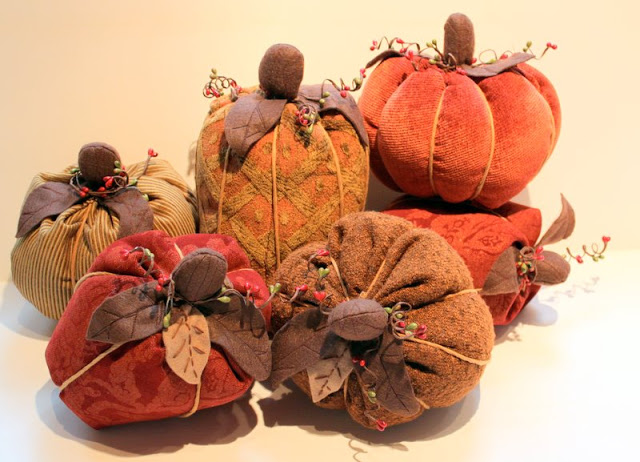
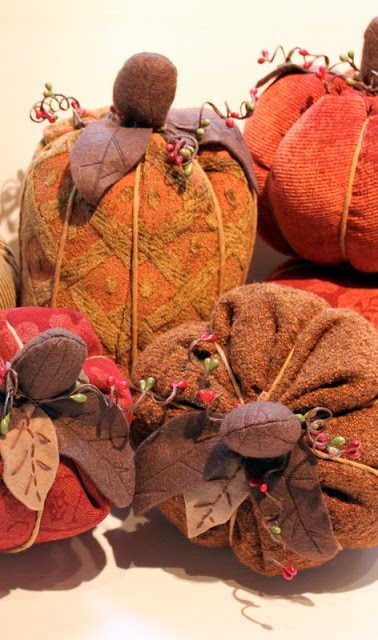
And there you have it – a family of festive fall fabric pumpkins!
They are just so cute, don’t you think?  I could just squeeze them!  Well, I won’t, but my daughter Savannah already did……she gave each one a hug and said, “I love you pumpkins!”.
Fall Fabric Pumpkin Tutorial. www.thecottagemama.com

Happy Fall!

Friday Share

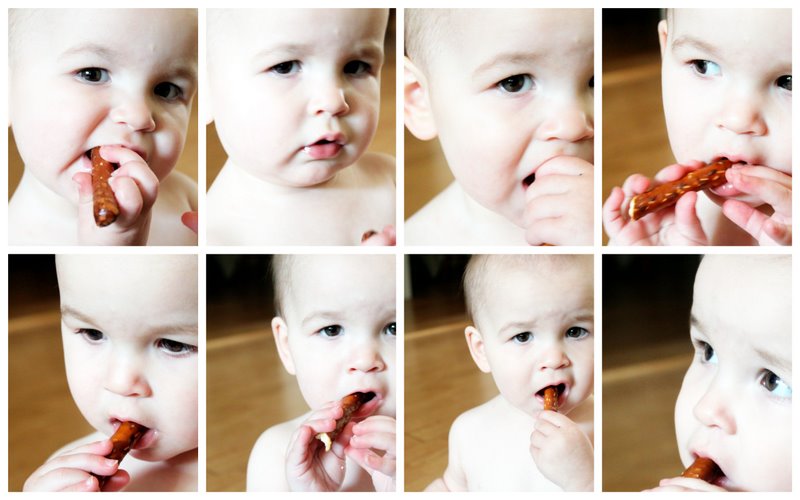
Well, this has been a busy week. I have to admit my children were not their normal well-behaved selves……there was very little listening going on in my household.  I don’t know, but there must have been something in the air because they were double-trouble for sure!  Despite their shennanigans, I managed to get some sewing accomplished.  And looking at this sweet little face definitely eased my frustration of parenting these two…….

Matilda Jane eating her pretzel

This week I received a really fun package in the mail.  
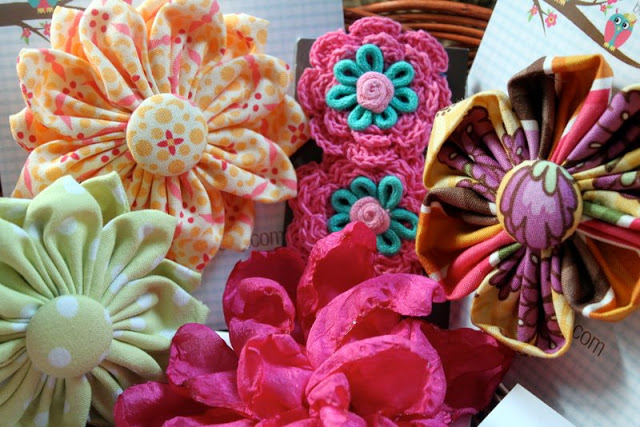
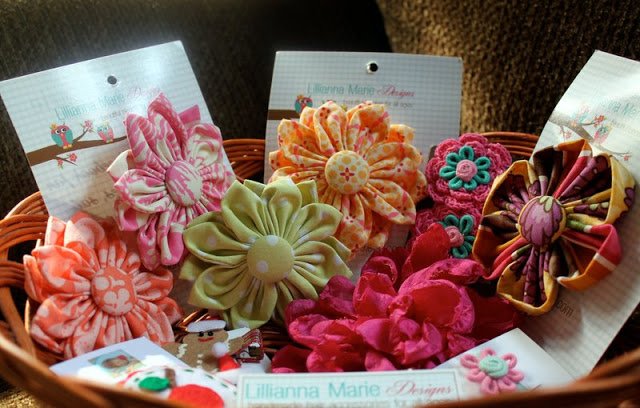
Lillianna Marie Designs is going to be doing some matching hair accessories to coordinate with The Cottage Mama that she will be selling in her etsy shop.  
She sent me this box full of goodies this week!  Her work is awesome and I am so, so, so excited to have all these darling hair clips for my girls.  I know her matching hair accessories are going to be amazing. Thanks Nicole! 
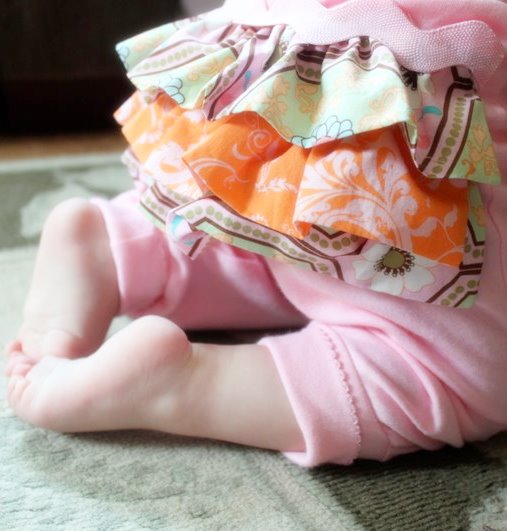
I was able to find time to create a new little outfit that I am pretty happy with.  The onesie and pants are 100% organic cotton and feel just dreamy.  Since Matilda is not walking yet, I made this outfit with a crawler in mind.  Due to the crawling, I haven’t been able to put Matilda in dresses because her knees get caught up in them.  But sometimes I feel like pants aren’t girly enough………so in comes my Ruffle Bottom Organic Pant Set.

I trimmed the organic cotton pants with three lined ruffles and finished them off with giant pink rick-rack trim on top.

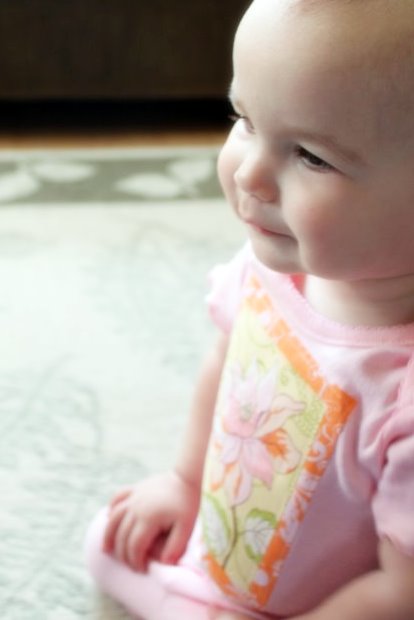
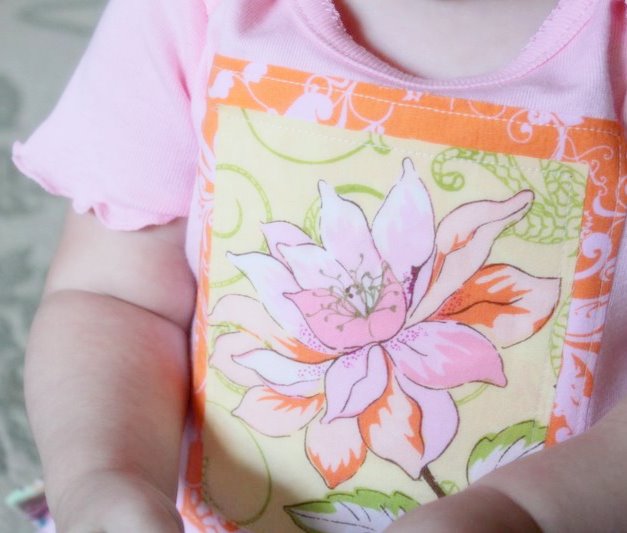
The onesie has a layered flower applique in pink, orange and yellow.  I left the edge raw to allow for some slight fraying.

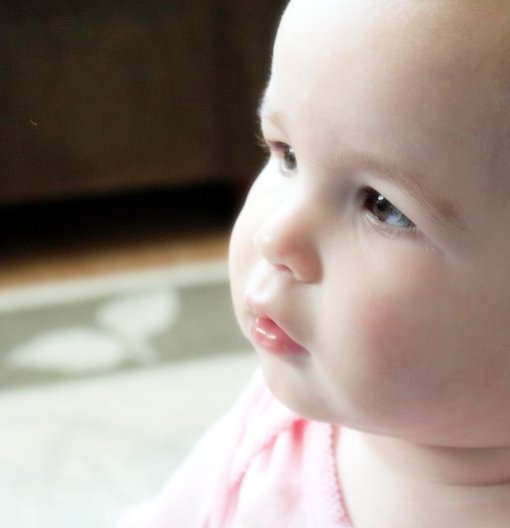
And there’s that little angel face that I just can’t get enough of these days.  She has the ability to turn any frown upside down.  Love you, my sweet girl!

And finally, I’m so excited about a fabric order I am placing this week!  It’s for Anna Maria Horner’s new “Innocent Crush.  I love it – I find the color choices very interesting and unexpected and I love the organic nature of her designs.  This fabric comes out in November – can’t wait!!

I hope everyone had a great week and thanks for letting me share mine with you.  Have a wonderful weekend!

Cottage Mama’s Note:  The Organic Ruffle Bottom Onesie and Pant set is available and ready to ship in size 12 months.  Click here for more information. **Update** Size 12-Months now sold.

New Sponsor Highlight: The Blog Guidebook

I’m so excited to introduce you to one of my new sponsors, The Blog Guidebook. Please click here to read more about this lovely new sponsor of The Cottage Home.

Think you would be a good fit for The Cottage Home? Interested in becoming a sponsor? Please email me ([email protected]) for rates and additional information.

Cooking with Kids – Pita Pizza

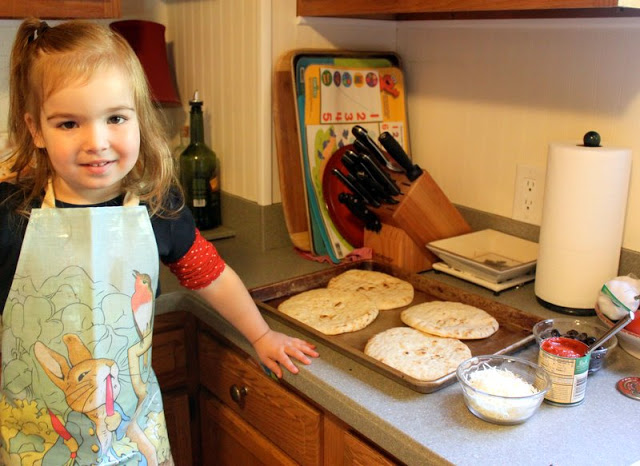
My oldest daughter, Savannah Rose, is 2.5 years old and she loves feeling like a “big girl”.  Being that she is still pretty little, we have only cooked and baked together a handful of times, but I plan on making this a regular activity for the two of us (and eventually the three of us when Matilda gets a little older).

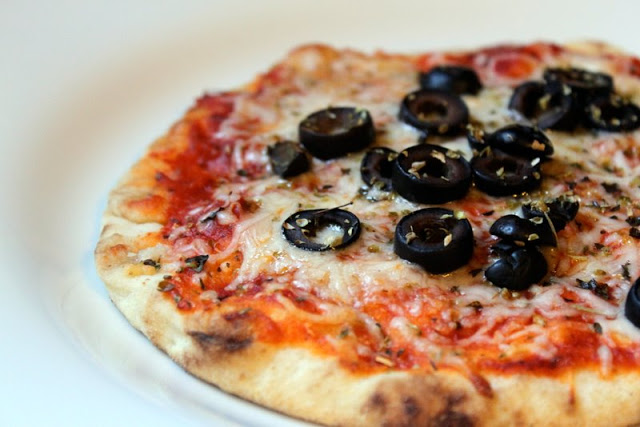
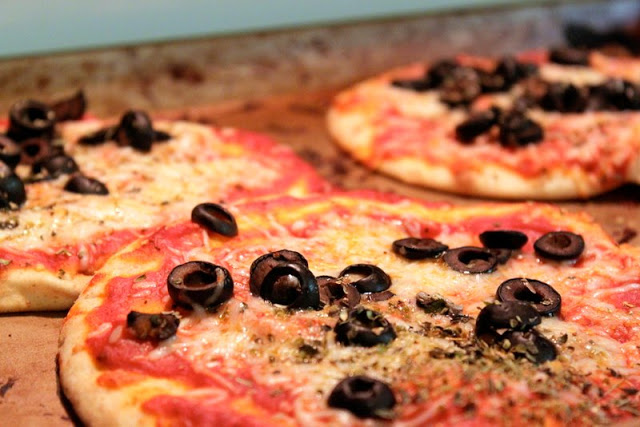
Today for lunch I decided to make something I know Savannah loves – Pizza!  This recipe (if you can call it that) was super-simple and Miss S. was able to be involved the whole time.  I want to foster the love of cooking in all my children and I hope some of these early times in the kitchen will develop a life-long passion for the culinary arts.

Savannah put on her apron and Mama put on hers and off we went……..

Pita Pizza
Ingredients:
4 large pita breads (we used flat-bread pita, but you can use the pocket kind too)
1 small can pizza sauce
1-2 cups shredded cheese (we used Italian 4-cheese blend)
Toppings for pizza (Miss S. loves black olives)
Directions:
Preheat oven to 400 degrees.  Lay four pita breads out on a baking sheet.
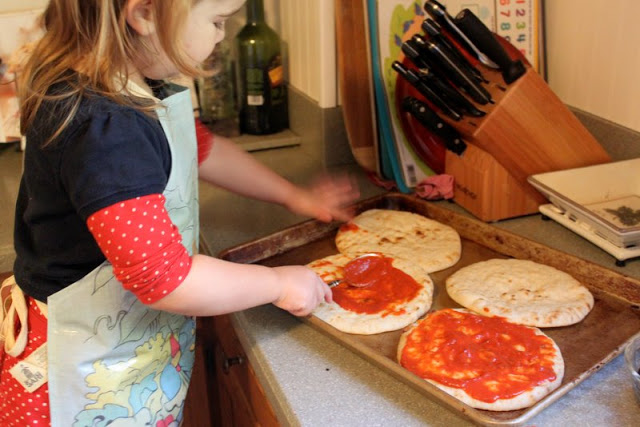
Spoon the sauce onto the pita and let your little one spread it all around with a spoon.
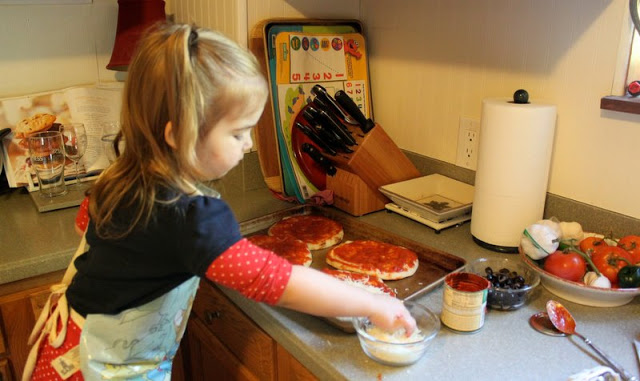
Put your shredded cheese in a little bowl (it’s easier for little hands this way).  Let your little one sprinkle all the cheese on top.
Place your toppings each in a little bowl and let your little one put them on the pizzas.  We used sliced black olives because that’s what Savannah and I like, but a few other ideas would be pepperoni, diced chicken, bell pepper, onion, broccoli, diced ham, pineapple, spinach and fresh tomatoes.  This is a great way to get some new veggies into your kids!
Finally, give your little lady/man the Italian seasoning and let them shake it onto the top of the pizzas.
Place pita pizza’s in the oven and bake for 10-15 minutes, until golden and bubbly.
Remove pizza from baking sheet and allow to cool.  Cut each pizza into four pieces and enjoy!  
Trust me, your little one will gobble this up and feel so proud of their edible creation!
Cottage Mama’s Note:  The apron Savannah is wearing was mine when I was a little girl.  My parents brought it back for me from Beatrix Potter’s house in England when I was about four years old.  So glad my Mom saved it!

Something for Mama – Sweater Refashion with Cottage Style

So it’s been starting to get a bit chilly here in the Midwest which has caused me to pull out all of our fall/winter wardrobe items.  I took inventory of all my girls stuff and made sure to get them what they need for this fall.  But what about Mama?  Sadly, I always spend all of our clothing budget on the girls these days because they actually need things.  Where as I just want new things.
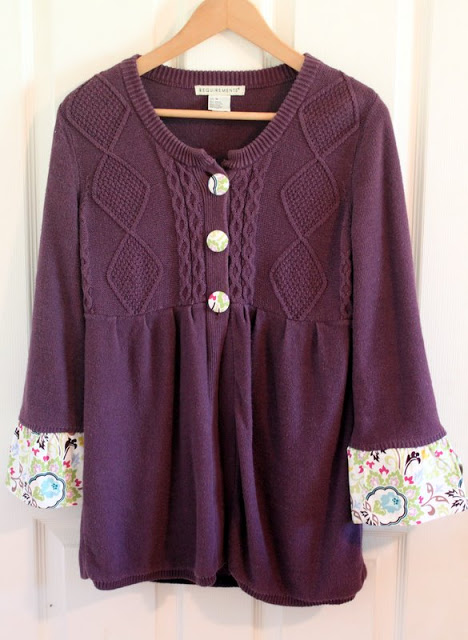
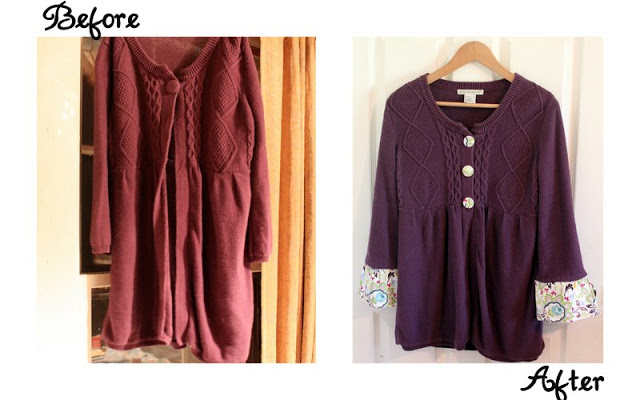
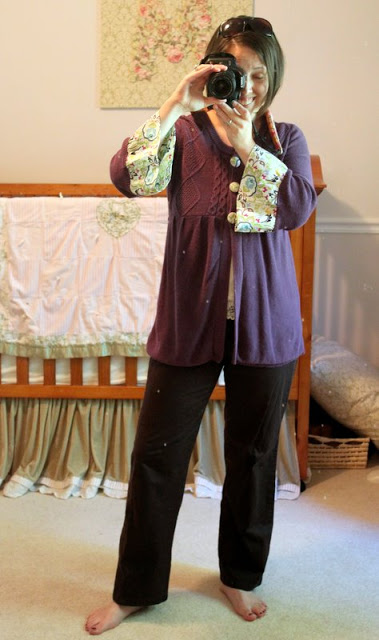
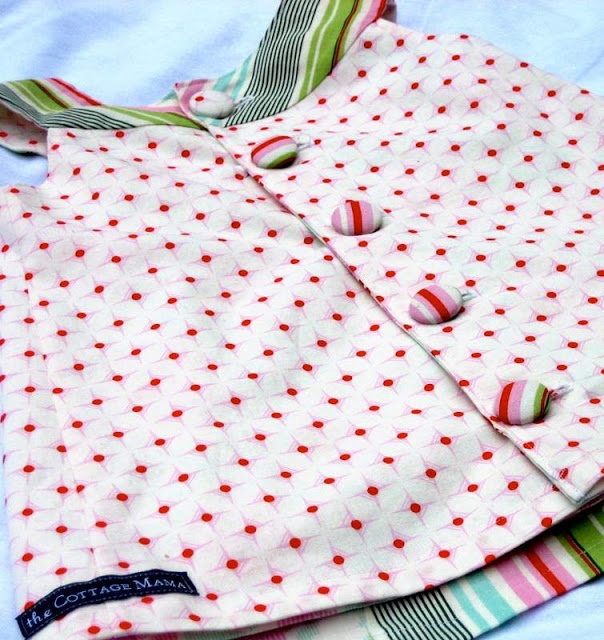
So after accessing my fall/winter clothing situation, I came upon a sweater that I really like, but just needed a few minor tweaks to make it feel new again.  In a matter of 30 minutes, I had made my purple sweater over into something I am excited to wear again!

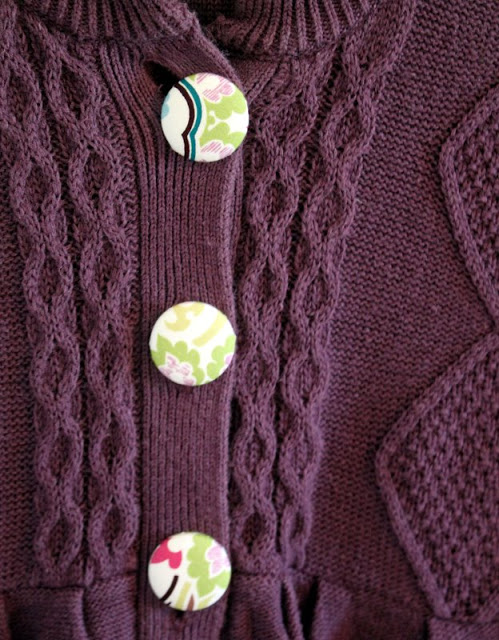
First of all, it was missing two of the three buttons – they had just fallen off with wear.  I covered metal shank buttons in coordinating fabric and decided to replace all three buttons.  The original buttons were the same fabric and color as the sweater. The new buttons definitely add more pop of color.

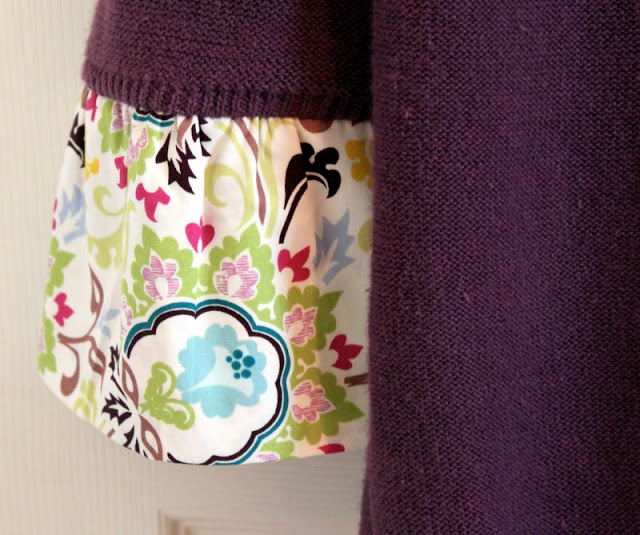
Secondly, I decided I would prefer it to be full-length in the arms rather than 3/4 length.  I put the sweater on and measured from the edge of the original sweater arm to where I wanted it to fall on my wrist.  Then I added an additional 1/2″ to allow for the seam allowance.  I doubled the length measurement because I wanted the cuff to be lined.

I used a gathering stitch to make the added sleeve length a little bit of a ruffle.  When I typically do a ruffle on little girls clothing I do 2.5 – 3.0 times the width of the fabric, but this time I just did 2.0 times since I didn’t want it to be too dramatic.

And there’s me, taking a picture of myself in my daughter, Matilda Jane’s room.  I actually don’t think the picture really does the sweater justice.  I’m so excited that I feel like I have a new sweater for this fall without going to the store and buying a thing!!

So, what will you be updating for fall?  Have any sweaters or shirts that you will make new again?

Cottage Mama’s Note:  The fabric I used is Art Gallery Paradise.  By now you know I love Art Gallery.  This fabric just came out last month and I had to get it ASAP – I love the beautiful colors and the amazing feel. 

A Proud Wife

As I have mentioned before, my husband is a home-brewer and makes his own beer and wine.  I shouldn’t say he is just a home-brewer, but an award-winning home-brewer.  He is as passionate about home-brewing as I am about sewing (which is saying a lot).

This past year, Brett (The Cottage Papa) won “Best in Show” with one of his home-brews at a very large brewing competition.  Part of his prize package was the opportunity to brew his beer on the big, giant brewing system up at The Rock Bottom Brewery in Milwaukee, WI.  And for a home-brewer this is super-exciting business!

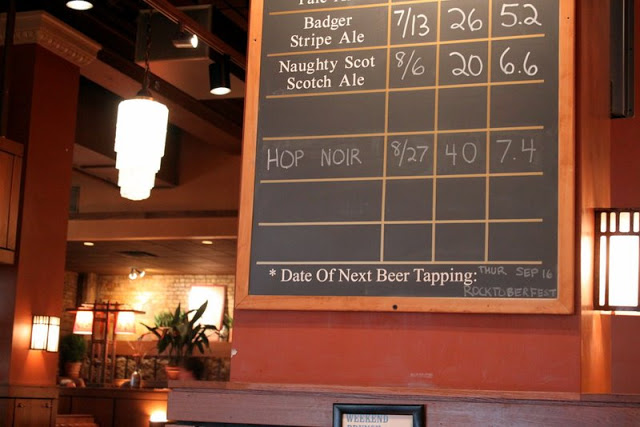
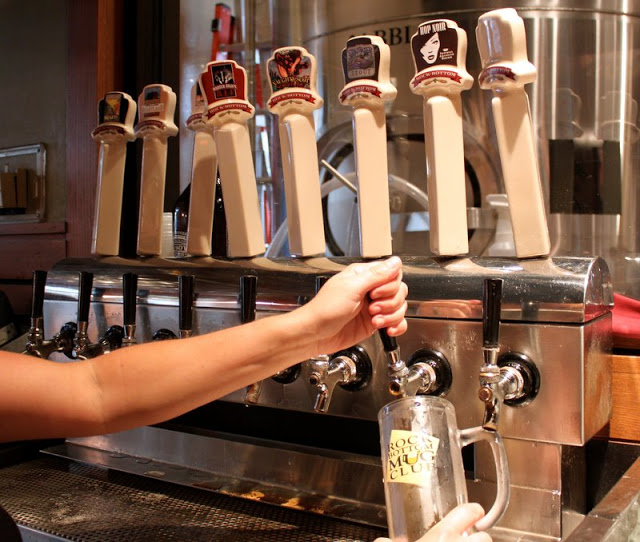
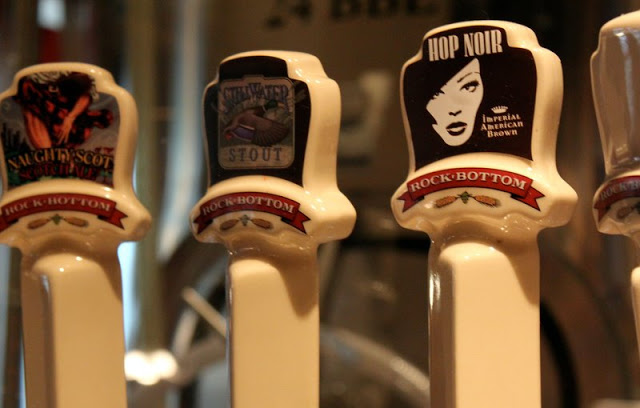
So the Friday before Labor Day, we took an hour and a half journey up to Rock Bottom to taste The Cottage Papa’s beer that he had brewed on their larger, commercial system several weeks prior.  His beer is called “Hop Noir” and it is an Imperial American Brown. 

We sort of felt like celebrities with all the compliments and the first-class treatment we received.  The Cottage Papa works very hard at his craft, so it was so nice to see him get the credit that he SO deserves.

The Cottage Papa works for an advertising agency as a writer.  His company designed this super-chic graphic/logo for the Hop Noir that you can see above on the tap handle.  I love it – I think I might need a t-shirt or something.

I am so proud of The Cottage Papa for many things, but this was just my little opportunity to share with you a little more about him.  I think it’s so, so important for each person in a relationship and family to maintain their own identity and have something they can call their own.  I love that we both have our hobbies and can come together in talking so passionately about them.

The Cottage Papa is everything I could have ever hoped for in a husband and father and I honestly could not ask for more – I am one proud wife (as if you couldn’t tell).  I love you, Brett – so happy and blessed that you chose me as your partner through this journey of life.