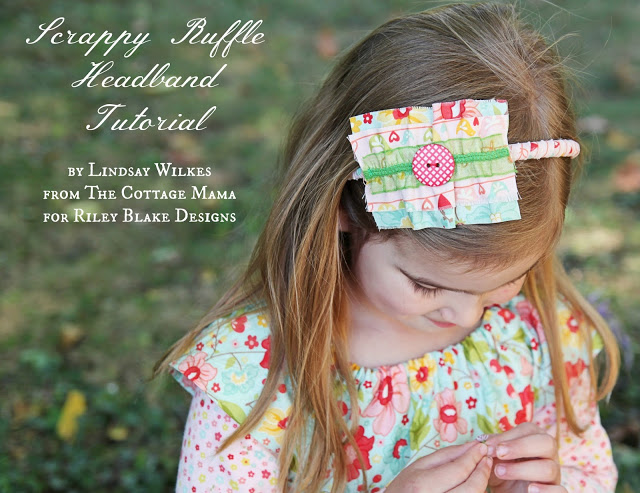
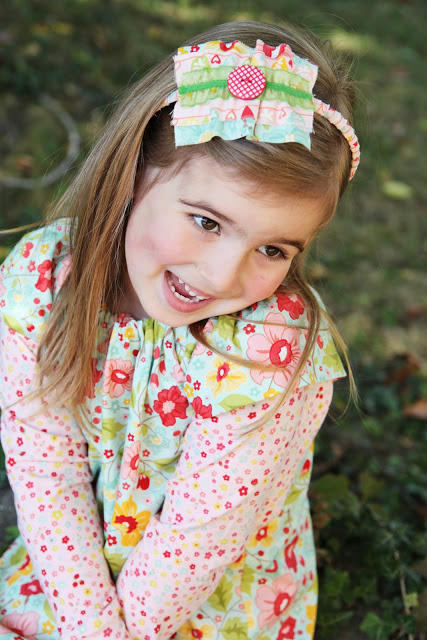
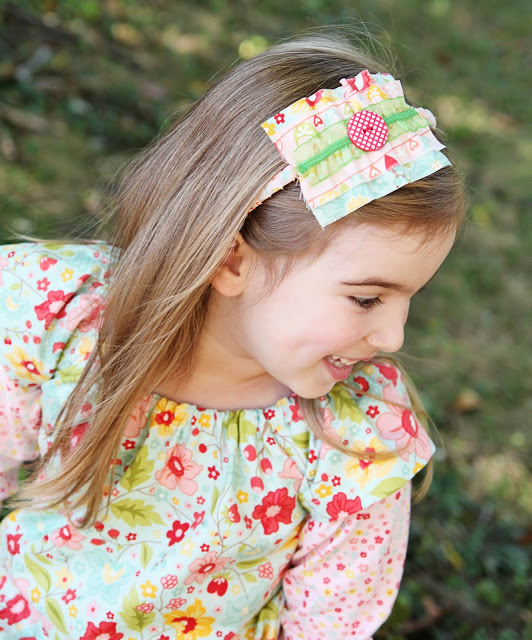
Today I’m sharing a tutorial for the Scrappy Ruffle Headband Tutorial that I created for Riley Blake Designs Project Design Team. This headband is made from Riley Blake Fabrics (The Sweetest Thing) and Sew Together Trims and Buttons. These headbands come together in no time with very little sewing involved. Use up the scraps from whatever quilt or outfit you have around and you’ve got a fun accessory any little girl would love to wear!
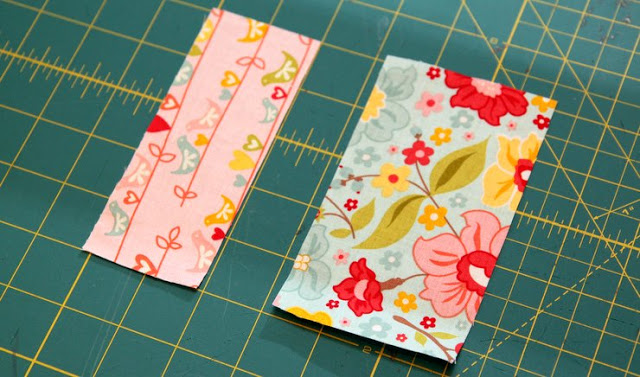
Cut two coordinating fabrics into rectangles. Cut the larger one 5″ x 3″ and the smaller one 5″ x 2″. If you would prefer a larger ruffle on the headband just adjust your measurements accordingly.
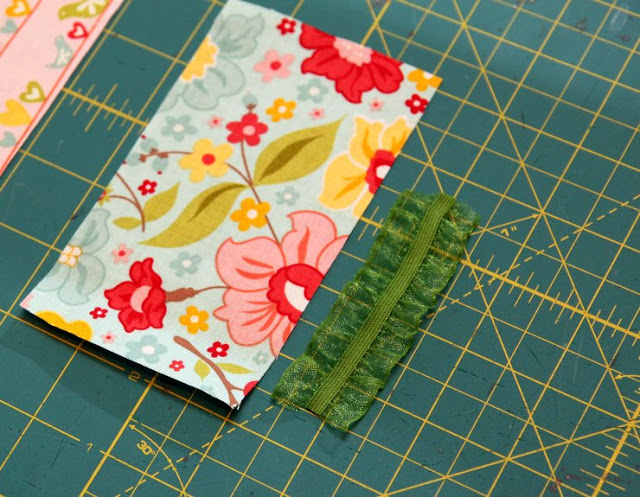
For my headband, I used the ruffle elastic trim from Riley Blake’s line of Sew Together trims and buttons and cut the trim 3″ long. However, if you don’t have this, you can use regular elastic or you can use a gathering stitch and apply trim on top in one of the later steps.
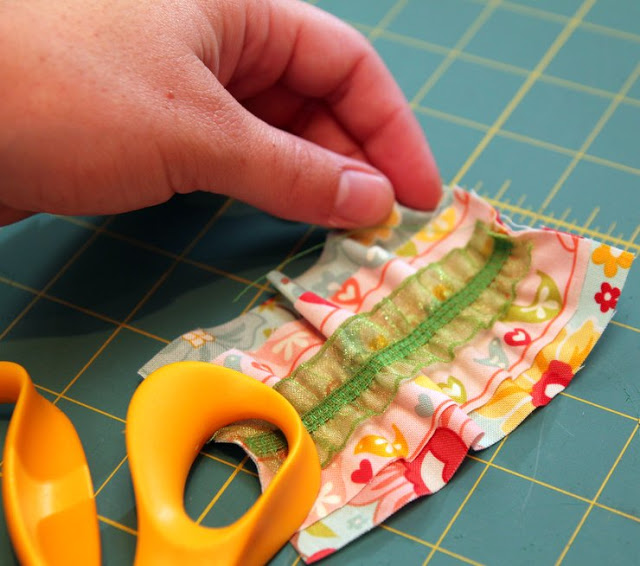
Layer the two coordinating fabrics on top of one another, making sure to center the smaller piece on top of the larger piece.
Place the ruffle elastic on top of the two fabrics running straight down the center. Stretch the elastic so it is the same length as the fabric. Sew down the center of the elastic (while stretched). I used an elastic stitch that is on my machine, but you can just use a regular zig-zag or straight stitch. Whatever works for sewing elastic.
Like I said above, if you do not have this product, you can certainly run a gathering stitch down the center of the two fabrics and pull the thread to achieve your desired length. Then you could sew trim such as rickrack or ribbon on top of your stitching.
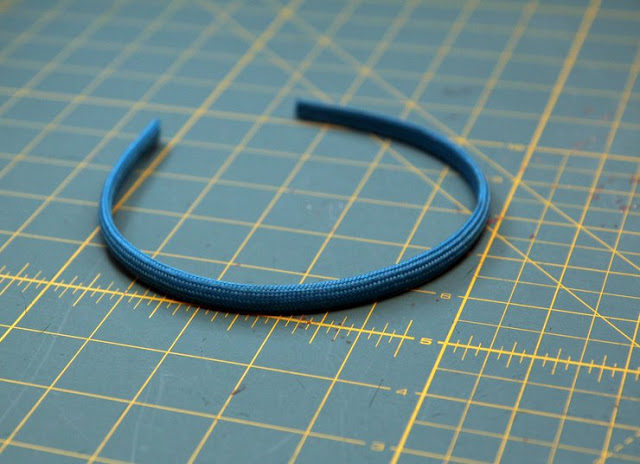
I purchased a five-pack of headbands from our local dollar store. They aren’t the most beautiful things, but for 20 cents a piece, you can’t beat it! If you can find plain plastic headbands you can skip the next step, but use whatever works.
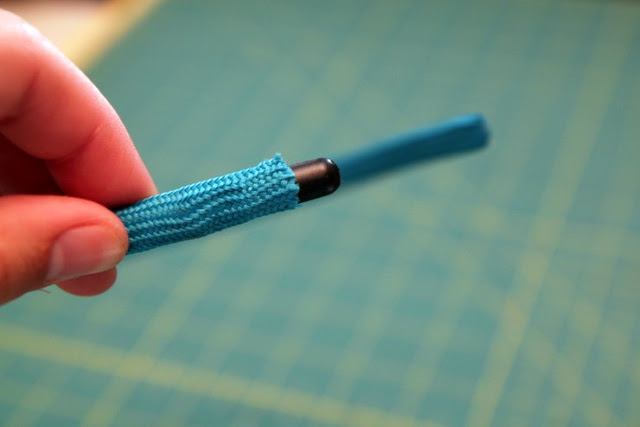
Snip the end of the cloth cover on the headband and remove the cover to reveal the plain plastic headband.
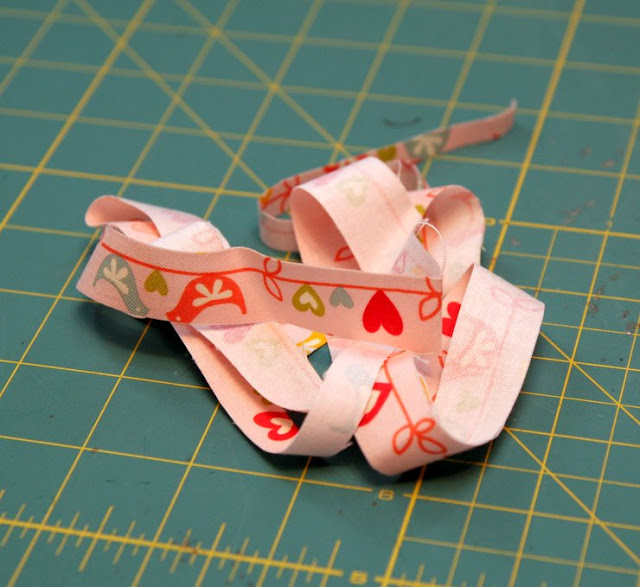
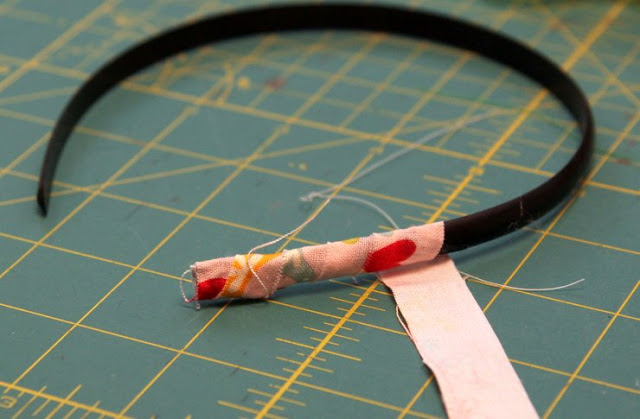
Cut a strip of fabric 1/2″ long by about the full width of the fabric (42″). You may need more or less depending on how layered and tightly wound you want to cover the headband. Selvage fabric would be good for this step, since there always seems to be strips near the edge leftover after sewing different projects.
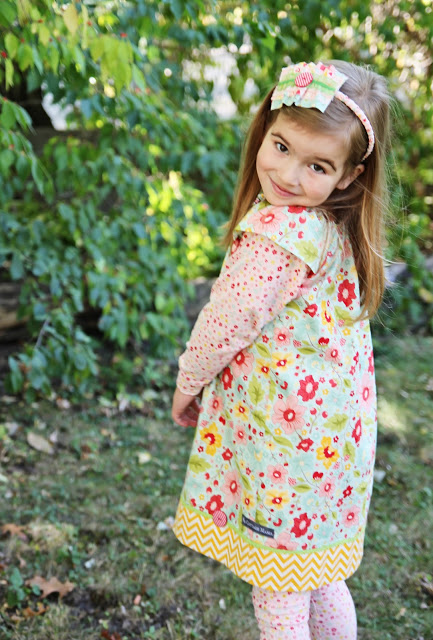
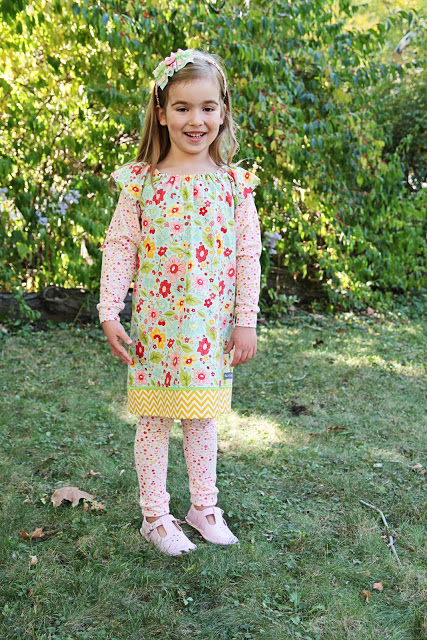
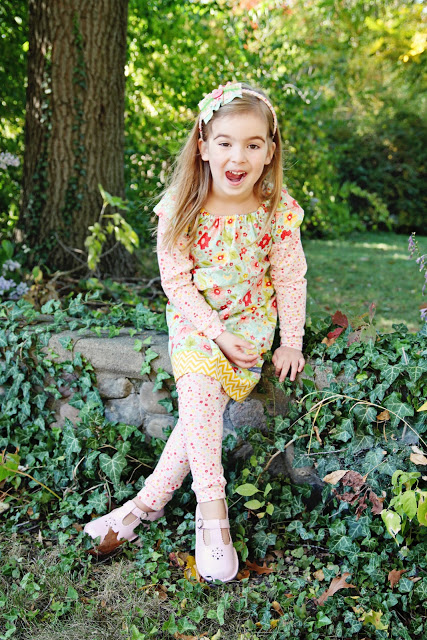
I made a pair of leggings with a yoga waistband. It’s hard to see in the picture, but the leggings are banded at the bottom. I also wanted this to be a layered look, but the sleeves are actually attached to the dress, so it’s not a separate shirt. The sleeves have a banded cuff as well.


 Lindsay Wilkes is the owner and designer behind The Cottage Mama. She creates timeless, vintage inspired sewing patterns for children’s clothes. She is also a fabric designer for Riley Black Designers / Penny Rose Fabrics, author of the book ‘Sew Classic Clothes for Girls’ and can be seen teaching nationwide and online in her video series ‘Lessons with Lindsay’ sponsored by Baby Lock Sewing and Embroidery machines.


This is really cute, Lindsay! Your daughter is adorable and that knit sounds awesome, I need to get some!
Very cute, both project and model :o)