Archives for December 2012

Scrappy Ruffle Headband Tutorial

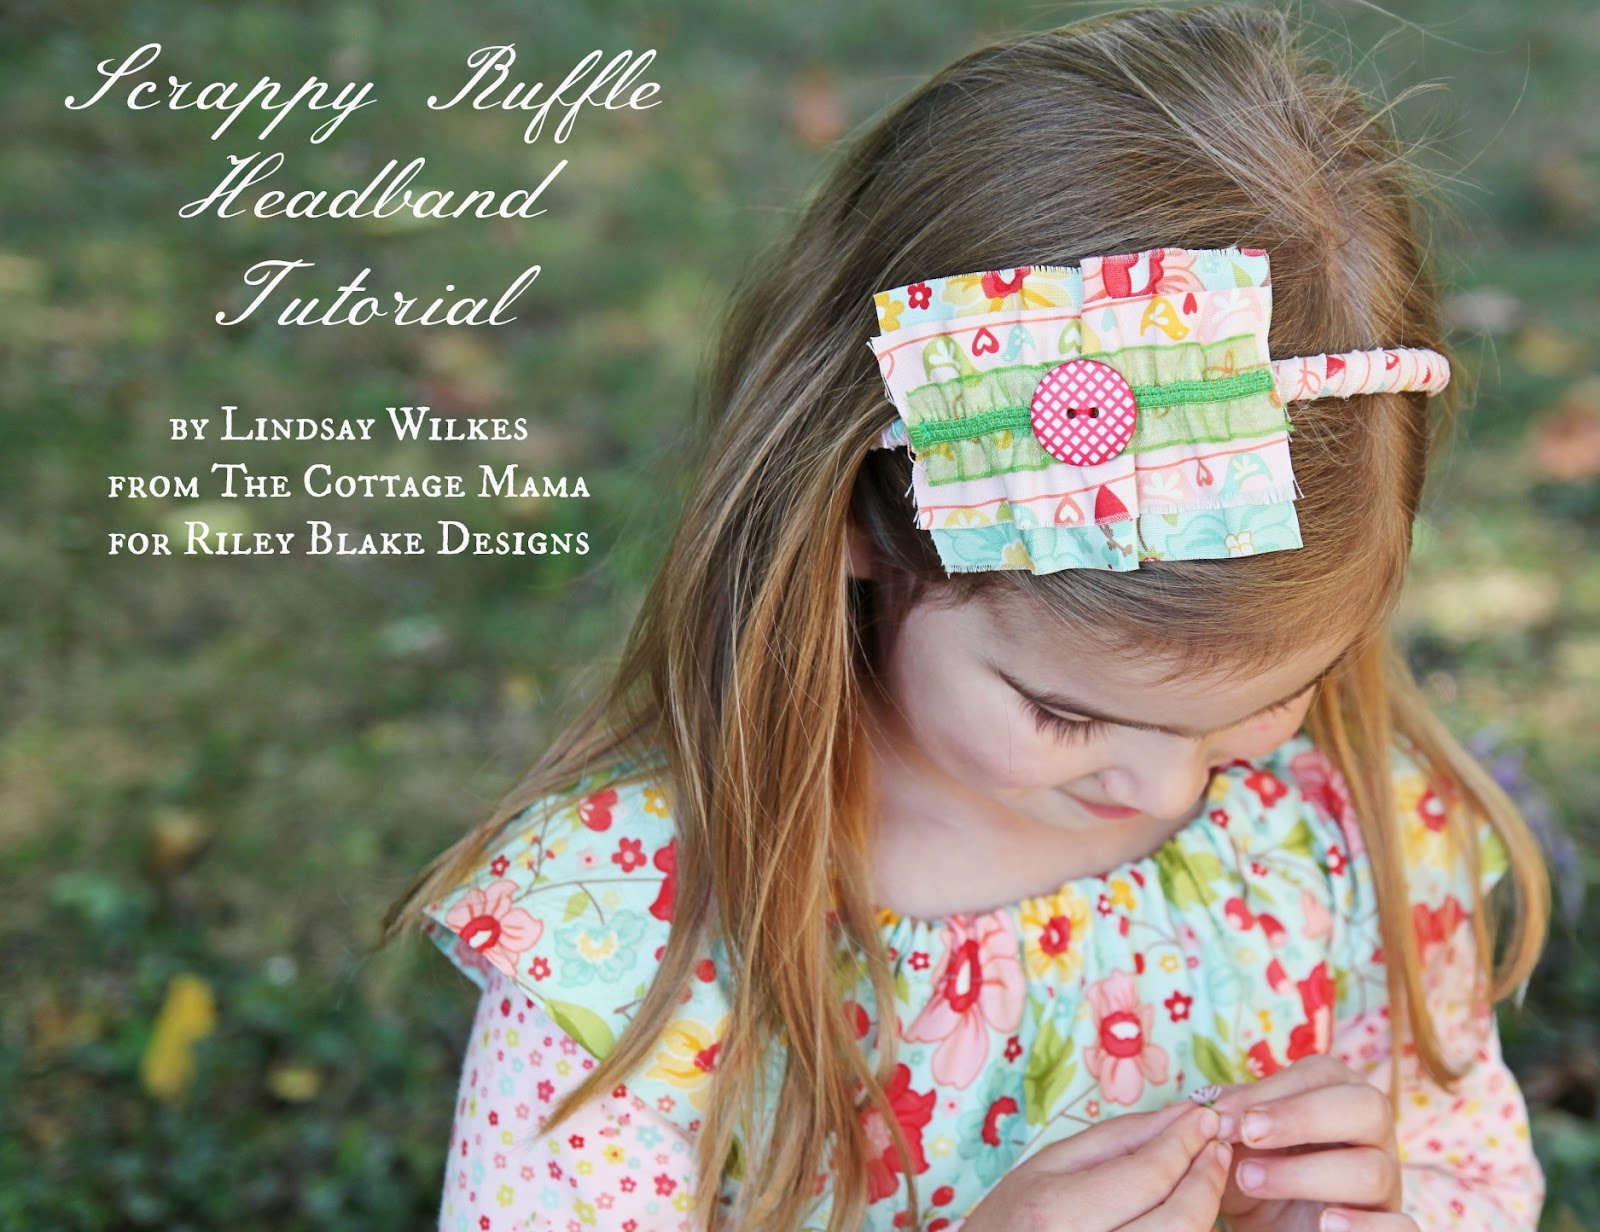
Today I’m sharing a tutorial for the Scrappy Ruffle Headband Tutorial that I created for Riley Blake Designs Project Design Team. This headband is made from Riley Blake Fabrics (The Sweetest Thing) and Sew Together Trims and Buttons. These headbands come together in no time with very little sewing involved. Use up the scraps from whatever quilt or outfit you have around and you’ve got a fun accessory any little girl would love to wear!

Scrappy Ruffle Headband Tutorial
by Lindsay Wilkes from The Cottage Mama
Supplies:
2 coordinating fabrics (scraps)
1 plastic headband
1 piece of ruffle elastic trim (or other trim)
1 button
Glue gun or strong craft glue
Scissors
Hand sewing supplies
Instructions:

Cut two coordinating fabrics into rectangles. Cut the larger one 5″ x 3″ and the smaller one 5″ x 2″. If you would prefer a larger ruffle on the headband just adjust your measurements accordingly.

For my headband, I used the ruffle elastic trim from Riley Blake’s line of Sew Together trims and buttons and cut the trim 3″ long. However, if you don’t have this, you can use regular elastic or you can use a gathering stitch and apply trim on top in one of the later steps.

Layer the two coordinating fabrics on top of one another, making sure to center the smaller piece on top of the larger piece.

Place the ruffle elastic on top of the two fabrics running straight down the center. Stretch the elastic so it is the same length as the fabric. Sew down the center of the elastic (while stretched). I used an elastic stitch that is on my machine, but you can just use a regular zig-zag or straight stitch. Whatever works for sewing elastic.

Like I said above, if you do not have this product, you can certainly run a gathering stitch down the center of the two fabrics and pull the thread to achieve your desired length. Then you could sew trim such as rickrack or ribbon on top of your stitching.

I purchased a five-pack of headbands from our local dollar store. They aren’t the most beautiful things, but for 20 cents a piece, you can’t beat it! If you can find plain plastic headbands you can skip the next step, but use whatever works.

Snip the end of the cloth cover on the headband and remove the cover to reveal the plain plastic headband.

Cut a strip of fabric 1/2″ long by about the full width of the fabric (42″). You may need more or less depending on how layered and tightly wound you want to cover the headband. Selvage fabric would be good for this step, since there always seems to be strips near the edge leftover after sewing different projects.

Take your glue gun or strong craft glue and wrap your fabric strip around the headband. Place glue every 2-3 wraps and continue wrapping until the entire headband is covered.
Sew or glue your button to the center of the ruffle and then glue the ruffle to the headband.


I also decided to make a coordinating look for my little miss and had the opportunity to try out Riley Blake Design’s new knit fabric. And let me tell you, it is dreamy. It washes perfectly and the stretch is amazing. My daughter commented over and over again how soft it was on her skin. She also asked if I could make her a blanket from the knit. I might need some more yardage for that one……..
Here is her outfit…….

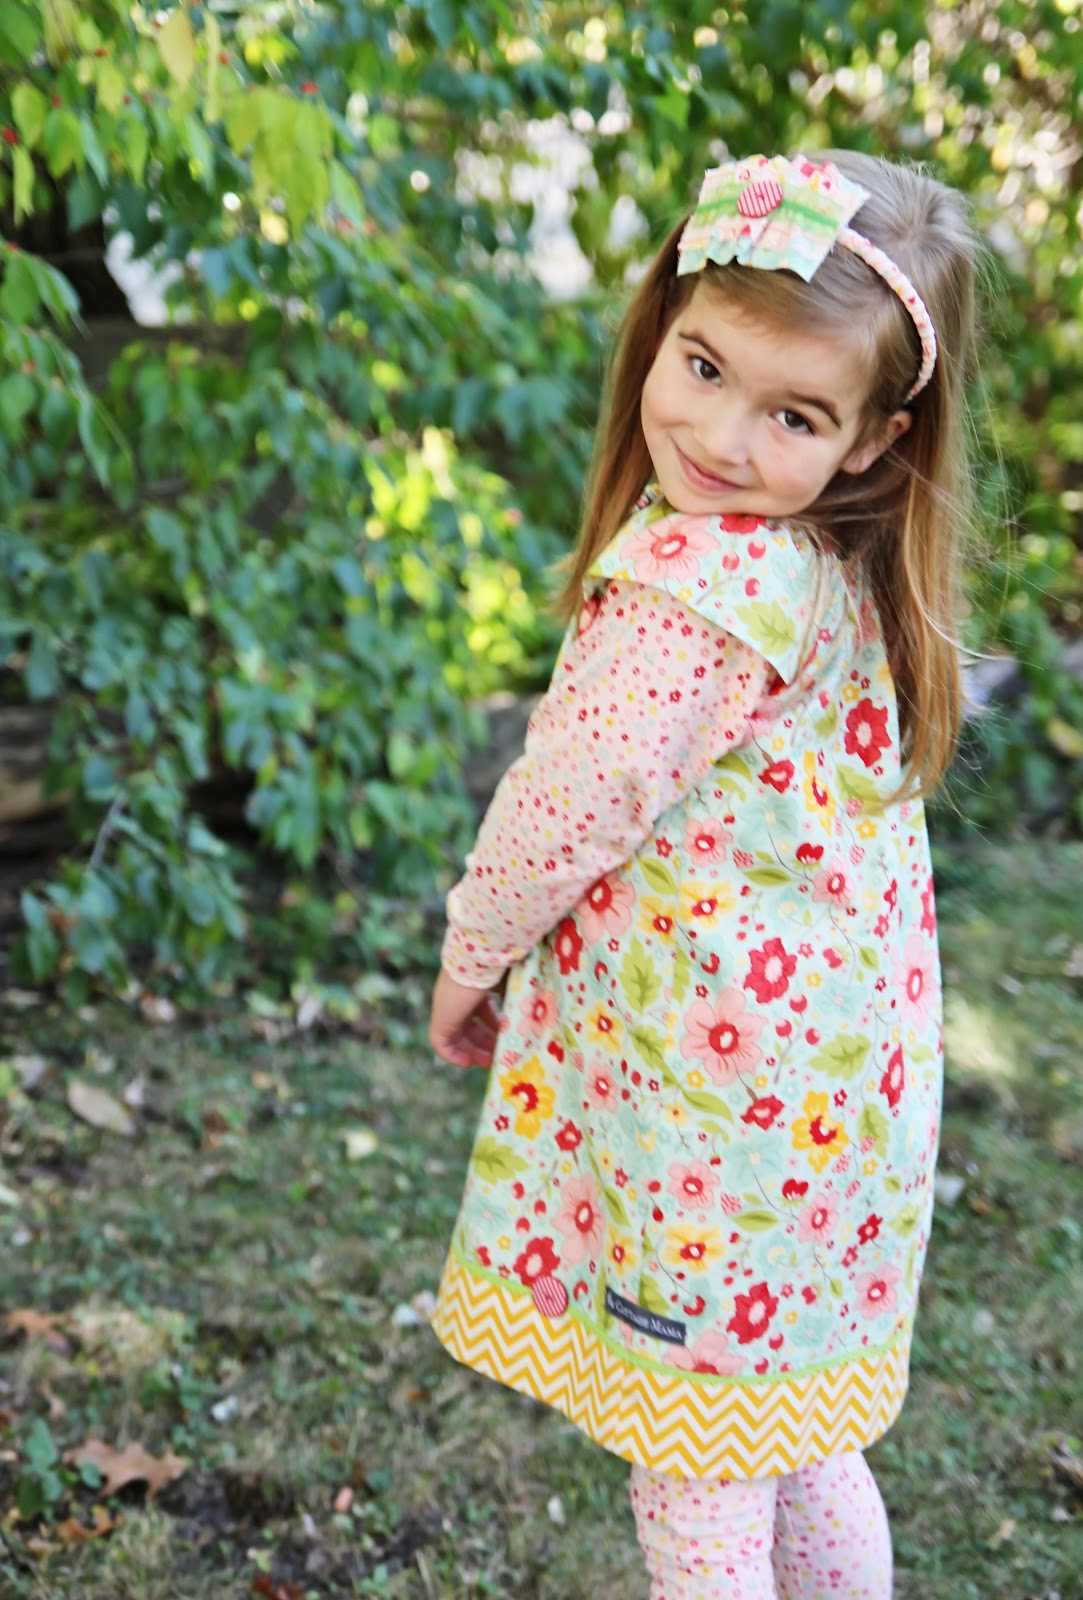
I made a pair of leggings with a yoga waistband. It’s hard to see in the picture, but the leggings are banded at the bottom. I also wanted this to be a layered look, but the sleeves are actually attached to the dress, so it’s not a separate shirt. The sleeves have a banded cuff as well.

And here I leave you with a picture my silly little girlie. She has so much fun posing for her mama when I make her new outfits……it really warms my heart.
Have a great day!


Go To Leggings Pattern Review

I have been wanting to make my girls some leggings for months now. Leggings seem to be our go-to thing around here when it comes to wearing skirts and dresses. I was so excited when Andrea Pannell (The Train To Crazy) came out with her ‘Go To Leggings Pattern‘ because it was exactly what I had been thinking about for the girls. I decided to do a ruffle adaptation of the pattern because…..um…..I guess I just can’t leave well enough alone.

If you haven’t visited the Go To Pattern Shop, you should go take a look around. There are loads of patterns from different designers that are sure to inspire your creativity.

Let me tell you a little bit about this pattern. The ‘Go To Leggings Pattern‘ is a PDF pattern that comes in size 12 months through size 12. It has 5 styling options and 5 length options (including a skirt), so there are endless combinations of different styles of leggings you can create.

If you’ve never used a PDF pattern, they are very easy to use. You simply print the pattern out on your home computer (8.5” x 11” paper) and then tape the pieces together to create your full sized pattern. I know some of you are more traditional (like me) and prefer paper patterns, but the ‘Go To’ patterns have some of the best instructions I have ever seen regarding how to tape all of the pattern pieces together. Also, another advantage to a PDF pattern is that you do not have to trace the pattern to preserve the original, you can simply print it out again if you would like to make a different size and it is stored in your computer.

Also, if you have ever been interested in getting started working with knits, this is a great pattern for beginners. There are lots of tips and tricks regarding working with knits. The entire pattern is 26 pages and 10 full pages are just instructions with all kinds of wonderful information.

Go To Leggings Pattern
Double Ruffle Variation

My daughter, Savannah, has been a little picky about her clothing lately. She only wants to wear things that her mama makes for her, which is so sweet (and I know won’t last forever). I let her pick out this fabric from my stash and we decided ruffles would be really cute for her leggings.

The great thing about working with knits is that you don’t have to worry about the fabric fraying as you would with woven cotton. These double ruffle leggings were made with raw edged ruffles, but you could certainly hem each ruffle, just make sure to lengthen the ruffles to account for the hem.

Would you like to add some ruffles to you ‘Go To Leggings Pattern’? Here’s how…….

Cut out the full length legging pattern from the ‘Go To Leggings Patter’ and then cut off 4.5” from the bottom of both leggings pieces.

Cut four ruffles. Typically when you create a ruffle, you want it to be 2 times as long as the main piece to which you are attaching the ruffle. So the bottom of my pattern piece (size 6) was 9”, so the length of all of the ruffles was cut at 18”. Cut two ruffles 4.5” x 18” and cut two more ruffles 4” x 18”.

Make sure you change your needle when you are sewing with knits. There are special ball point needles that are designed for stretch knits. Trust me, you do not want to work with knits using your regular 80/12 needle.

Run a gathering stitch along the top edge of the 4.5” ruffle. Gather the ruffle until it is the same length as the bottom of one legging pattern piece. You should use coordinating thread, but I used white here so that you could actually see the stitching.

Pin the ruffle to the bottom of the leg of the leggings, lining up the top edge of the ruffle with the bottom of the legging, right sides together. Attach the ruffle to the leggings using a 1/2” seam allowance.

Press your ruffle down, away from the bottom of the leggings and press the seam allowance up towards the legging.

Run a gathering stitch along the top of the 4” ruffle, 1/4” from the top edge. Pull the threads to gather the fabric to equal the same width of the bottom of the leggings.

Measure up 1” from where you attached the 4.5” ruffle. You can mark this line with a fabric marking pen, pencil or chalk or you can use my favorite product, Wash Away Wonder Tape. If you use Wonder Tape, place a line of tape 1” up from the top of the other ruffle, peel off the paper backing and stick your gathering ruffle along the tape, lining up the top of the ruffle with the top edge of the tape. If you don’t use the tape, just pin the ruffle in position Stitch in place using a 1/4” seam allowance and sewing on top of the gathering stitches.

Continue sewing the pattern according to pattern instructions, making sure to catch all ends of the ruffles in the inner leg seam allowance.

My little lady LOVES these leggings. She says they are so soft and comfy and the fit is spot on. These were such a quick-sew and I will definitely be making more of these in lots of different colors!
One last thing……if you want, you can enter to win a shopping spree at GoToPatterns.com and Sew Fine Fabric!

Go To Patterns PDF sewing patterns 

THREE WINNERS!

Go To Patterns sewing pattern giveaway
a Rafflecopter giveaway

I did receive the Go To Leggings Pattern for free, but was not compensated in any other way for this pattern review. All opinions are 100% mine.