Archives for August 2012

Fabric Organization: Comic Book Boards and File Folders

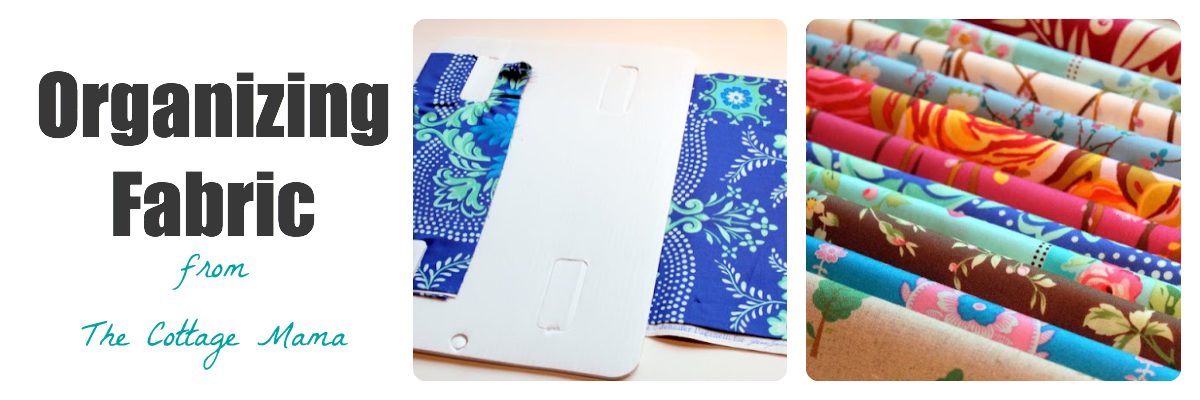
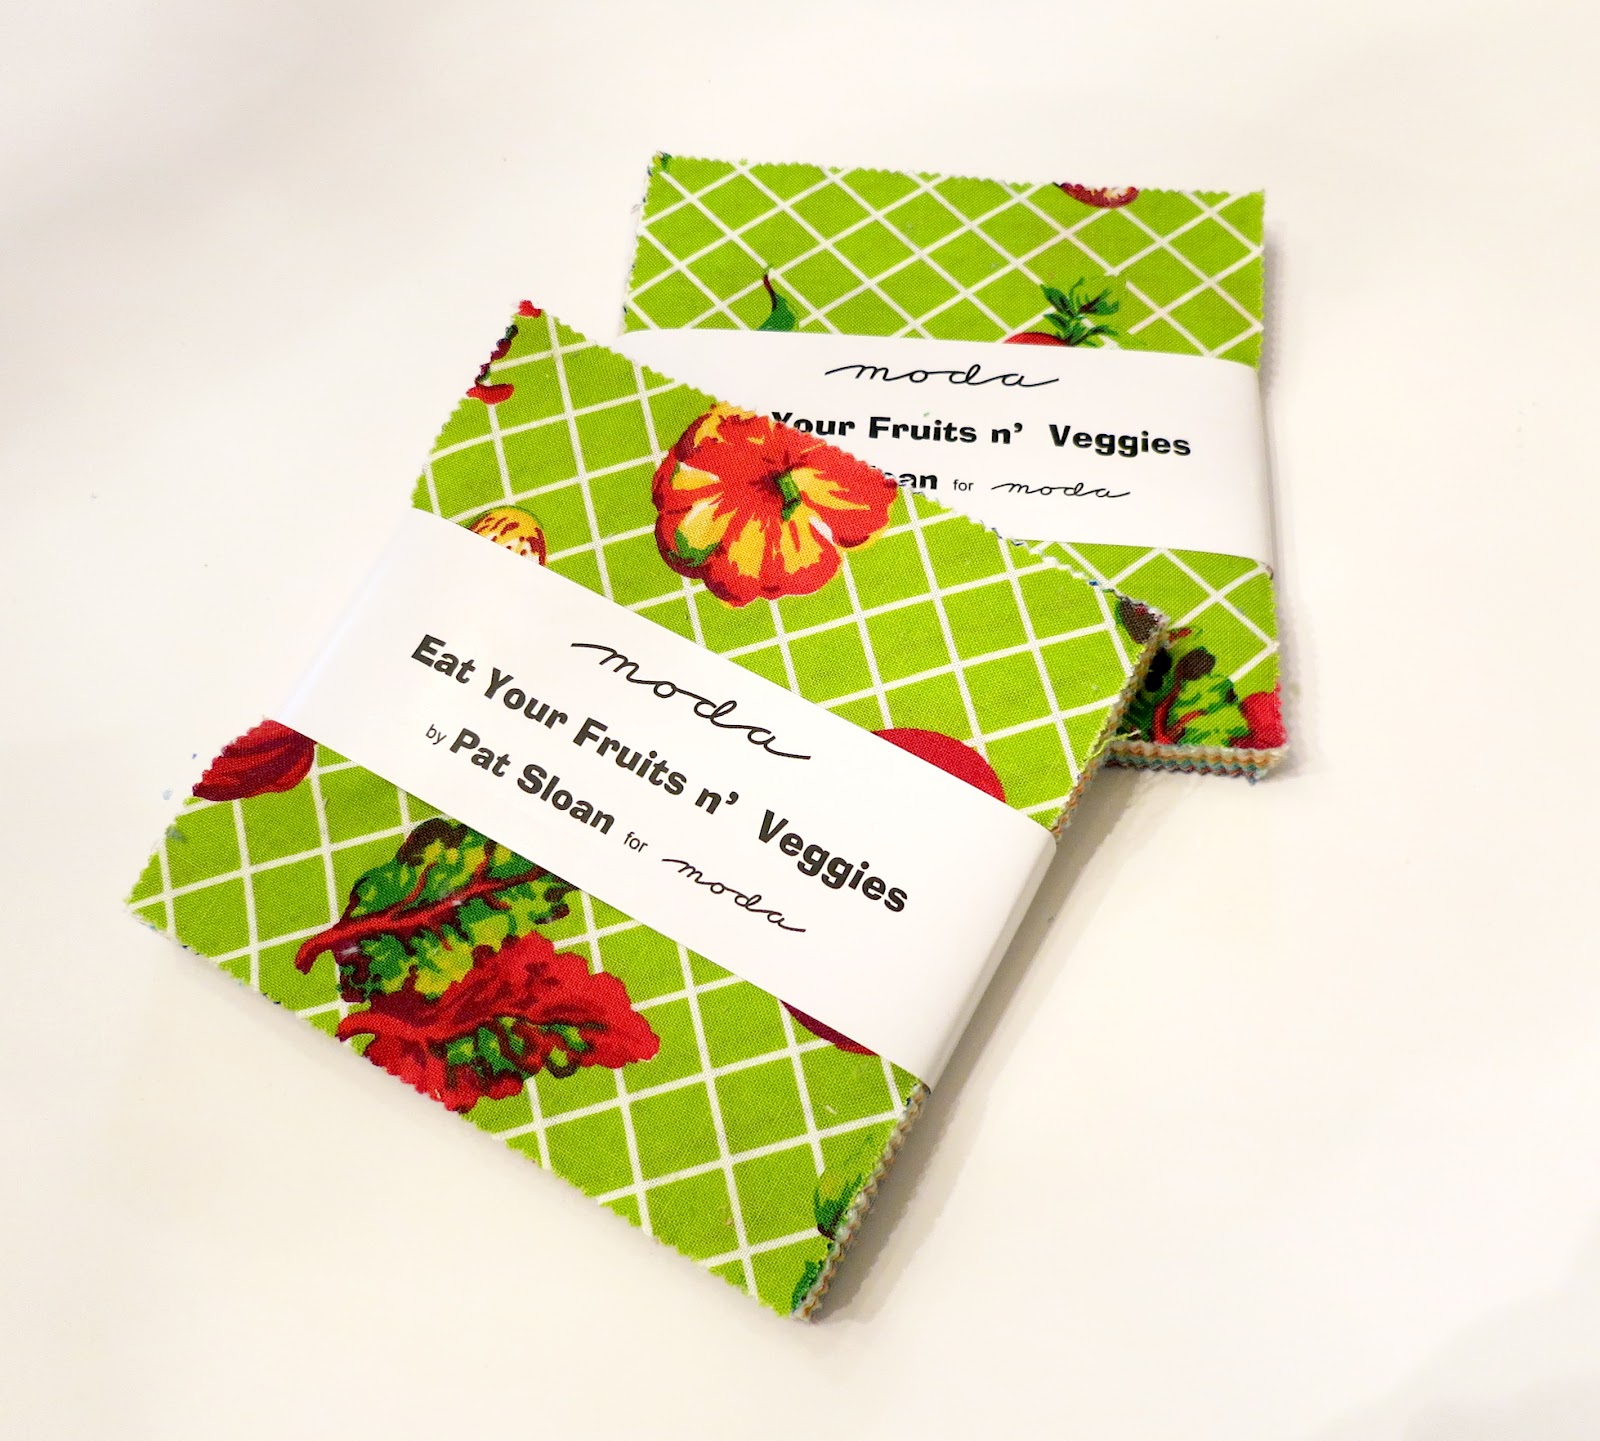
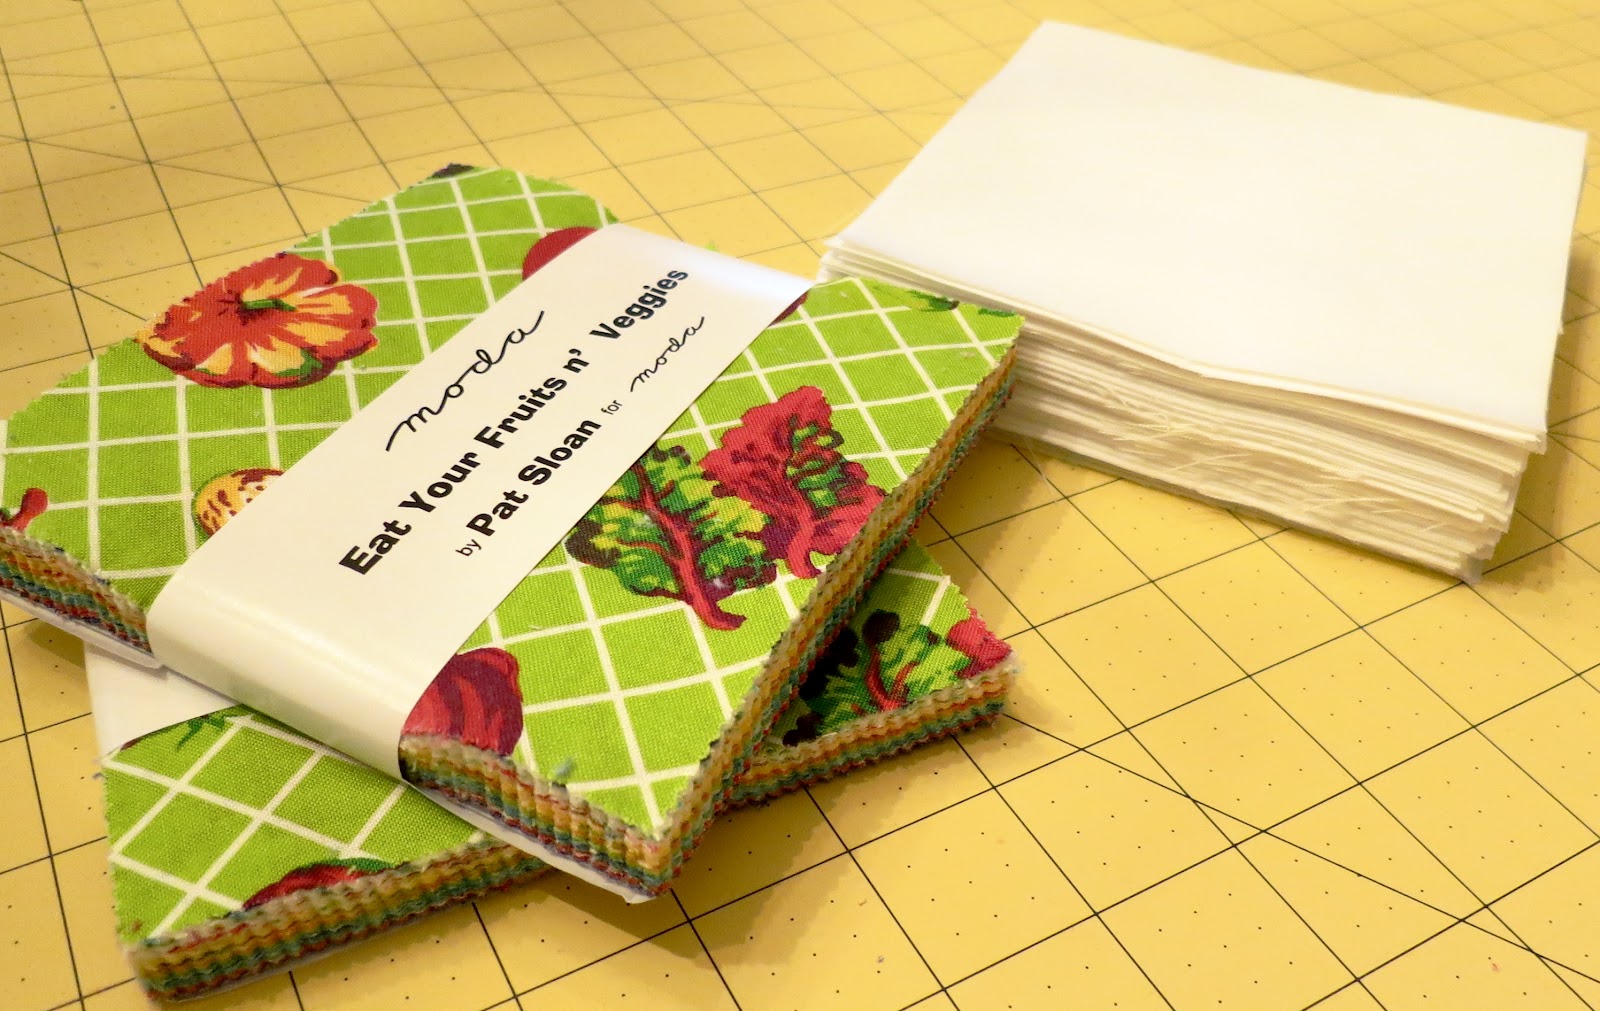
A frequent question that comes to me via email is regarding my Fabric Organizers.  I have written about them several times on the blog and I absolutely love them.  They are not cheap and it’s hard to stomach the investment sometimes when really all it is, is a piece of plastic board that you are wrapping your fabric around.  I totally get that.  So how about a few other options?

I wanted to share an idea with you that someone shared with me about two years ago in a fabric group that I belonged to (yes, there are groups for fabric obsessed people like myself).  If you are looking for a more inexpensive, economical way to organize your fabric, try ordering a set of Archival Comic Book Boards.  Now I don’t organize my fabric this way because I’m hooked on my other organizers, but here’s what they look like:

They come in many different sizes and generally come in packs of 100 for less than $20.  Now they aren’t going to be as sturdy as some of the fabric organizers that are made of plastic, but they will do the trick getting your fabric looking neat and tidy.  And if you have a lot of smaller cuts of lots of different prints, these comic book boards will save you a lot of money.  Personally, I wouldn’t recommend them for keeping large cuts (5 yards +) organized as they can look a little sloppy with huge amounts of fabric.  But for 4 yards or less, these will be great! 

You may have already heard about this before as I know a lot of people store their fabric this way, but just in case you hadn’t, I thought I would pass along the information to you.  I found a whole bunch over on Amazon if you want to check them out.

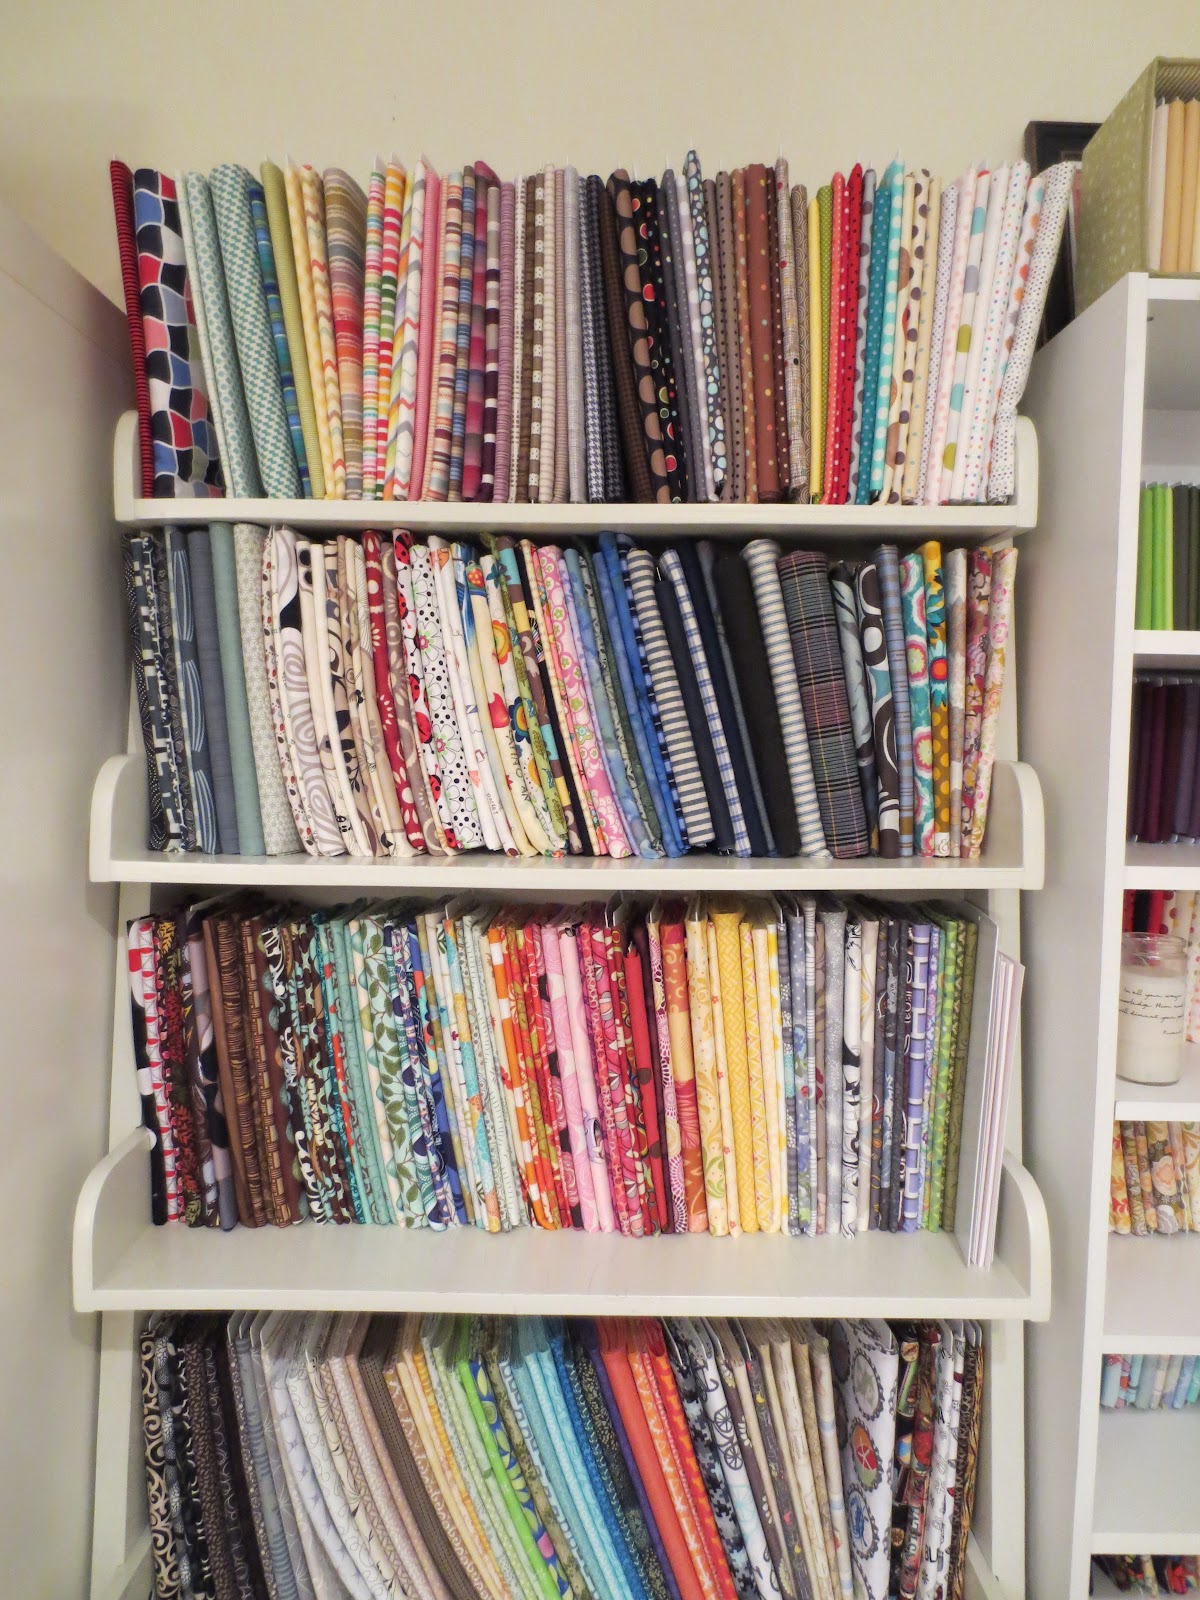
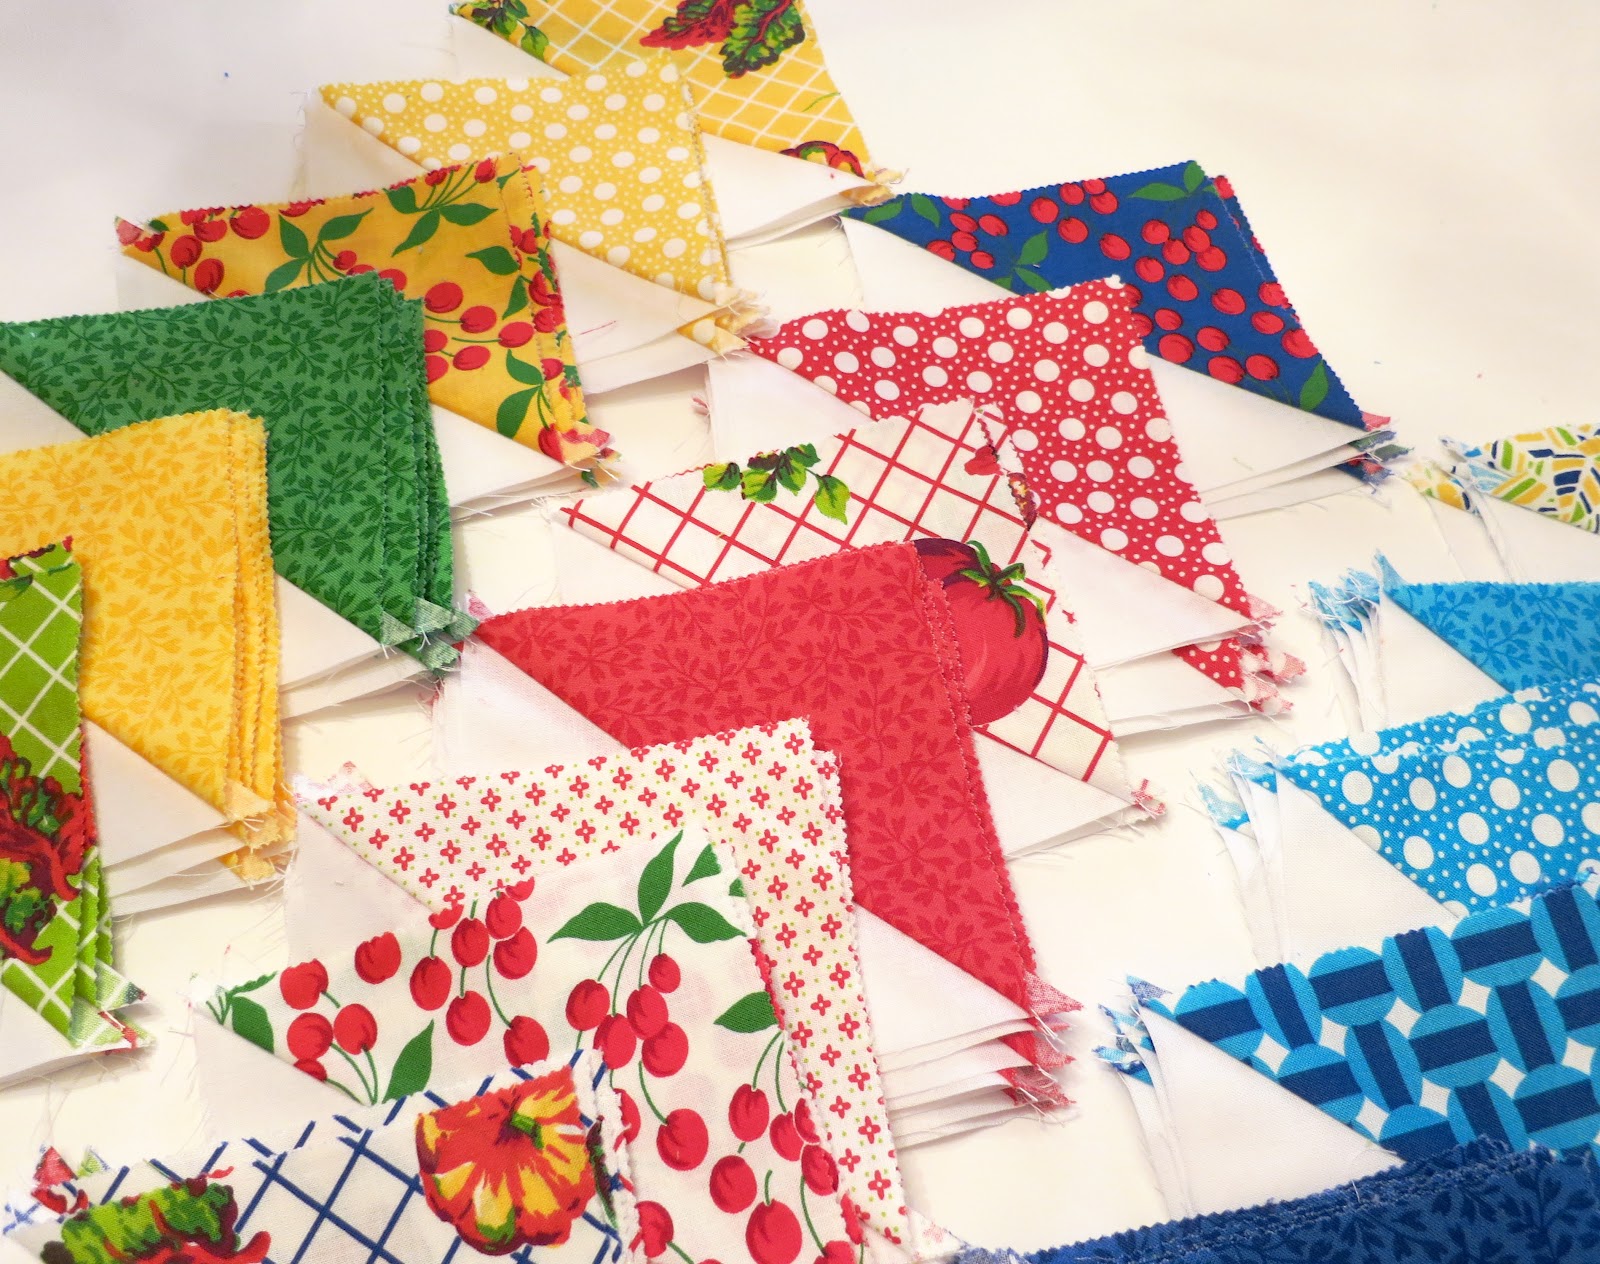
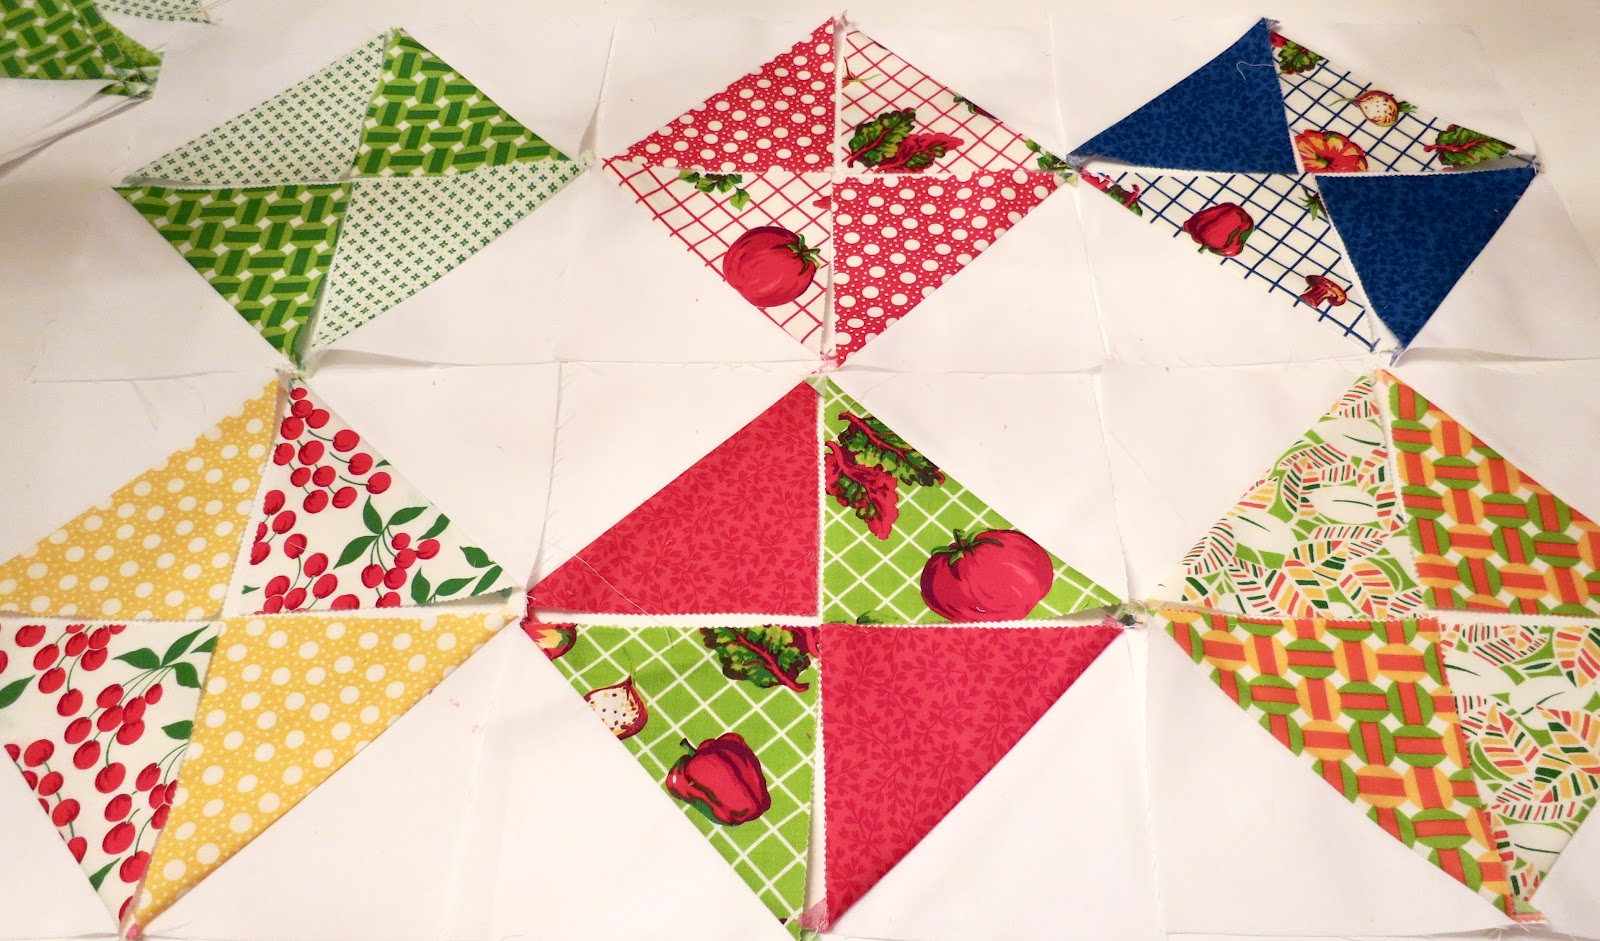
Here are some other folks that have used these comic book boards to organize their gorgeous fabric:

 by J. Irelle Beatie

by Jennifer Jenkinson
(she has a tutorial on using the boards as well….found here)
Another great idea I found while browsing around the blogging world, was using file folders to file away your fabric.  Pretty neat, right?
Karen from Sew Many Ways
(here is her tutorial for using this technique)

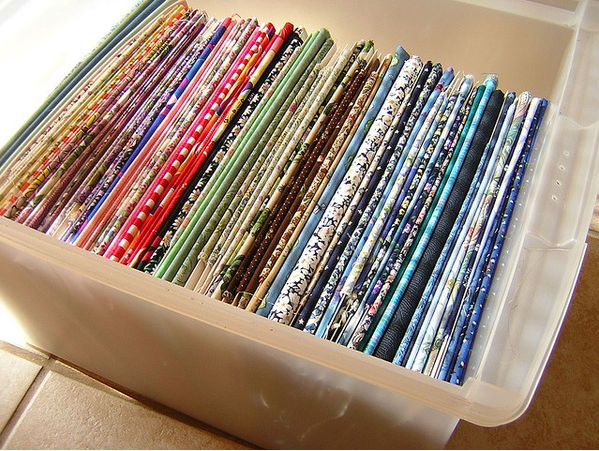
Here is another fun ‘filing’ technique which is kind of a combination of comic book boards and a file box.  I think this looks great and would be perfect if you don’t have shelves or are storing fabric under a bed.  I couldn’t seem to locate the source for this picture, but it is a beautiful box of fabric.

If you are looking for a plastic organizer, I have recently been informed that there is another option on the market in addition to the ones that I use from Polar Notions:

(Check out more information HERE)

There is nothing better than having a nice, beautiful organized stash of fabric.  I hope these pictures give you some ideas for alternative ways to organize all your pretties.  Just looking at a pretty fabric stash makes me happy (this coming from an admitted serious fabric addict).

Happy Fabric Organizing!

Eat Your Fruits and Veggies Half-Square Triangle Tutorial and Giveaway

My mom (Grandma Jane) is back today with another fun tutorial.  I am doing my best right now to balance keeping up with the blog, my Etsy shop, pattern sales and writing my book, but it is a lot….oh yeah, and my two most important jobs…..mommy and wife.  I know I wouldn’t even have all of these amazing opportunities if it weren’t for you guys, the readers of The Cottage Home blog, so I just want to make sure that you don’t feel like I have left you hanging in the creative department (since a lot of what I’m working on can’t be revealed until a later date). Thankfully, Mom has agreed to help lighten my load and guest blog more frequently with some quilting tutorials. Mom’s are the best, aren’t they?

And on top of her being so kind to put together these tutorials, she is offering a GIVEAWAY today that she put together all on her own.  How sweet is that?  So, make sure you check out at the bottom of this blog post for more information on how to enter!  Take it away, Mom……..

Lindsay and I were lucky enough to be able to say hello to Pat Sloan at her booth at Quilt Market in Kansas City and see her new fabric line, “Eat Your Fruit and Veggies.”

At the time, I thought the line was really cute! I loved the name of the line and the inclusion of batiks with the more traditional prints was an interesting twist. I couldn’t resist ordering some of the charm packs (which do not include the batiks) and when they arrived at my doorstep, I went a little crazy. Usually with new fabric, I spend days or weeks (or months) trying to decide what to do with it but not this! I immediately knew that these darling charm packs with the bright, lively and happy colors were going to be made into half square triangles (HSTs) accented with white and I would decide the quilt details later. So there I was late at night immediately cutting white fabric squares and sewing away. I love the versatility of the simple HST and thought I would share how easy these are to make.

Cut your background fabric squares the same size as the charms—5” squares. I was using 2 charm packs of 42 so I cut 84 white background squares. This will make 168 finished 4 ½ inch HSTs.

With a pencil or marking pen, mark diagonal lines on the wrong side of the background fabric squares. I like to mark all the squares at once.

Place one charm square and back ground fabric with right sides together.

Stitch a scant ¼ inch away from the diagonal line on one side. This is where “chain-stitching” will come in handy. Don’t lift up the presser foot. Place another pair of a background square and a charm under the presser foot and keep stitching. Do not cut the thread. I stitched 15-20 pairs together at a time. You can do more or less.

Cut the thread and flip the squares around and chain stitch down the other side a scant ¼ away. Now you have a pile of all these little squares connected by two threads. Cut apart.

Place each square on your cutting board and line up your ruler with the drawn pencil line. Cut along this line with your rotary cutter to cut each square in half. Take care that you do not cut into the stitched lines.

Set your seams with your iron. Press open with the seam toward the darker fabric.

Square up the HSTs to 4 ½ inches. This takes some time but you will be glad you did it when you start to sew your squares together. Line up your 45 degree line along the diagonal seam and cut off the little bit on the right side. Turn your square with the newly trimmed edge to the bottom and measure again. Cut if needed.

Now the fun part—Look at all the designs you can do with the HST just by arranging the squares.
 How about zigzags? Remember the ORANGE quilt I made for Savannah’s 4th birthday?
Arrows
  Triangles
 Diagonals
 Hourglasses
 Pinwheels
 These squares on point are fun, too!
GIVEAWAY: I just have to share THREE of these happy little charm packs so you can get in on the HST fun.
And while we are at it….I’m including this fun cookbook with fast and fresh recipes for all that wonderful summer produce that is available to us right now.
Remember our mothers always told us, “Eat your fruit and veggies!” 
Enjoy! 
To enter this giveaway, leave a comment with your favorite HST design and your favorite summer fruit or veggie! 
Giveaway open to US Residents only.  Giveaway open until Wednesday, August 8, 2012 at midnight (CST)

PS: You can find more tutorials from Grandma Jane including her piecing, quilting and binding tutorials by clicking HERE.

Tex-Mex Salad Recipe

I love, love, love southwestern food or as some would call it, Tex-Mex.  This is an easy salad that is the perfect accompaniment to enchiladas, tamales or just add in some chicken and you’ve got yourself a salad that’s hearty enough to call dinner.

 Tex Mex Salad
Serves 4-6 (main dish)
Serves 6-8 (side dish)

Ingredients:
2 heads romaine lettuce
2 avocados (chopped)
1 cup frozen corn (defrosted) or fresh (if it’s in season)
1 can black beans (drained and rinsed)
1/2 red onion, diced
1/2 red bell pepper, diced
1 Tablespoon white balsamic vinegar
1/2 cup sour cream or reduced fat sour cream
1/2 cup salsa
2 teaspoons chile powder
1 teaspoon cumin
1/2 cup shredded Mexican cheese blend, plus more for garnish
1/4 cup fresh cilantro, chopped plus more for garnish
Salt and pepper, to taste
2 limes
Tortilla Chips
Directions:
Make black bean and corn relish.  Combine black beans, corn, red onion and red bell pepper.  Pour over white balsamic vinegar (or other light vinegar), squeeze the juice of 1/2 of a lime, season with salt and pepper and allow to sit for a half an hour or up to one day.
For the salad dressing.  Combine sour cream, salsa, the juice of half a lime, chile powder, cumin and salt and pepper.  Stir to combine.  Every salsa is a little different so you may need to add more salsa or add more sour cream to reach the desired consistency for your dressing.  Taste it to see if you would like to add any more of the seasonings as well.
For the main salad.  Chop up romaine lettuce.  Add avocado, black bean and corn relish, cheese and cilantro.  Pour over dressing and toss to combine.  Garnish the top with more shredded cheese and a bunch of cilantro.  Serve with cut up slices of lime and tortilla chips.
If you would like to serve this as a main course, I would suggest adding some grilled shrimp, chicken or  sliced flank steak.
Enjoy!

Giveaway Winners ~ Quilt In a Day and Riley Blake Designs

Sorry for the delay with posting these winners.  I’ve been sick over here with a bad cold, but I think I’m on the mend.  Yesterday I just needed to take the whole day off and rest.  My sweet, sweet husband stayed home from work to take care of the kids (and me).  He took the girls to gymnastics, made me hot tea all day, a yummy lunch and even had dinner made in the crock-pot.  He’s a keeper, that’s for sure and I am a very lucky lady.  Summer colds are no fun, but they are definitely more tolerable when you have your sweetheart to take care of you.

Anyway, here are the two lovely winners from our giveaways last week……..

Quilt In A Day Gift Certificate:

Riley Blake Designs Seaside Fat Quarter Bundle:

Congratulations Carrie and Julie!!  I’m so excited for you!  Email me at thecottagemama[at]gmail[dot]com with your contact information and we will make sure to get your prizes out to you as soon as possible. Thank you to everyone who entered!