


This is Savannah’s skirt and the waist-band is about 2.5″ wide, which I think is just right. Next time I may even try making it much larger so that it scrunches at the top…….maybe 12″ so I end up with a 6″ waist-band.
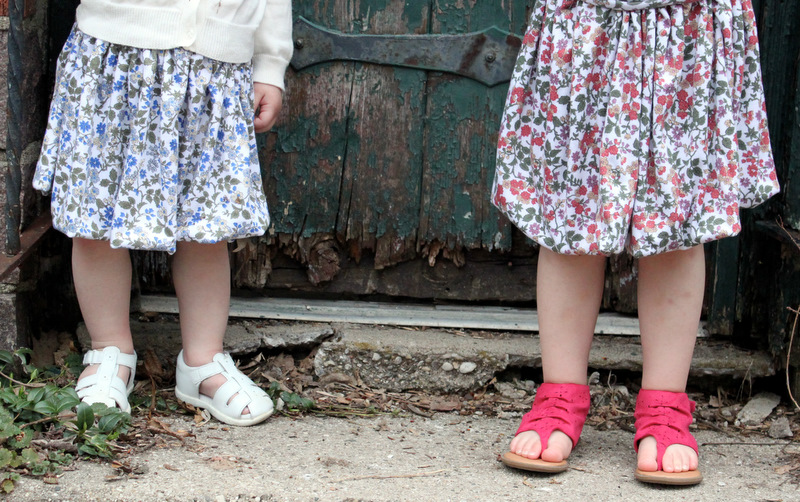
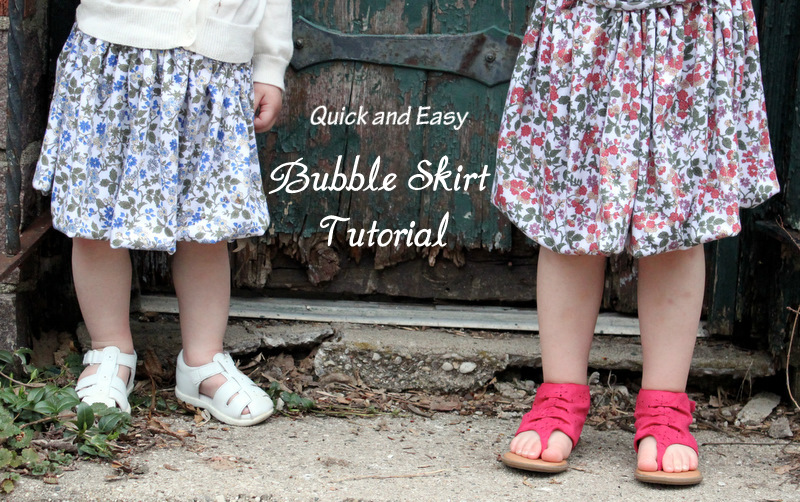
Here are the girls finished skirts. I don’t like things too short on little girls, so I used the “at the knee” measurement for both of them.

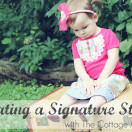
Matilda was very happy to be part of this photo session. I typically use her older sister since she is easier to work with, but Matilda is learning to follow directions and not run off, so you will be seeing more of her soon.

I love these skirts because they can be dressed up or totally dressed down. I ordered some solid colored tank tops from Old Navy that I think will look darling with these skirts for playing outside or at the park.


 Lindsay Wilkes is the owner and designer behind The Cottage Mama. She creates timeless, vintage inspired sewing patterns for children’s clothes. She is also a fabric designer for Riley Black Designers / Penny Rose Fabrics, author of the book ‘Sew Classic Clothes for Girls’ and can be seen teaching nationwide and online in her video series ‘Lessons with Lindsay’ sponsored by Baby Lock Sewing and Embroidery machines.


I saw you mention this on Facebook last night, and I’m so glad you posted the tutorial…thank you! I have some knit fabric and a serger but have yet to touch the fabric because I heard you need special needles for it…is that true? Thanks!!
Oh I LOVE it! I will have to make one for my little lady!
OHMYWORD!!!!! SO cute!!!!! Can’t wait to try it!
Thank you SOOOOOO much for sharing!
I love bubble skirts on little girls….they are just so cute!
Super cute and comfortable!!!
so so sweet! and comfy looking too. 🙂
What fun! Can’t wait to try it out!
I don’t know why but this isn’t clicking with me…I am confused when you say you should have a “circle” of fabric. Maybe it’s just one of those days,lol.
Love them though and j already have some jersey knit. Just need a ball point needle. Thanks for the tutorial!!!!
This just made my day, I cannot wait to see What you have in store for us! Yeah!
Loved this easy skirt and will certainly be using it again! Shared the link on my blog, http://hopefulthreads.blogspot.com/2011/04/sewin-for-fun.html
Thanks again!
wonderful skirts! Thanks for the great tutorial. I may need one in my size, too!
I’m a complete novice when it comes to sewing but am trying to teach myself with the help of tutorials online. This has got to be my next project!!! I imagine if it turns out successful them my daughter will have these in many different colours and patterns haha.
This is my blog if you fancy a laugh http://thats-sew-kirsty.blogspot.com/
xxx
Your girls are so pretty! Love the fabrics you picked and the fullness of the skirts.
Love this skirt! Are ball point needles necessary with a serger and knits and is the waist band cut on the straight or cross of grain? Must need more coffee this am!
Love thie tutorial! It was a very easy and quick skirt to make, you can make anything look easy. Thanks so much for sharing!!
http://sweetpeaandpumkins.blogspot.com/2011/04/quick-and-easy-buble-skirt.html
What darling skirts! Great tutorial!
Where did you find this awesome fabric? Thanks so much for sharing!
The fabric is from my local Joann’s store – it’s a really soft, stretchy knit.
This is awesome!I never really used knits before, but i am going to test it out. i have 3 girls so i could get some mileage out of this one, i will probably have to make one for me too! It would also be really easy maternity wear.
very good , this skirts is looking beautiful and i like it ,its very useful for girls.
skirts for girls
I love these! I’m actually trying to make one right now I’m new at this whole sewing thing, and I’m confused… I have all my cuts but I’m stuck at this part:
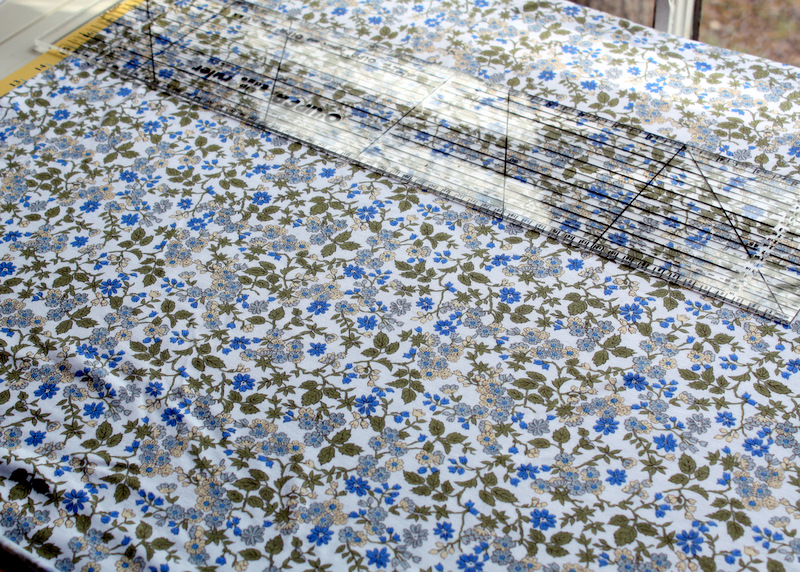
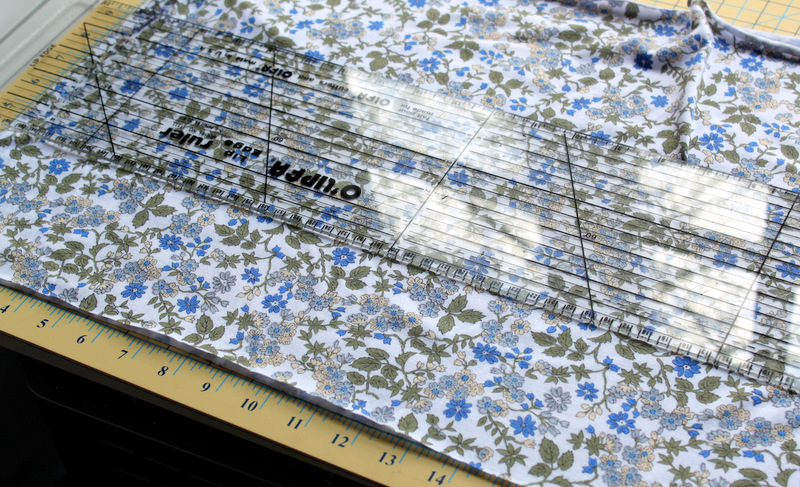
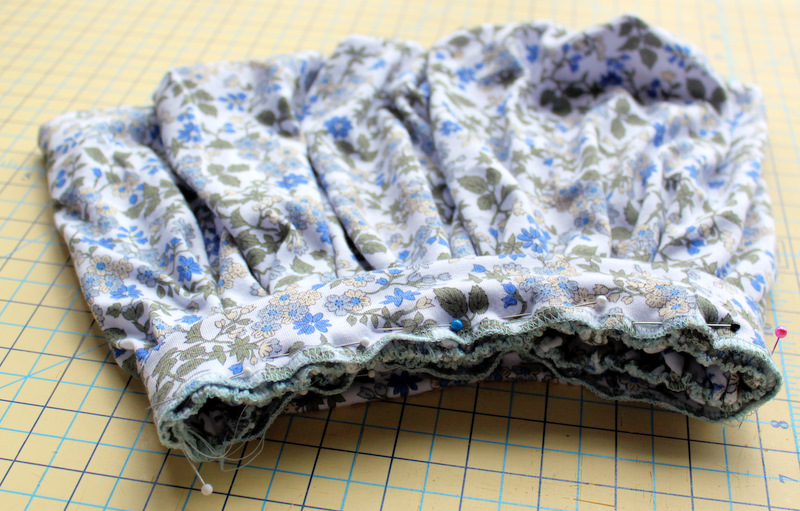
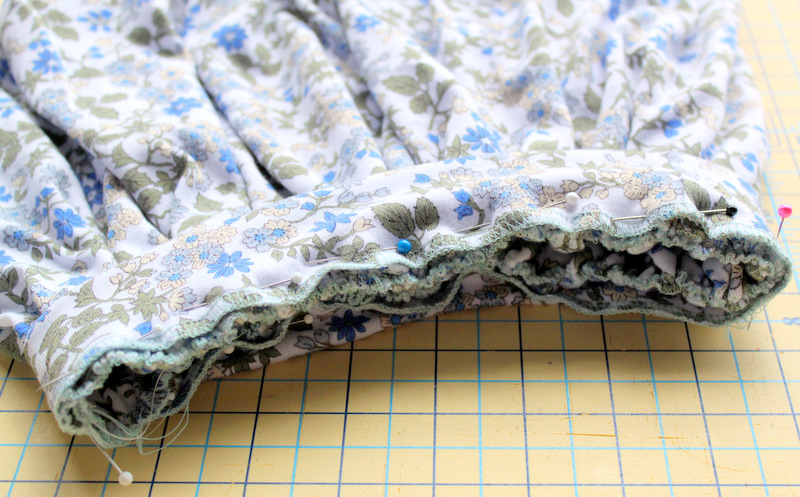
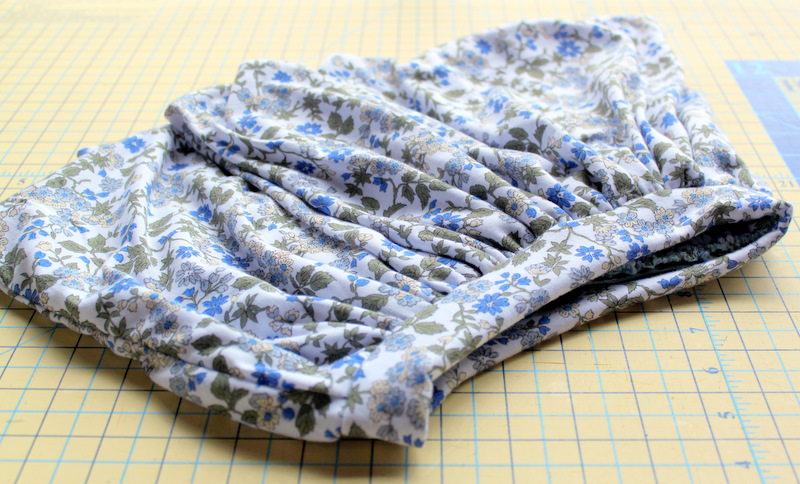
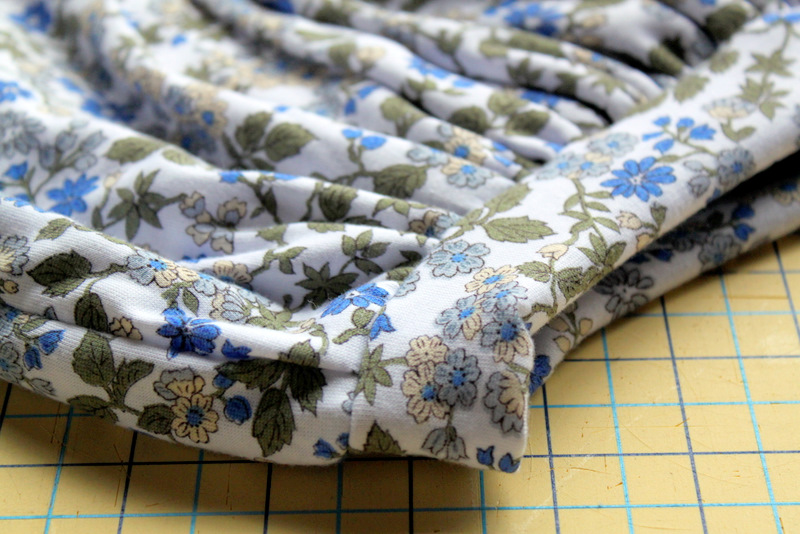
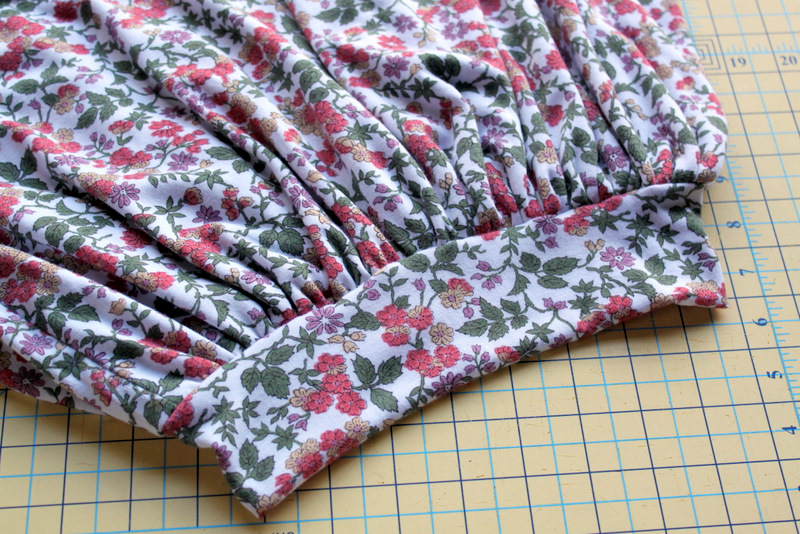
“Join the two raw sides of the main bubble piece and sew down the side. Do the same for the waist-band piece. Now you will have two circles of fabric. I suggest changing your needle to a ball-point needle when sewing with knits – it will make things go much more smoothly.”
Are the “raw” sides of teh fabric the side you want to show or the side that won’t be seen? And I’m confused by the “two circles of fabric.”
I would really appreciate some help!
Thanks!
*MamaGoose
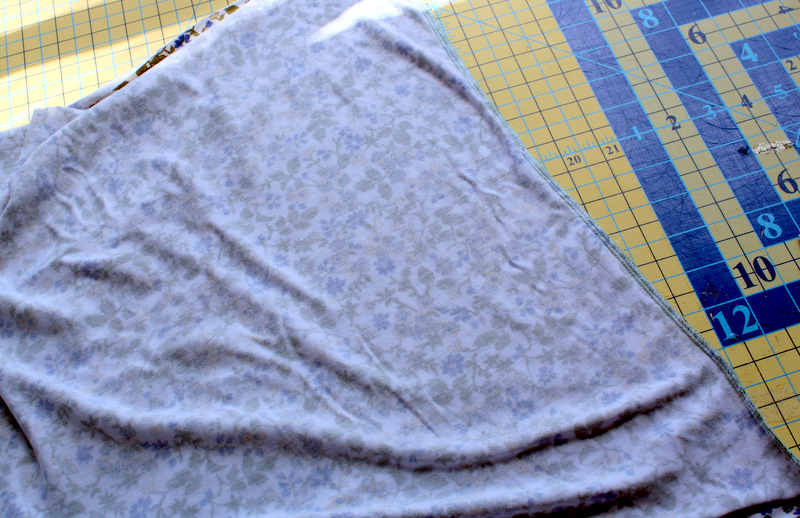
The raw edge, means the cut, unfinished edge. You fold the main piece of fabric in half, with the right sides together, and sew along the unfinished, cut edge (raw edge) to make the bottom of the skirt. When you sew one raw edge to the other raw edge, it makes a circle (or tube) of fabric. You do the same thing with the waistband fabric to make the top of the skirt. Hope this helps!!
Simple and Beautiful! Thanks for sharing 🙂