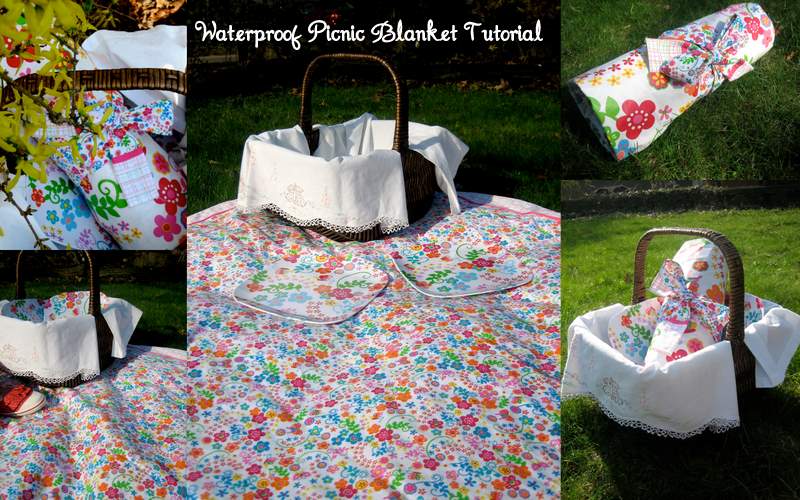
Have you ever been outside for a picnic only to lay your blanket down are realize the ground is damp? Well, that is no fun and kind of ruins the picnic experience. So, make yourself one of these waterproof picnic blankets and you will never have to worry about wet ground again!
Supplies:
1 Vinyl Tablecloth (52 x 90) or smaller if you prefer
1 Cloth Tablecloth (similar size to vinyl) or 2 yards of your favorite fabric
Scissors
Thread
Iron
Sewing Machine
Optional:
Ribbon or Rick Rack for trim
Directions:

You will need two tablecloths – 1 vinyl and 1 cloth. If you don’t have a cloth tablecloth, feel free to use a couple yards of fabric. I got both of these coordinating tablecloths at my local Joann’s.

You want to choose a top and bottom that will coordinate nicely with each other – I just thought these two prints shouted “Spring!!”.

Here is what the packaging for the vinyl tablecloth looked like. It was $6.99 and I got it 50% off – wooohoo!
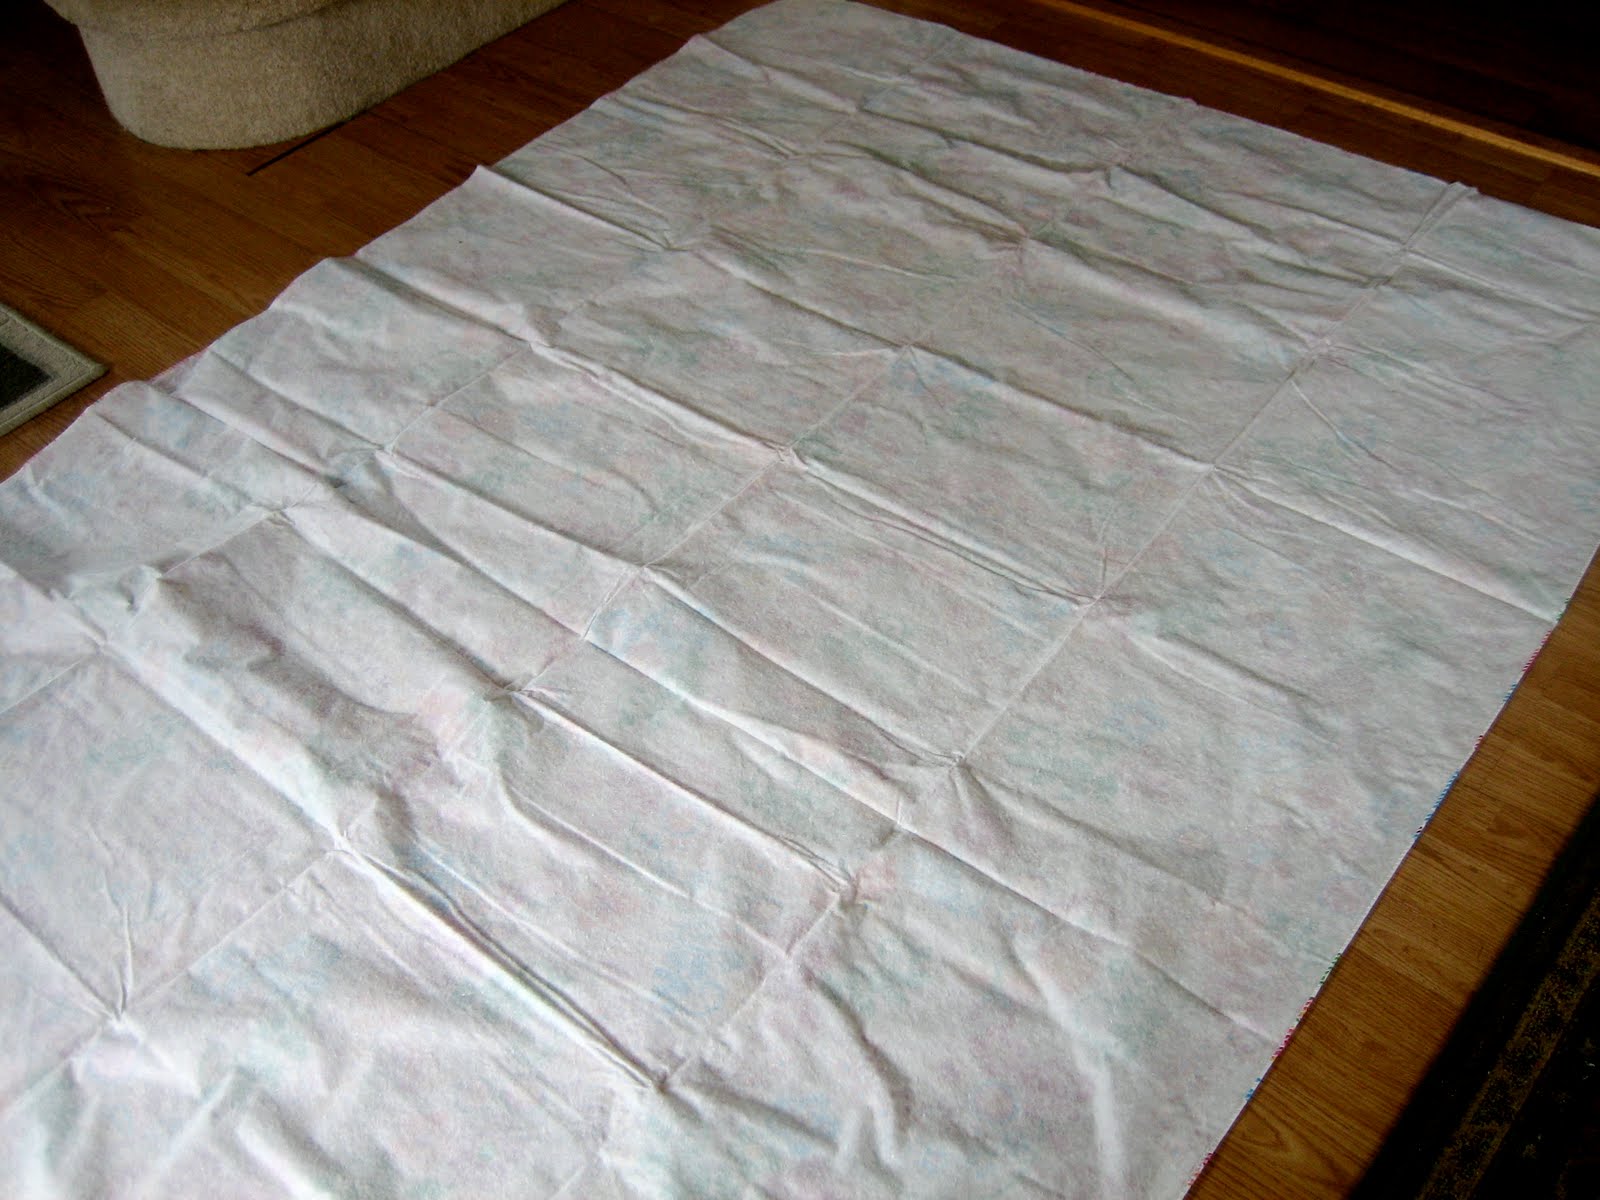
Lay out your vinyl tablecloth on a large surface.
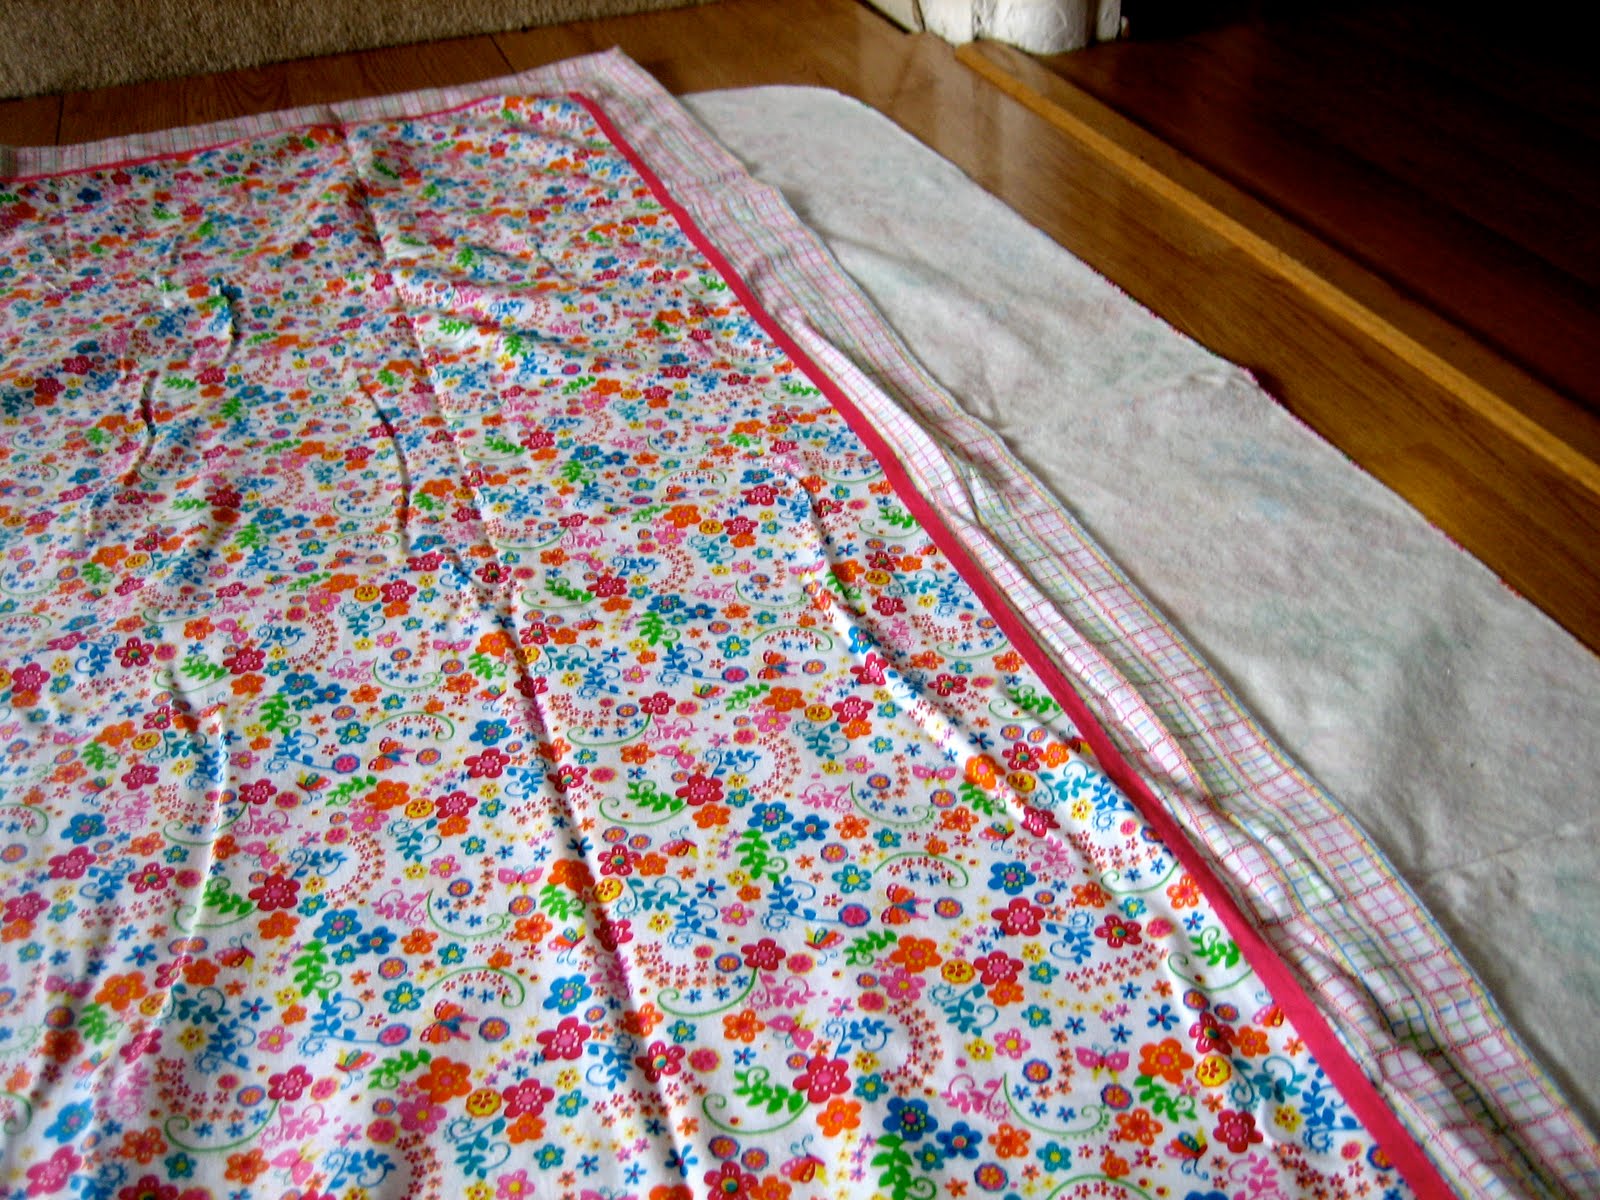
Lay your other tablecloth or fabric on top of the vinyl cloth. You need to do this so you can trim off any extra length or width you may have to make sure they are the same size.

Fold over your excess length or you can draw a line marking the excess length.
Cut off the excess length from the vinyl tablecloth.
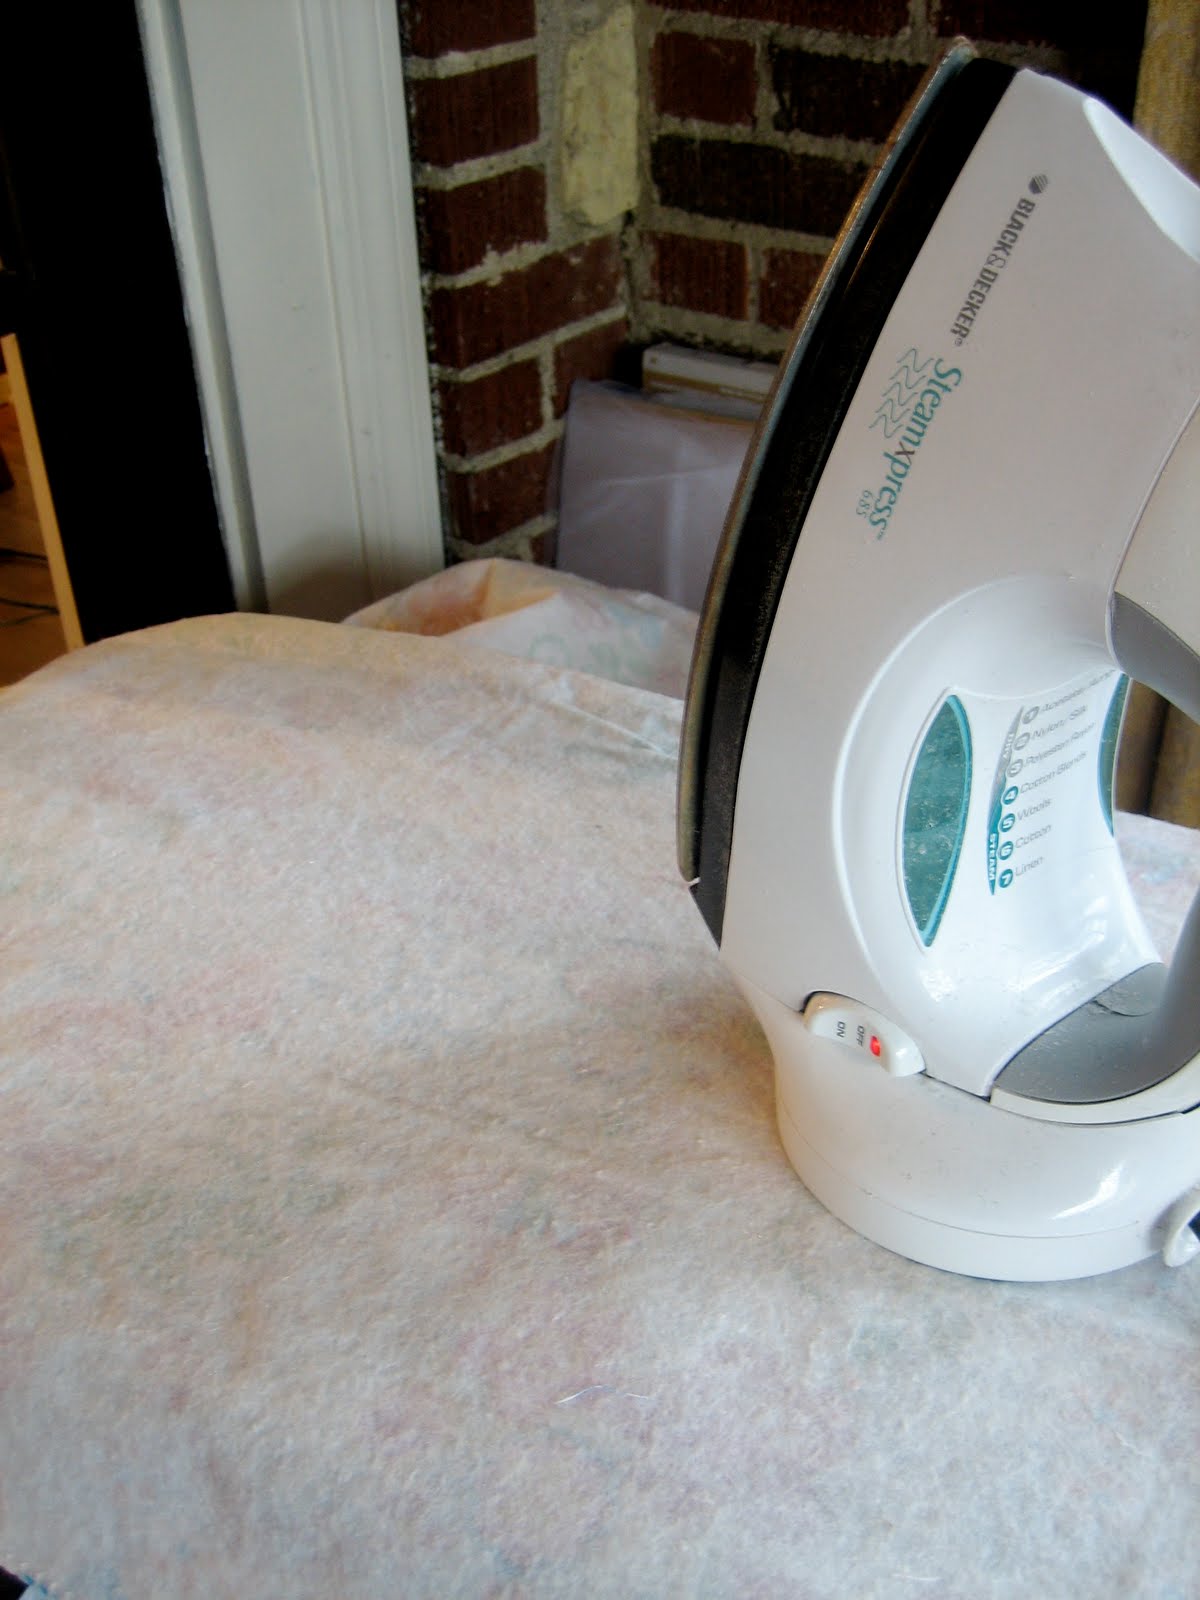
Before stitching the two cloths together you want to prep the fabric. ALWAYS iron your fabric before sewing – it is the only way to achieve professional looking results. For the vinyl cloth turn it so the flannel side is up, set your iron on the lowest setting and press, smoothing out any creases. Your vinyl will not melt as long as you move the iron quickly and make sure you set it to low.

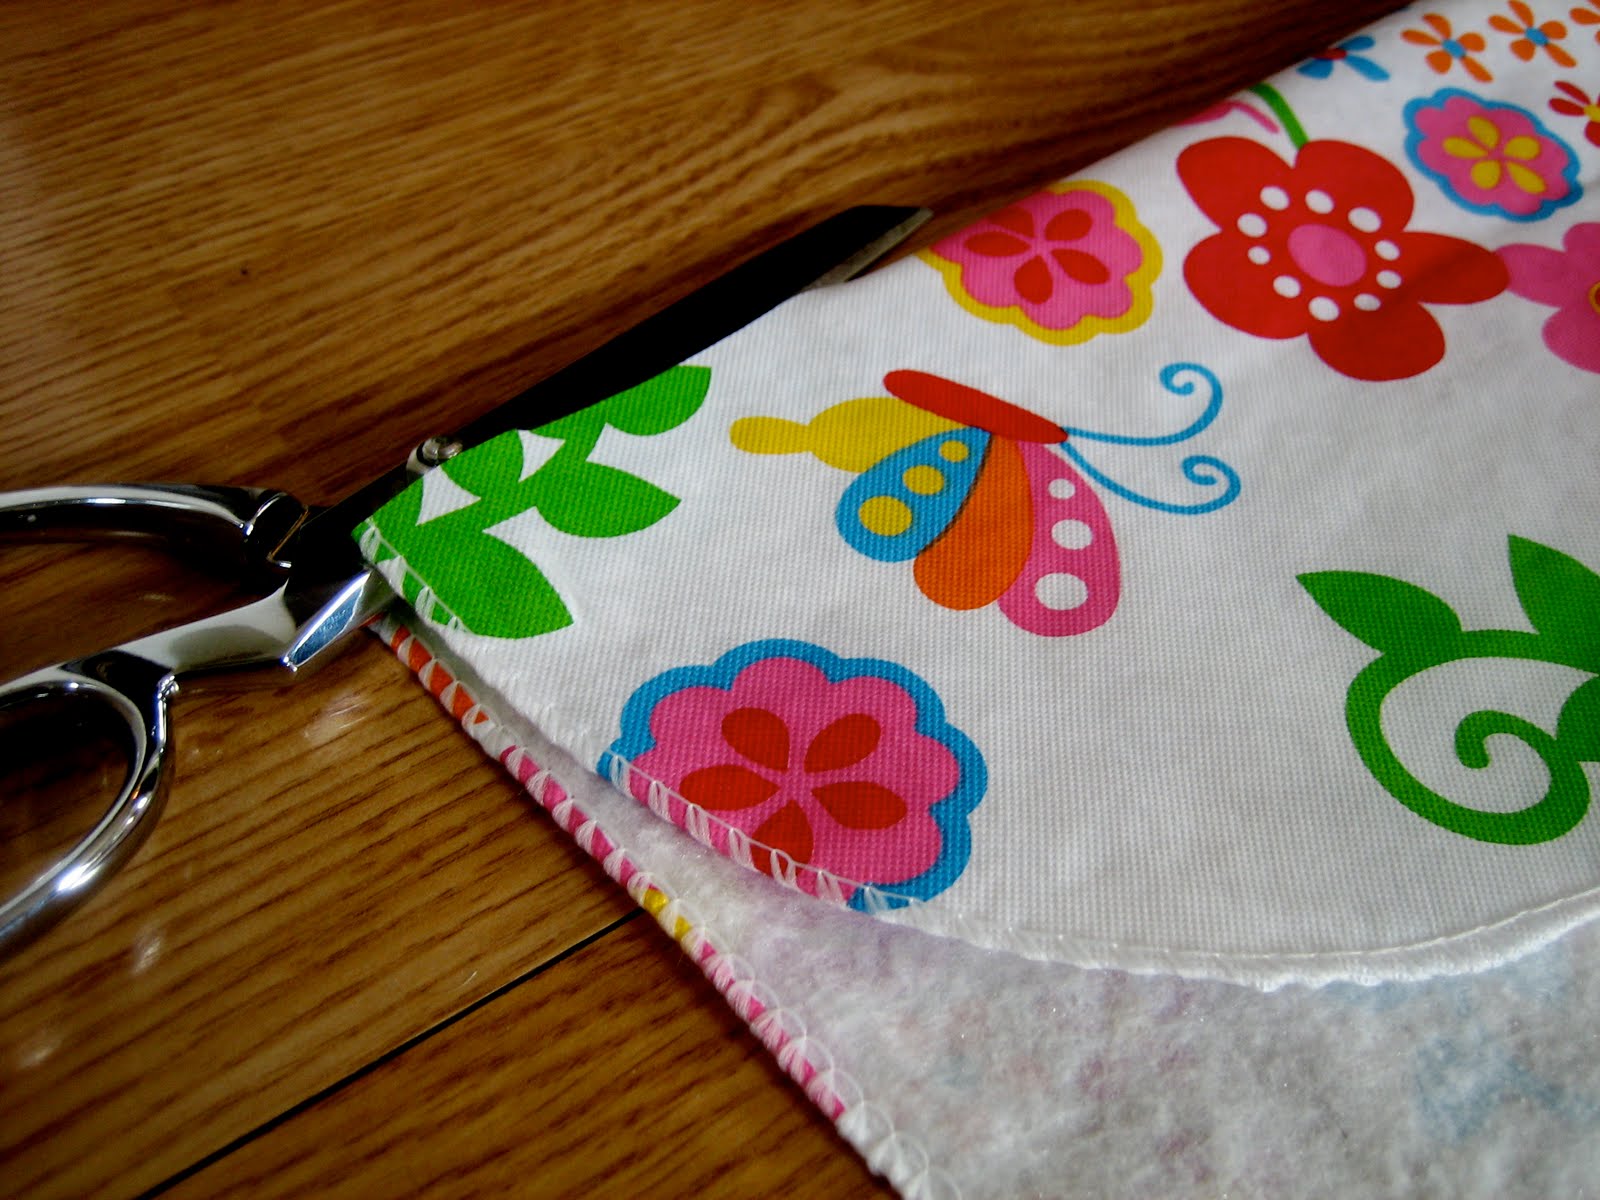
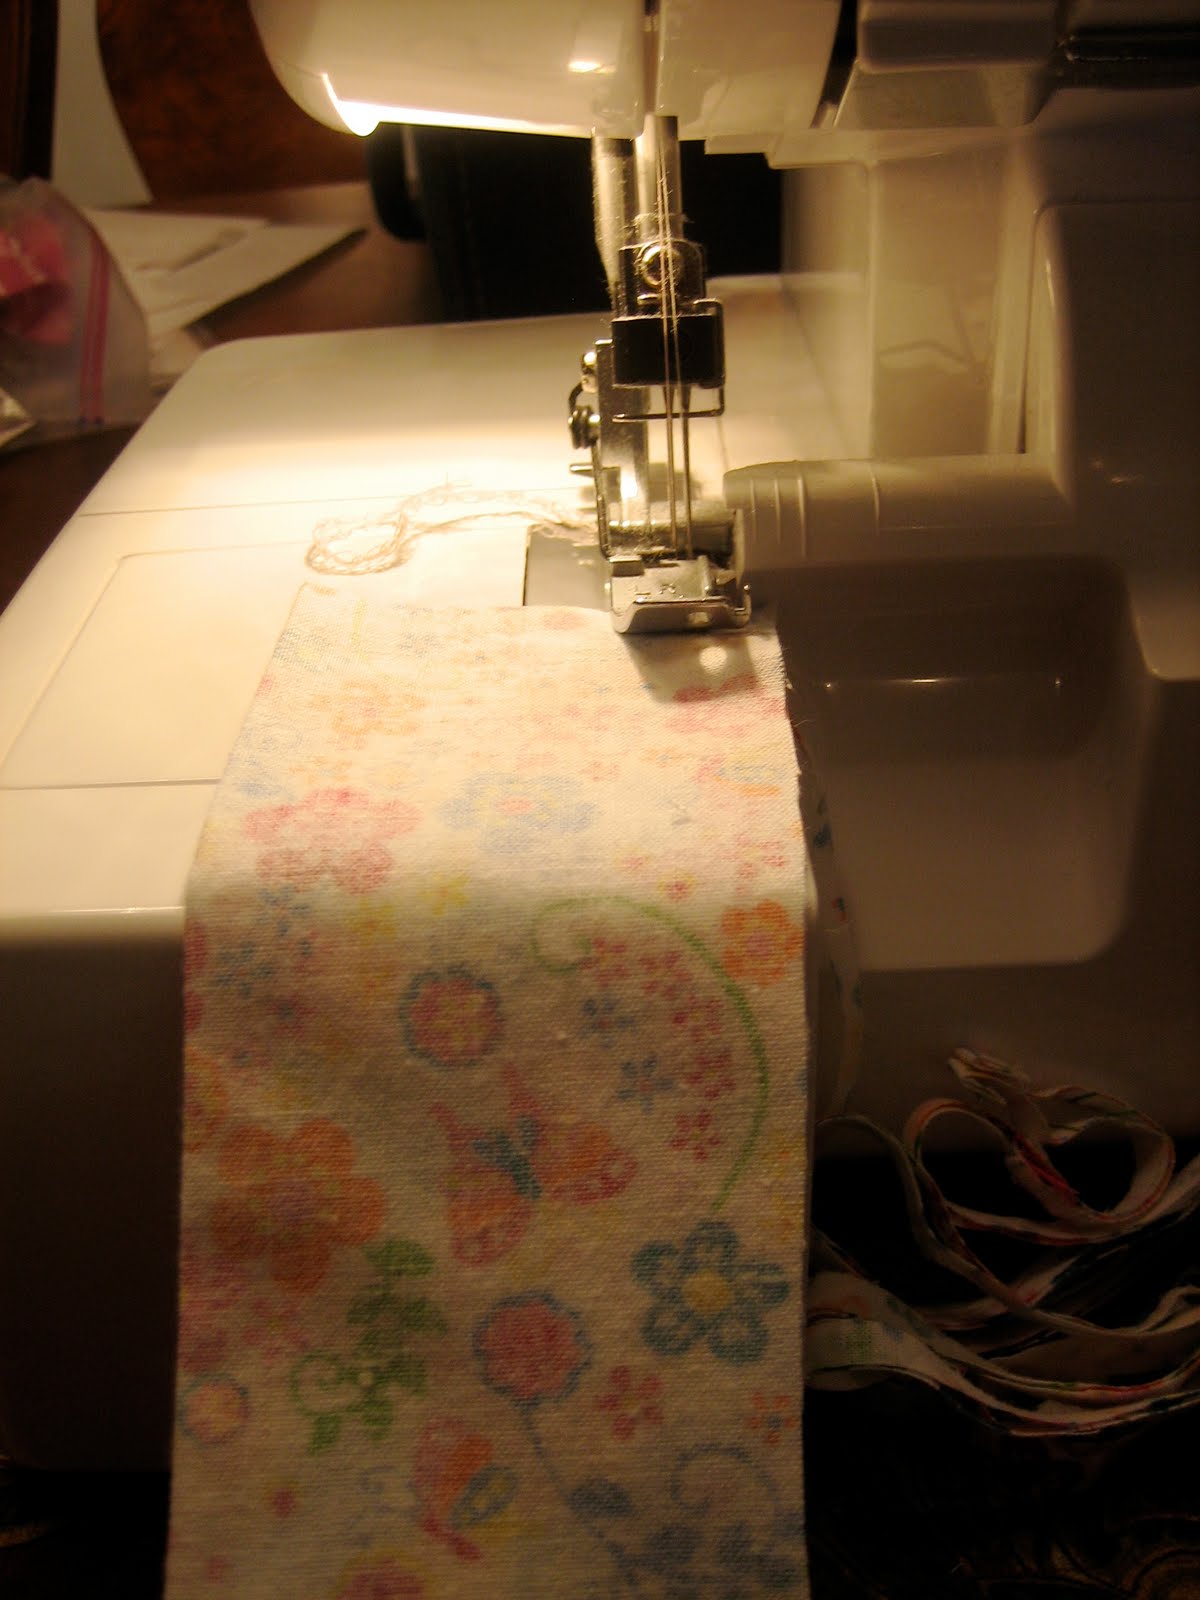
Then stitch your two cloths together on three sides – 1/2″ seam allowance, leaving one of the shorter sides open. I used my serger just because it makes it faster, but you can just as easily use your sewing machine – just make sure you use a needle designed for thicker fabrics, such as a denim needle.

You want to leave one side of the blanket open in order to insert the ties. The ties should each be 20 inches long and 3 inches wide (I actually made mine too long in my original design….oops!). You will need to cut four pieces (2 for each tie).
I used left over fabric I had from the cloth tablecloth – the stuff I had to cut off to make sure the top and bottom were the same size. You could also use ribbon if you prefer.
Place right sides together and stitch the ties along both long sides and one short side (leave one of the shorter sides open). Again, I used my serger, just for time-sake, but using the sewing machine will yield the exact same results.
Once you have stitched three sides, turn your ties right-side out and press.

Place your ties, pointing inward, in the middle of the fourth side (that you have yet to stitch). Place the raw edge of the tie against the raw edges of the tablecloths. Then stitch this side of the tablecloths 3/4 of the way closed. You need to leave an opening to turn the blanket right-side out.
Turn the blanket right-side out and press lightly.
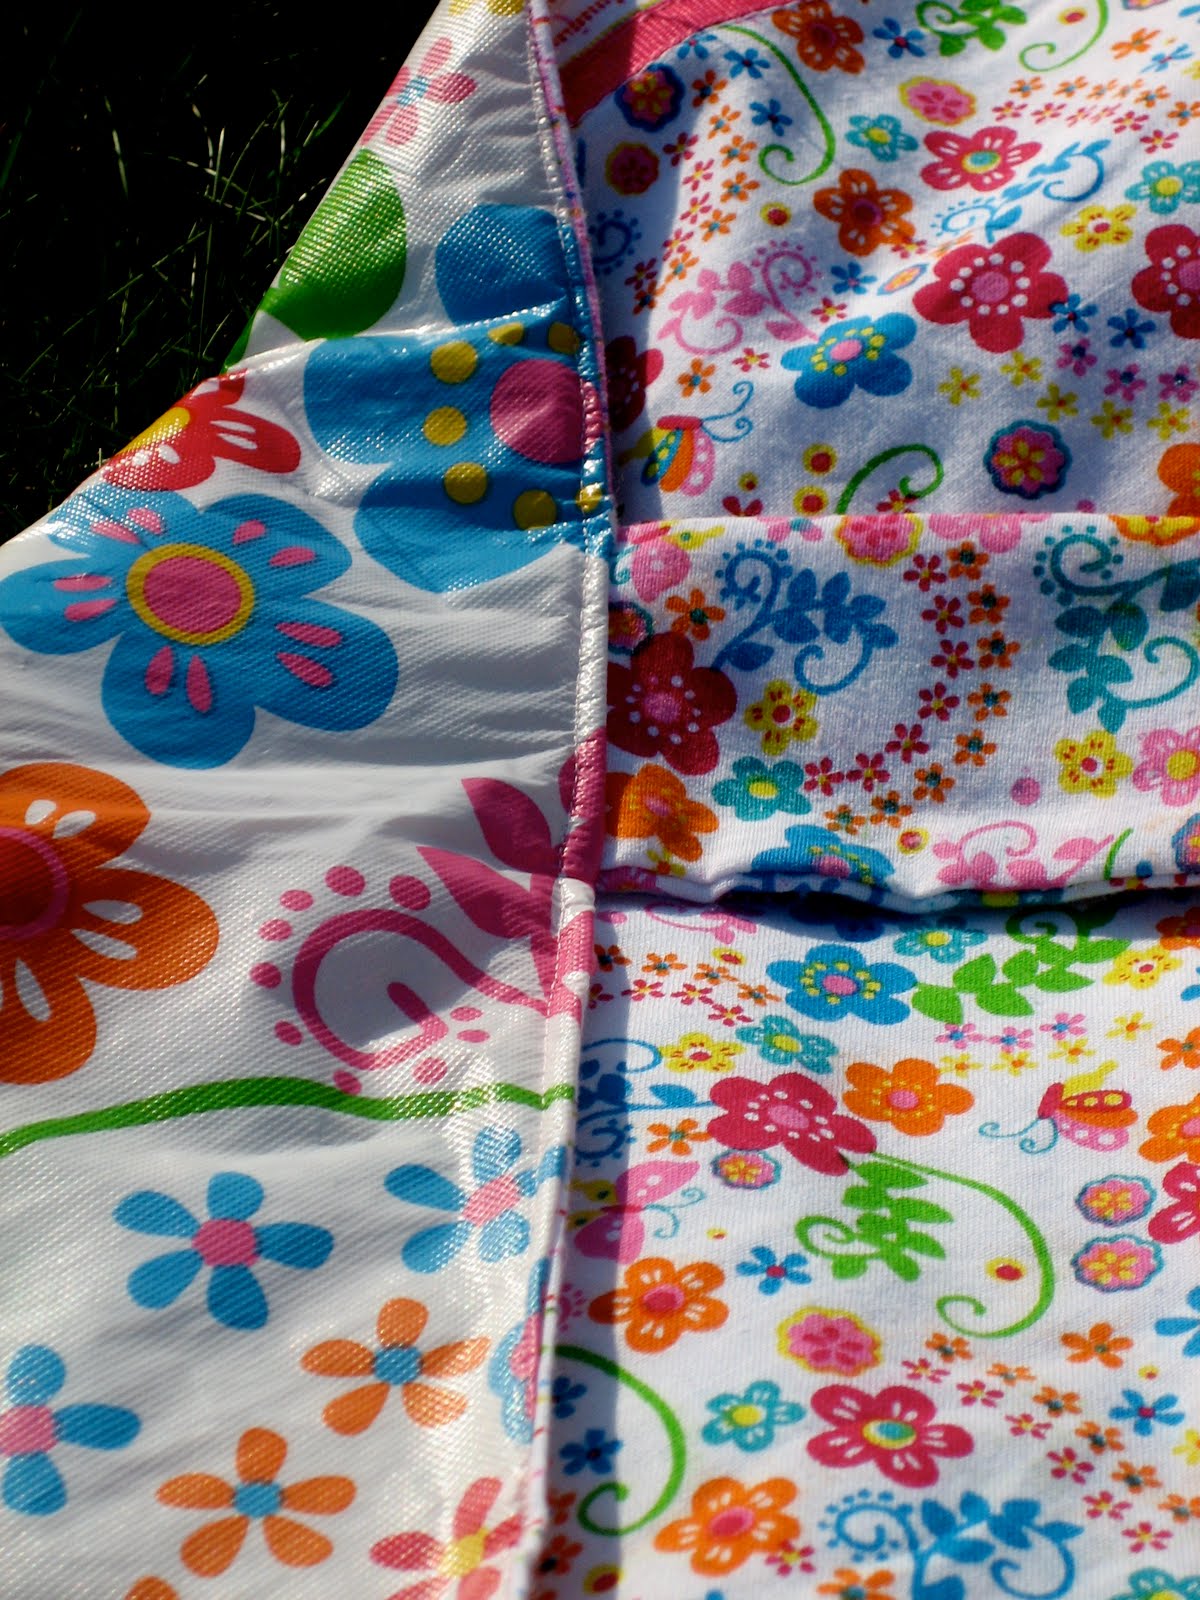
To close the little opening, I recommend top-stitching around the entire blanket – 1/4″ seam allowance. Or you can just close the opening by hand-sewing – your choice.

And there you have it – your waterproof picnic blanket ready for a day out in the park!!

My tablecloth came with a border and some ribbon trim already on it, but if you are using fabric and would like to add some trim, make sure you do that before you sew the two tablecloths together.

To fold the picnic blanket, fold over one third of the blanket towards the middle.
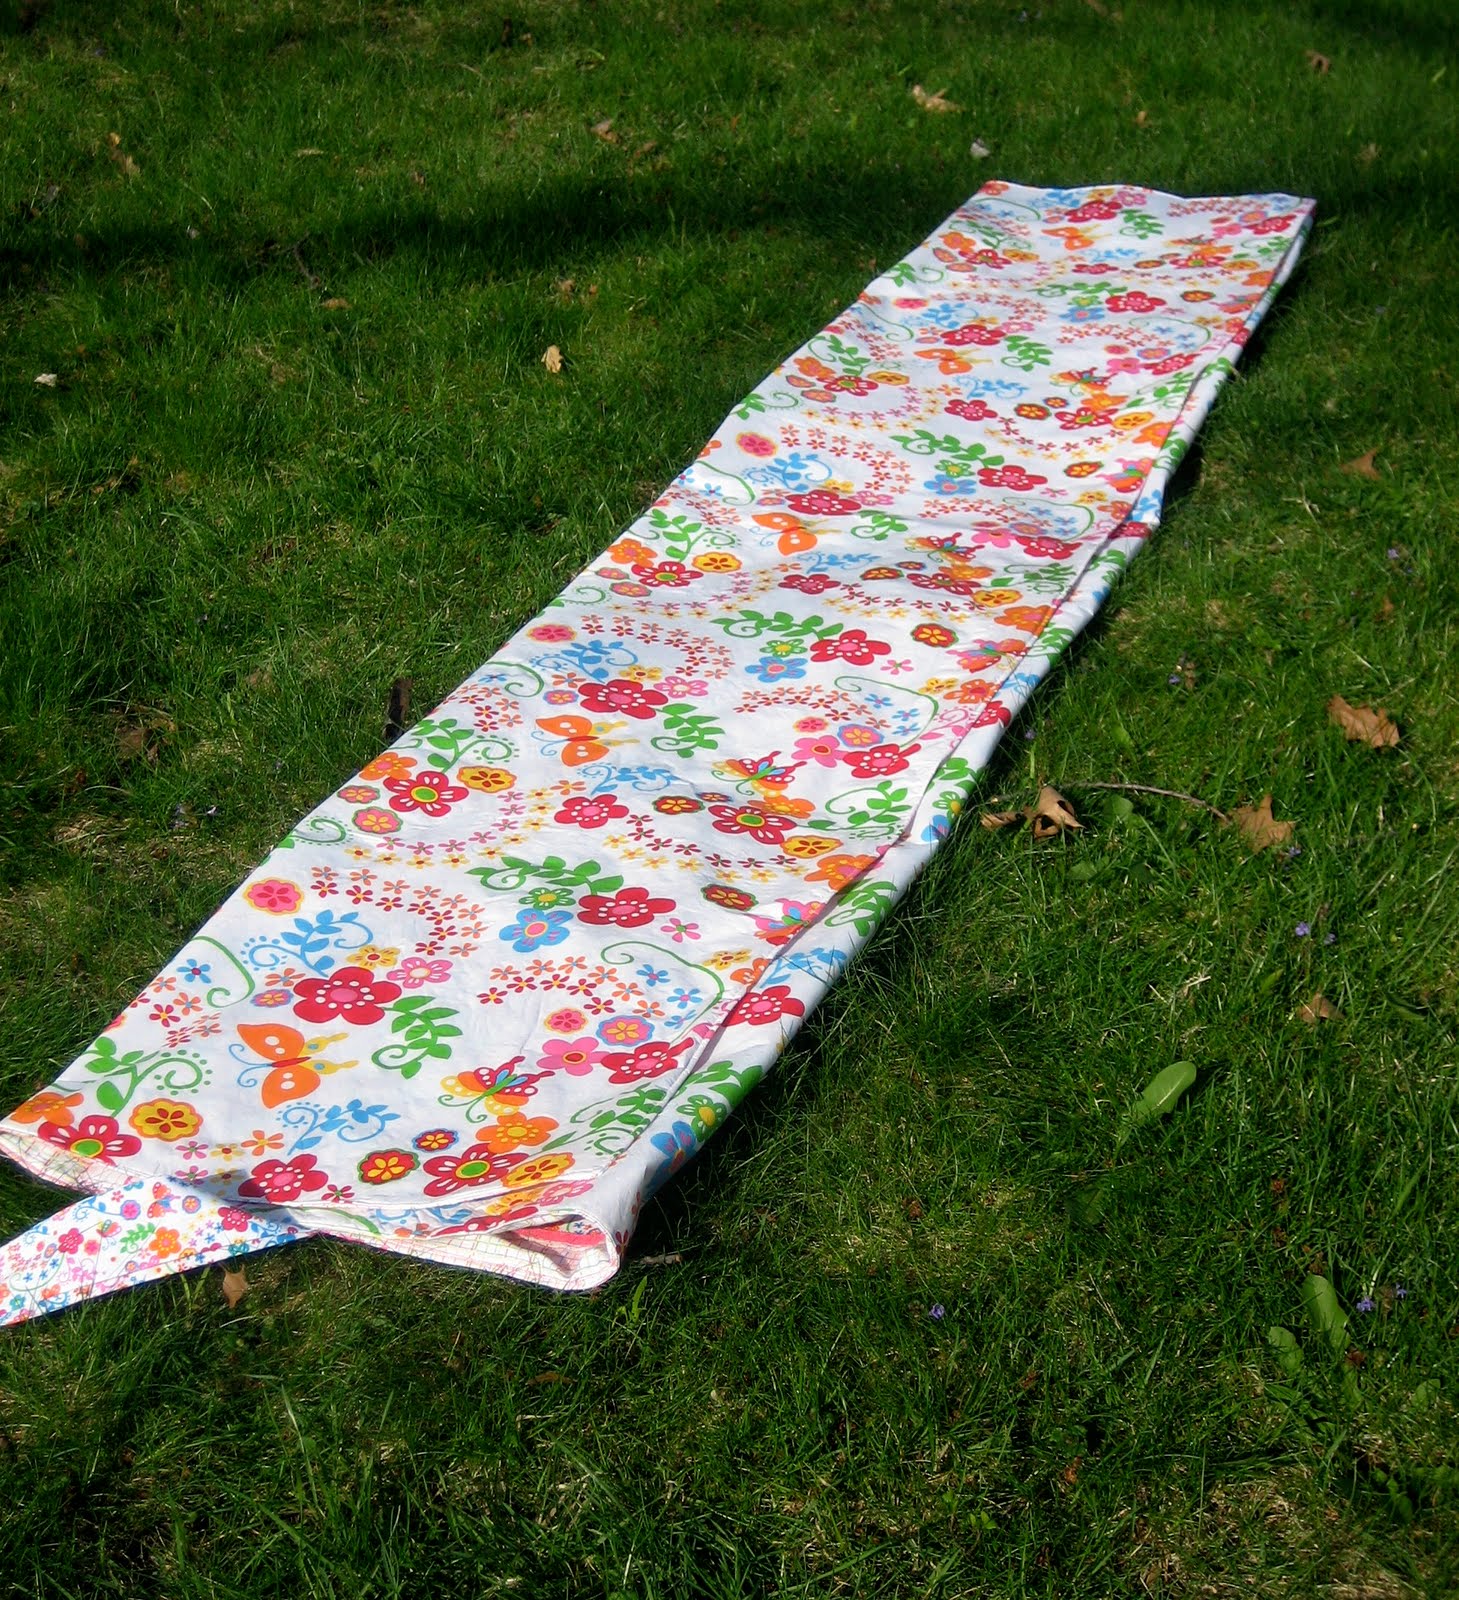
Then fold over the other one-third towards the middle.
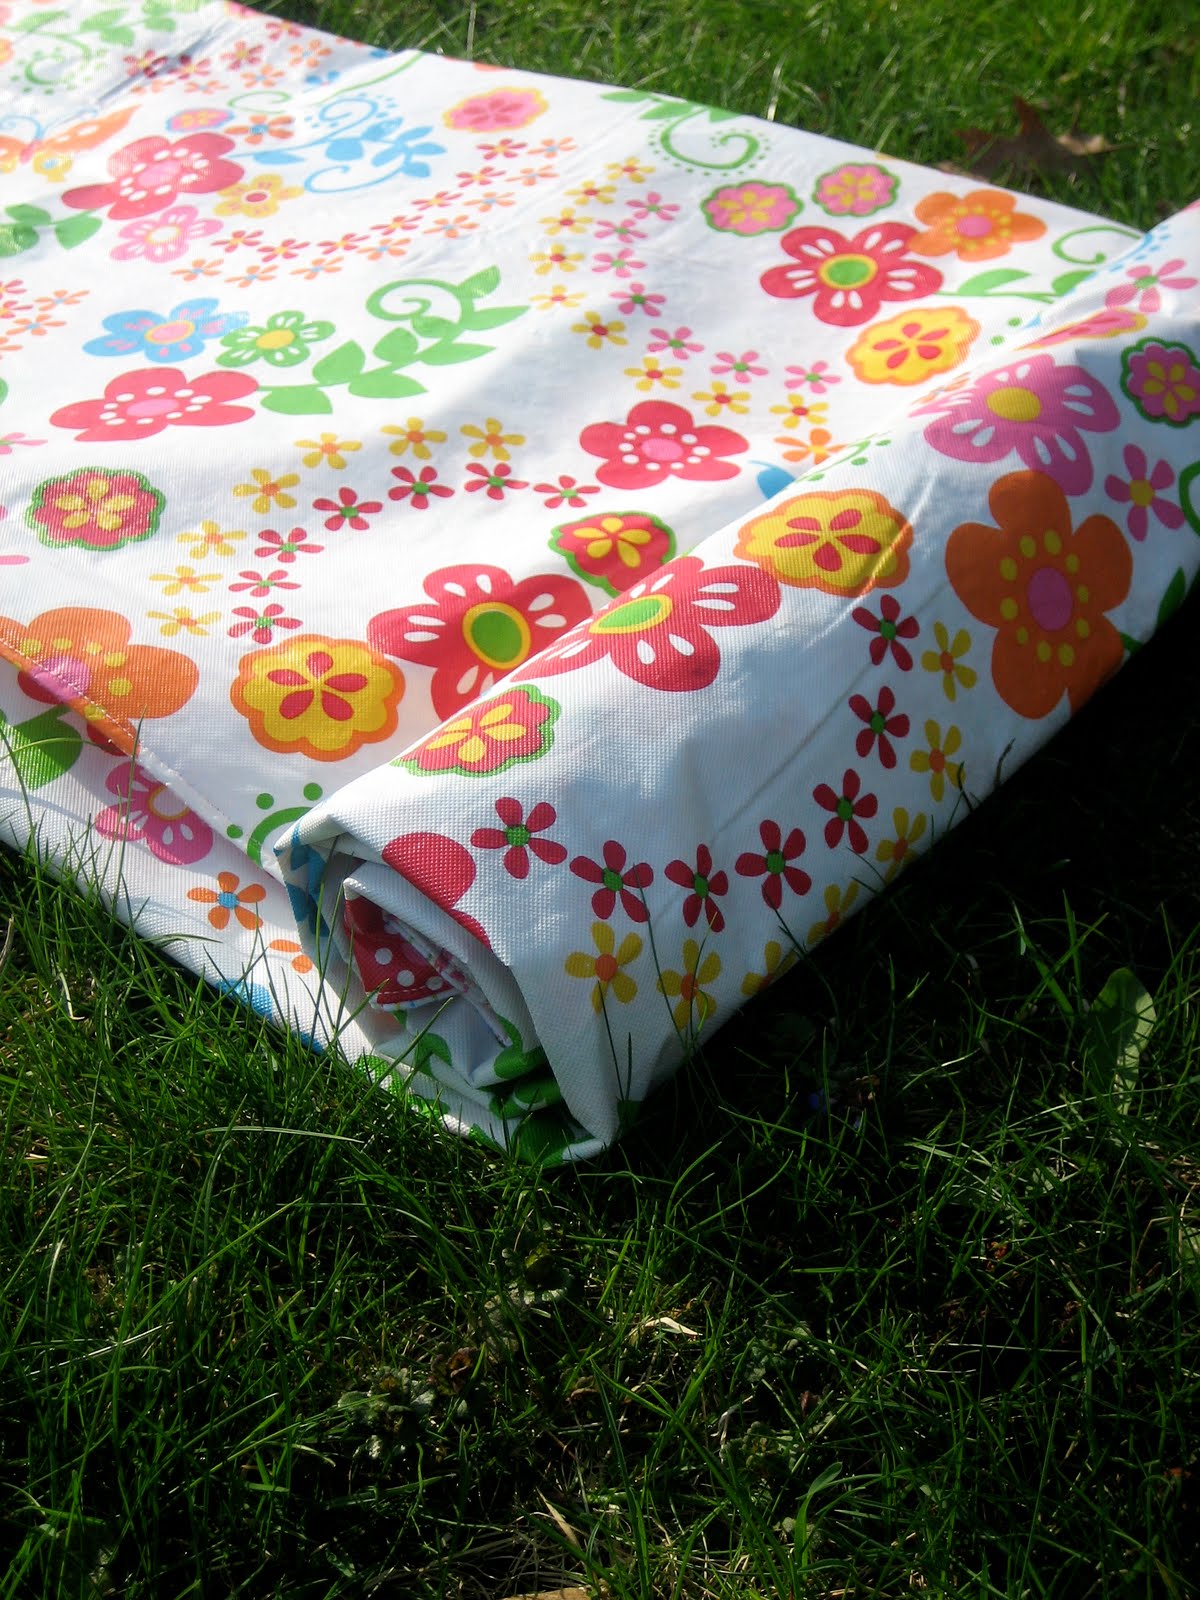
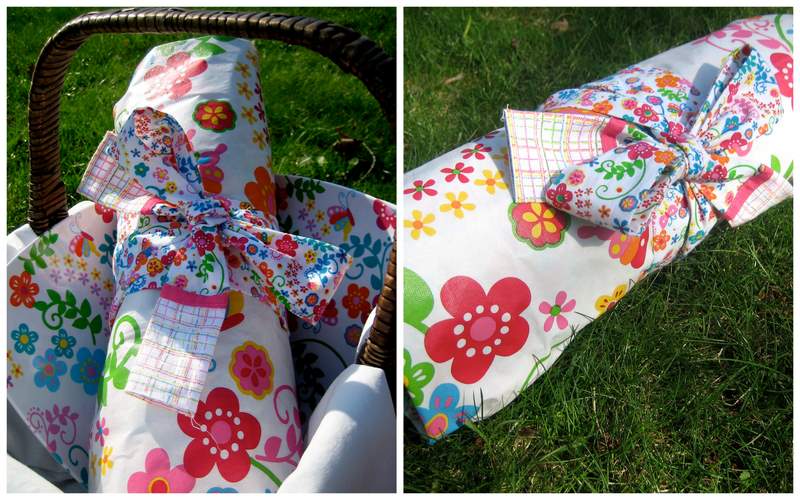
Then just roll it all the way up, starting from the end without the ties. Once rolled, wrap your your ties around and tie a pretty bow.

 Lindsay Wilkes is the owner and designer behind The Cottage Mama. She creates timeless, vintage inspired sewing patterns for children’s clothes. She is also a fabric designer for Riley Black Designers / Penny Rose Fabrics, author of the book ‘Sew Classic Clothes for Girls’ and can be seen teaching nationwide and online in her video series ‘Lessons with Lindsay’ sponsored by Baby Lock Sewing and Embroidery machines.


What a clever idea! These would be a nice addition to your Etsy shop for those of us who can’t sew a stitch!
Susan
Too cute! Love this! i wanted to try one of these last summer, but I think this is the year to do it!
Very valuable tutorial. The prints are lovely. Will definitely do this. Thanks for a very user-friendly tutorial with pictures.
That is awesome, yet again another project of yours that I will be trying.
This is fabulous! This is one that I think I will try… even though I’m definitely not great at sewing, I think I can follow this. It looks awesome.
How do you wash this? In some cases, I have found that washing and drying a vinyl tablecloth causes it to crackle….maybe just hang it out to dry? What is your experience?
Yes, I would wash the blanket, but let it air dry. The dryer can get too hot and melt some plastic tablecloths.
I’ve recently made one similair 🙂 It’s patchwork on one side and waterproof on the other. My first time making either, so it’s turned out pretty well. Even it if is smaller than I had imaged.
Loved your design! And I nabbed your idea for the ties! Easy storage and it looks beautiful with the big bow. 🙂 Love it. x
I used the vinyl tablecloth from JoAnnes this year. Unfortunately it was so thin that the plastic tore while sewing. Still turned out lovely!
Hi. I love your tutorial, and I copied your link to my blog post inspired by the Spring ! Thanks again for your great tutorial.
I was just thinking I would make a waterproof picnic blanket and your tutorial popped up! How fortunate is that? Thank you it looks easy and it is very well explained.