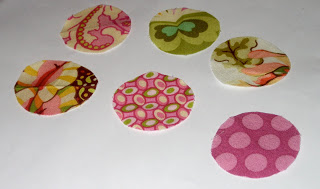
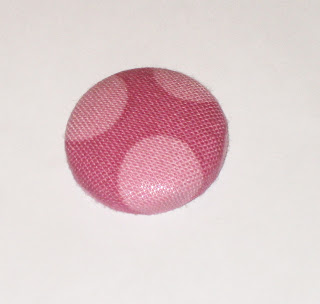
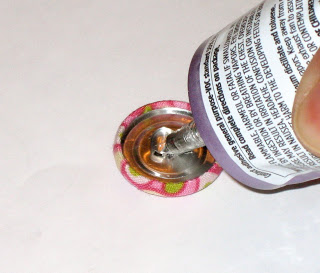
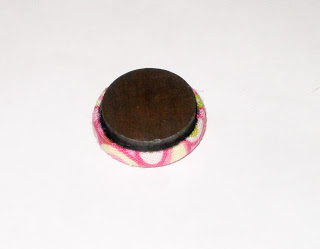
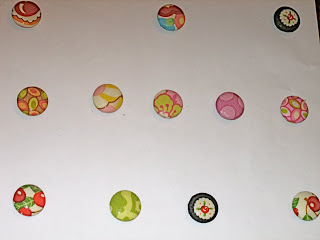
Recently I have been accumulating large bags of fabric scraps since I have been sewing my little heart out over the last several months. Some of the fabric is just gorgeous, but what to do with the little scraps? So I decided, what better way to enjoy the fabric that I love so dearly then to make fabric covered button magnets and have these little gems on my fridge year-round.
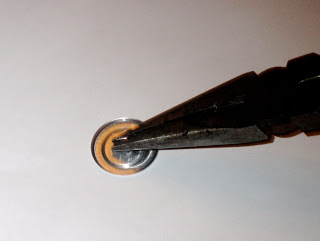
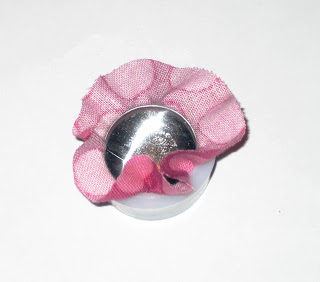
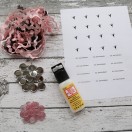
I’ve seen these for sale on etsy.com, so I thought I would give it a go at making my own. There are many tutorials out there on the web for making these, but I thought I would show you how I went about making mine.


 Lindsay Wilkes is the owner and designer behind The Cottage Mama. She creates timeless, vintage inspired sewing patterns for children’s clothes. She is also a fabric designer for Riley Black Designers / Penny Rose Fabrics, author of the book ‘Sew Classic Clothes for Girls’ and can be seen teaching nationwide and online in her video series ‘Lessons with Lindsay’ sponsored by Baby Lock Sewing and Embroidery machines.


I love it! I make these buttons all the time for hair clips but I never thought of making them into magnets.
I’ve tried this before and it is adictive. Now if I could just buy the button parts in bulk!
What size are your magnets?
What size are your magnets?