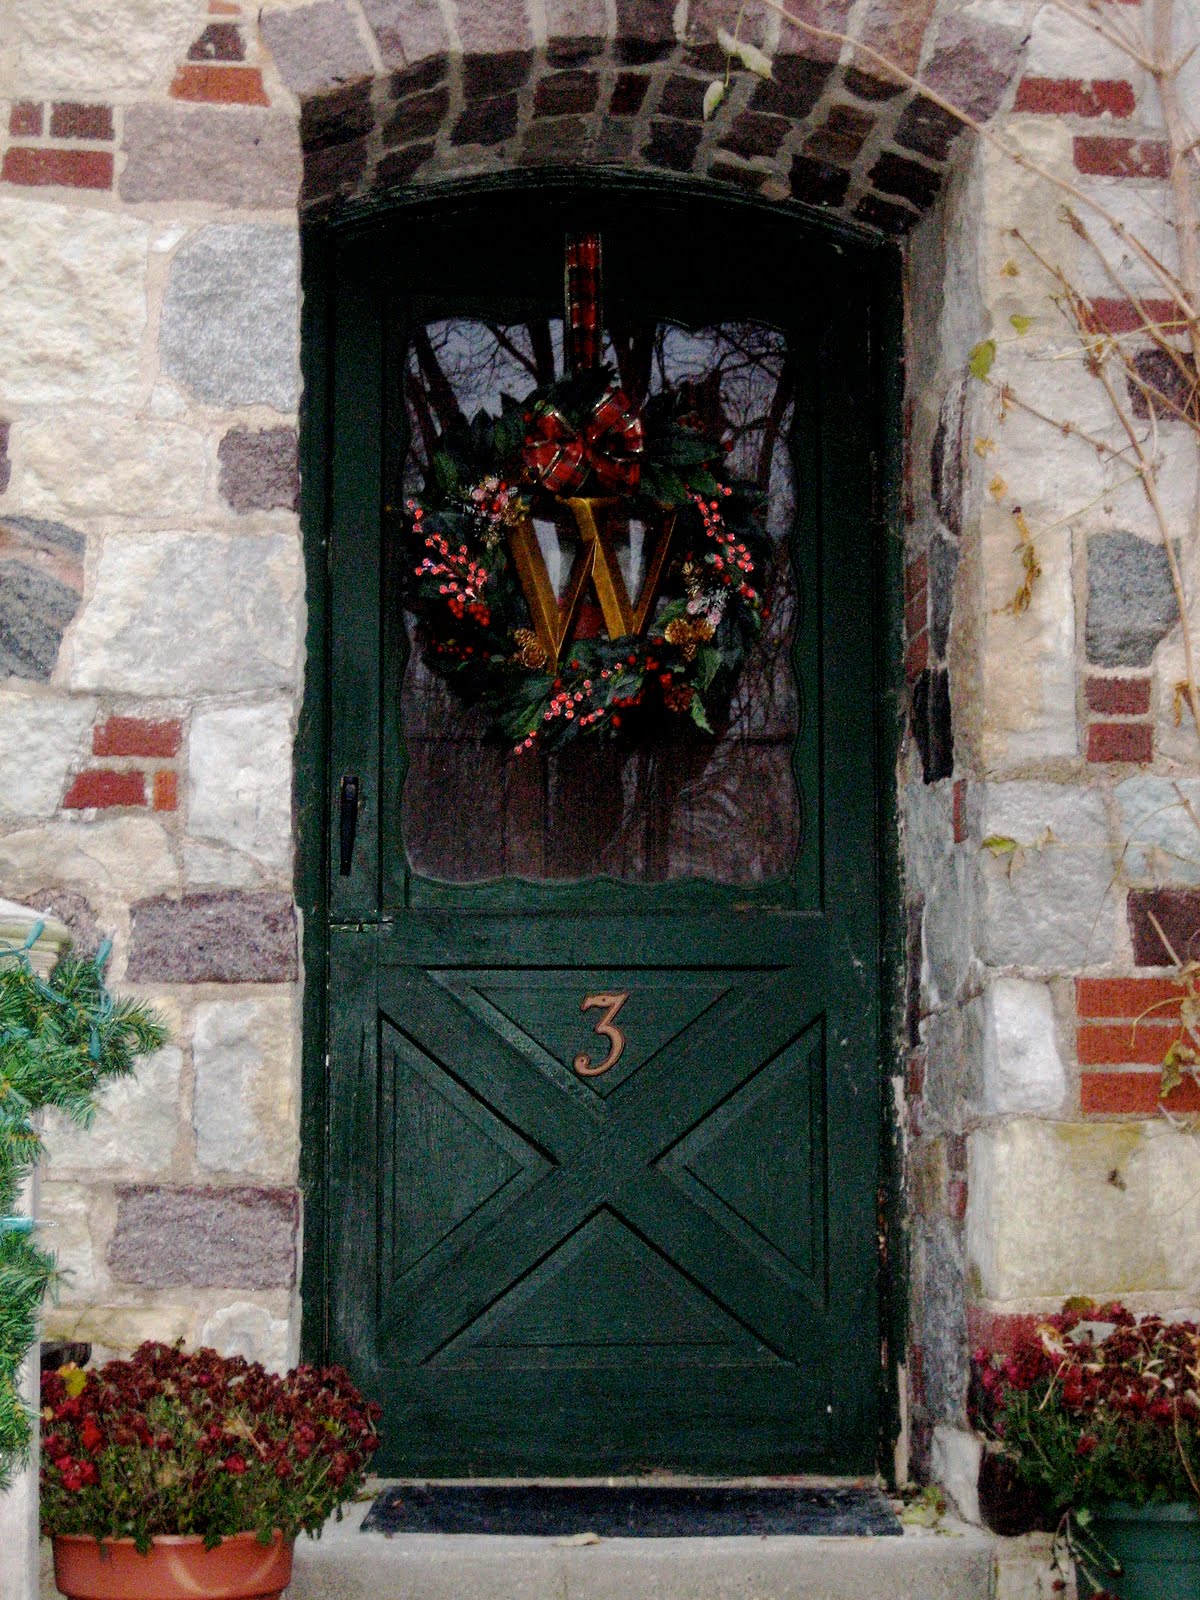
I saw this wreath idea several months ago on another blog I follow, The Nesting Place, and have been dying to try it. I decided Christmas was the perfect time and I’m happy to share this tutorial with you.
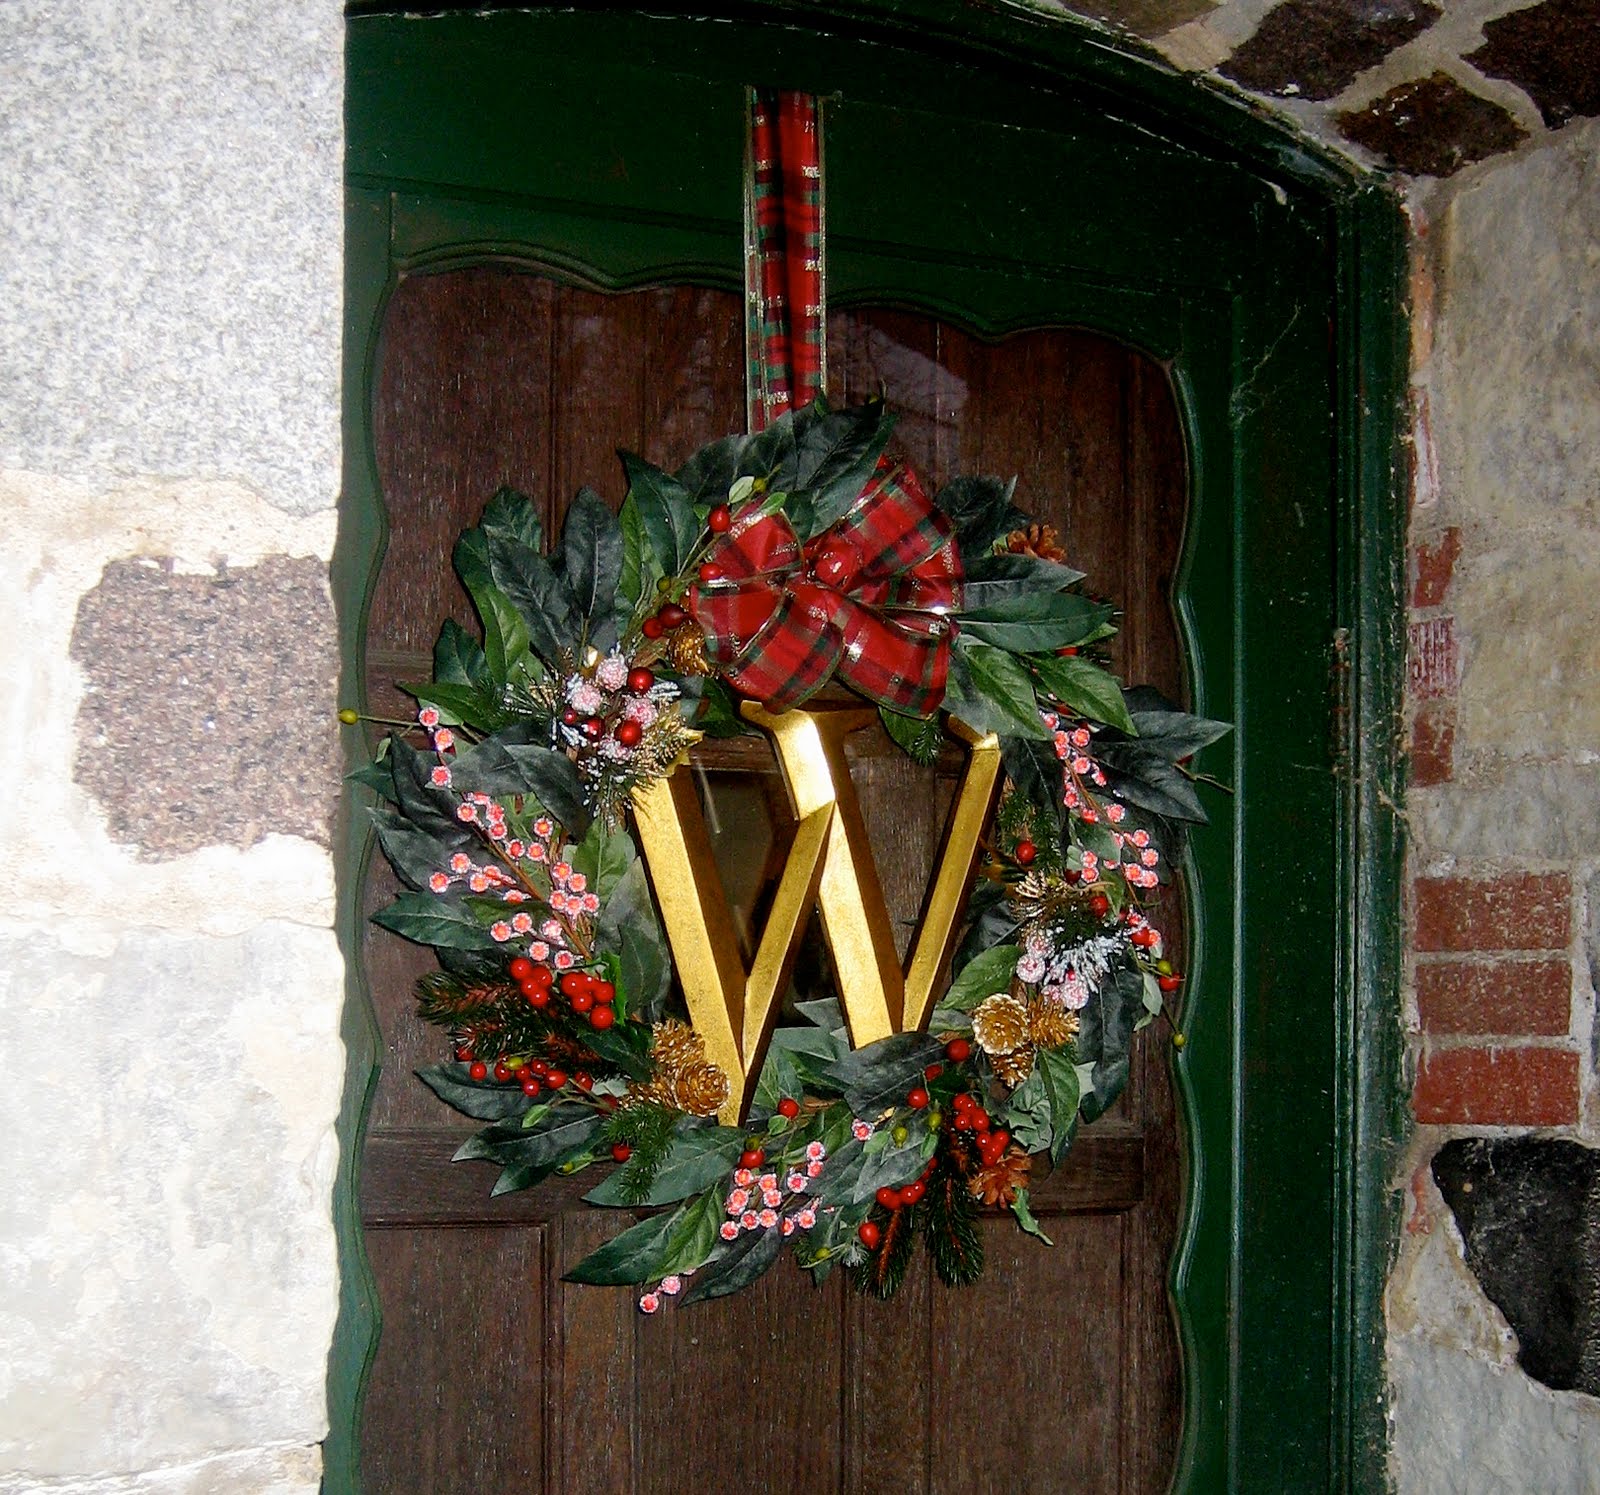
I believe the decoration you choose to hang on your front door says a lot about you. It’s the first thing people notice before seeing you answer the door and can really set the tone for your visit. So why not take a little time and effort and make it truly special?
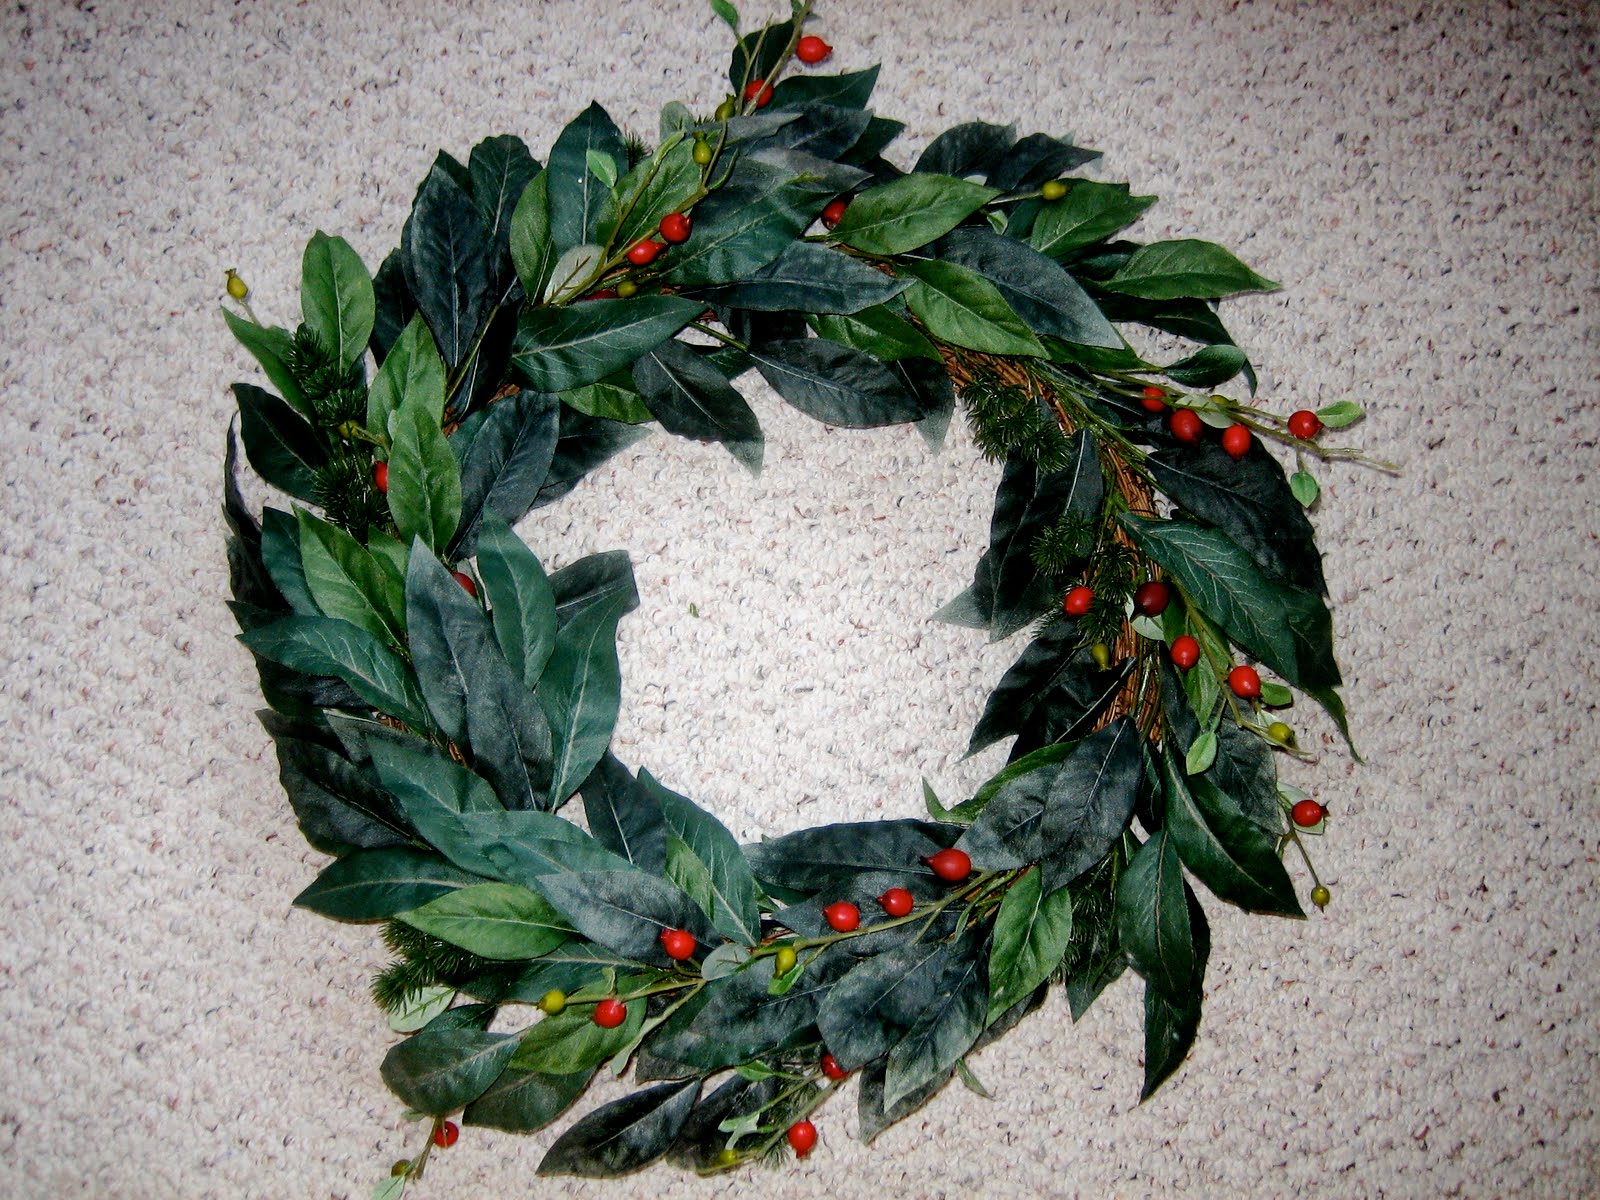
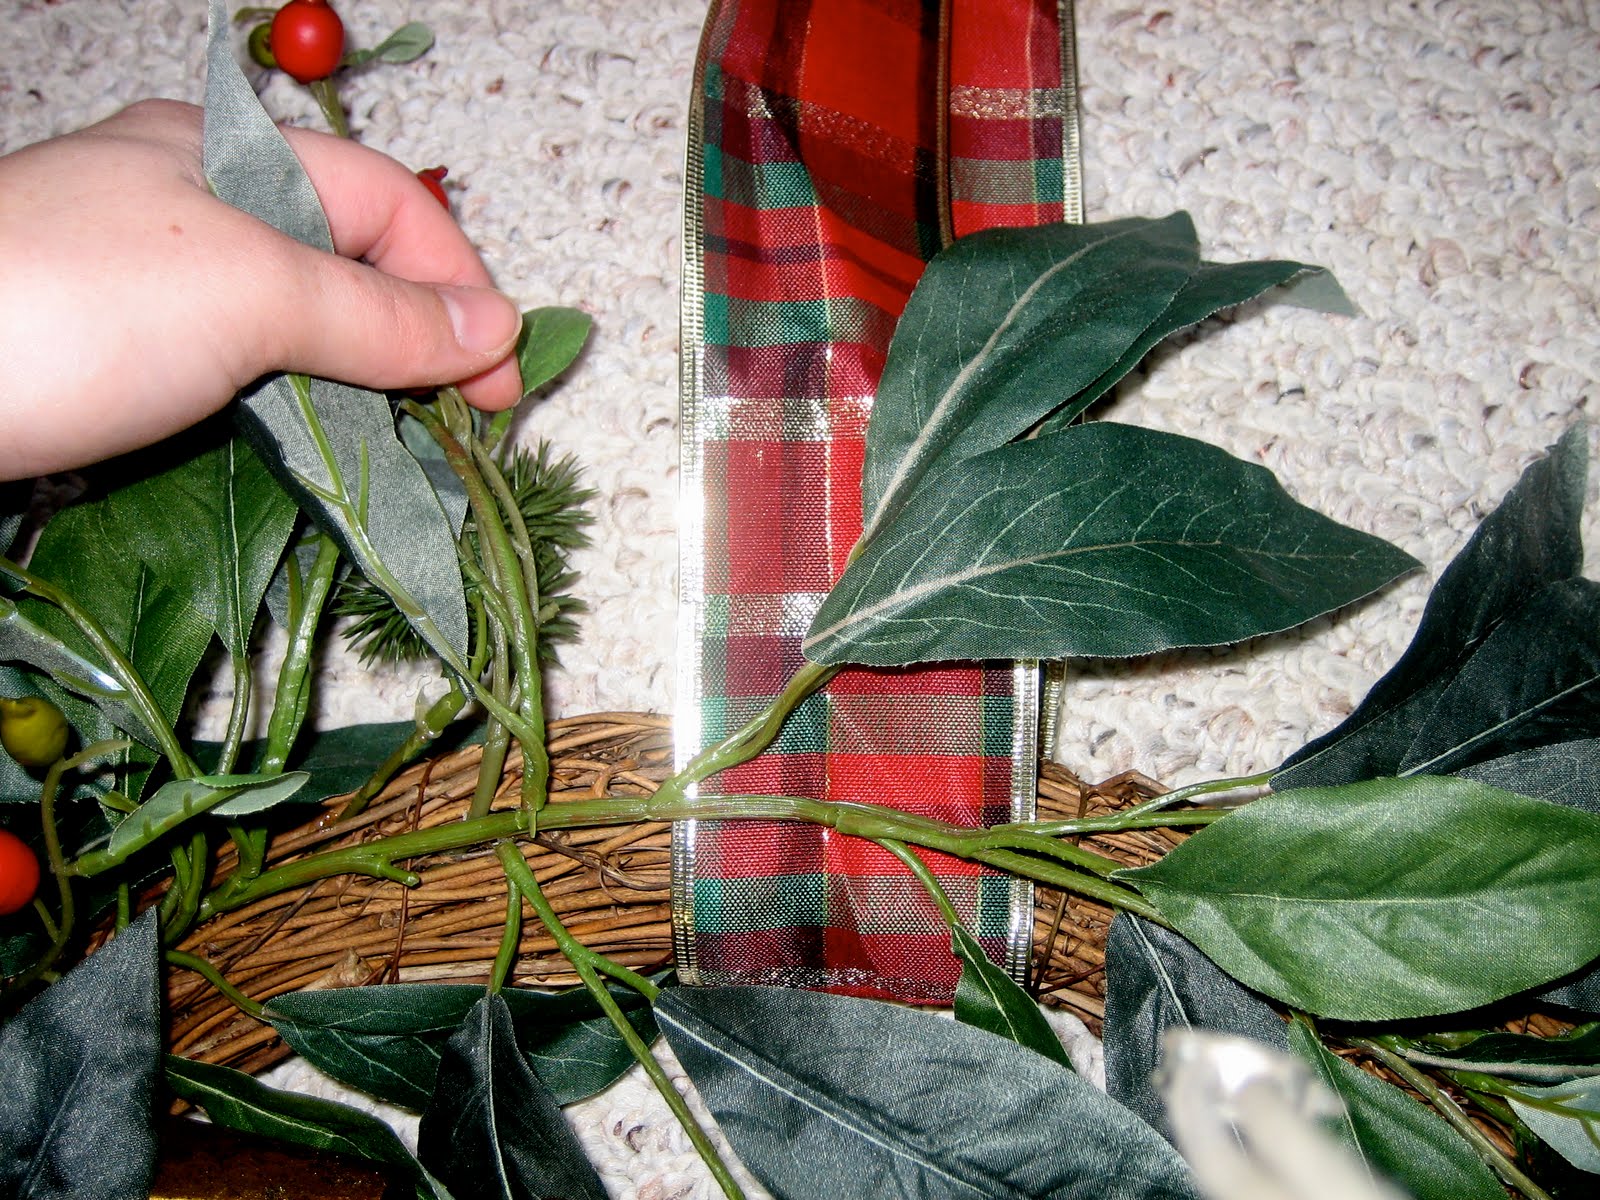
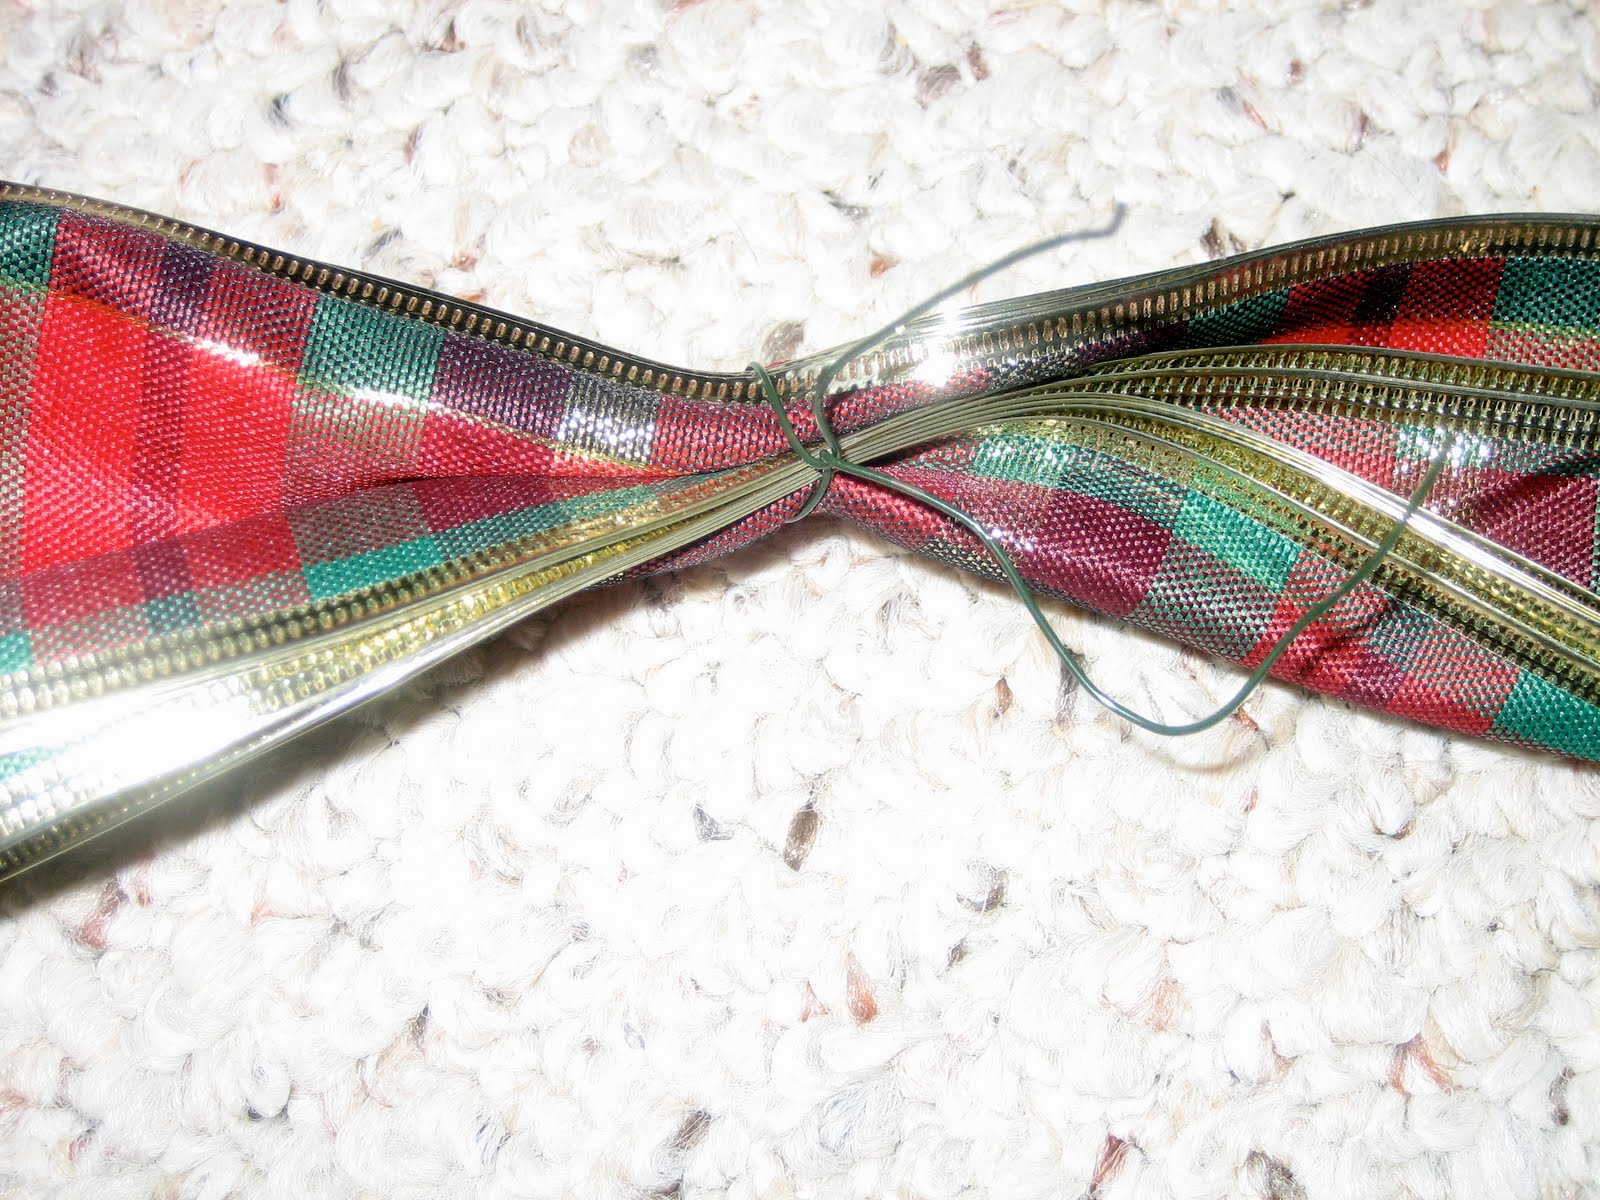
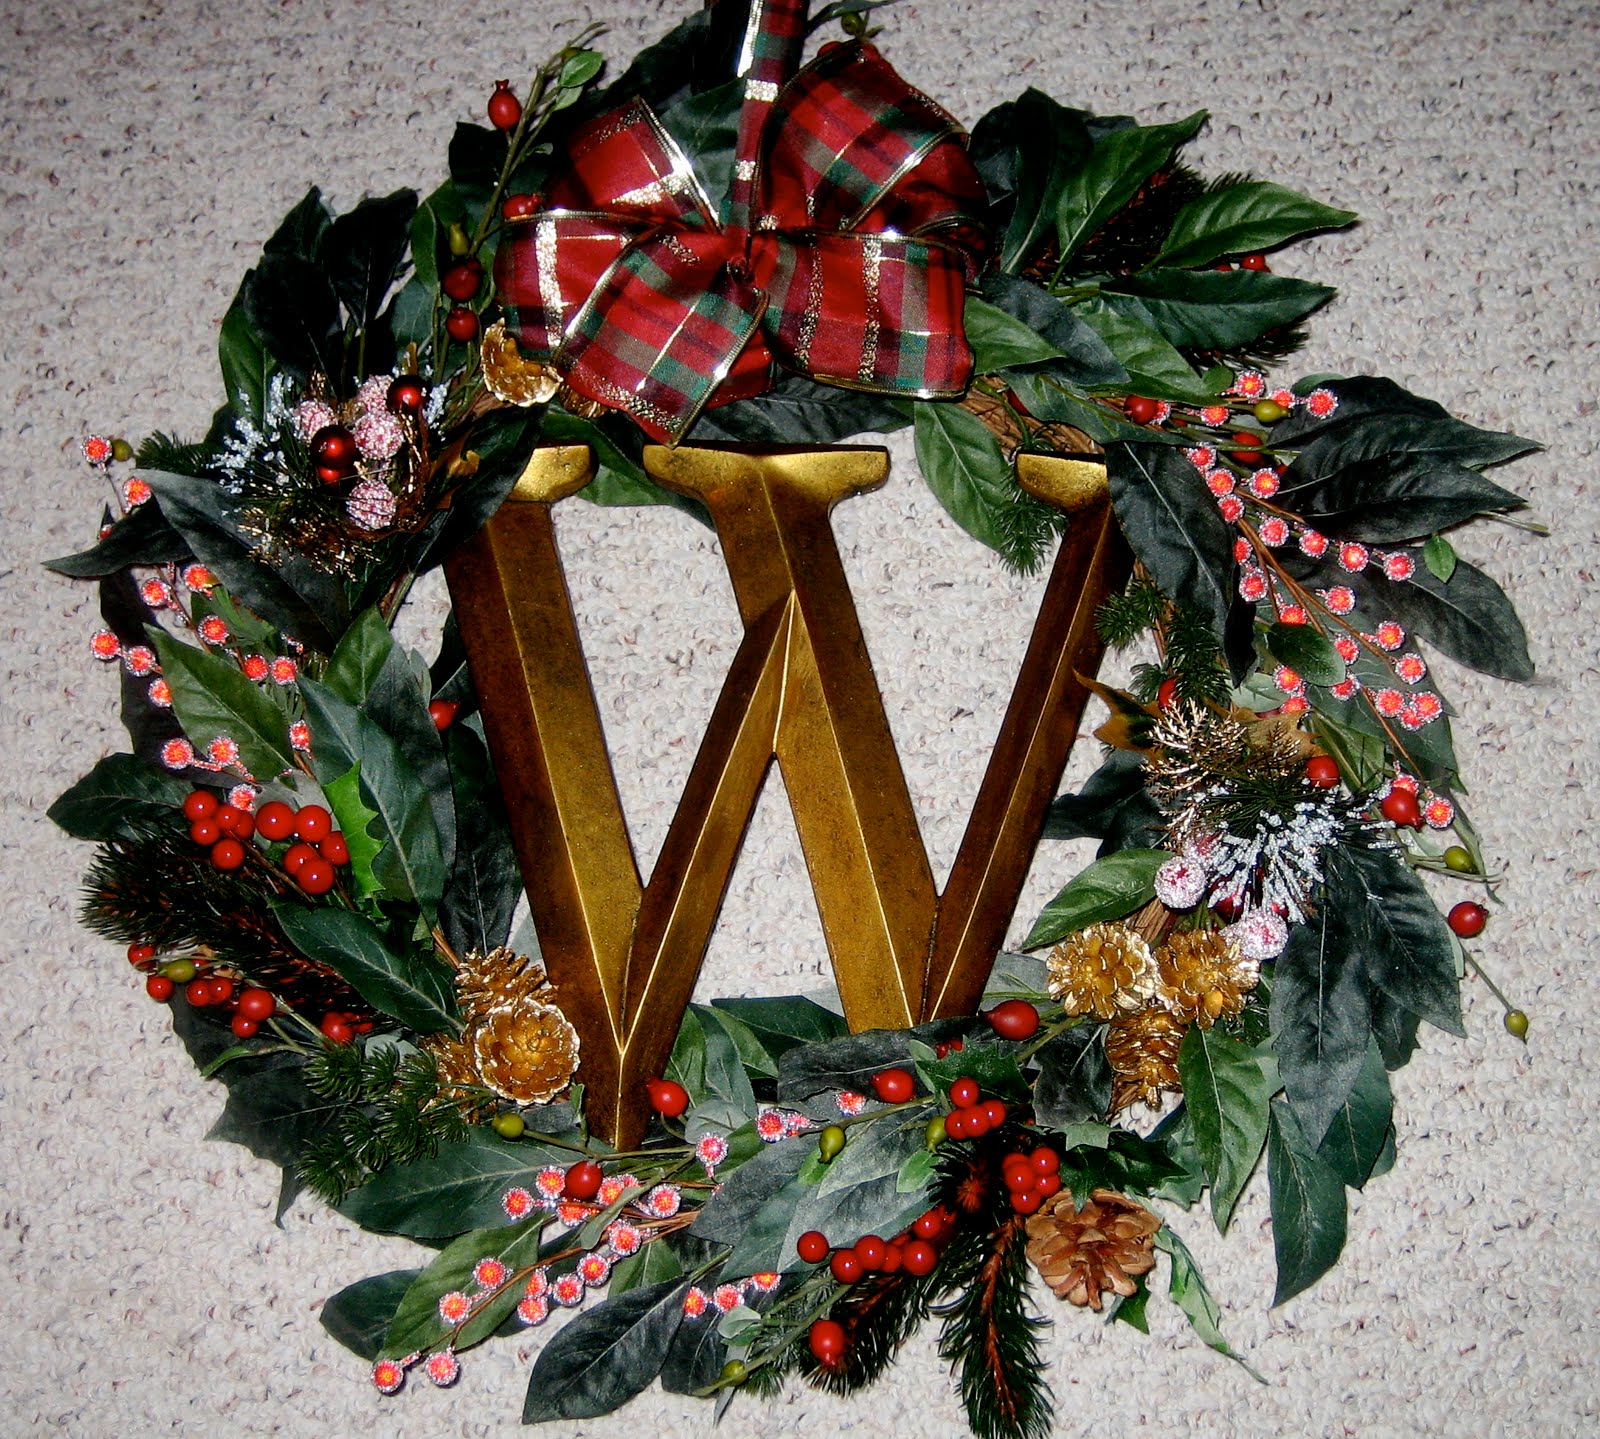
I don’t know about you, but I am certainly on a budget these days so I am always looking for creative ways to spruce up my home decor and get the most bang for my buck. The following tutorial takes basic craft store items and creates a truly personalized door hanging that your friends and family are sure to notice…….all for under $10-15 (depending on which sales you hit up).
I LOVE personalized things – anything with our name or monogram. So that is why I love this wreath and I hope you will too!


 Lindsay Wilkes is the owner and designer behind The Cottage Mama. She creates timeless, vintage inspired sewing patterns for children’s clothes. She is also a fabric designer for Riley Black Designers / Penny Rose Fabrics, author of the book ‘Sew Classic Clothes for Girls’ and can be seen teaching nationwide and online in her video series ‘Lessons with Lindsay’ sponsored by Baby Lock Sewing and Embroidery machines.


Correction…….I actually found the original tutorial from “The Nesting Place”, not “Simple Mom”…….though I do love both of those women’s blogs :-).
Nesting Place: http://nestingplacenc.blogspot.com/
I love your Shawl Collar Sweater Tutorial. However I live in Panama and the climate here is very humid and hot. However I have decided to use this same pattern and make an evening jacket to go with a formal dress for my 50th Class Reunion. If I make it I will attempt to send you a picture with it.