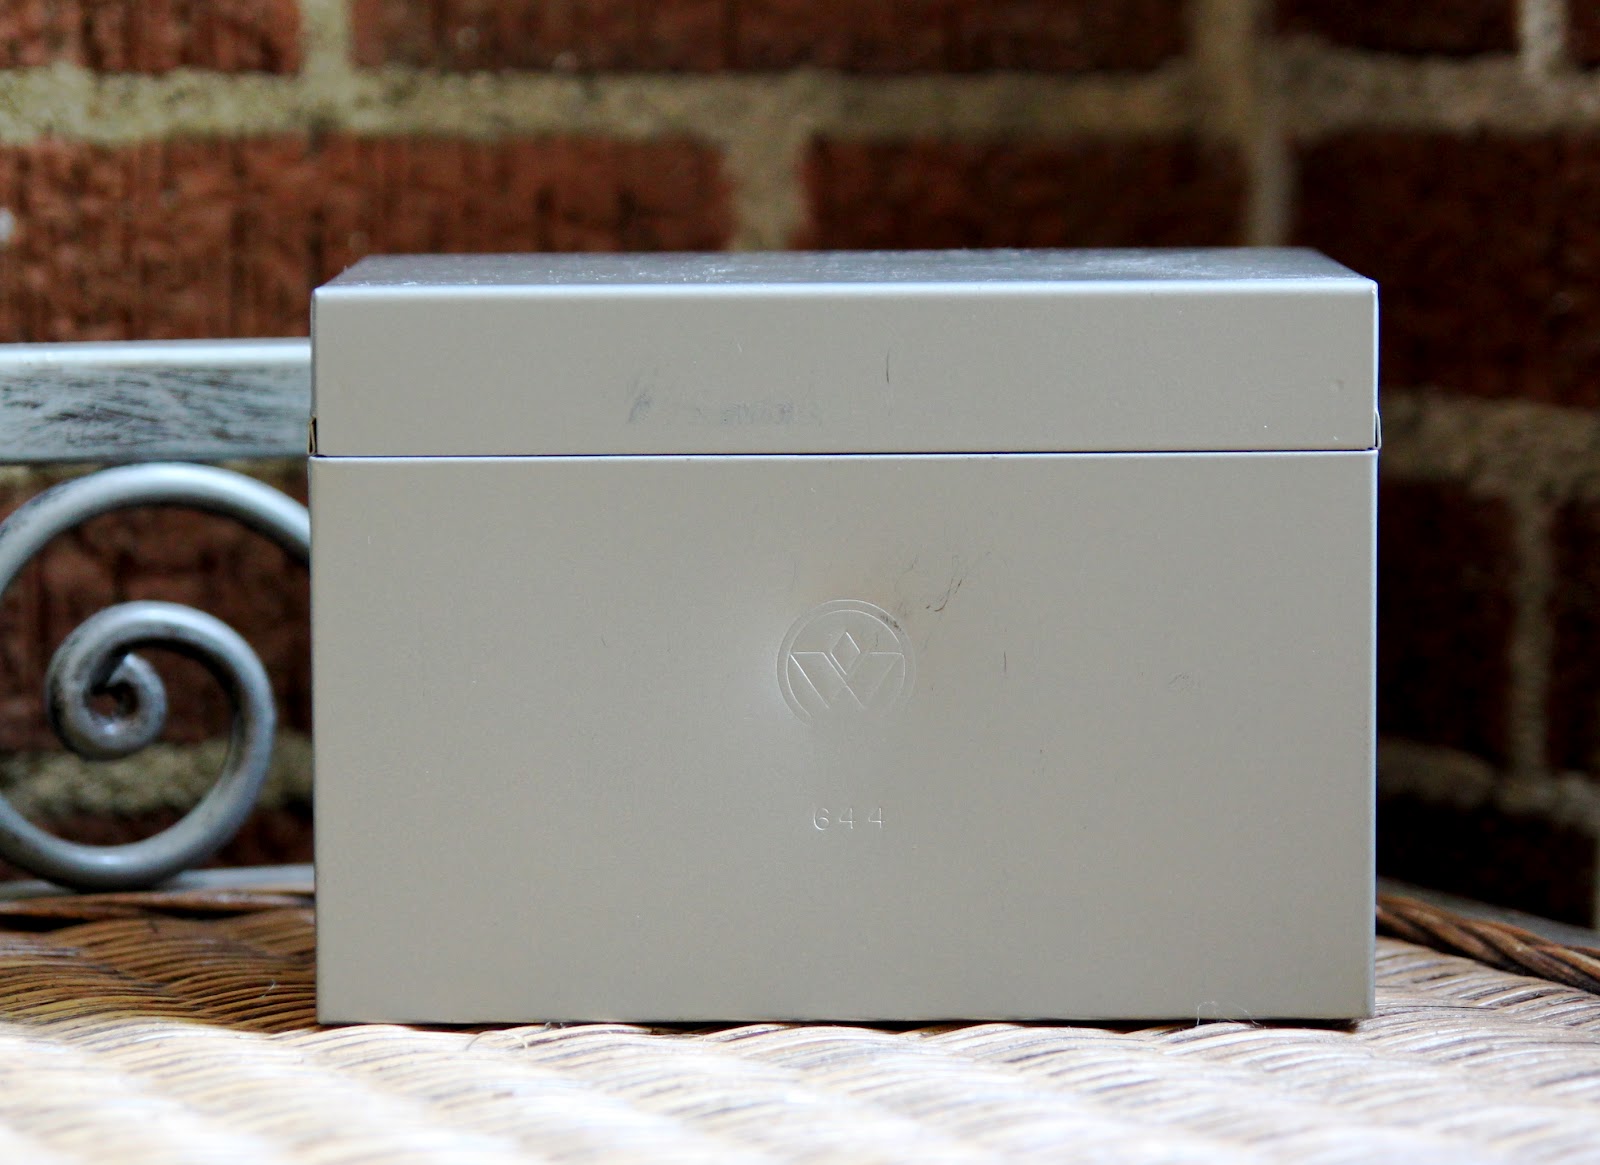
This past weekend I was out and about running errands on my own. And I’m sure most of you mom’s know…….I sort of felt like I was on a mini-vacation. Anyway, I stopped off at one of my favorite local thrift stores and, come to find out, the entire store was 50% off. 50% off at a thrift store? Yes, I couldn’t believe it either. I picked up a bunch of things that I just couldn’t go home without and this little metal box for 50 cents was one of them.
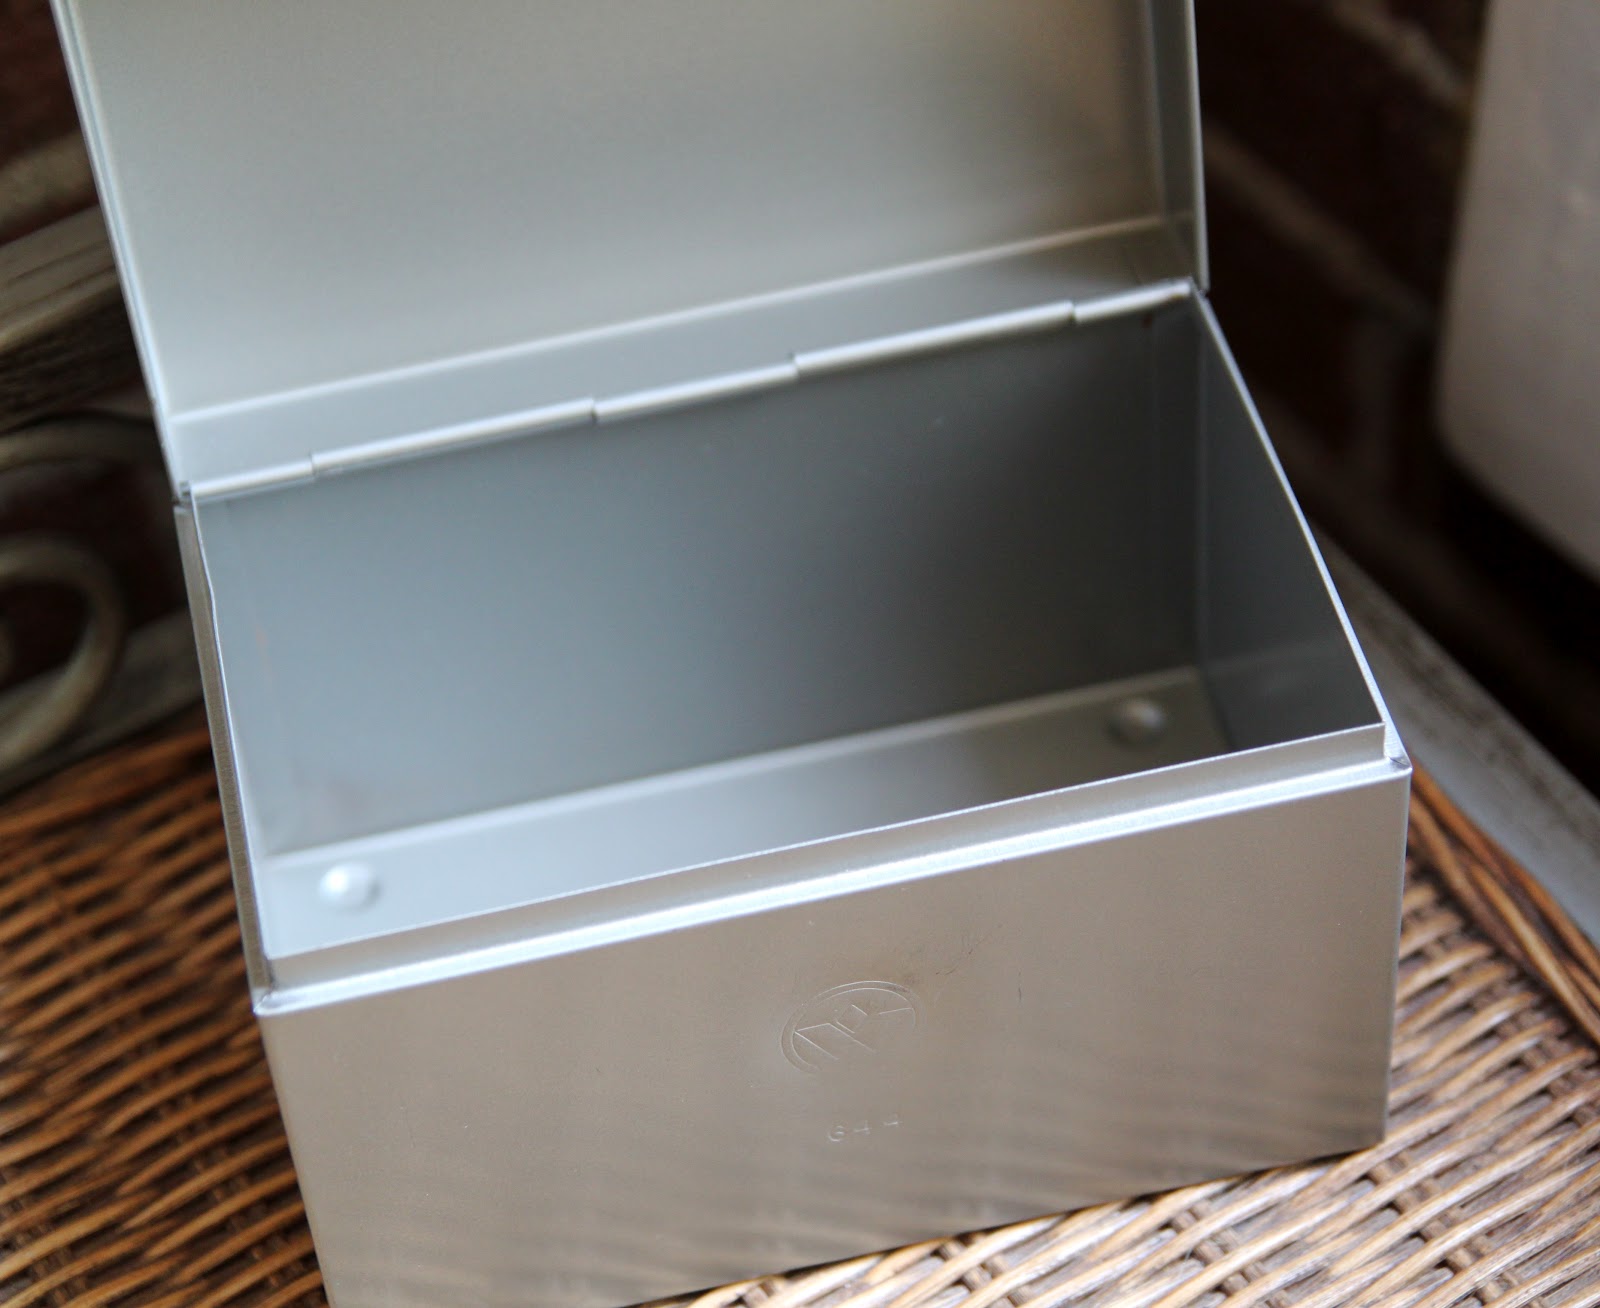
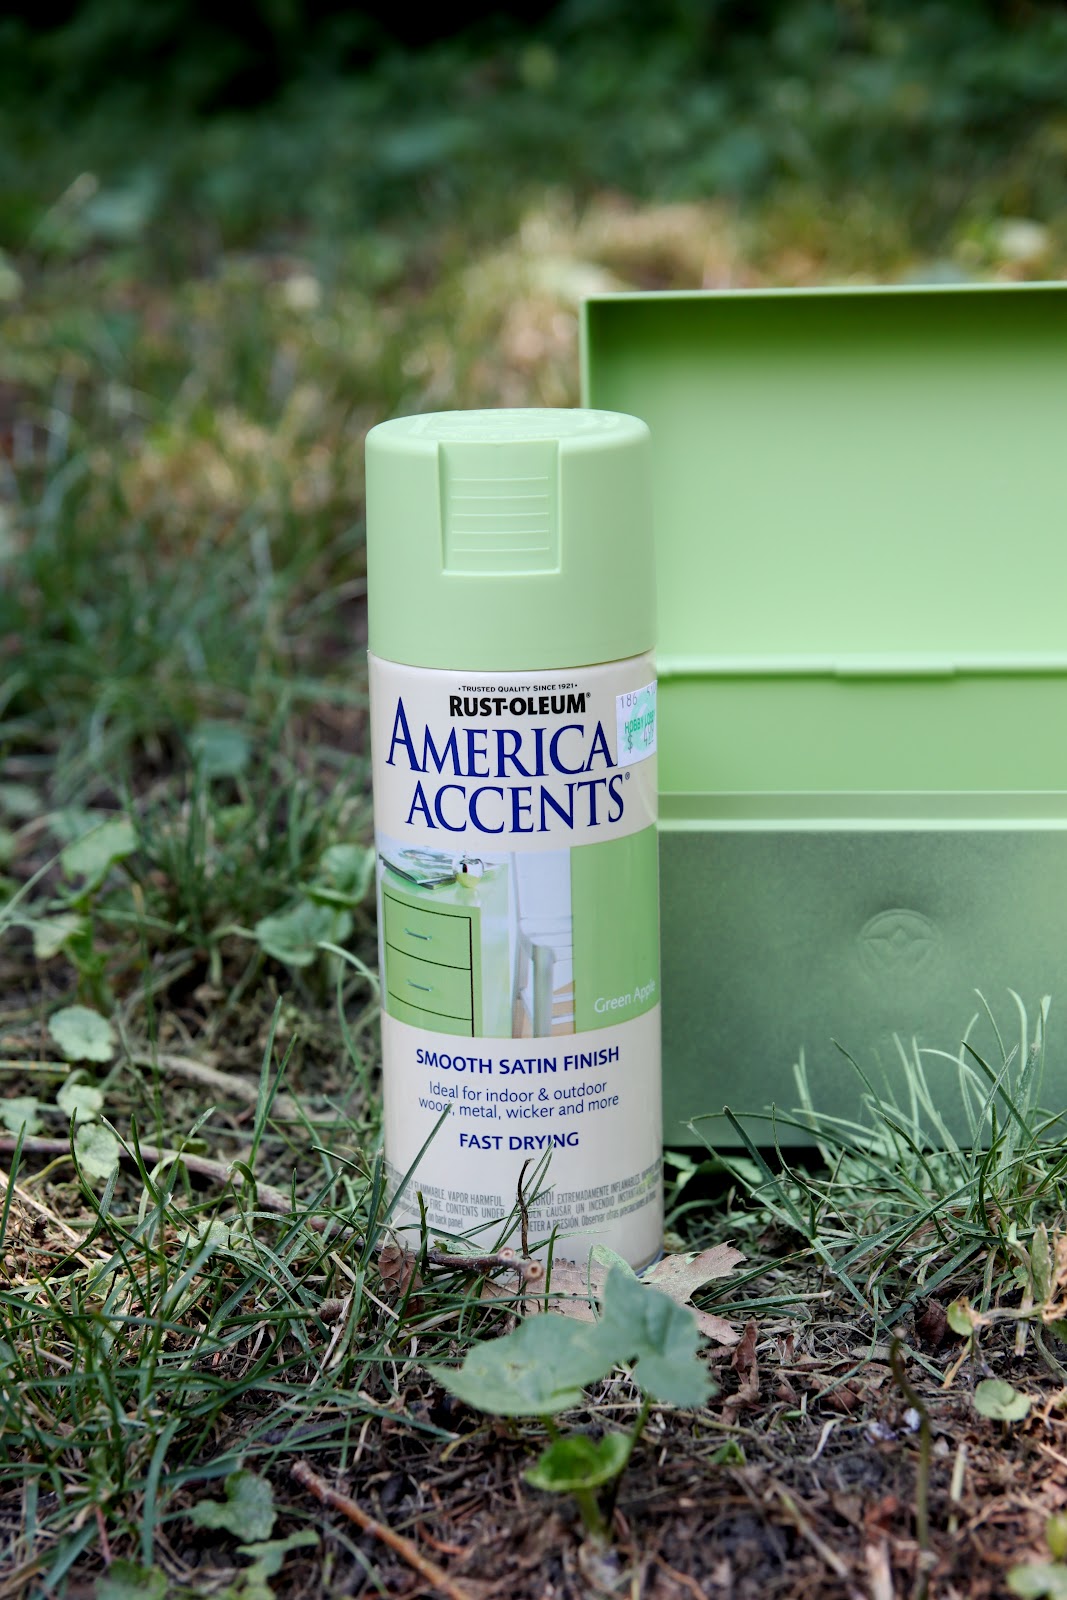
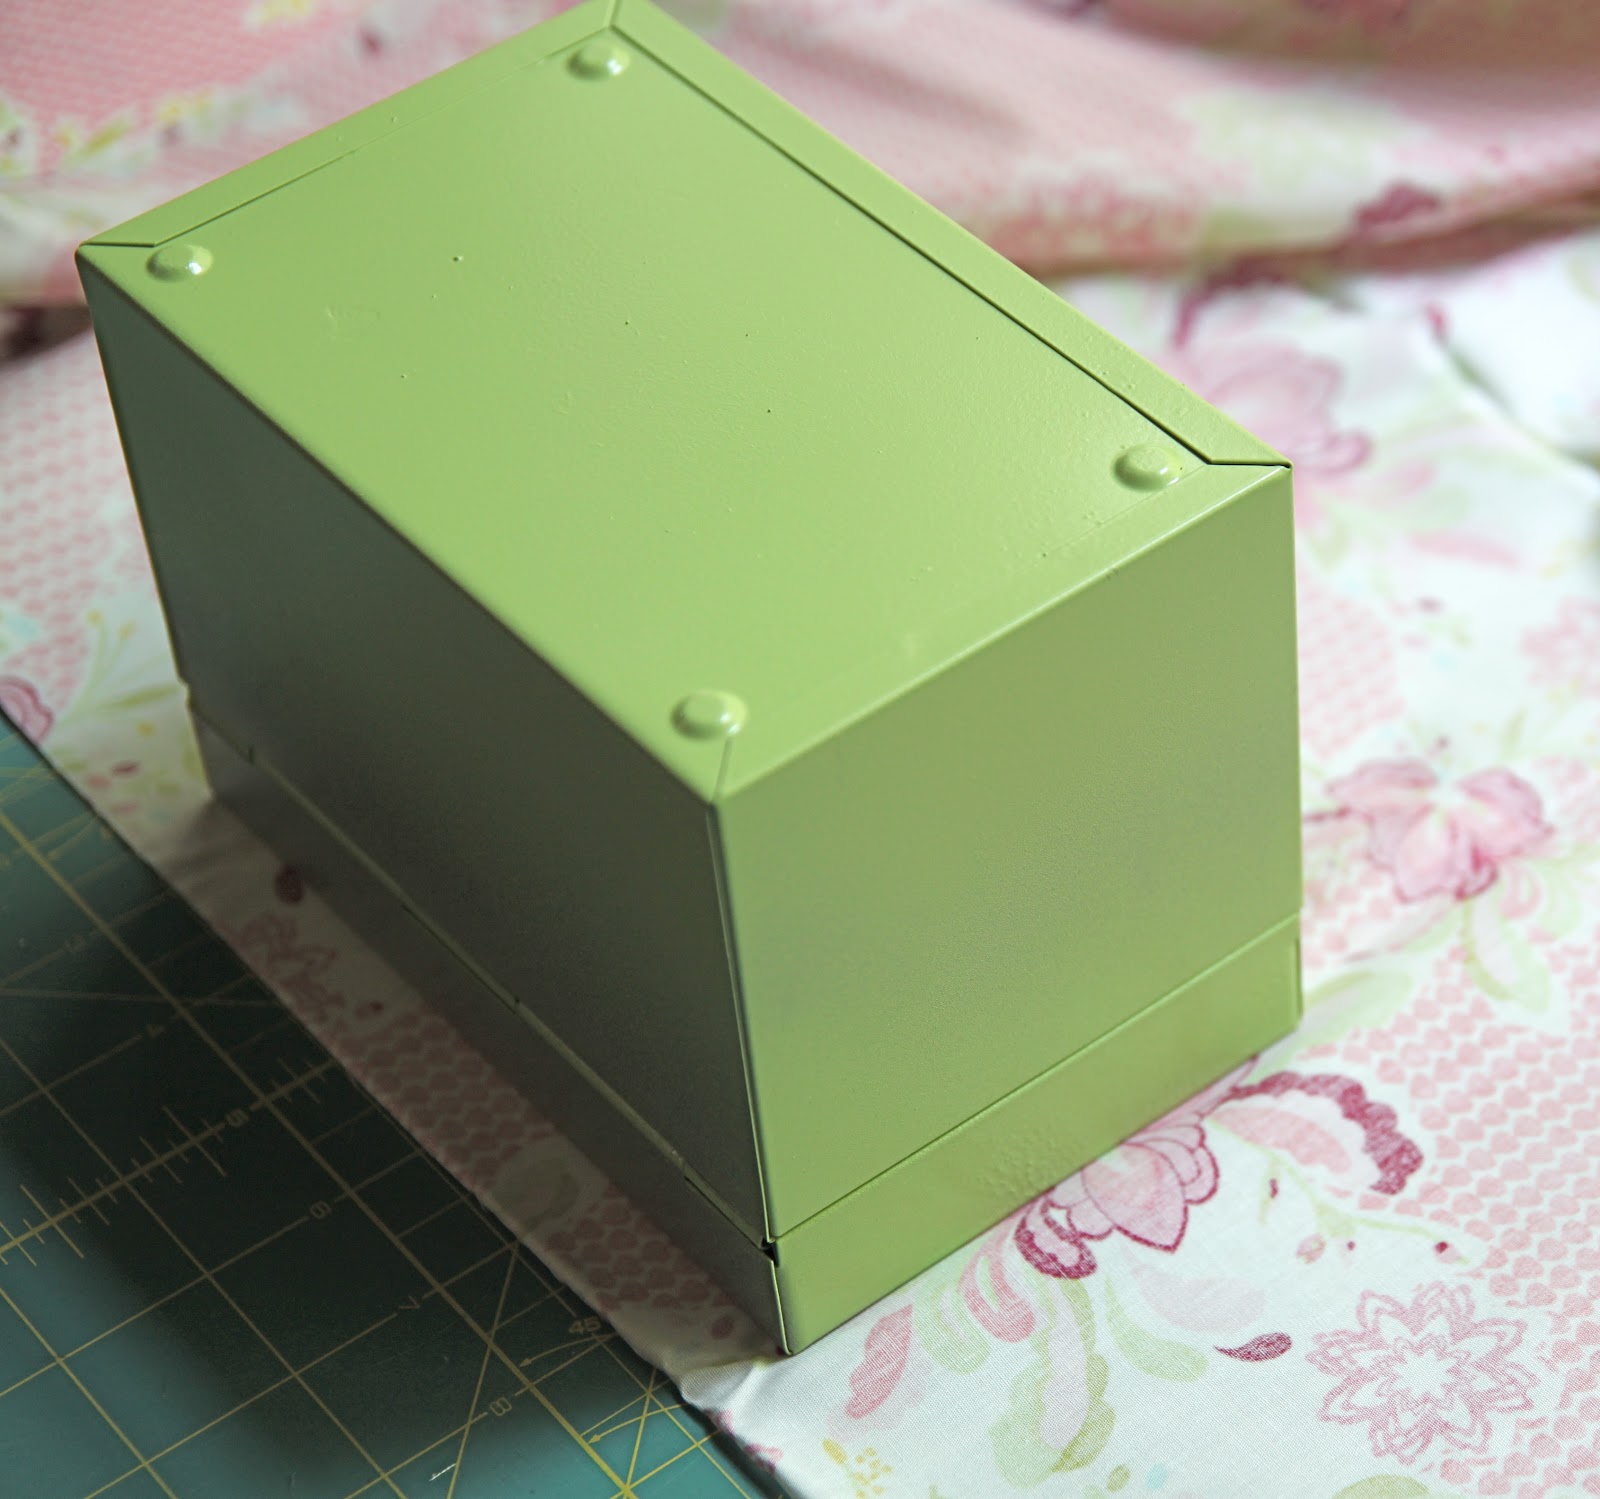
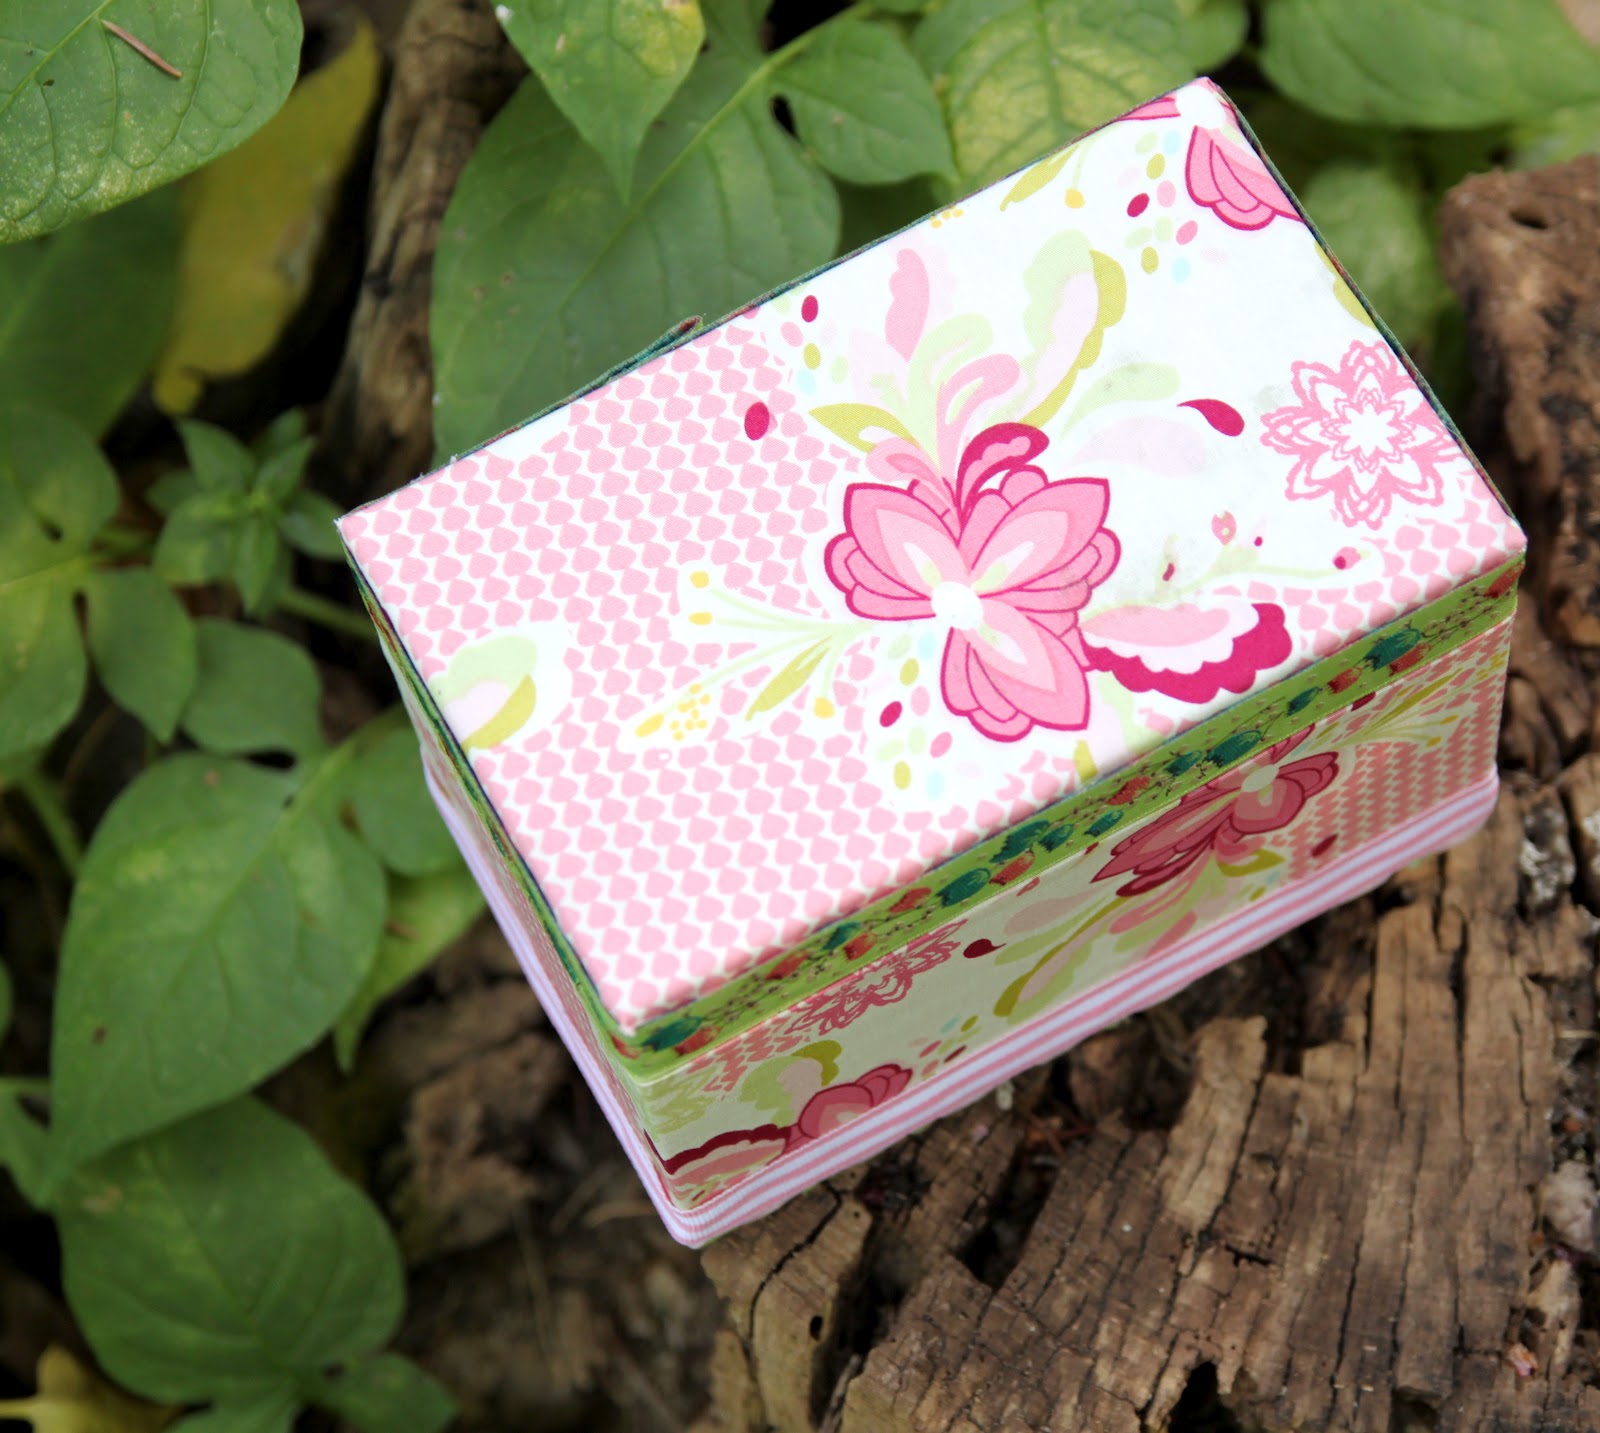
Here is what the box looked like when I brought it home:

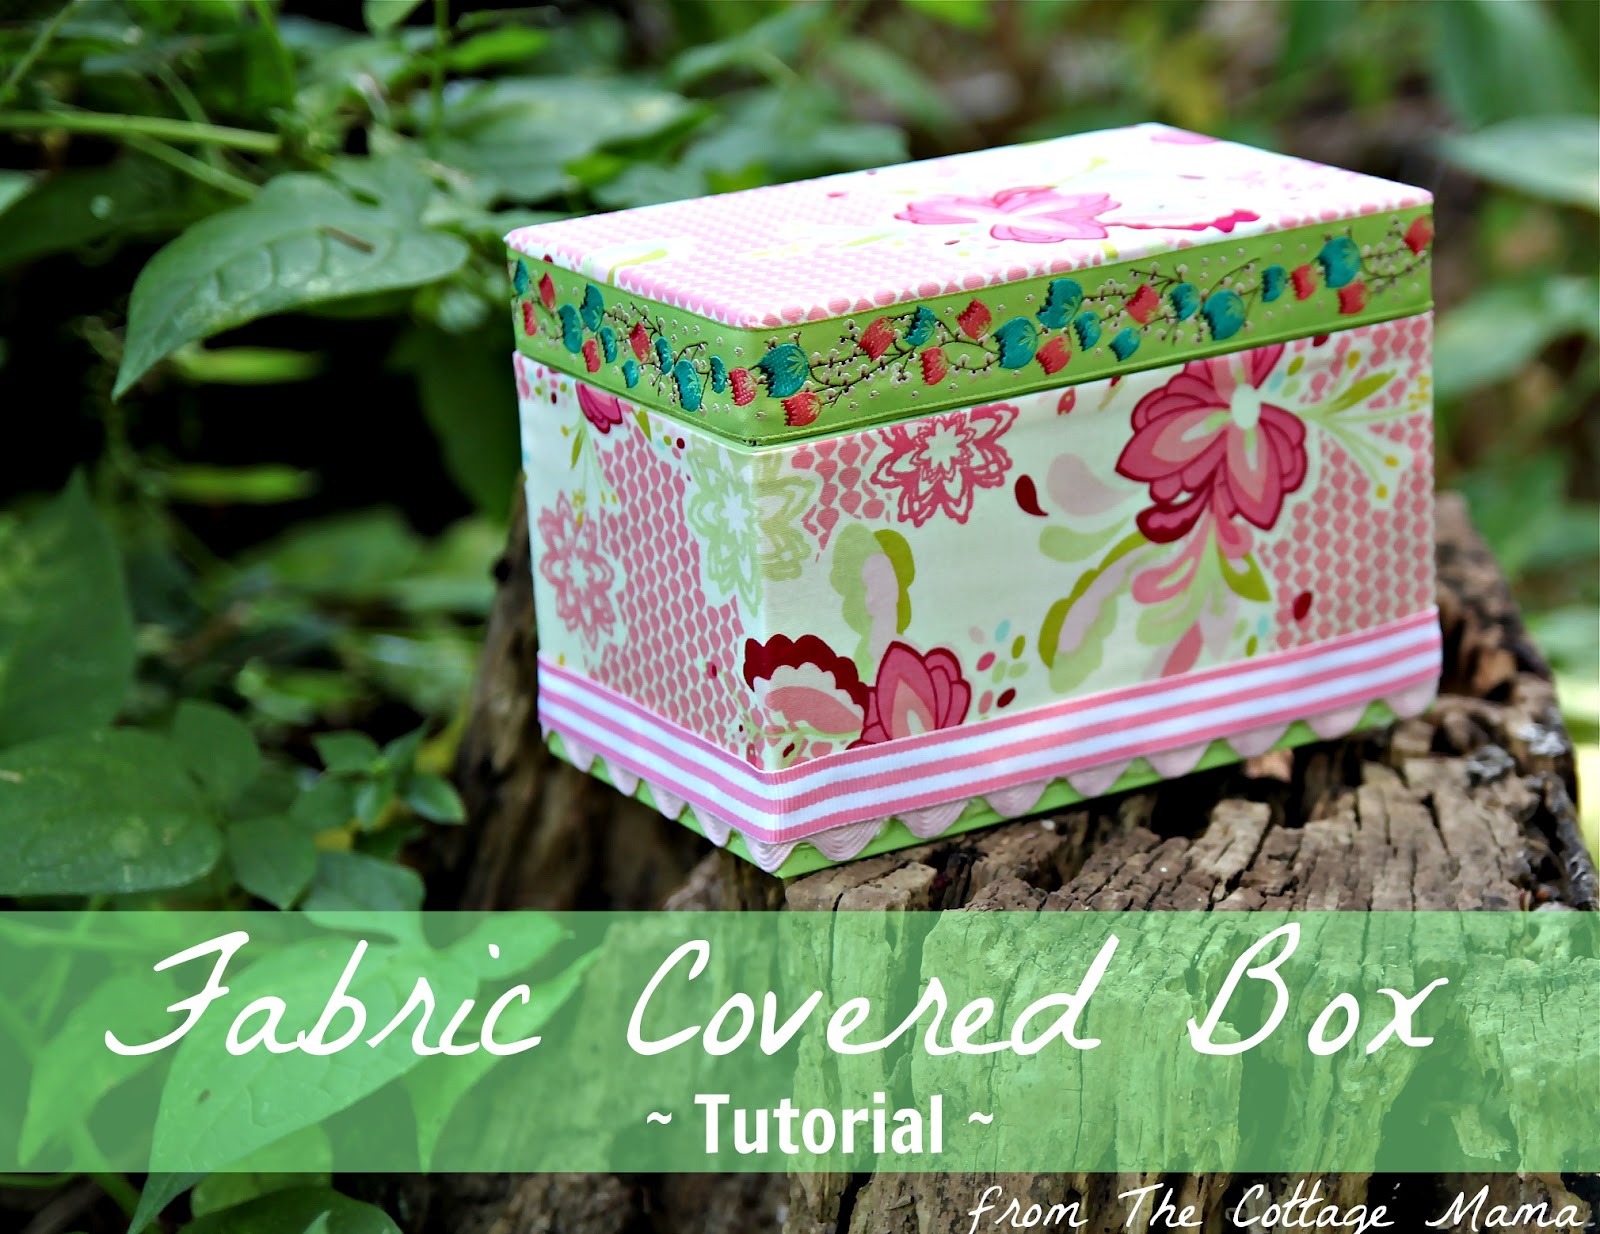
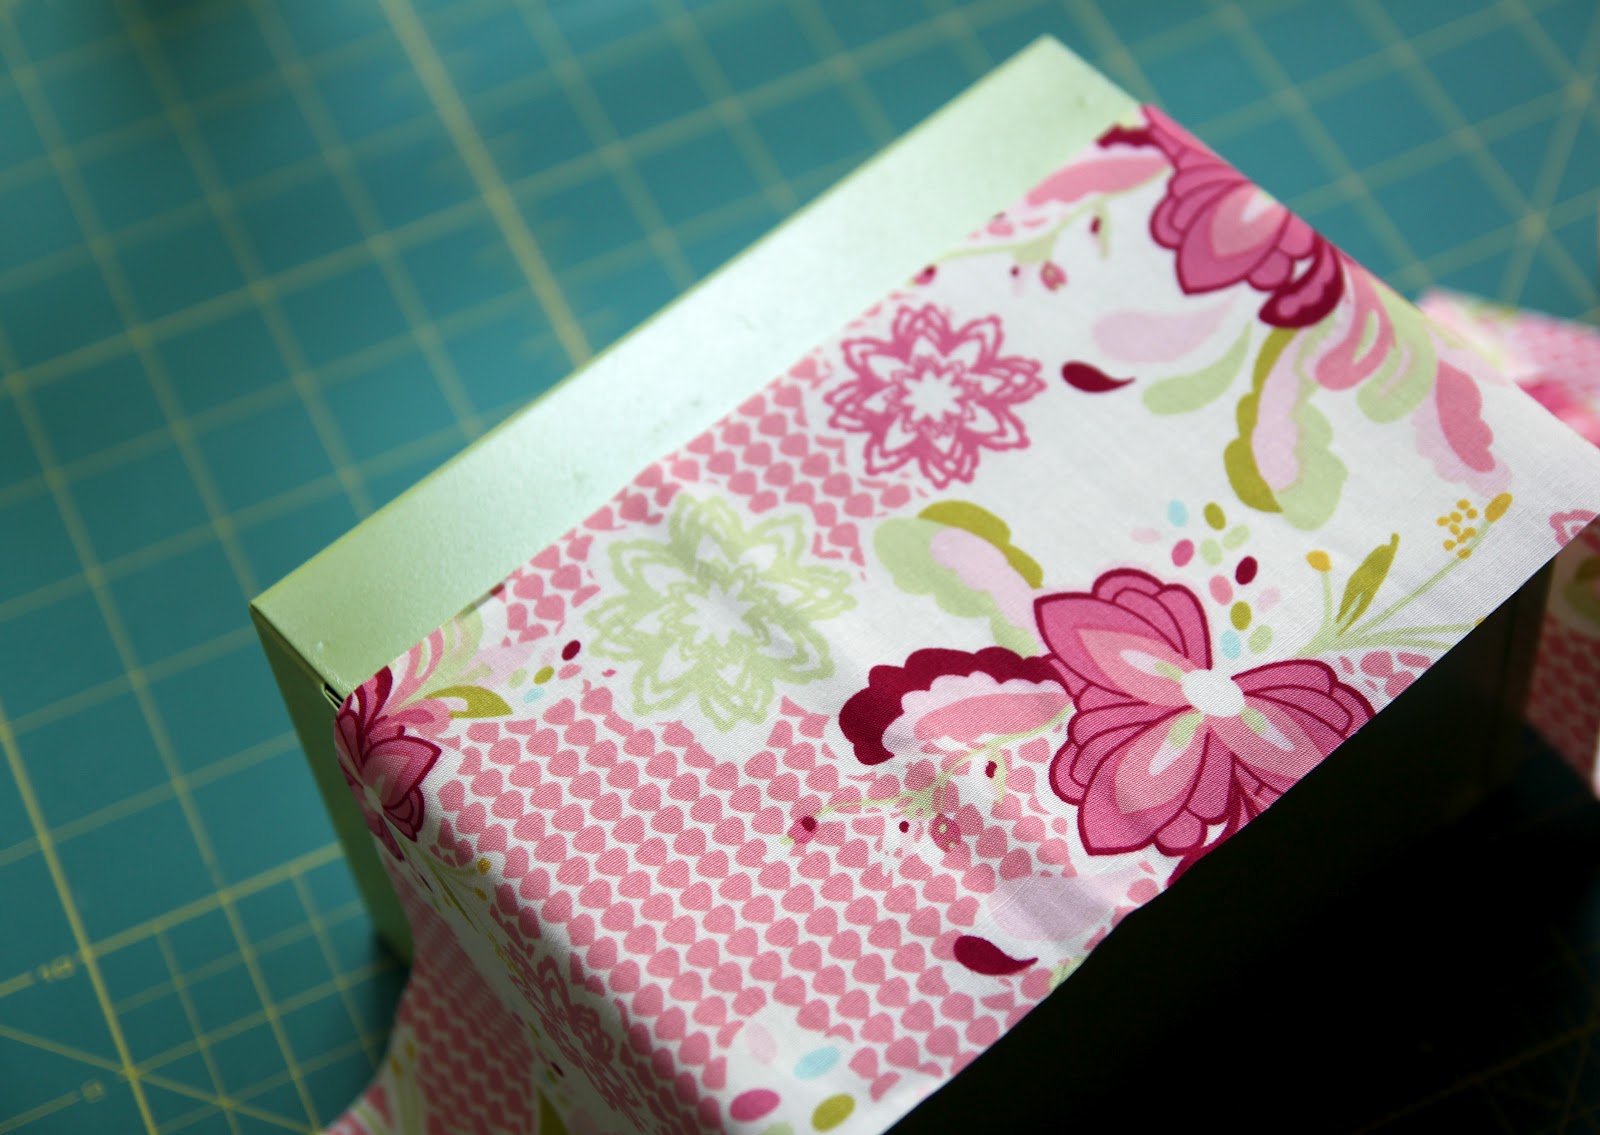
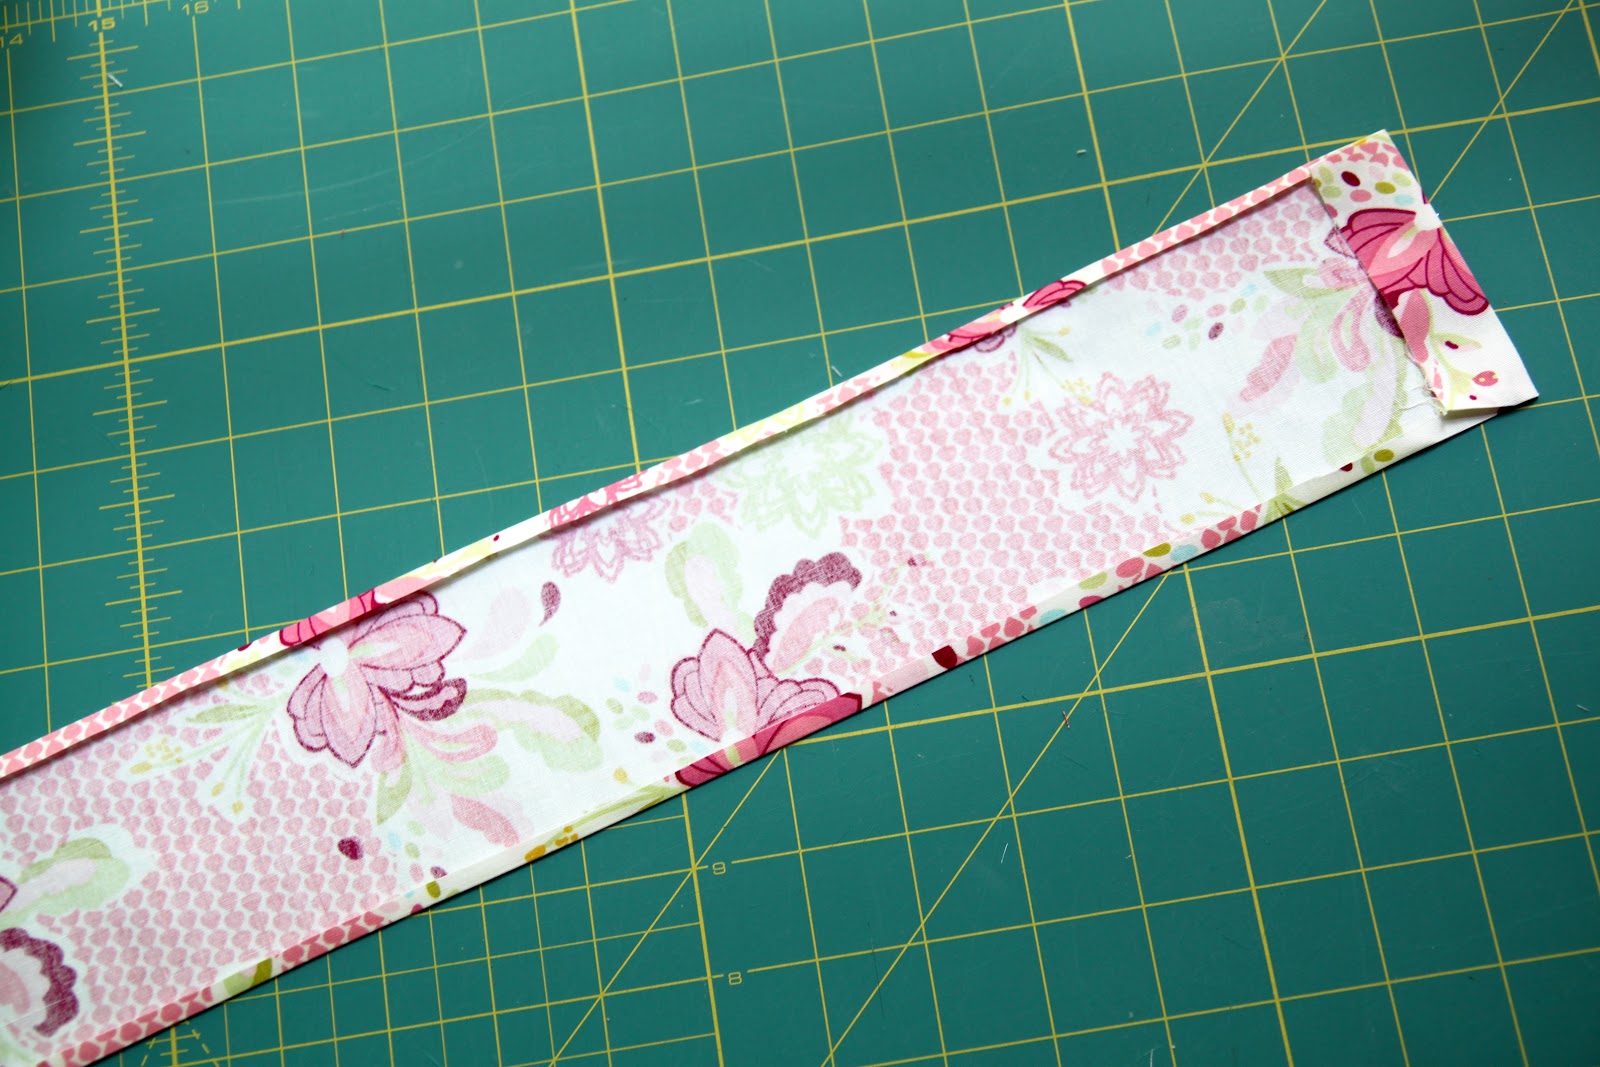
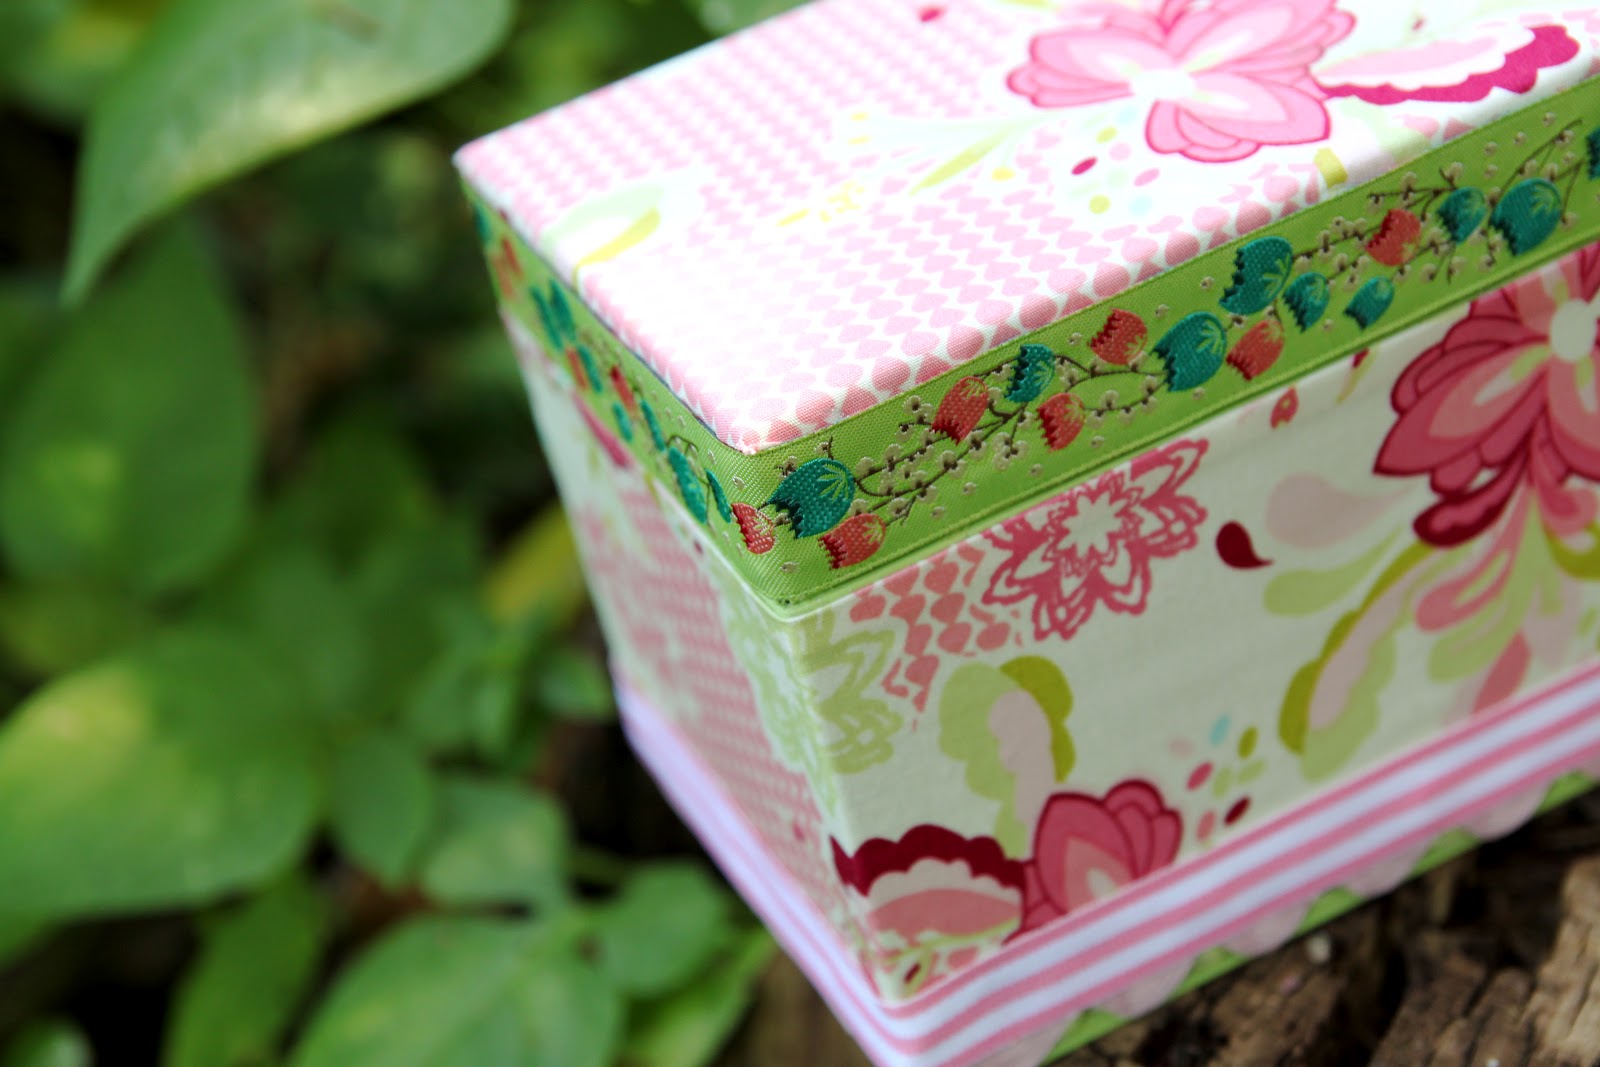
Cut the piece of fabric for the top of the box about 1/2″ larger than the box top. Then cut small slits on the diagonal in each of the corners which will enable you to wrap the fabric around the box (like you are wrapping a gift) after you use your spray adhesive. You are just wrapping the fabric down over about a 1/2″ over the edge so that you don’t see any raw edges. The raw edge will eventually be concealed by your ribbon trim.


 Lindsay Wilkes is the owner and designer behind The Cottage Mama. She creates timeless, vintage inspired sewing patterns for children’s clothes. She is also a fabric designer for Riley Black Designers / Penny Rose Fabrics, author of the book ‘Sew Classic Clothes for Girls’ and can be seen teaching nationwide and online in her video series ‘Lessons with Lindsay’ sponsored by Baby Lock Sewing and Embroidery machines.


What a super great idea! I see metal boxes of all sizes like that at our Goodwill all the time. Next time, I am buying them when I see them!
Thanks so much for the idea!
Your box is beautiful. I alter any box I see just about! I hate for things that can still be used to go into the trash. Its part of me being green!
I love this idea. Beautiful. I so need a glue gun!
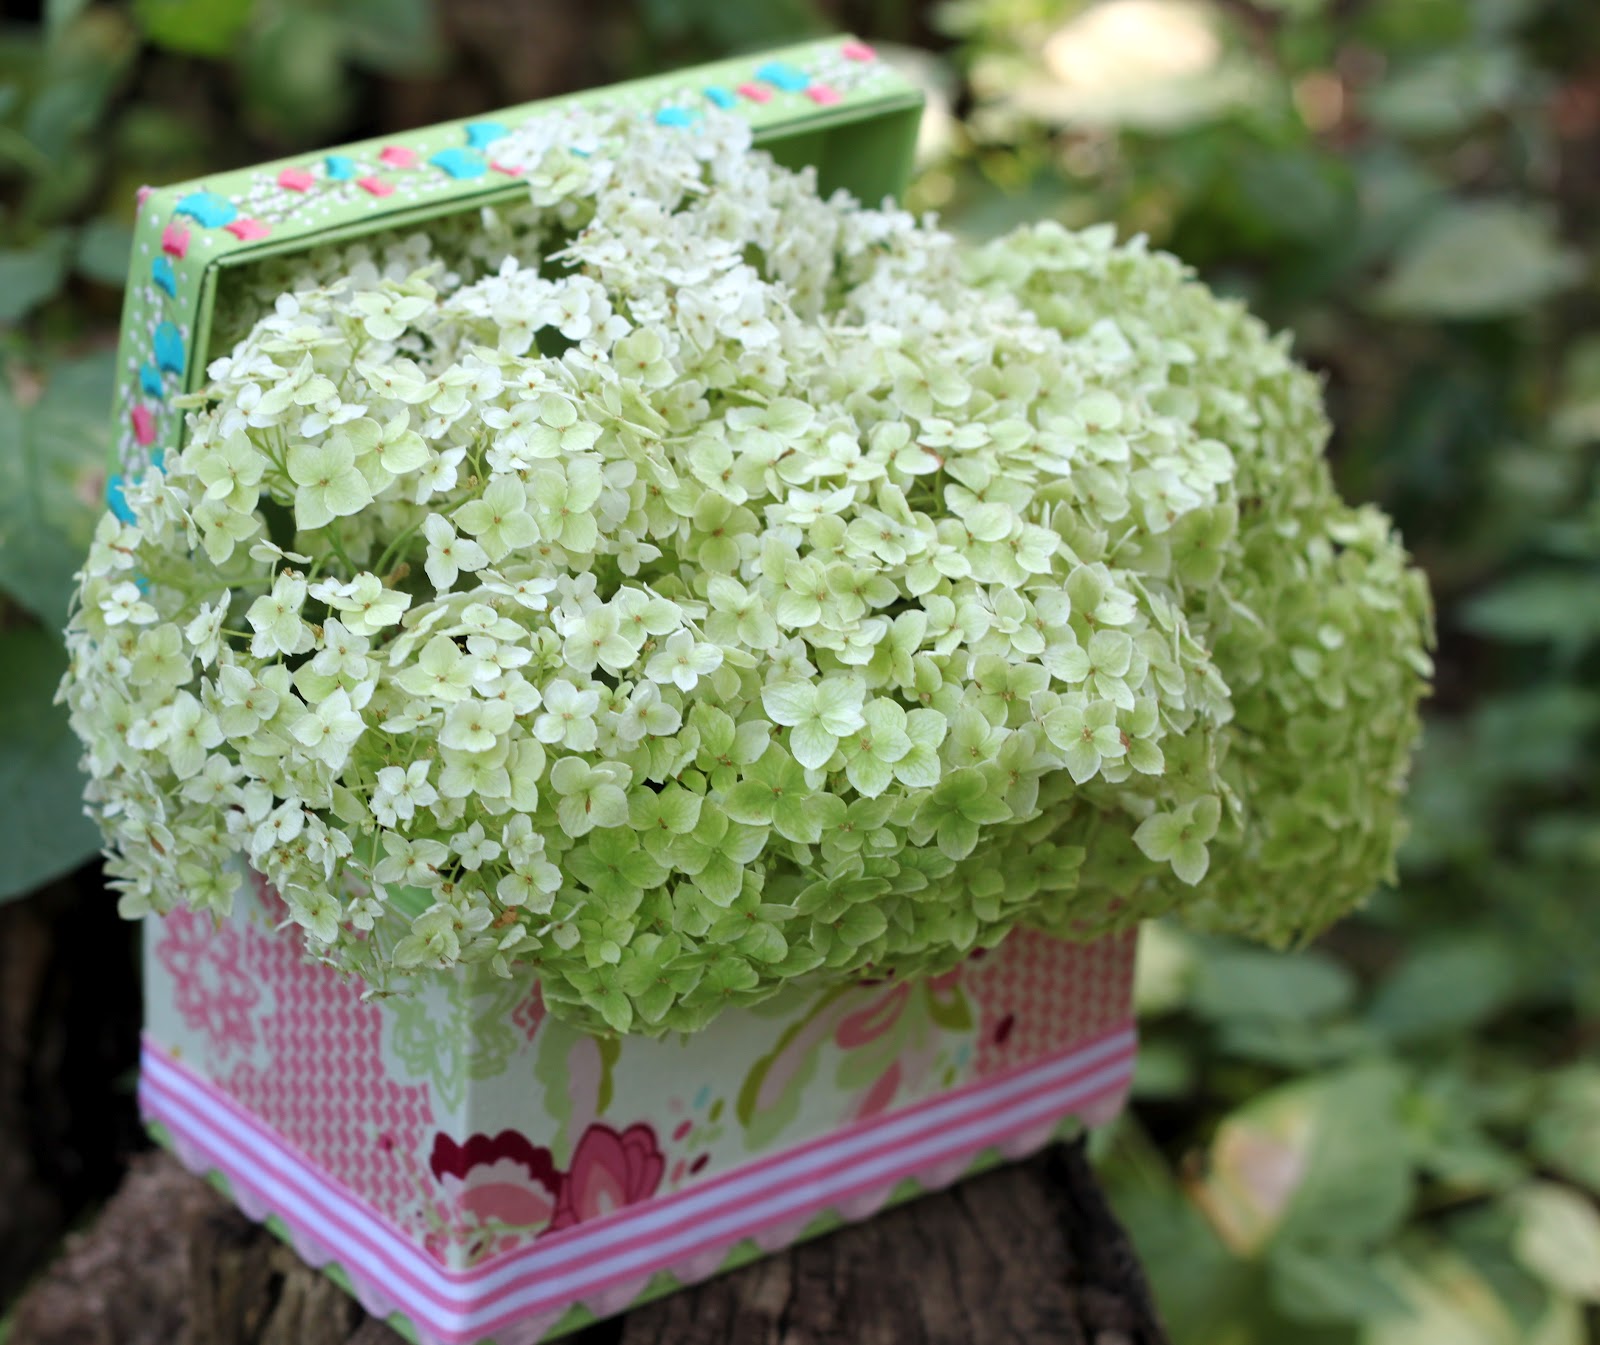
Cute box but I am really loving your hydrangeas! Wish I had mounds of those in my yard rights now–mine are really struggling in our heat and dry. Thanks for sharing!
que lindo te quedo
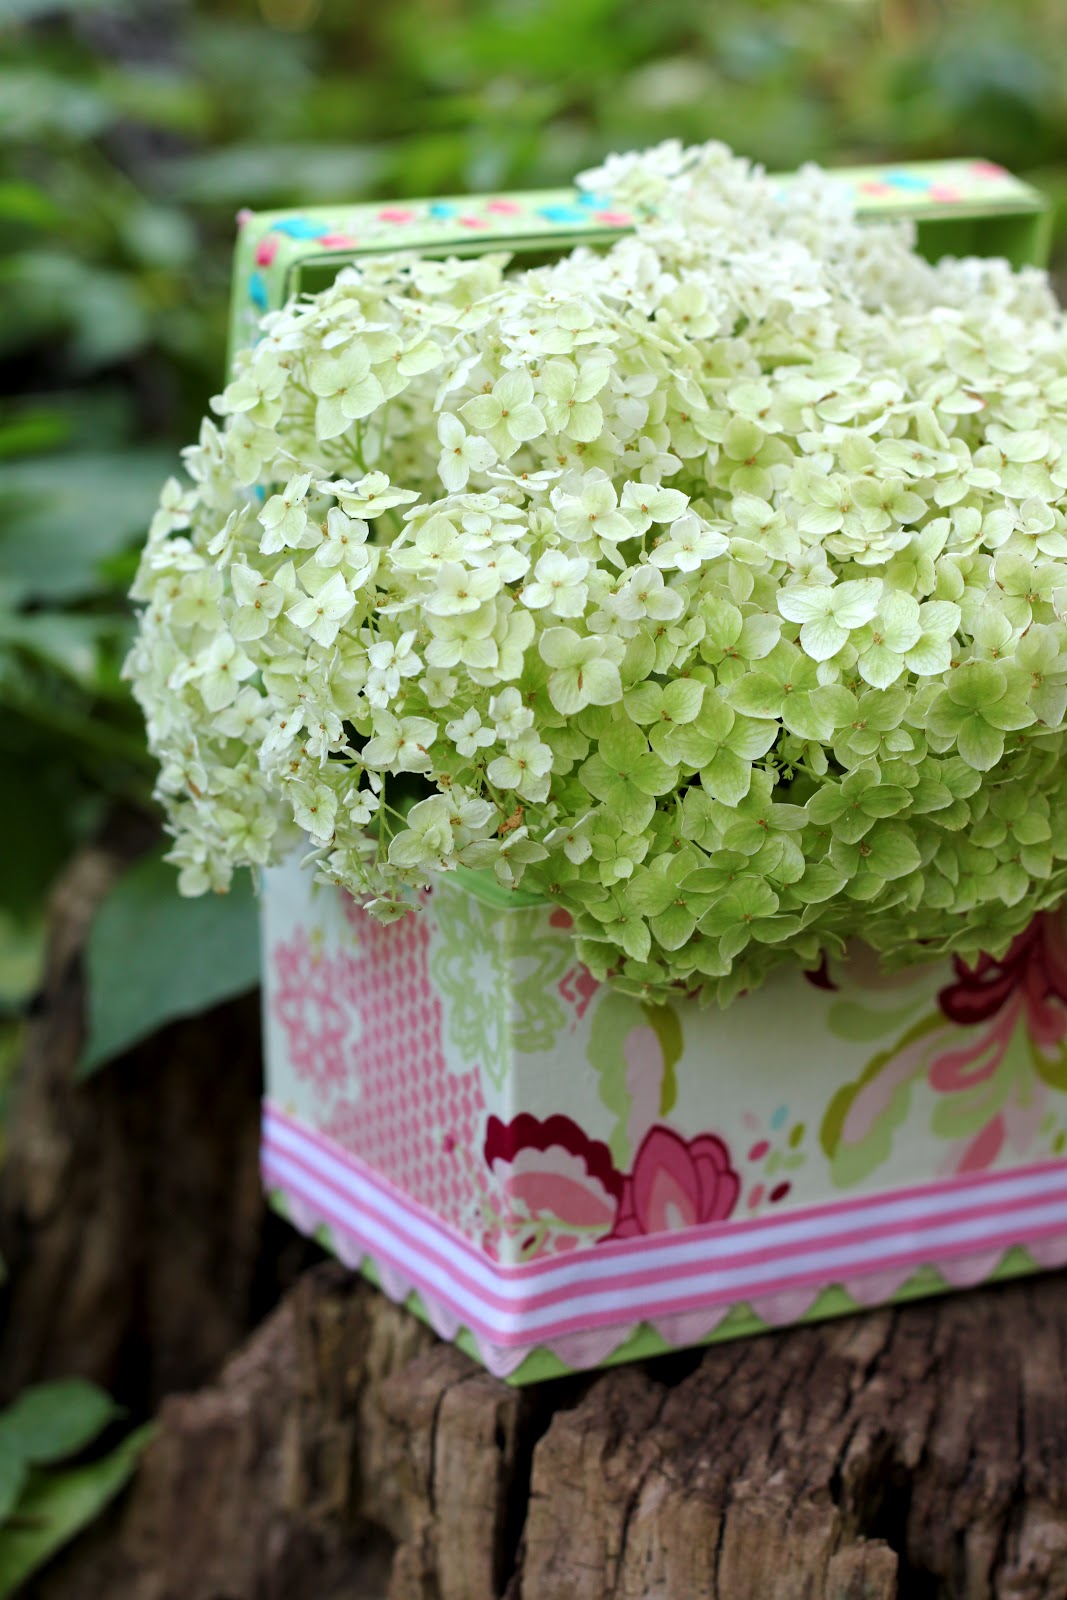
This is such a great idea! I’ll be keeping my eye out for a little metal box now! 🙂 I love the flower idea in it! So pretty!
P.S. I won the Ruby Ruffle Dress pattern on Living with Punks blog & it has made my whole evening! It has been on my “Pattern Wish List” for awhile now, so I’m so excited to get it! I just ordered some Riley Blake Dress Up Days fabric that I’m going to make it with. My daughter loves purple & the little girl on there reminds me of her. I’ll have to show you when I’m finished! 🙂
I am really happy to see the update here.
Very sweet!
<3 Christina
How clever! I love the trim with the flowers…where do I get some?
So pretty…I love the colors! Many blessings!
thanks for sharing.
This is truly a wonderful way to reduce waste, reuse and recycle them. Your box is beautiful!I’ve been doing this with any simple container I fancy to give it a new look. Nice way to dress up plastic ice cream containers and I would often attach a big satin or any fabric flower on top, unless they are for stacking up together, just one big bloom on the top box or container:-)
looks easy.. NICE ^o^