My children love stuffed animals and I wanted to make a sweet little bunny plush toy for our new baby girl, Josephine Mae. If you own a copy of my ‘Woodland Hand Applique Set‘ you can simply use the large bunny applique to create this adorable toy. This bunny rabbit takes no time at all to sew, so if you’re looking for something to make for your little one, give this a try!
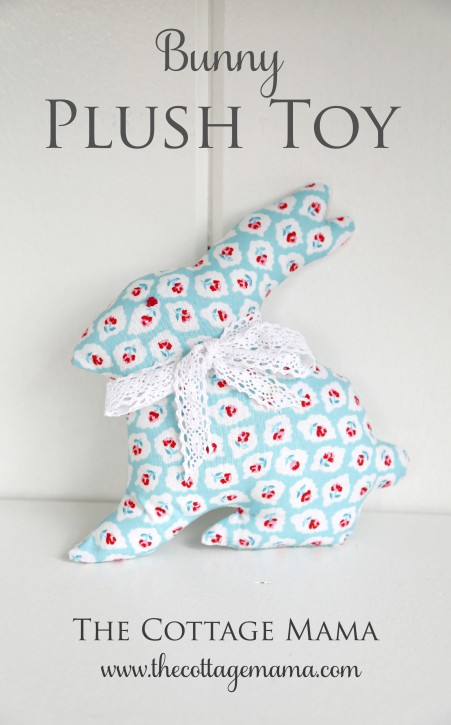
Bunny Plush Toy
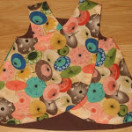
Fabric: Milk, Sugar, Flower from Riley Blake Designs
Supplies:
1 Fat Quarter woven cotton fabric
14″ ribbon or trim
Hand sewing needle
Embroidery floss (if you want to add an eye to the bunny)
Fiberfill or other stuffing
Scissors
Sewing Machine (I use the Baby Lock Unity)
Instructions:
First, find a bunny shape that you would like to use for your plush toy. You can trace one from a picture book, draw your own or just google ‘free bunny clip art’ and you’ll find many different bunny shapes for you to use. I used the bunny applique piece from my Woodland Hand Applique Pattern Set (found HERE) and enlarged the large shape by 125%. The bunny shape doesn’t have to be perfect for a plush toy!
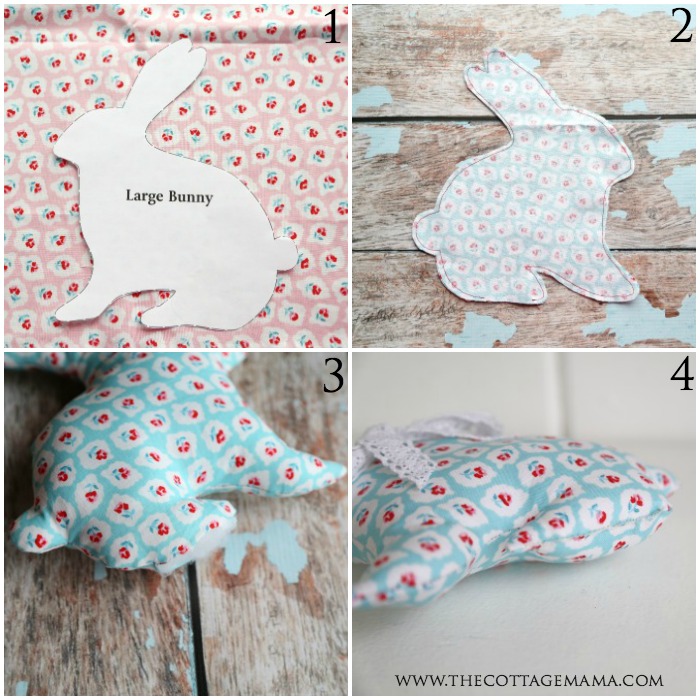
Step 1: Cut out your bunny shape from your favorite fabric. You will need two bunny rabbit shapes. If you want to add an eye to the bunny, use your embroidery floss and stitch a french knot for the eye after you’ve cut out your bunny rabbits. You could certainly leave the eye off as well. If this was for any older child, you might consider using a button for an eye, but when it comes to babies, I like to play it safe since buttons may end up in their mouths.
Step 2: Once you’ve cut out the two bunny shapes, place the fabrics on top of one another with right sides together. Starting at the bottom of the back foot, sew all the way around the bunny using a 1/8th seam allowance. Make sure to leave a 1″ opening at the bottom of the bunny foot so that you can turn it right side out. Clip in any of the corners so that it will turn out nice and smooth.
Step 3: Turn your bunny inside out and press. Stuff the bunny with fiberfill or other stuffing, making sure to get plenty of fiberfill up into the ears.
Step 4: Once you have filled your bunny, hand sew the opening closed with a needle and thread.
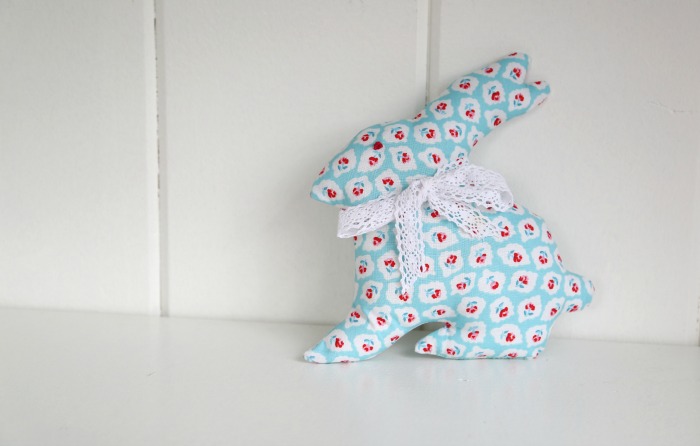
Use your ribbon to tie a bow around the bunny’s neck. I used Crochet Ribbon available from Riley Blake Designs. I think it adds a vintage touch. And that’s it………so easy, right? Consider using some of the other critters from the ‘Woodland Hand Applique Set‘ to create all kinds of fun plush toys!

My mom (Grandma Jane) made us these adorable fabric carrots for Easter and the kids thought they went just perfectly with Josie’s new bunny rabbit!


 Lindsay Wilkes is the owner and designer behind The Cottage Mama. She creates timeless, vintage inspired sewing patterns for children’s clothes. She is also a fabric designer for Riley Black Designers / Penny Rose Fabrics, author of the book ‘Sew Classic Clothes for Girls’ and can be seen teaching nationwide and online in her video series ‘Lessons with Lindsay’ sponsored by Baby Lock Sewing and Embroidery machines.


Please send directions on how to make those cute carrots. Thank you.
Hi Mary Ann! Great to hear from you! The instructions for the carrots are not available. Sorry about that! Have a wonderful day, Lindsay
This one’s really cute! Thank you for this lovely idea. I’m gonna be making one for my daughter.