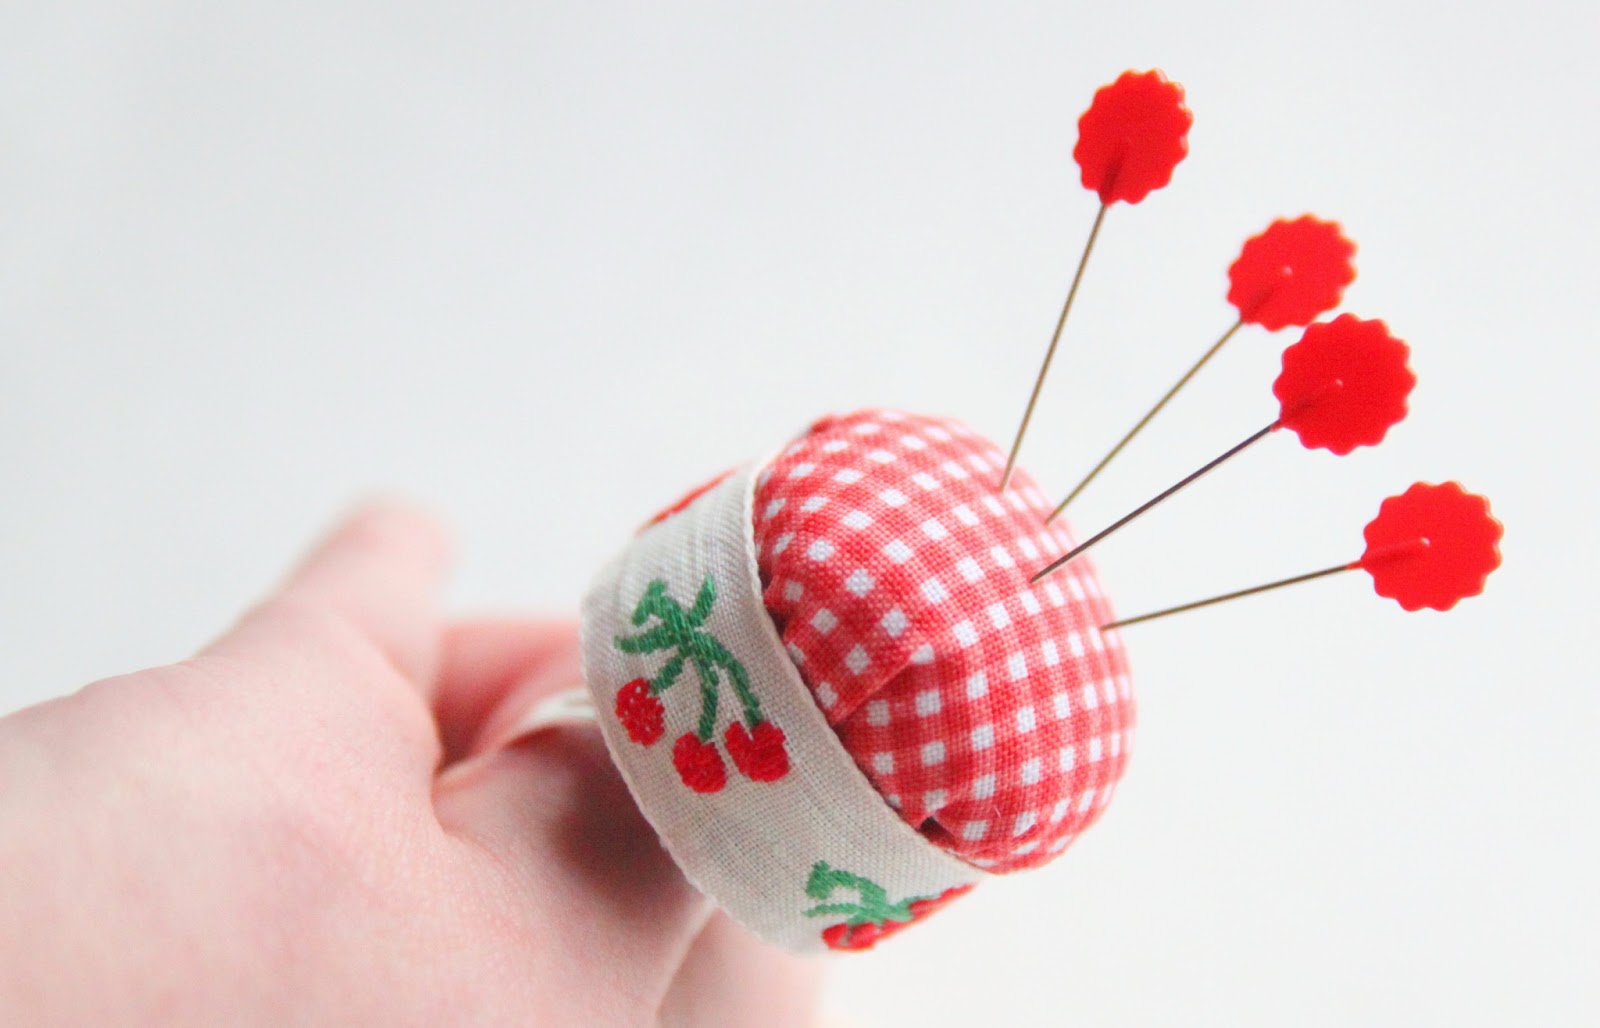
When I was teaching at the Martha Pullen School of Art Fashion a couple of weeks ago, I needed some straight pins for a project I was demonstrating. Our lovely machine educator in the room, Darlene, handed me this sweet little pin cushion that she had brought with her. It was so adorable and perfect for traveling.
Upon closer examination of this pincushion, that had been given to Darlene by her by a friend, I noticed that it was simply made from a plastic bottle top. The bottle top had two holes drilled in the top and a piece of elastic was used for the ring portion. I knew that when I got home, I wanted to try to make my own version of this darling little pin cushion.
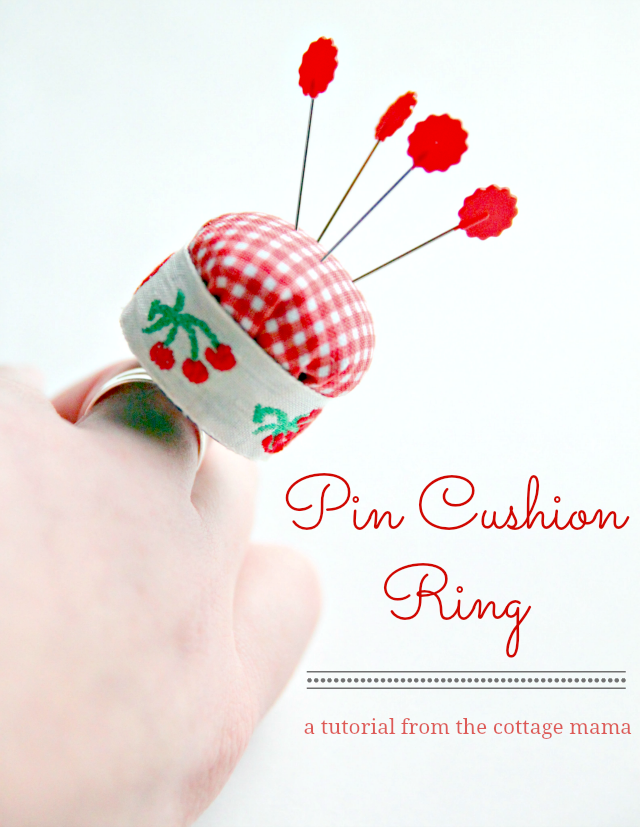
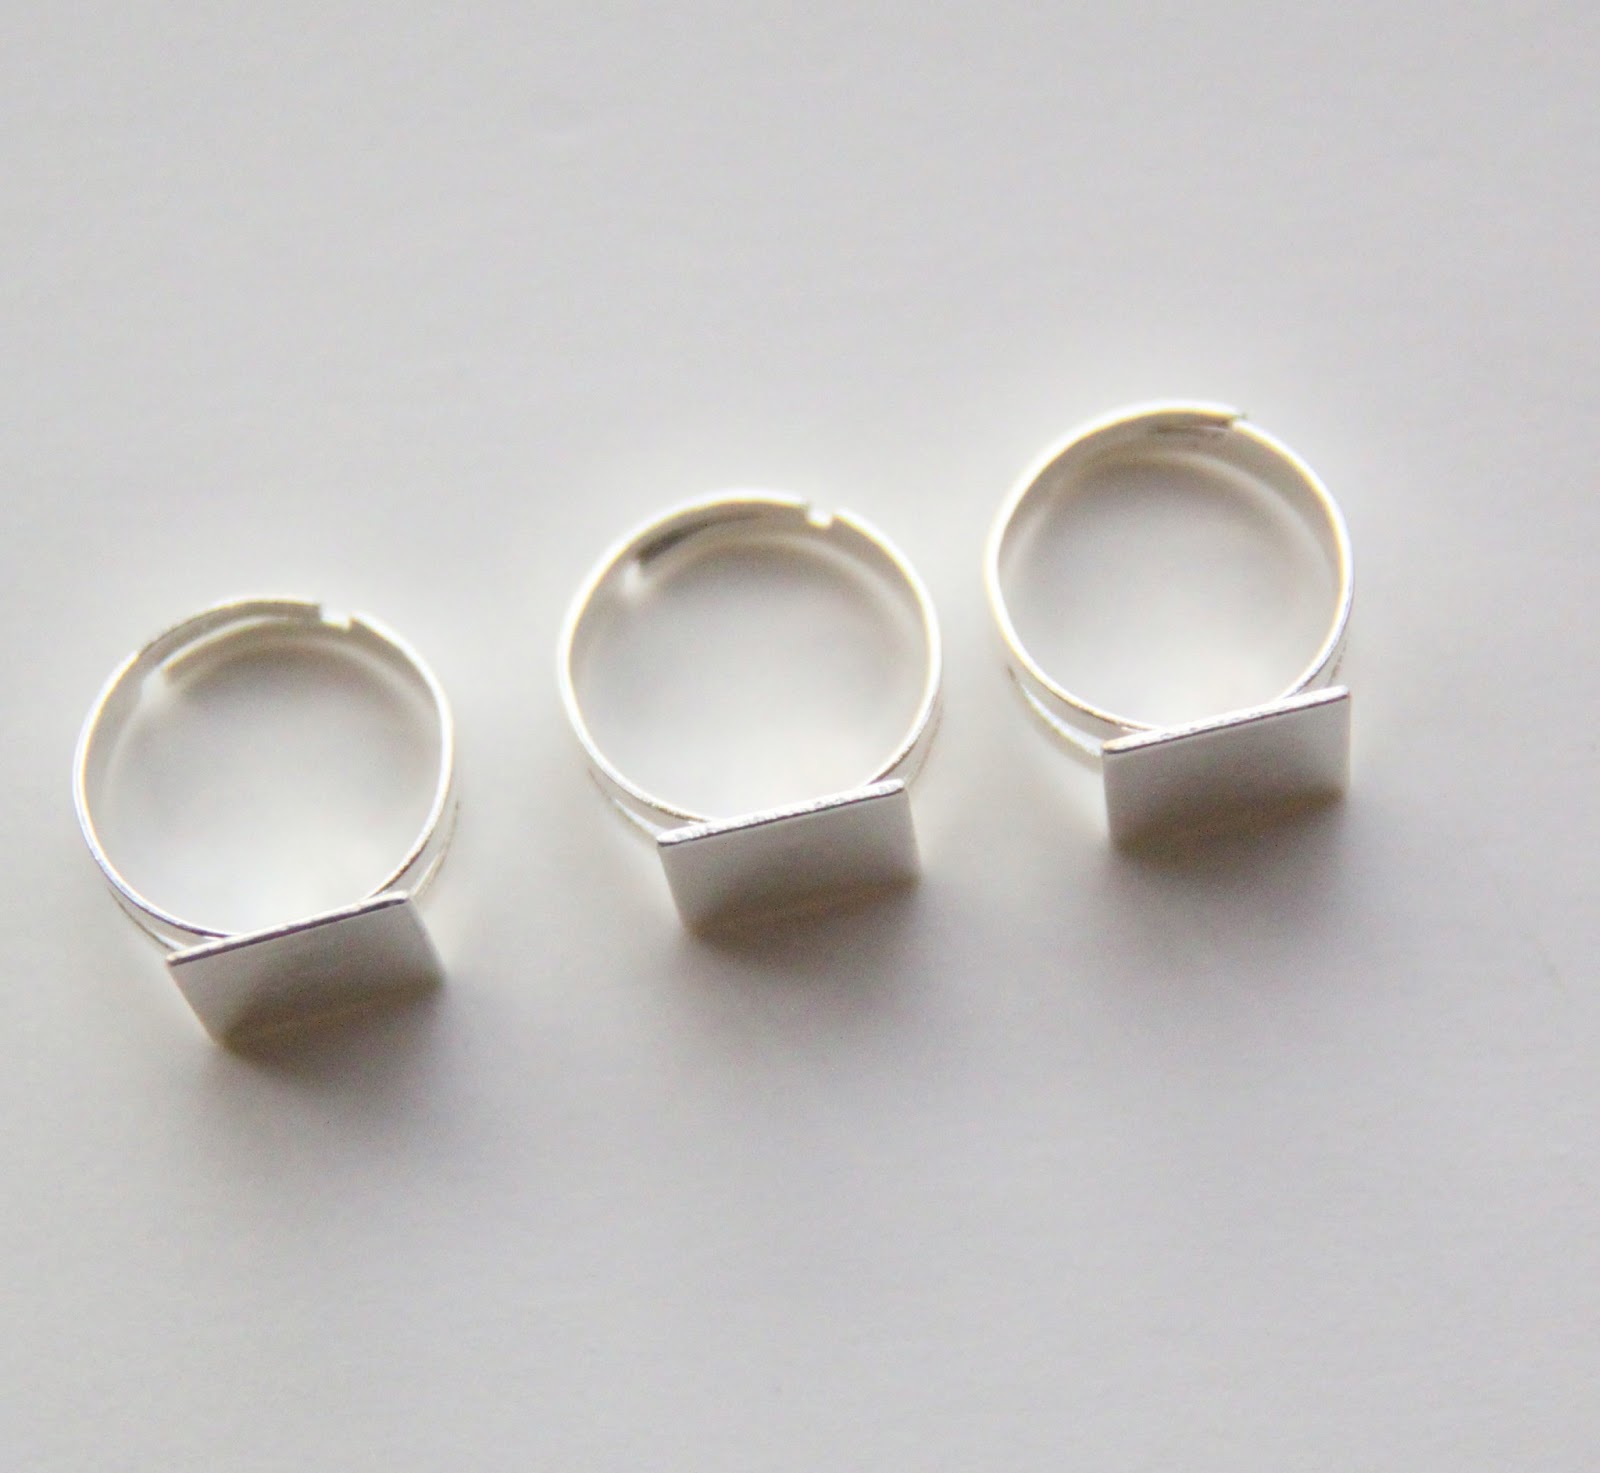
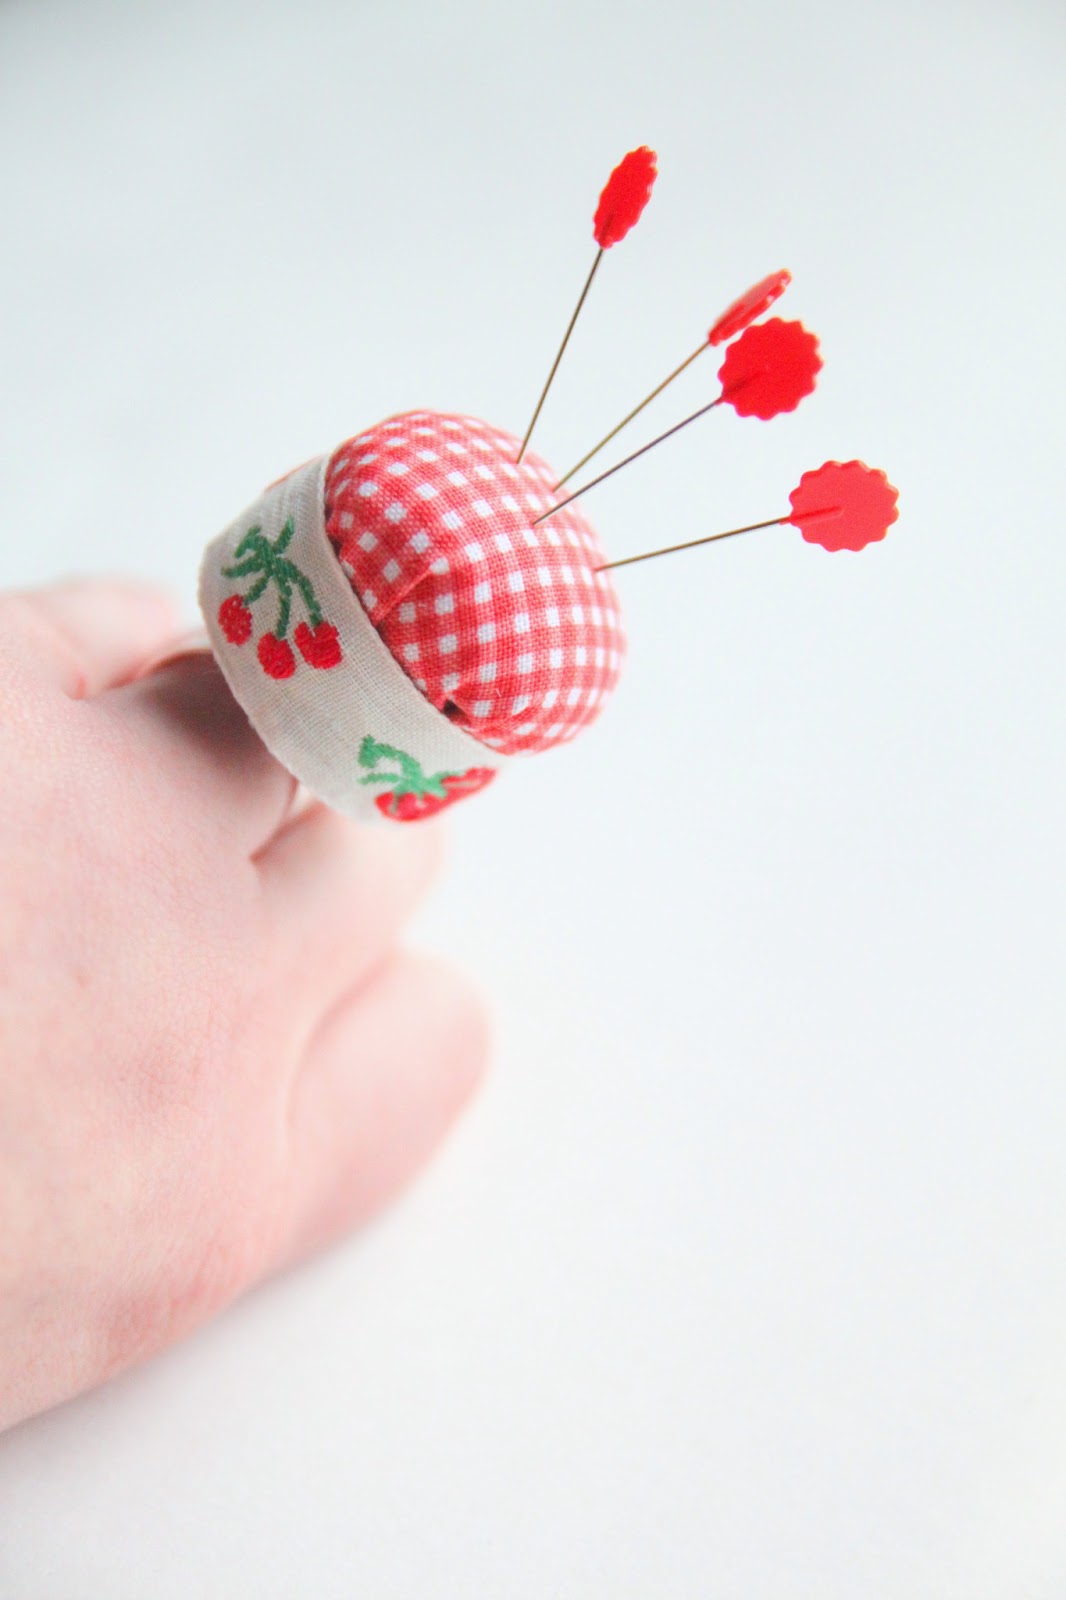
I still had some leftover blank rings from the DIY Cabochon Jewelry that I had made as Christmas gifts this year, so I decided to use those as the base for my pin cushion. These pin cushions would make such a sweet gift for the seamstresses / quilters / sewists in your life. Or just make one for yourself……they make the most perfect little travel pin cushion!
Pin Cushion Ring


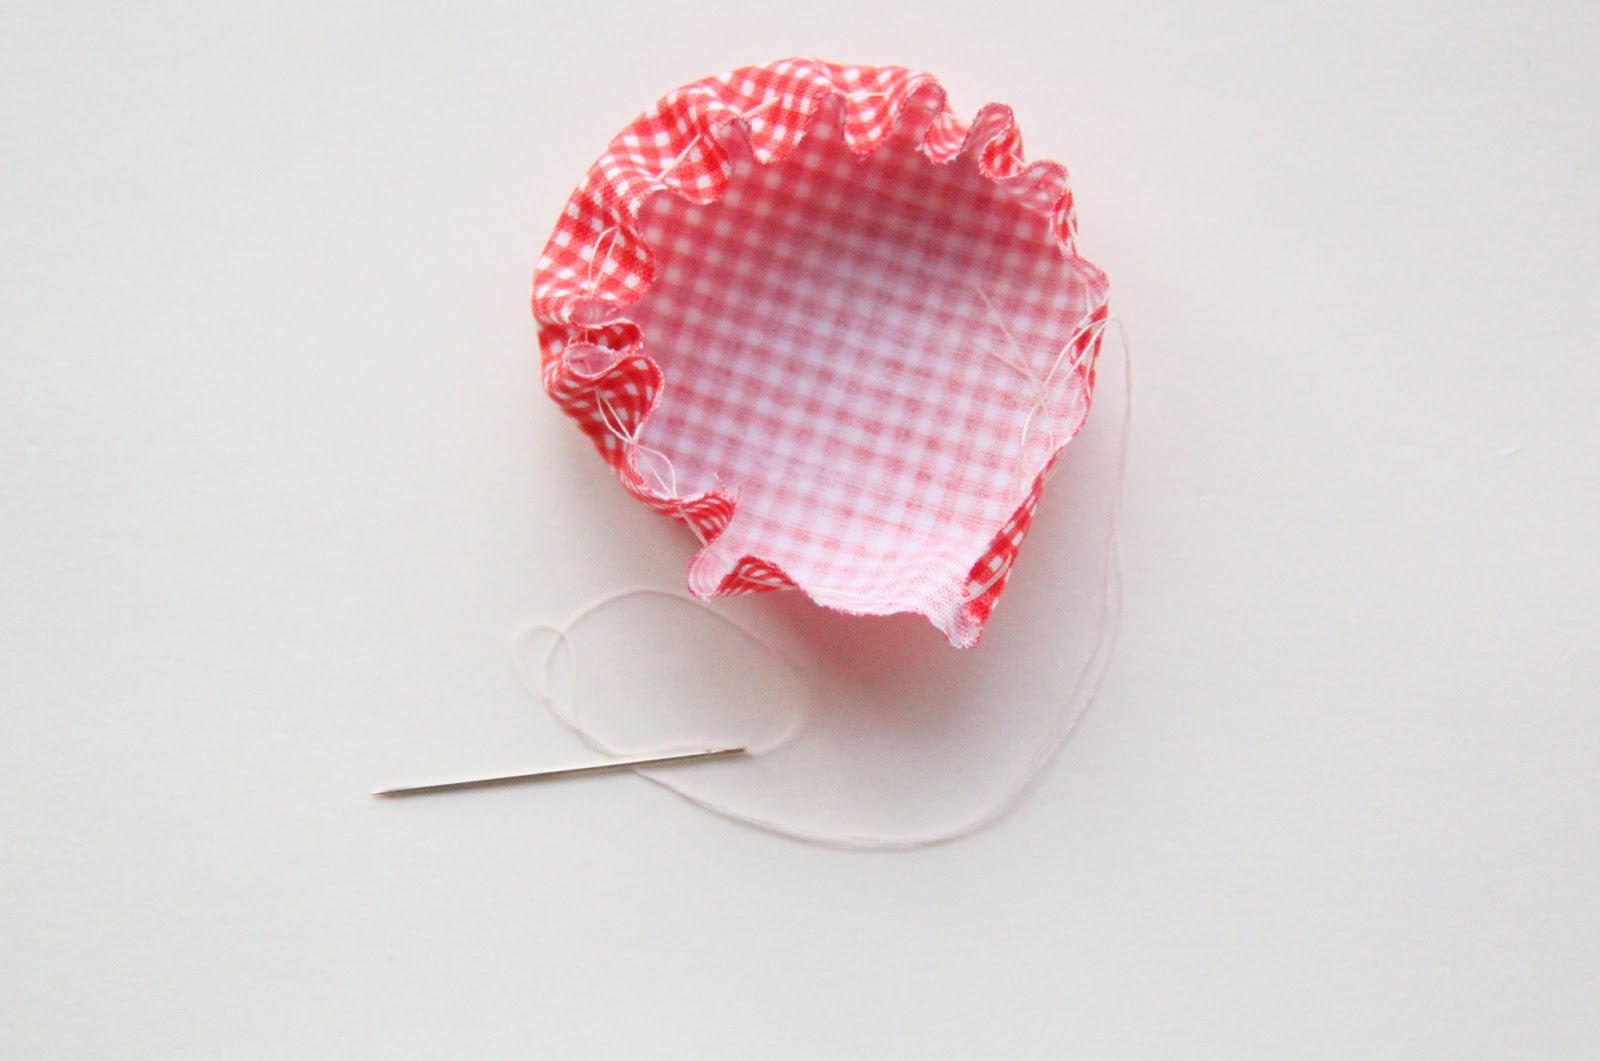
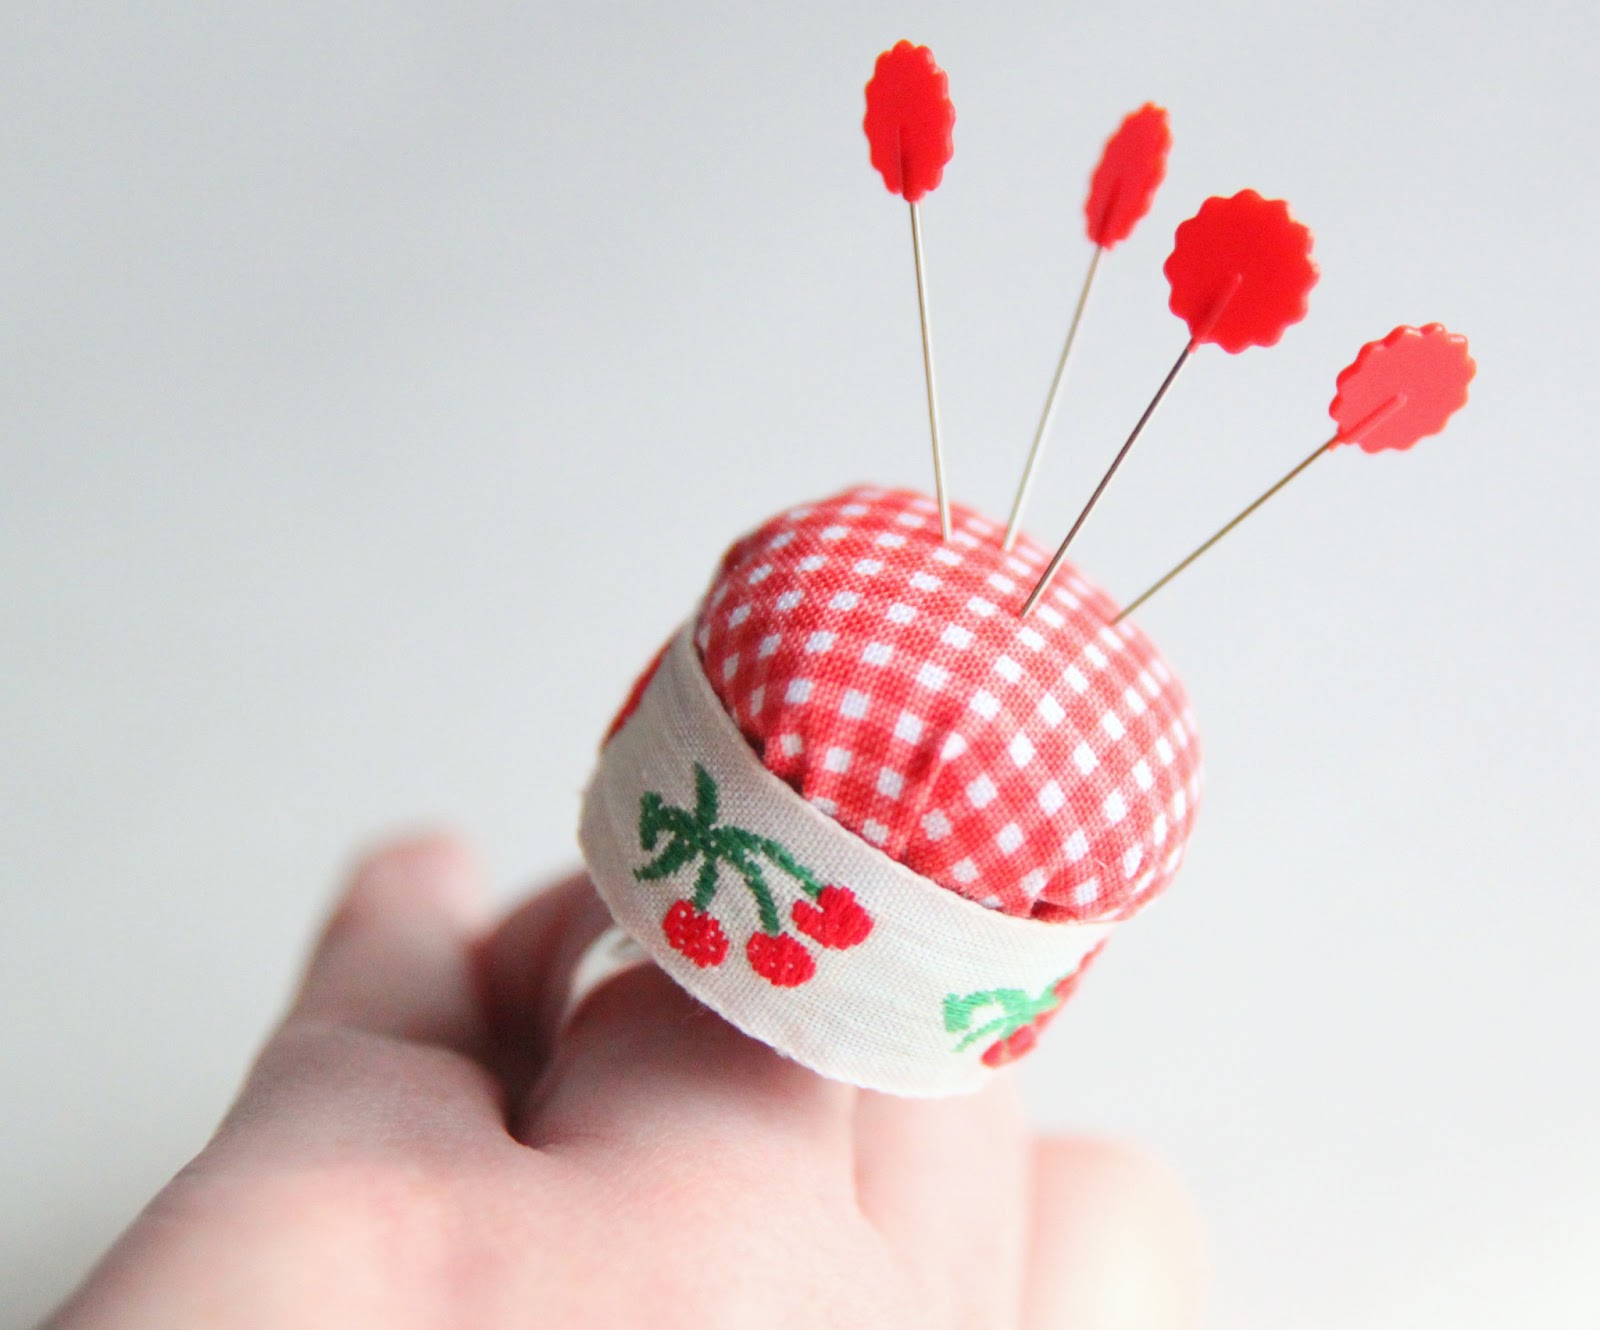
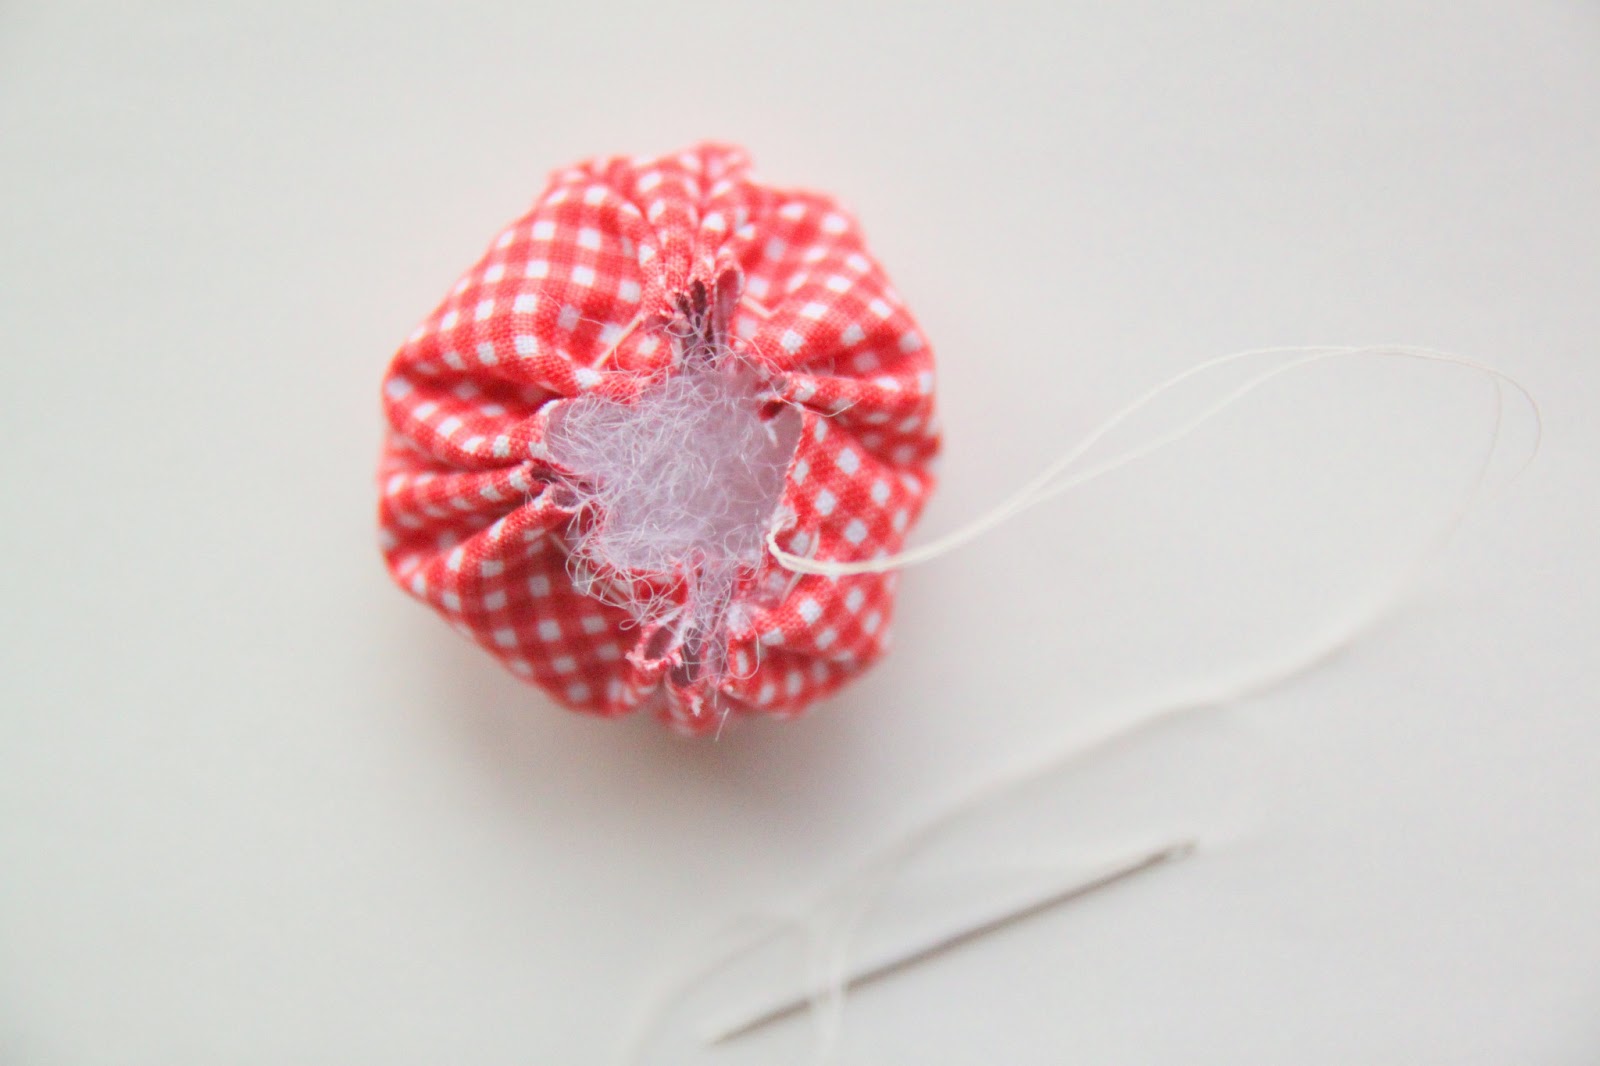
Do a basic running stitch around the entire edge of the fabric circle with your hand sewing needle and thread. Pull the thread a little to begin gathering the circle.


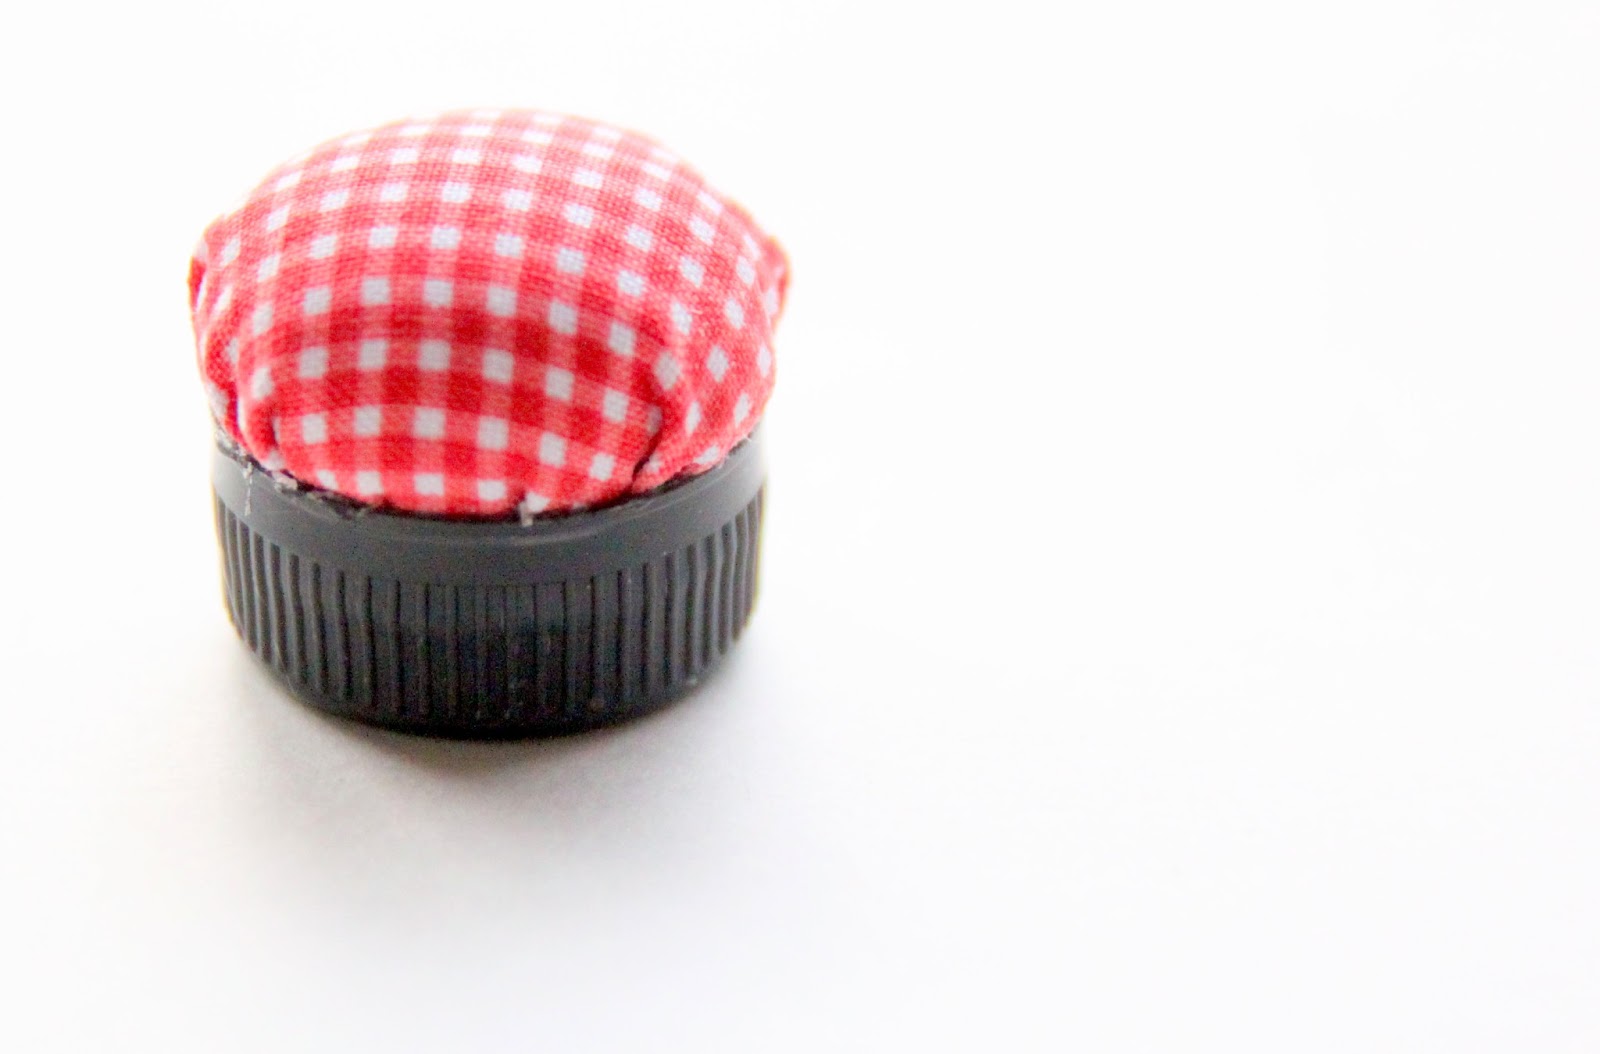


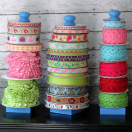
Measure your ribbon or trim so that it is a little bit longer than the circumference of the bottle top. Fold under the two ends towards the wrong side of the trim and glue in place. Then apply your strong craft glue to the outside of the plastic bottle top. Wrap the trim around the bottle top, making sure to line up the trim with the edge of the top. Apply a little more glue where the trim overlaps to secure in place.

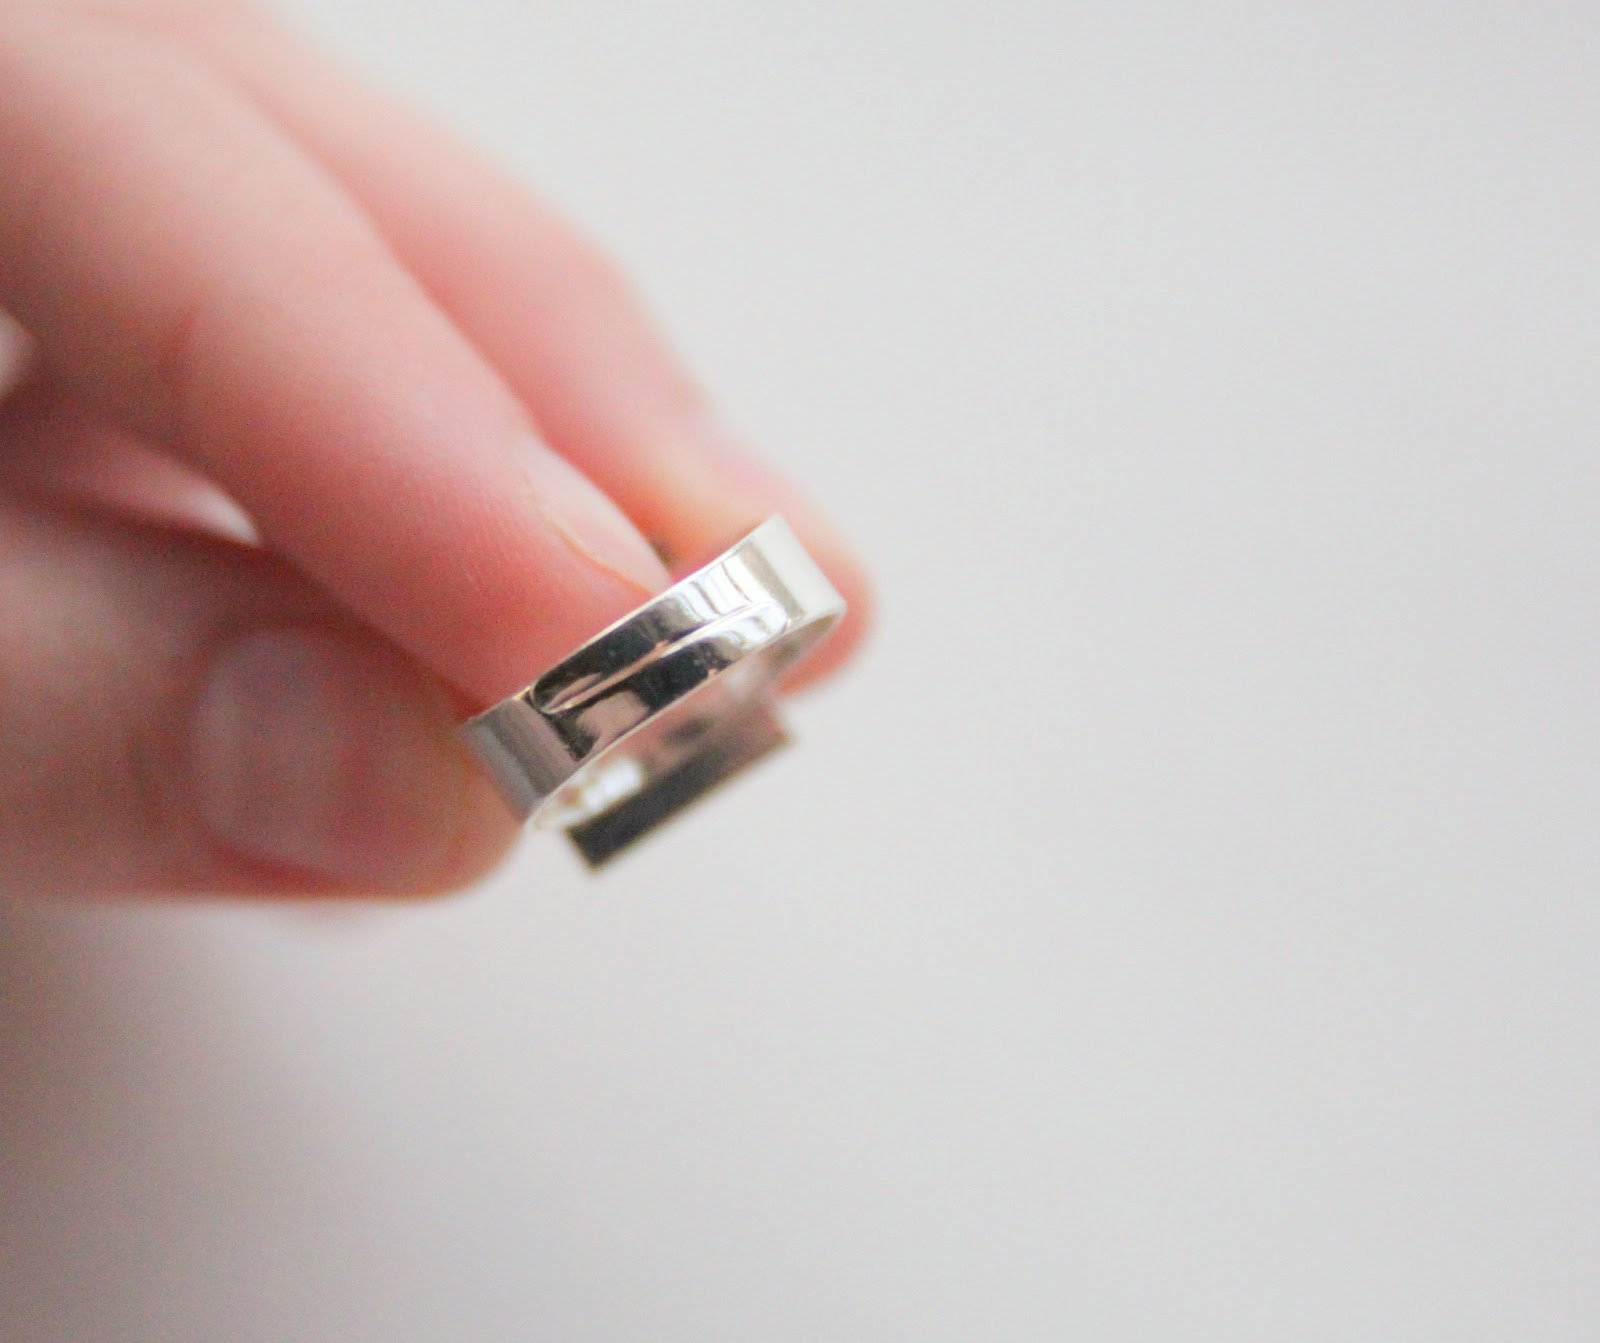
Apply glue to the blank ring and press in place on the bottom of the bottle top. Make sure you apply a good amount of glue to the ring, but not too much, because you don’t want to see the glue coming out from the ring top. You want it to look neat and tidy.


 Lindsay Wilkes is the owner and designer behind The Cottage Mama. She creates timeless, vintage inspired sewing patterns for children’s clothes. She is also a fabric designer for Riley Black Designers / Penny Rose Fabrics, author of the book ‘Sew Classic Clothes for Girls’ and can be seen teaching nationwide and online in her video series ‘Lessons with Lindsay’ sponsored by Baby Lock Sewing and Embroidery machines.


Oh my goodness, Lindsay! This is one of the sweetest things I have seen in a long while!
Thanks, Amy! I’ve been wanting to use that trim for quite a while and this seemed like just the right spot. Hope you are having a great day….Lindsay.
Oh my goodness, Lindsay! This is one of the sweetest things I have seen in a long while!
So so so so so so so cute Lindsay! Adorable!
What a fun idea, totally pinning this (pun absolutely intended ;o) )
Oooooooh I love this
Super cute idea, my daughter would enjoy making this easy pin cushion too! We’re going to have to do it!
I love this! It is so neat.
hi there! love this tut and was thinking of making one along these same lines, so it was good to see that I wouldn’t have been far off….can you tell me if the email under the comments is quite correct? I emailed you earlier yesterday and it hasn’t bounced, but you’re probably very busy 🙂
I love that you used a plastic bottle cap! I’m so doing this.
These pictures are yummy!! I definitely need a little pin cushion ring – might save my teeth and the floor a bit!!
That is adorable! And so practical too. I could use one.
Amazing idea, I have made several of those already. The ladies receiving them are generally very happy with this adorable pin cushion. Thanks for sharing the tutorial! I’ll be publishing an article about it in June, I will be refering to your blog.
I just made myself one and love it, thanks so much for your tut!!