
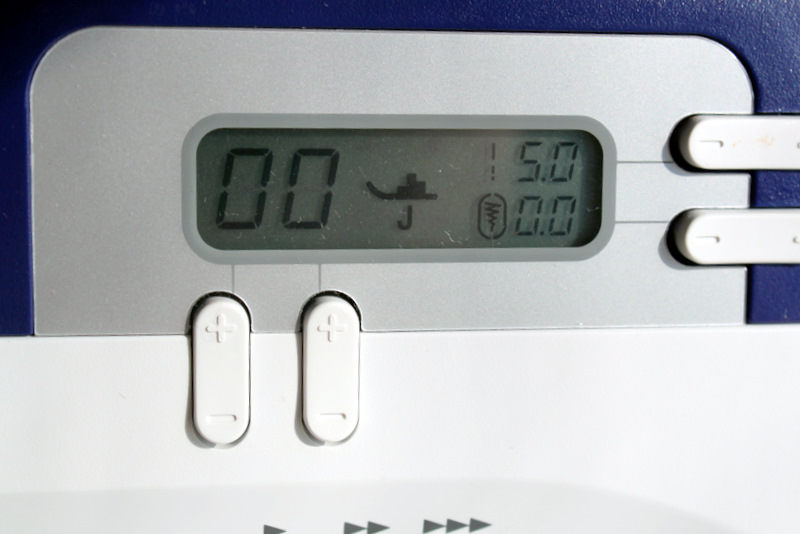
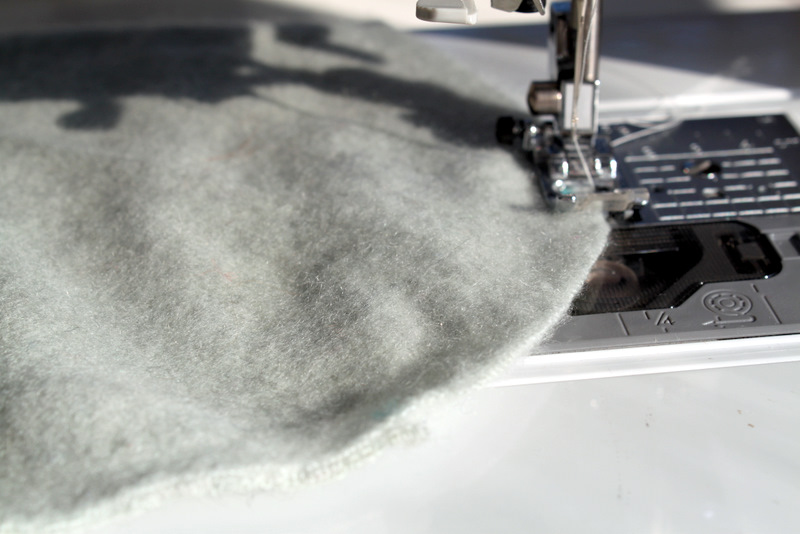
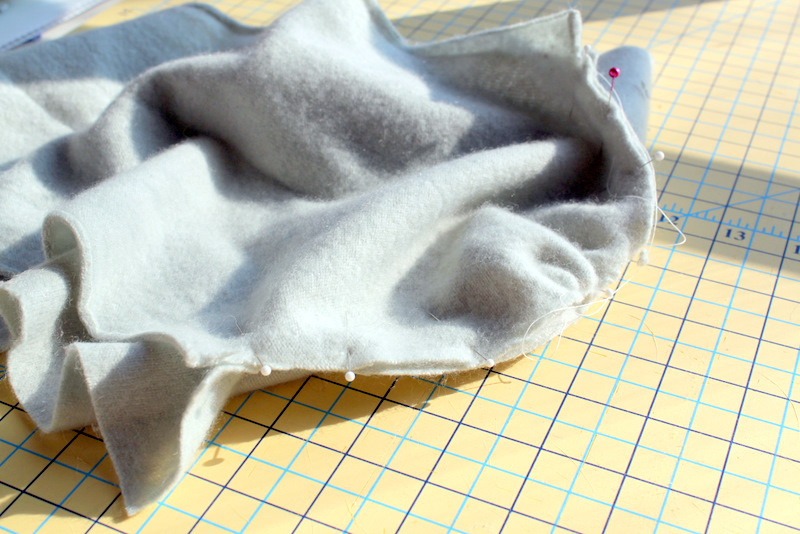
Run your gathering stitch in between your two shoulder markings.

Pull the bobbin threads to gather the shoulders of the arm pieces.
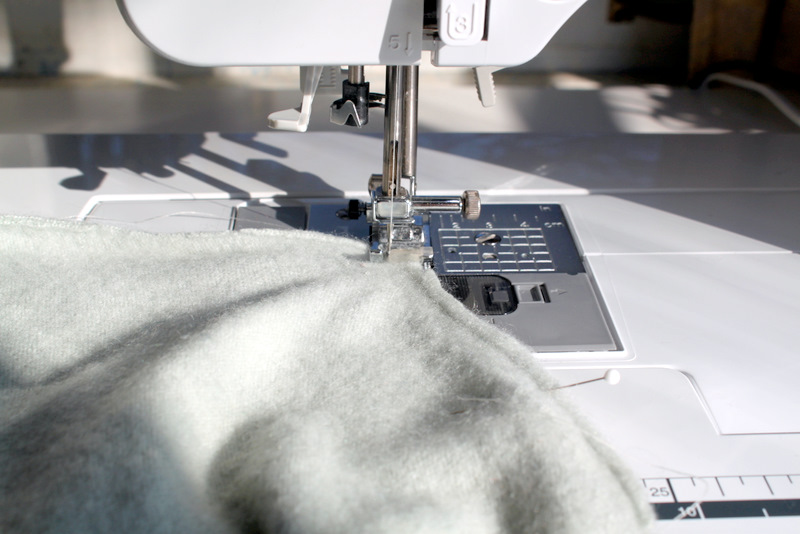
Stitch sleeves to bodice.

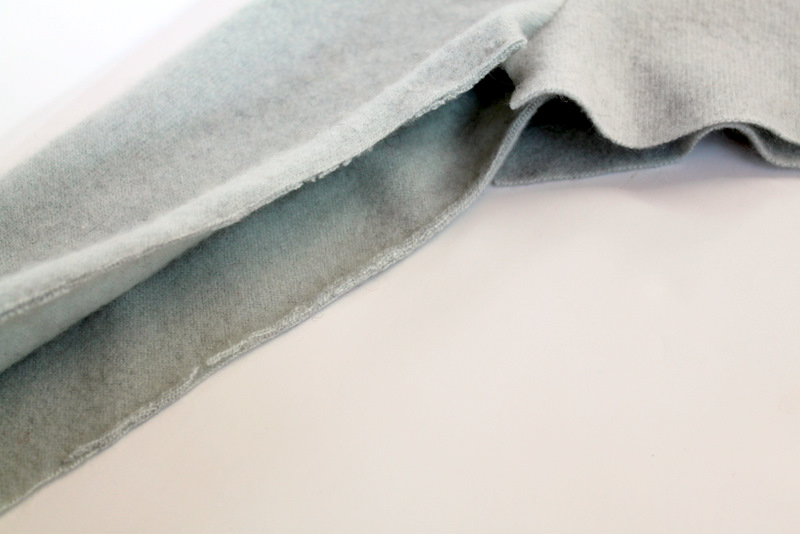
Turn bodice inside out and stitch up the arm and down the bodice on both sides to complete the top piece.
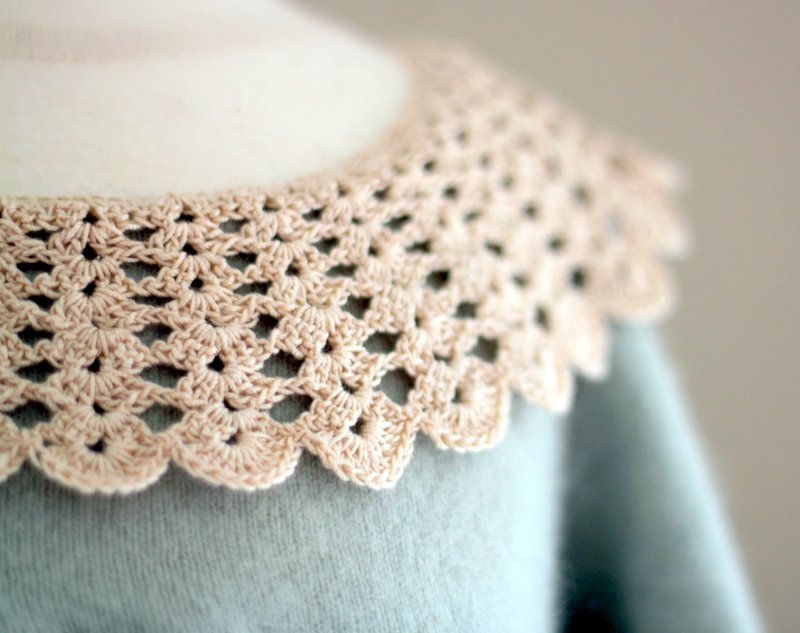
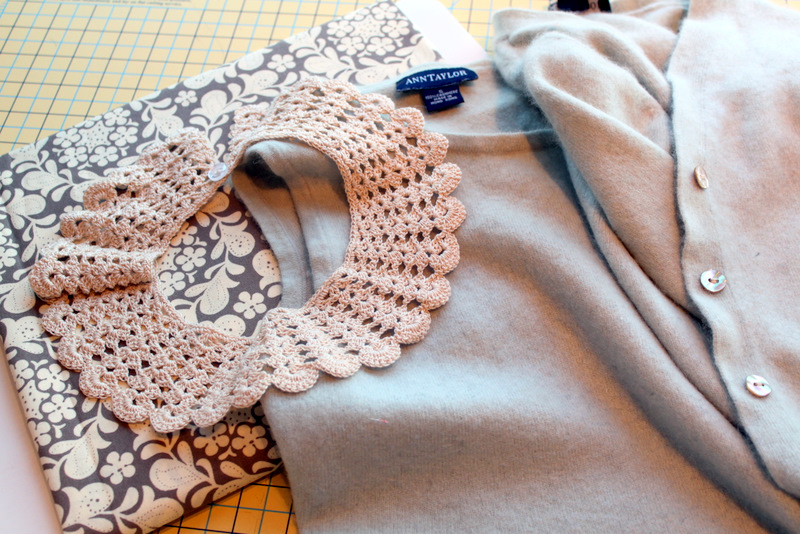
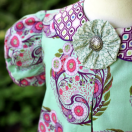
Add collar around neck-line. I used a vintage crocheted collar from my Grandmother and used a straight-stitch to attach it. You could make your own peter-pan collar or use no collar at all. If you don’t use a collar, you will want to turn the neck line under if you have any raw edges and stitch in place. You can always cut your neck-line wider to accommodate the side collar you have……that’s what I did.
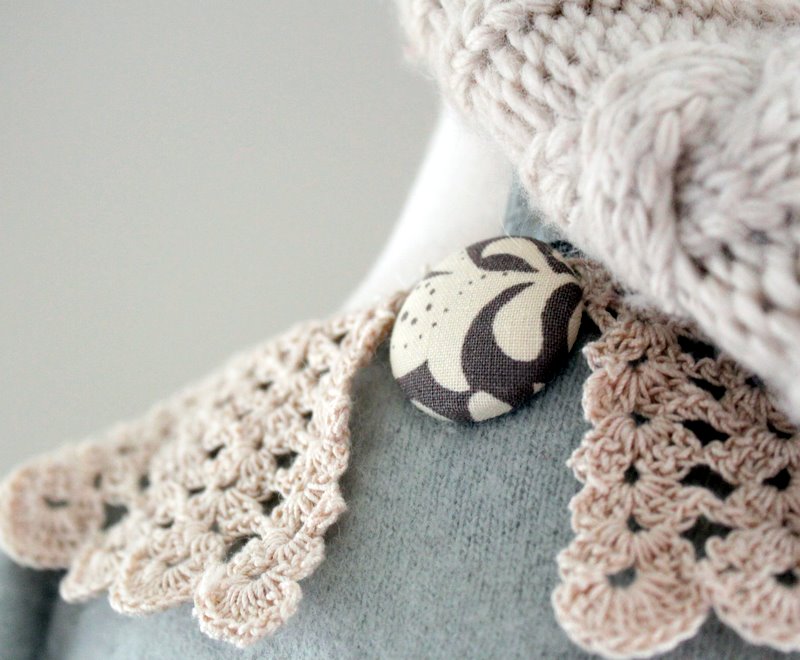
Where the collar came together in the back, I added a fabric covered button that matches the skirt fabric. You can find fabric covered button kits in the notions section of your fabric store.

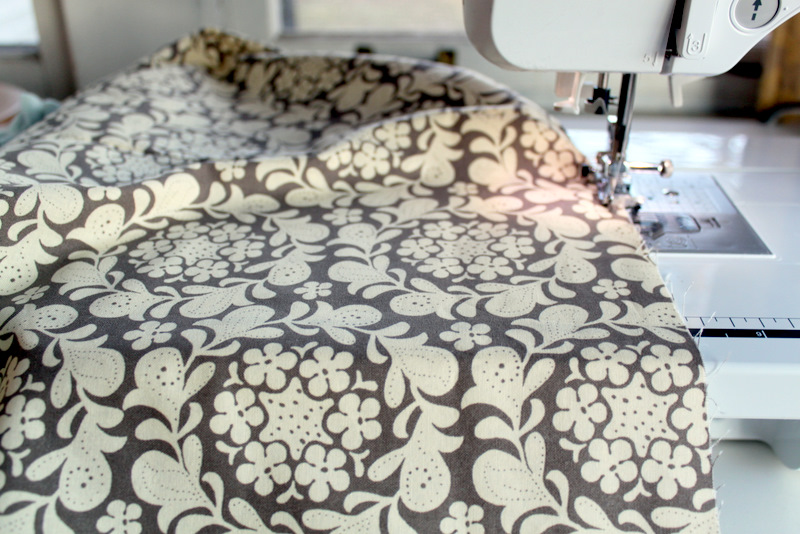
Cut the pieces for the skirt. Cut TWO rectangle pieces on the fold, each 21″ wide (so each piece once unfolded will be 42″ wide). The length is going to vary depending on your child. Measure your child from below the chest to right at the knee, then add an inch. Stitch both raw edges of the skirt pieces together – right sides together.

Cut the pieces for the ruffle. I cut these pieces about 2 inches wide out of the cashmere sweater. The width of your skirt piece will be about 84″ total, so you want your ruffle to be 2-2.5 times that……..168″ or 210″ (depends on how full you want the ruffle).
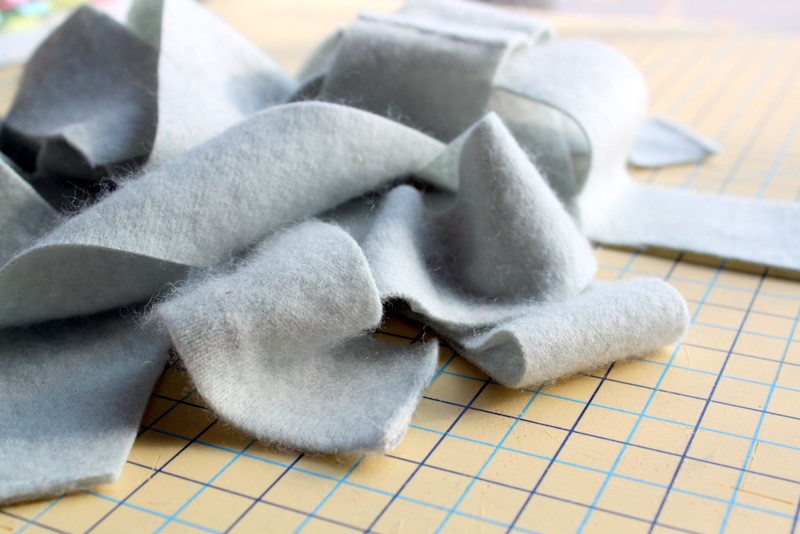
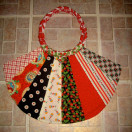
Once you have cut all of your sweater ruffle pieces, you will need to sew them all together to make one large circle.
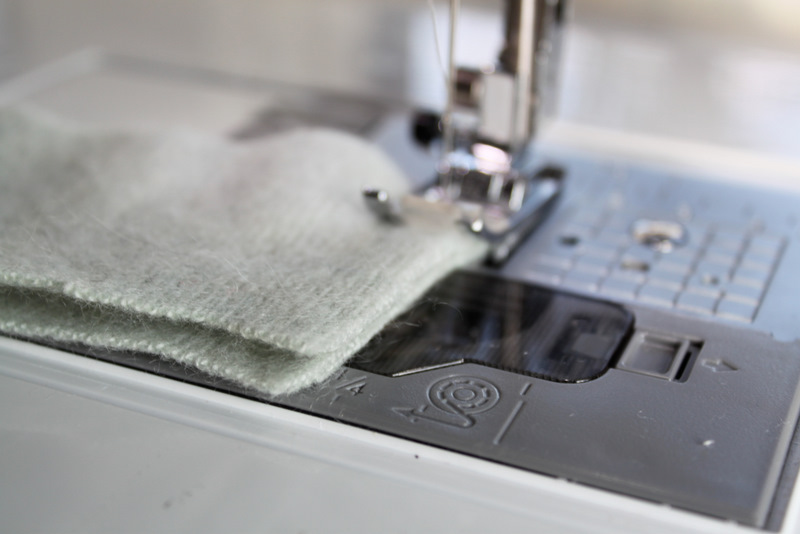
Sew each raw edge together to form the large circle of fabric.
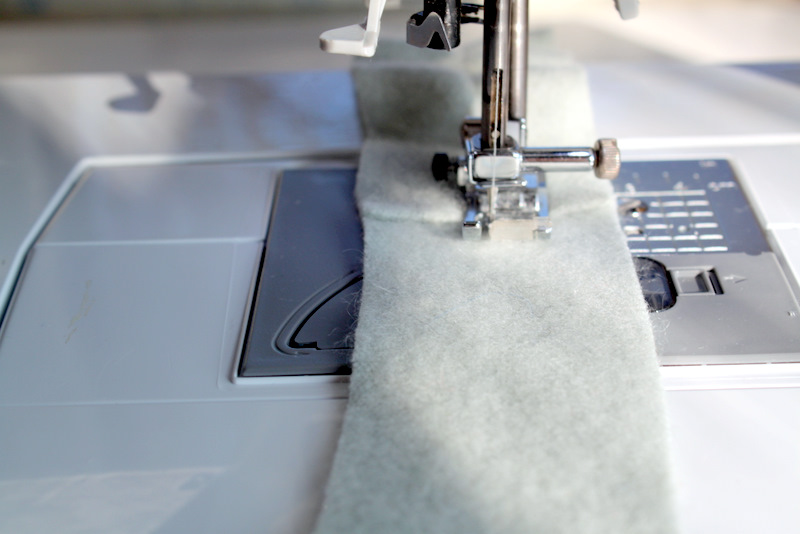
To ruffle the fabric, run a gathering stitch down the center of the fabric. Do not back-stitch at the beginning or end or the gathering will not work. Pull the bobbin thread to gather the ruffle to your desired length.
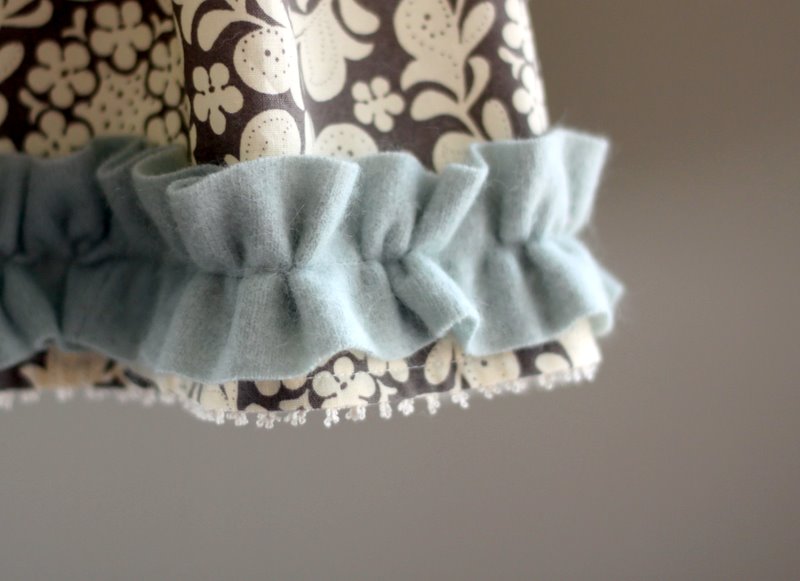
Pin ruffle in place and run another regular straight stitch down the center of the ruffle to attach it to the skirt. Hem the bottom of the skirt. Turn under 1/4″ and then another 1/4″……….then attach picot edging to the hem if you are choosing to use this trim.
Now gather the top of the skirt. Run another gathering stitch along the top edge of the skirt. Pull bobbin thread to gather.

Now it is time to attach the skirt to the bodice. Turn skirt inside out, slide bodice, right side out inside skirt.
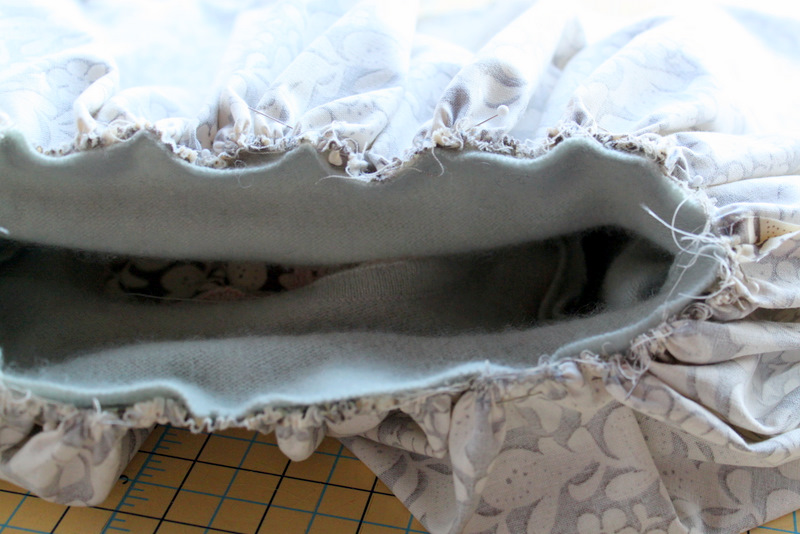
Pin skirt to bodice, adjust the gathering on the skirt as necessary to fit to bodice.

Stitch skirt to bodice, then turn right side out and press.
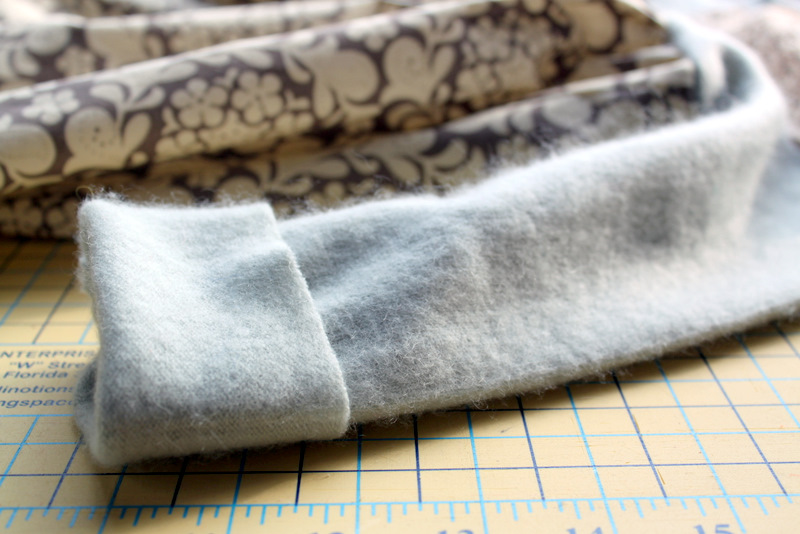
Put dress on your child and measure how long you need the sleeves to be. Mark with fabric marking pen.
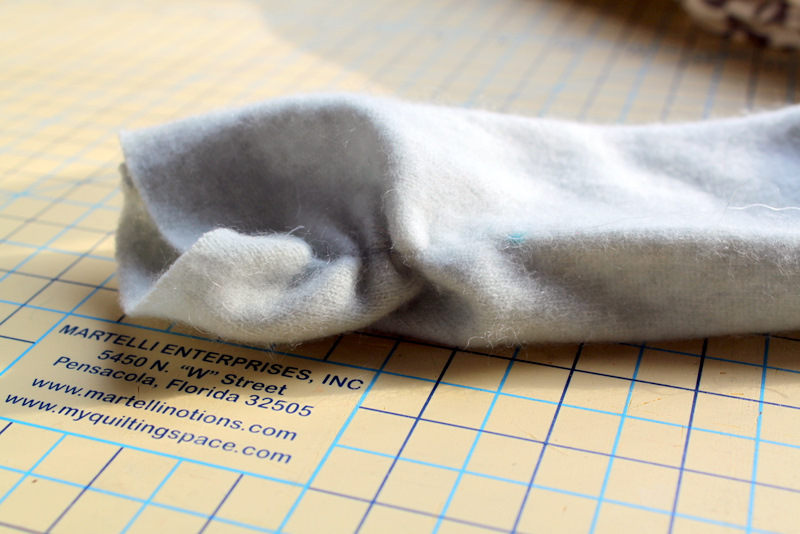
Run a gathering stitch towards the bottom of the sleeve and gather the sleeve until you have reached your desired length. Go back over the gather with a regular straight stitch to lock in place.
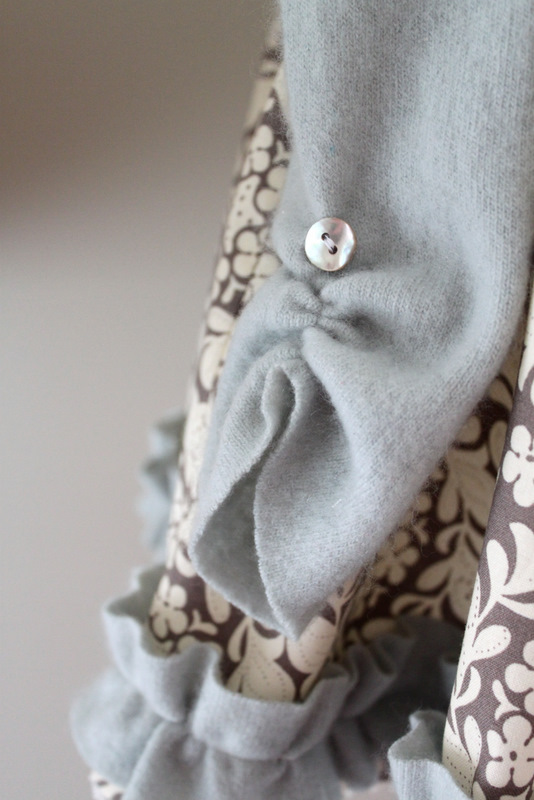
For the final touch, I reclaimed some of the buttons from the original sweater and added them on the top of the gather on each sleeve.

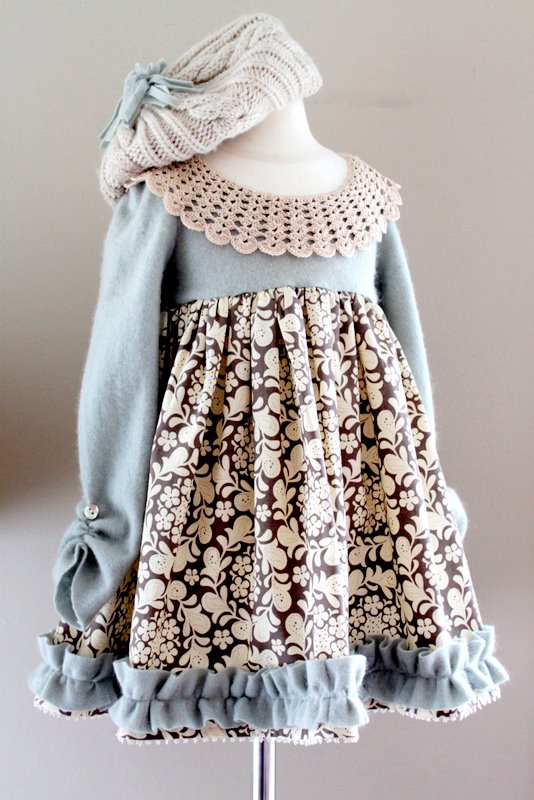
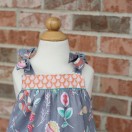
And there you have it – a one-of-a-kind “Winter Wonderland Dress”. If you decide to make one of these fun dresses or interpret it to make your own, I always LOVE to see pictures!


 Lindsay Wilkes is the owner and designer behind The Cottage Mama. She creates timeless, vintage inspired sewing patterns for children’s clothes. She is also a fabric designer for Riley Black Designers / Penny Rose Fabrics, author of the book ‘Sew Classic Clothes for Girls’ and can be seen teaching nationwide and online in her video series ‘Lessons with Lindsay’ sponsored by Baby Lock Sewing and Embroidery machines.


SOOOOOOOOOOOOOOOOOOOOOOOO cute. I just love it.
Love that last photo! She is so cute!
This one was my favorite also and when I first found out about you. I LOVE it!! Thank you for sharing the details!
Absolutely adorable! I can’t wait to try my hand at this tutorial for my girls. Thanks for posting it.
This dress is so adorable! I love, love, love the colors :0)
this is such a gorgeous dress. Thank you so much for sharing a tutorial for it. It is lovely
I am so glad that you shared this! Very beautiful!! My little Sweet pea will be wearing one this next winter.
Lindsay, this is jaw-dropping cute!! I’ll be sharing with my readers…thanks for sharing!!
I made one as soon as I saw your post using as existing peasant style dress pattern I already had in my stash… It is one of my DD’s fave dresses by far… she loves loves loves it! Thanks so much for the inspiration… Claudia – pic on link below…
http://i299.photobucket.com/albums/mm305/AdinOaksMum/11019-1.jpg
http://i299.photobucket.com/albums/mm305/AdinOaksMum/11008.jpg
Such a beautiful dress, and your model is adorable.
I love this and guess what, my girl has a pink chasmere sweater that was my moms. Of course it doesn’t fit and she tries to wear it anyway(shes 7) This little project will be perfect!
Oh my!!!! This is so beautiful!!! I have some collars that got passed down. Now i know what to do with them. Thank you!!!!!
http://www.couturiermommy.com
This dress is so beautiful!! I linked to your tutorial on Craft Gossip Sewing:
http://sewing.craftgossip.com/tutorial-winter-wonderland-dress/2011/02/17/
–Anne
Lindsay, you are amazing. This was my favorite of yours! Thanks for sharing, and congrats on making it so far!
Great idea for the bodice of the sweater… Use a long sleeve tee, and attach the sweater bodice in a similar manner, to make a tee sweater dress! 😉
Ummmmmmm………Wow!! That is fabulous!!
what a beautiful dress, and so does your little model =) Thanks for sharing
I am in LOVE! This is absolutely beautiful. Great job!!!
I loved this dress so much, I shared it on my blog this morning. Have a great weekend, friend!
Oh, my, this is the most adorable dress EVER!!!!
Hm, I’m wondering how girly I would look in it… don’t care… I’ll make one for myself as well. A BIG THANK YOU FOR THIS TUTORIAL!!!
This dress is adorable! You’re very talented.
And that last photo is precious.
This is amazing! Thanks for sharing such a great tutorial!
http://www.youngnester.blogspot.com
This is just amazing, wish I had a little girl
The dress is darling as is your daughter. Wonderful tutorial.
Thanks for such a wonderful tutorial. I just love the cozy feeling this dress has, and your girl looks sooooo cute and happy in it. I will probably make something similar for my little girl. Thanks a lot for sharing!
Just gorgeous – dress and model both! Am off to follow you now! If you get a chance stop by at The Quick Unpick and say hi!
Cheers
Oh my goodness! As I was checking out your gorgeous sewing projects I saw your cutting mat is from Martelli’s on W Street in Pensacola, Florida. I live only a few miles away from Martelli’s. The internet has made this one small world. Love everything you do and congratulations to your Mother.
T. Coffey in Pensacola
I am amazed and inspired! About ready to run to the thrift store for a sweater! Your little one is simply adorable, too.
wow beautiful winter dress.. i like it. I also want to share with you latest online bridal sarees from asopalav sarees.
Thanks so much for this tutorial, really enjoyed making this for my daughter, even though i’m a complete sewing novice!
OH MY GOSH! Every granddaughter I have will have one of these dresses. Gorgeous!
So cute!!! I love thrifting so this tickled me fancy. You did a wonderful job on creating such a beautiful dress.
Your dress is so beautiful, I wonering you like it very much, you like beautiful dress and me too, So i find a so nice Wedding Dresses store,I think you have interesting to it.
Precioso, y la nena también!!!
So beautiful! I felted my first wool sweater, and sewed it into the bodice (I need to choose a coordinating fabric for that dress. Today I felted a cashmere sweater for the first time…and…OH MY! Its SOOOOOOOO soft. Im thinking to toss the first one and use this one. Its ubber-super soft! Question- Can I wash felted wool/cashmere? Or will it shrink some more? Thank you so much for this tutorial!
Just saw this beautiful dress which is ideal for Canadian winters. I’m curious why the cashmere has to be felted beforehand? Is it so that it doesn’t unravel while cutting apart? Would it shrink anymore once felted and washed again for the child after the garment is made?
Thanks in advance for your response.
Wow, I really love this dress. You are right it is just so beautiful. Do you think it would be possible to make one like this but change it a little for like a teen or young miss size? Like maybe a princess waist and maybe the skirt part could be longer in the back? I don’t know, what do you think? Oh and again I love this design, you are so talented! 🙂