

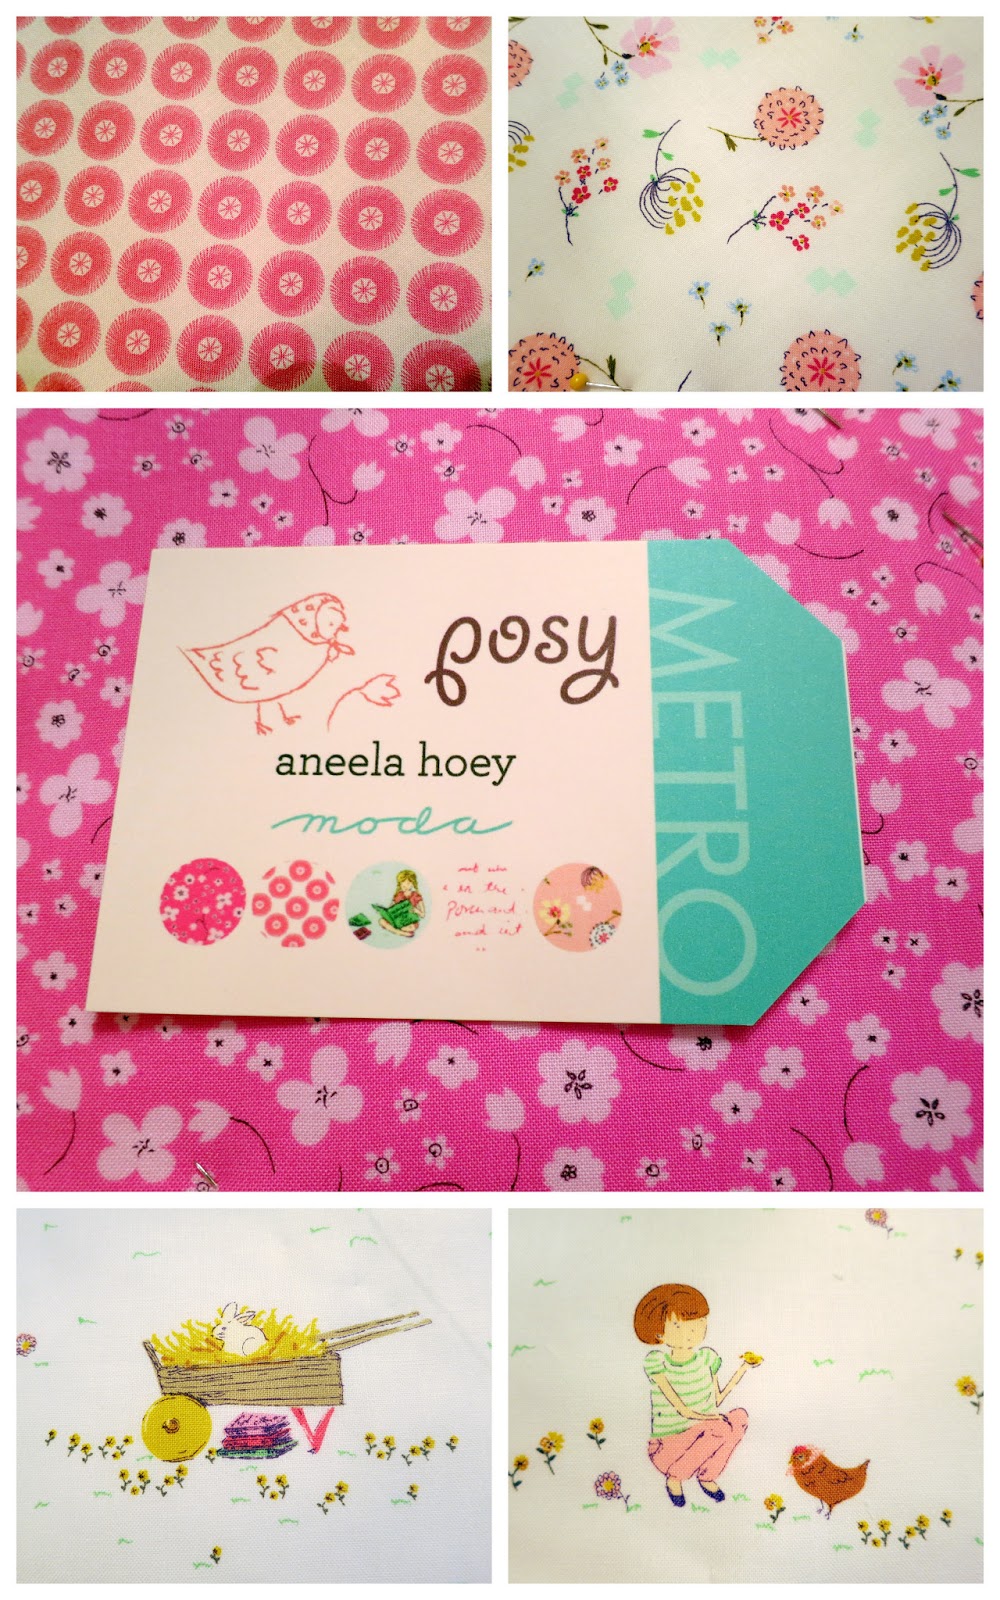
(This line can be purchased from several blog sponsors here at The Cottage Home)
Instructions:
Step 2: If you are not using a layer cake, you will need 3 ¼ yards of fabric to cut (42) 10 inch squares.
Step 3: Cut (42) 8 ½” x 8 ½” squares of batting (I used scraps and took care to use white for the light colored squares so the darker cream colored batting did not show through.)
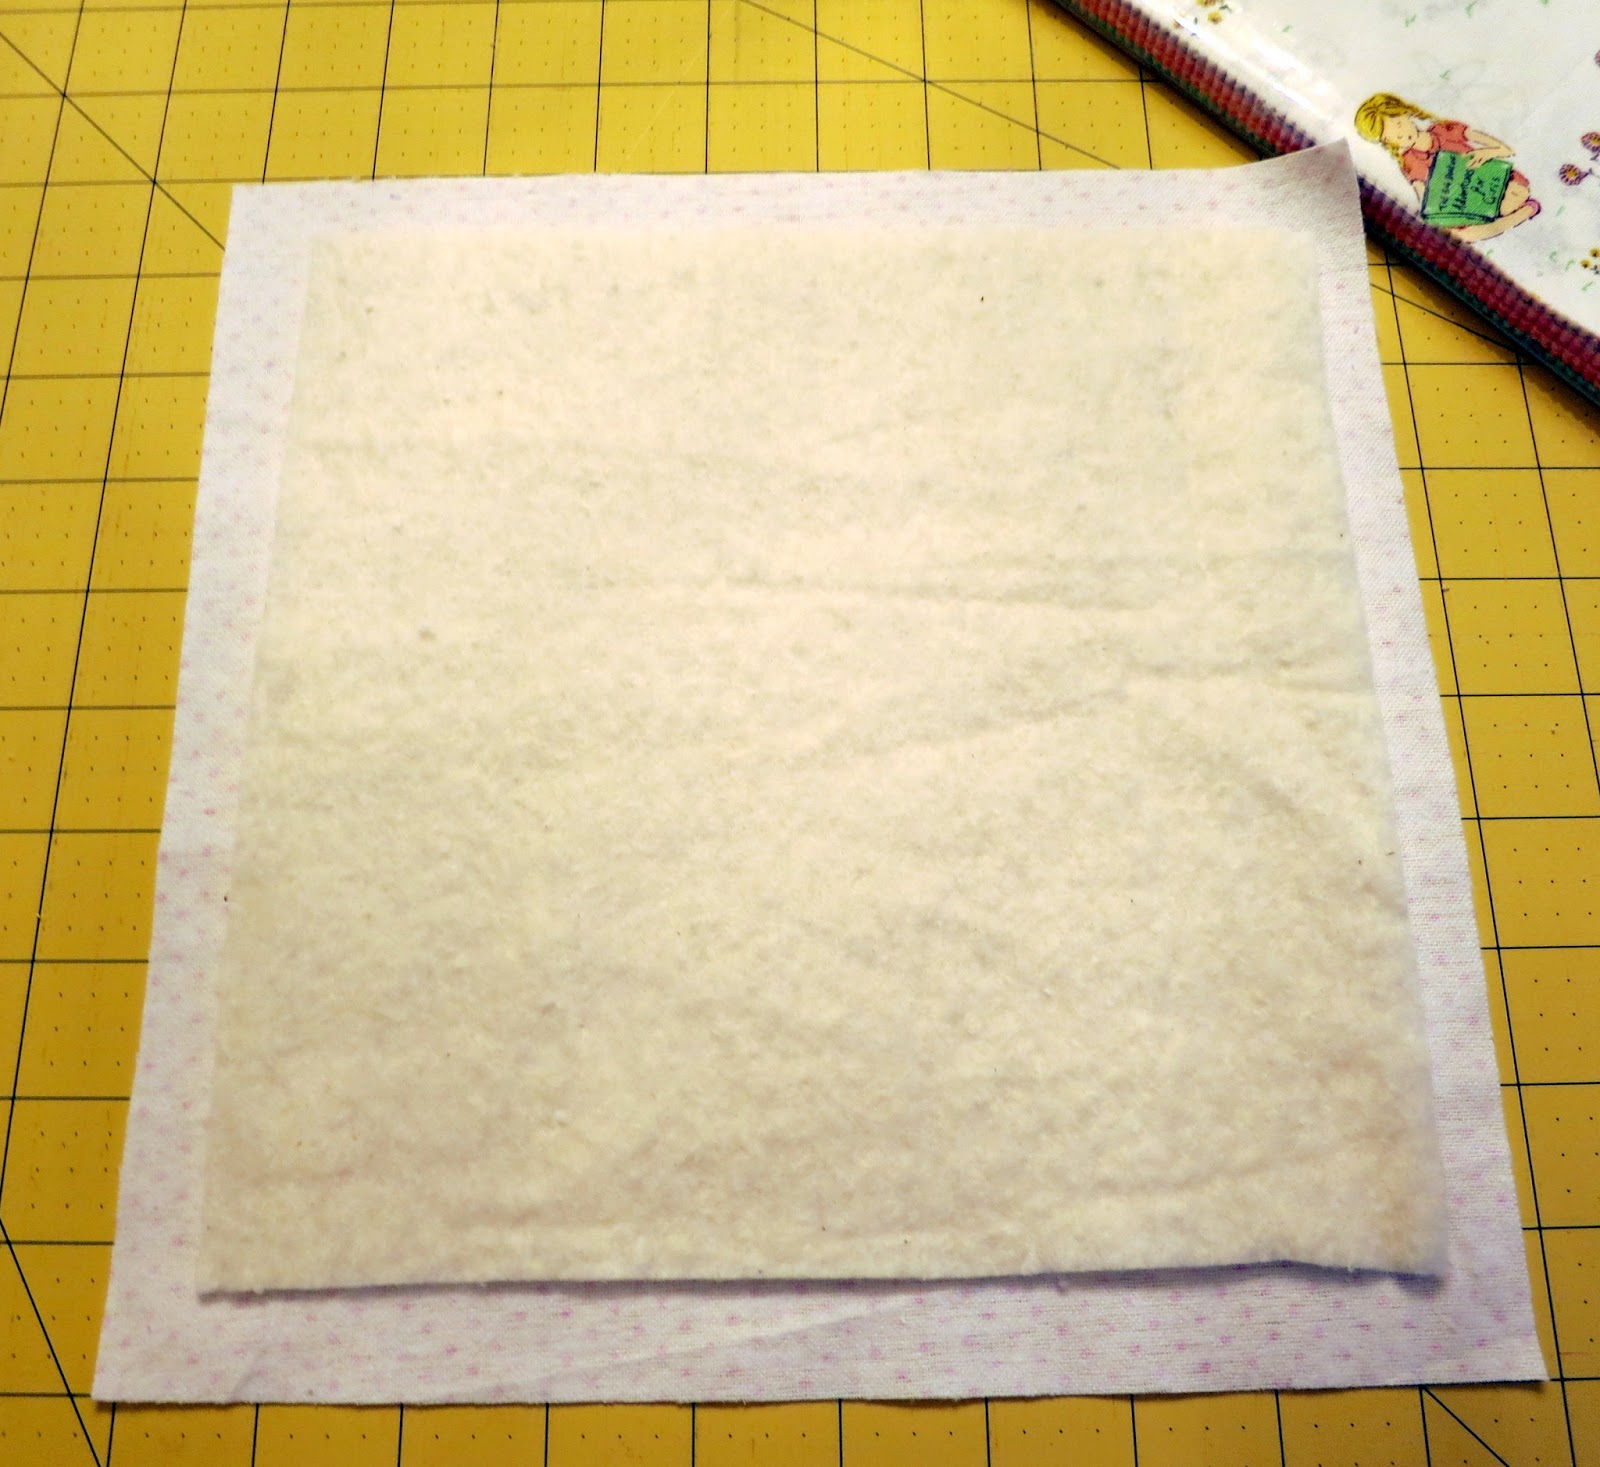
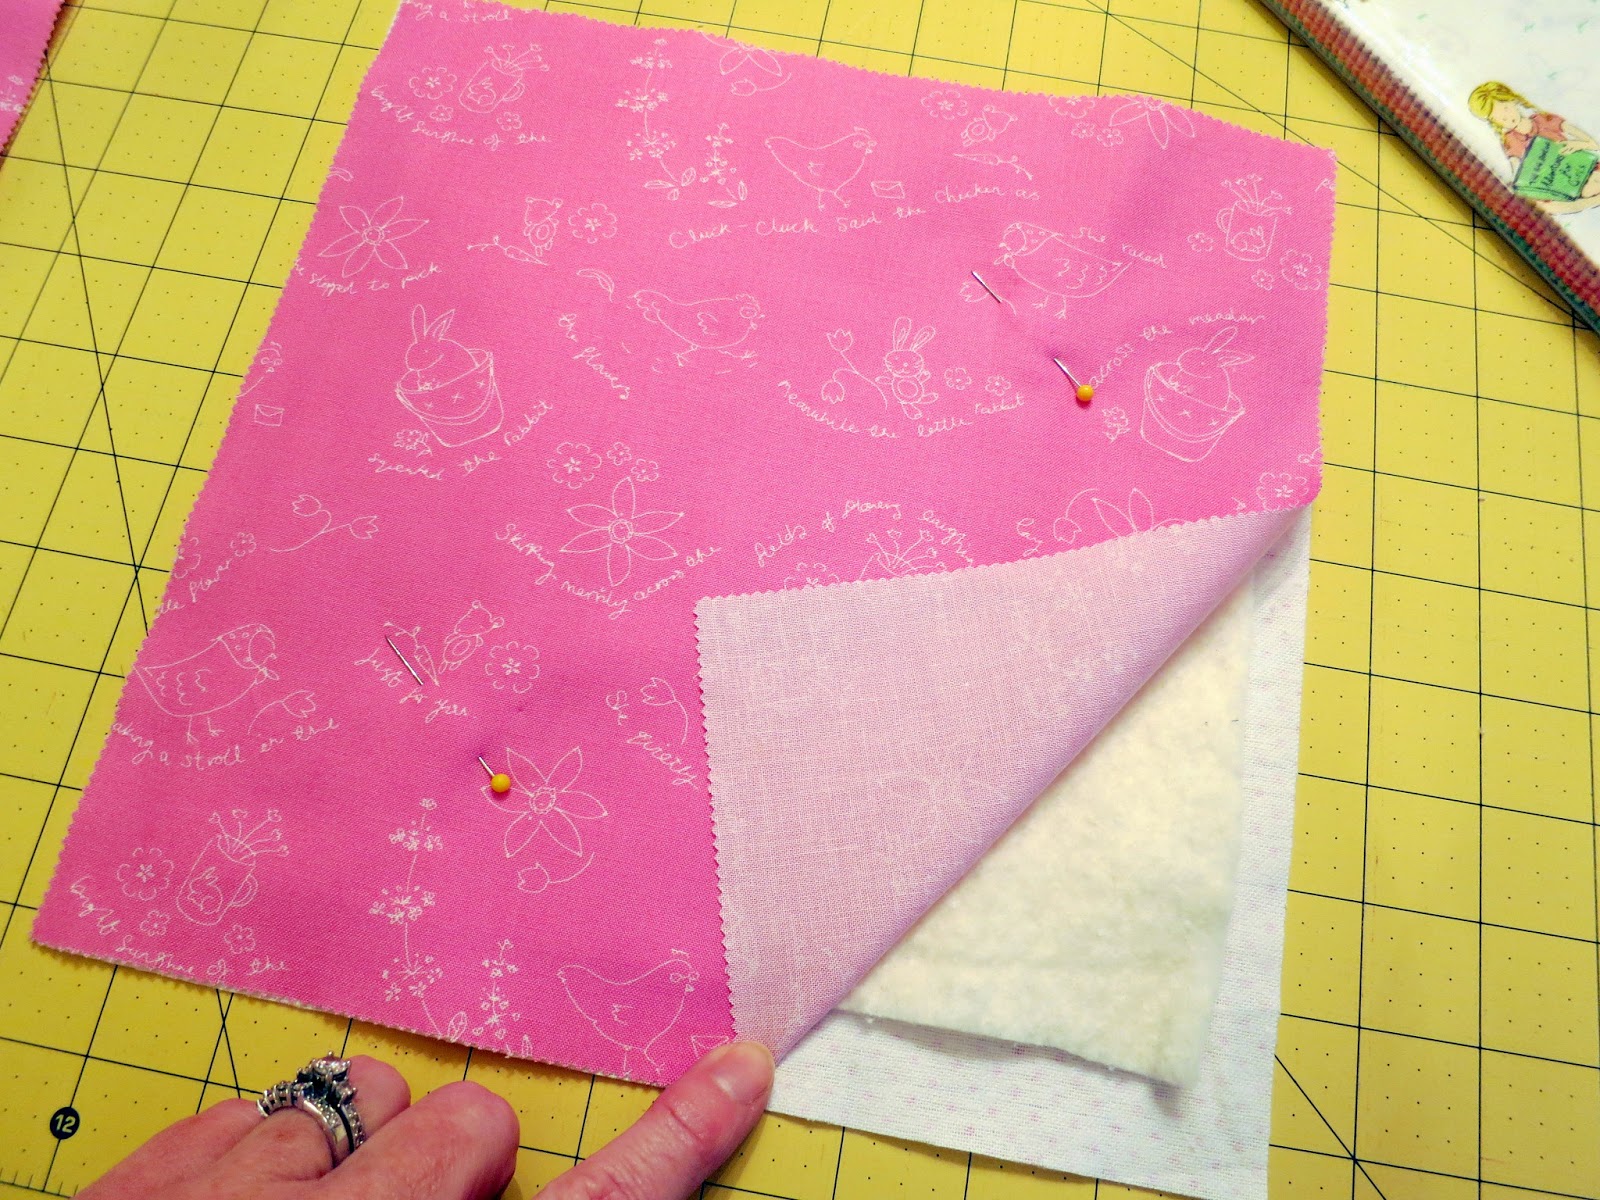

Step 4: Lay a flannel square with wrong side up. Center a batting square on the flannel and top with a layer cake piece-right side up. You now have the wrong sides of the fabric together with the batting inside. It’s a mini-quilt sandwich! Pin together with at least two pins. Stack them up.
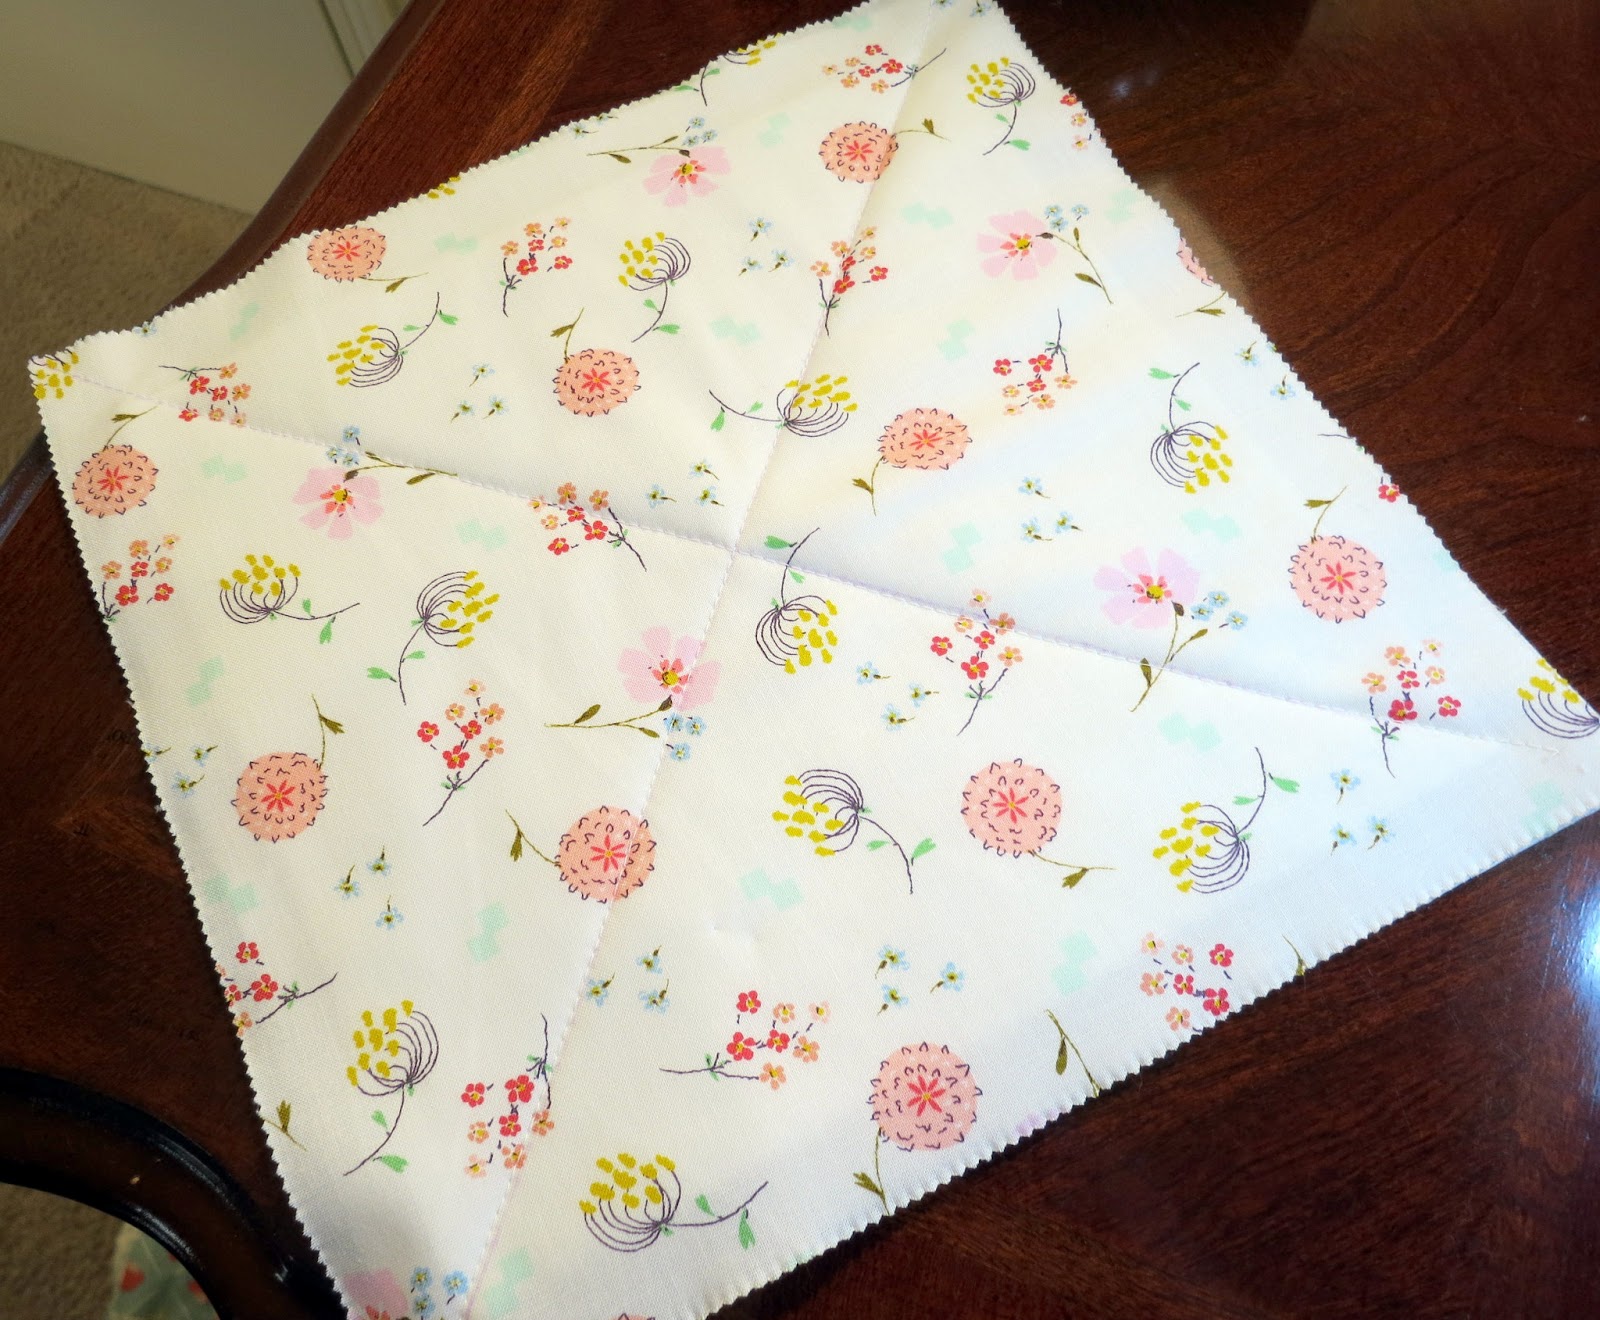
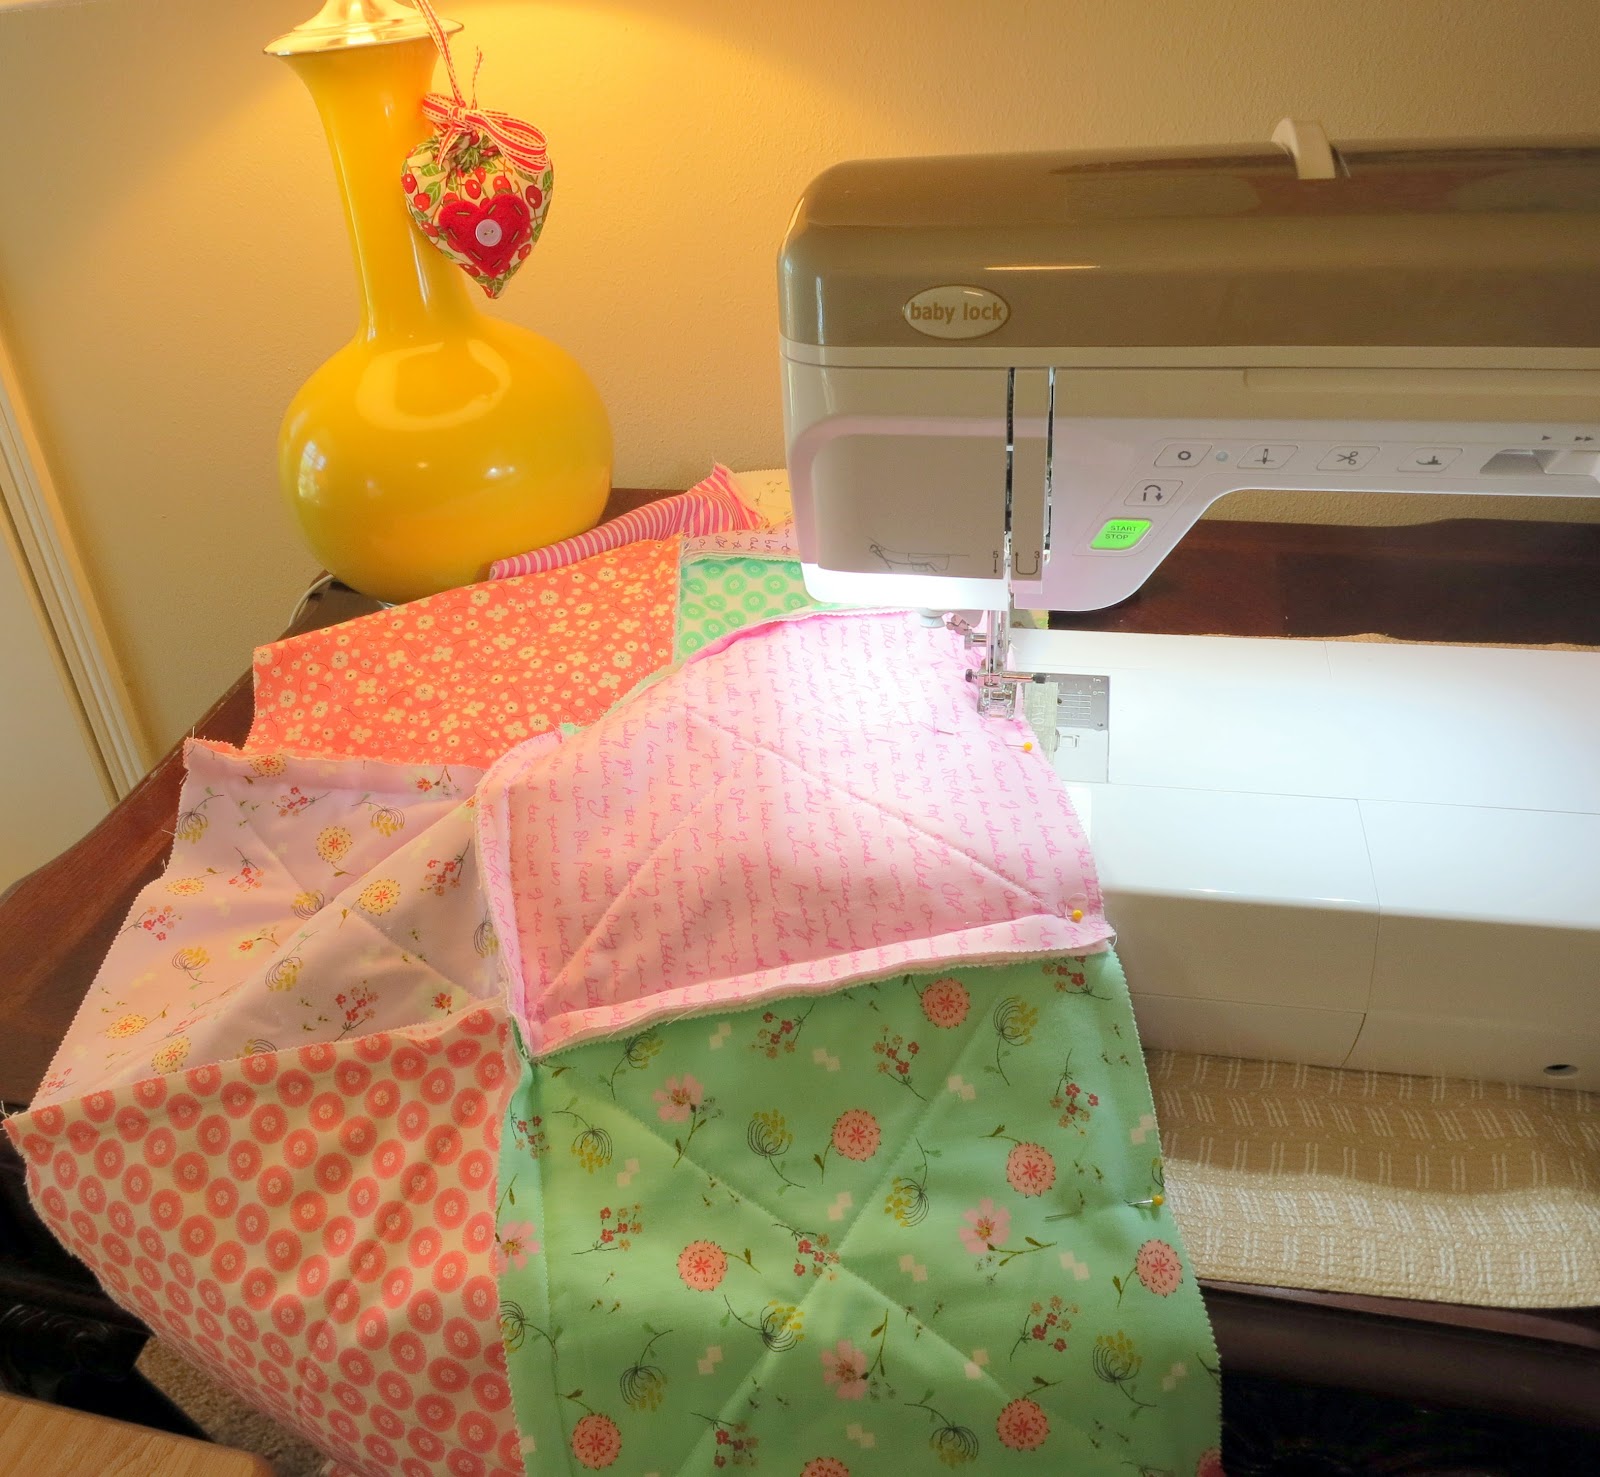
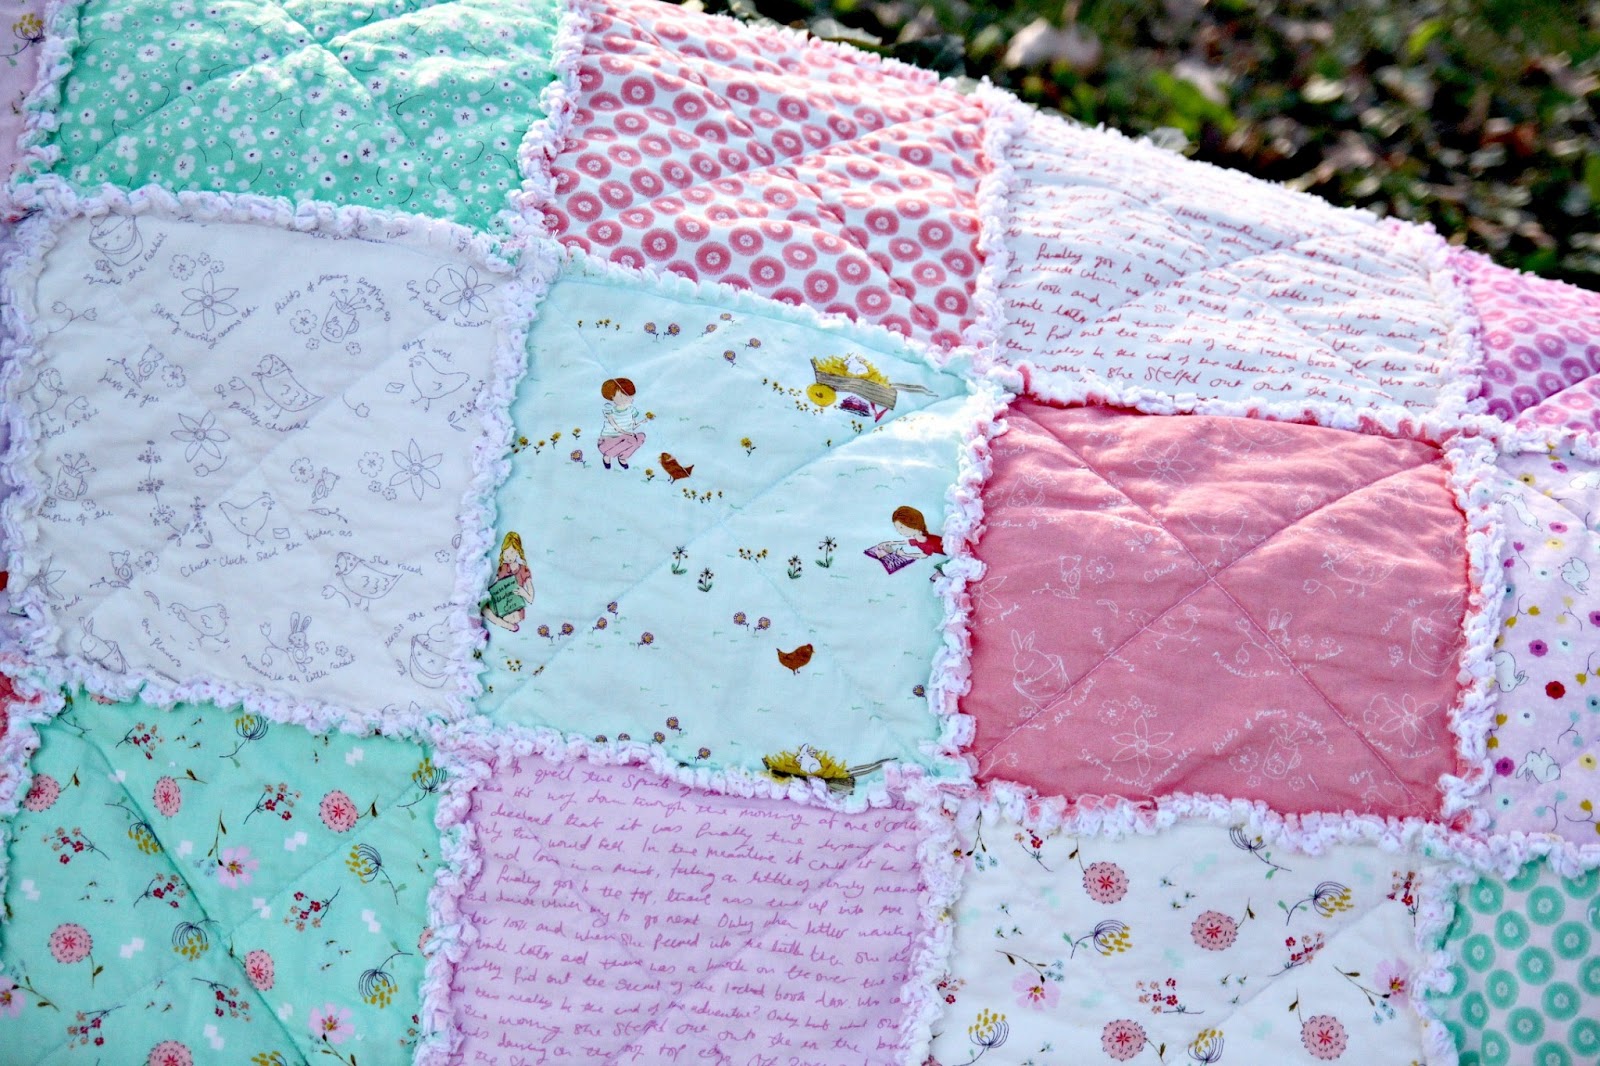
Step 5: Sew an “X” across each square. I marked mine with a ruler disappearing fabric marker as I sewed each square to keep things straight. This is your “quilting” so you could get fancy at this point in time and quilt some other design on the blocks.

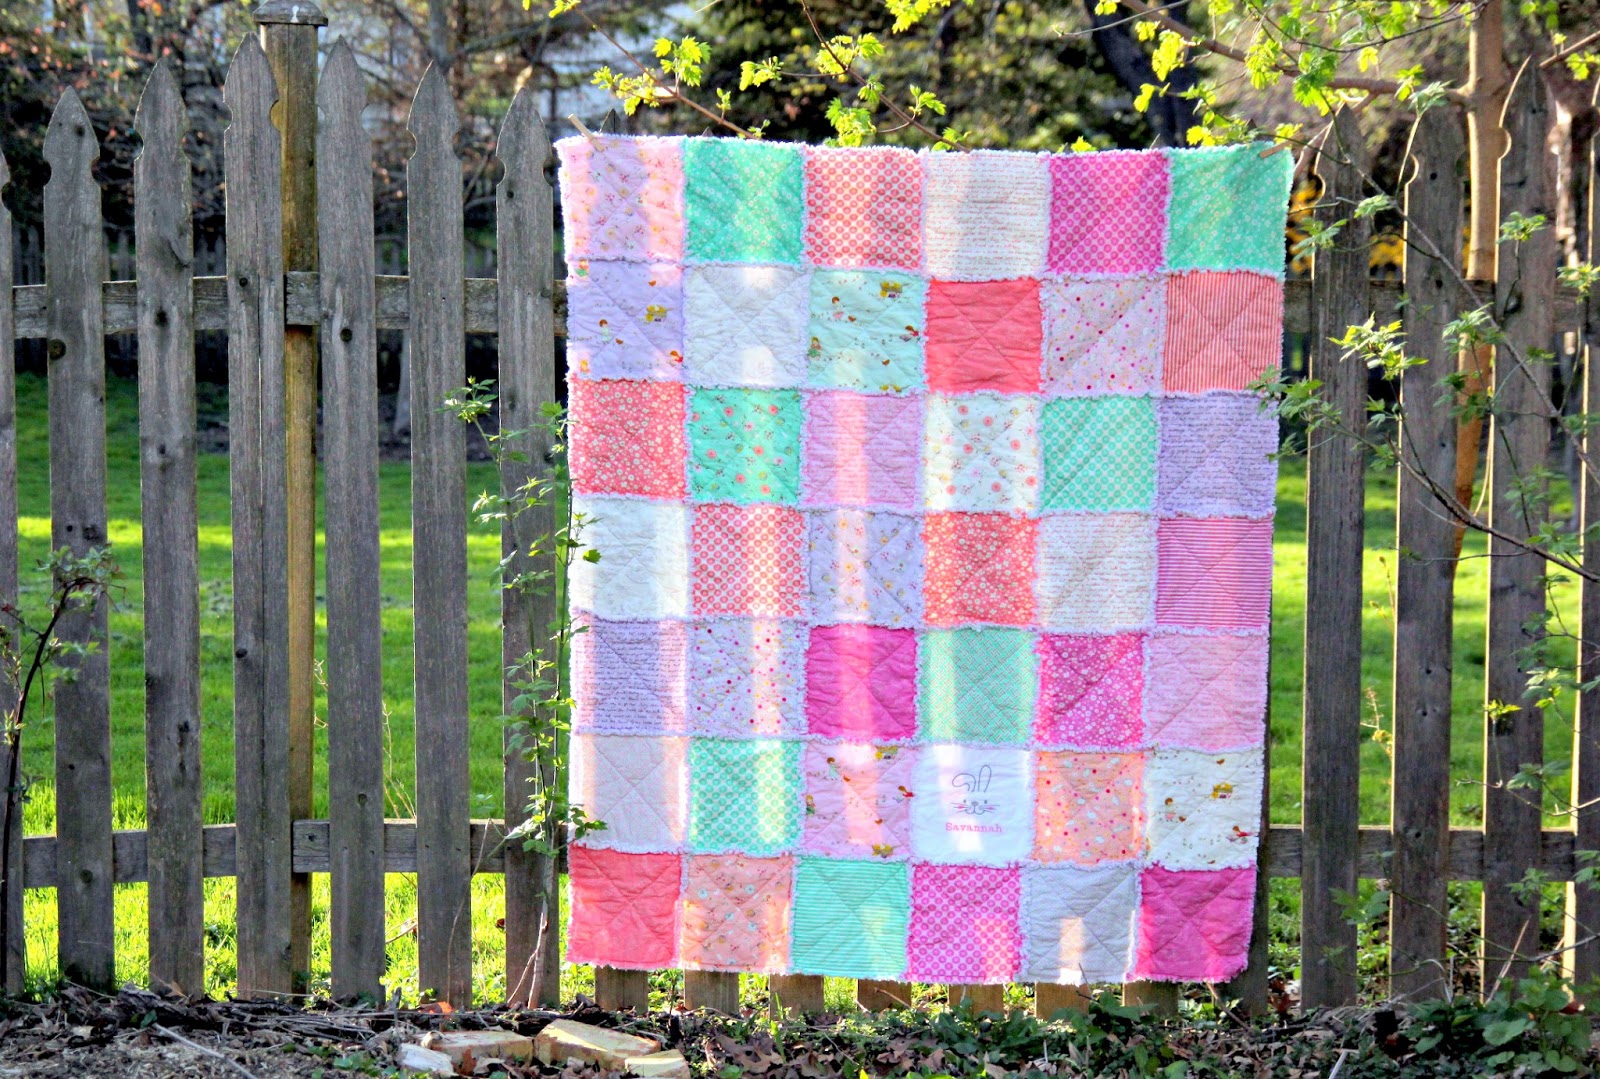
Step 6: I substituted a white square with embroidery personalization on each quilt. If you do this, I recommend using a fusible batting or web to hold the batting in place for that square only as you do not have the secure “X” quilting across the block. This embroidery design was a built-in design on the Baby Lock Unity sewing and embroidery machine.
Step 7: Arrange your blocks six blocks wide by seven down.
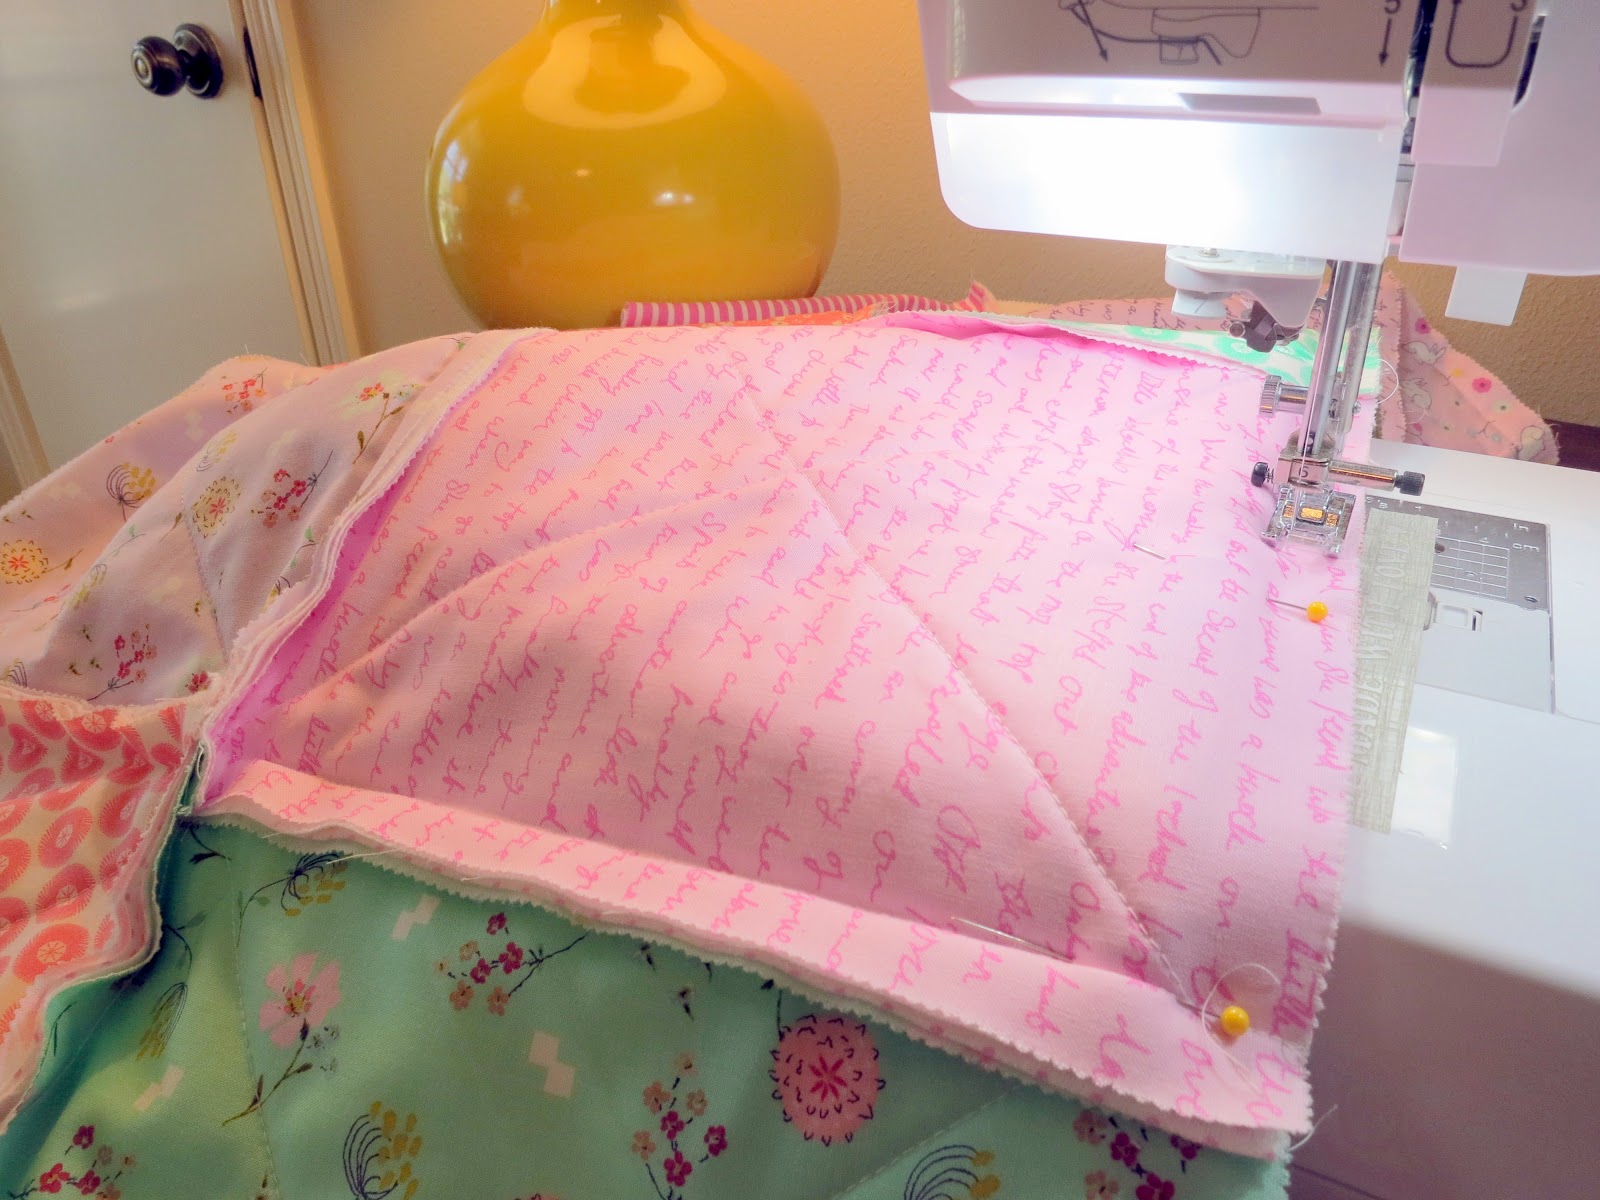
Step 8: Stitch blocks in rows with backing sides together using a 5/8 inch seam. Yes, you will have the unfinished edges on the front of the quilt. Adjust your seam allowance a little if necessary but you don’t want to catch the batting in the seam allowance.
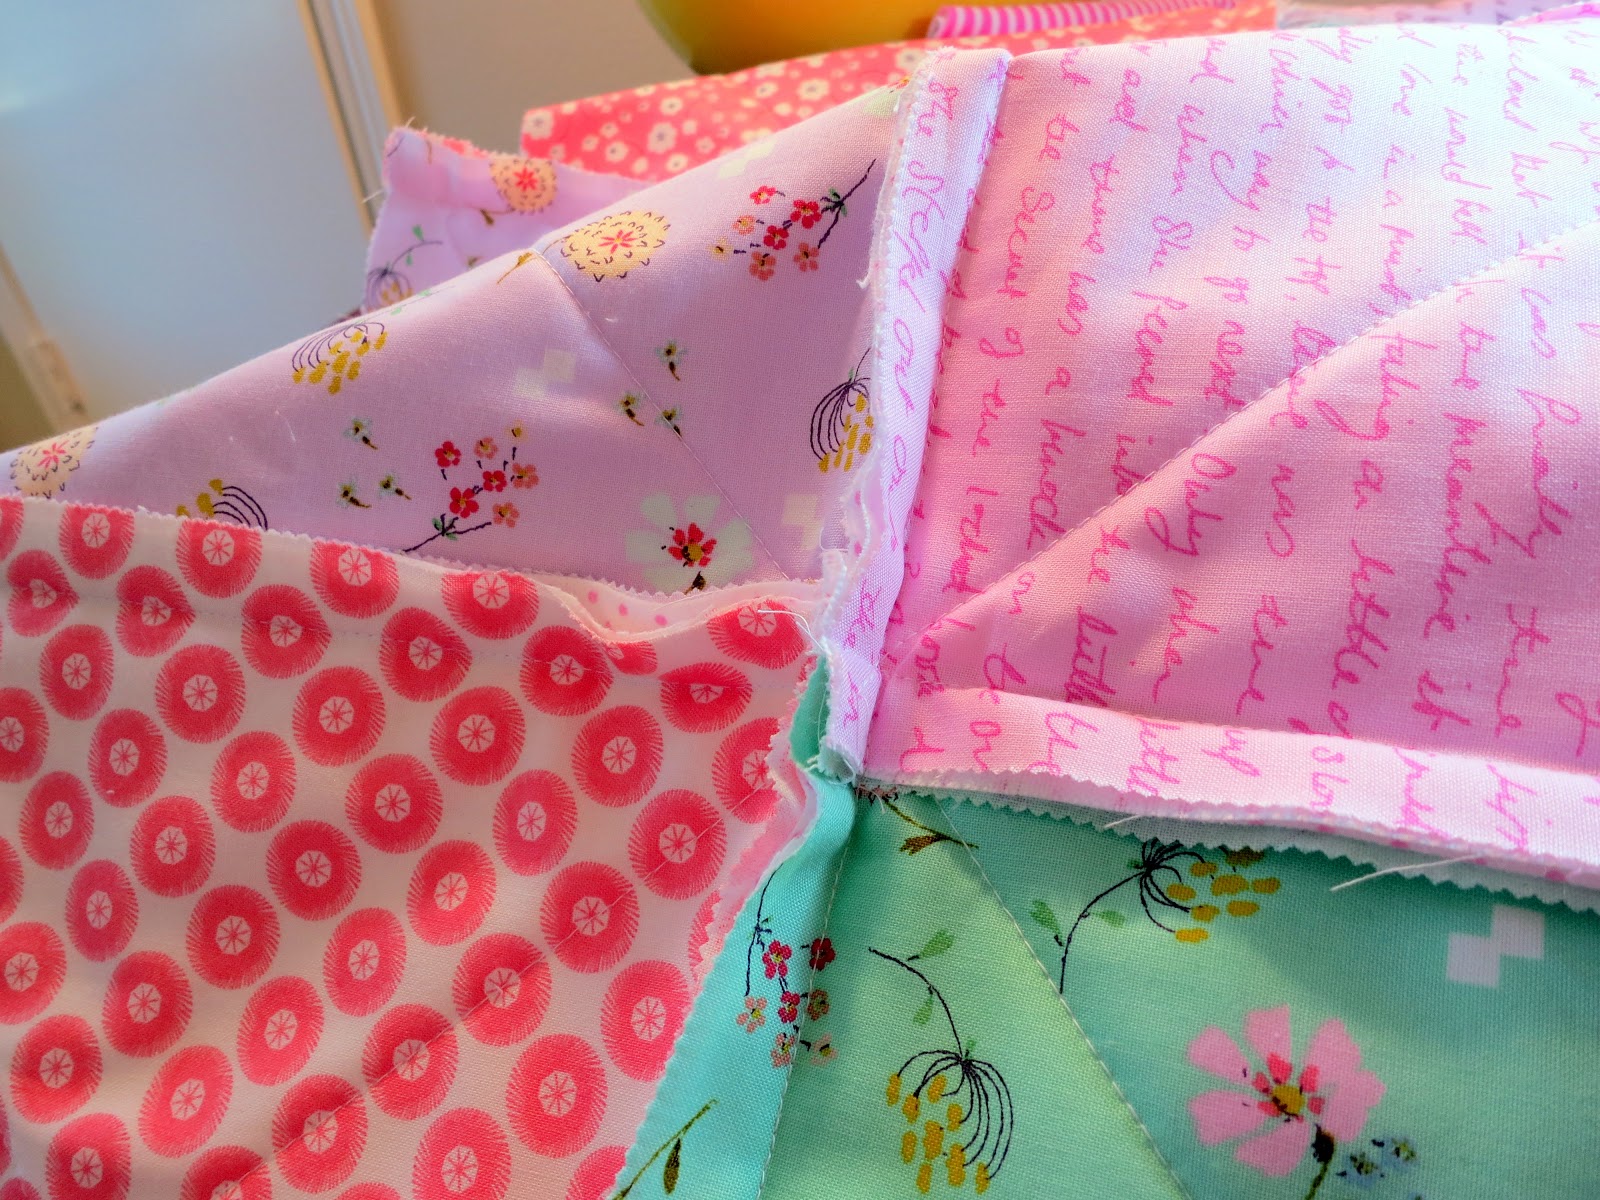
Step 9: Stitch the rows together and then stitch all the way around the quilt 5/8 inch from the edges.
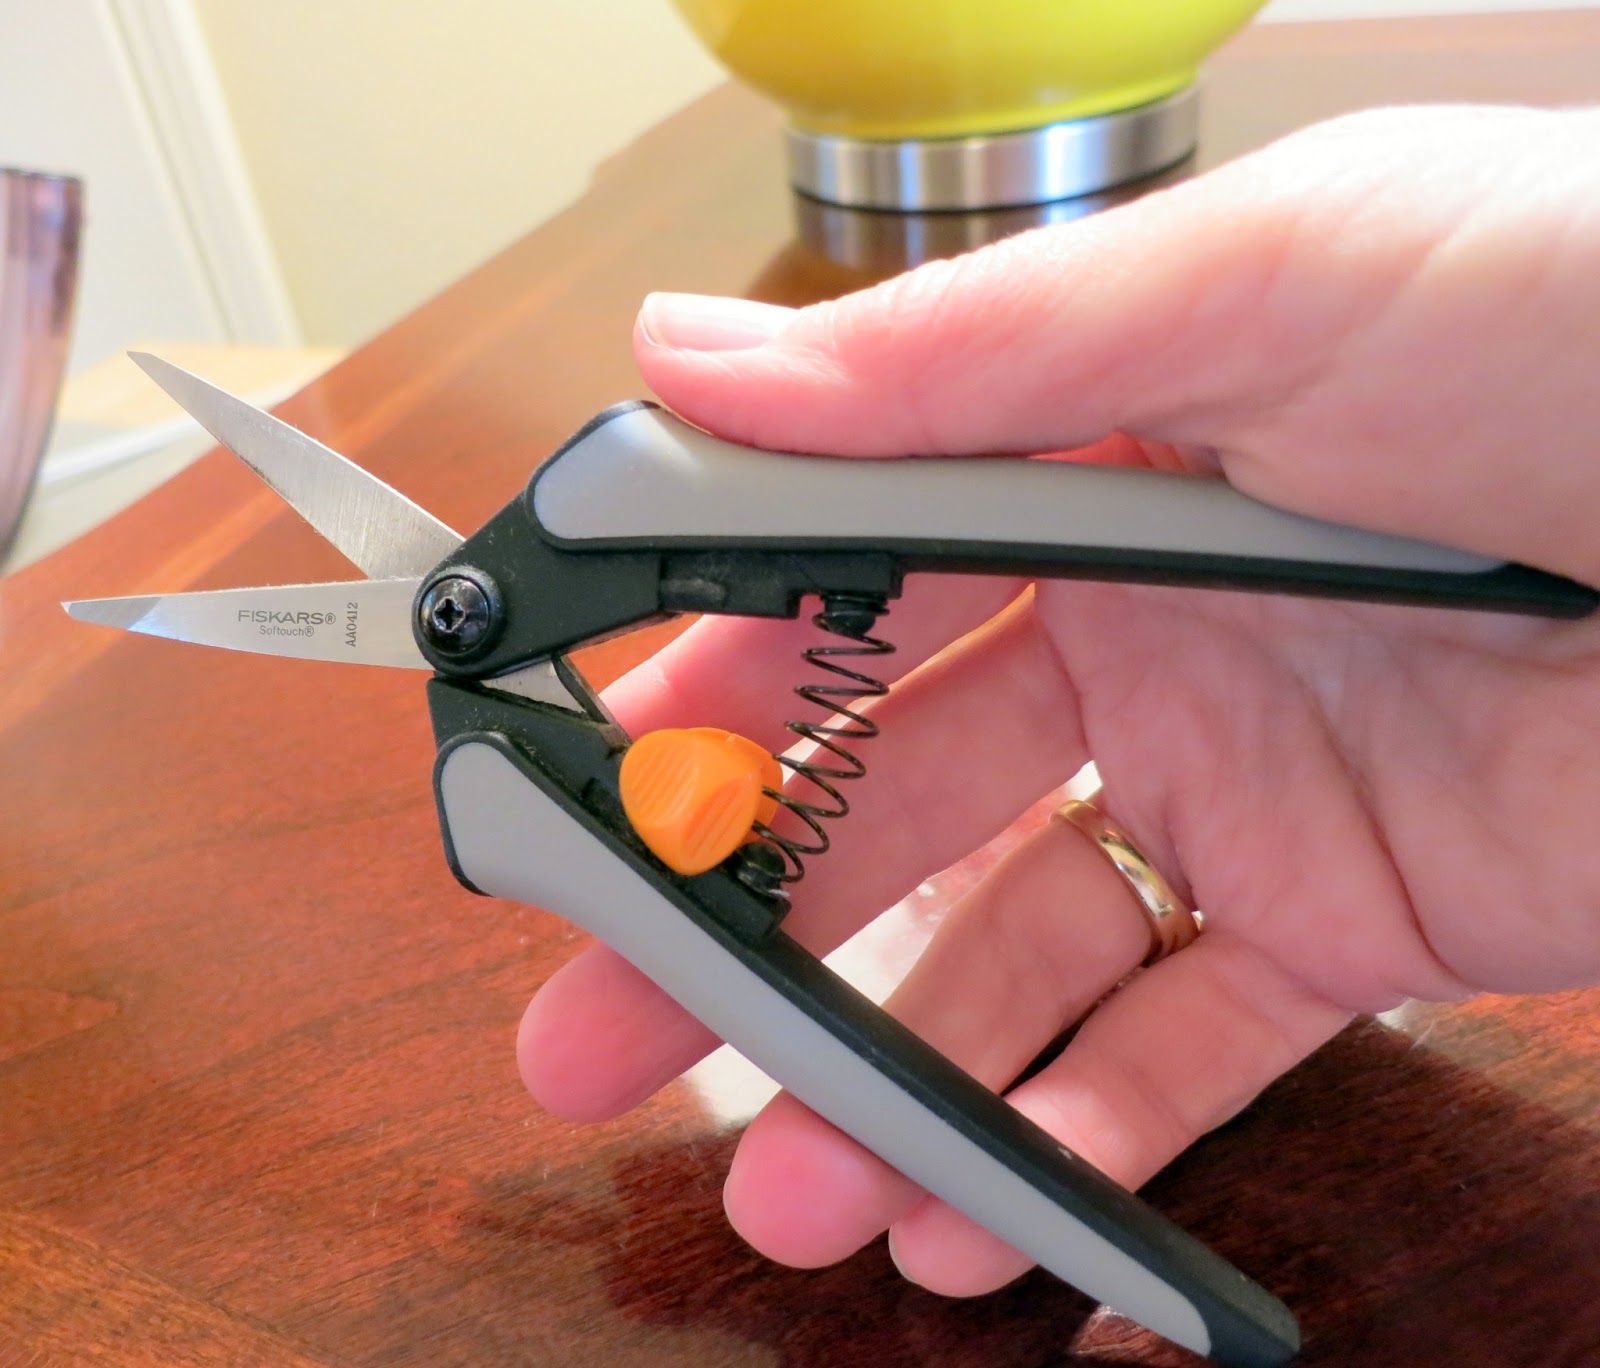
Step 10: Now sit down in a comfy chair and get ready to do some clipping! These little spring-release clippers make clipping the seams much easier on your hands. Clip all seams and outside edge, evenly at about 3/8 inch intervals, taking care not to clip the stitching of the seam.
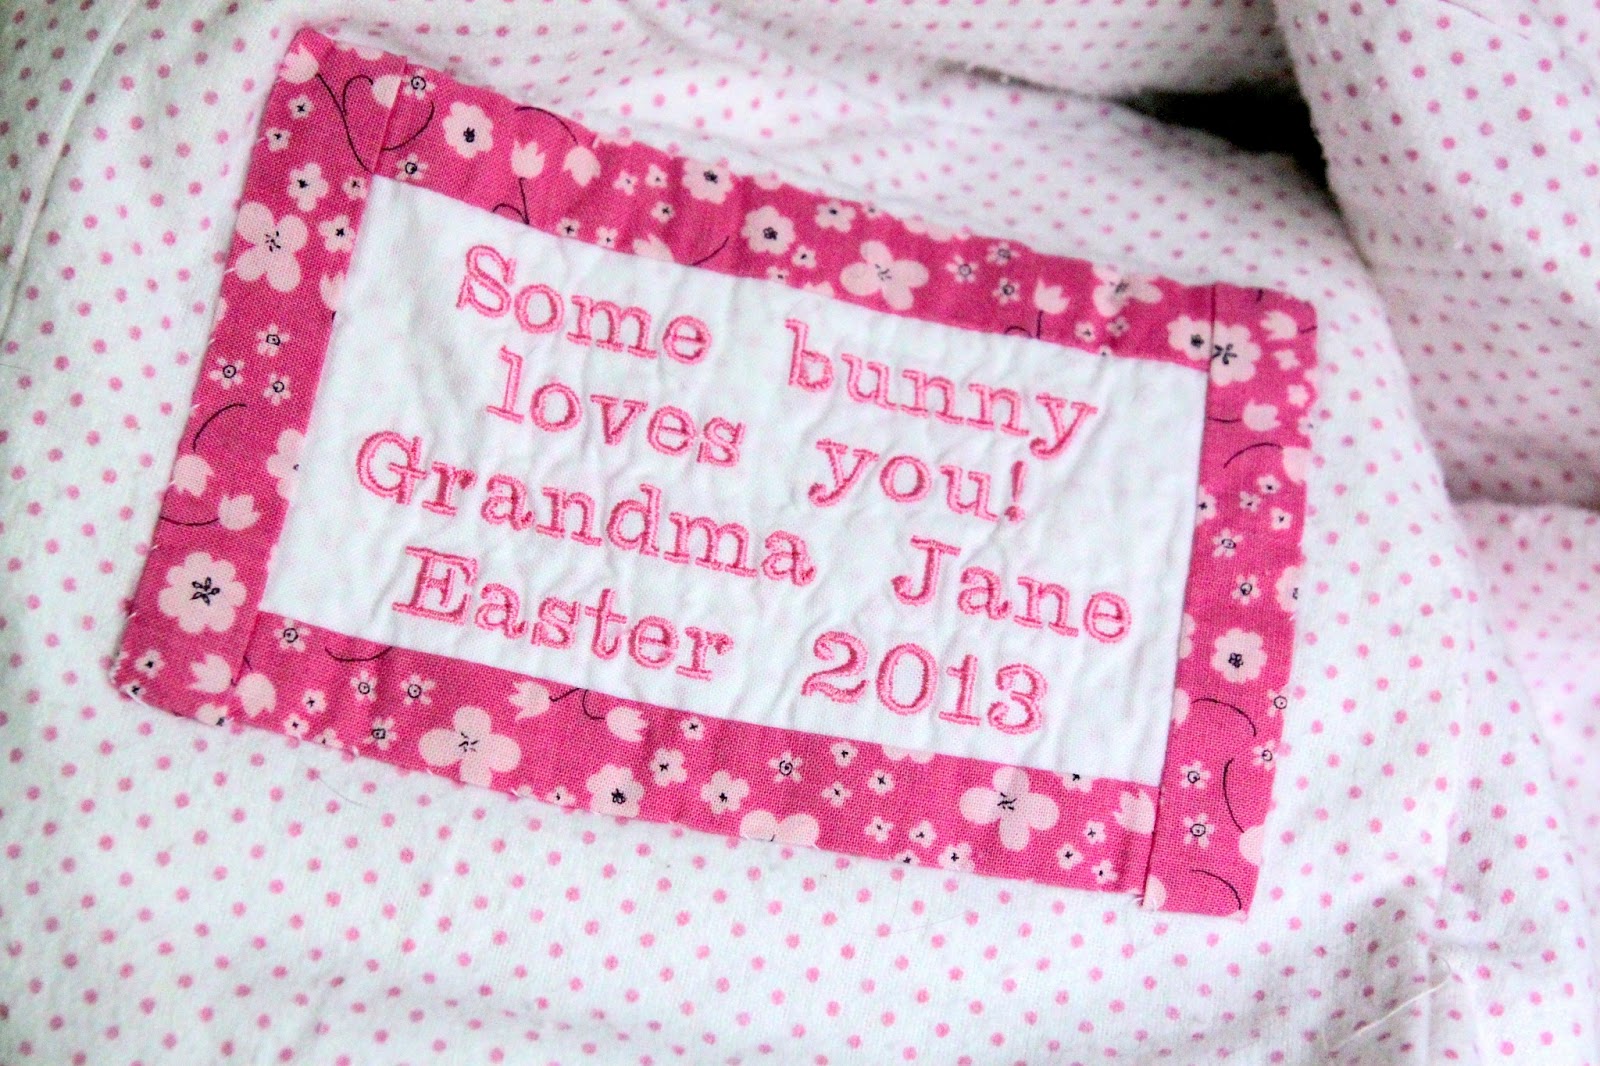
Step 11: I added an embroidered quilt label on the back and used the extra layer cake piece to frame it. Again, this was a built in font on my Baby Lock sewing and embroidery machine.
Step 12: Washing a rag quilt is really important to get the exposed edges fuzzy and make it all soft and cuddly. Caution! The lint created in your washer and dryer is really significant so make sure you clean out the lint trap. (If you have a really large quilt, it might be a good idea to take it to a Laundromat and use a commercial washer and dryer.)


 Lindsay Wilkes is the owner and designer behind The Cottage Mama. She creates timeless, vintage inspired sewing patterns for children’s clothes. She is also a fabric designer for Riley Black Designers / Penny Rose Fabrics, author of the book ‘Sew Classic Clothes for Girls’ and can be seen teaching nationwide and online in her video series ‘Lessons with Lindsay’ sponsored by Baby Lock Sewing and Embroidery machines.


