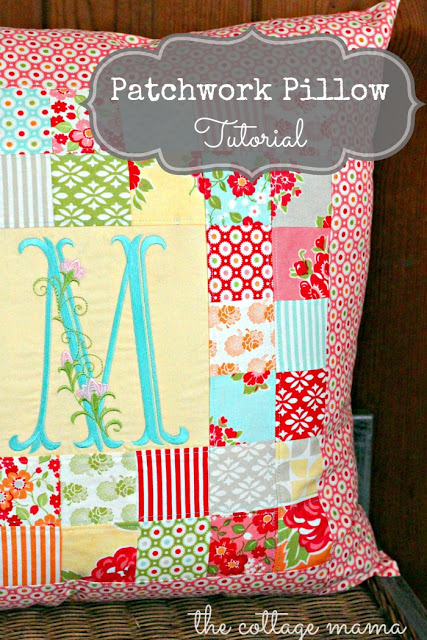
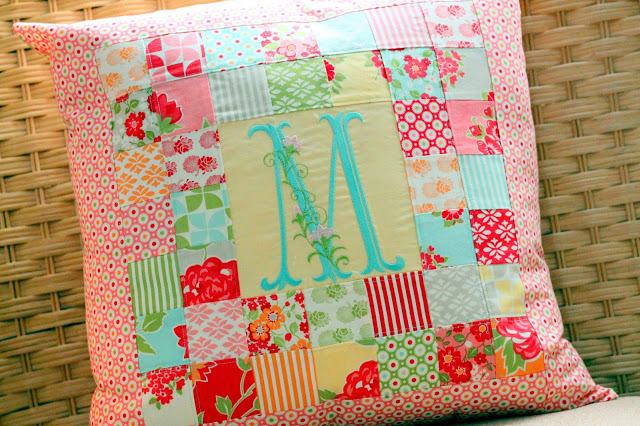
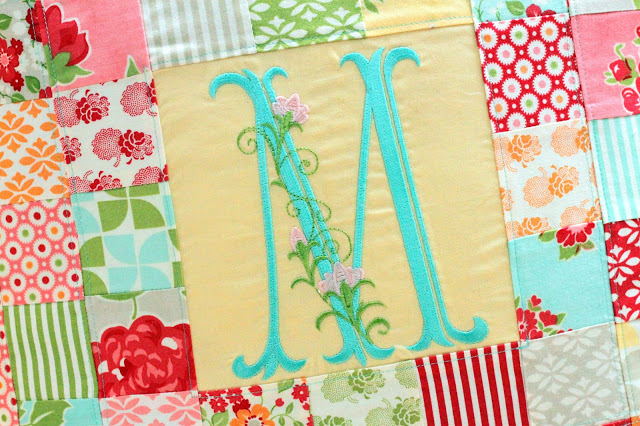
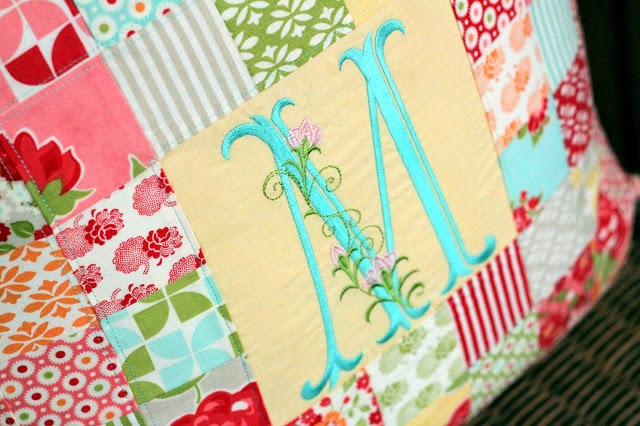
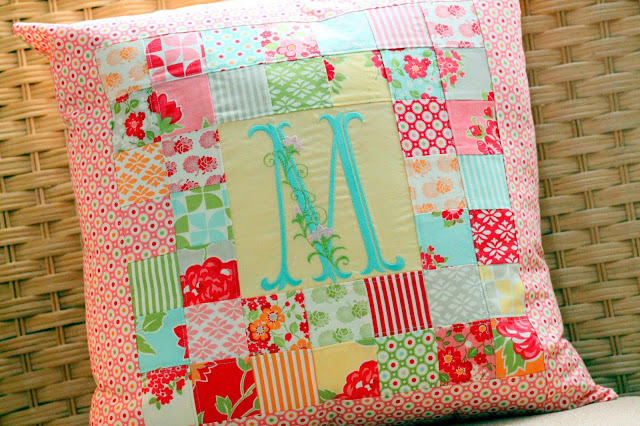
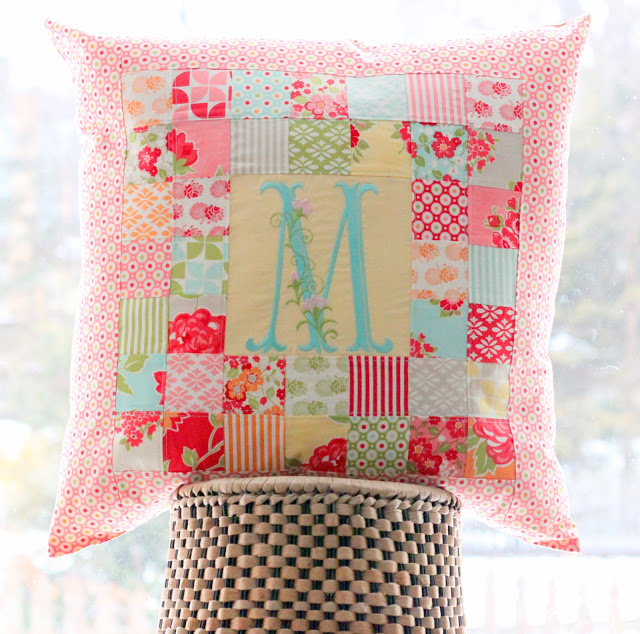
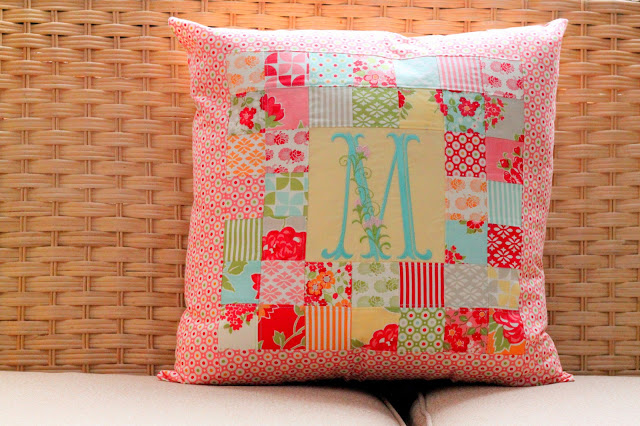
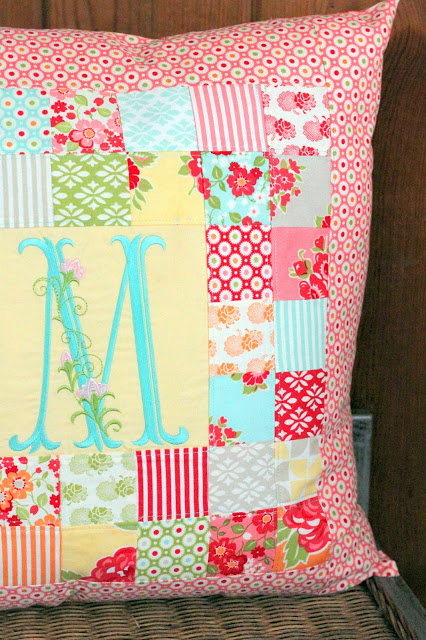
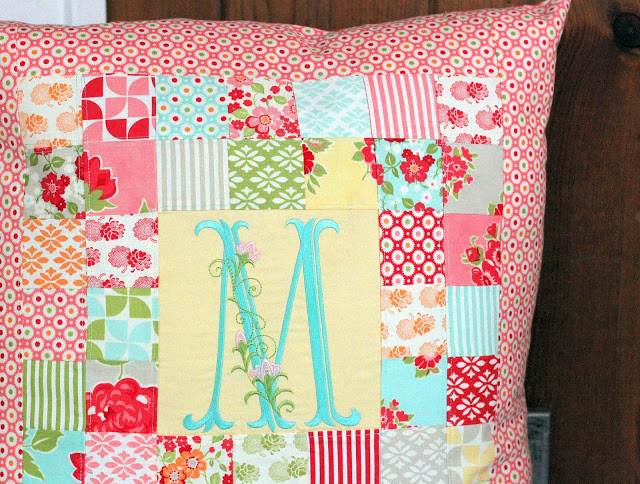
My mom’s birthday was last month. She and Savannah actually share the same birthday, March 5th…..it’s pretty special. Mom always comes to visit for the kids birthday and I wanted to make her something special for her birthday this year. She has really been into quilting lately and we share the same love of patterned fabric. I came up with this pretty patchwork pillow for her to put on the couch in her sewing studio. The ‘M’ is for Mom or her last name, ‘Michel’.
The pattern I created for this pillow makes a fairly large pillow (20″ x 20″), but you could certainly make it smaller by not adding the sashing around the edges or using smaller squares of fabric. Also, I used machine embroidery on a solid color fabric for the center panel, but if you don’t have machine embroidery just use another patterned fabric or consider doing some hand embroidery.
Instructions:
Step 1: Cut the pieces according to the graphic pictured above. If you are planning on using embroidery on your center panel, do that prior to cutting out your square so you have plenty of extra fabric to place in your hoop.
Center Panel (Cut 1): 6.5″ x 6.5″
Small squares (Cut 40): 2.5″ x 2.5″
Top and Bottom Sashing (Cut 2): 14″ x 3.25″
Side Sashing (Cut 2): 3.25″ x 20″
Pillow Back (Cut 1): 20″ x 20″
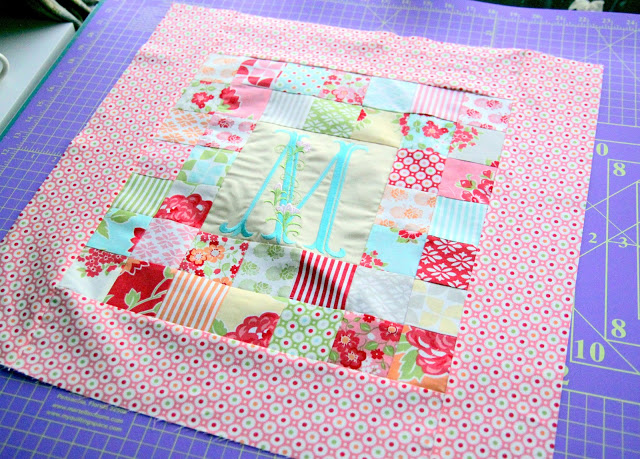
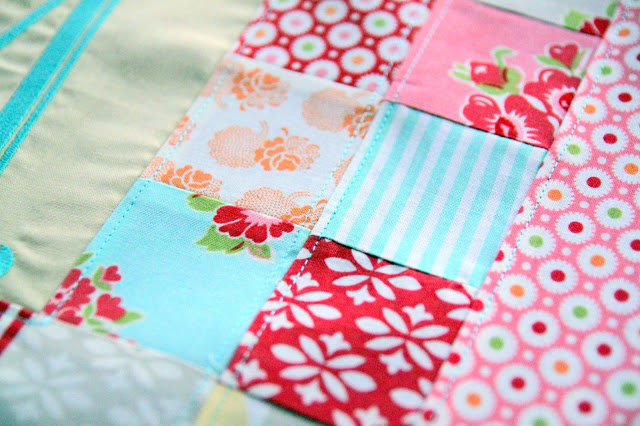
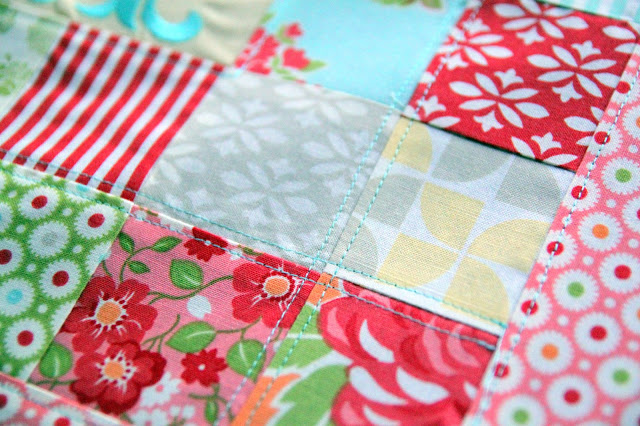
Step 2: Sew the pieces together. Look at the pattern graphic pictured above. I tried to color coordinate each step of sewing the pillow together. You will sew from the inside outward. The actual patchwork will not all be in the same color, but the colors above are for visual reference. Make sure you press as you go.
-Sew the pink squares together, then attach them to the center panel.
-Sew the blue squares together, then attach them to the center panel.
-Sew the yellow squares together, then attach them to the center panel (which will already have the pink and blue squares attached).
-Sew the green squares together and attach them to the center panel.
-Attach the bottom and the top row of sashing to the center panel.
-Attach the two side sashing pieces to the center panel to finish piecing the pillow top.




 Lindsay Wilkes is the owner and designer behind The Cottage Mama. She creates timeless, vintage inspired sewing patterns for children’s clothes. She is also a fabric designer for Riley Black Designers / Penny Rose Fabrics, author of the book ‘Sew Classic Clothes for Girls’ and can be seen teaching nationwide and online in her video series ‘Lessons with Lindsay’ sponsored by Baby Lock Sewing and Embroidery machines.


precioso !!! sin duda va a mi lista para hacer
gracias por compartirlo :))
This is beautiful! It would be a great way to use up some of my scraps. Thanks for the tutorial!
Just beautiful! I’m sure your Mom absolutely loved it. Thanks, as always, for sharing your tutorial with us
Thanks, it’s so pretty
Linking up from Skip to My Lou. I love the look of patchwork and I’m working on teaching myself to do it. Thank you for sharing this tutorial!
So cute! Thanks for the great tutorial!
Very nice.
It’s gorgeous, I’m sure she loved it!
What a beautiful pillow!! I love the colors, and combining the patchwork plus a monogram is a fabulous idea. Pinning!!
xo, Tanya
twelveOeight
I am in Love with this fabric from Bonnie and Camille! I made a quilt for my daughter, and plan to make some fun pillows too…thanks for inspiring me with the beautiful pillow you made!
Beautiful! So colorful and fresh and such a pretty embroidery design.
My goodness, this is pretty. I bet your mum loved it; and I am thinking it would make a great gift for anyone.
Muy bonito.
Gracias.
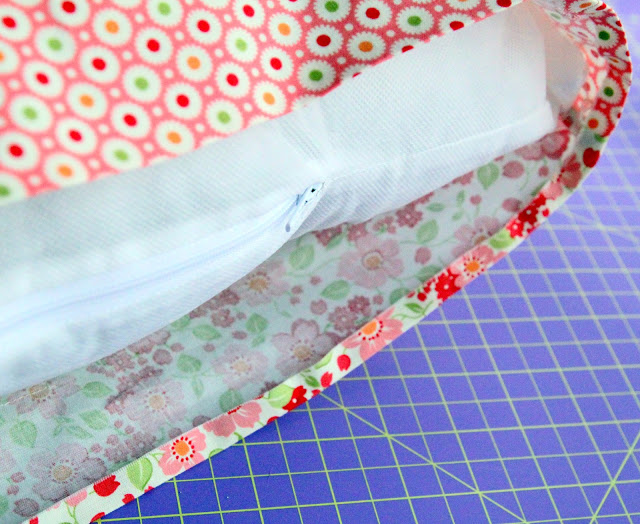
I love this pillow. Instead of blind stitching shut how would you add a zipper? I would love to make one for my daughter but being a toddler I’m sure it will need to be washed often
How beautiful pillow! And with my monogram! My son found this and sent me just now. Congratulations! Tks for share.
If you are using a 20 x 20 inch pillow form, shouldn’t the back fabric be larger than 20 x 20?