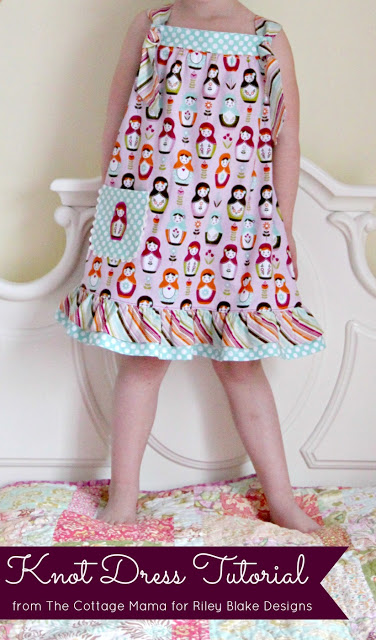
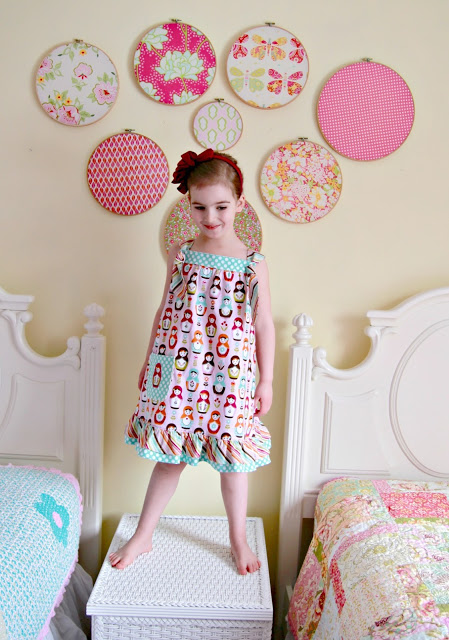
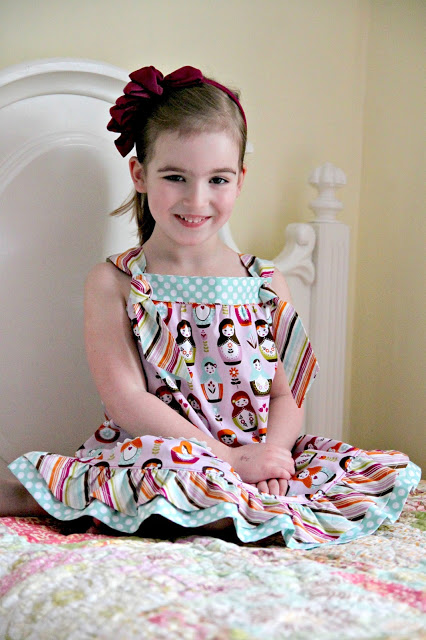
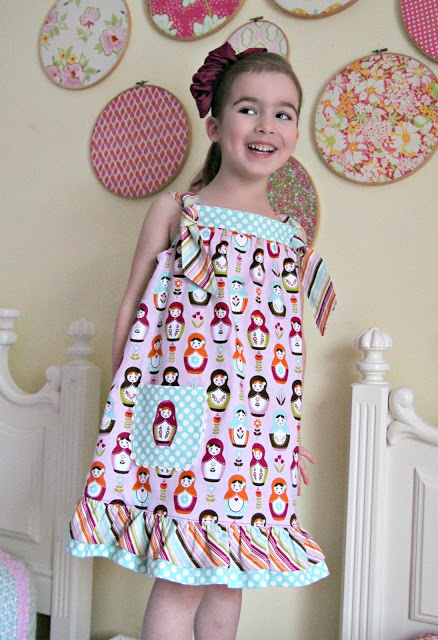
This Easy Knot Dress tutorial is an adaptation of my free pattern, the ‘Summer Picnic Dress‘. This dress comes together in an afternoon and is age appropriate for itty bitty girls and a little bit older girls as well. The free pattern is offered in size 12m – Size 4, but can easily be sized up or down by adjusting the chest width and dress length.
Pattern Adjustment (sizing up): I sized the dress up from a size 4 to a size 6 by simply adding 1″ to the yoke and facing pattern pieces to the side that says ‘fold’, 2 inches to the length of the main dress and an additional 1″ to the longer ruffle. By adding 1″ to the yoke and facing pieces, that gave me an additional 2″ across the chest because the piece is cut on the fold. Another great option when drafting a sewing pattern up or down, is to use a piece of clothing your child already owns and you know fits well and use that to compare to your pattern to make sure your adjustments are accurate.
Easy Knot Dress
Size 12 Month – Size 4
A Free Pattern from The Cottage Mama
Baby cording (if adding piping)
Double Sided Fusible Interfacing (i.e. Steam-A-Seam Lite 2)
For the pocket, cut two squares according to these measurements:
Size 12 Month & 2T: 4″ x 4″
Size 3T and up: 5″ x 5″
*If you would prefer a shorter strap, by all means, just reduce the length measurement.

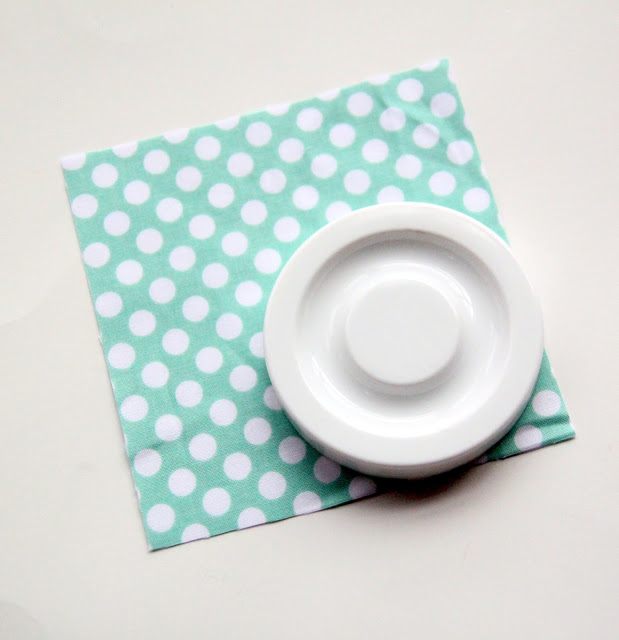
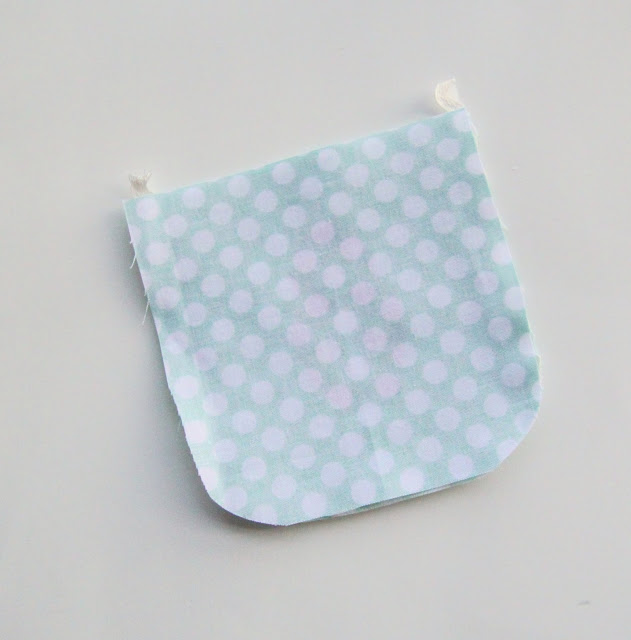
For the pocket, cut your two squares. Find an item in your home with a rounded edge and use that as your template for cutting the two rounded corners. Round two of the corners on both pocket pieces.
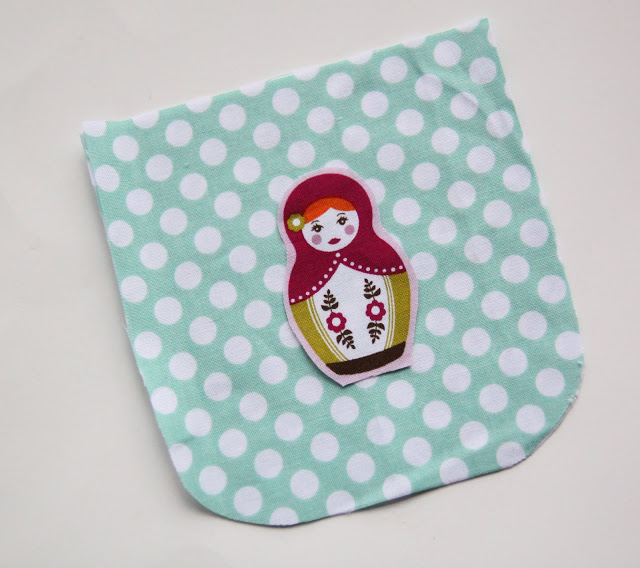
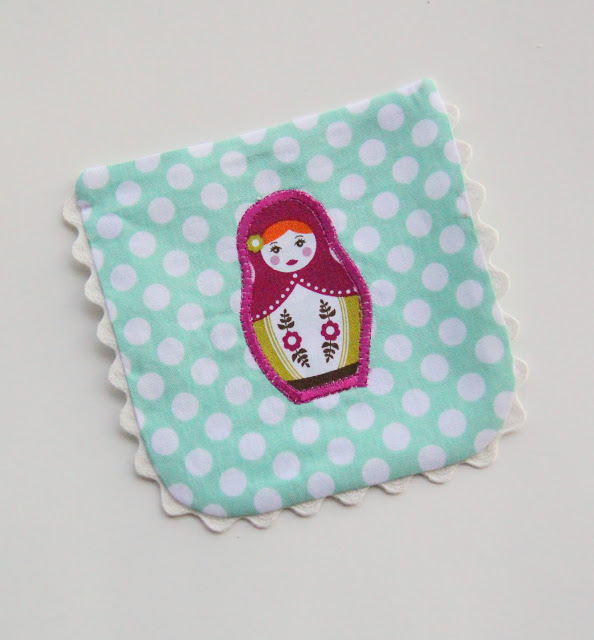
Add the doll to the pocket. Apply double sided fusible interfacing (I like Steam-A-Seam Lite 2) to the back of a piece of the nesting doll fabric. Once you have applied one side of the interfacing, cut out the doll. Remove the paper backing, position on pocket and press to fuse the doll to the pocket. Using a satin stitch or your favorite applique stitch, sew all the way around the doll with embroidery thread.
Insert the rick rack into the pocket. This is completely optional as you can definitely skip this step if you would like. Line up the rick rack with the edge of the pocket and hold in place by using Wash Away Wonder Tape or pins. If you are using pins, baste stitch the rick rack in place before adding the other side of the pocket. But if you use the wonder tape, no basting is necessary.
Place the other pocket piece on top with the right sides together and sew all the way around the pocket, leaving a slight opening on the side of the pocket. Check the size of your trim. If you are using a larger or smaller rick rack then you might need to adjust the placement so that your 1/2″ seam allowance will have the little edge of the rick rack poking through. If you are using standard rick rack, it should work just perfectly.
Clip the corners and notch out the curves of the pocket. Turn the pocket right side out by pulling the fabric through the opening.
Once your pocket is turned right side out, press it so that it lays nice and flat. Make sure to press under the little opening in the side of the pocket.
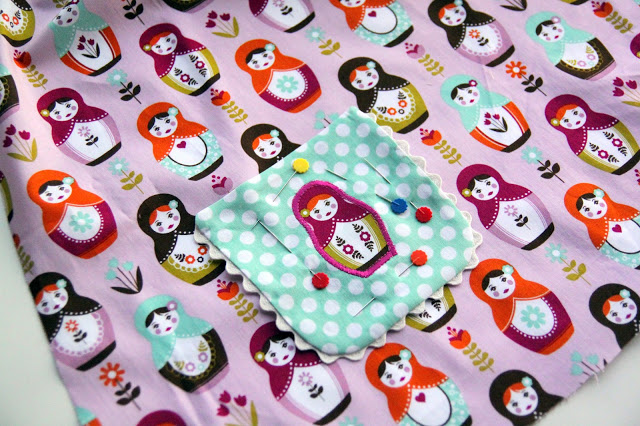
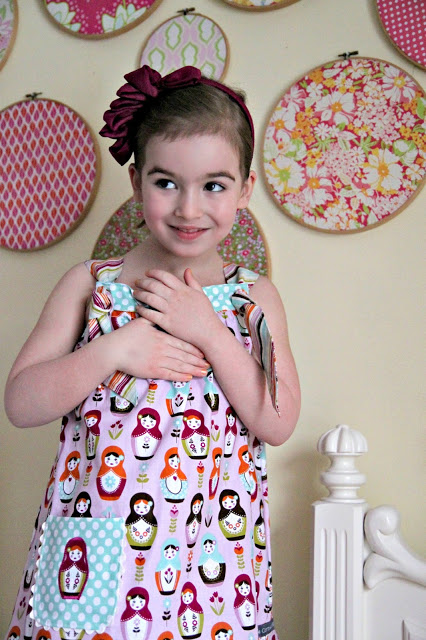
Pin the pocket to the dress. The placement is entirely up to you. Just place it where you think it would look good. Sew the pocket to the dress, leaving the top edge open. Make sure to sew some reinforcement stitching to the top corners of the pocket (kids can be really hard on pockets). Once you have sewn around the pocket, the topstitching will have closed the little opening on the side.
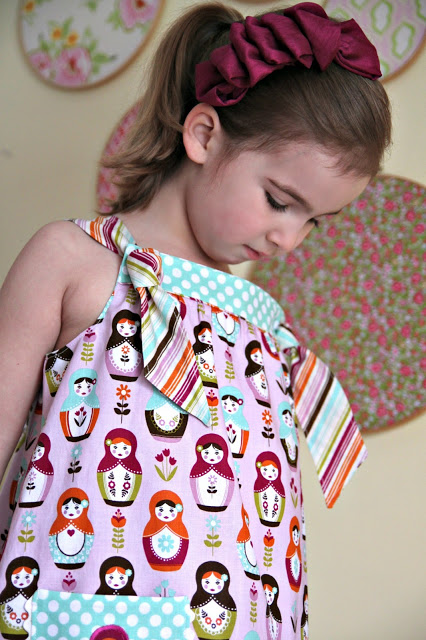
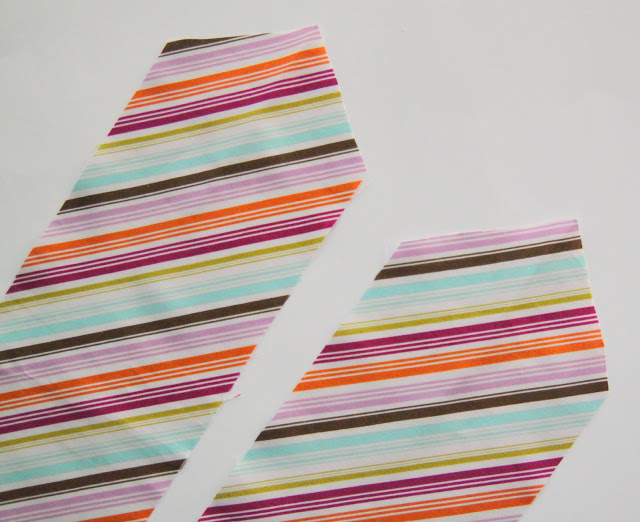
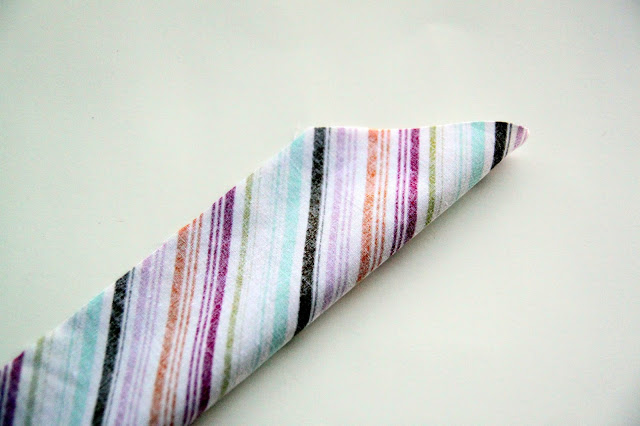
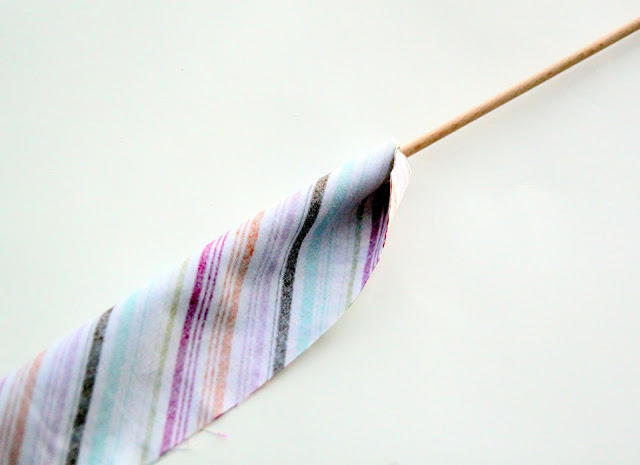
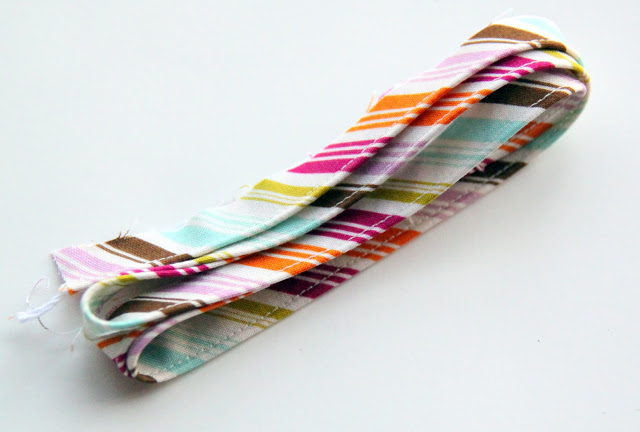
You will need two straps for the knot dress. For the ends of the straps, cut them so that they make a point. Fold the strap in half, with the right sides together. Sew down the long side and to one of the points. Leave the short, straight edge open. Turn the strap right side out and press. Topstitch or Edge stitch around the strap. Do this for both strap pieces.
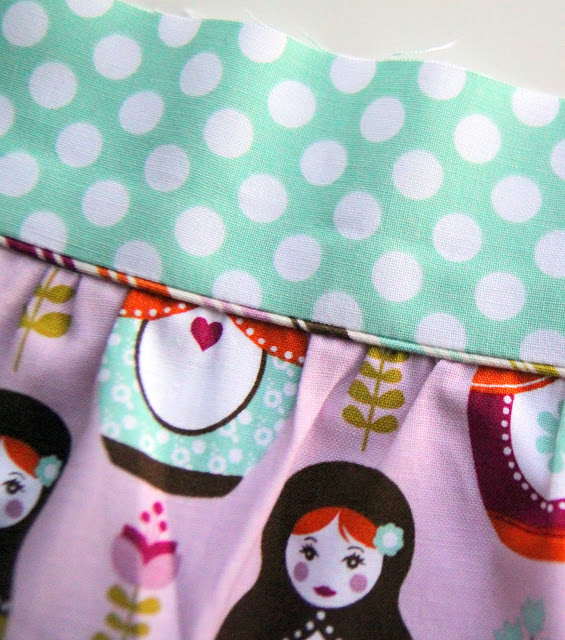
If you would like to add piping in the seam between the yoke and the main dress, you can check out my piping tutorials. For how to make your own piping, click HERE and for how to insert piping, click HERE. I actually did not cut this piping on the bias since I knew it would be inserted in a straight seam and I already liked the diagonal of the fabric. If you were planning to make a lot of piping and wanted to use it in future projects, I would not recommend doing it the way I did……go ahead and cut it on the bias.
So for the rest of the dress construction, you can refer to the instructions for the Summer Picnic Dress. To find those instructions, click HERE. Just remember, you are only inserting straps in the back part of the dress, you need to make two small, 3/4″ buttonholes on the front yoke and if you are doing the double ruffle, just layer the two ruffles together before gathering.









 Lindsay Wilkes is the owner and designer behind The Cottage Mama. She creates timeless, vintage inspired sewing patterns for children’s clothes. She is also a fabric designer for Riley Black Designers / Penny Rose Fabrics, author of the book ‘Sew Classic Clothes for Girls’ and can be seen teaching nationwide and online in her video series ‘Lessons with Lindsay’ sponsored by Baby Lock Sewing and Embroidery machines.


What a great tutorial & pattern!! Super cute! Thanks, Linsday.
gorgeous! and thanks for sharing!
Creame y mas
love it!
love it!
Love this!! Such a lovely clear tutorial, thank you xxx
Very cute, both dress and model
adorable!
Oh it is just wonderful!!! Love the print of the fabric!! Thank you for sharing!!!
We’re still buried in snow here too. Excited for warm weather to make up this sweet dress!
I wish this knot dress pattern was in paper form. I do love all your work and appreciate you sharing
Lovely of you to share this, thank you. I am going to try this as my FIRST ever garment ! My little girl is nearly 6 so ill need to upsize it a bit !
Do you orient your buttonholes up/down or left/right?